Done by: Vedallion#7774 | Jan 27th 2023
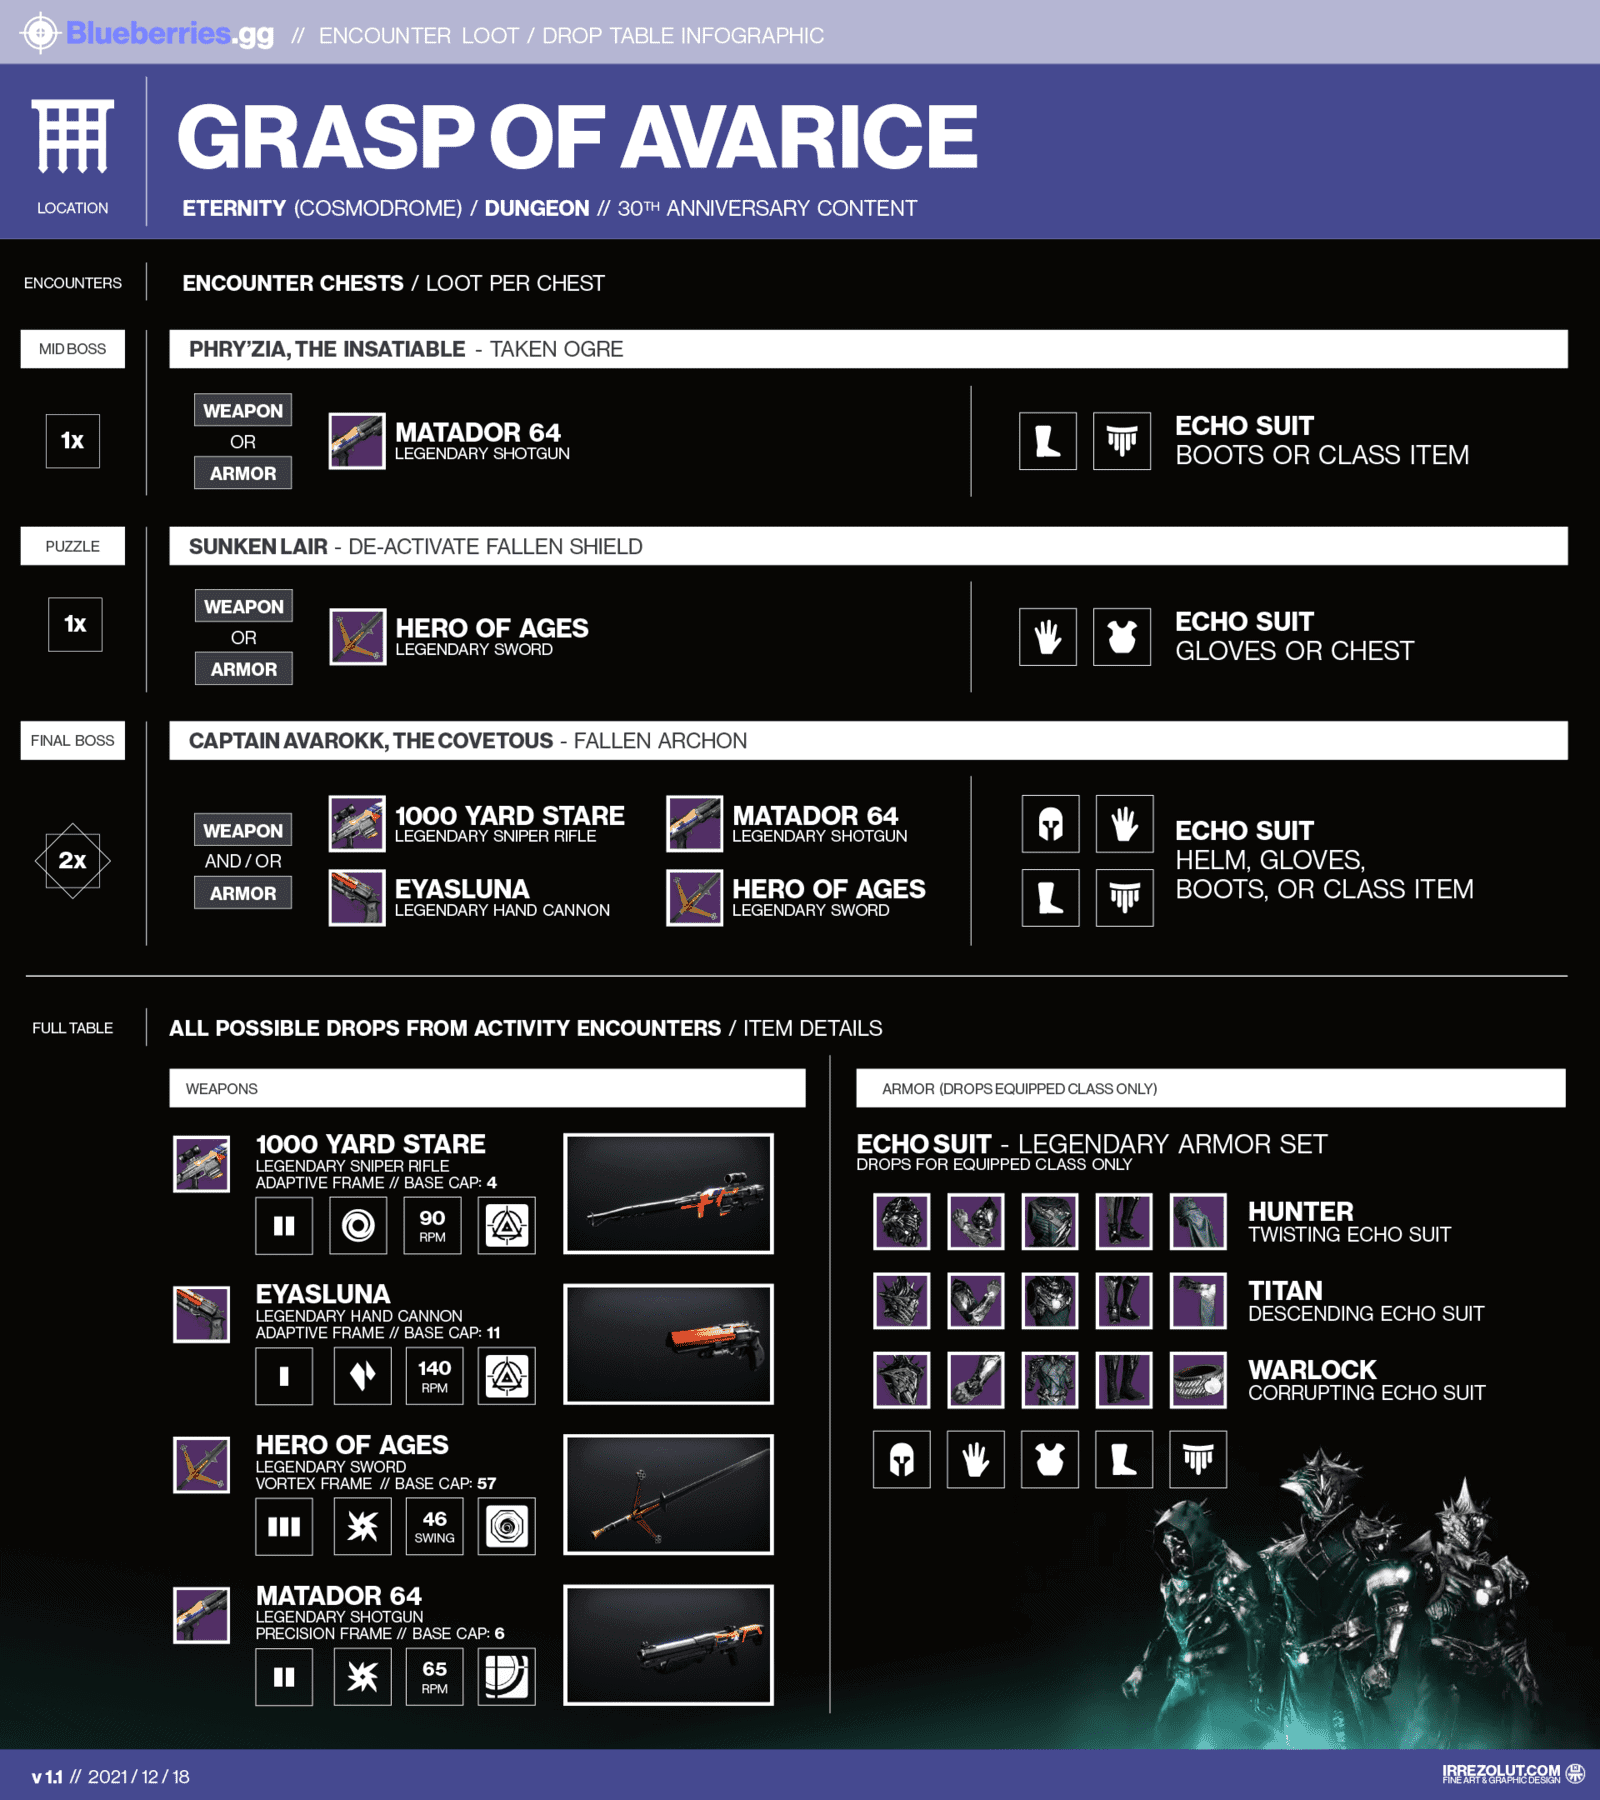
Drop Table
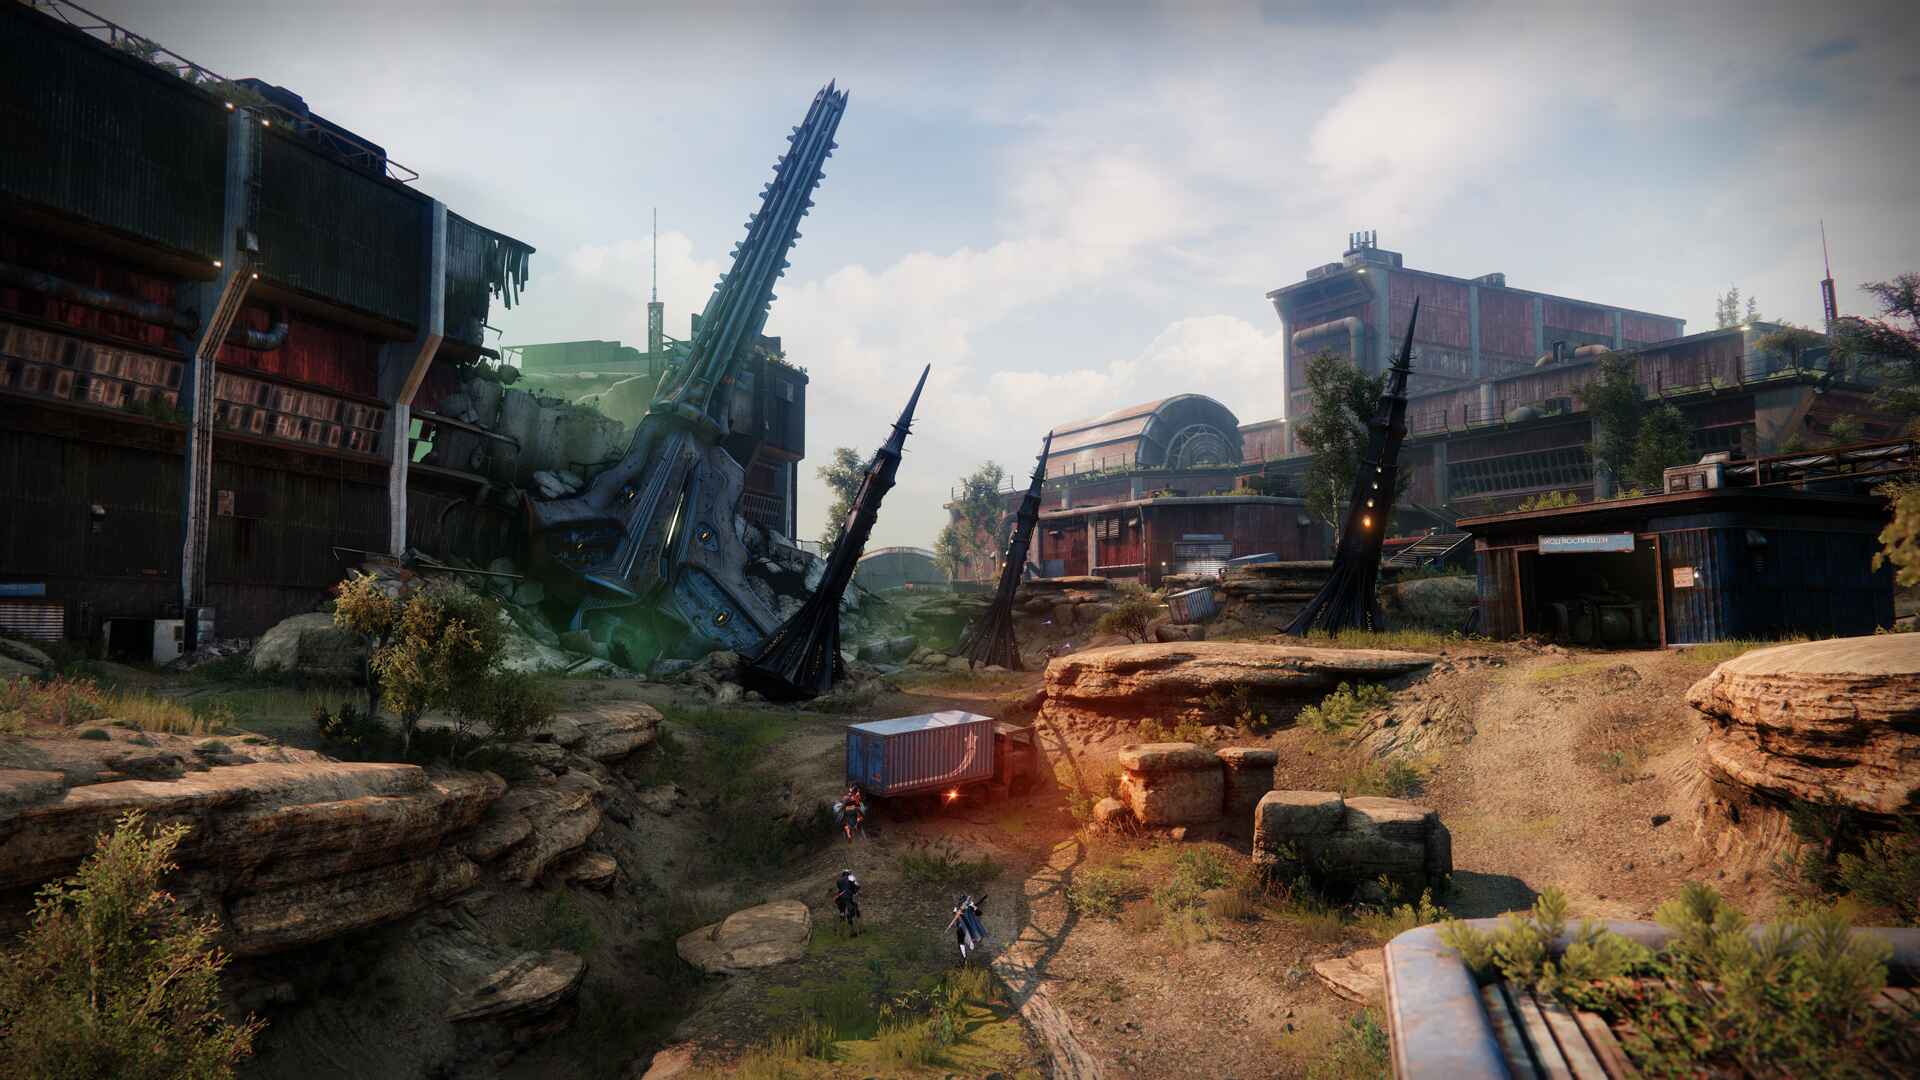
Skywatch
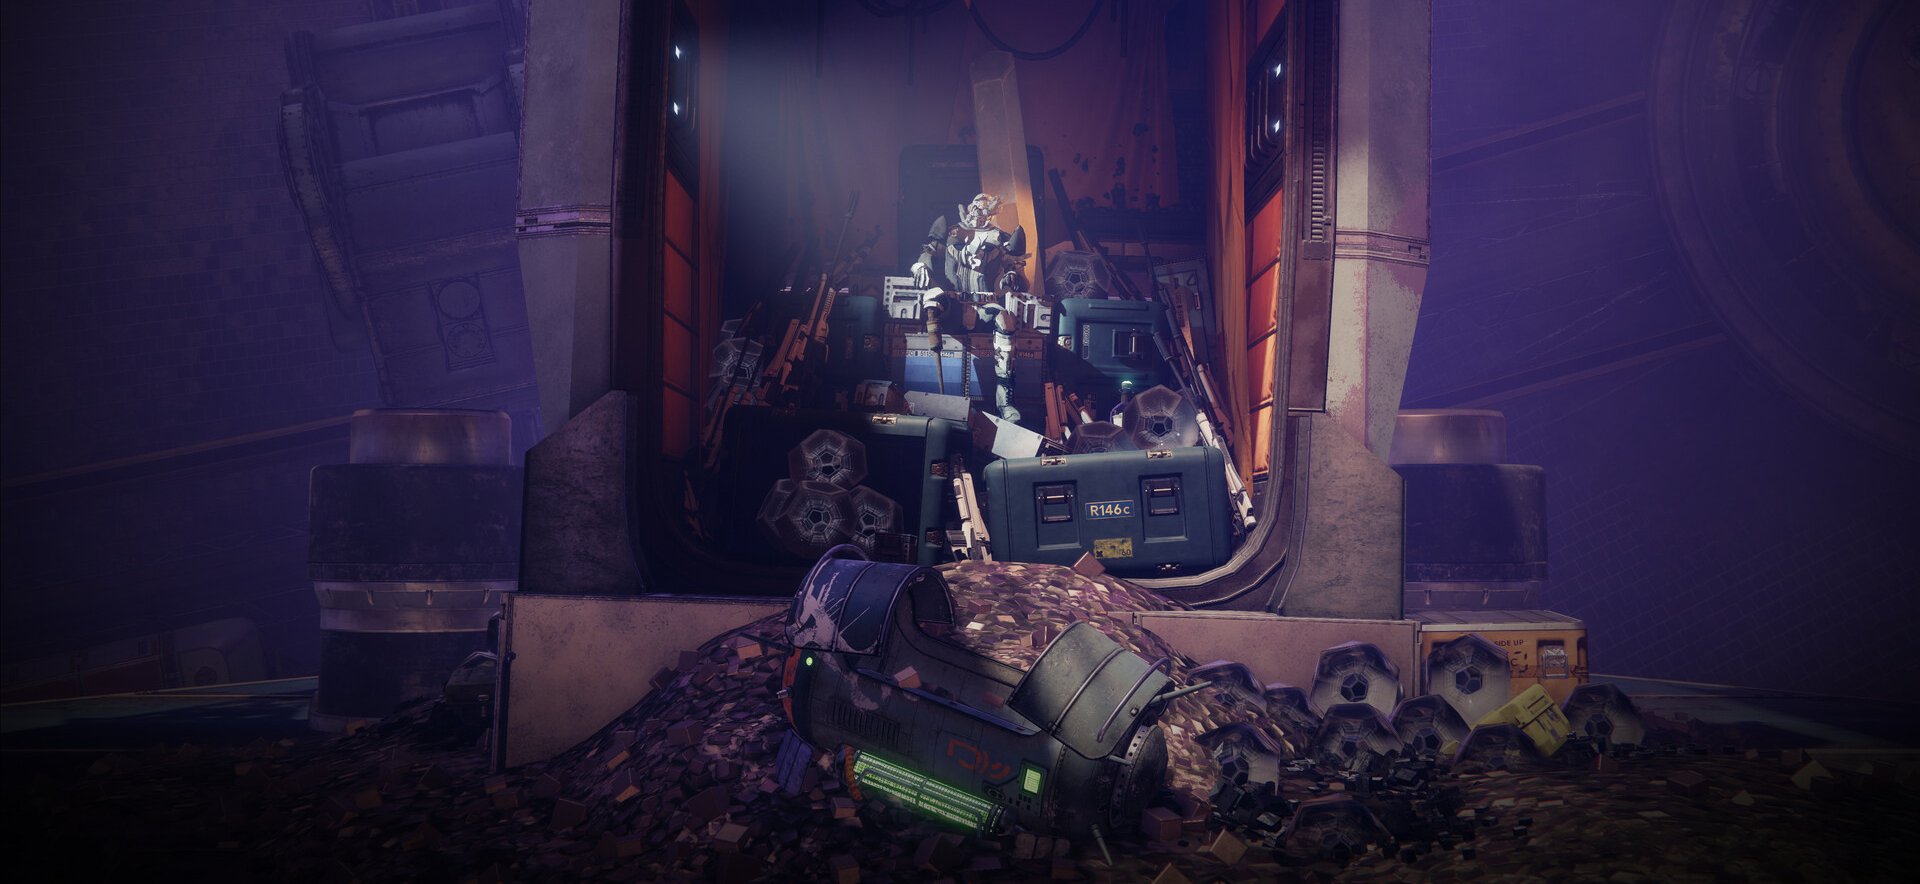
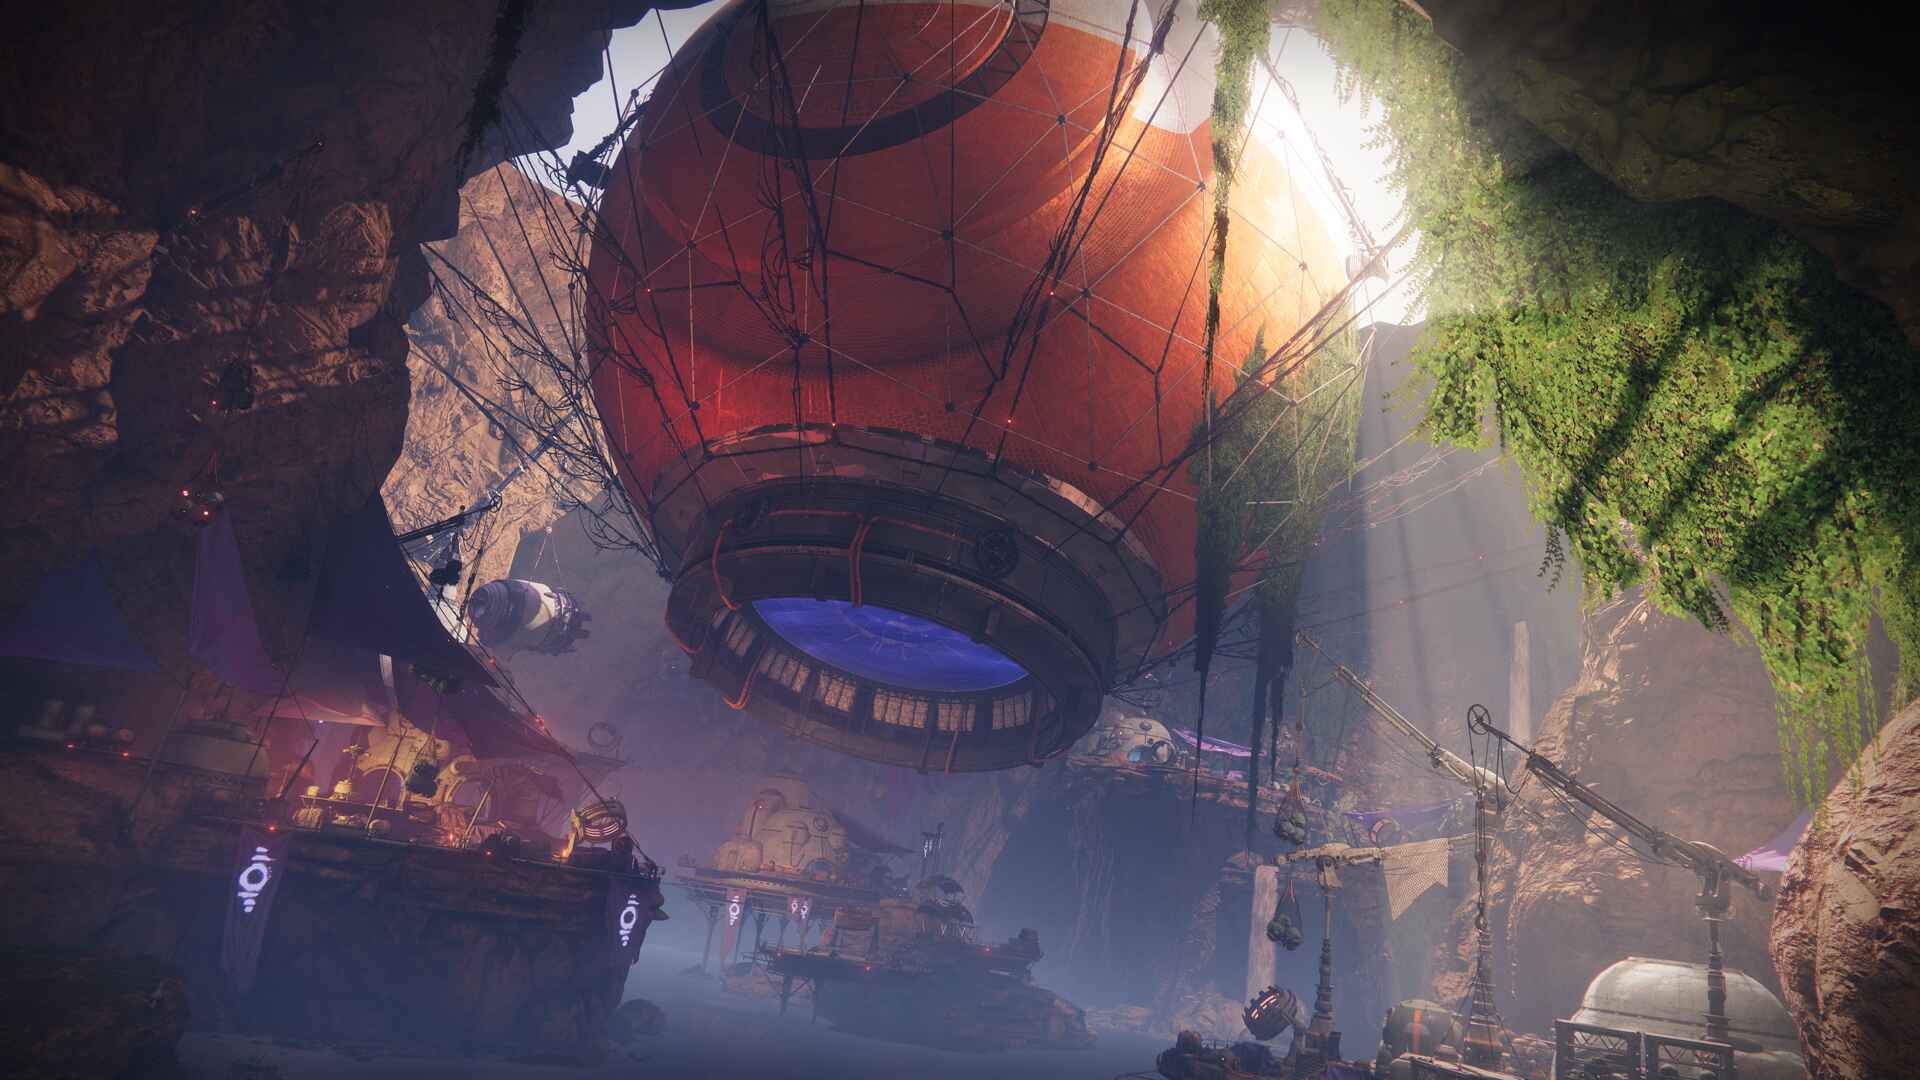
The location of the encounter in the Skywatch was formerly the treasure cave from the Destiny 1. Players are prompted to "Tempt the Icon of Excess" in this part. Burdened by Riches, a new mechanism, will be employed throughout the whole dungeon.
Objectives:
- Defeat enemies and gather the engrams they drop to obtain the Burdened by Riches debuff.
- Enter the cave and stand in front of the crystal to "deposit" the debuff.
- Continue until the crystal is satisfied and the words "The remnants have quieted" appears.
As enemies spawn, keep your distance and defeat them. They will scatter engrams that, when gathered, will provide the debuff "Burdened by Riches". These may be carried in large numbers at once. Your Super will return after you reach 10 stacks. There is also a 30-second timer, which when it expires, will result in your death. Gather as many as you can before entering the cave and standing next to the crystal. As you "feed" the crystal, the stacks will progressively deplete.
Up until the end of the engagement, keep eliminating enemies, gathering Burdened by Riches, and placing it into the crystal. When the sentence "The remnants have quieted." appears and the respawning zone becomes restricted, the mission is complete.
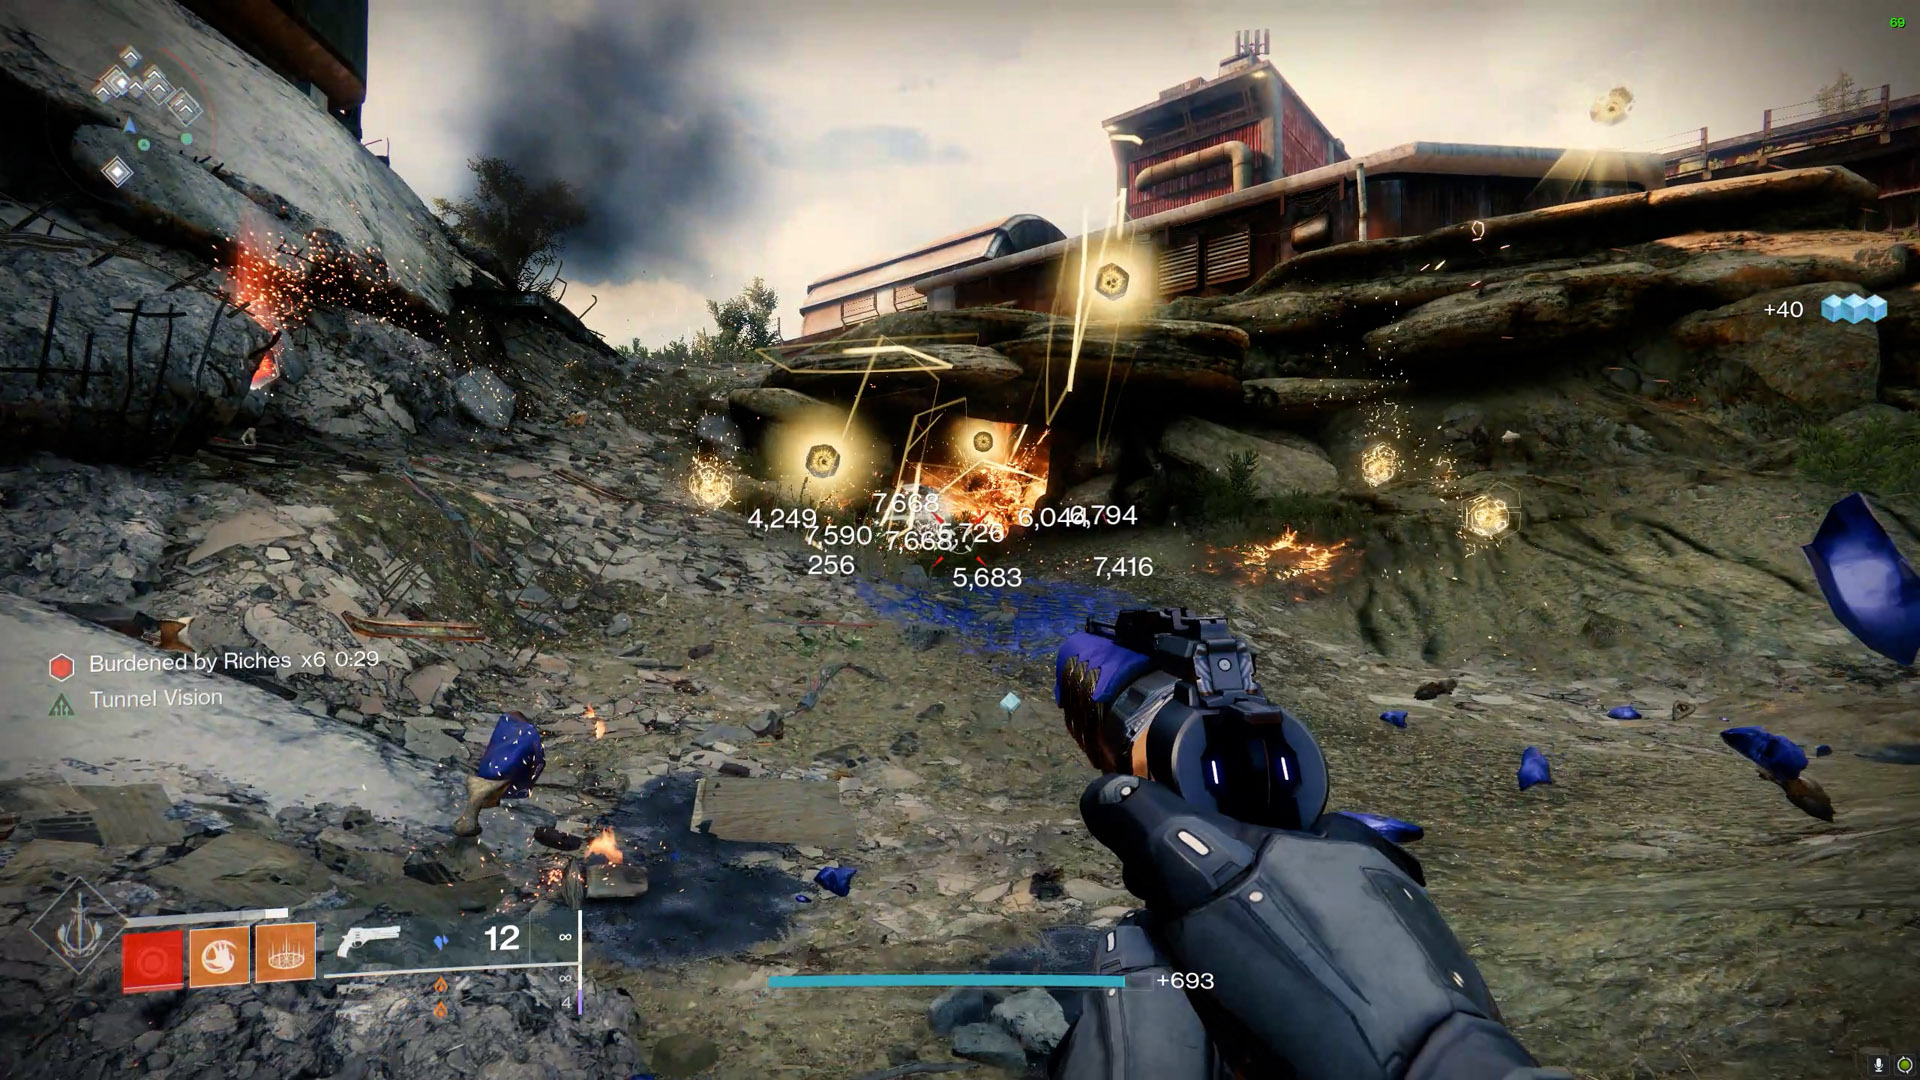 Kill enemies to obtain the Burden by Riches debuff.
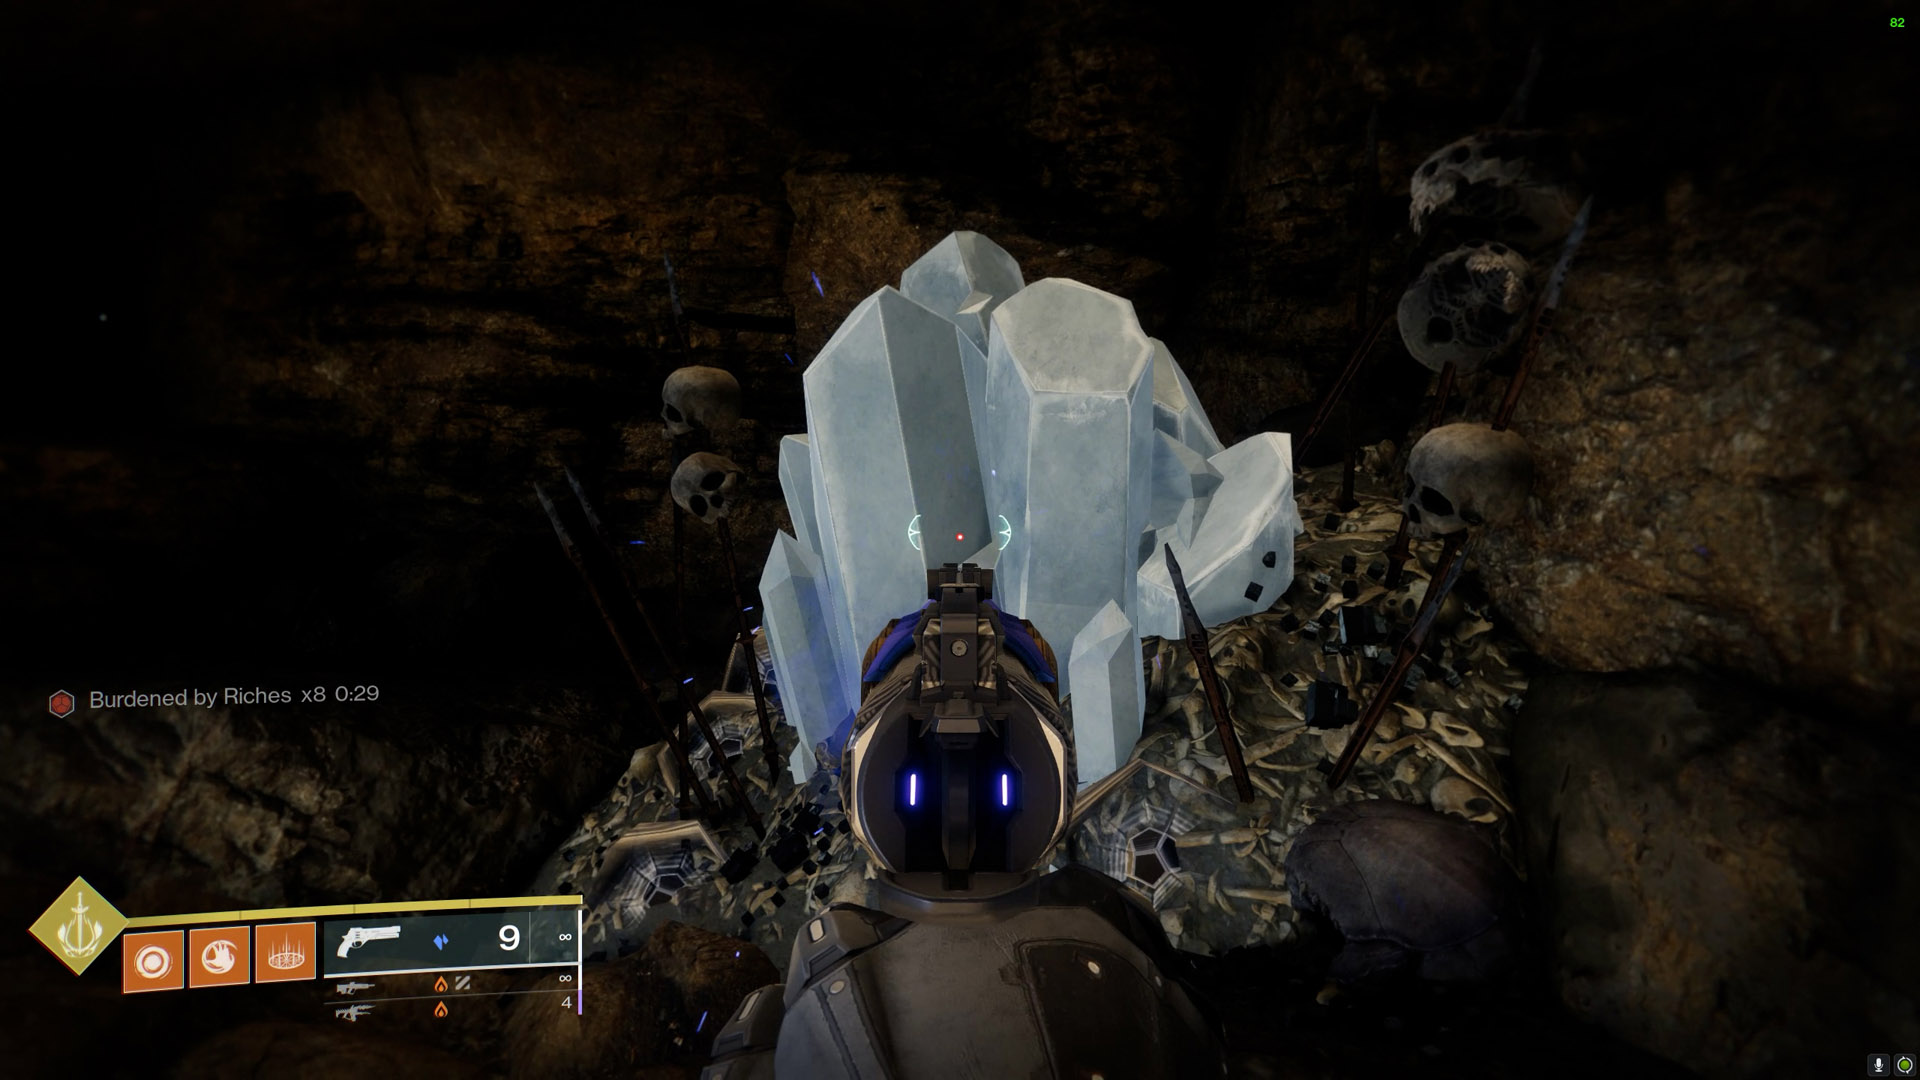 Deposit the debuff into the crystal in the loot cave.
Navigate your way through the crystal caverns till you reach the next encounter.
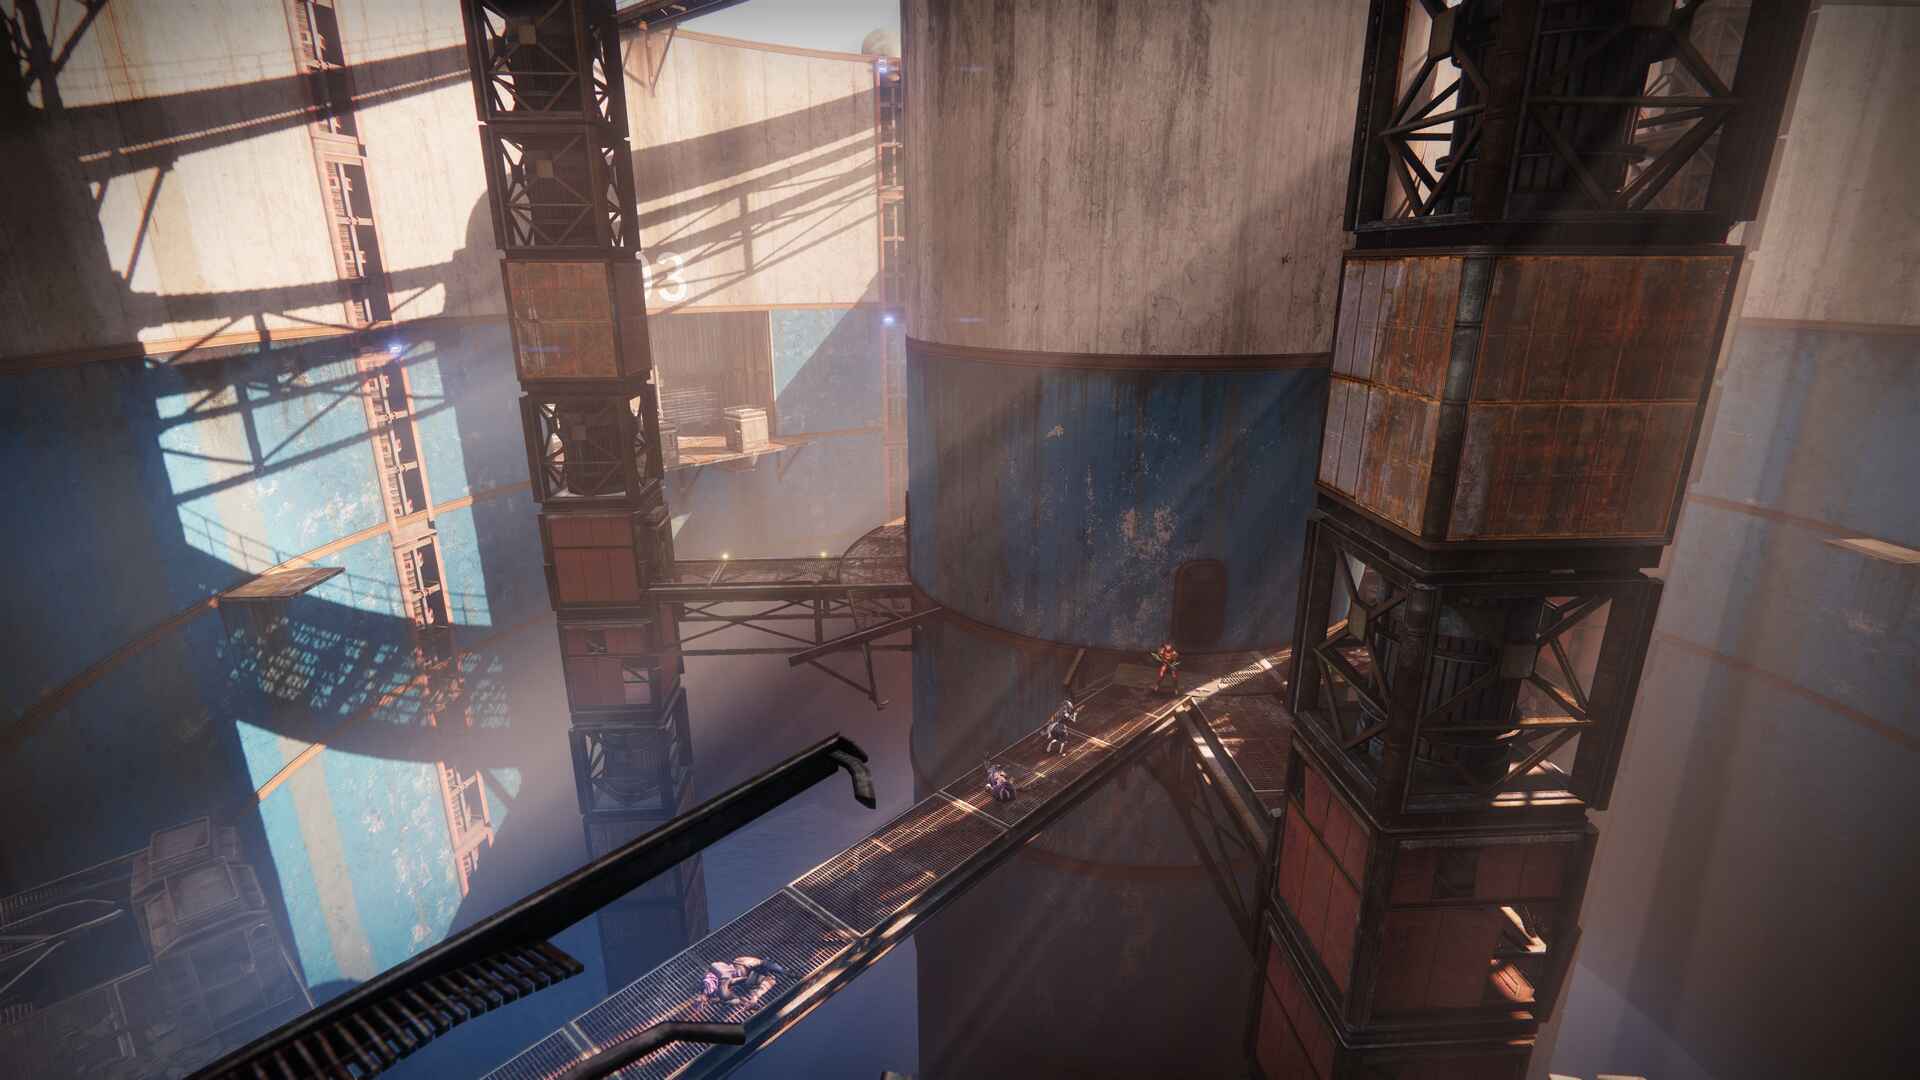
Rusted Gangplank
First, glance to the right to see two doors. The door to open is the one on the left. Enter the entrance, leap over the floor-mounted pressure plate (it's a trap), and throw the lever close to the computer. Return outside and proceed through the tunnel that is now open.
A bottomless pit will be in front of you, with a platform in the center and a switch on the other side. The right route leads into a side chamber on the right, below the platform. Two panels that make up the platform swing open to let you fall into the pit. Jump to the platform's left side to get to the route. In order to discover another lever at a computer terminal, jump again when you land down and try to veer beneath the right side. When you return to the initial section with the two doors, pull the lever, and you'll see six holes in the wall.
Jump up to the six holes, then enter the one on the right side of the back. To open the grate above your head, stand on the pressure plate. Through the gap, jump up, and go forward.
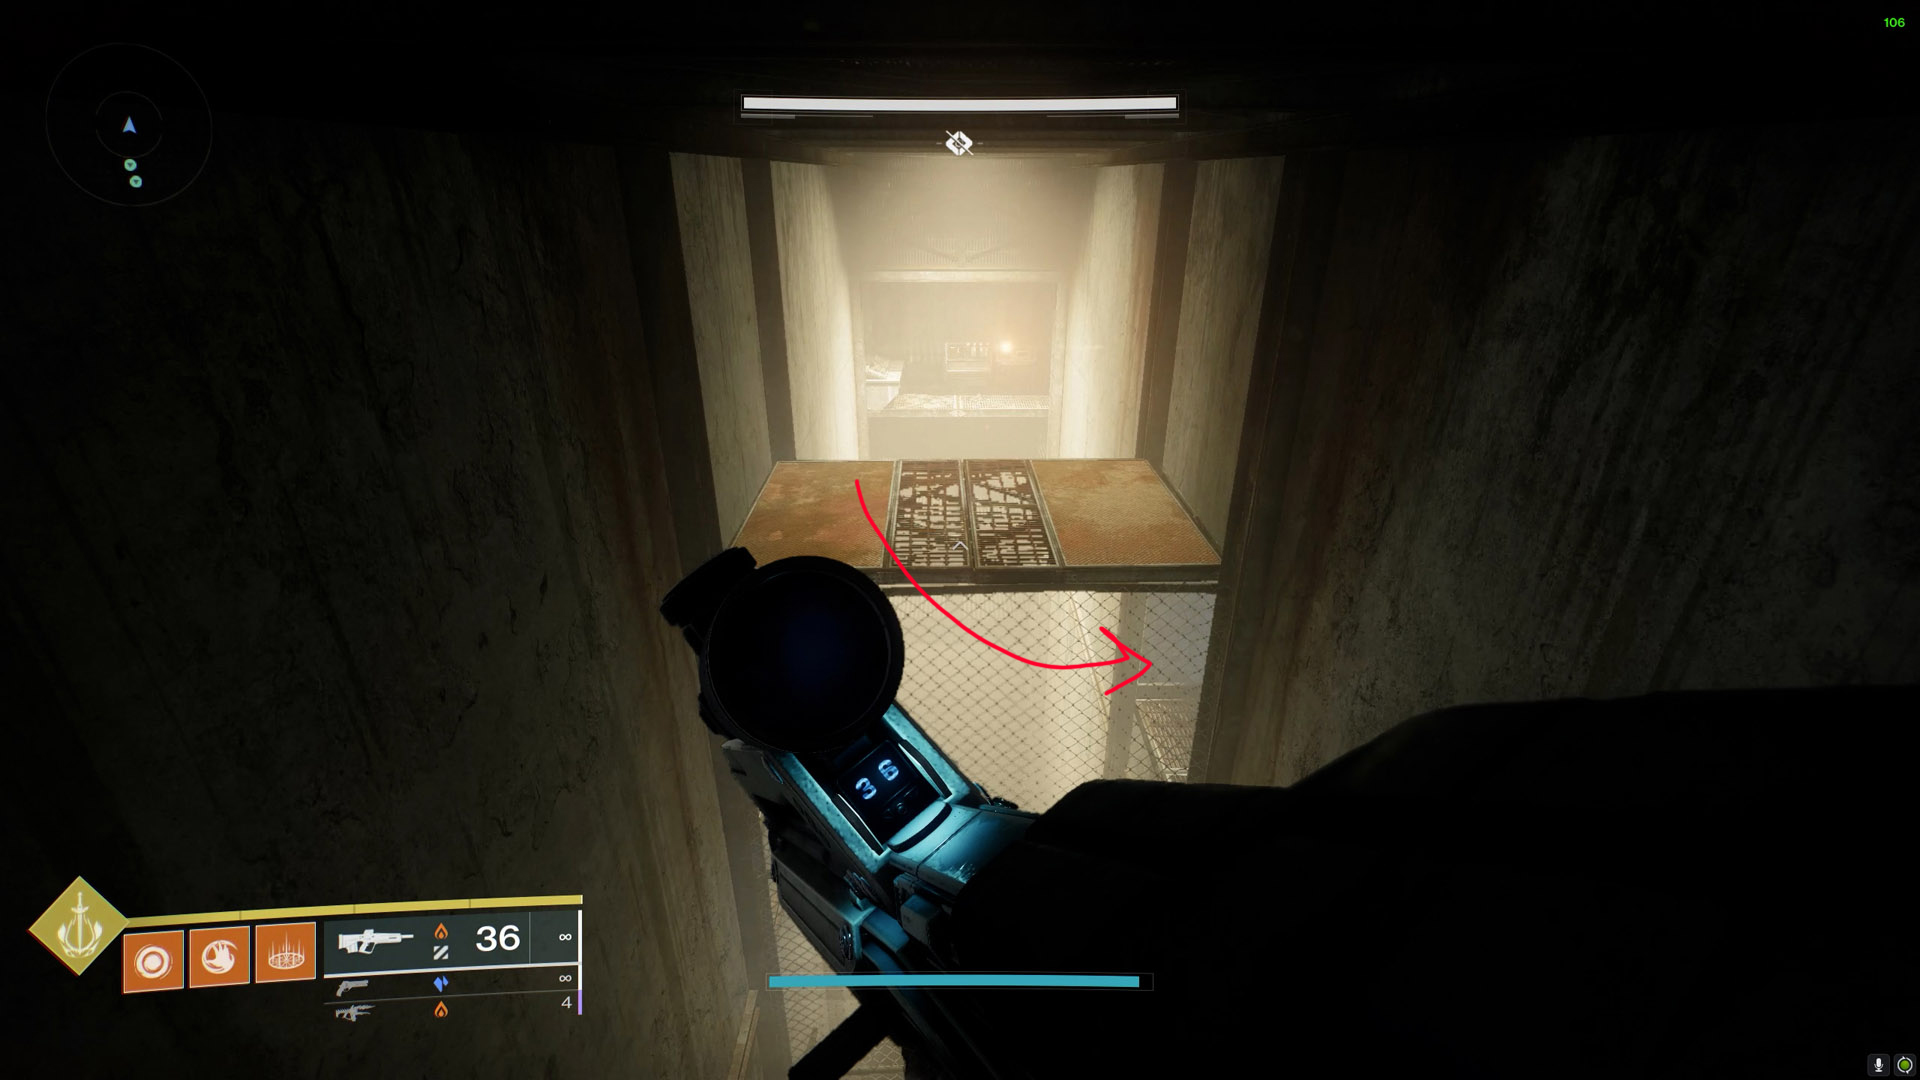
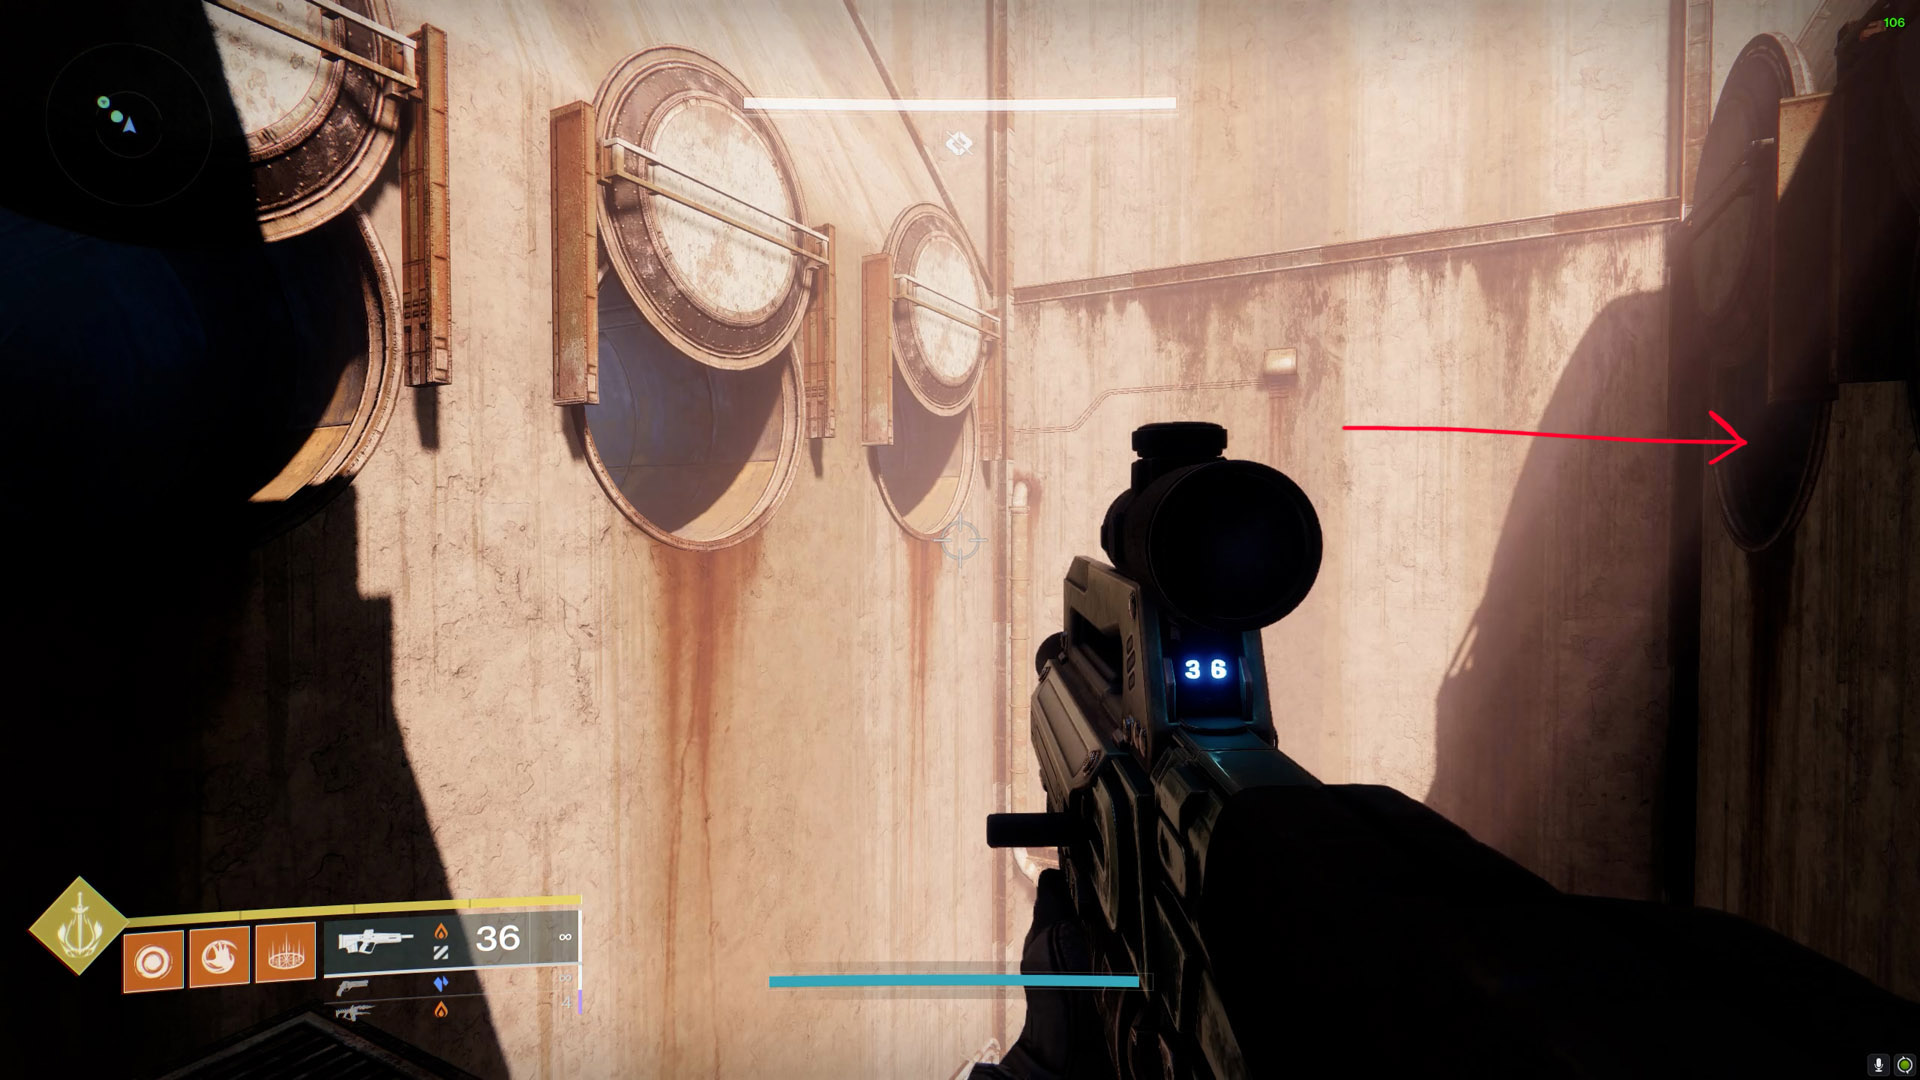
Jump up the pipes and platforms in this new passageway to the top. Once you pass through the door, you will see a second lever next to a computer terminal with a display mounted on the wall. Open the door by pulling the lever to uncover a catwalk and a chasm filled with water.
In this new section, you'll be using levers to operate certain doors. The goal is to leap from door to door across the abyss until you come across a lever that unlocks the big door at one end. If you have the agility and parkour skills, you may leap over to the door with the switch early; for everyone else, go the path shown on the image. The door with the switch is in the back-left corner, behind the metal fence. A switch to open the next door will be located in each room.
Enter the area and flip the switch once you've made it to the opposite side of the chasm. To access a different area with a big window and another lever on a terminal, climb up onto the roof. The main gate may be opened by pulling this lever. Return to the previous chamber, pull the lever to free yourself, then make your way back to the catwalk that you started on.
A further switch may be found by leaping up and into the large room at the end. Open the large door at the opposite end using the switch. Make your way there and fend off any enemies you encounter. Enter the building and enter the enormous, circular chamber using the switch on the right-hand door.
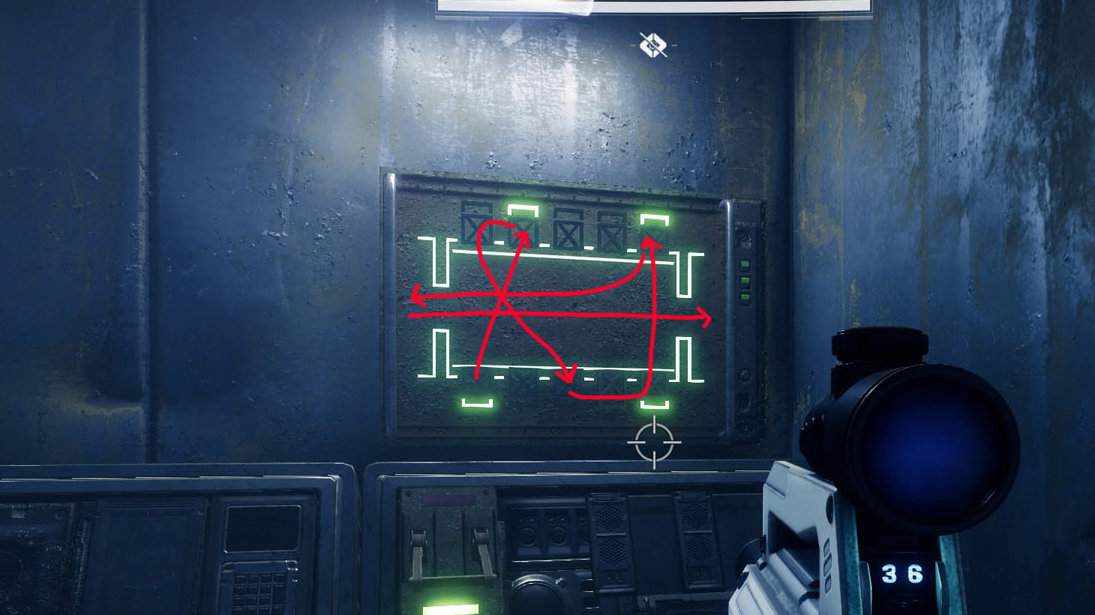
The Scorch Cannon mechanic is described in the circular chamber. The goal is to go about the area, pull the levers, and finally turn on the generator using the Scorch Cannon. To turn on the generator, fire a round into it. Follow this sequence beginning at the starting point: Doors 03, 04, 01, and 02.
Go over to Door 02 while it's open and take out the Vandal known as Scorch Vandal, Gunner of Avarokk. Go to Door 04 after grabbing the Scorch Cannon. The door will open if you fire a round into the generator and let it go off. Use the side holes to avoid the barrel that will collapse as you ascend the stairs.
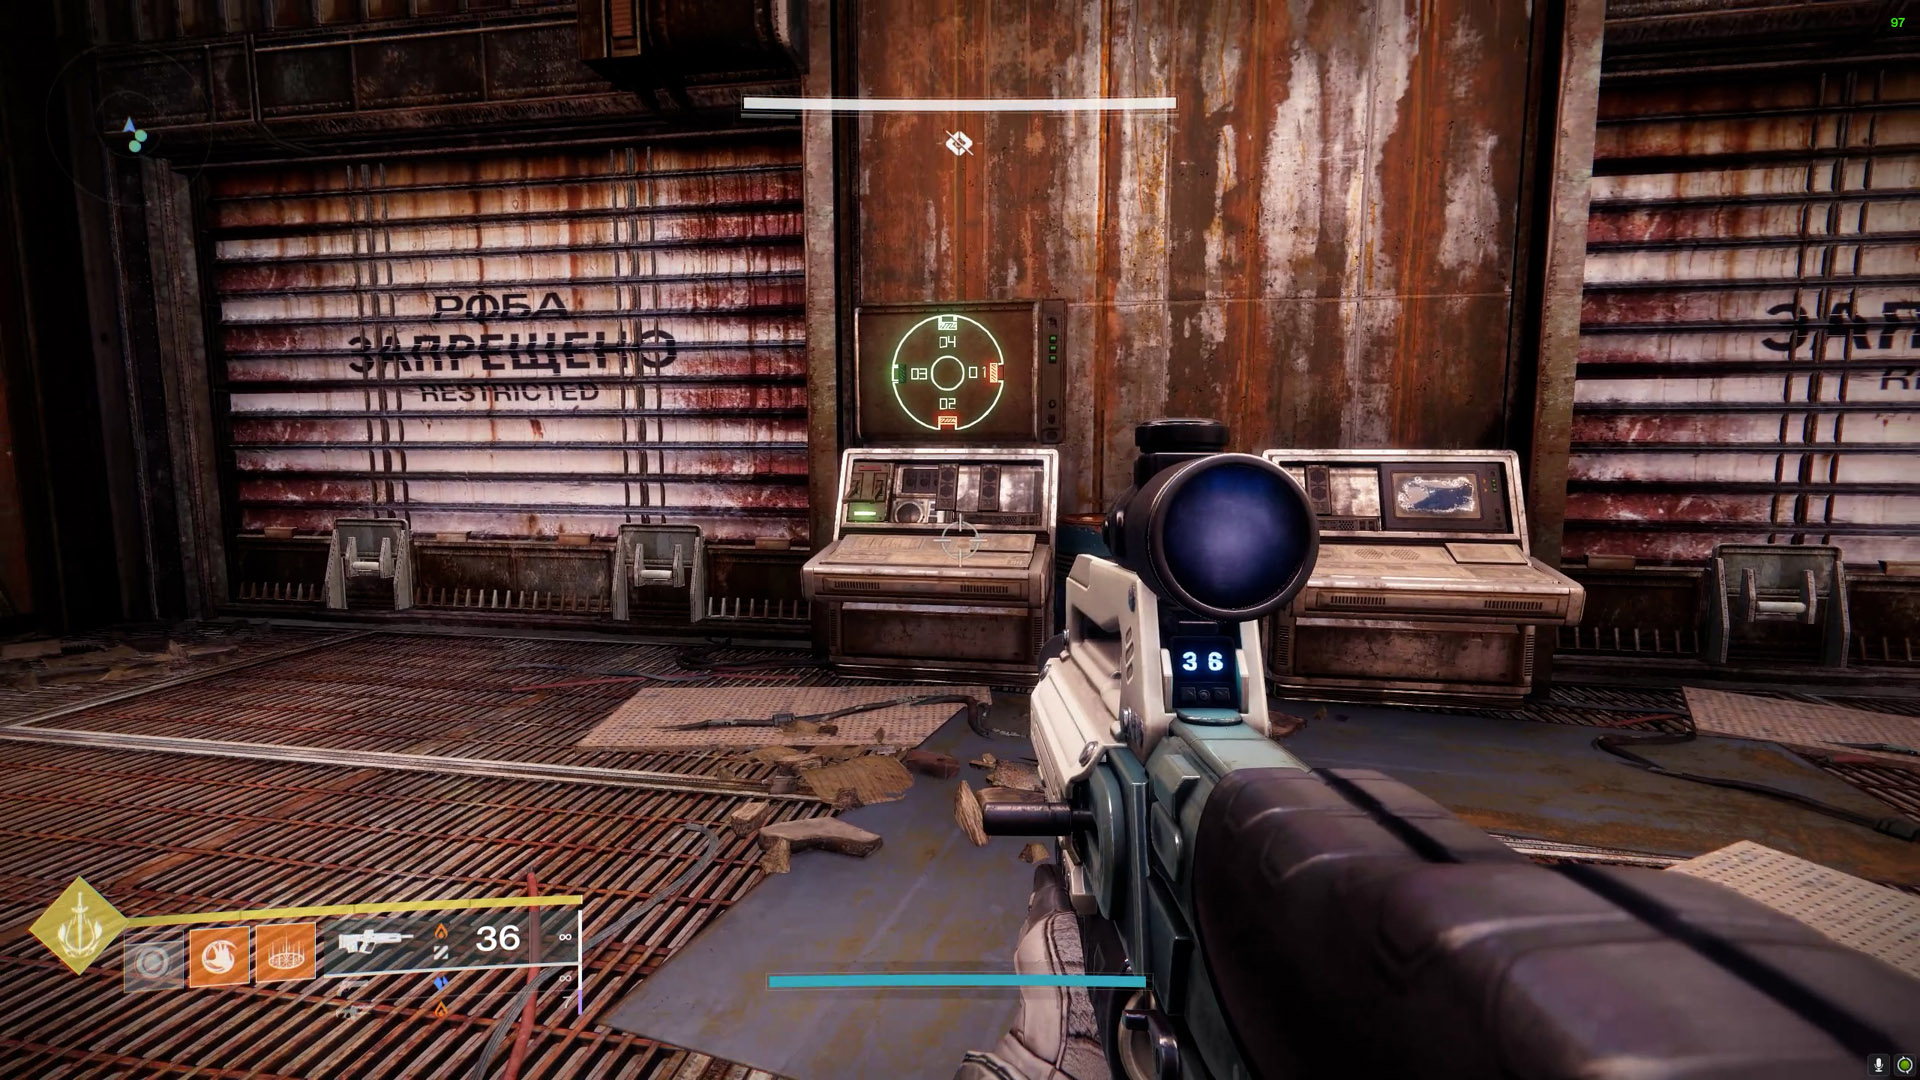
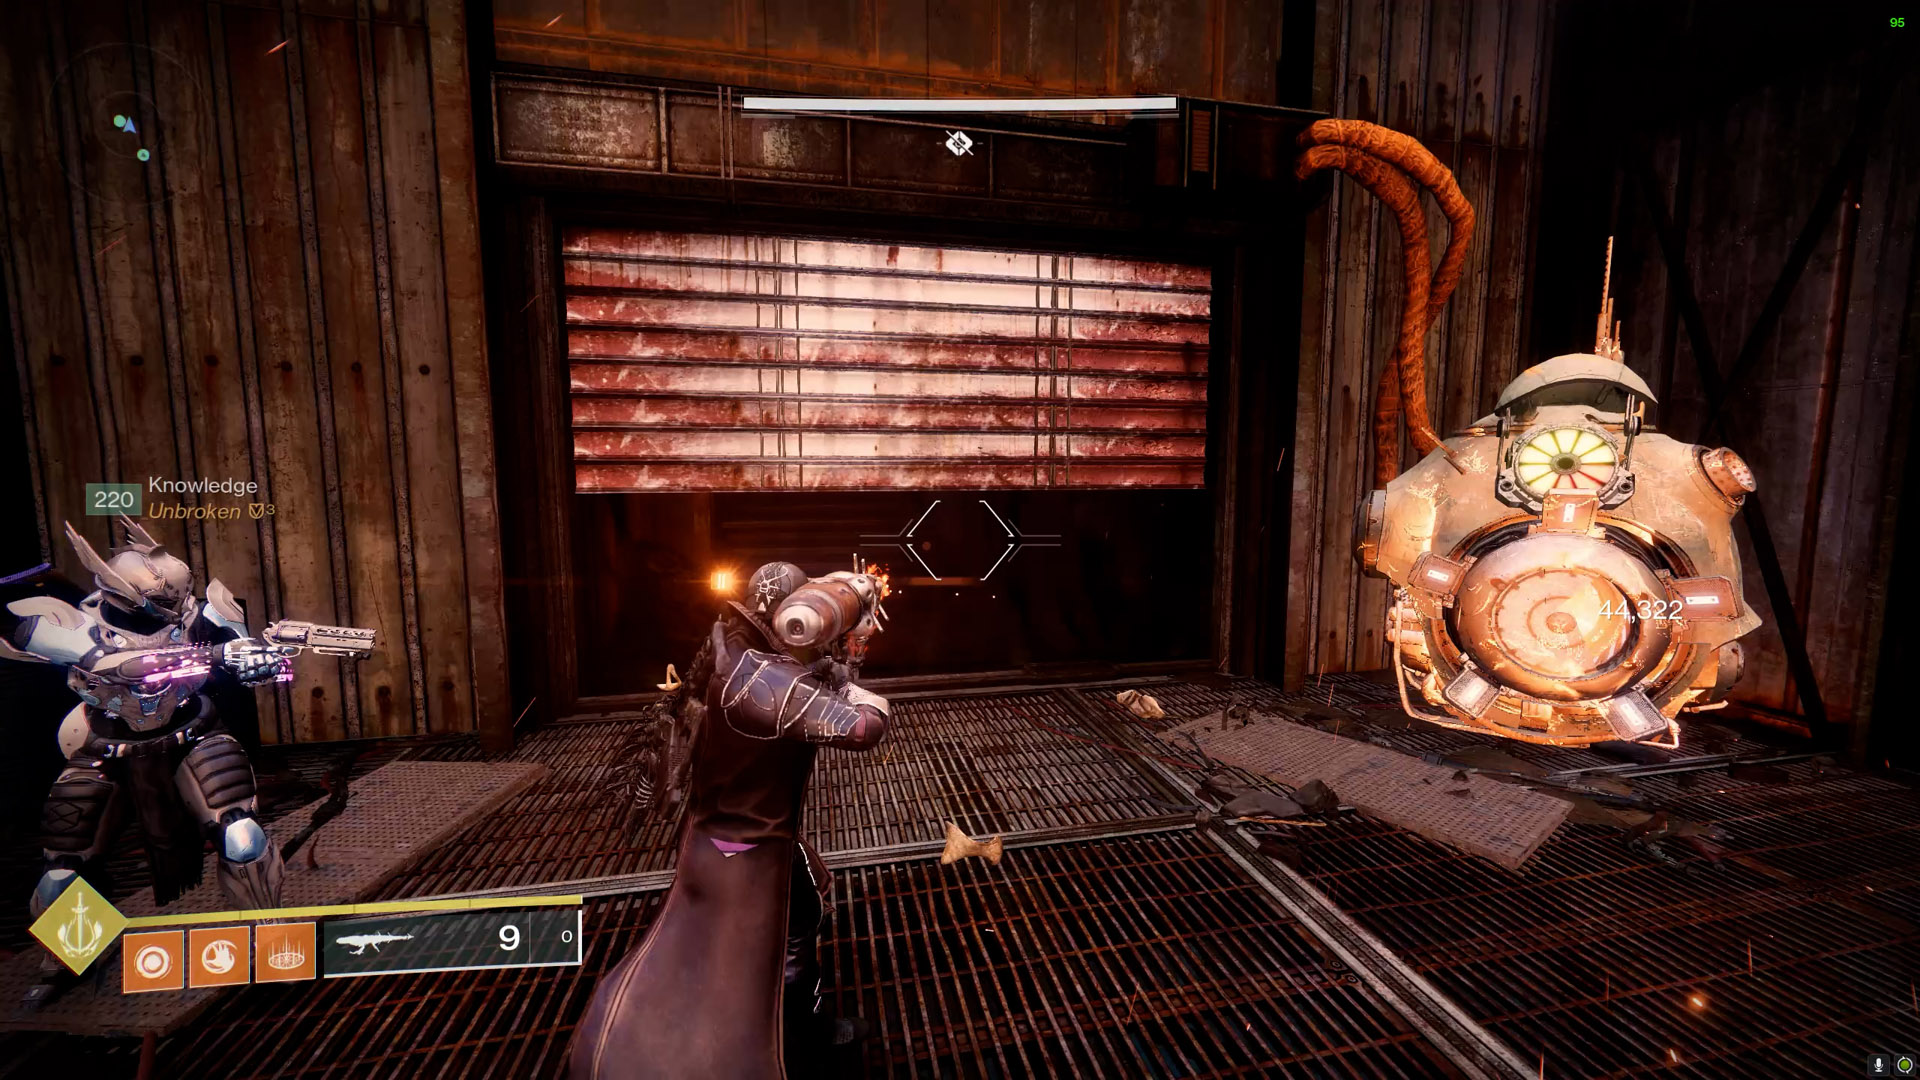
The next spacious room is down the corridor. Get to a hole at the top of the wall by climbing up a set of containers that are stacked on top of one another. Jump over the gap and continue into the flooded chamber. The game's first boss, will be just ahead of you.
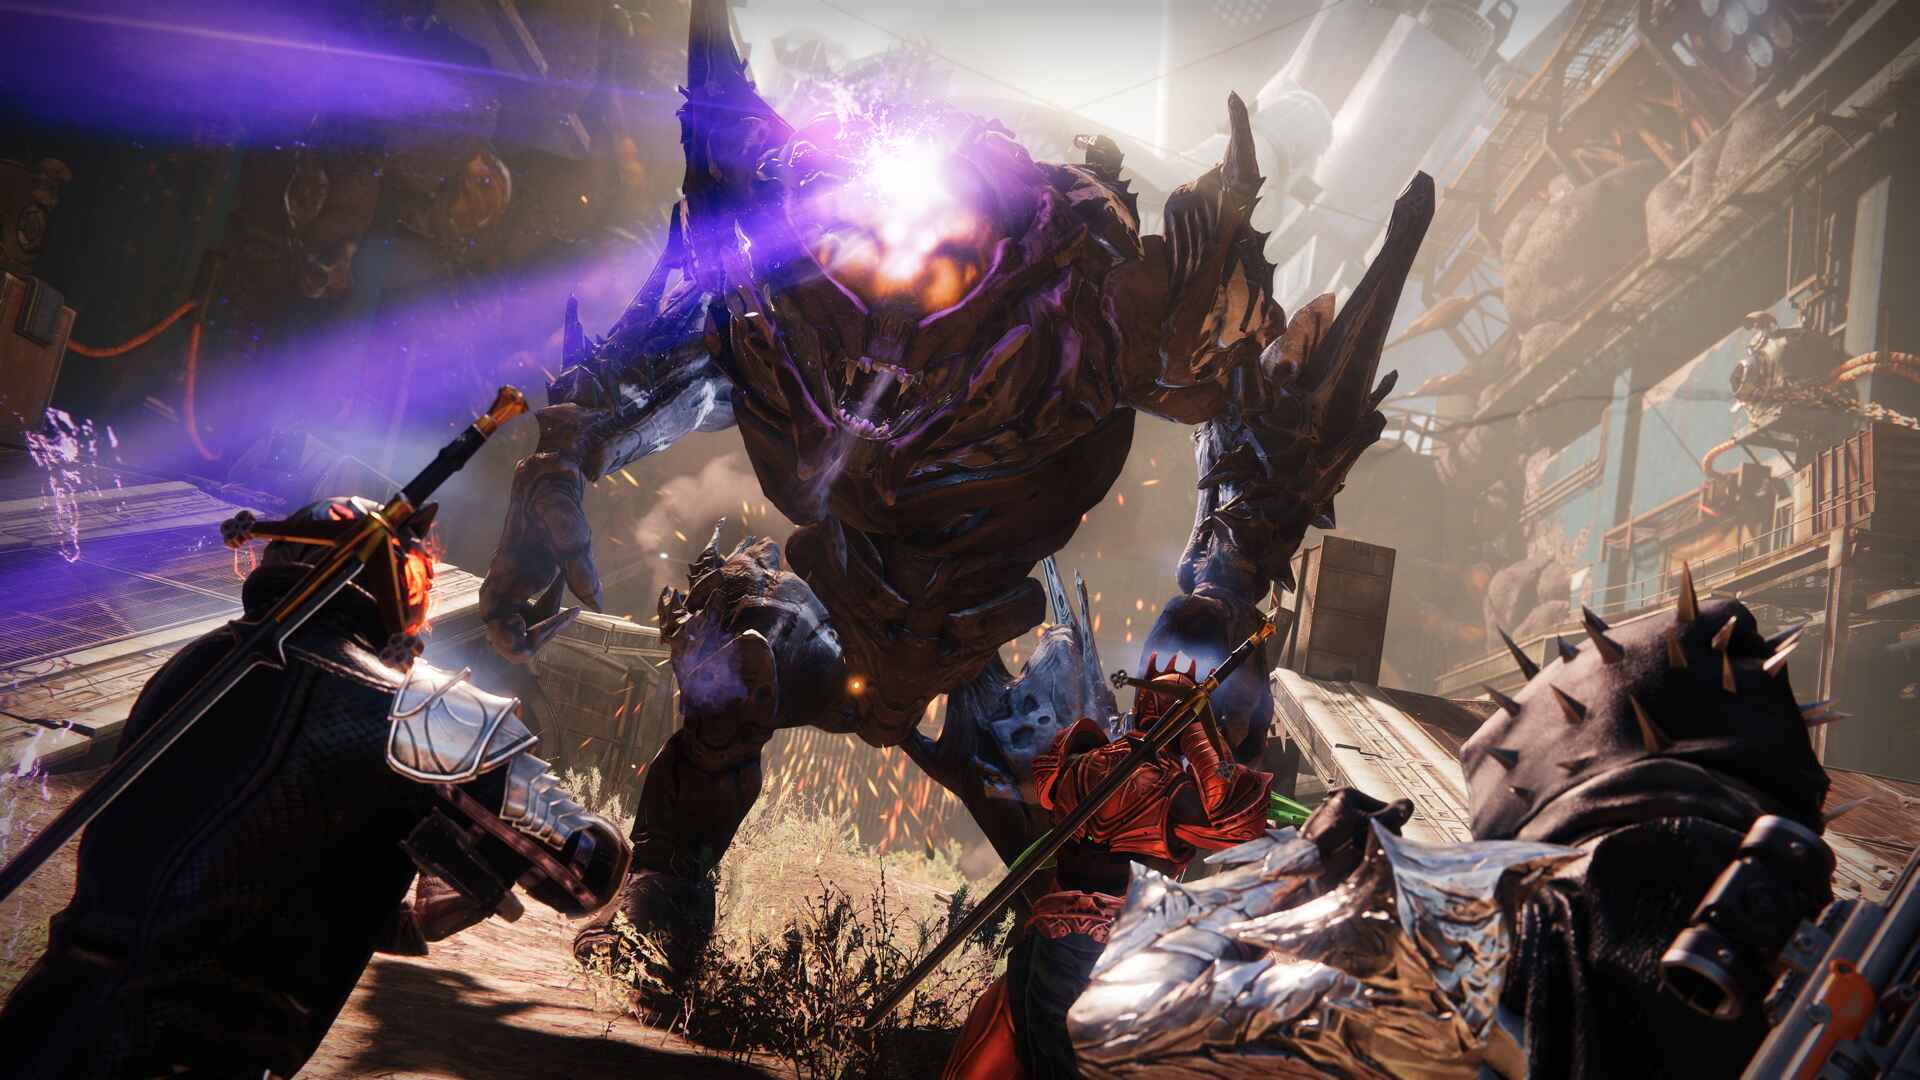
Phry'zhia the Insatiable
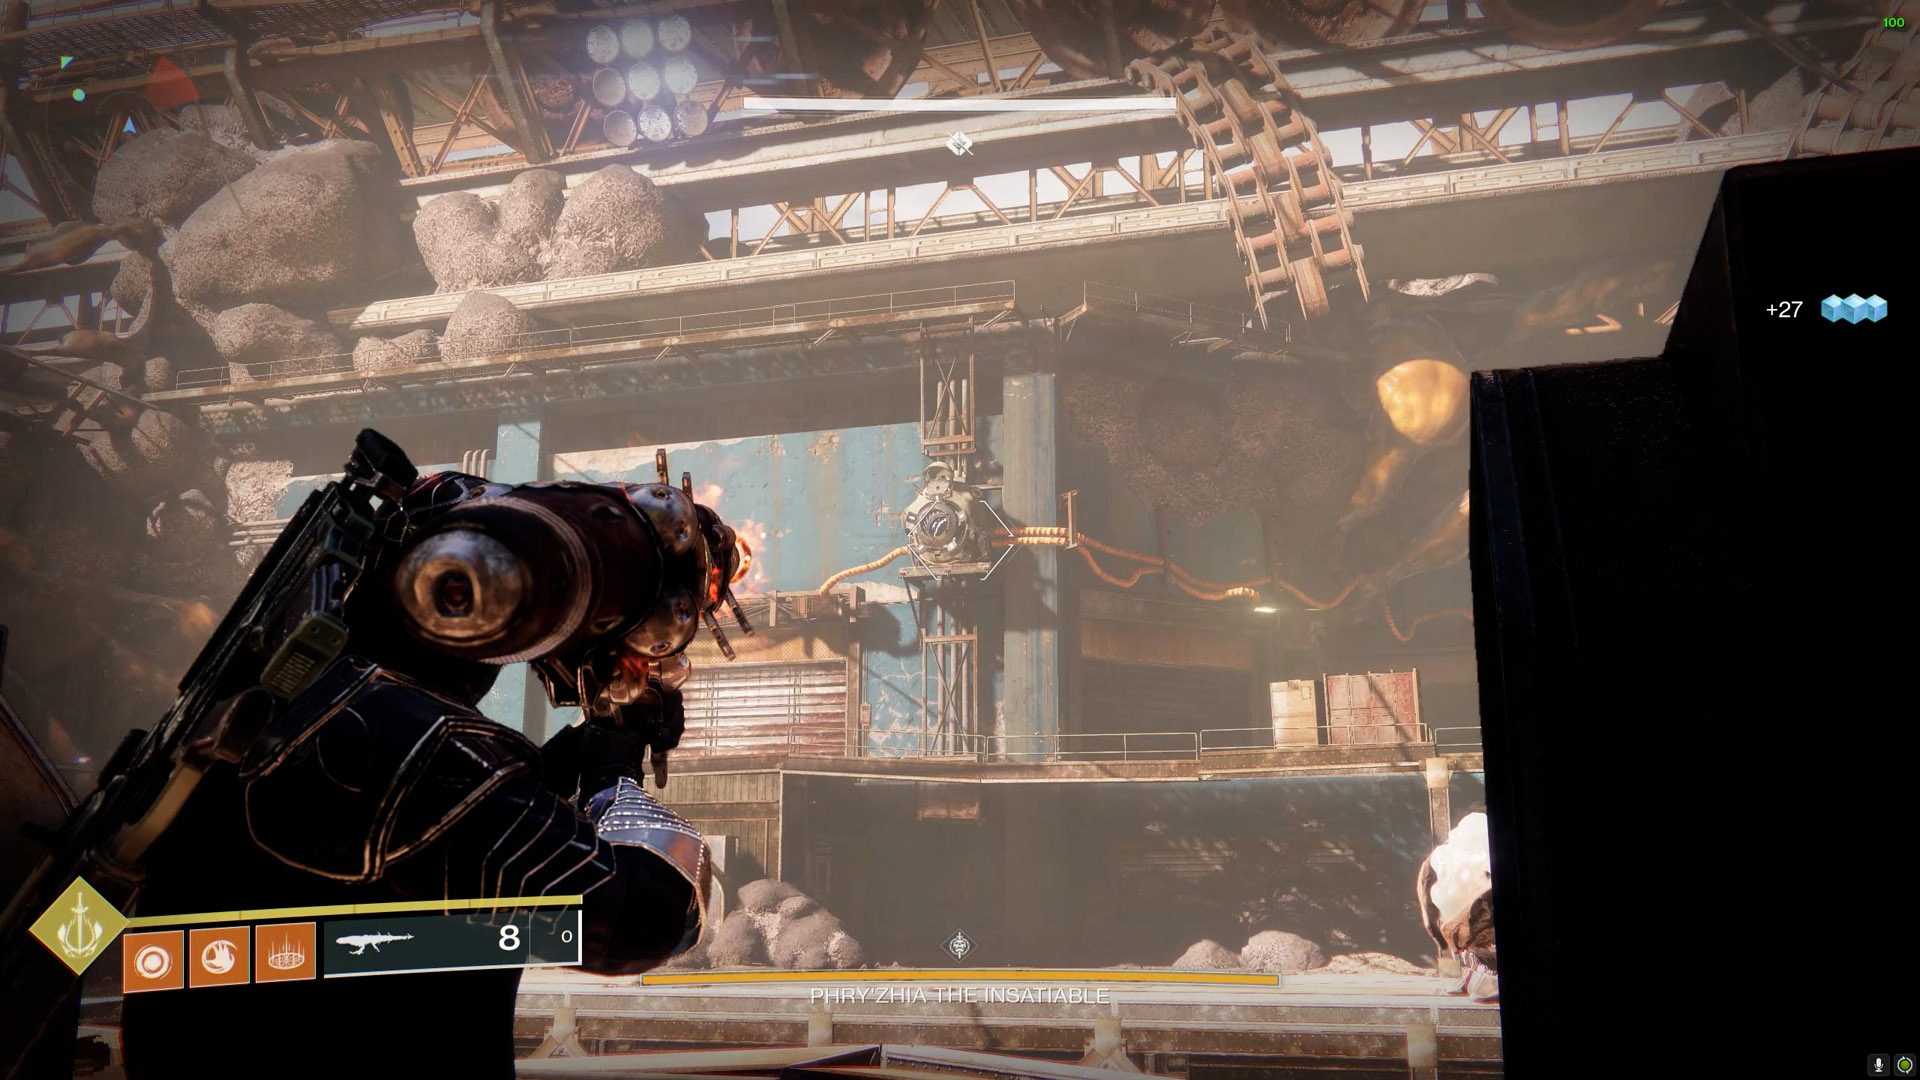
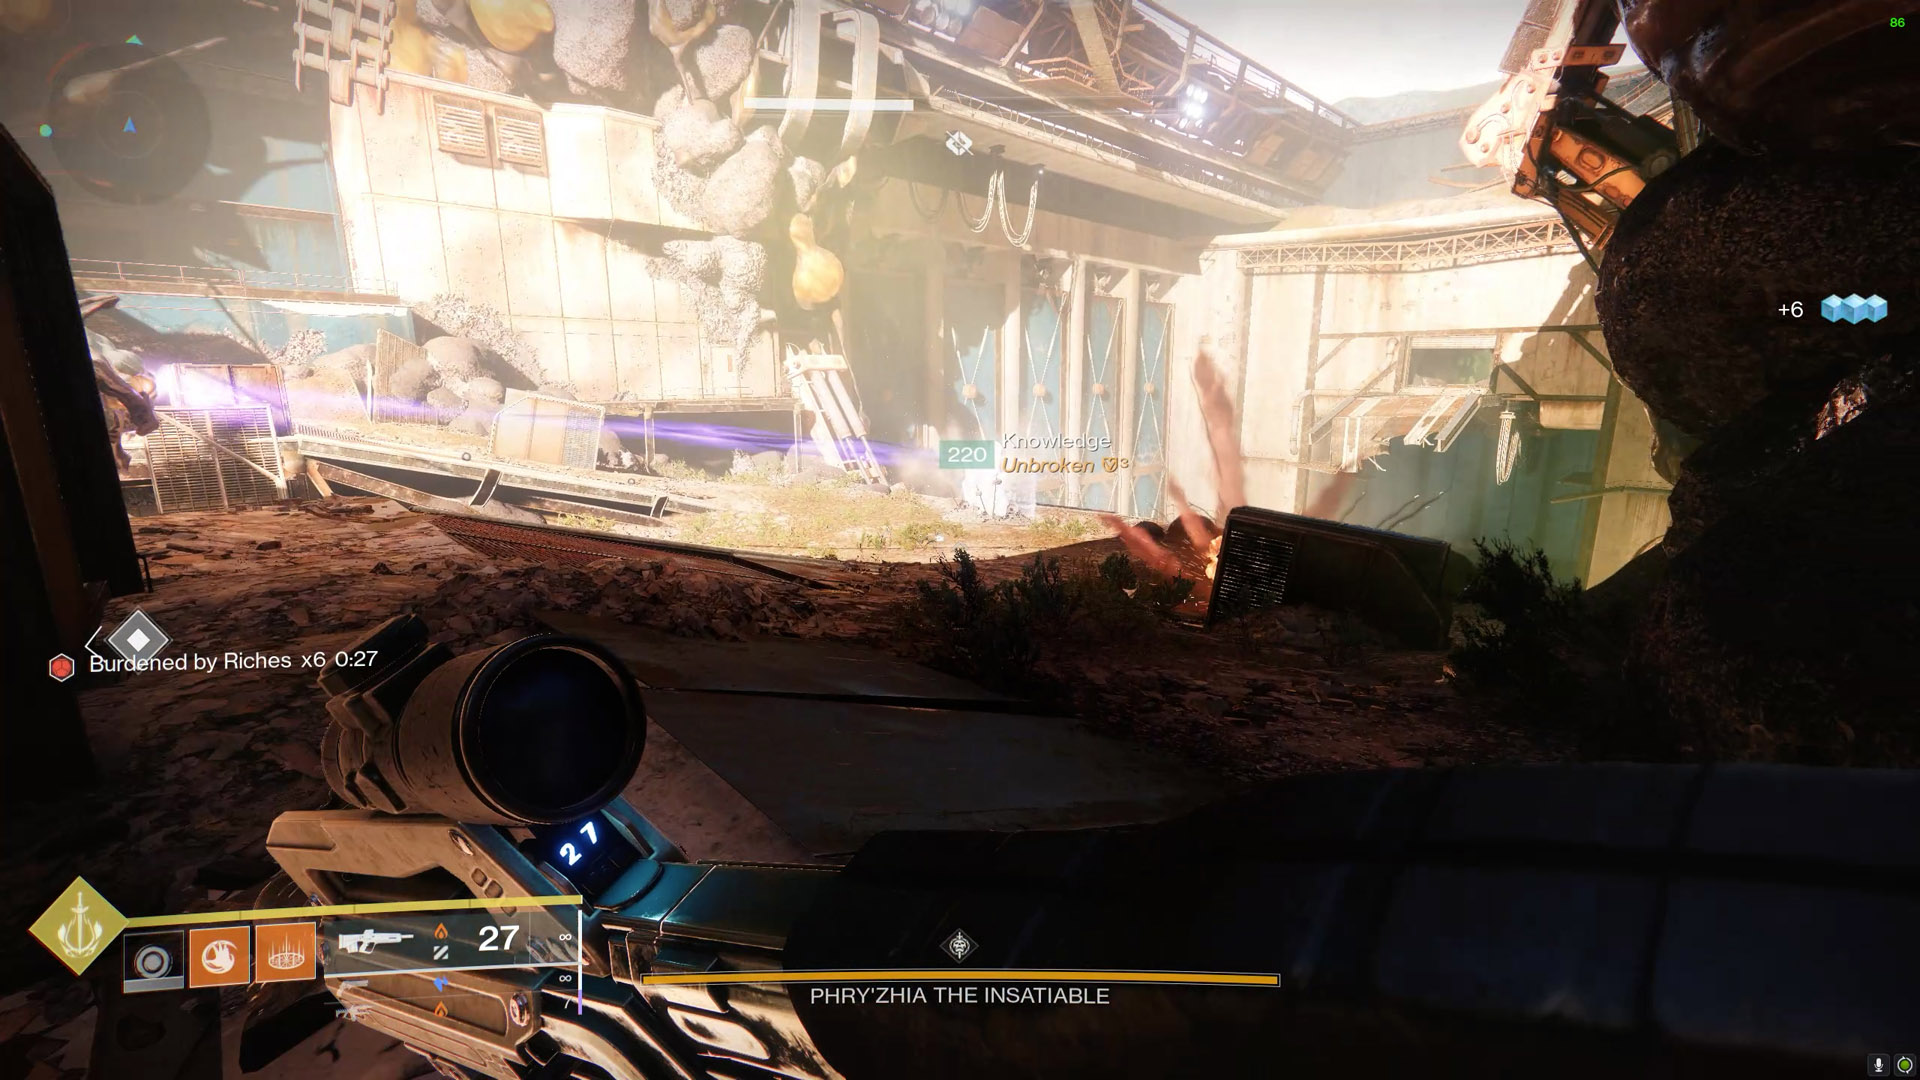
The two previously mentioned mechanics, Burdened by Riches and the Scorch Cannon, are used in the battle with Phry'zhia the Insatiable. Depositing Burdened by Riches is the objective until Phry'zhia's immunity barrier is broken.
Objectives:
- Get Scorch Cannons by defeating Vandals.
- Spawn enemies in the rooms by using the scorch cannon.
- Defeat enemies to get Burdened by Riches.
- To remove Phry'zhia's shield, dunk your Burdened by Riches at the crystal.
- DPS Phry'zhia
- Repeat until completion.
Jump across the chasm to the main area to start the battle. Two doors that are powered by generators will be located on either side of the arena. Defeat the Vandal that spawns in the back and activate the generators with its Scorch Cannon. One side will close when you open the other. By firing into the generator with the Scorch Cannon, you can unlock a door and then take out the enemies within. Gather stacks of Burdened by Riches and bring it to the crystal. Similar like previously, being close to the crystal will remove the debuff and stop the countdown.
The next spacious room is down the corridor. Get to a hole at the top of the wall by climbing up a set of containers that are stacked on top of one another. Jump over the gap and continue into the flooded chamber. The game's first boss, will be just ahead of you.
In order to remove Phry'zhia's shields, keep unlocking the doors, gathering stacks of Burdened by Riches, and placing it at the crystal. When Phry'zhia the Insatiable's shield is gone and the health bar loses its white outline, the message "Phry'zhia the Insatiable has succumbed to temptation" will show up on the screen. Deal damage to Phry'zhia at this moment.
Congratulations if you can one-phase Phry'zhia; if not, simply go through the process again. Your choice of weapon will change depending on whichever season you tackle this dungeon. For the additional damage, Warlocks may want to think about utilizing Well of Radiance. It's also important to keep in mind that obtaining 10 Burdened by Riches will instantly renew your Super. Take advantage of this to make sure you always have one prepared during the damage phase.
Master Difficulty: Anti-Barrier Knights spawn in the garages.
Shroud
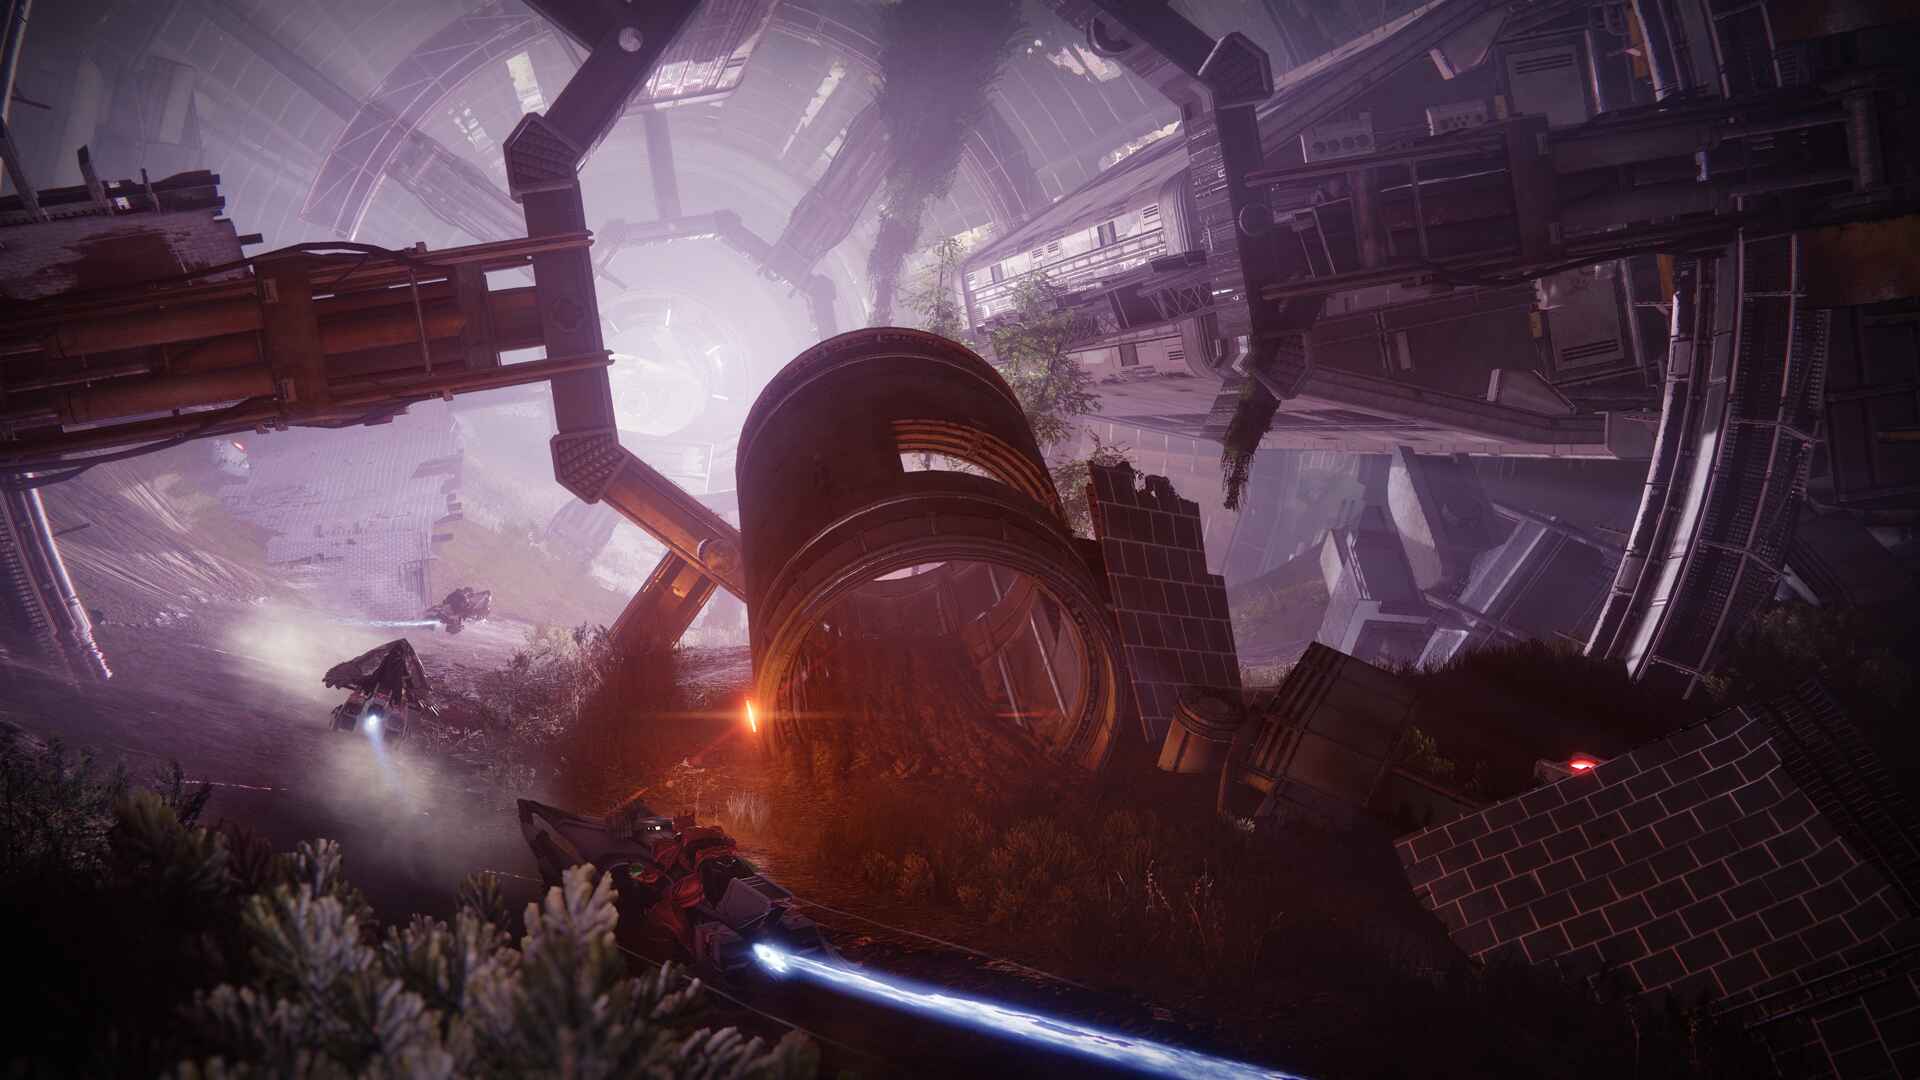
The Sparrow portion of this dungeon is called the Shroud. This Sparrow portion needs you to move quickly around the area, much to the Scourge of the Past raid. Although there are buttons you may pass by to lengthen the duration, there are mines along the way that must be deactivated.
Objectives:
- Race along the track on your Sparrow.
- Defuse mines A, B, C, and D.
- By driving over buttons along the way, you may extend the mine timer.
A quick-summon Sparrow will be very helpful in this part, as will the mod that shortens the cooldown for Sparrows if they are destroyed. By doing this, you'll have more room to maneuver if you were knocked off. This one doesn't actually require much planning. Locate the buttons and keep track of their locations. The fuse timer will be extended for each one you pass by (you don't need to stop; just go near enough); a notification will show up on the screen.
Button Locations
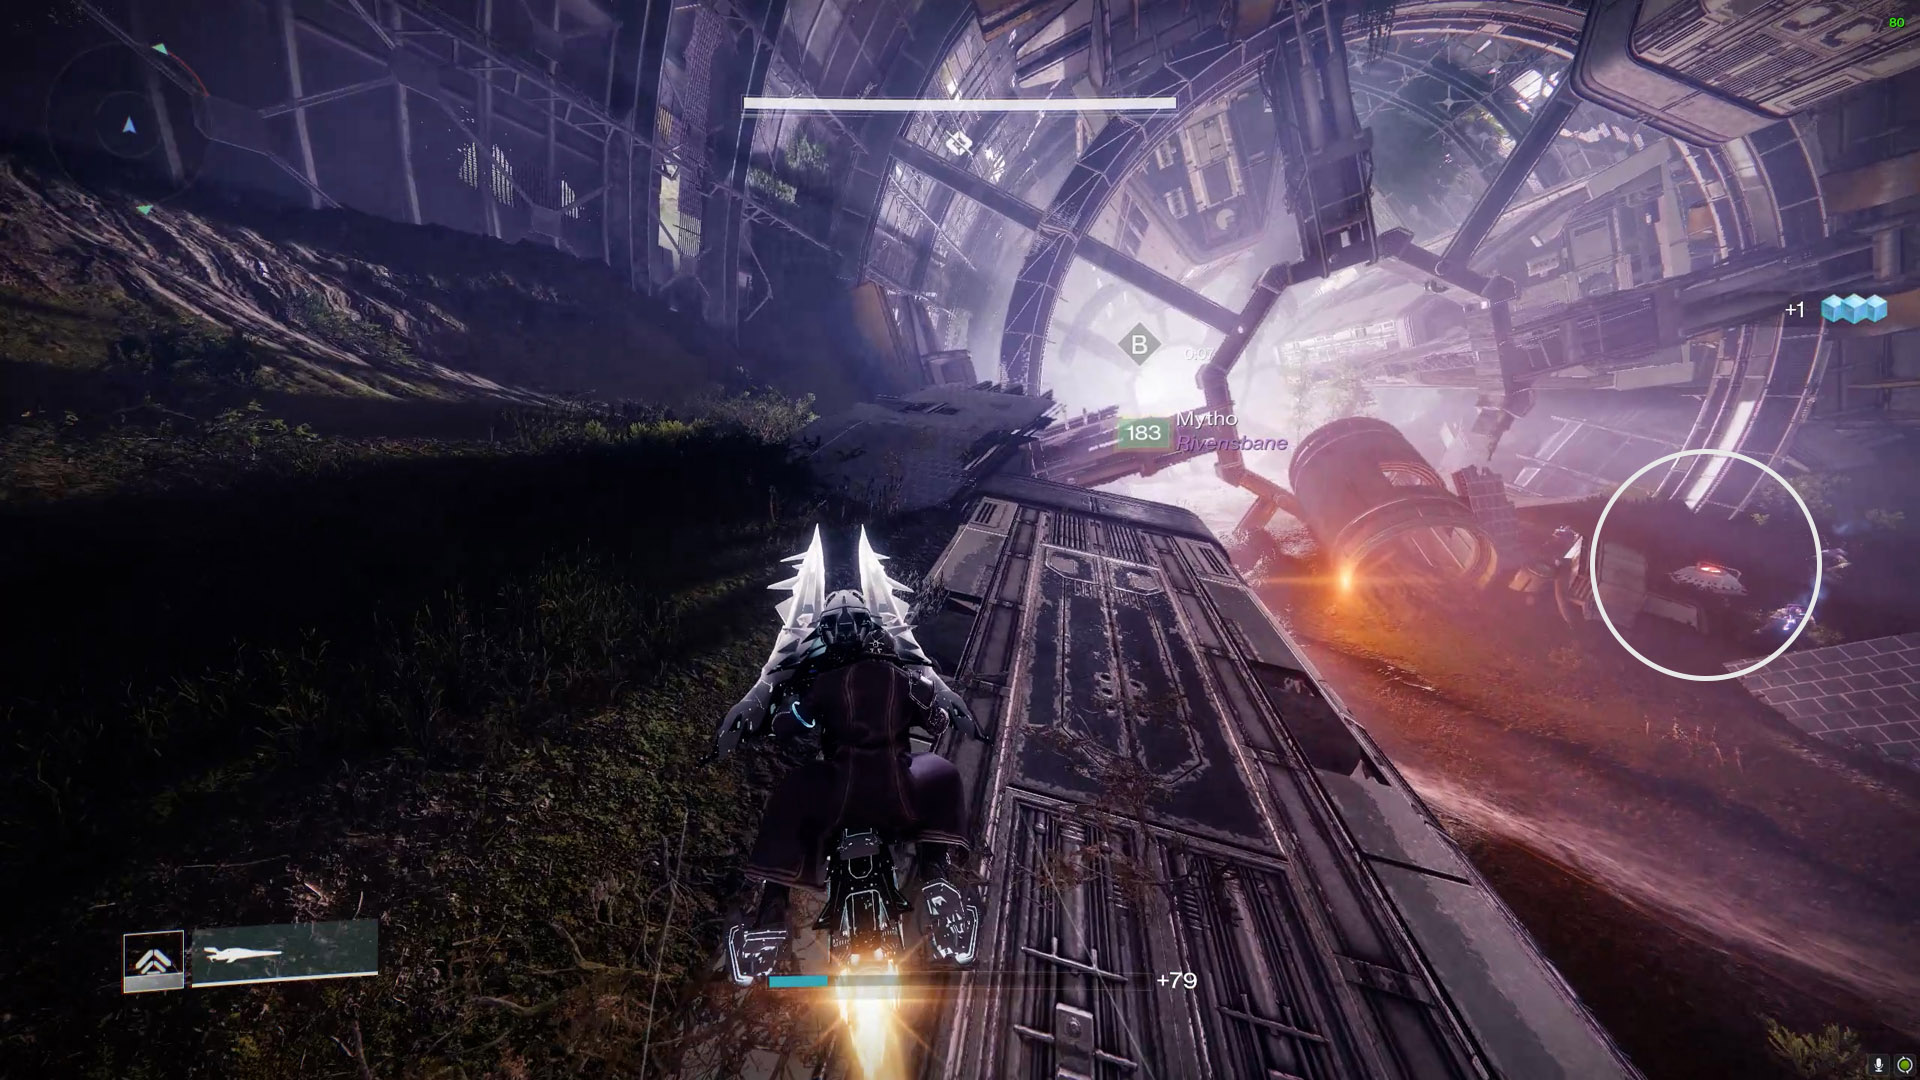
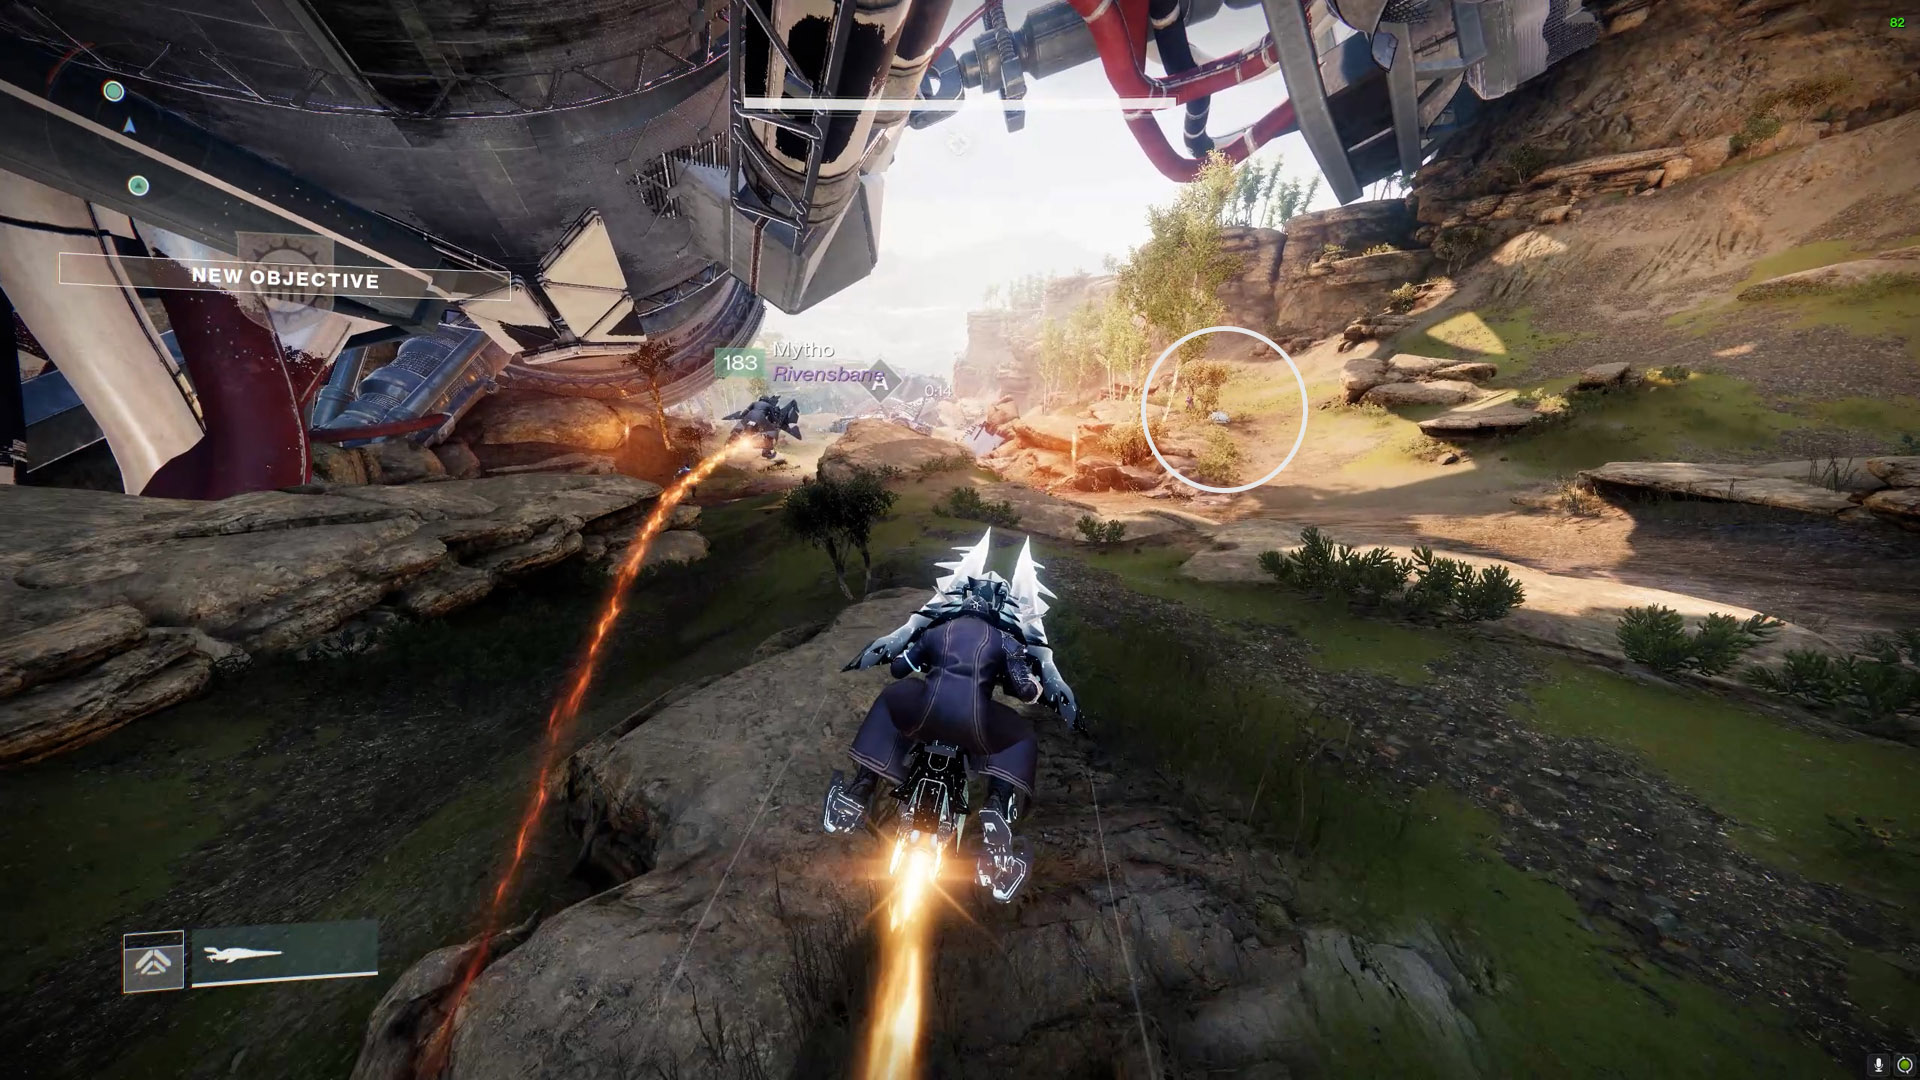 On the right side of the road, beneath the shipwreck, is an
button for Mine A.
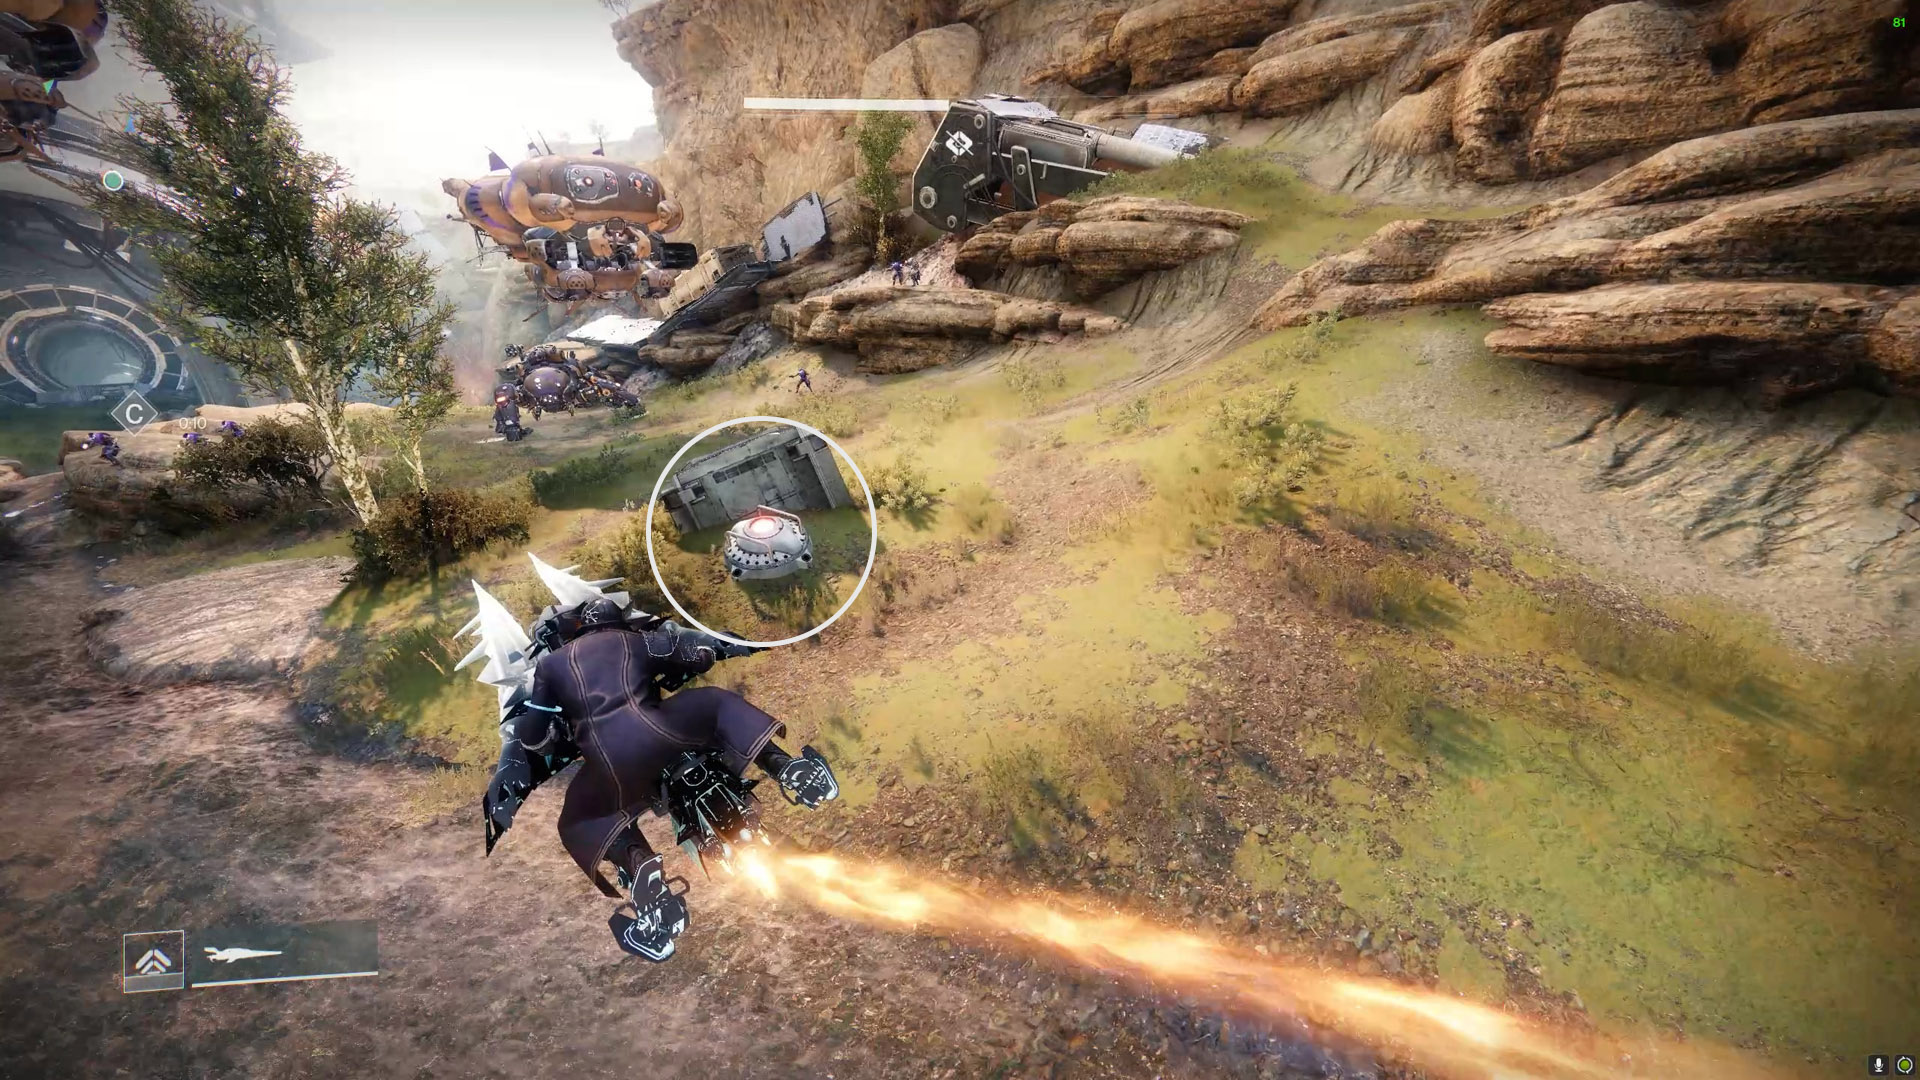
 Before the hexagonal central structure, on the right side of the
ship, lies Mine B's button.
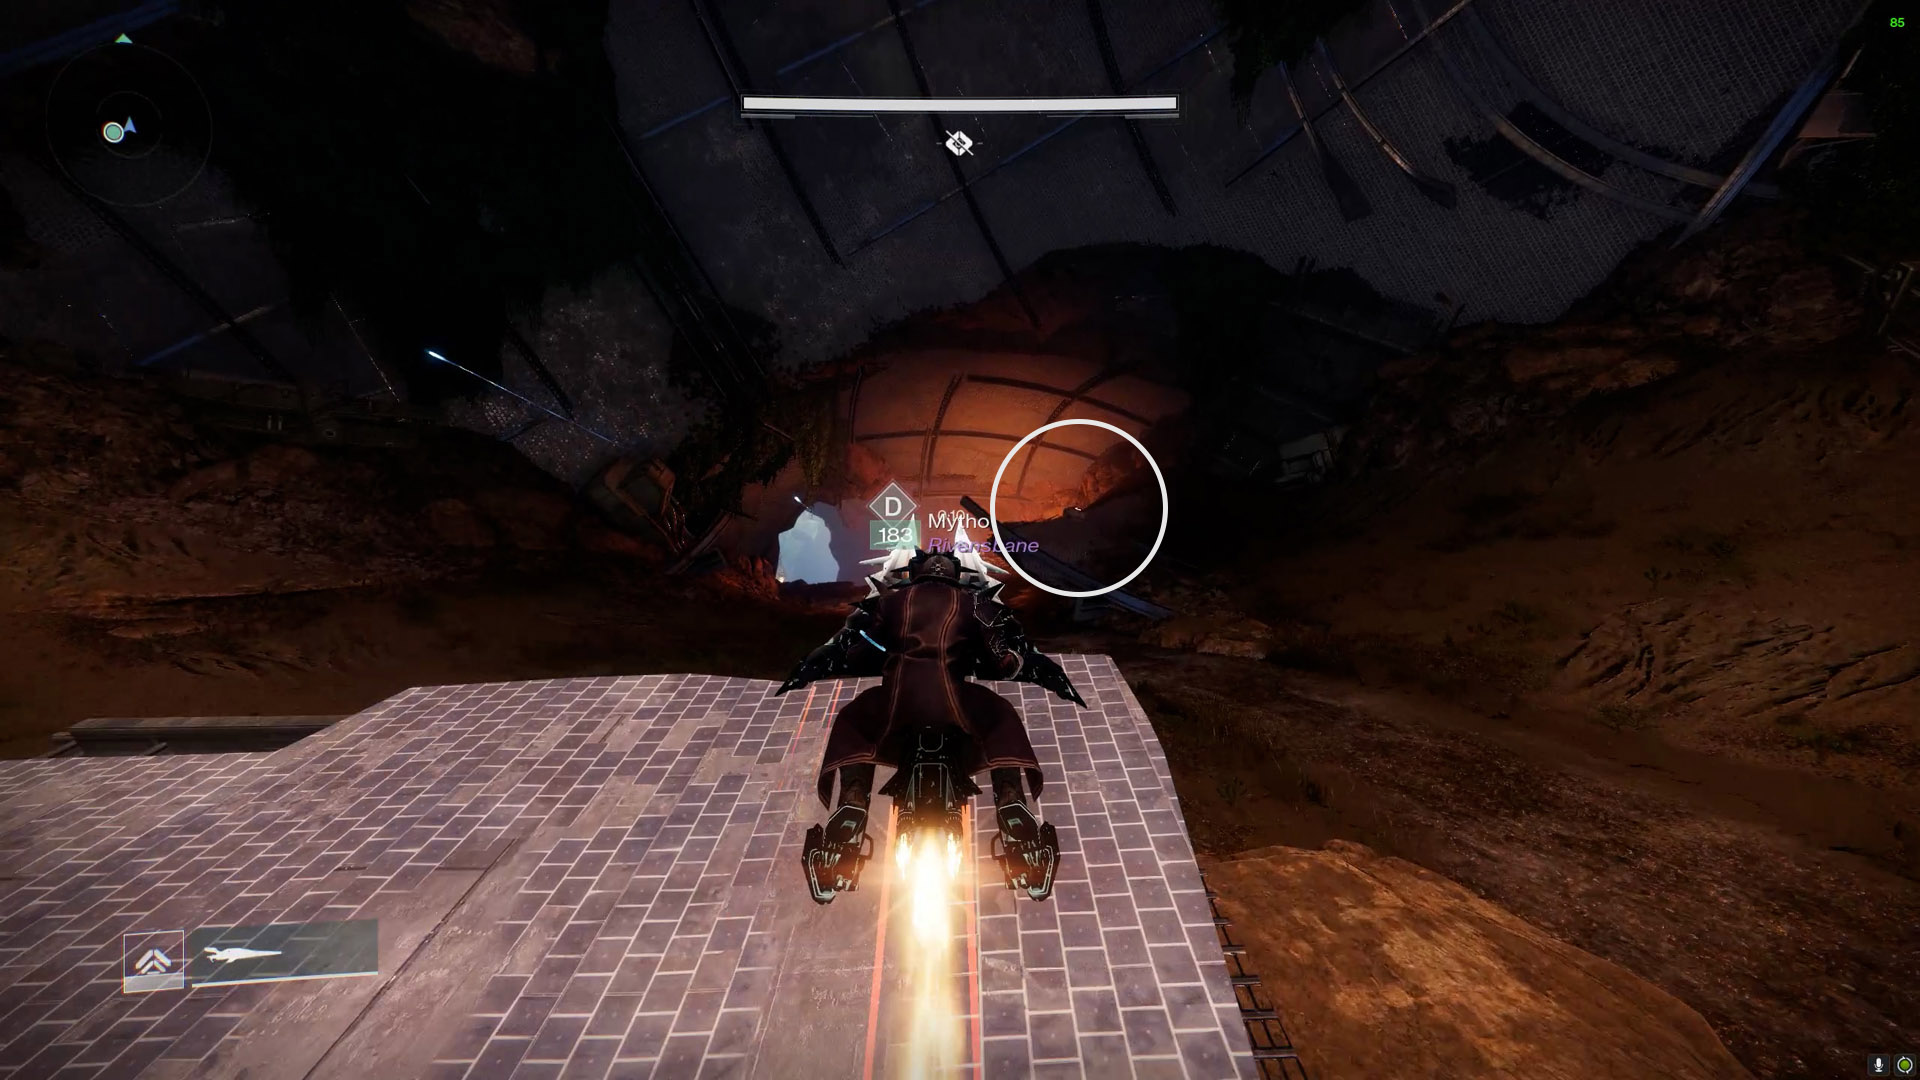
 Right where the Spider tank is dropped off before Mine C, there
is a fuse extender button. The button is concealed under a piece
of debris in the route's center.
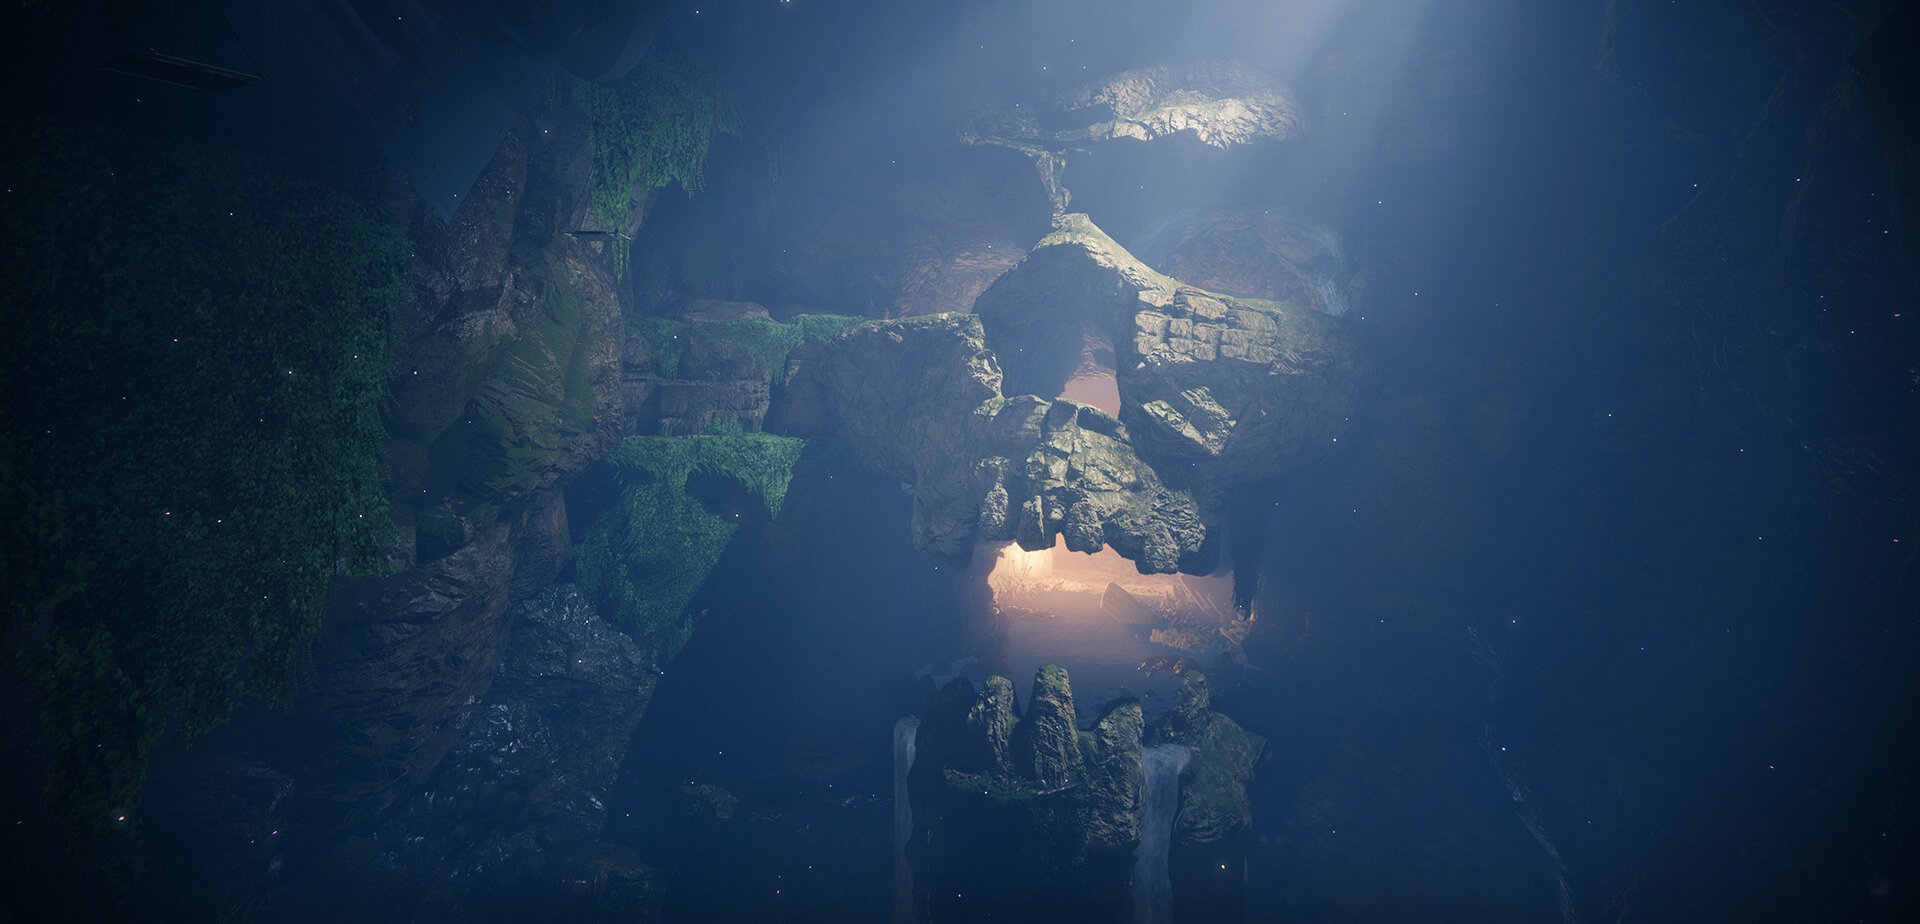
 Mine D is the one that is most challenging to deactivate. Right
before the gravity cannons, there is a button. It's at the top of
a ramp on the right-hand side. There is also one more button on
the left eye socket of the skull formation before the mine.
Sunken Lair - Fallen Shield
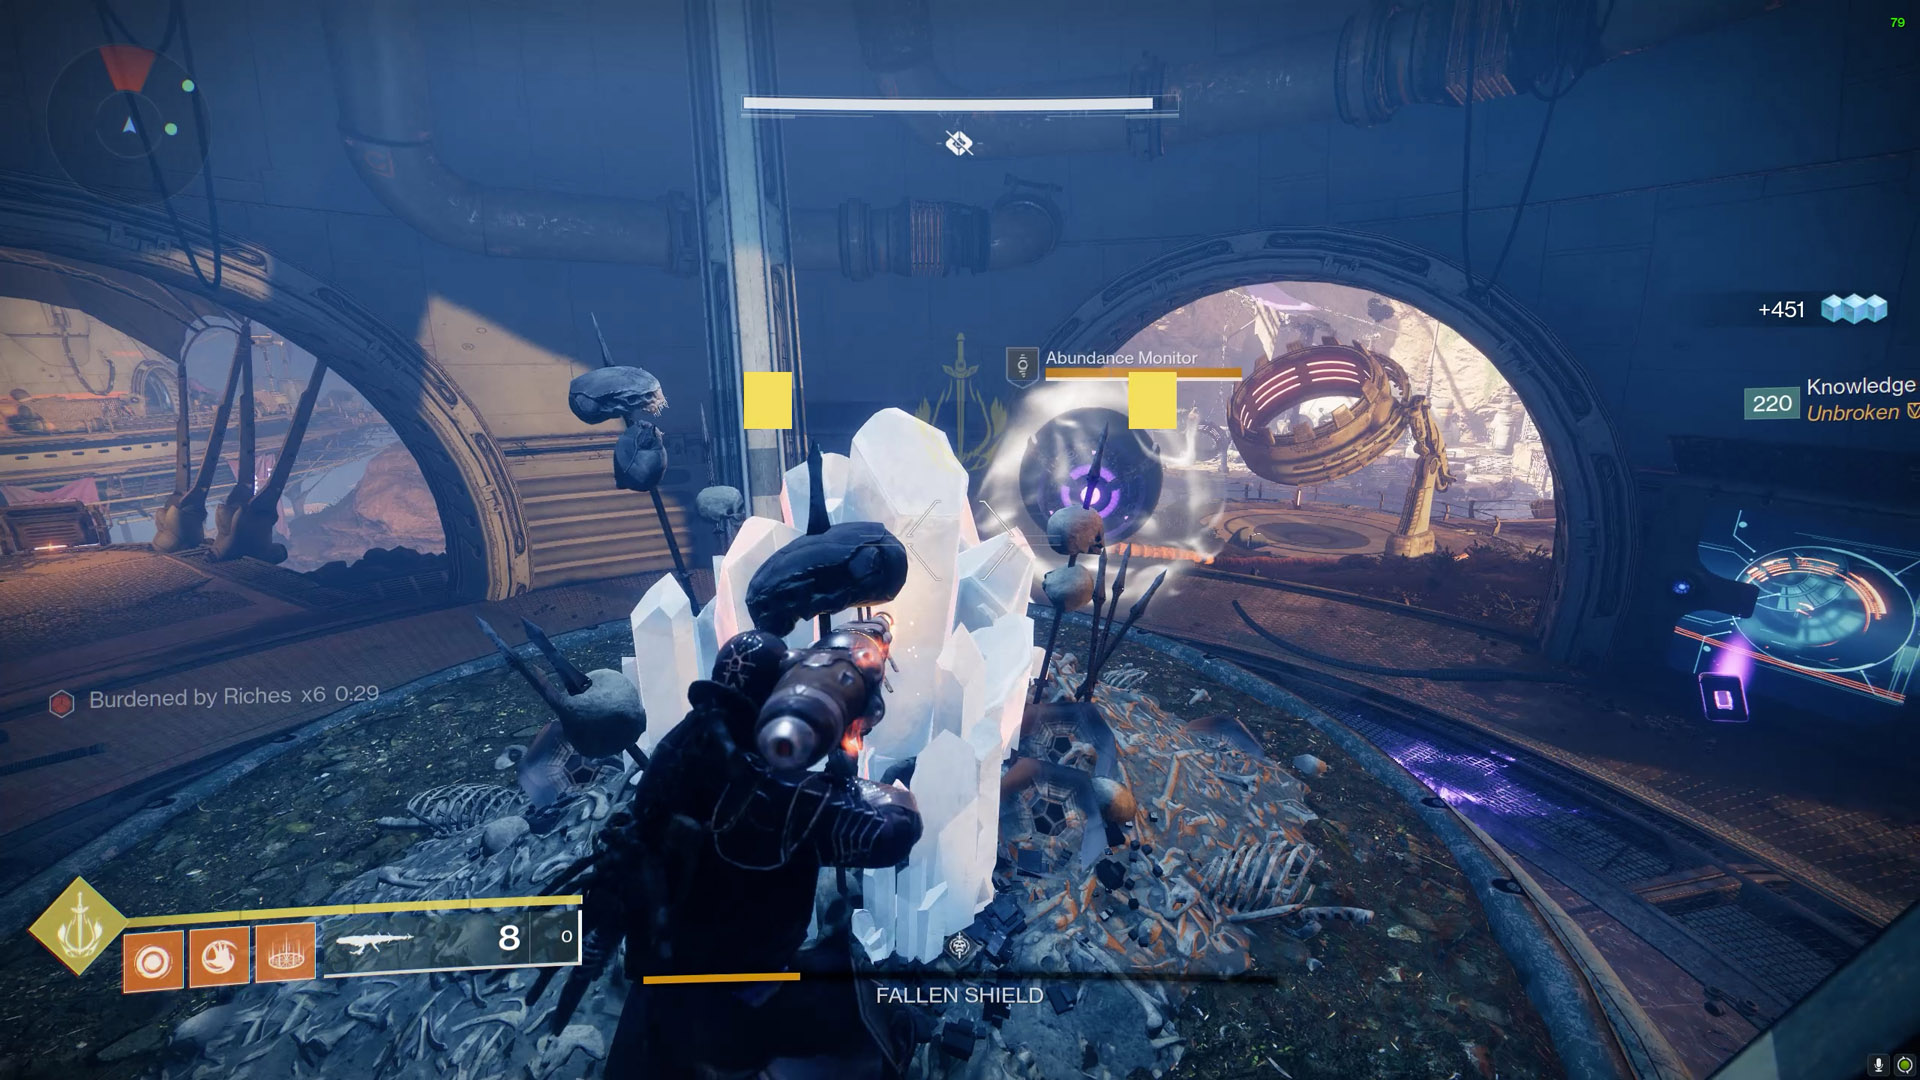
The Scorch Cannon and Burdened by Riches mechanisms are used in the Sunken Lair. The objective is to eliminate Abundance Monitor Servitors and fire their shells towards the center, spherical structure in order to deactivate a shield. To do this, you must jump from platform to platform while angling the gravity guns.
Find the Vandal nearby and seize its Scorch Cannon to start the battle. To turn on the generator, point the gravity cannon in the direction you want to go and fire a Scorch Cannon shot into it. The gravity cannon will fire anything on its platform in the direction it is pointing. Take use of this to jump about the exterior until you come across enemy hordes and a Servitor. To allow yourself enough time to reach the platform, you might need to charge the Scorch Cannon blast.
The Servitor will have a white shield when you find it. Defeat the enemies, get the debuff Burdened by Riches, and dunk it at the crystal. Each platform's central building, where the crystals should reside, should be roughly at the same location. The Servitor's shield will fall if enough debuffs have been delivered, allowing you to kill it.
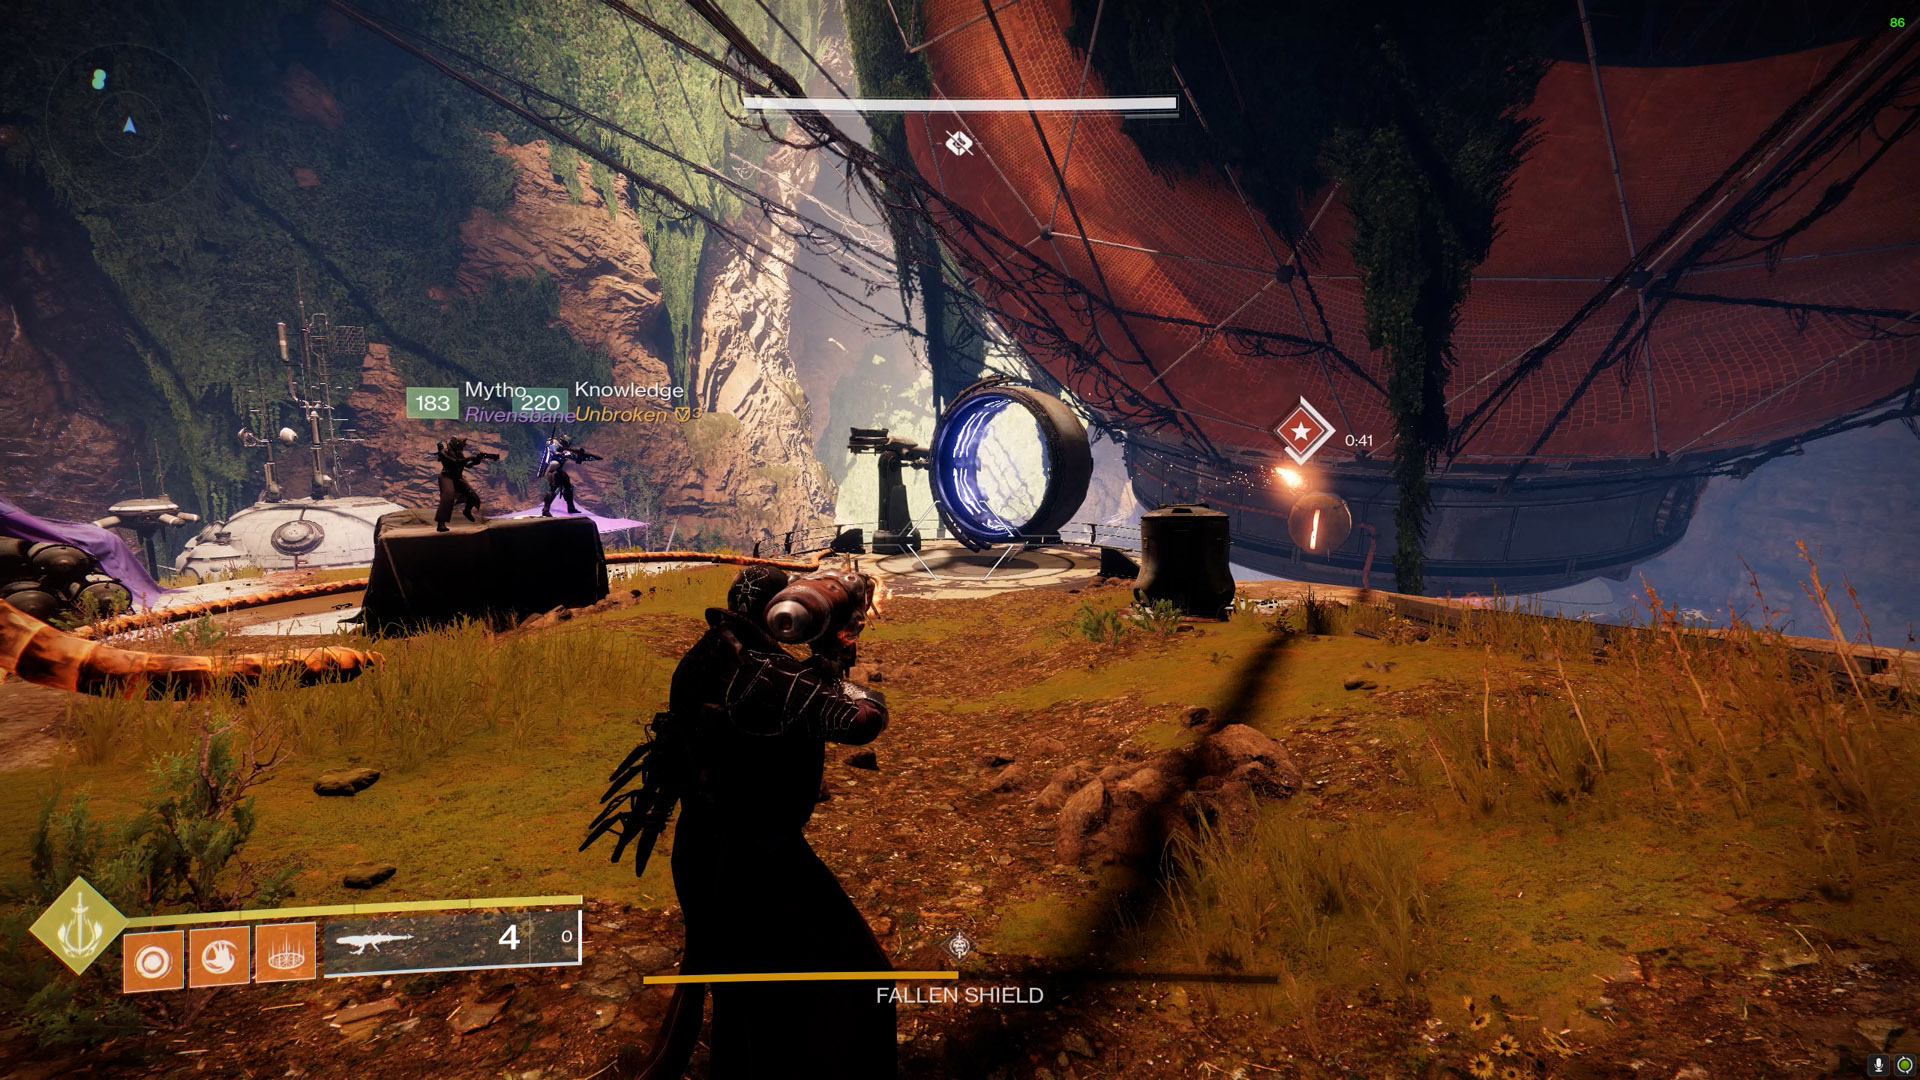
You have around 90 seconds to transport the shell to the cannon's platform once you destroy the Servitor. To do this, either melee it or push it with your body. Work with the gravity cannon until it is pointed towards the main, suspended structure. Use a Scorch Cannon shot to turn on the generator while the shell is on the cannon's platform and the cannon is pointed towards the central structure. One of the nodes surrounding the ring will be destroyed by the Servitor shell as it flies through the air.
Once the first node is gone, all that's left to do is locate the following squad of enemies and the Servitor, then continue the procedure until all four nodes are gone and the shield is down. The awards are up the stairs from the cannon on the central platform at this point. Now propel yourself up into the structure while angling the cannon high.
Master Difficulty: Overload Captains spawn at each point. Defeating them should be a priority.
Captain Avarokk the Covetous
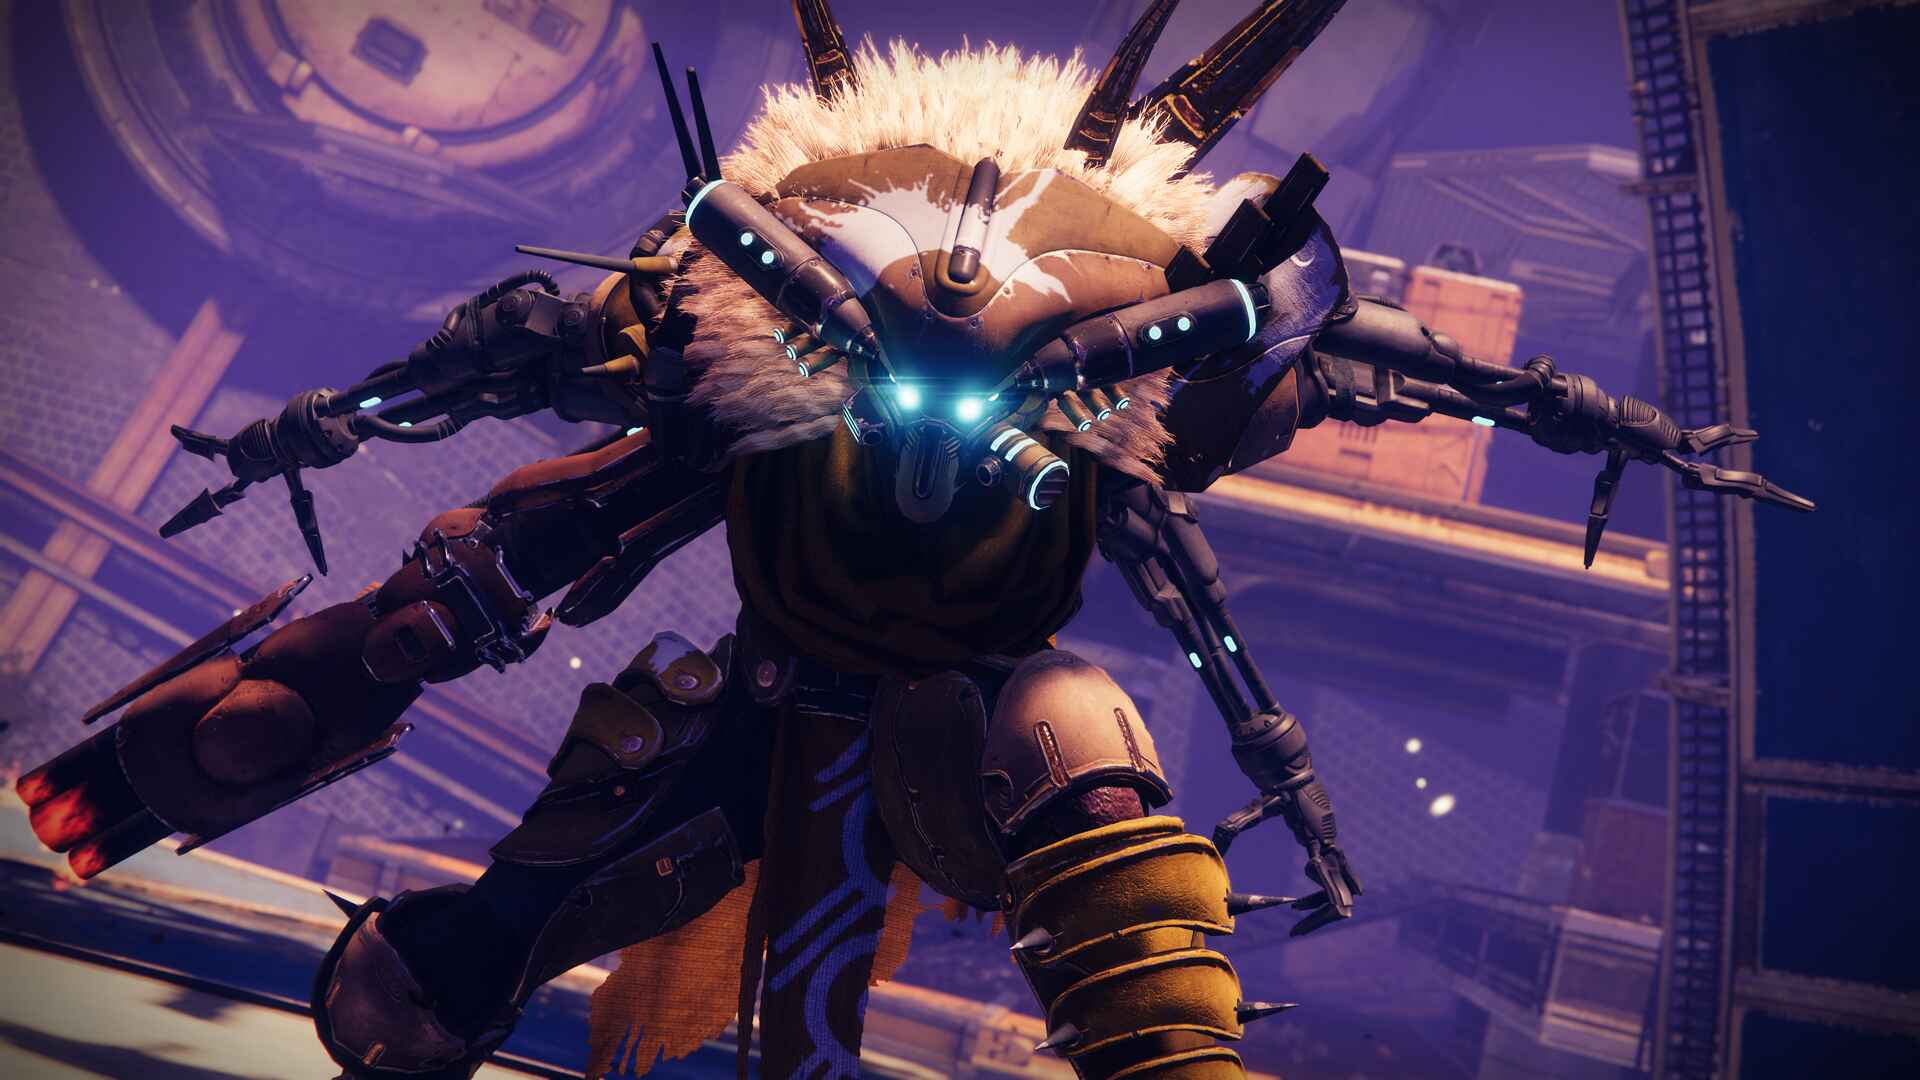
This Fallen Kell is accompanied by two other crew members, a Shank named R-M80, Loyal to Avarokk and a Vandal named Grisprax, Bosun of Avarokk. The objective of this battle is to utilize Scorch Cannons to power a generator, which scatters Burdened by Riches engrams over the area. These may be deposited at the main crystal to weaken Avarokk's shield.
- Use the Scorch Cannon to defeat the Vandal.
- Activate the generators using the Scorch Cannon.
- Gather the Burdened by Riches engrams.
- Deposit the engrams at the crystal.
- DPS Avarokk.
- Rinse and repeat till completion.
Approach the central section of the crystal where the crystal is located to start the battle against Captain Avarokk the Covetous; there may be an engram there. Return to the outside boundary when Avarokk emerges.
Use the Scorch Cannon to find and defeat the Vandal. Fire a bullet into one of the stage-mounted generators with the Scorch Cannon. There are three generators to choose from: one at the front, one in the middle, and one on the right.
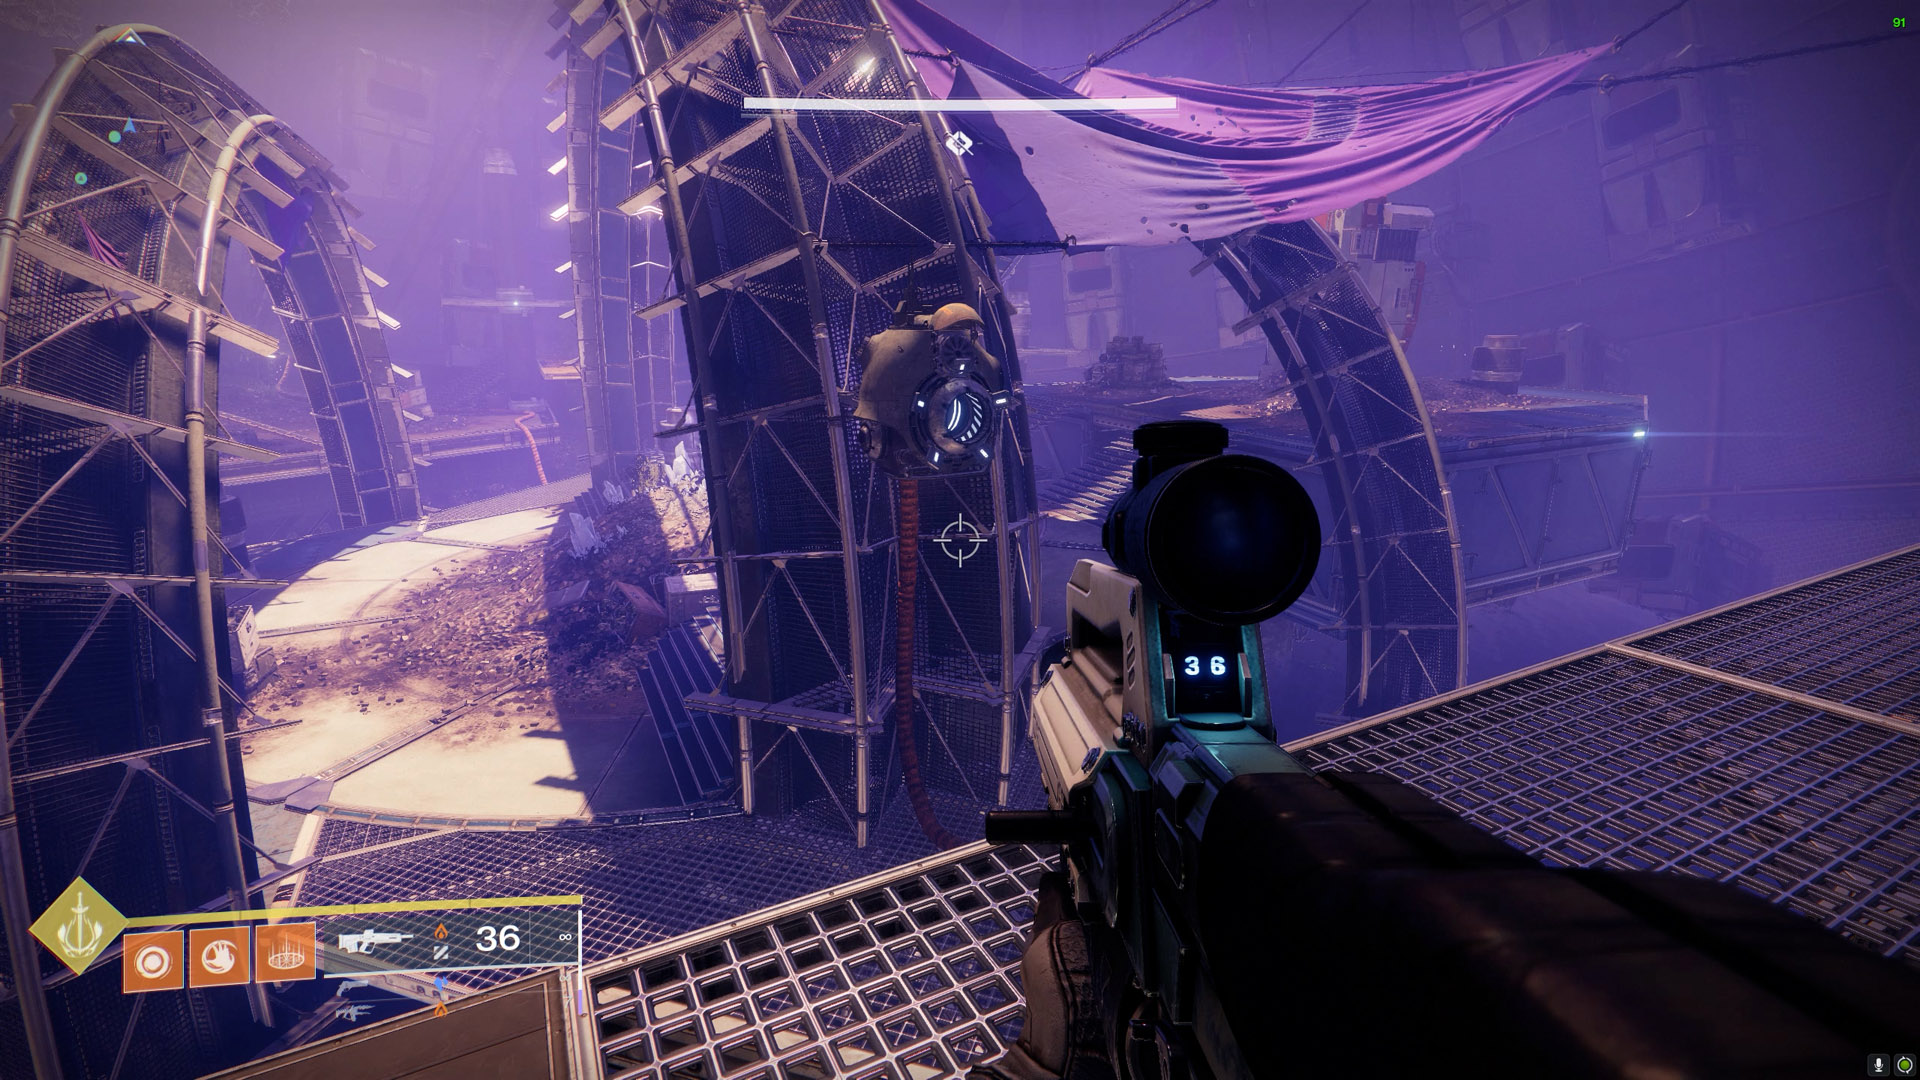
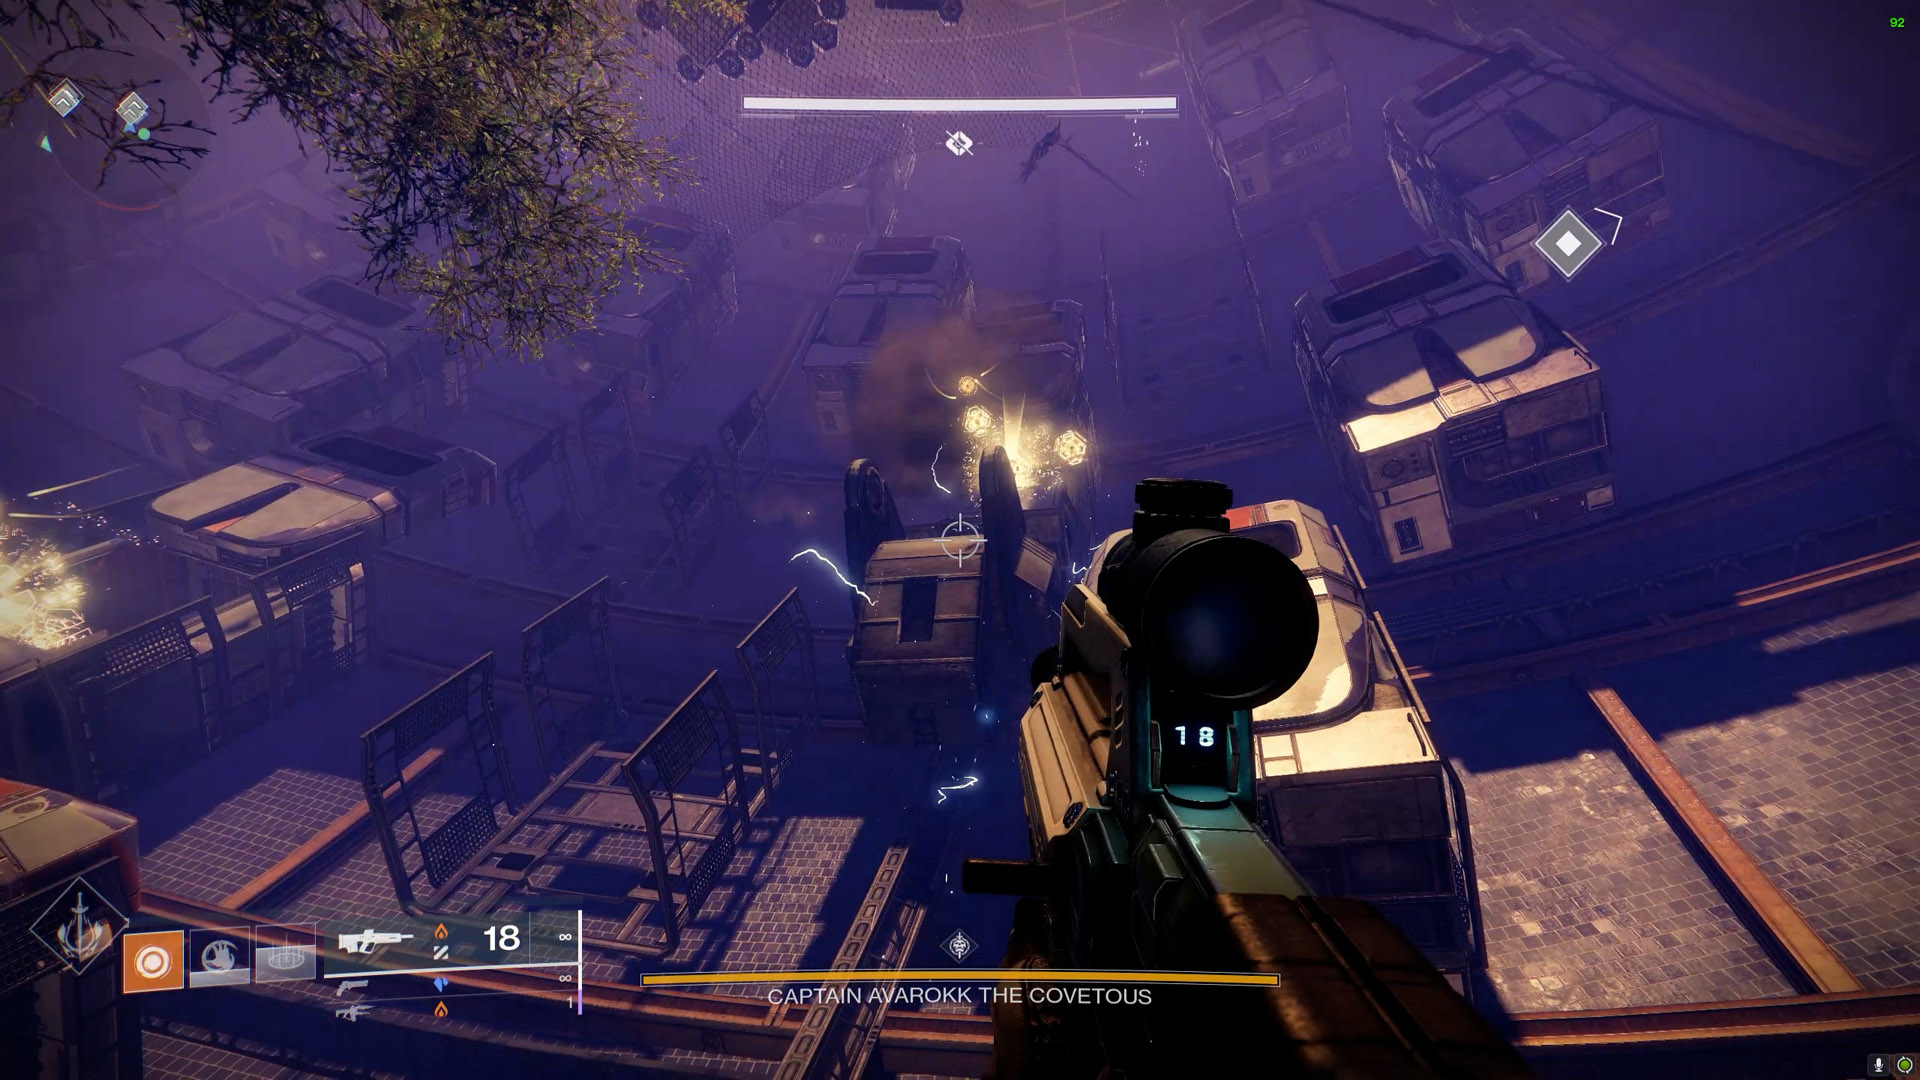
Pods on the sides of the arena will launch up and strike other pods, which will release engrams when the generator turns on following the scorch cannon explosion. To receive the Burdened by Riches debuff, gather the engrams. Gather as many as you can, then proceed to the center to place them on the crystal. Before starting a new generator, deposit as many as you can.
Lowering Avarokk's shield requires 60 Burdened by Riches. When enough engrams have been deposited, the words "Avarokk the Covetous has succumbed to temptation" will show up on the screen and its shields will lower. The 30-second damage phase officially begins at this point. Do as much damage as you can.
After 30 seconds, the sentence "Avarokk the Covetous resists temptation once more" will show on-screen and become immune. Rinse and repeat.
Master Difficulty: Anti-Barrier Servitors spawn during the collection phase.
That concludes the battle with Avarokk the Covetous and the Grasp of Avarice dungeon. You are one step closer to unlocked Gjallarhorn if this is your first clear and you have the quest.
