
Ghosts of the Deep Guide
Done by: Vedallion#7774 | May 27th 2023
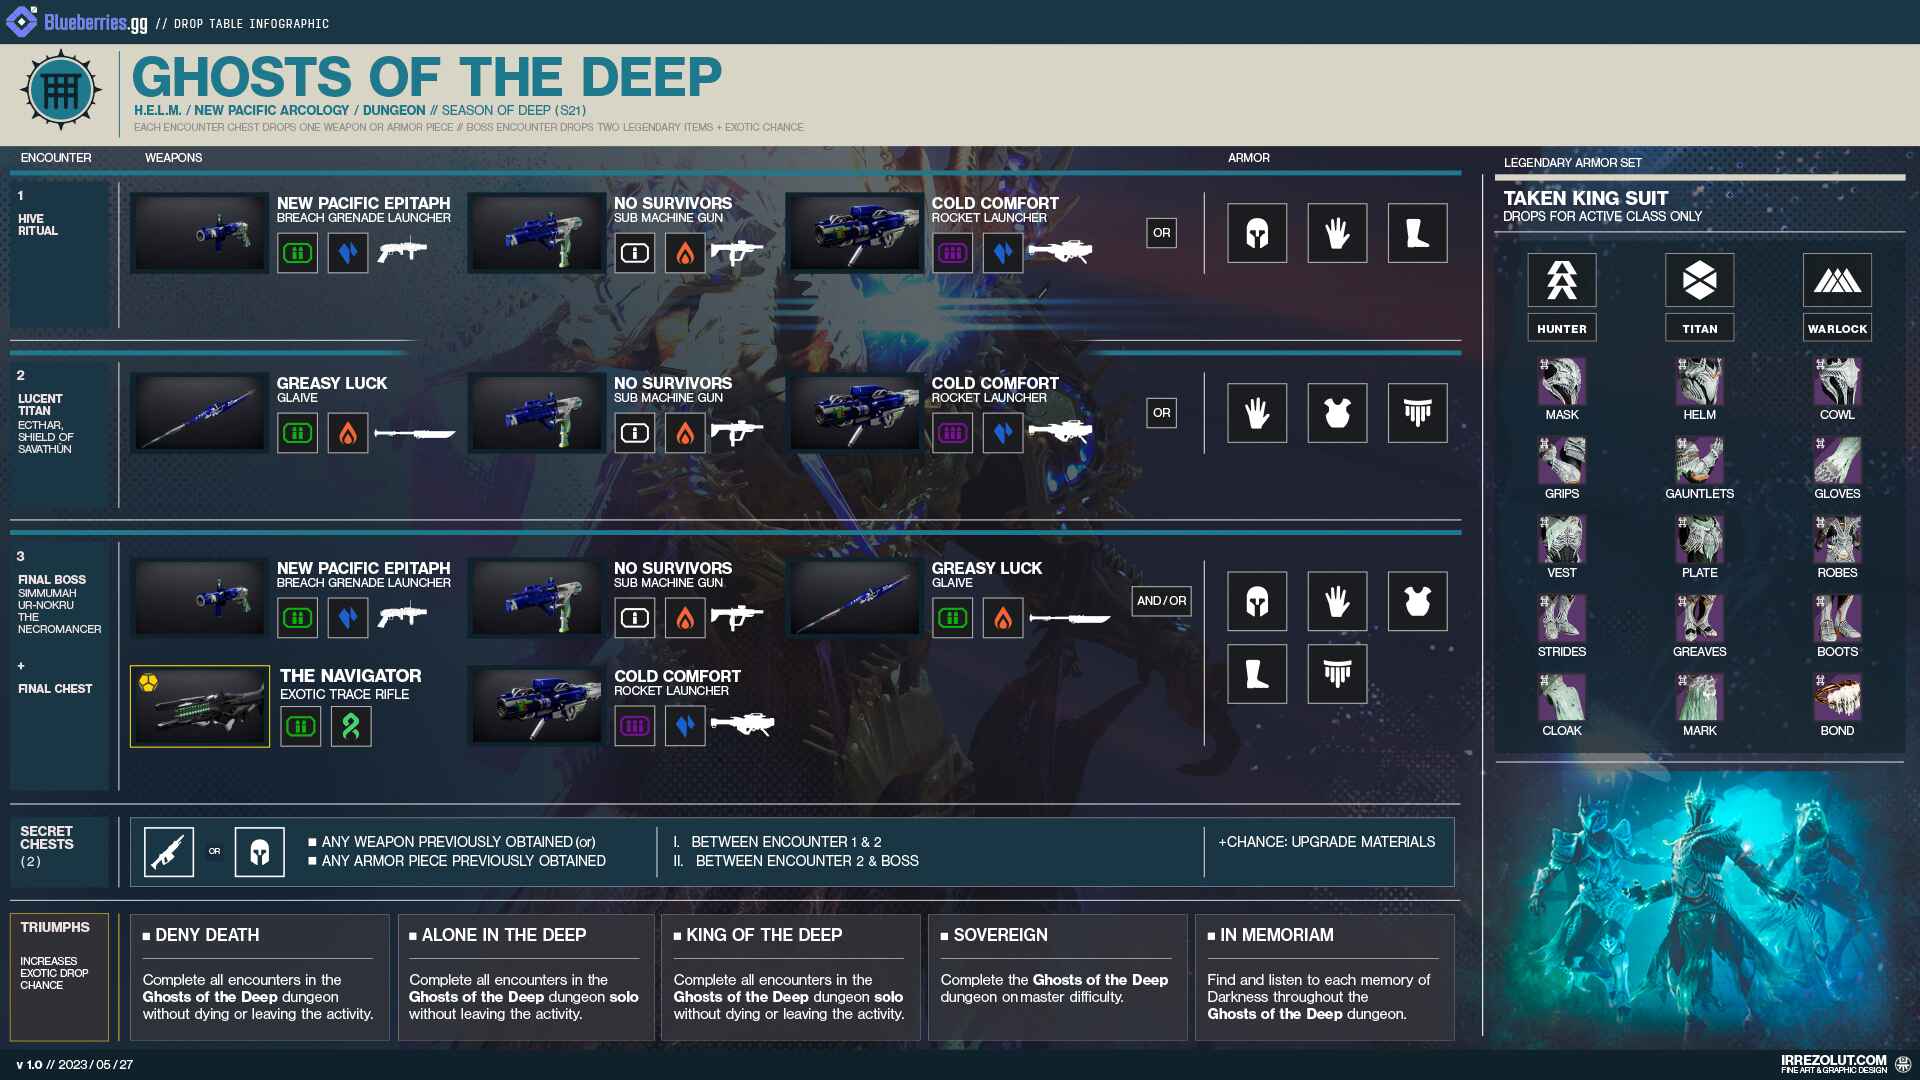
Drop Table
Secret Chests & Collectibles
Weapons

Restoration Ritual - Reviving Allies or performing Finishers prepares an Emergency Reload. Emergency Reload refills the Magazine the next time it is emptied.
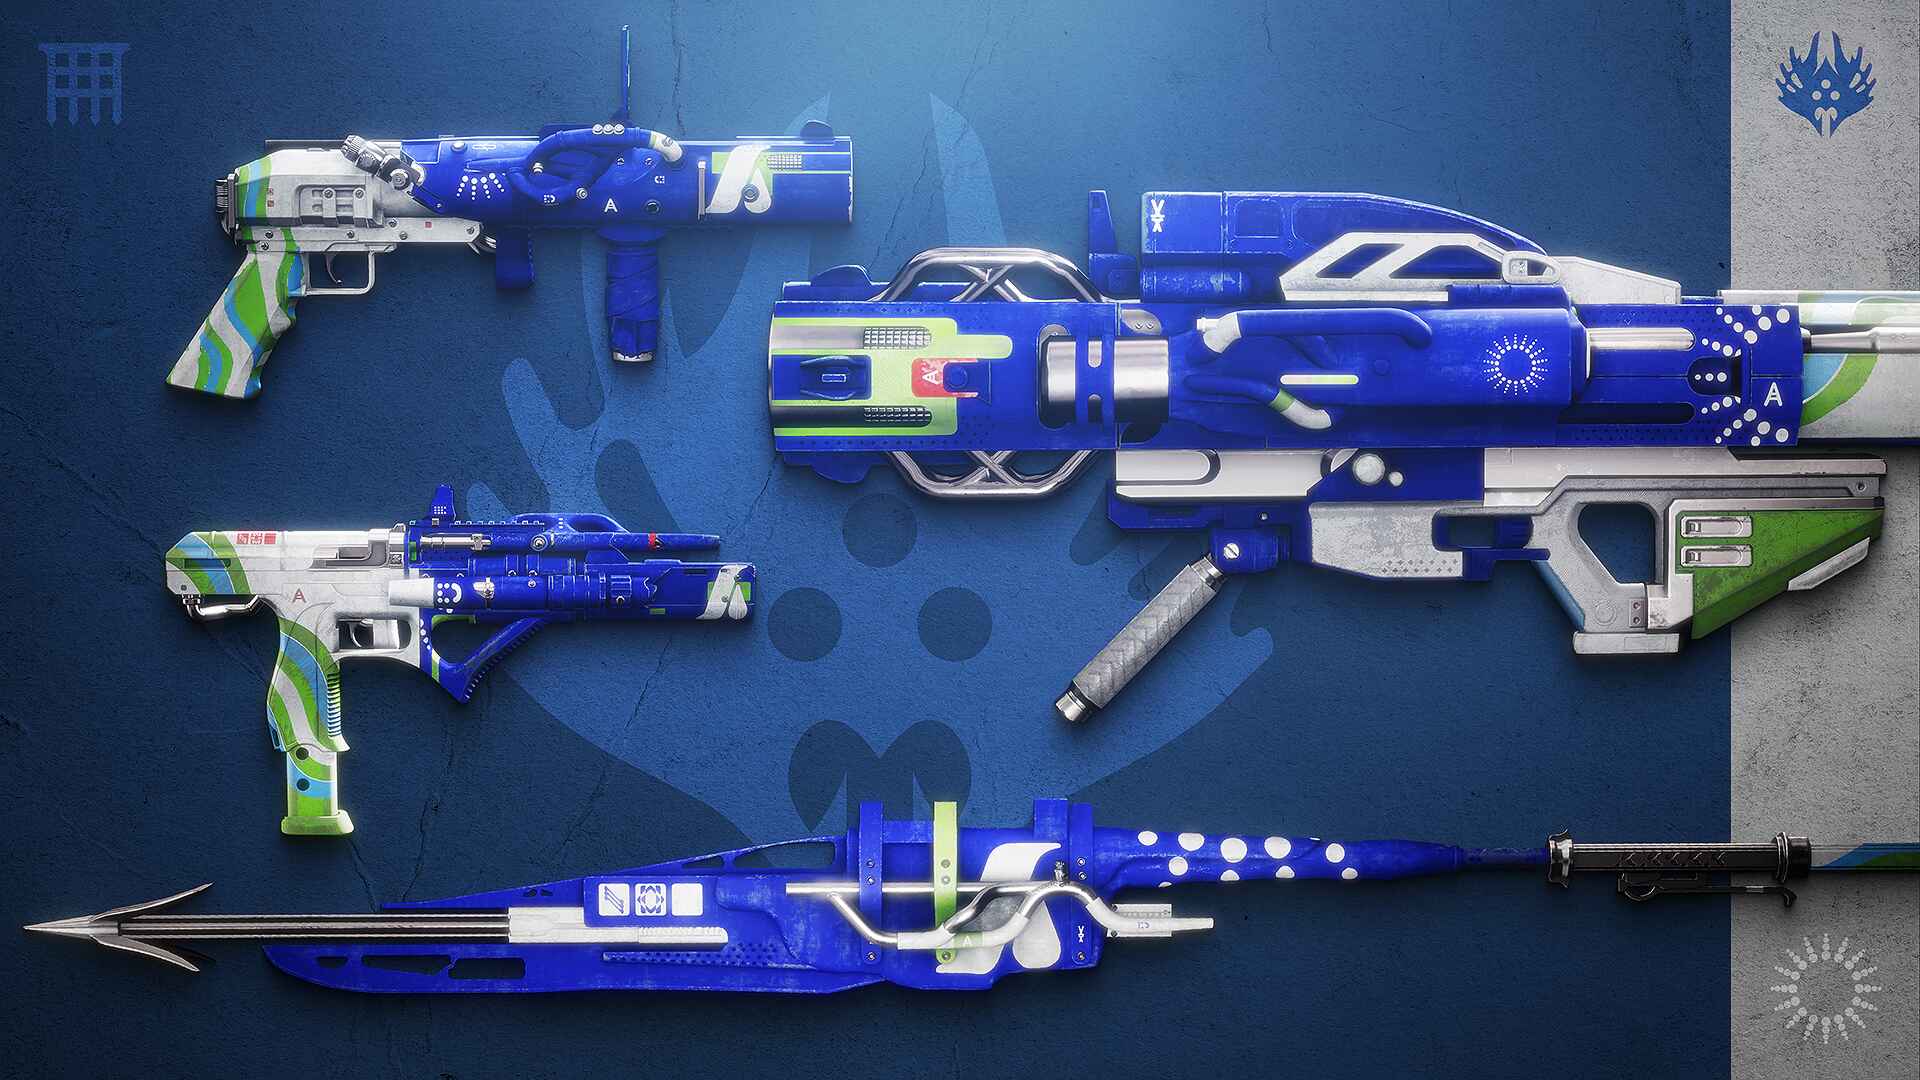
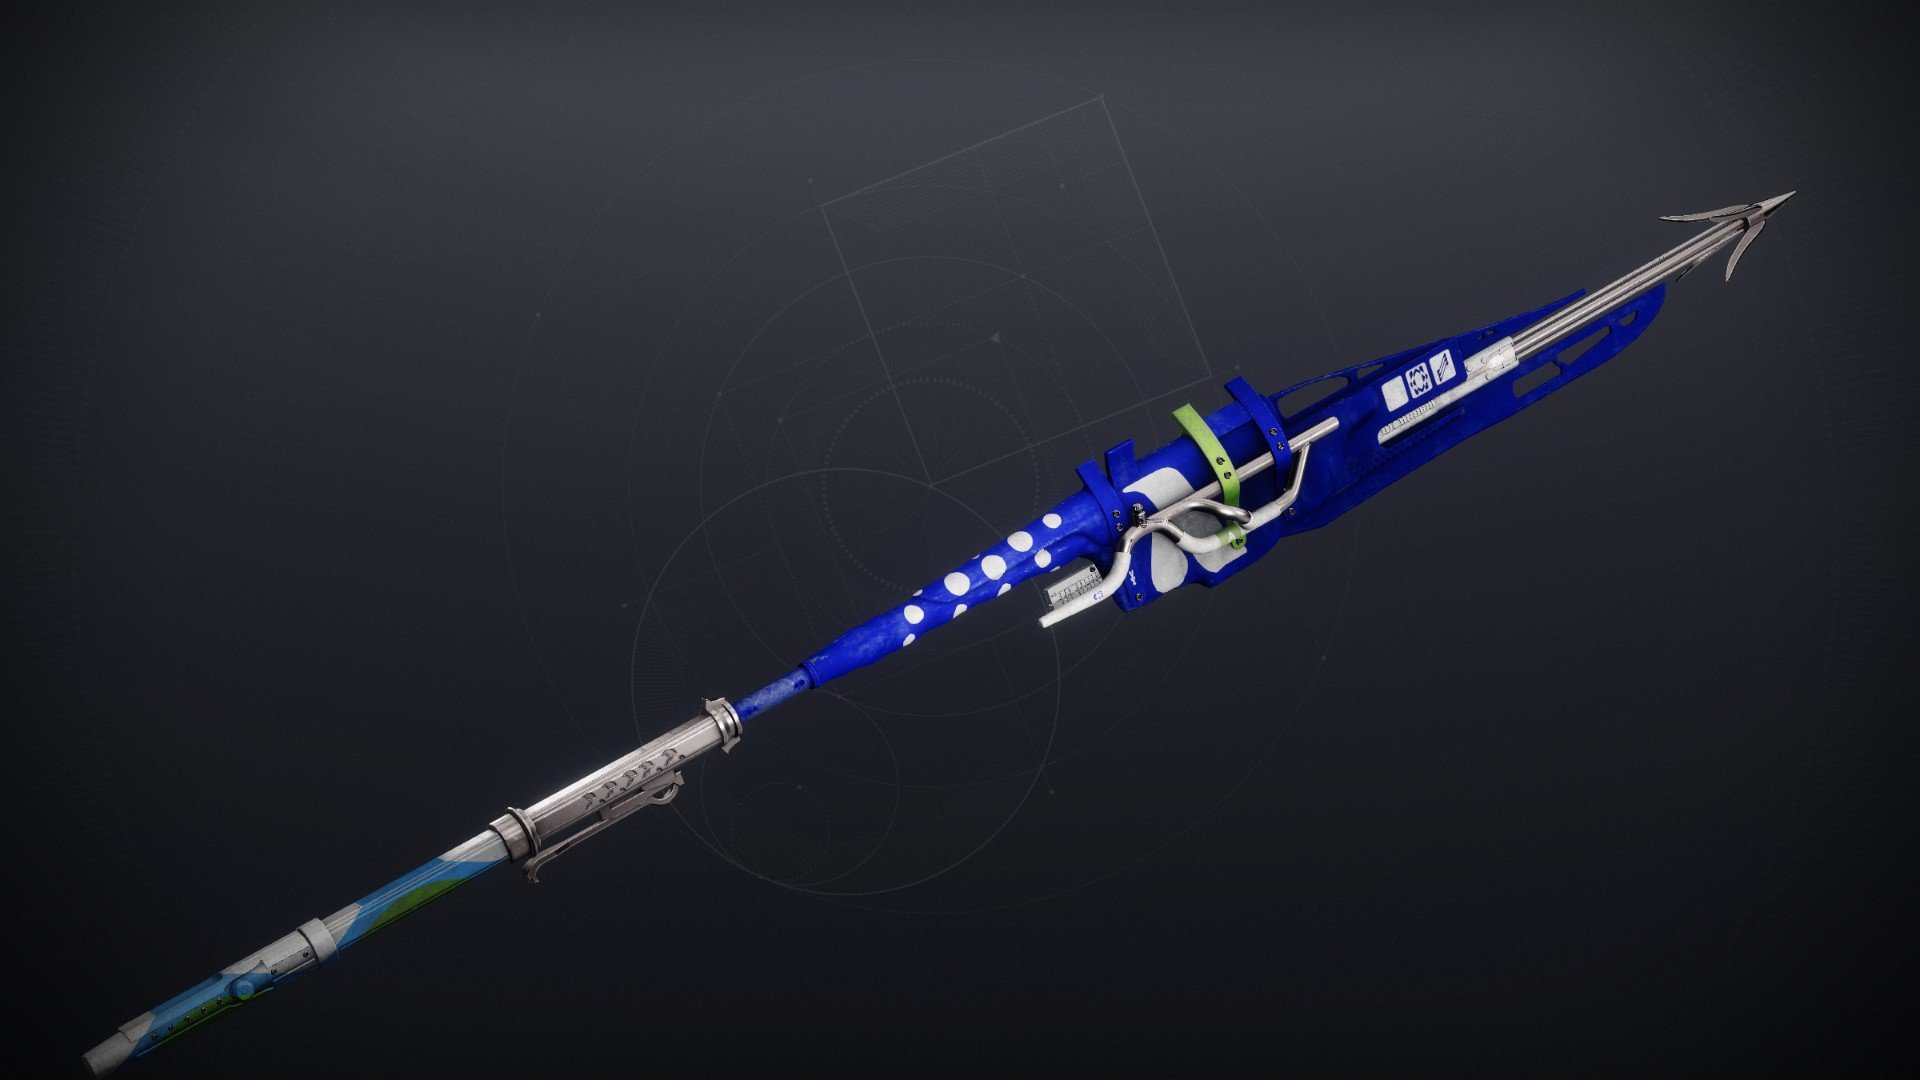
 New Pacific Epitaph
Legendary //
Wave Frame // Grenade Launcher
Desirable Perks
- Barrel:
- Quick Launch
- Magazine:
- High-Velocity Rounds
- Column 1 Perks:
- Demolitionist
- Column 2 Perks:
- Redirection
- Adrenaline Junkie
Masterwork: Blast Radius
Mod Slot: Minor Spec, Major Spec, Adept Big Ones Spec
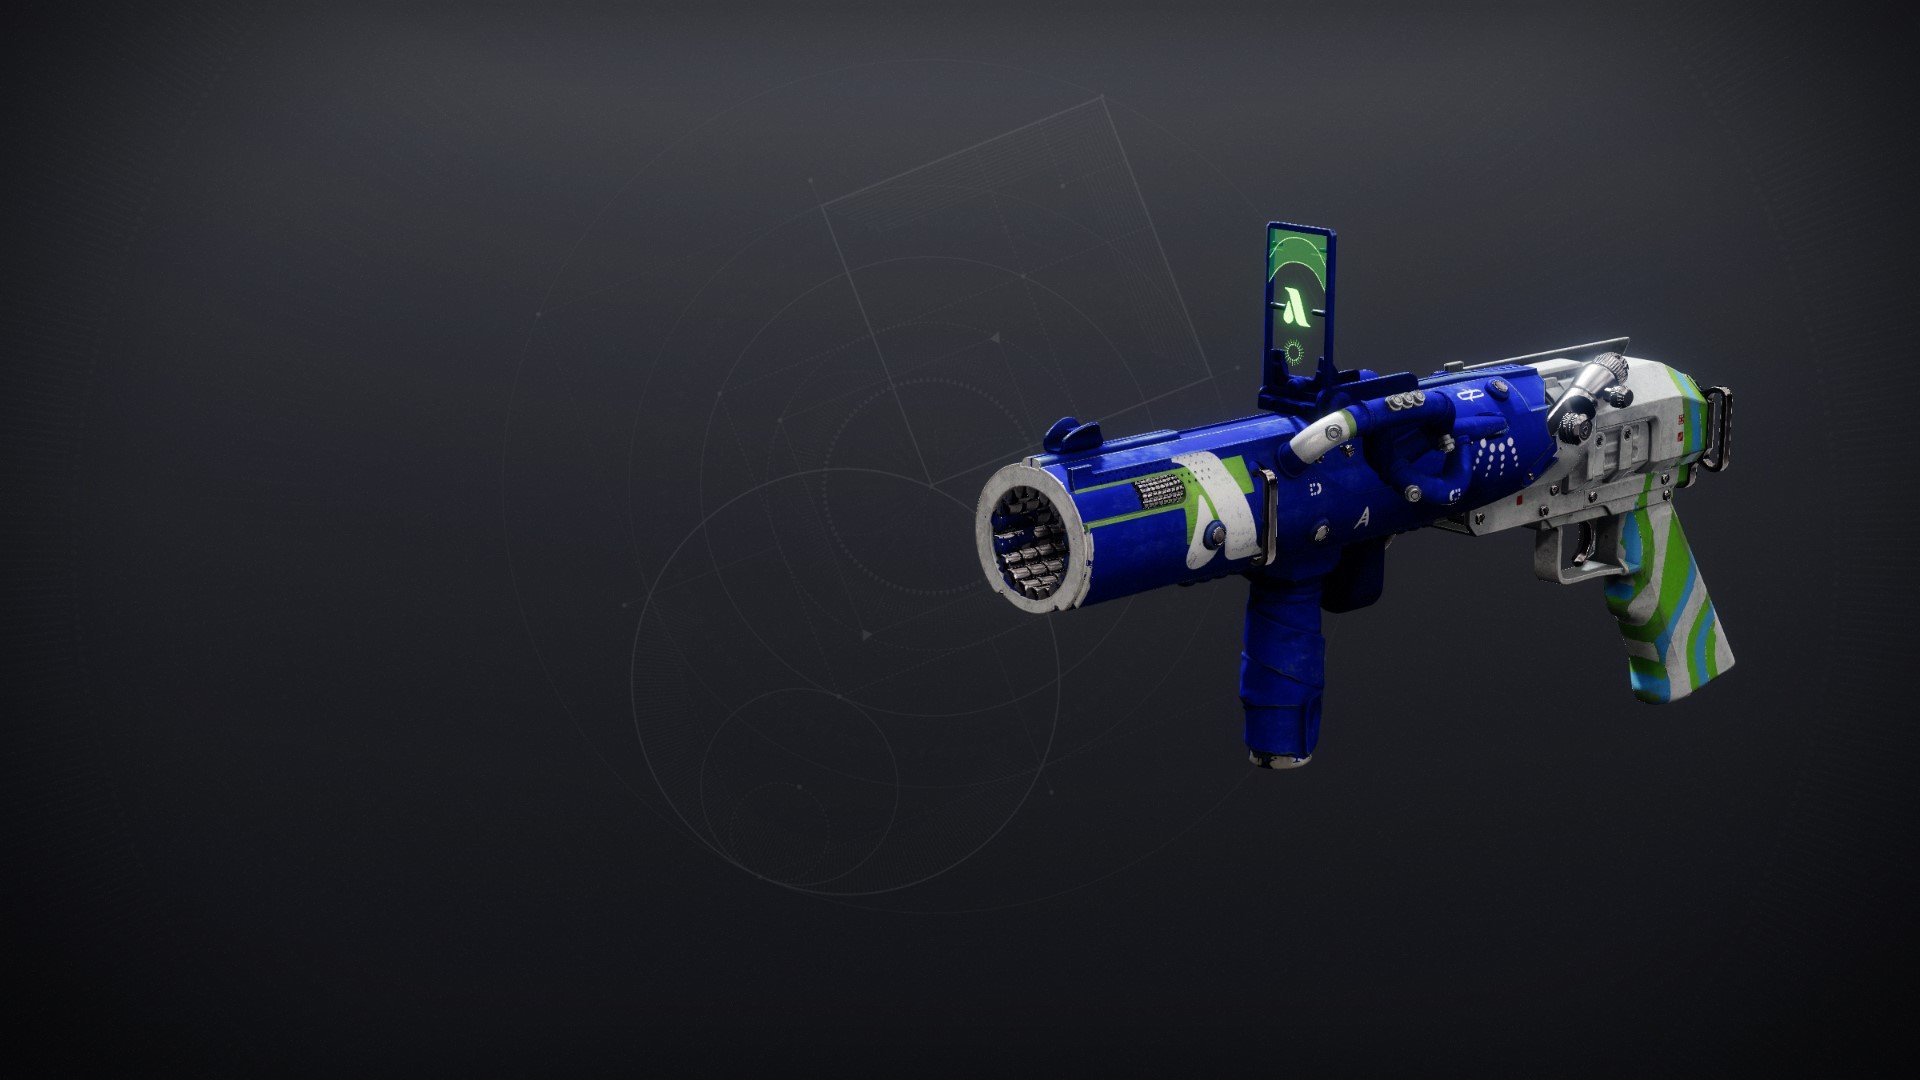
By virtue of being a wave-frame, New Pacific Epitaph (NPE) is already a top-tier special weapon. However, what sets it apart from the other wave frames is not its perks, but rather its element. As a stasis weapon, NPE is pushed to the top slot, opening up heaps of possible builds, especially for weapons in the energy slot.
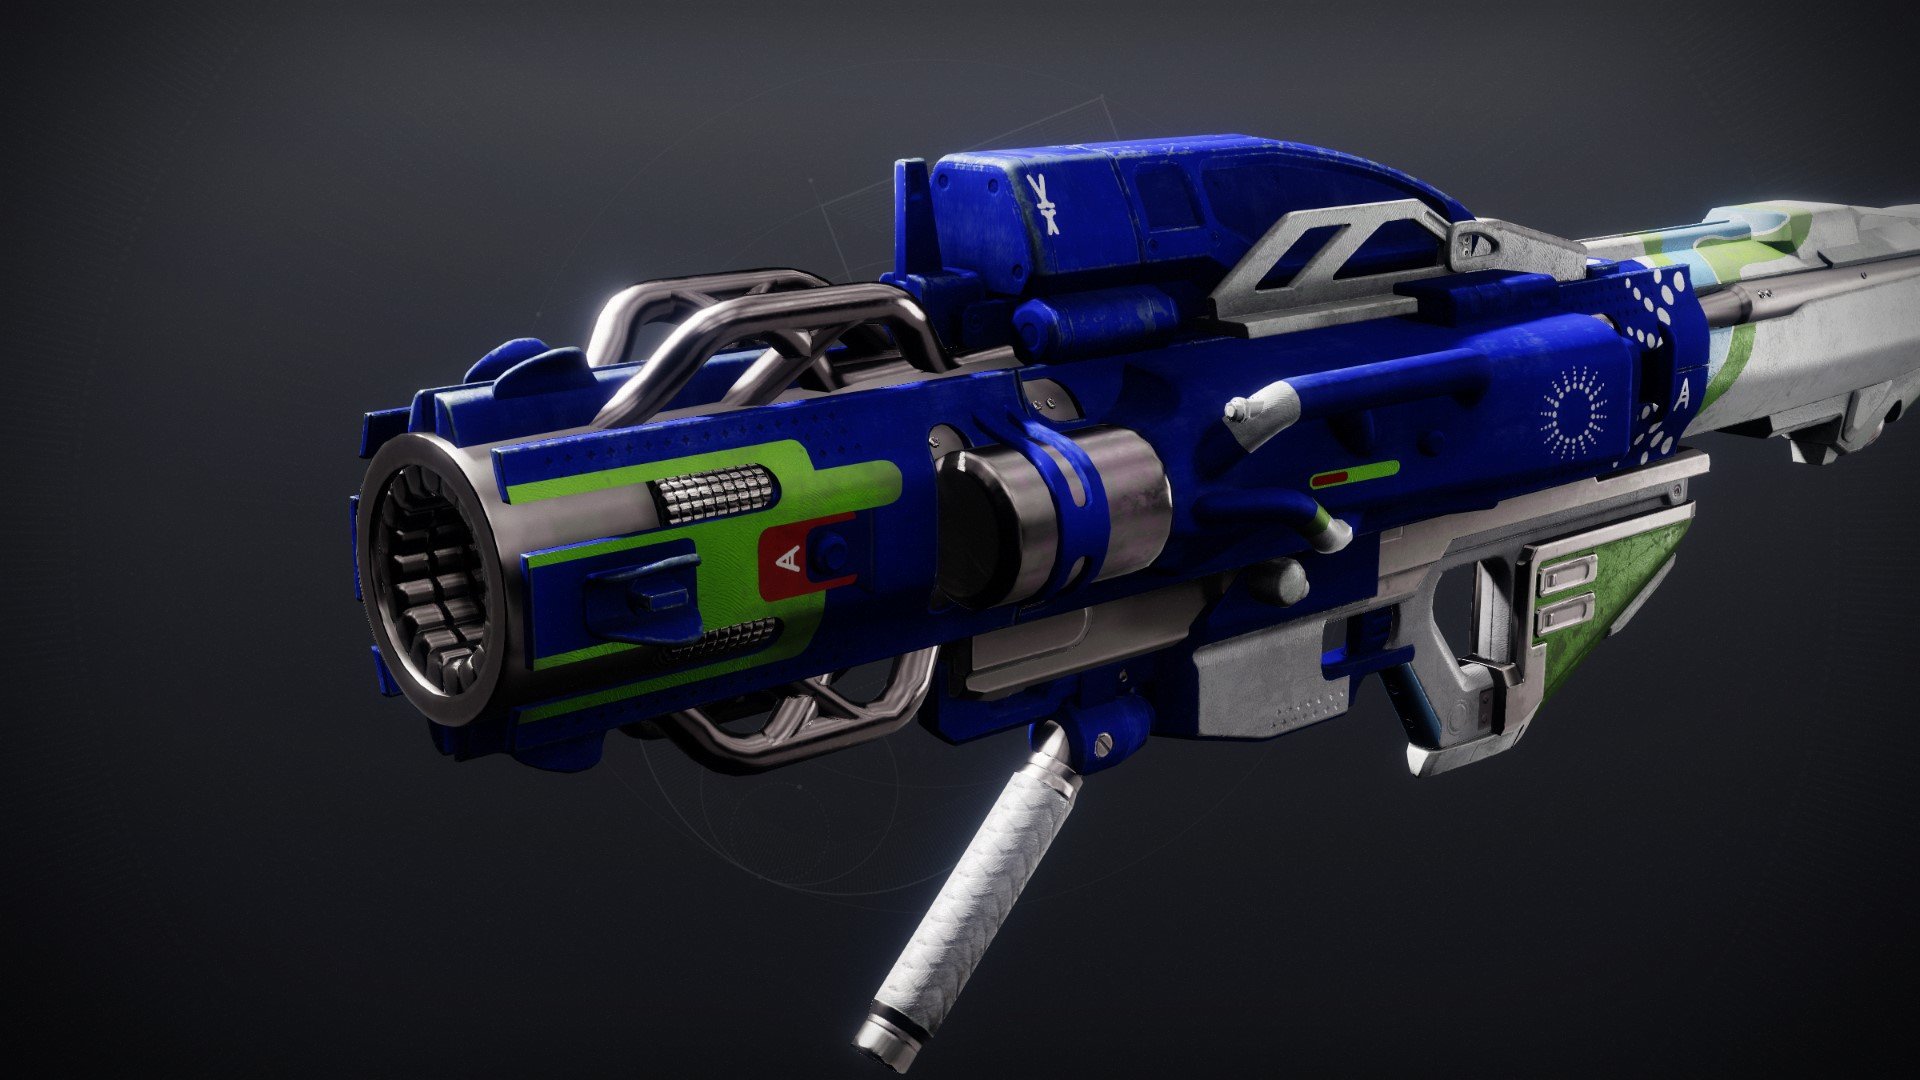
 No Survivors
Legendary // Aggressive
Frame // Submachine Gun
Desirable Perks
- Barrel:
- Corkscrew Rifling
- Arrowhead Brake
- Magazine:
- High-Caliber Rounds
- Ricochet Rounds
- Column 1 Perks:
- Demolitionist
- Rangefinder
- Column 2 Perks:
- Incandescent
- Target Lock
Masterwork: Range
Mod Slot: Minor Spec, Backup Mag
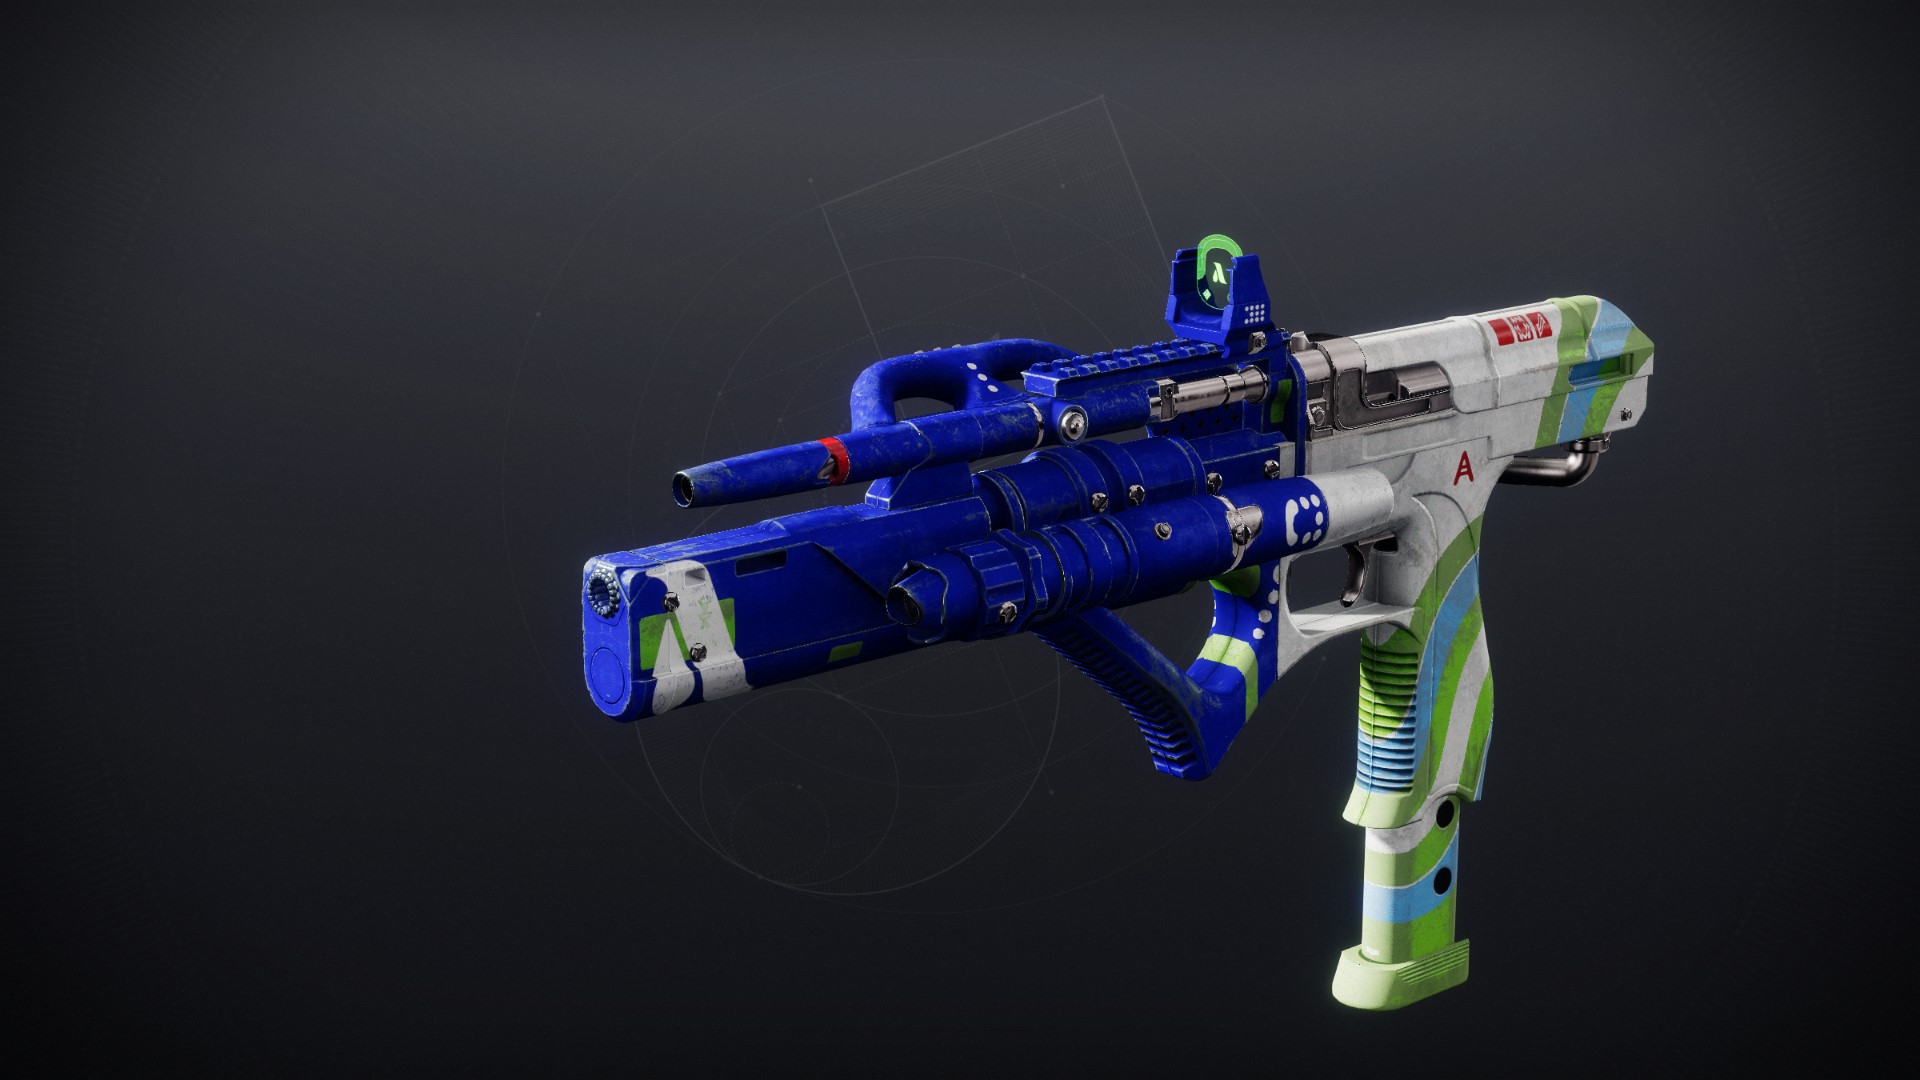
In PvE, No Survivors is essentially Calus Mini-Tool but better. With the beloved perk of Incandescent, alongside Demolitionist, No Survivors has cemented itself as one of, if not the best solar SMGs. In PvP, No Survivors is still a fairly strong weapon, with competitive stats and a perk pool similar to the Immortal.
Greasy Luck
Legendary // Rapid-Fire
Frame // Glaive
Desirable Perks
- Haft:
- Ballistic Tuning
- Supercooled Accelerator
- Magazine:
- Extended Mag
- Alloy Magazine
- Column 1 Perks:
- Replenishing Aegis
- Lead from Gold
- Column 2 Perks:
- Incandescent
- Close to Melee
Masterwork: Range, Shield Duration
Mod Slot: Major Spec, Adept Big Ones Spec
In PvE, Greasy Luck is a glaive, which isn't a good start to begin with. It has fairly good perks, however glaives are just in such a strange spot that it is difficult to recommend Greasy Luck in today's sandbox.
Cold Comfort
Legendary // Aggressive
Frame // Rocket Launcher
Desirable Perks
- Barrel:
- Volatile Launch
- Magazine:
- Impact Casing
- Column 1 Perks:
- Envious Assassin
- Column 2 Perks:
- Bait and Switch
Masterwork: Reload Speed
Mod Slot: Boss Spec, Adept Big Ones Spec
Cold Comfort is up there as one of the best Rocket Launchers in Destiny 2. With Envious Assassin combined with this weapon's origin trait, Cold Comfort is able to shoot off 4 rockets at once without reloading, 3 of which will be buffed by Bait and Switch. Certainly a strong combo, however this weapon will fall off after these first 4 rockets as it will need to manually reload all its rockets afterwards, without any reload buff.
 The Navigator
Exotic // Trace Rifle
Details
Protective Weave: Firing this weapon at an ally grants both you and the ally Woven Mail, and gives the ally 60hp and starts health regeneration.
Weft Cutter: Sustained damage severs the target.
(Catalyst) Gordian Knot: Pressing and holding reload loads a special shot that fires a grapple point where aimed.
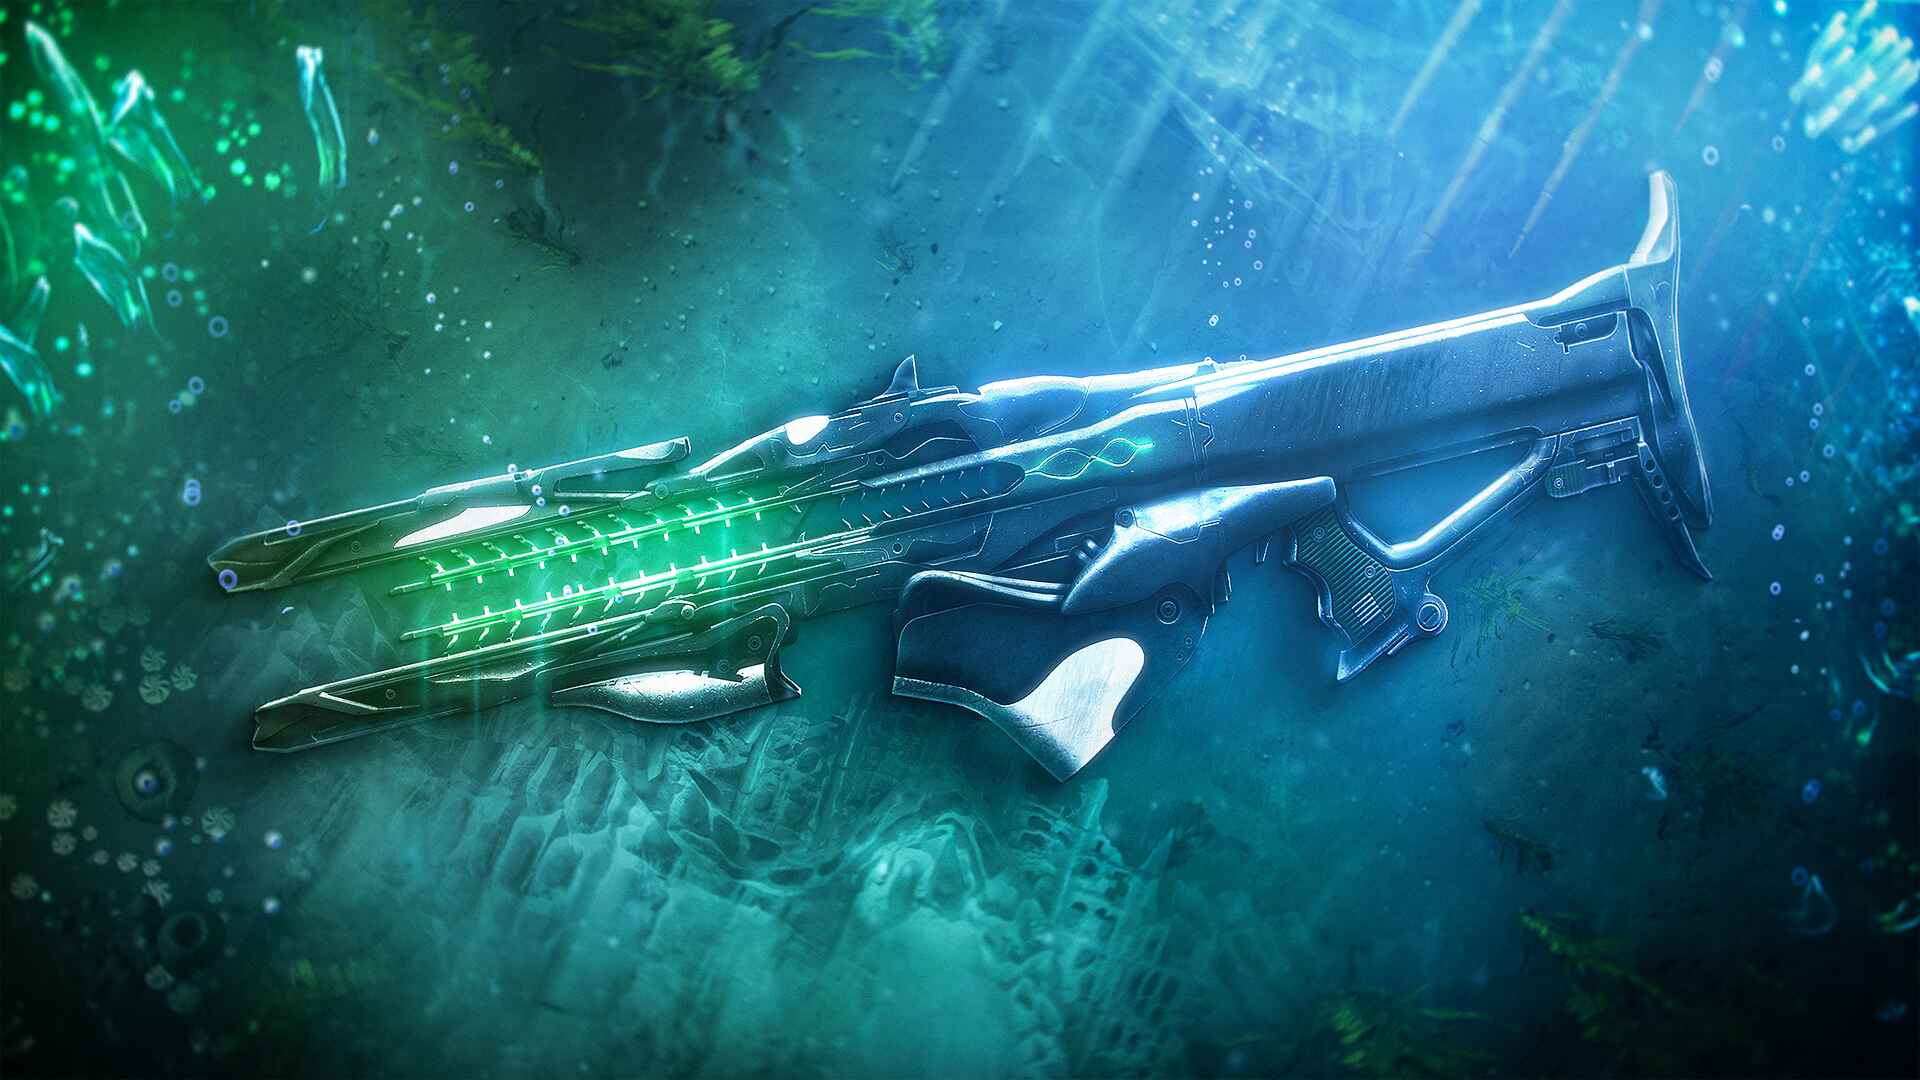
The Navigator is one of the best support exotics in Destiny 2. Being able to give allies 90% damage resist as well as healing is no joke, as it allows one to make their teammate virtually unkillable just by tagging them with a trace rifle every now and then. Trace rifles themselves are definitely relevant in today's sandbox, with Cenotaph mask justifying their use in raid-dungeon content and Nightfall content, alongside general use in double special setups.
The Navigator's catalyst is also fairly useful. It opens up the possibility of grapple builds to all other classes other than Hunters. One of the strongest builds that can be done with this is the Grapple Melee DPS build with Titan Berserker's DPS build, as shown in this video.
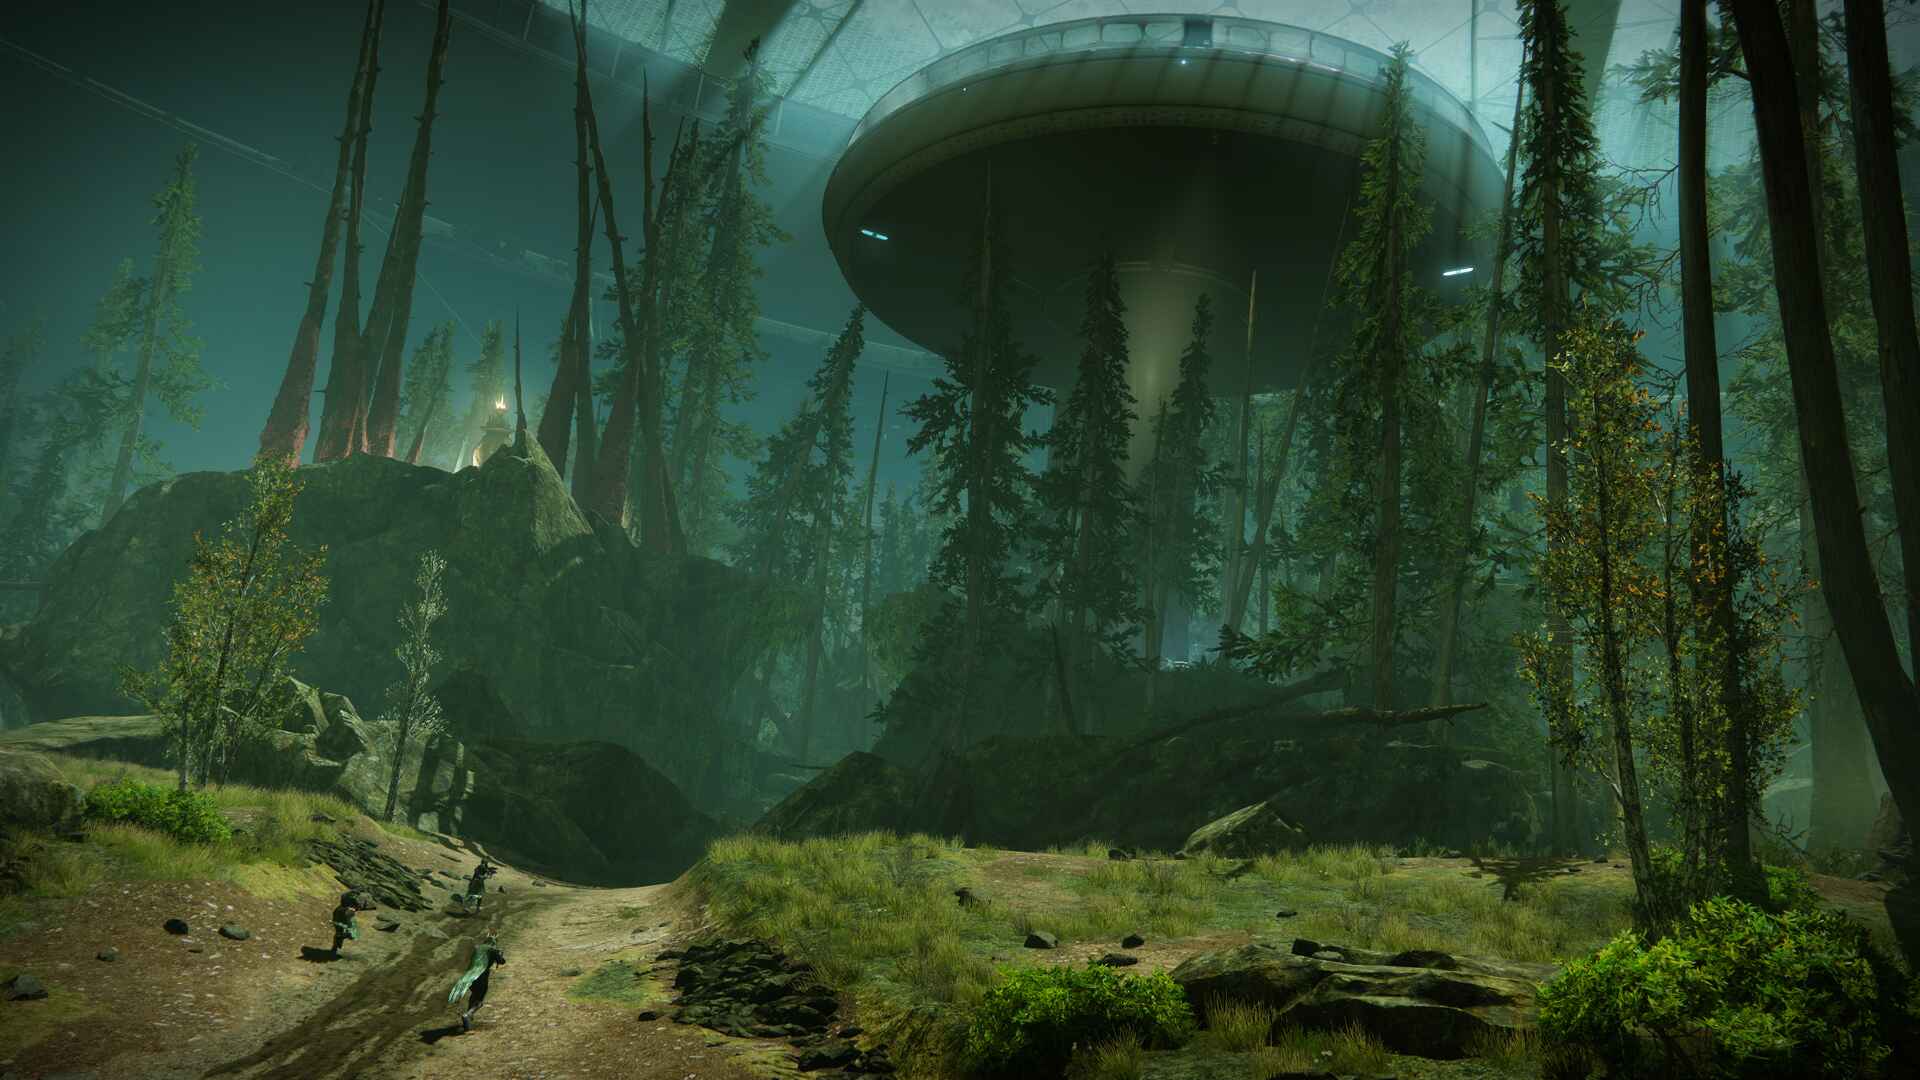
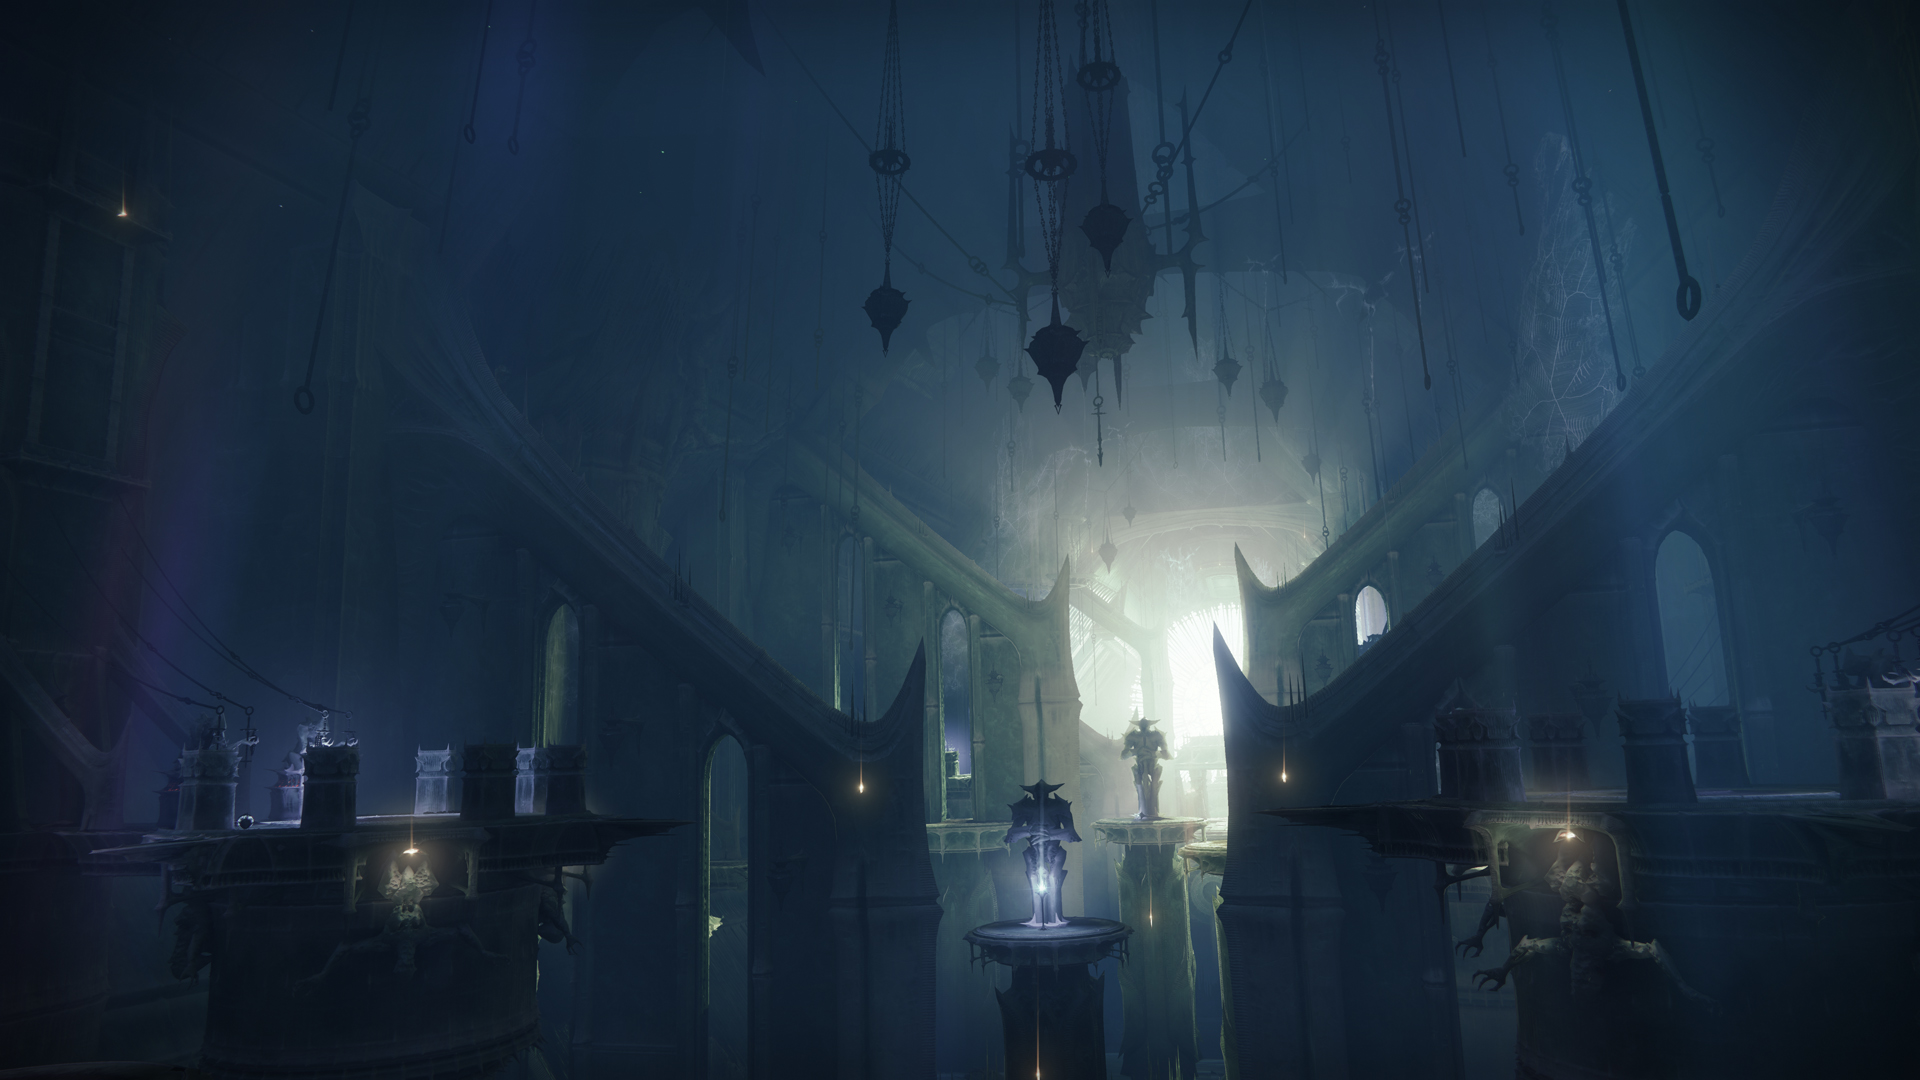
New Pacific Arcology
You'll have to interrupt a Hive ritual to unlock a door for your first encounter. This requires the imbuing of multiple statues with a Vestige of Light.
Kill the two Hive by the door you're attempting to open to begin the encounter. A Soulfire Binder Ogre will appear if you kill these two. The bottom left corner of your screen will display a notification that reads, "The route forward is revealed..", after you kill the ogre. Green goo will also start to emerge on the ground.
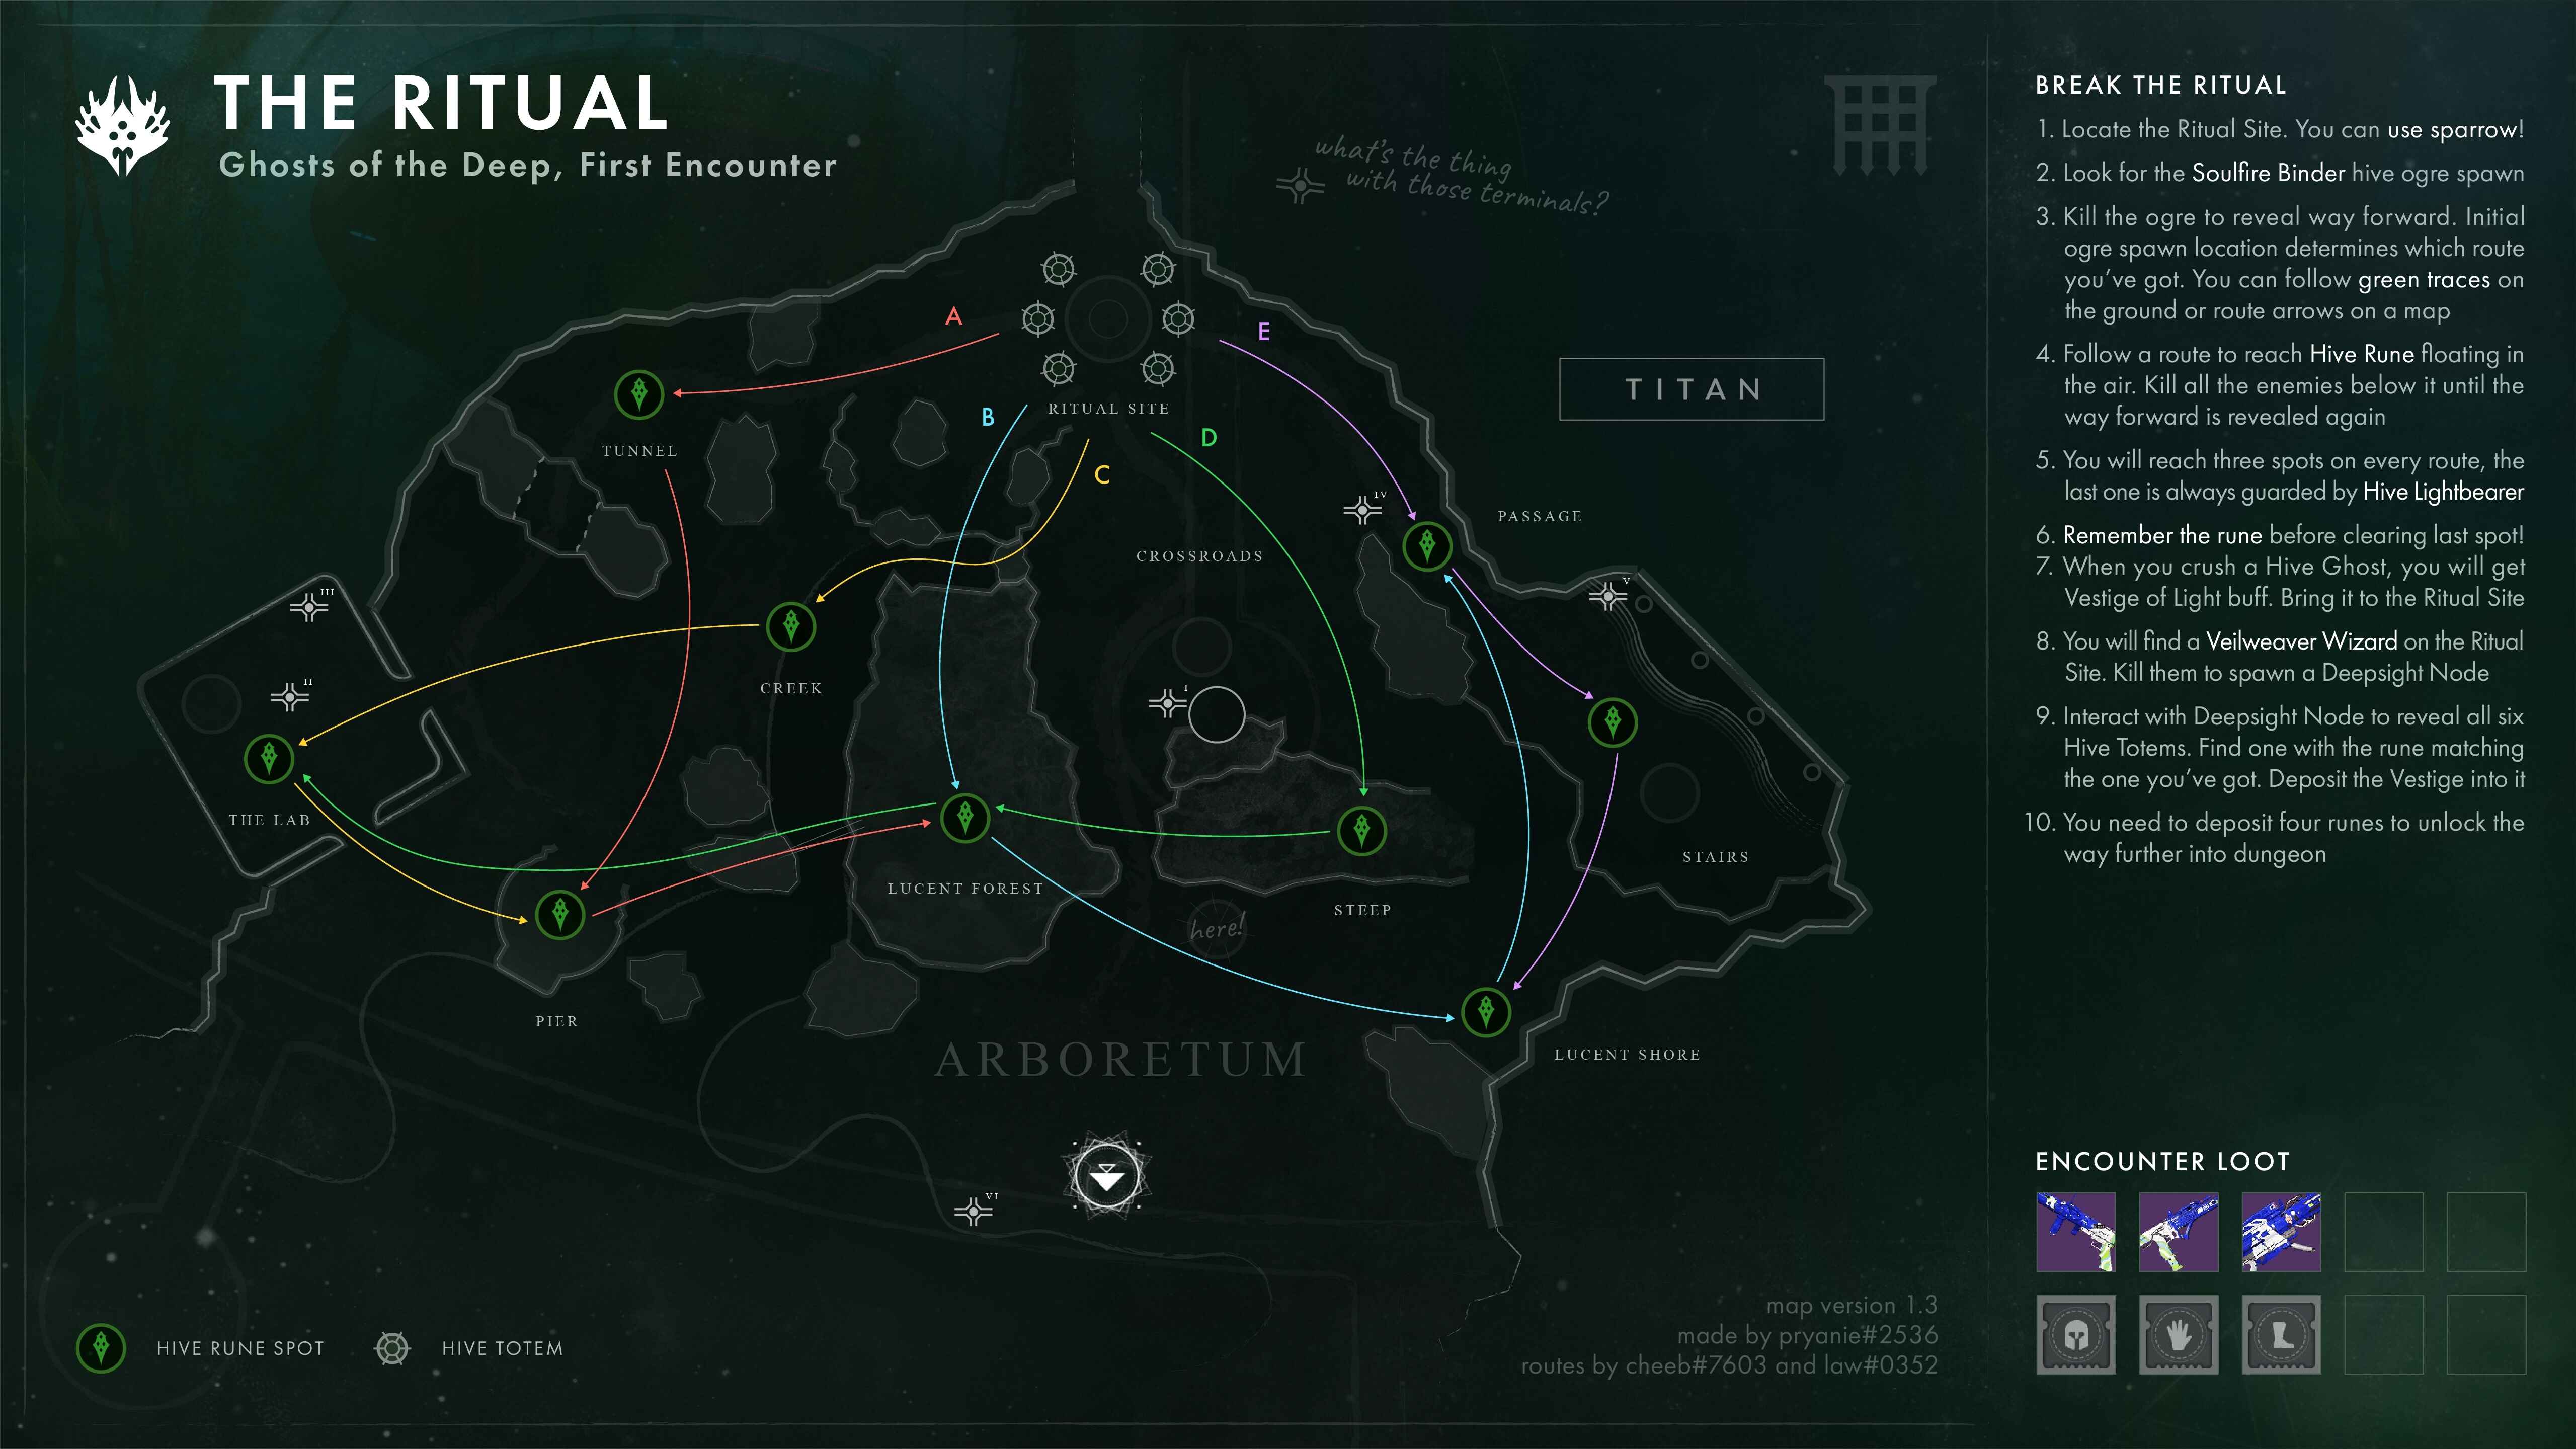
Keep an eye out for a Hive rune in the sky and note which rune it is as you follow that green goo. As you arrive at the rune's location, opponents will start to appear. There will be some enemies called Soulfire Binders among the opponents. More green goo will spawn on the ground to indicate your way once you defeat the Soulfire Binders at the rune site.
The second Hive rune, which will have the same symbol as the first, may be found by moving forward. After eliminating all of the enemies, including the Soulfire Binders, a third green goo instance will appear, which you must follow. After you reach the third rune location, kill the Lightbearer and all other opponents. Once you've taken out the Lightbearer, take out its ghost. The Vestige of Light boost has an 80 second timer, and it is given to the person who accomplishes this. Moreover, a Veilweaver Wizard will be revealed back at the main ritual area.
Go back to the entrance where you first started the encounter. Use your sparrow to speed up the process. When you get there, kill the Wizard to reveal the deepsight illusion. This illusion can be approached by any member of your fireteam, who will then activate it and provide the team with Deepsight for 20 seconds. When the prompt to "Imbue with Vestige of Light" appears, the fireteam member who has the Vestige of Light buff must approach the statue with the same Hive emblem you traced around the region and dunk it into the statue while Deepsight is enabled. If you dunk into the incorrect statue, that team member will die and you'll have to start again from scratch without having accomplished anything. If you do it correctly, you'll see a notification that reads "A ritual statue appears" and hear the gratifying sound of success.
Repeat this for 4 times, and you'll complete this encounter. A reward chest will appear when the door opens. Go inside and move ahead to the second encounter after gathering your stuff.
P.S. There is a secret tank you can spawn at the beginning of the dungeon by activating the 6 consoles. Here's a quick video guide on where the 6 locations are. It seems to be just a fun Easter Egg for now.

Hallowfathom
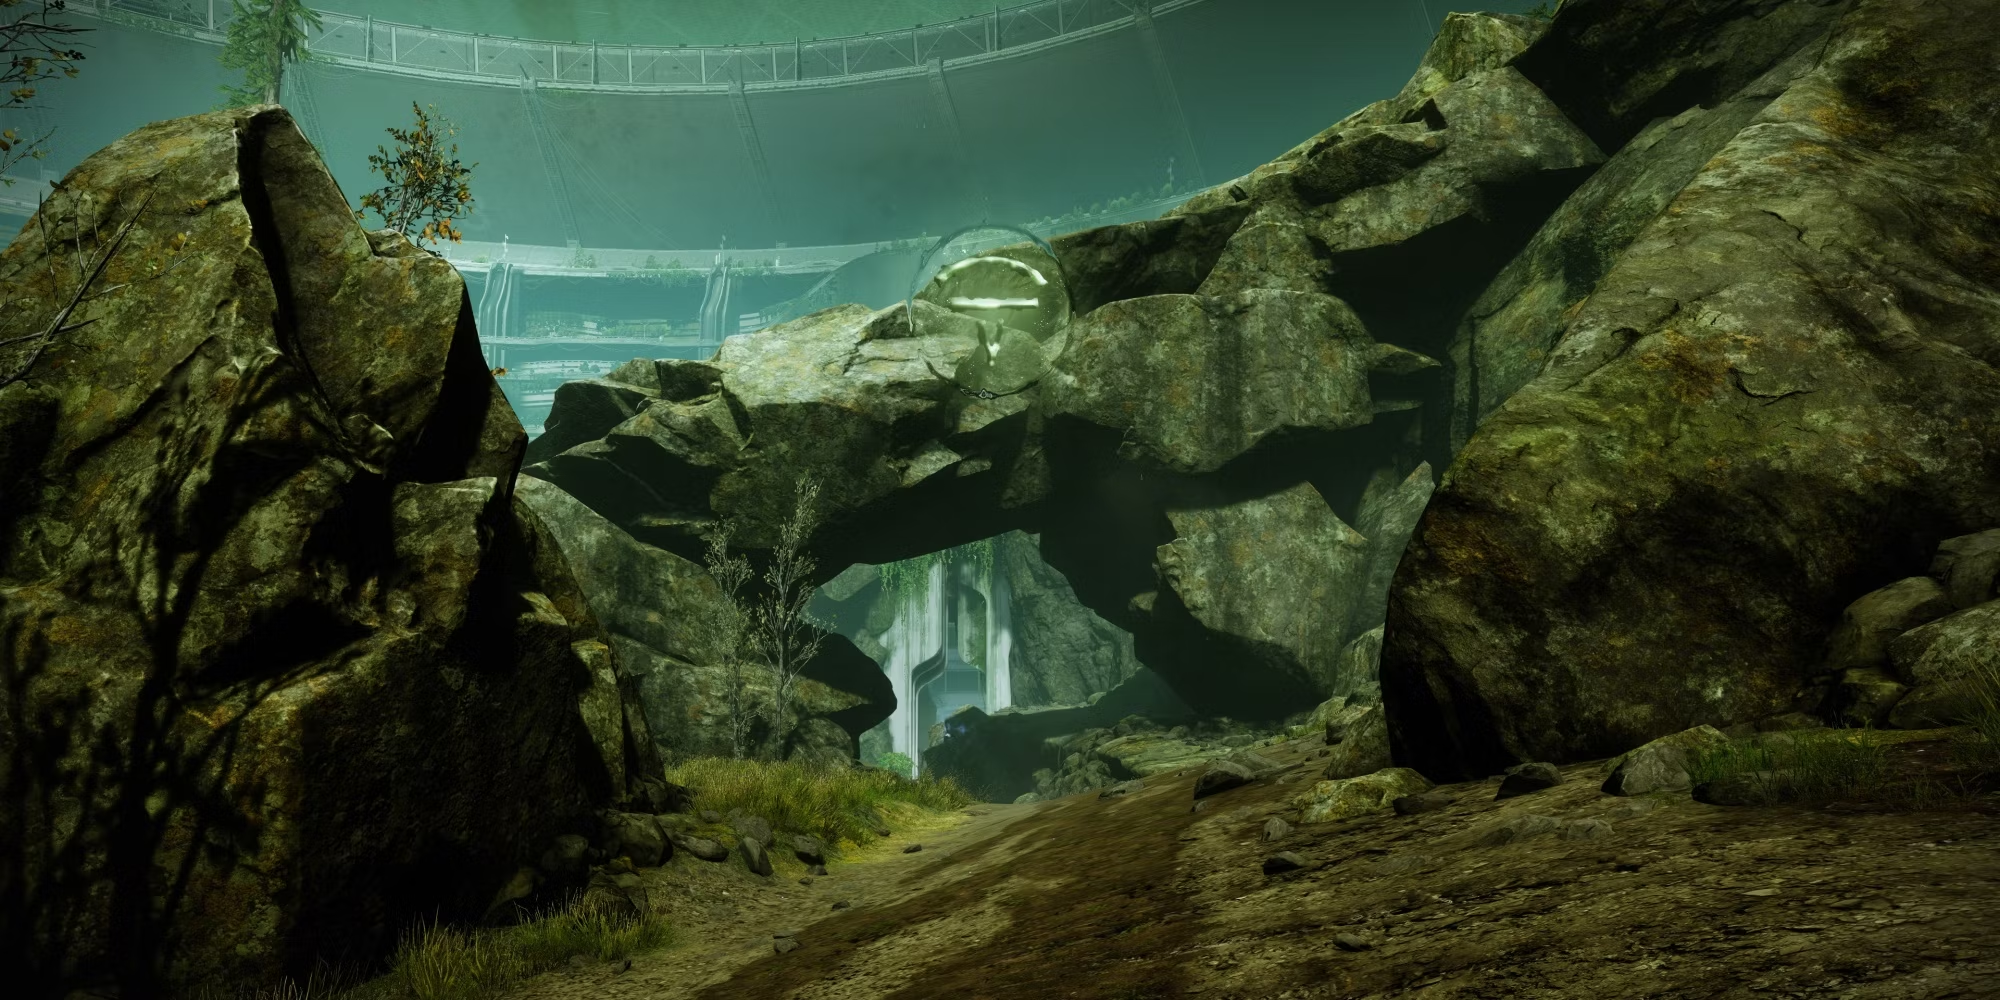
Hive magic and the remnants of a large lucent tombship may be found in the depths of the Arcology. Your objective is to enter the ship's wreckage from the ocean floor. You will begin in the actual Arcology. Make your way down and look for a building that resembles a turbine. There is a fenced-off section with several holes towards the top at the very bottom. Into this space, leap. You should turn to your right in this new chamber and leap into the pipe in the wall. The opposite end will have a huge chasm with several stories of platforms dividing it apart. Up till you reach a lobby area, keep descending. To get to a drilling site, keep travelling down the path.

You should continue your descent after taking out the Hive defending the area. Find a nearby hole in the ground and drop a huge glass column through it. You can jump into a pool of water at the very bottom, which requires you to utilise your pressurised suit. Your objective is to drop as far as you can, like before. Repressurize your suit by walking into any air bubbles you notice nearby; however, keep in mind that there are no instanced air bubbles in this dungeon. To prevent anybody from dying here if you're playing with a group, plan your bubble grabs beforehand.
You will eventually reach the base of the building where there is no obvious exit. Search for some submerged walkways over this structure's edge, then leap down. The next step is to find a fan. Repressurize your suit by leaping onto this fan and launching yourself back into the Arcology. You keep repeating this platforming pattern until you reach the ocean floor.
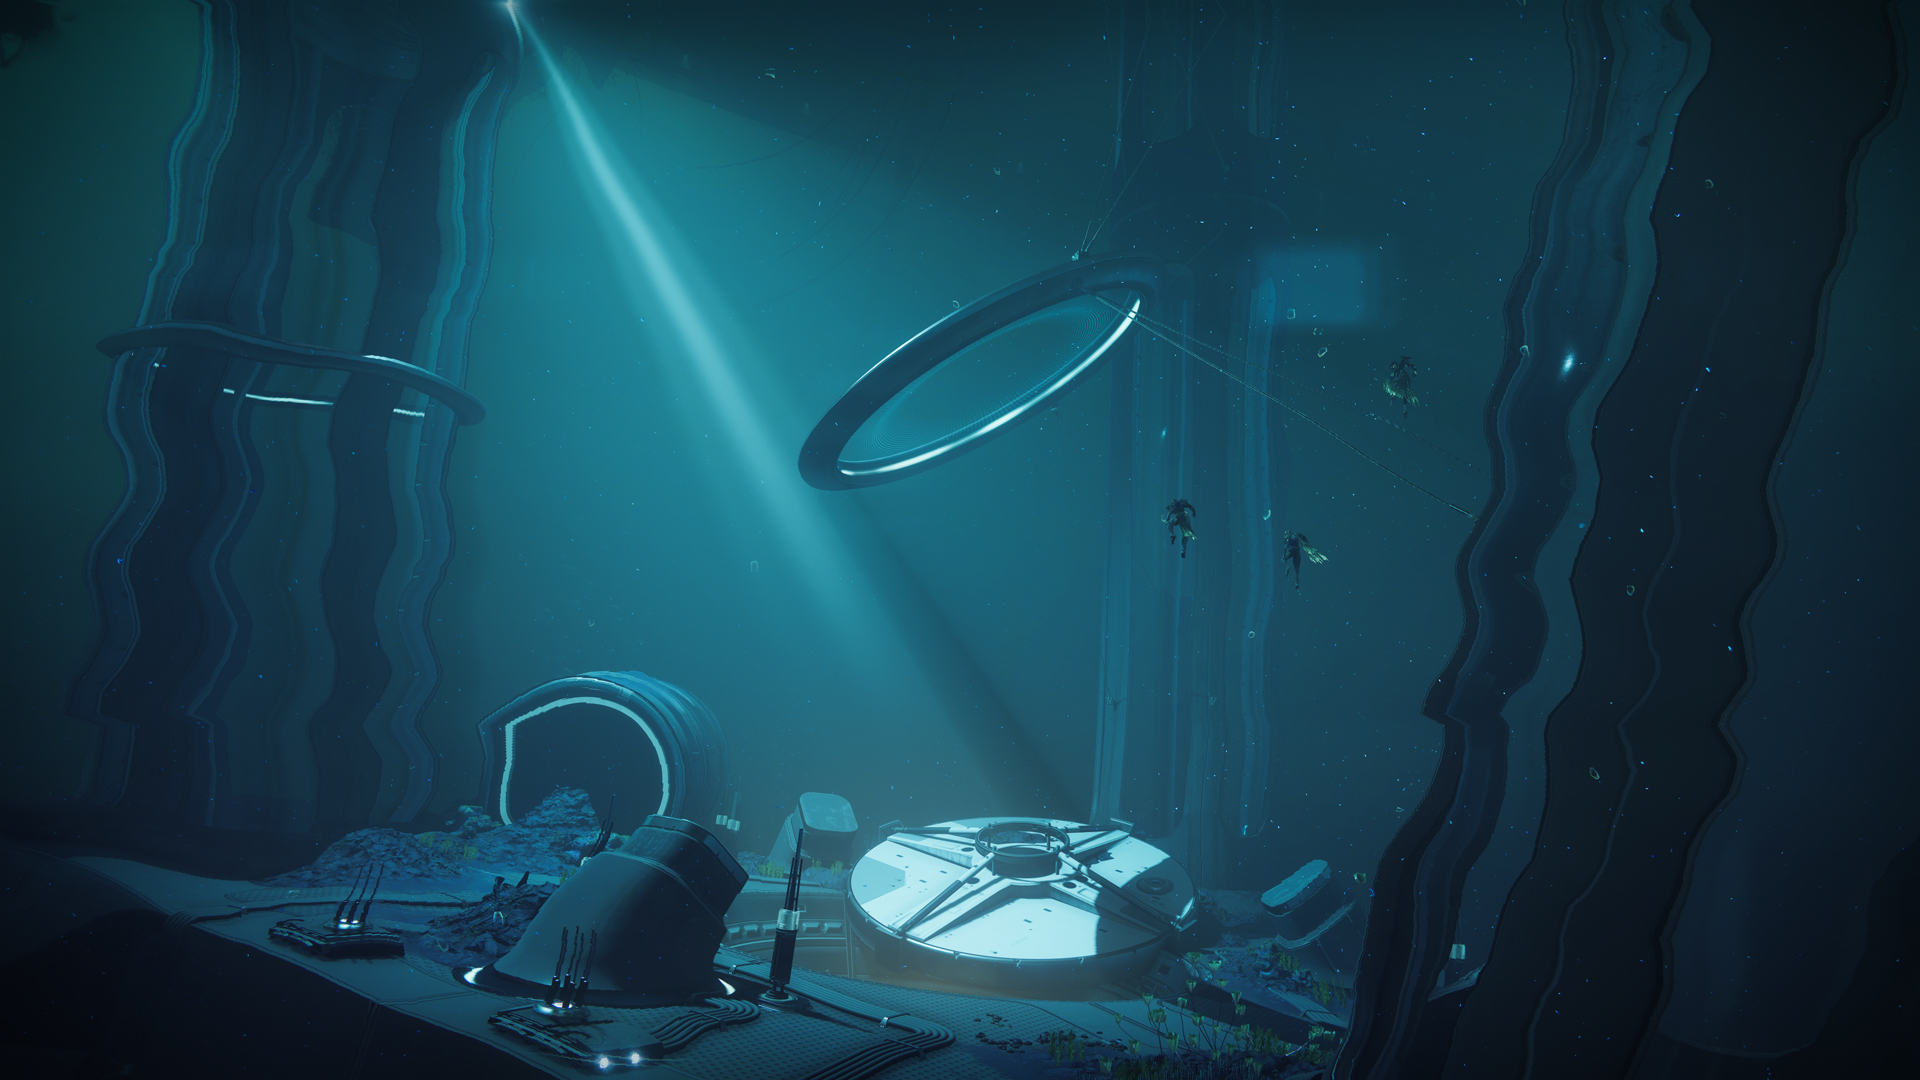
There aren't many branching pathways on the ocean floor, which makes it primarily linear. You search for water barriers that you can walk into, just like in Salvage and Deep Dive. These obstacles signify a room that isn't submerged, allowing you to move and use your weapons normally. Till you reach the Dreadnaught's ruins, keep descending. To advance to the next encounter, enter and successfully finish a brief leaping portion.
P.S. Don't forget to take the first secret chest in this part of the dungeon.
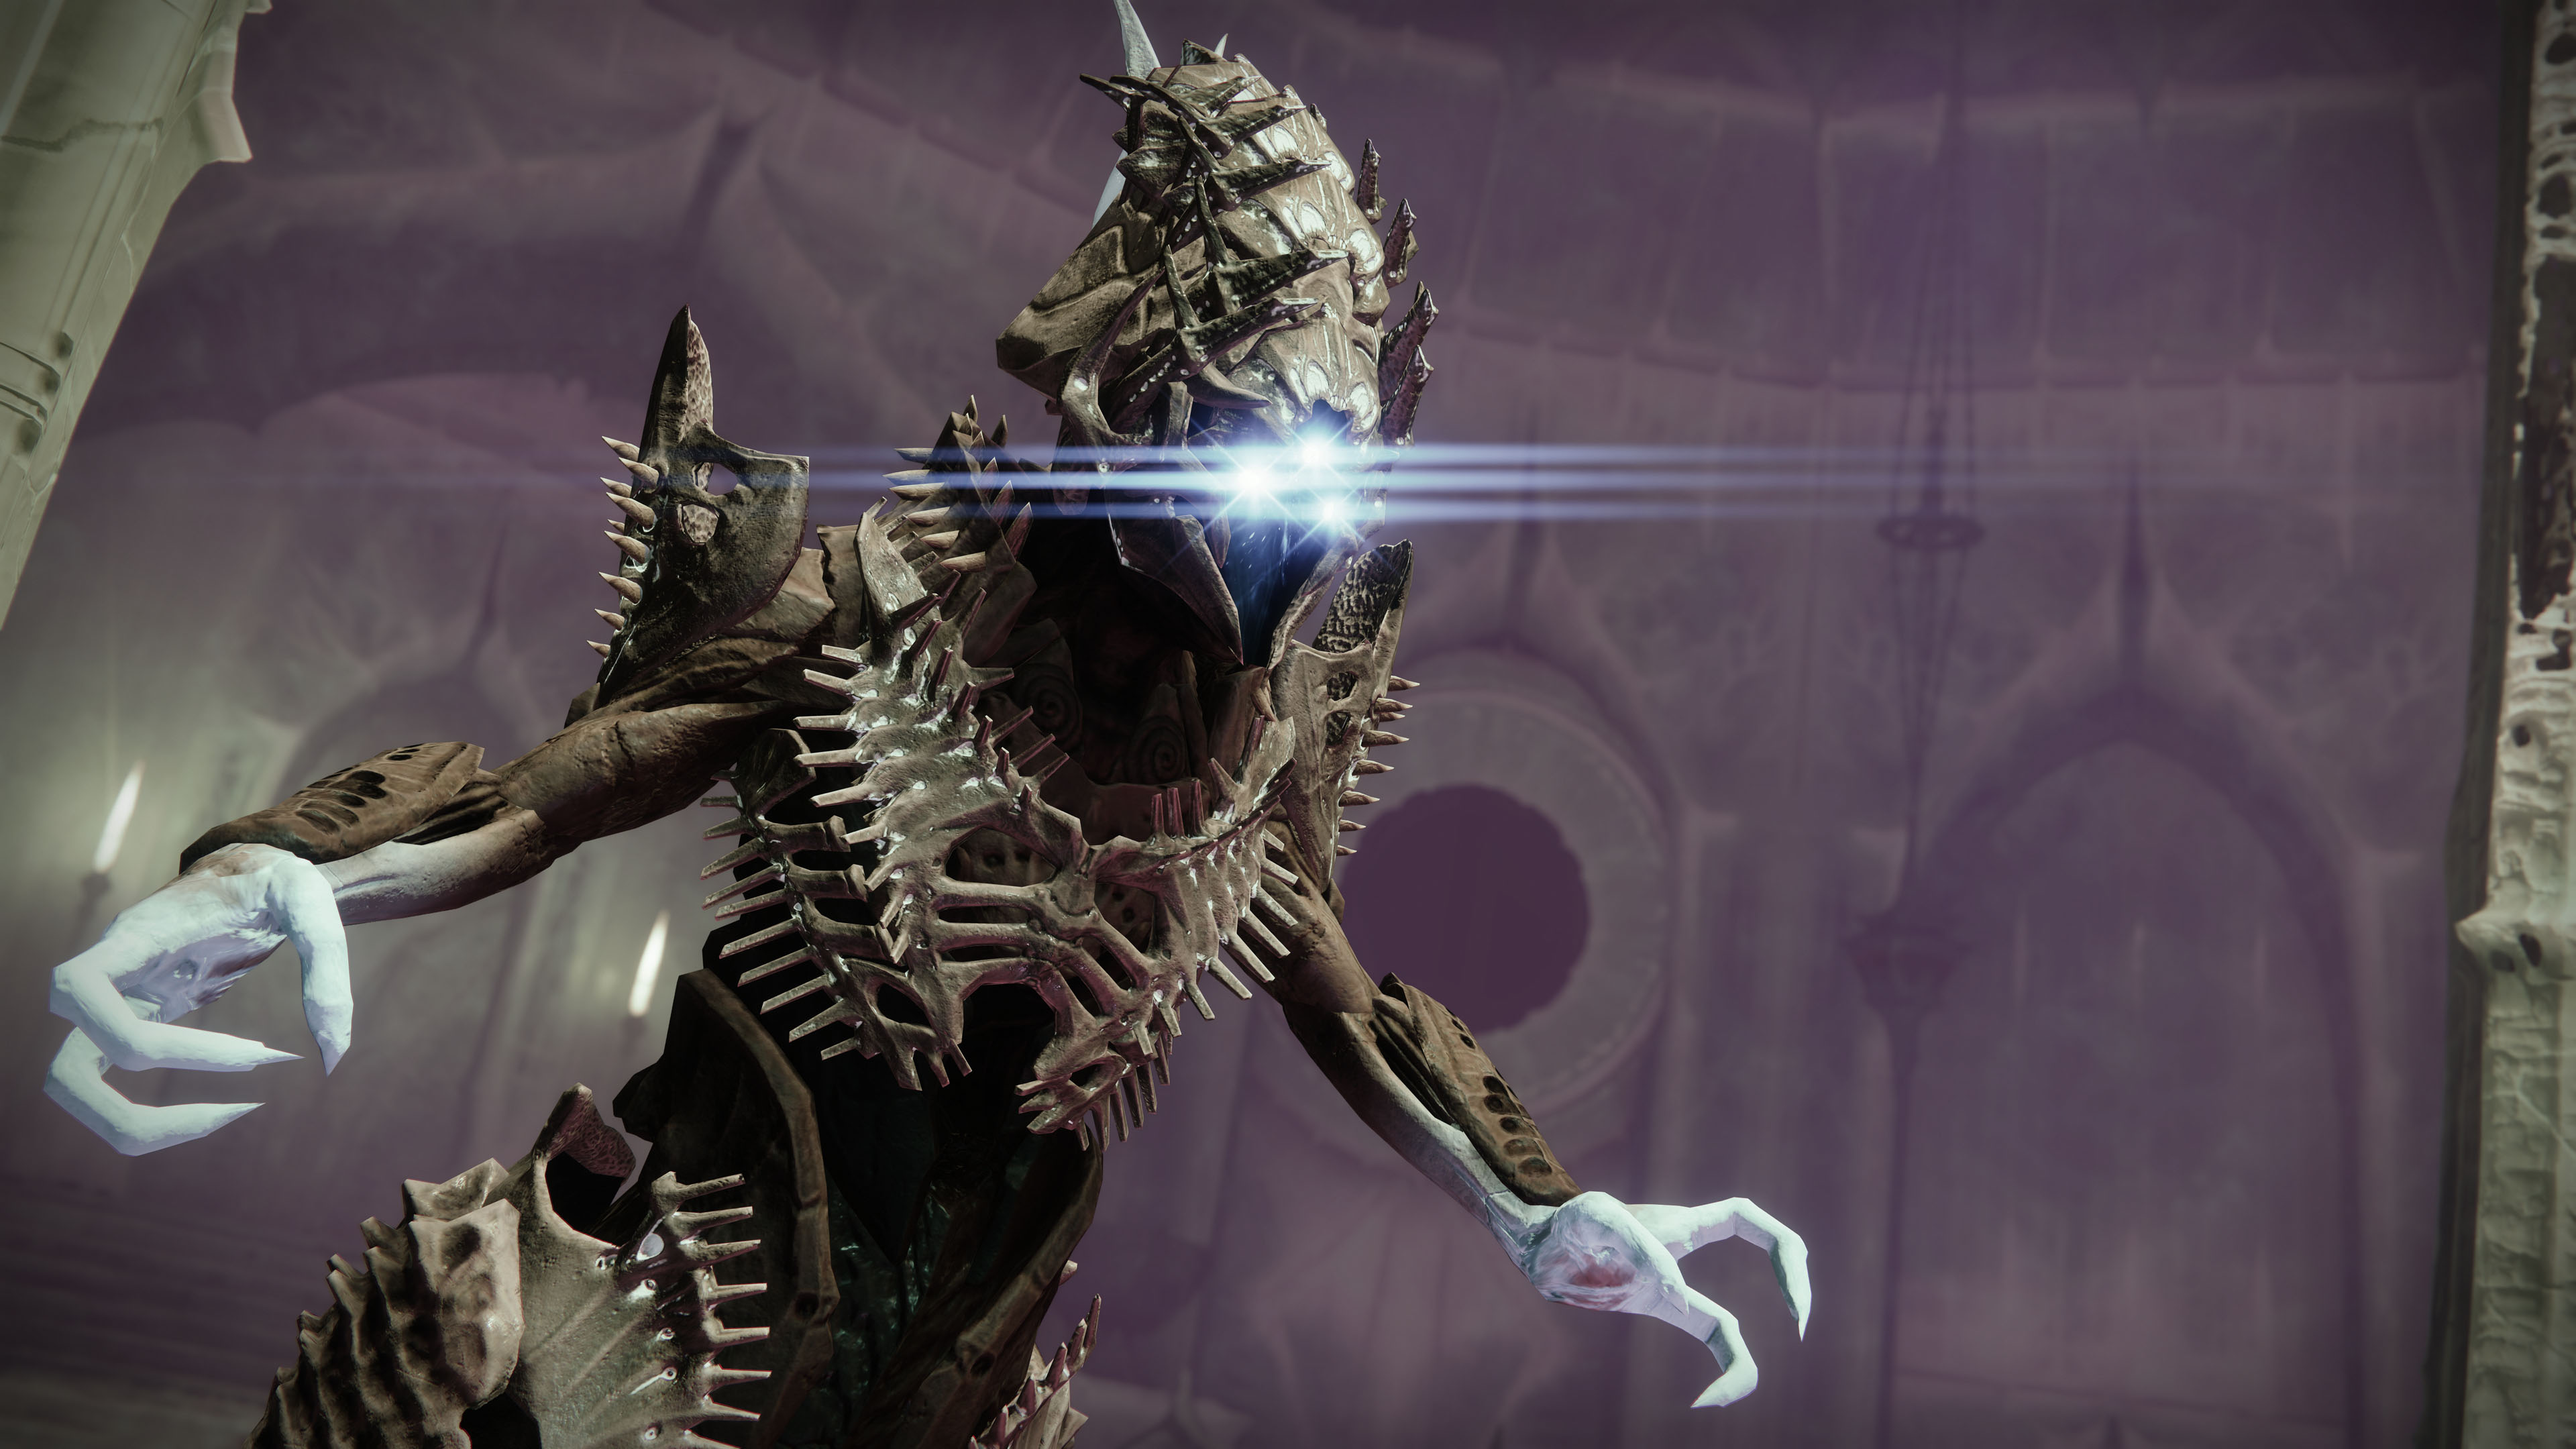
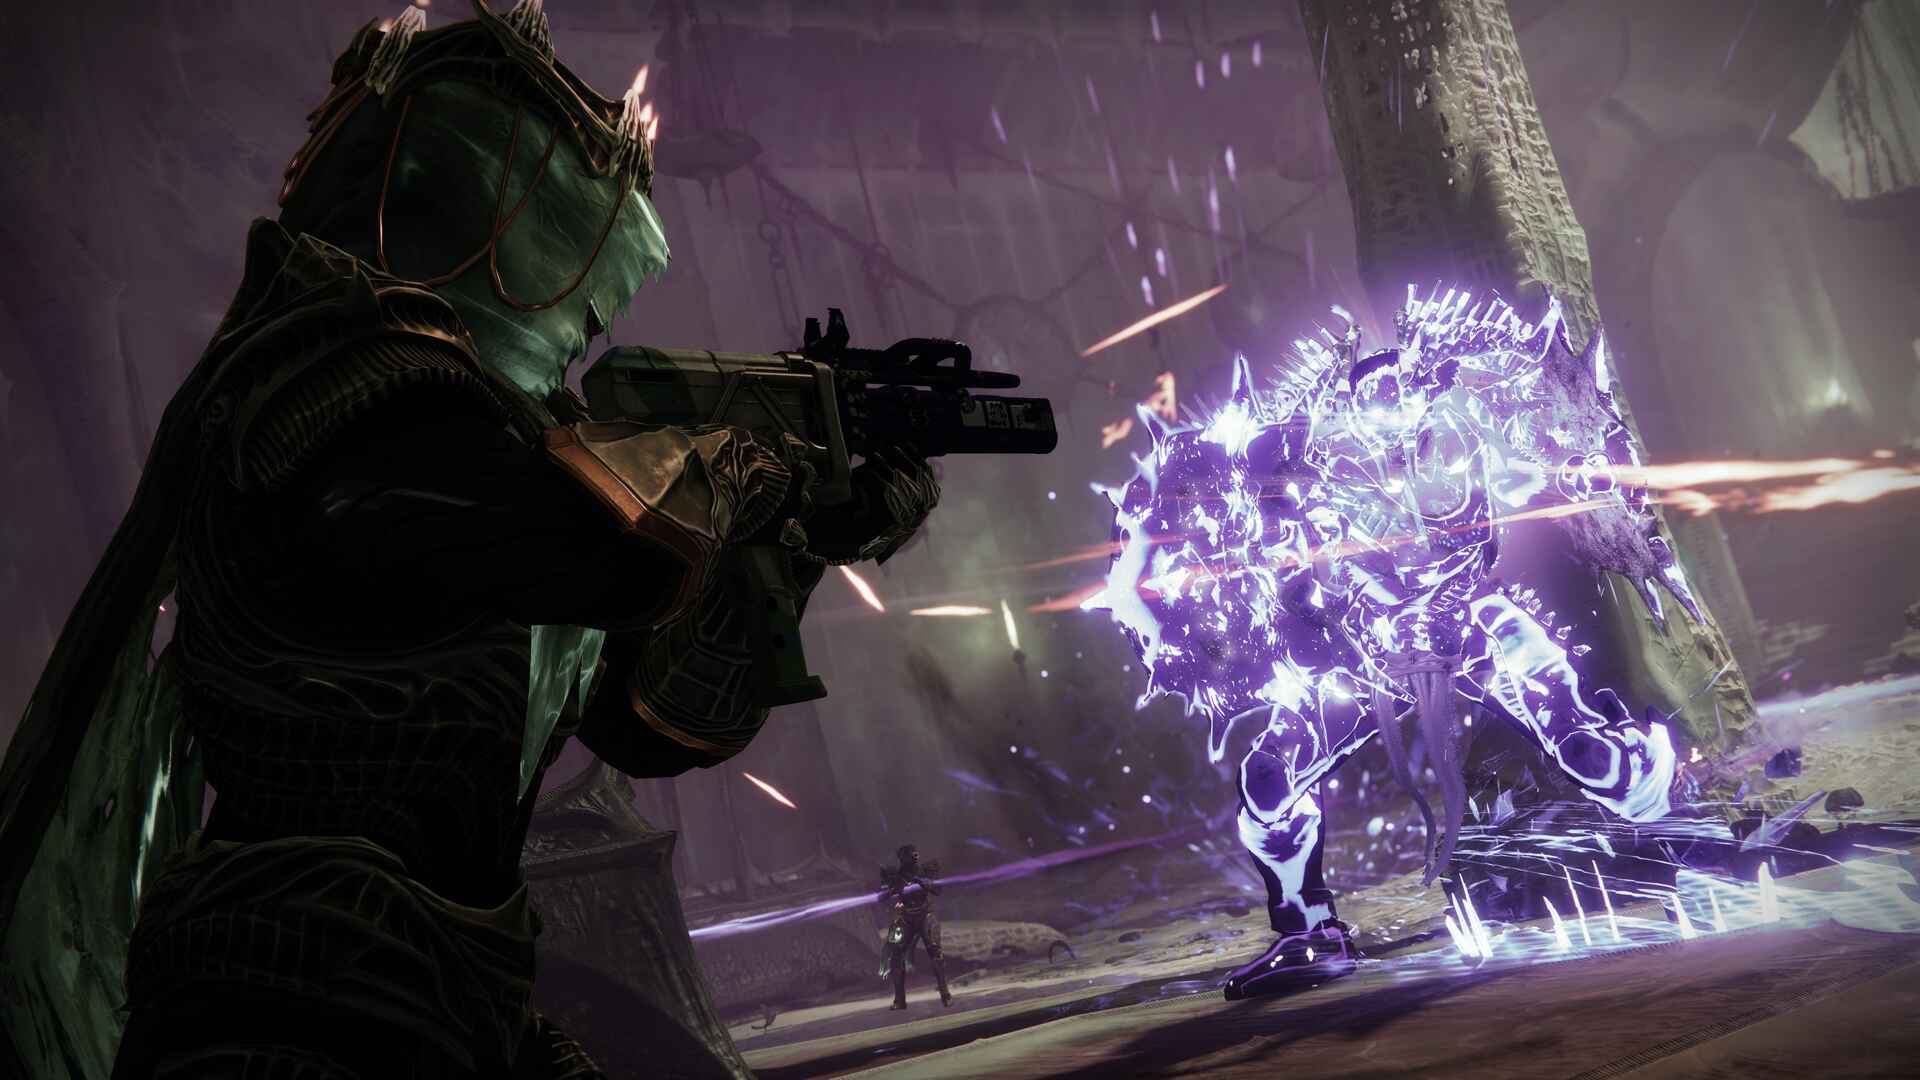
Ecthar, The Shield of Savathûn
It would be prudent to have a Well of Radiance on the squad as the second encounter presents a significant increase in difficulty over the first. Use what you find most comfortable. The Arc Resistant modifications in your Chest Armor are heroes in this battle, as is Riskrunner. Use your Supers freely, but make sure to bring them back during the damage phase. Last but not least, avoiding the boss and discovering the runes underwater is simple; staying alive in the main area is harder. If it makes sense for your team, divide up the duties accordingly.
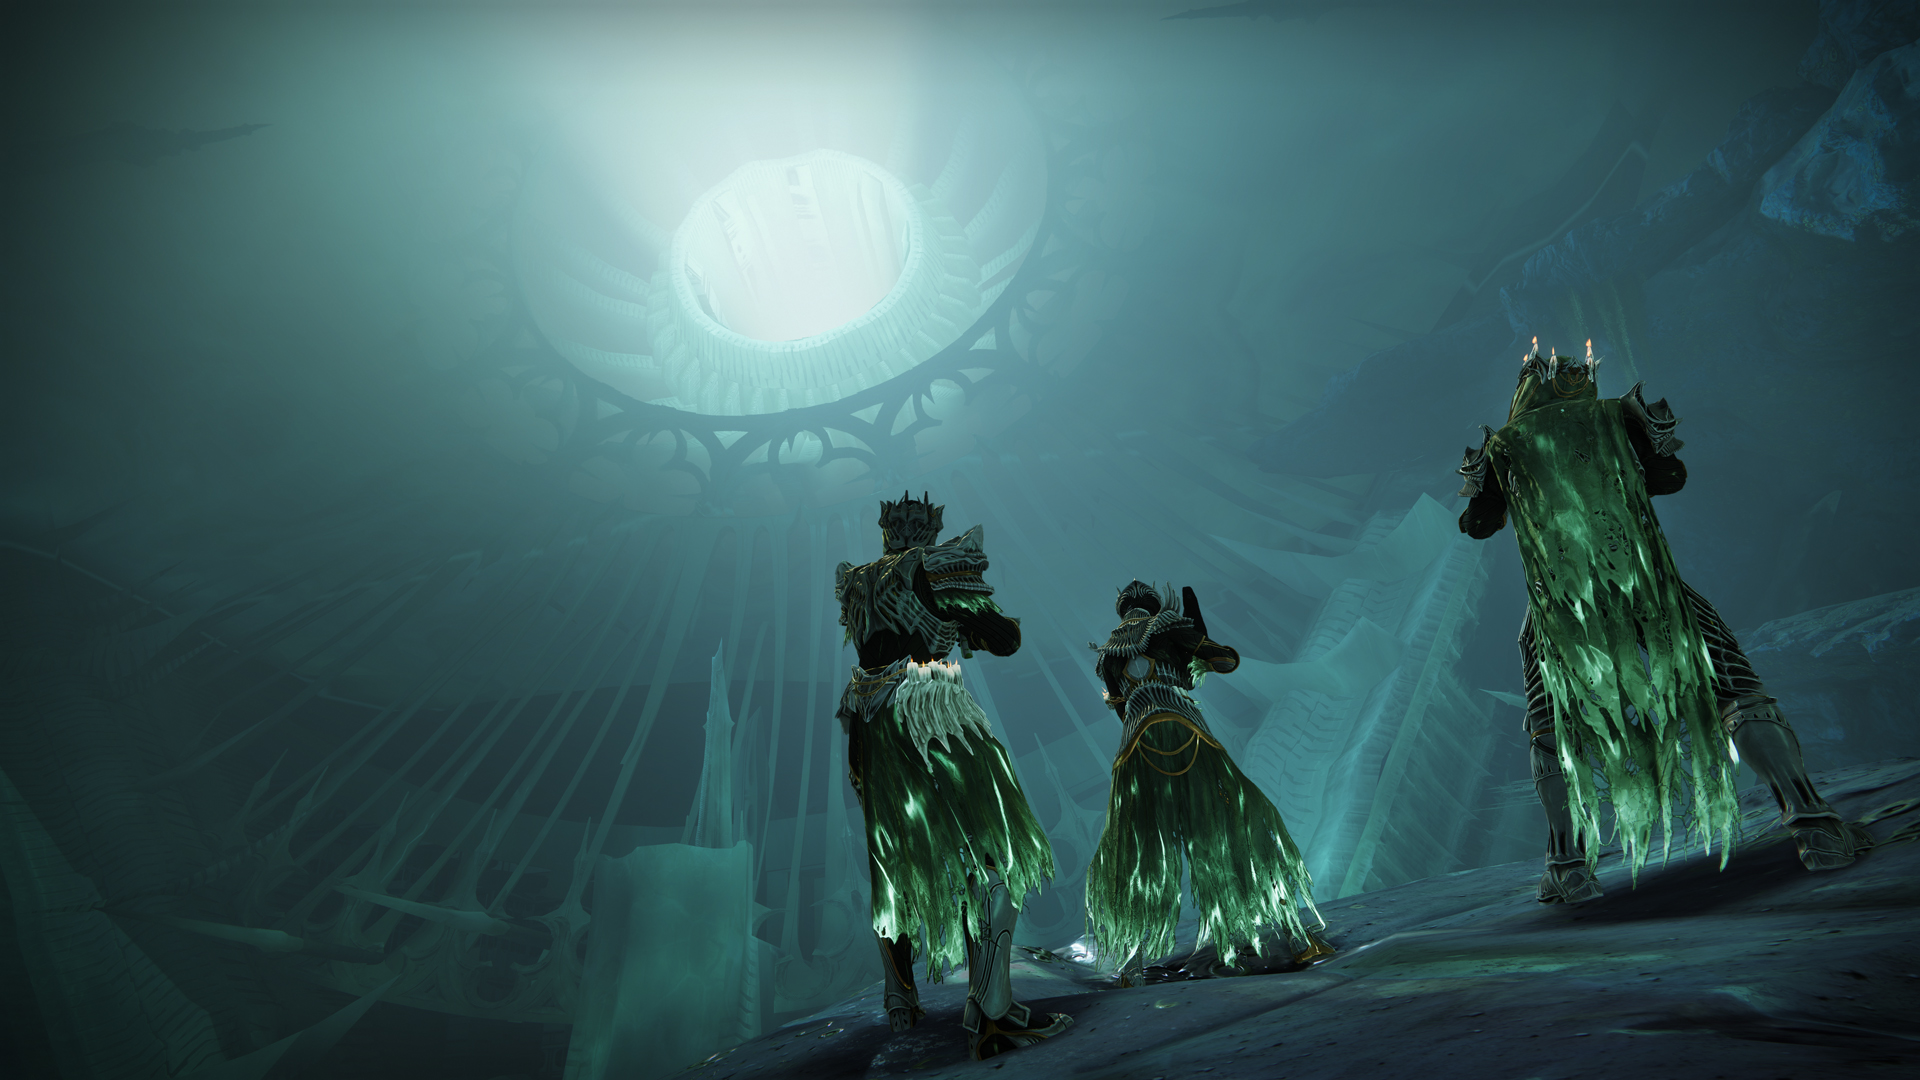
Kill the four Acolytes who are meditating next to the fountain to start the second encounter. As a result, Ecthar, the Shield of Savathûn, the room's boss, will appear. Three Blistered Knights and a large number of adds will also spawn from it.
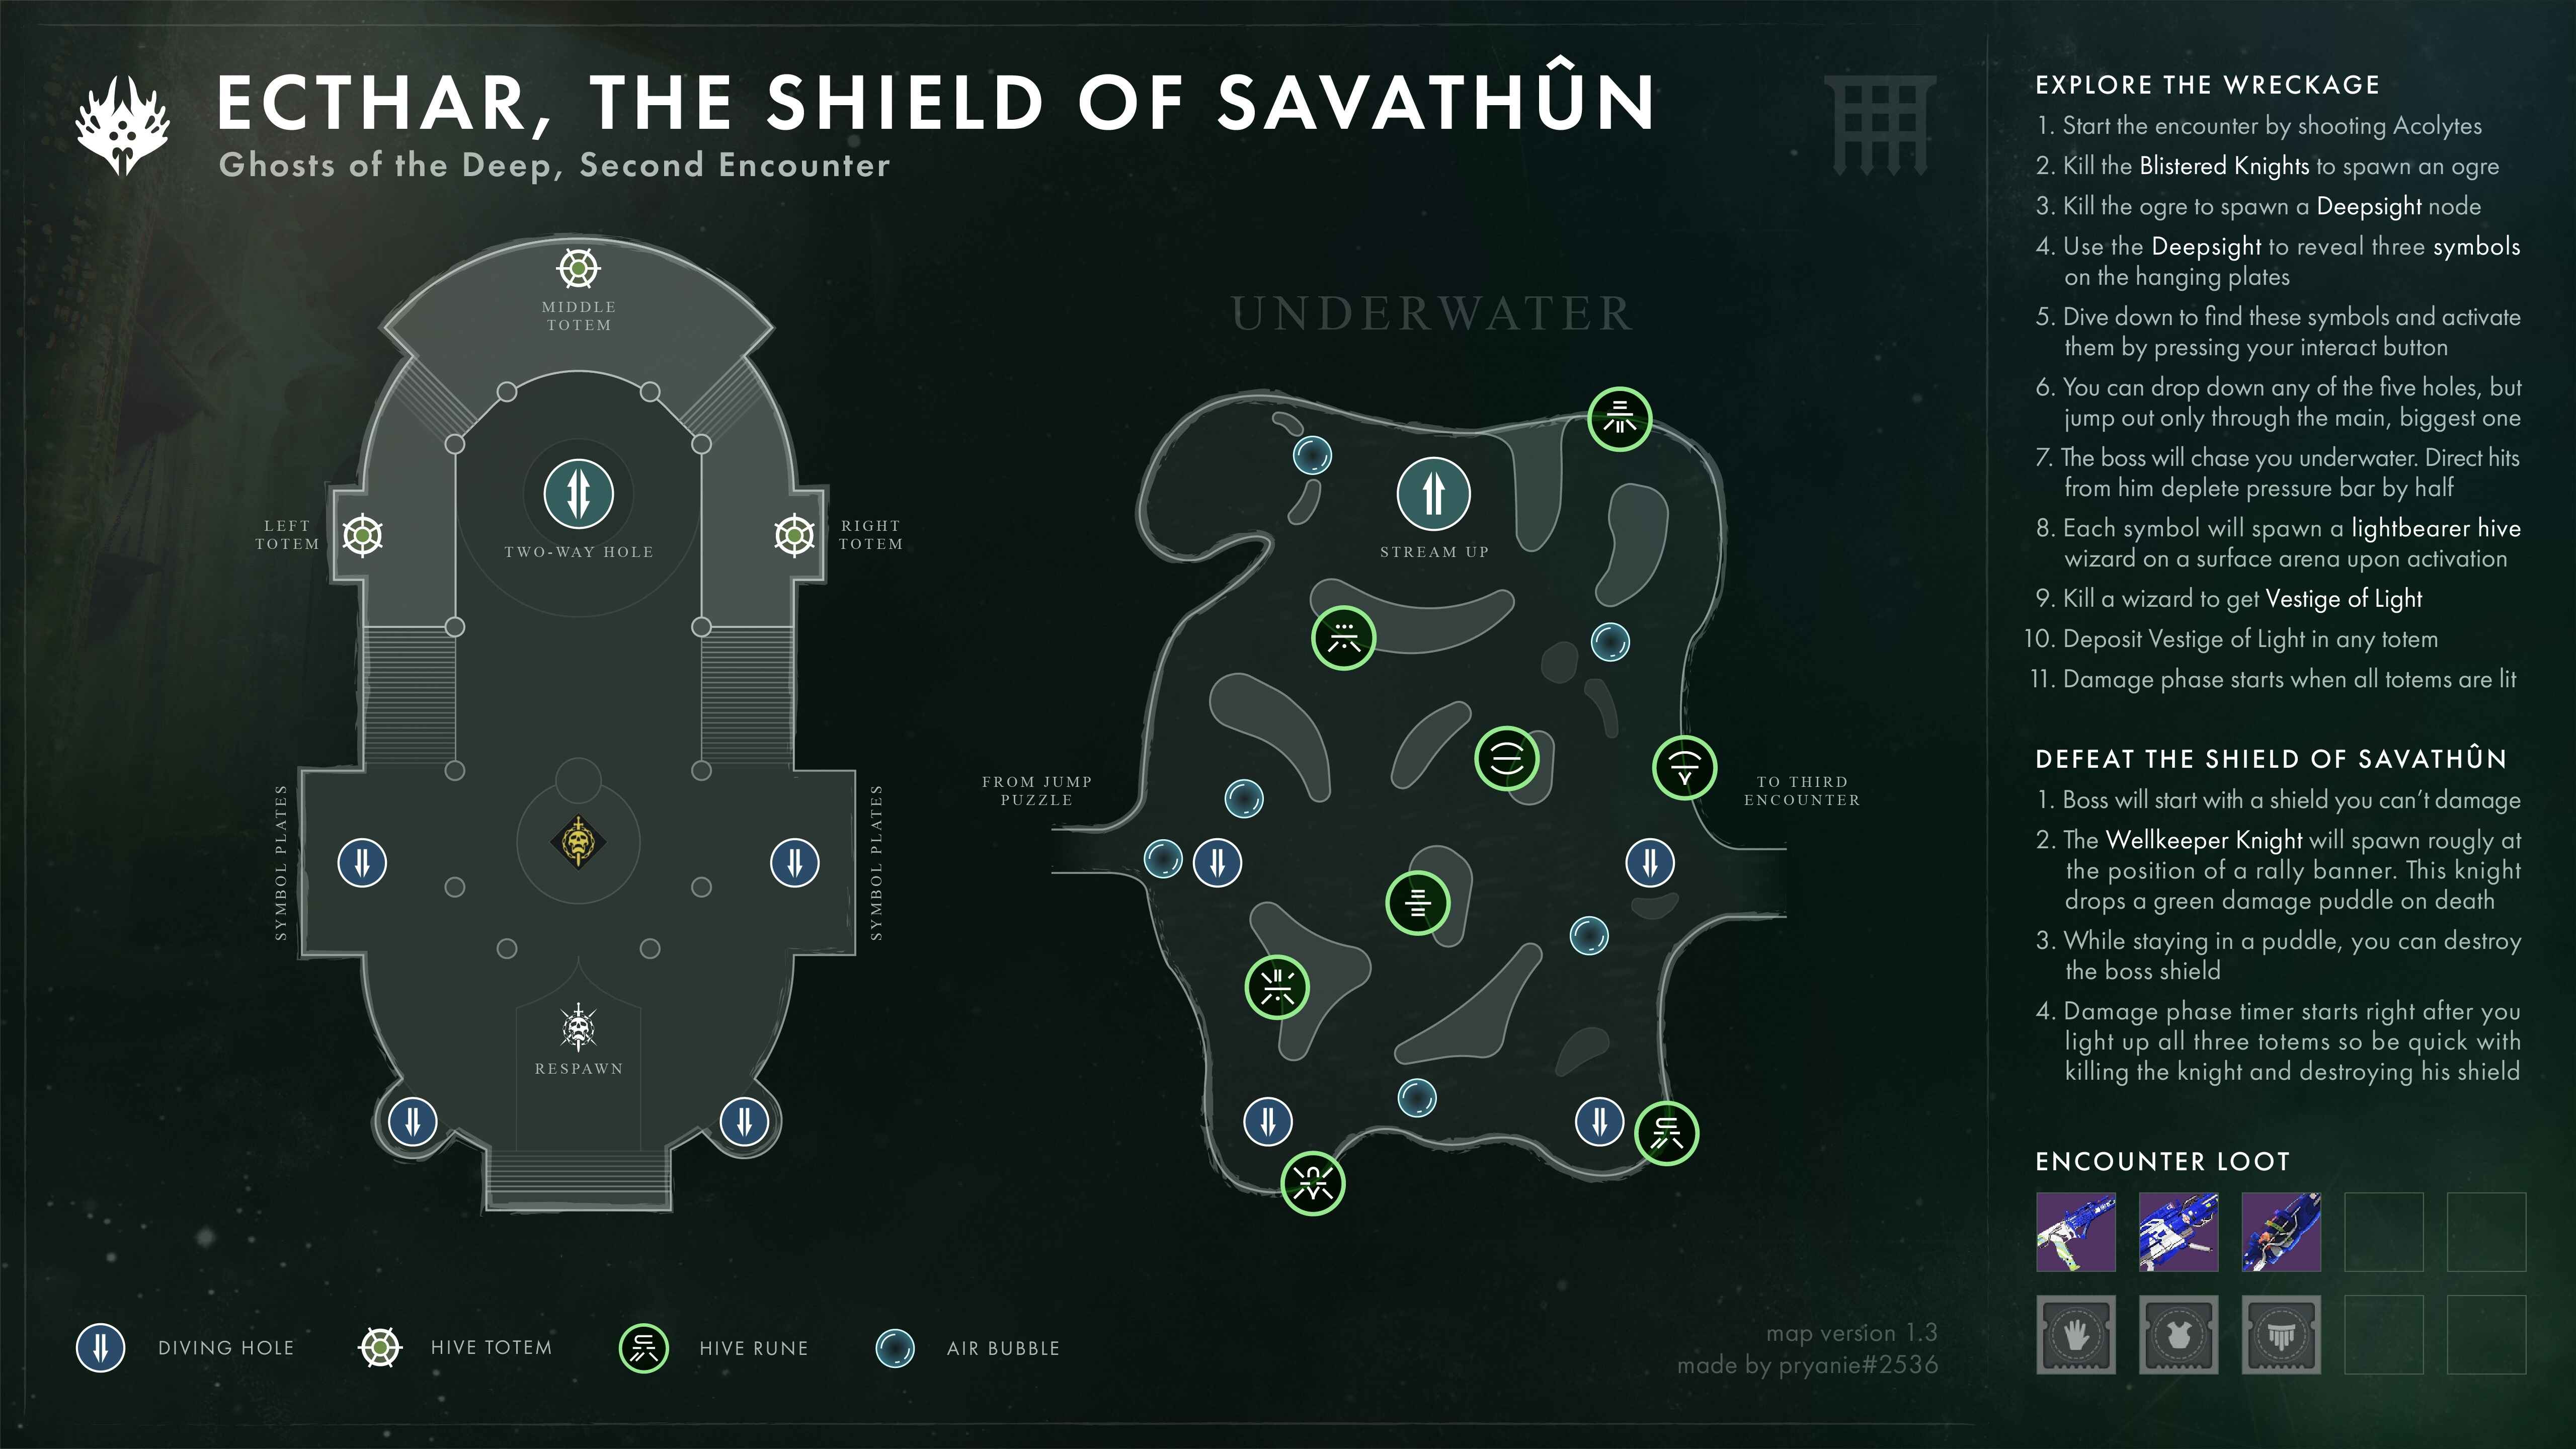
By eliminating the Blistered Knights, a Keeper of the Deep Ogre will spawn. Once you kill it, a deepsight illusion will appear next to the fountain. The illusion can be exposed by any team member, giving the entire group 20 seconds of Deepsight. If you have Deepsight, you can see eight Hive runes, four on each side, on the room's left and right walls. Three runes will be illuminated. You must memorise and keep in mind each of the three rune symbols.

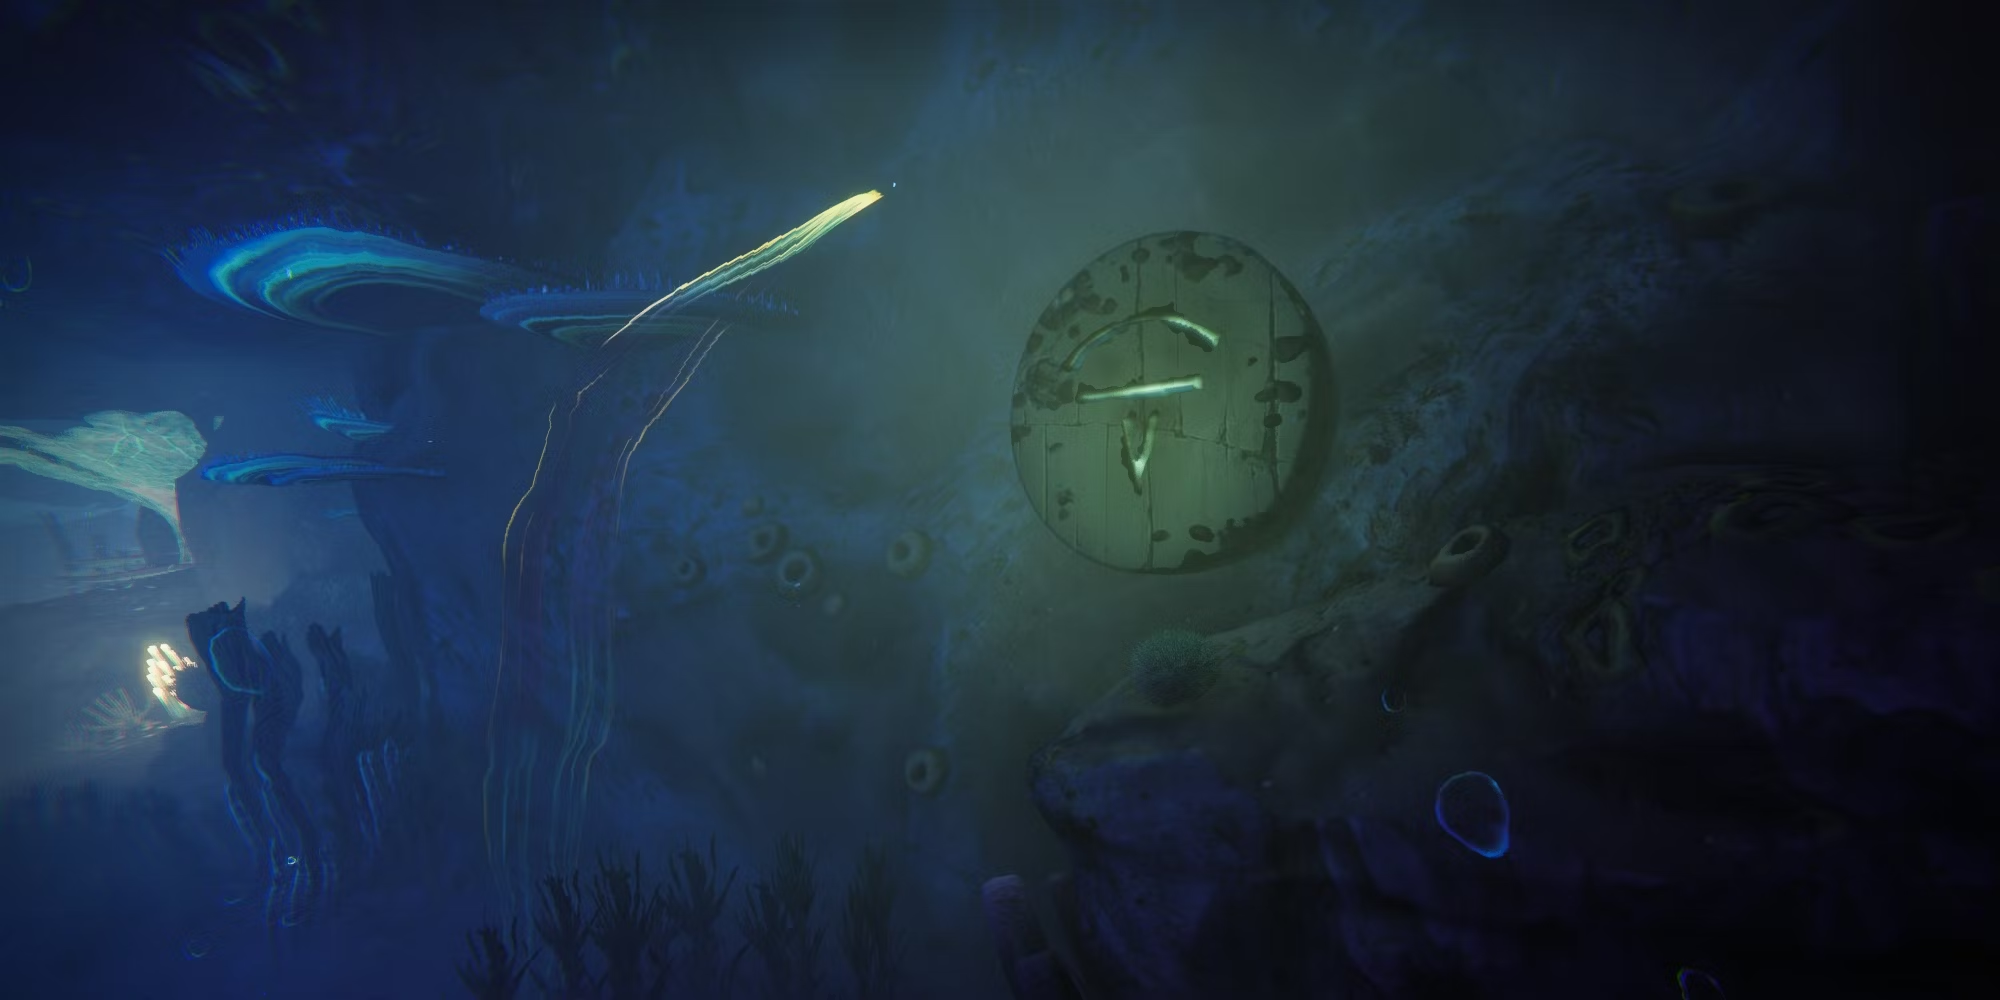
One of your team members must now jump into the water, ideally via the smaller openings on the left and right. The boss will follow them as a result, leaving the two fireteam members in the room to take down adds. The person submerged then has to find the three symbols that emerged on the walls and choose "Touch Rune" when they come across it. After you have properly touched all three runes, avoided the boss, and maintained your pressure resistance, climb back to the surface to rejoin your squad.
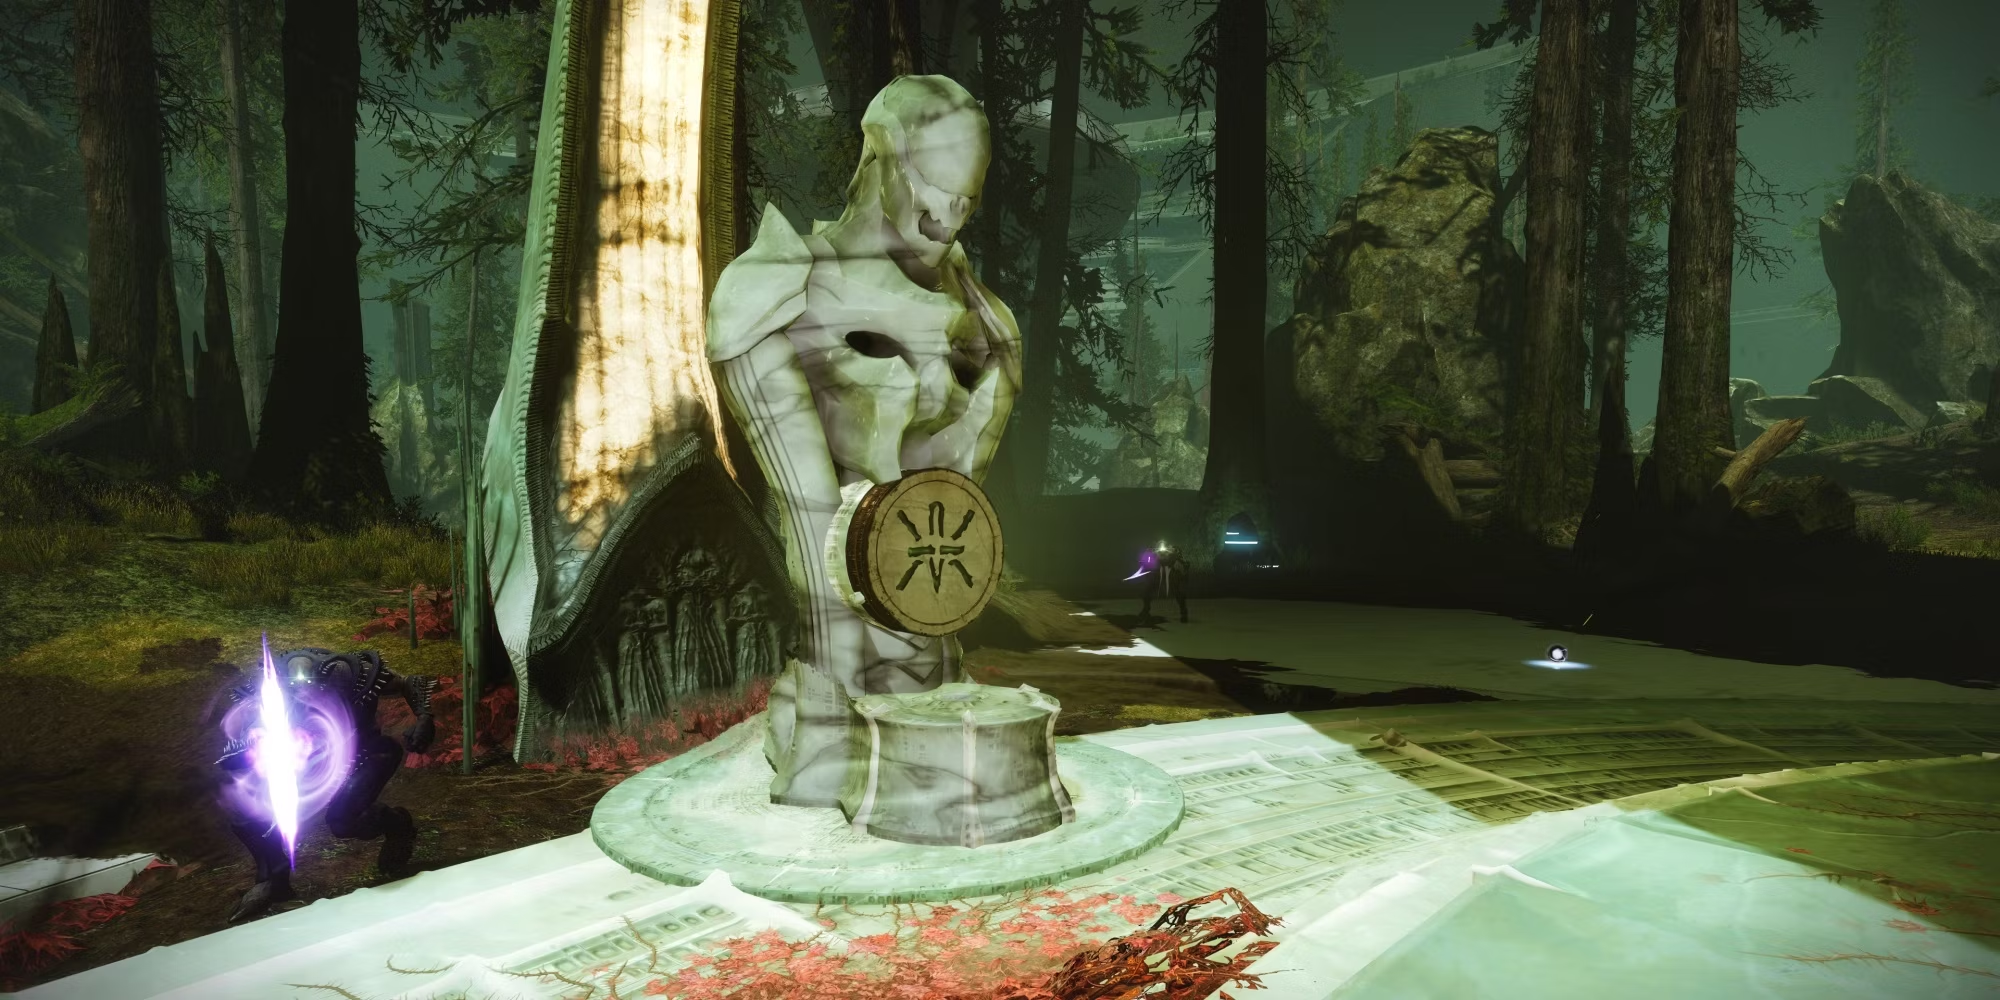
Lightbearer Wizards will now be present in the main chamber. Remember to crush the ghost of the wizard you killed. The Vestige of Light buff will be given to the person who crushes the ghost. This individual must select the "Imbue with Vestige of Light" option at one of the three statues in the area, which are all up the stairs. One statue is on the left staircase, one is on the right, and one is in the middle towards the rear. The damage phase can begin once your team has eliminated three Lightbearer Wizards and their Ghosts and infused the three statues with the Vestige of Light.
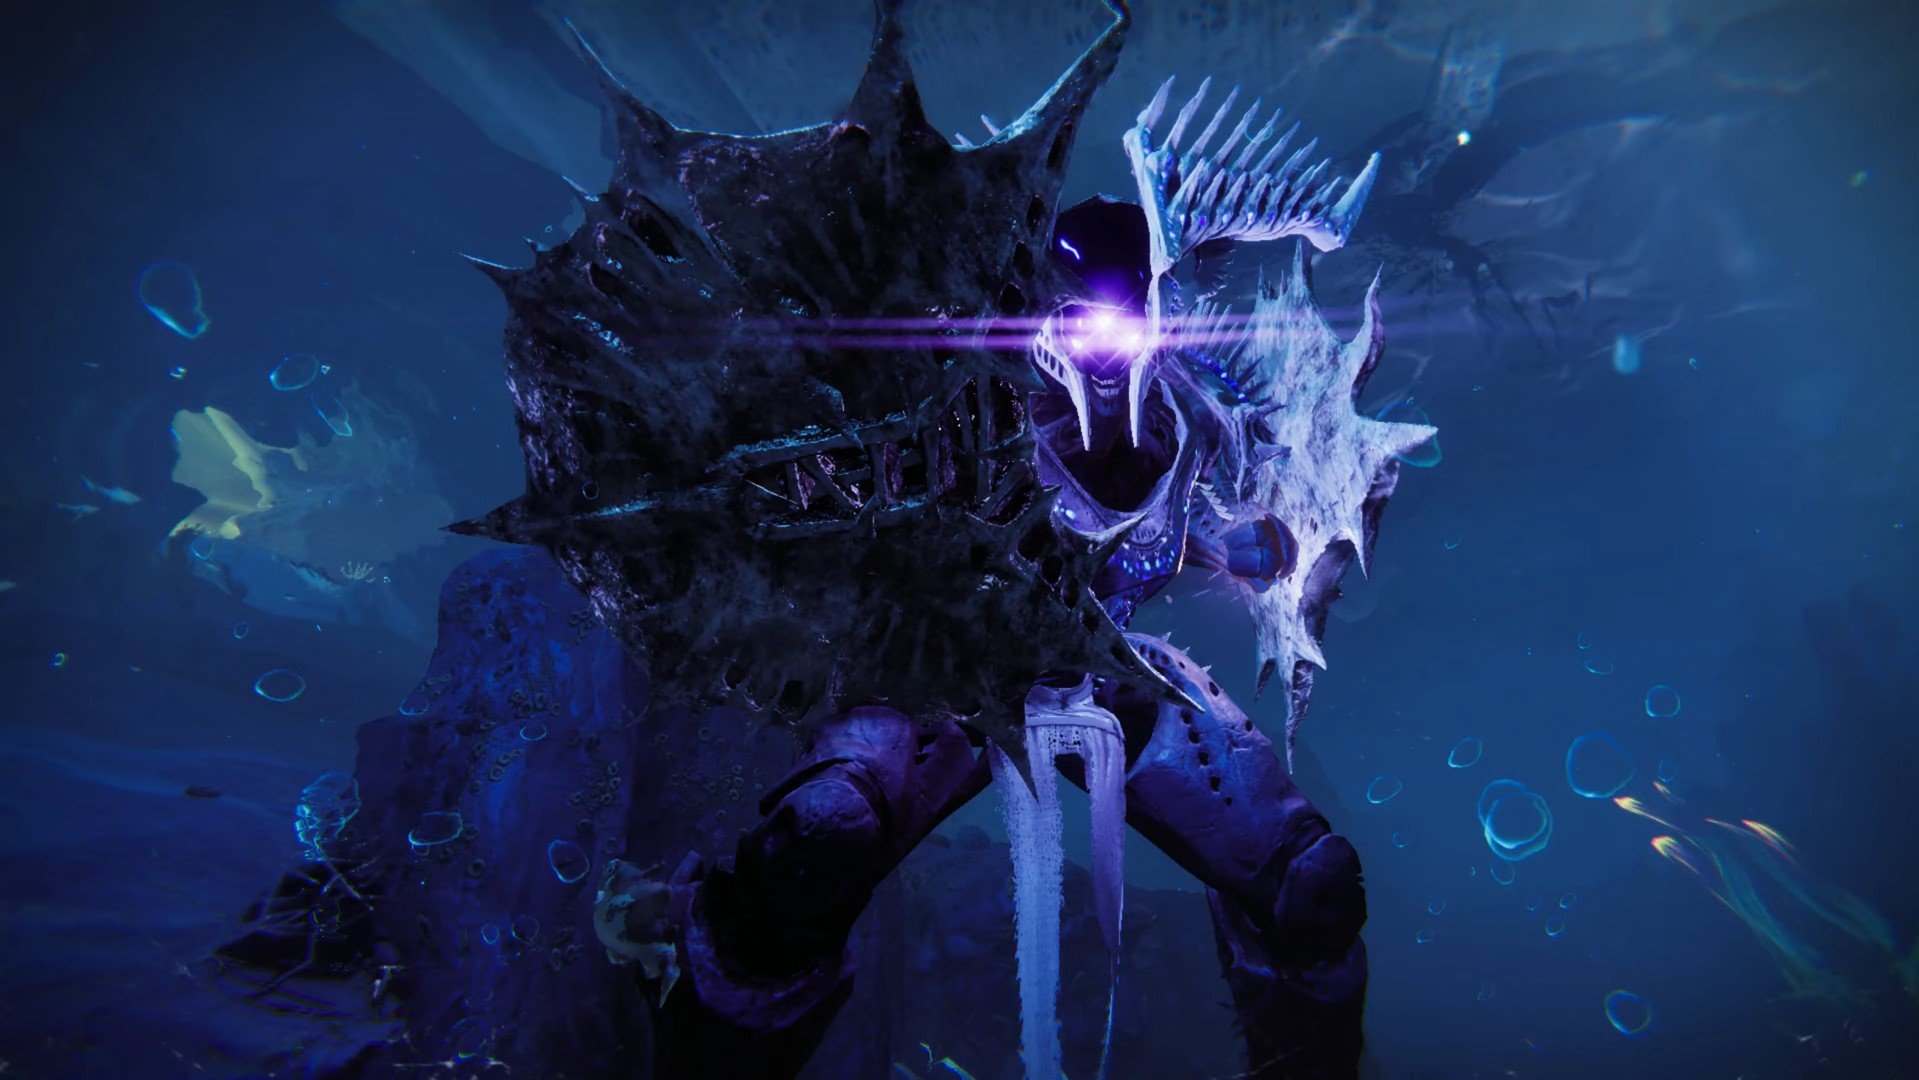
A Wellkeeper Knight will appear right in front of the fountain as soon as the final statue is endowed with the Vestige of Light. Once you kill this Knight, a pool of hive magic will spawn at its place of death. Jump into the pool to start your damage phase and launch yourself at the boss with everything you've got. A Warlock with a Well of Radiance or even a Hunter with the Gathering Storm Super can be effective. To keep you alive, the Well of Radiance is practically necessary. As the boss becomes immune, continue to attack him with all your might until he is killed.
 One of the three Lightbearer Wizards you must kill to obtain the
Vestige of Light.
One of the three Lightbearer Wizards you must kill to obtain the
Vestige of Light.
 Swords and shotguns are a good for DPS, along with a well of
radiance and a gathering storm.
Swords and shotguns are a good for DPS, along with a well of
radiance and a gathering storm.
Tip: ARBALEST ONE-SHOTS THE SHIELD!
If you've made it this far, the next section of this dungeon consists of a combination of underwater platforming and tombship navigation. The sole noteworthy feature is a large chamber tucked down deep into the Dreadnaught. A Shrieker, many Wizards, and an Ogre that spawns close to the path's conclusion are all present in this area. Above the Ogre's spawn point is where you'll find the second hidden chest. After that, simply destroy any Hive you come across, make your way through the tombship, and you'll have little issue making it to the final confrontation.
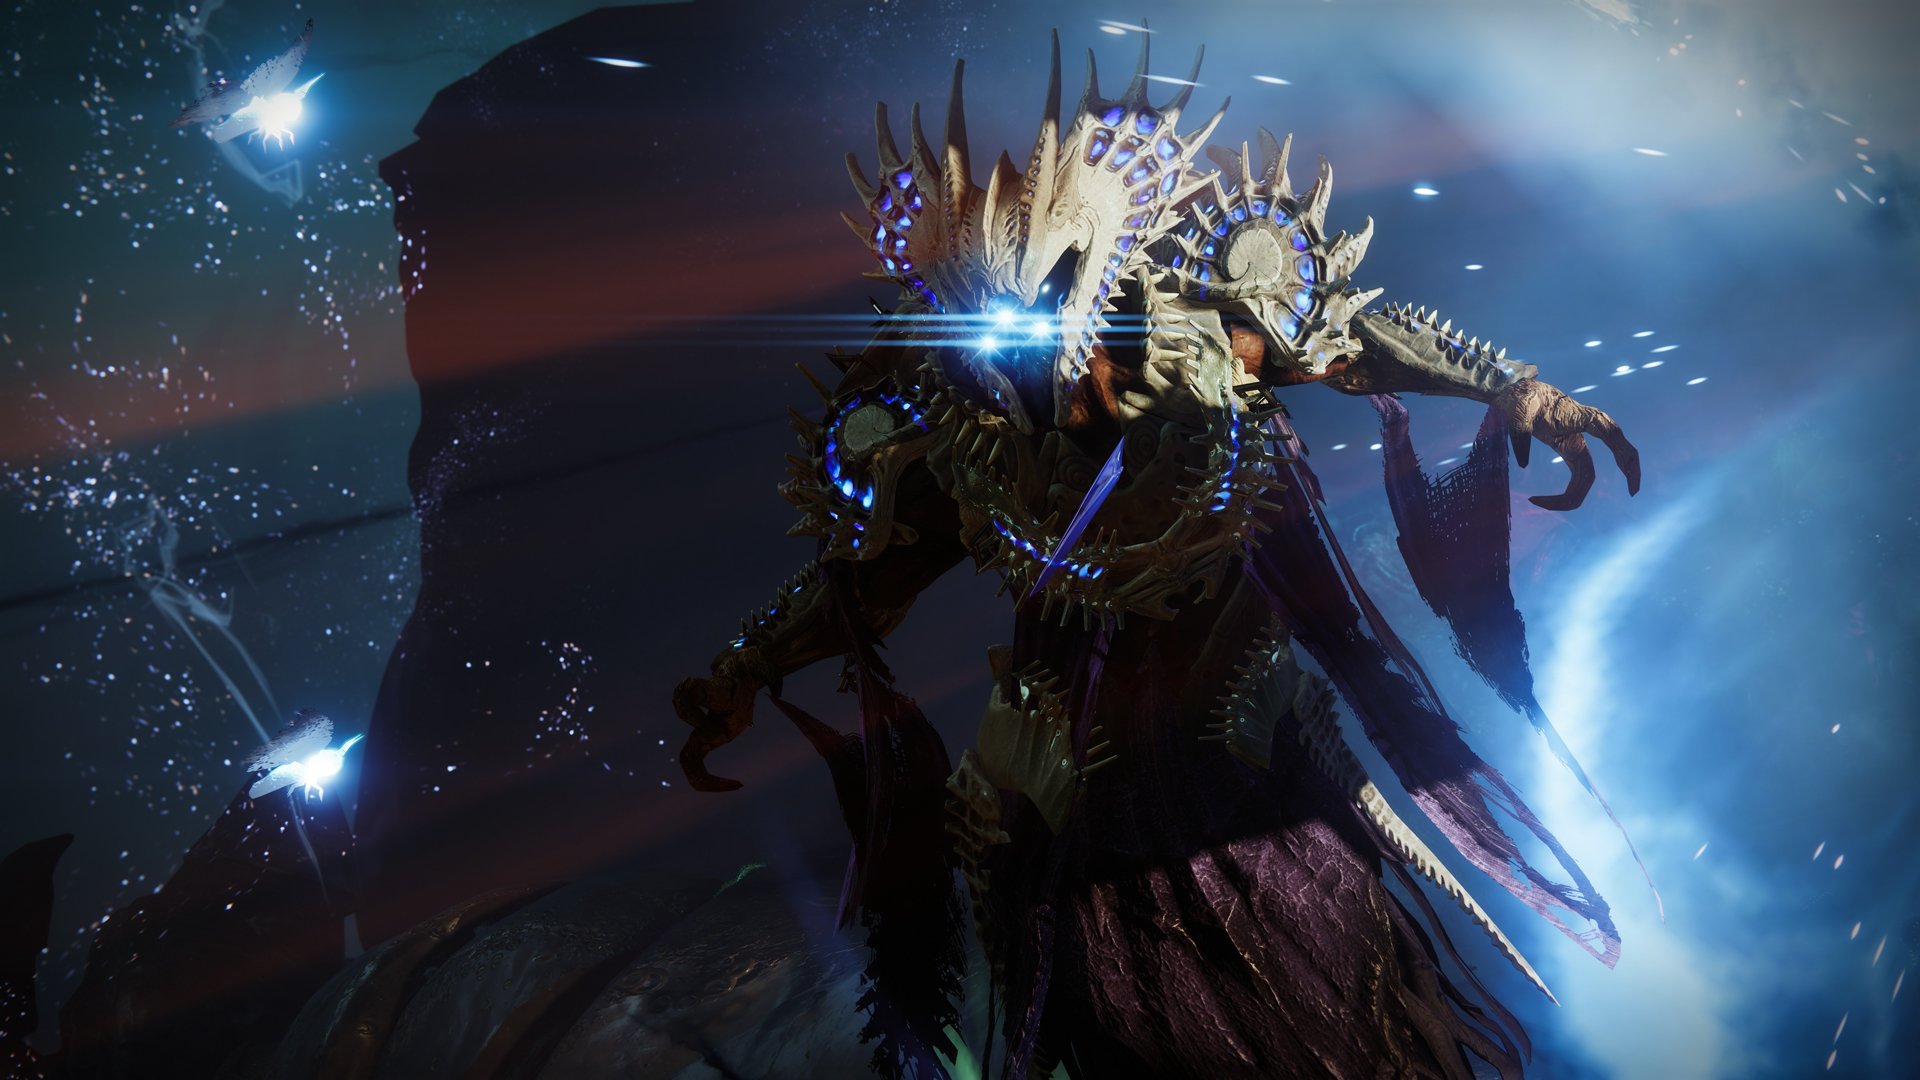
Šimmumah ur-Nokru, Lucent Necromancer
The last battle is challenging and undoubtedly features the trickiest mechanics, but if you figure it out, everything should go smoothly. Start the encounter by destroying the Ghost next to Simmumah. Next, you must eliminate three Revenant Knights to create an deepsight illusion.
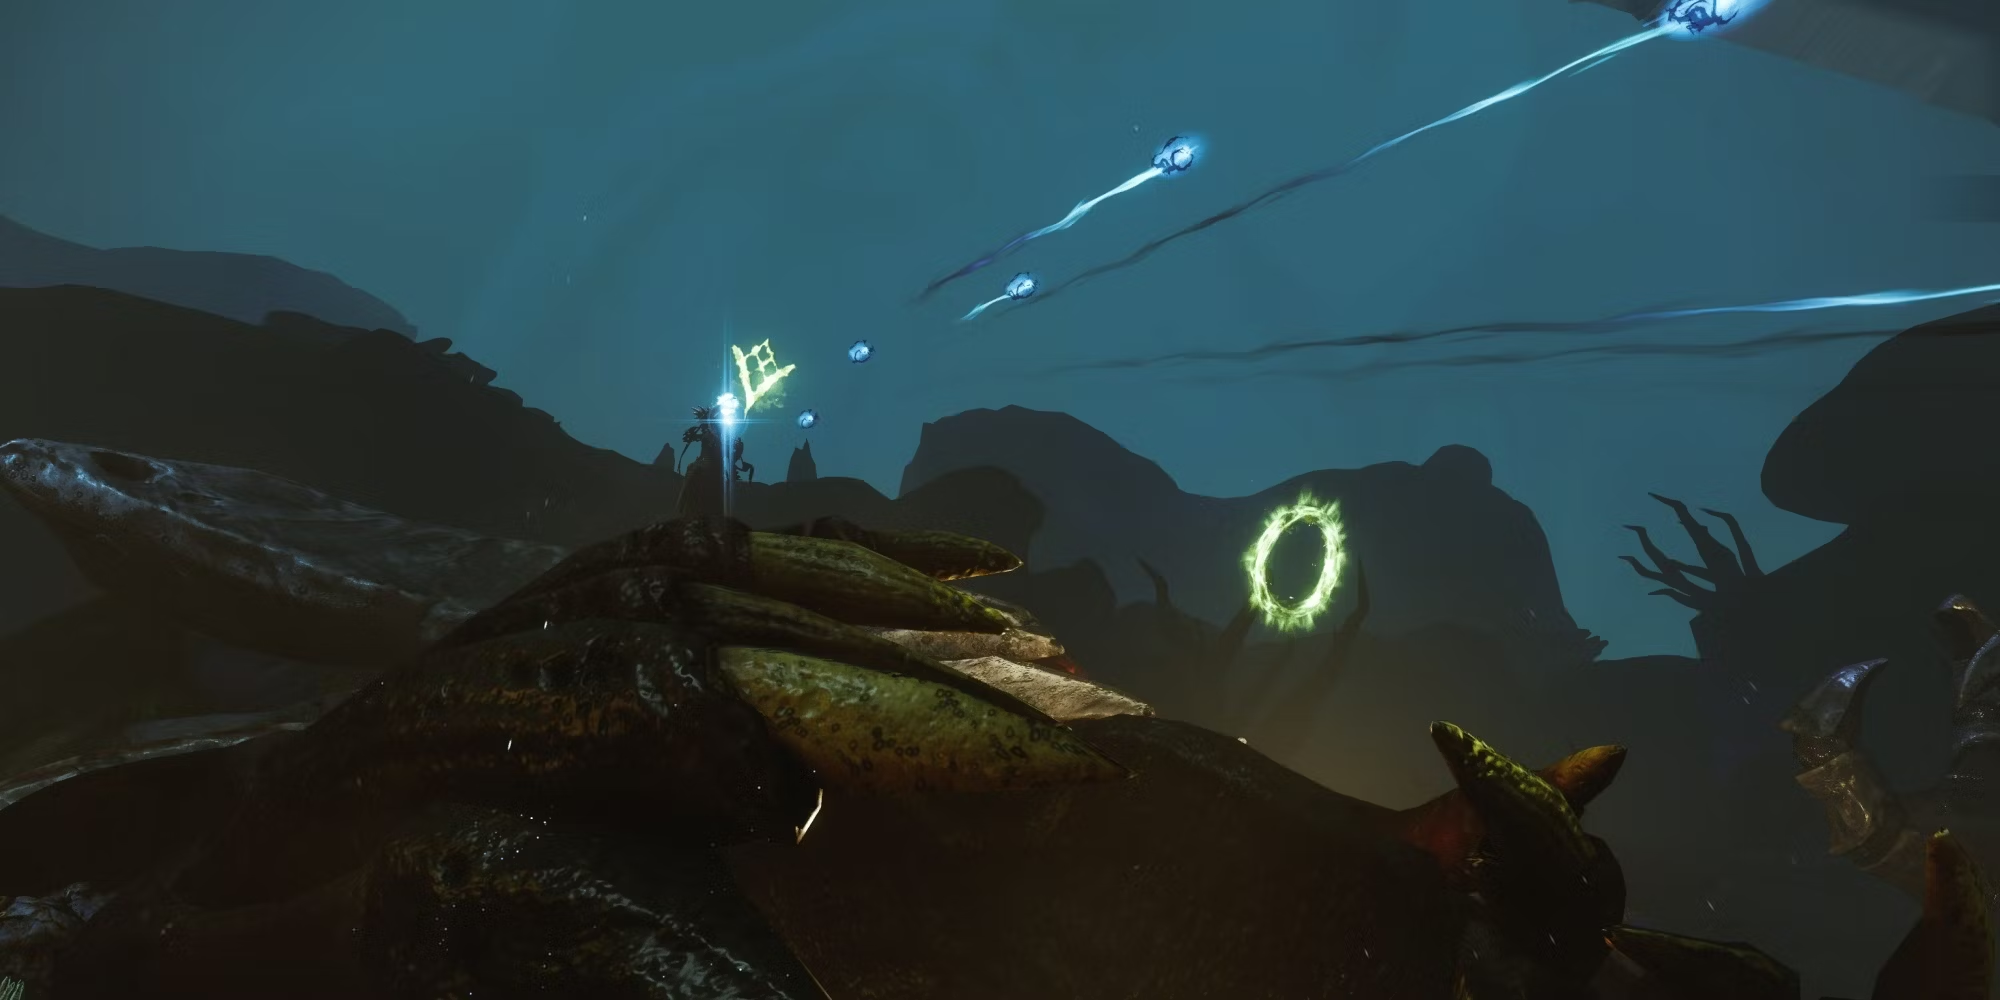
Use Deepsight to identify three areas with black orbs in the main area. A light thread will connect these three points. Make your way to one of the spots and take a position so that your feet will be on ground that is glowing. You will get the buff called Ritual Conductor. Wait for the appearance of Vorlog, Risen in Heresy, then kill while you have that buff. A skyward eyeglass will appear as a result. To expose a Hive rune, look through that eyeglass while directing your weapon at the Hive's emblem.
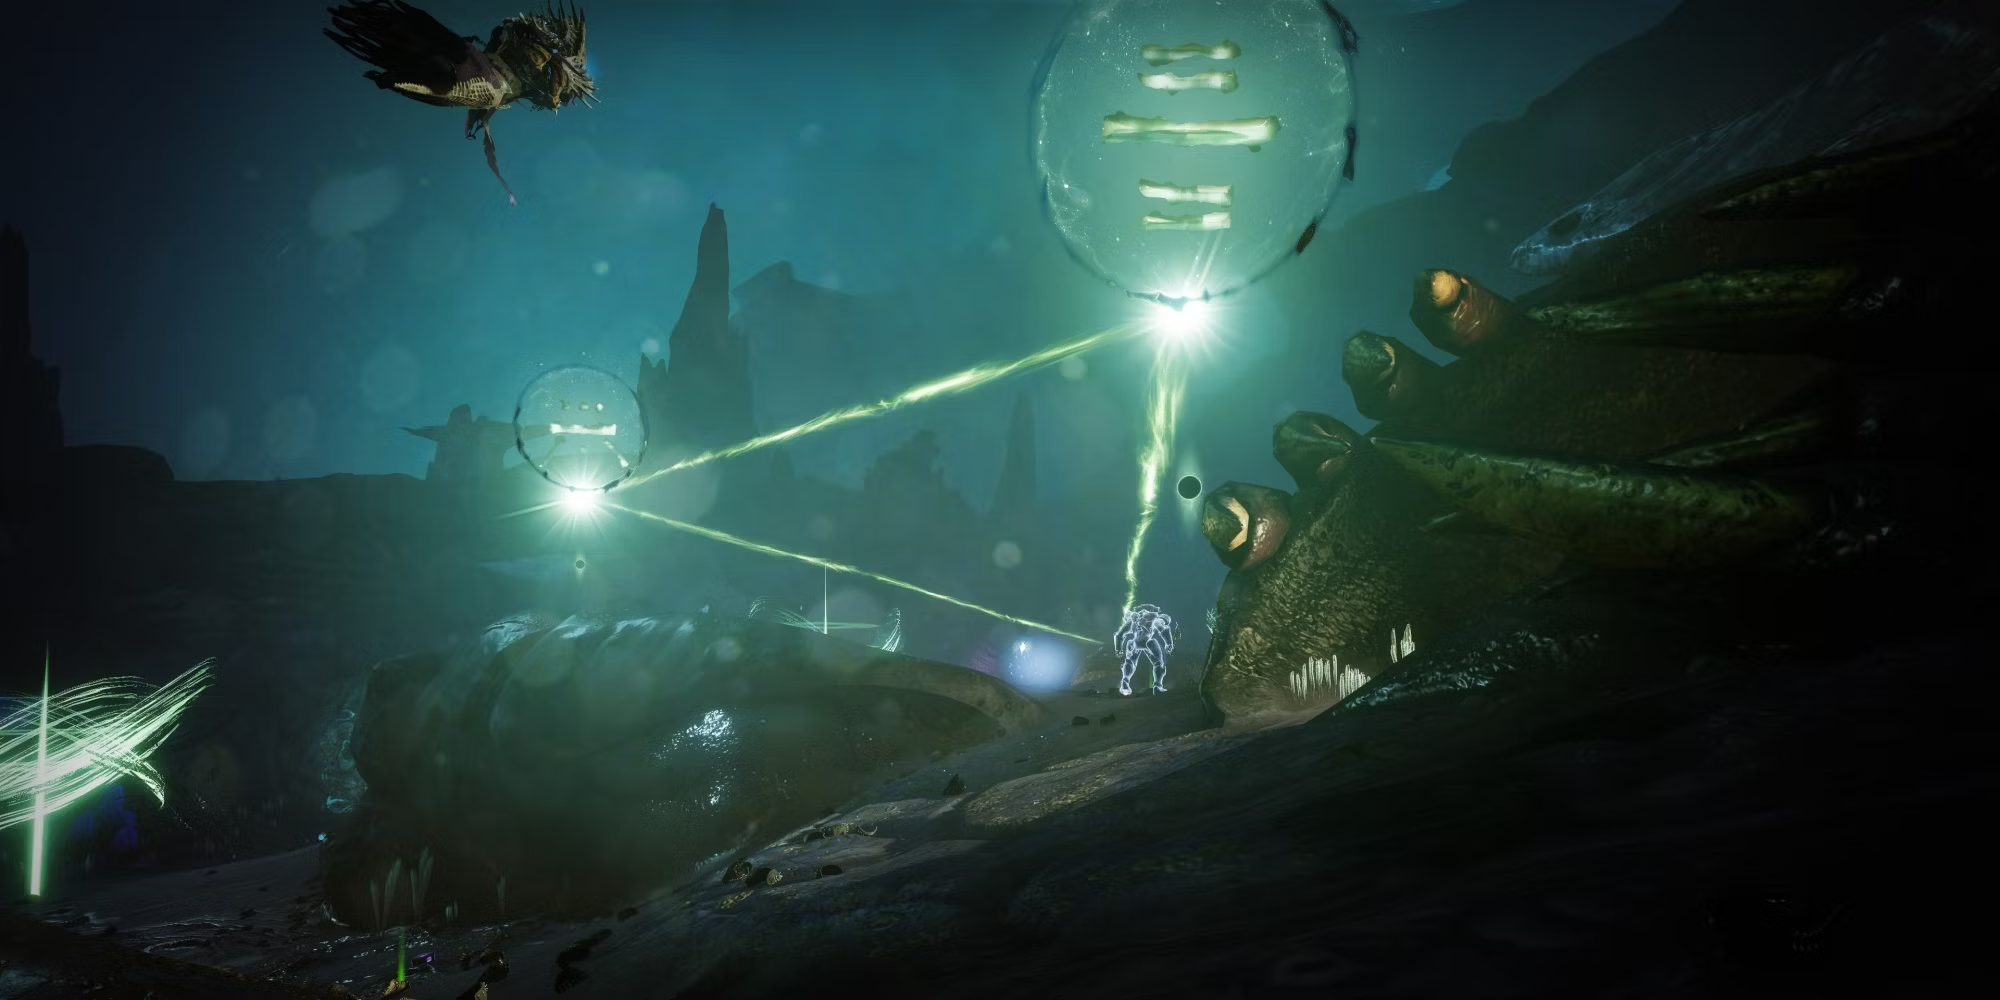
For each of the two remaining locations, you must repeat the procedure two more times. The main distinction is that you no longer require Deepsight each time. For the time being, Deepsight is simply used to allow you to observe the three active locations. After you know where they are, all you have to do is use the eyeglass to disclose the Hive rune by killing Vorlog while you are standing at the glowing spots with the Ritual Conductor buff. You will move on to the subsequent phase of this encounter once all three runes have been revealed.
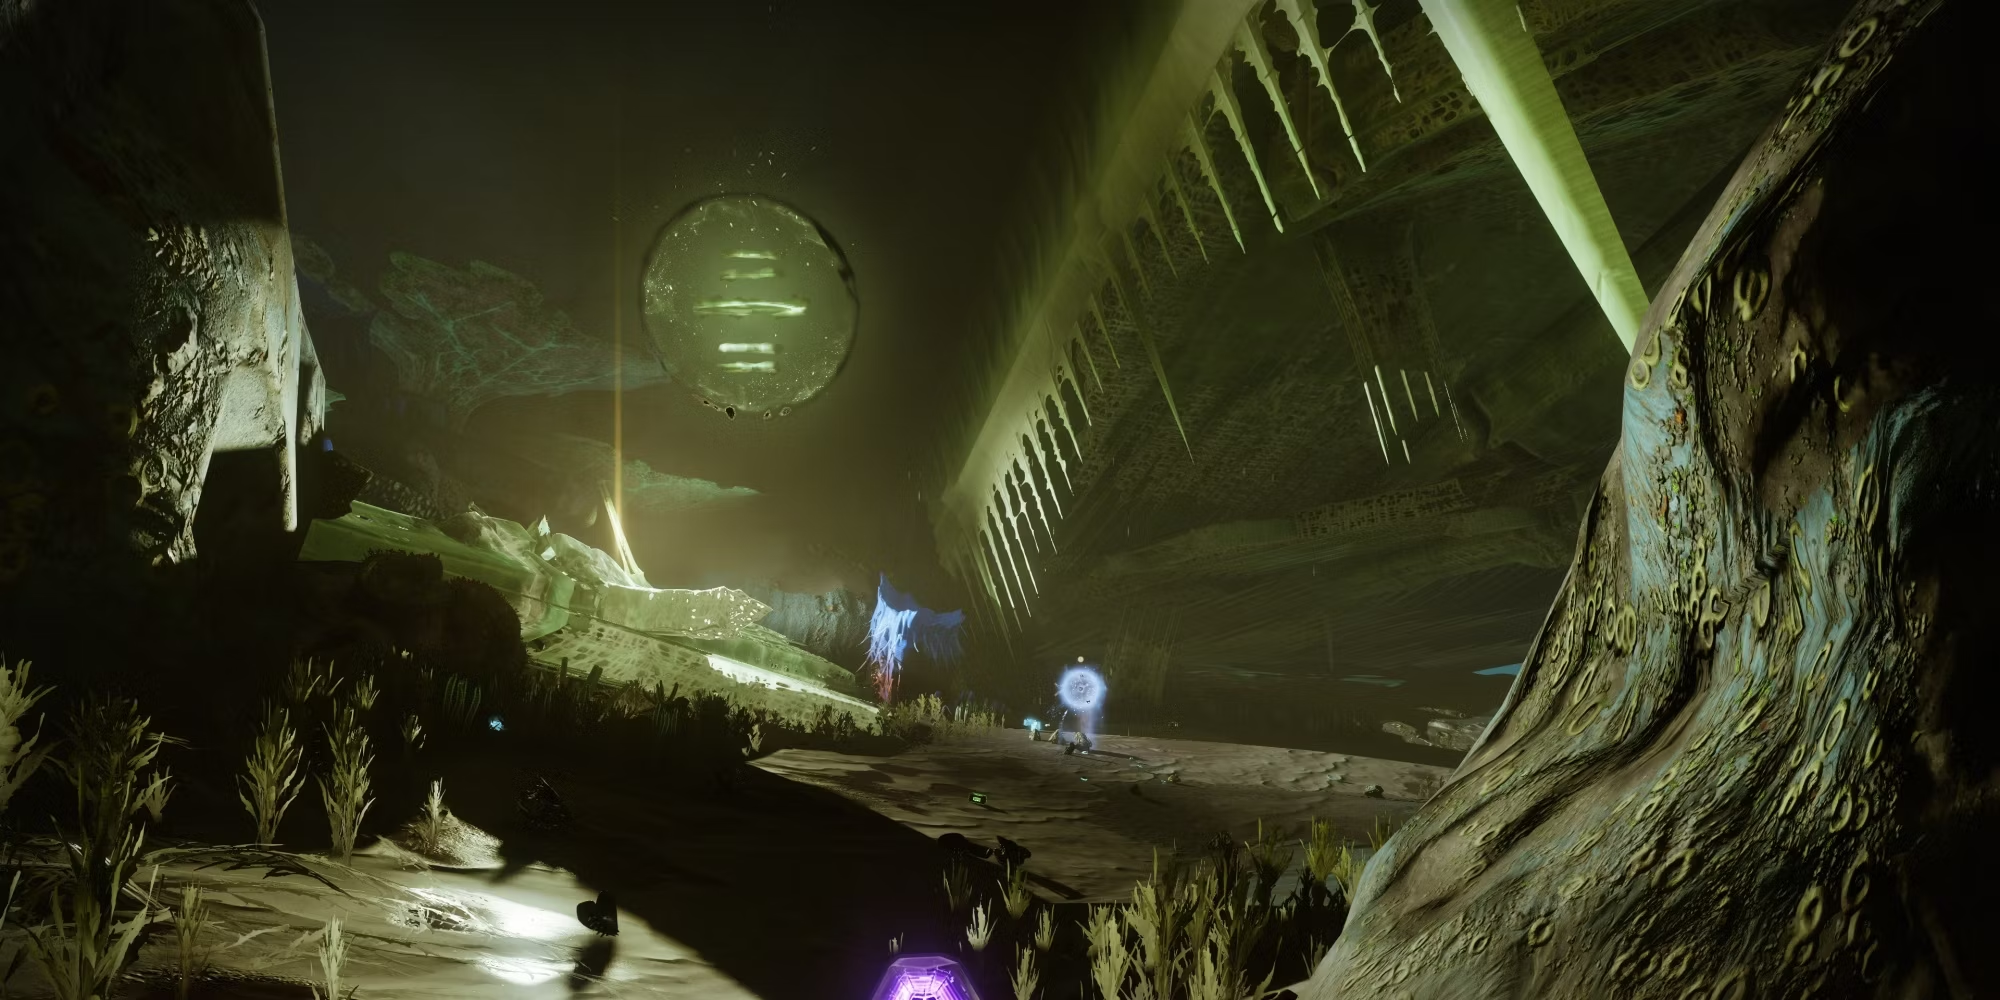
After all three Hive runes have been exposed, enter one of the chambers by going through the body of water, and you'll discover a Lightbearer in the chambers. The left room will be a Lightbearer Knight, the top room a Lightbearer Acolyte, and the right room a Lightbearer Wizard. Return to the main room after killing the Lightbearer and its Ghost to receive the Vestige of a Knight/Acolyte/Wizard and memorise the Hive rune symbol. Go and grab the deepsight and go to the Hive rune that corresponds to the one you saw in the chamber and imbue it with the Vestige of Light. You must carry out this procedure three times before entering the damage phase.
DPS Phase
Again, this is a fantastic place for a Well of Radiance. Simmumah will wander about the central area and may destroy you in a matter of seconds. Arc Resistant mods are excellent, Void Hunters will appreciate the ability to become invisible, Arc Hunters will appreciate the ads when they use Liar's Handshake. Titan hammers are heavenly at this place, easy ad clear and also able to destroy the Lucent Lightbearers in the chambers easily. If you're having trouble targeting your targets, think about using a rocket launcher with a tracking module for damage, or Leviathan's Breath in this situation.
You'll keep doing this when the damage phase is over until the boss is defeated. You will require Deepsight to find the spots that need to be infused because they will vary after each damage phase.
Tips:- The central section (Heart) will always be one of the 3.
- The WQ symbol will always spawn at the section where you kill Vorlog. The circle will always appear along the straight-line path from the PREVIOUSLY ACTIVATED section.
- You don't have to actually lead Vorlog into the circle and kill him. You just need to be standing in the circle and have the buff to kill him. He can be across the map and as long as you are in the buff area the location will activate.
- Killing Vorlog at ANY body part will move the boss there. Even if it's wrong body part. You can use this to move her to a safer spot if she's bothering you too much.
- Moths spawn when the next Vorlog spawns, not on Vorlog's death.
- You can dip in and out of the water walls to break moth agro.
- ARBALEST ONE-SHOTS THE SHIELD!