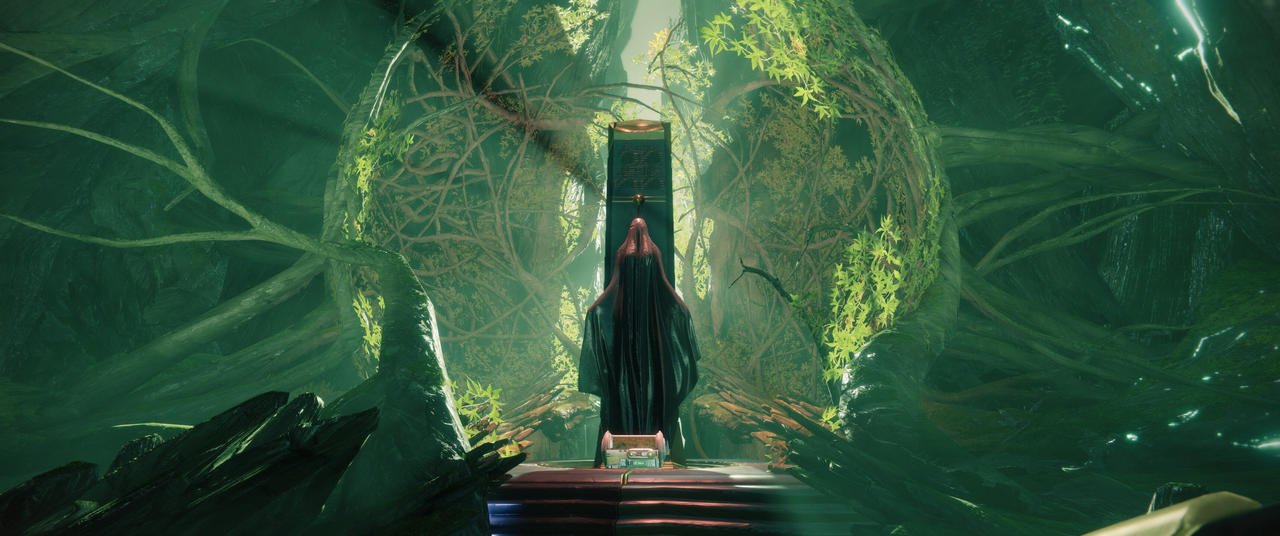
Garden of Salvation Guide
Done by: Vedallion#7774 | Jan 21st 2023
Drop Table

Weapons
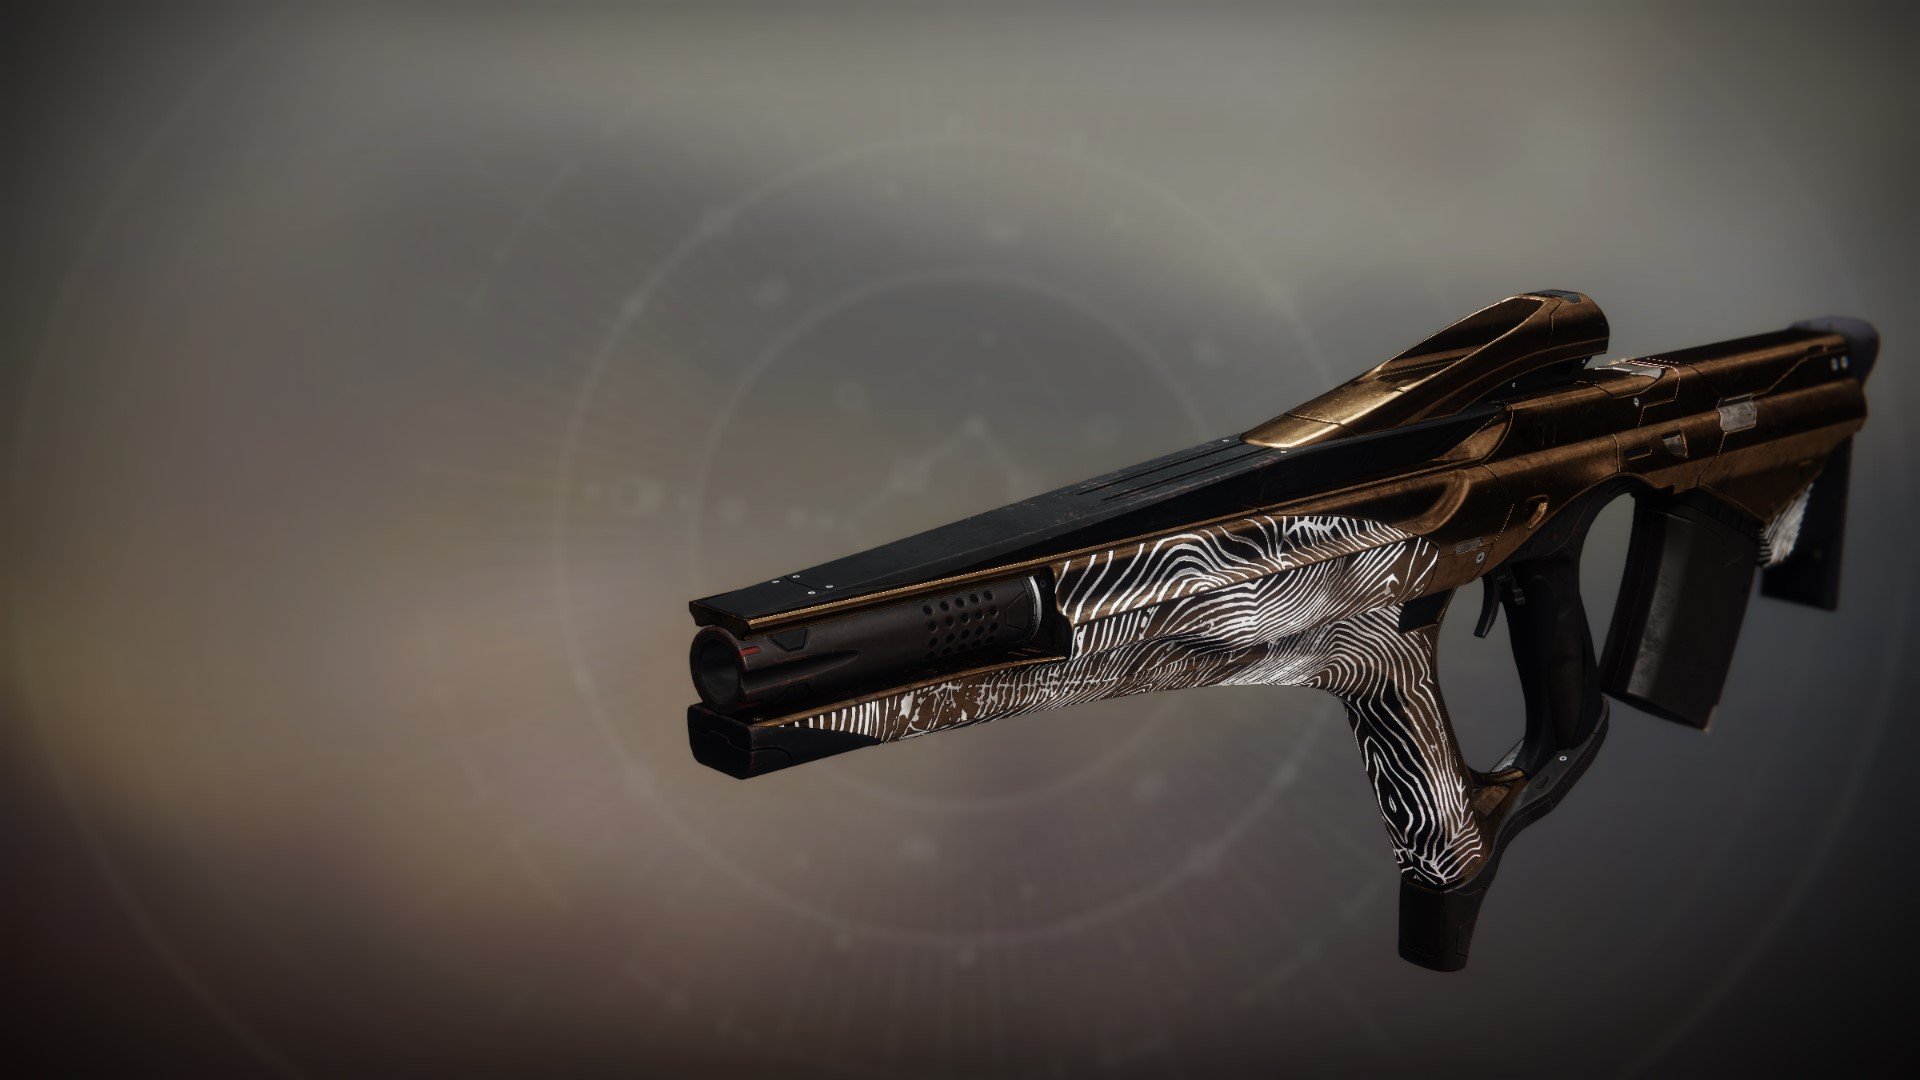
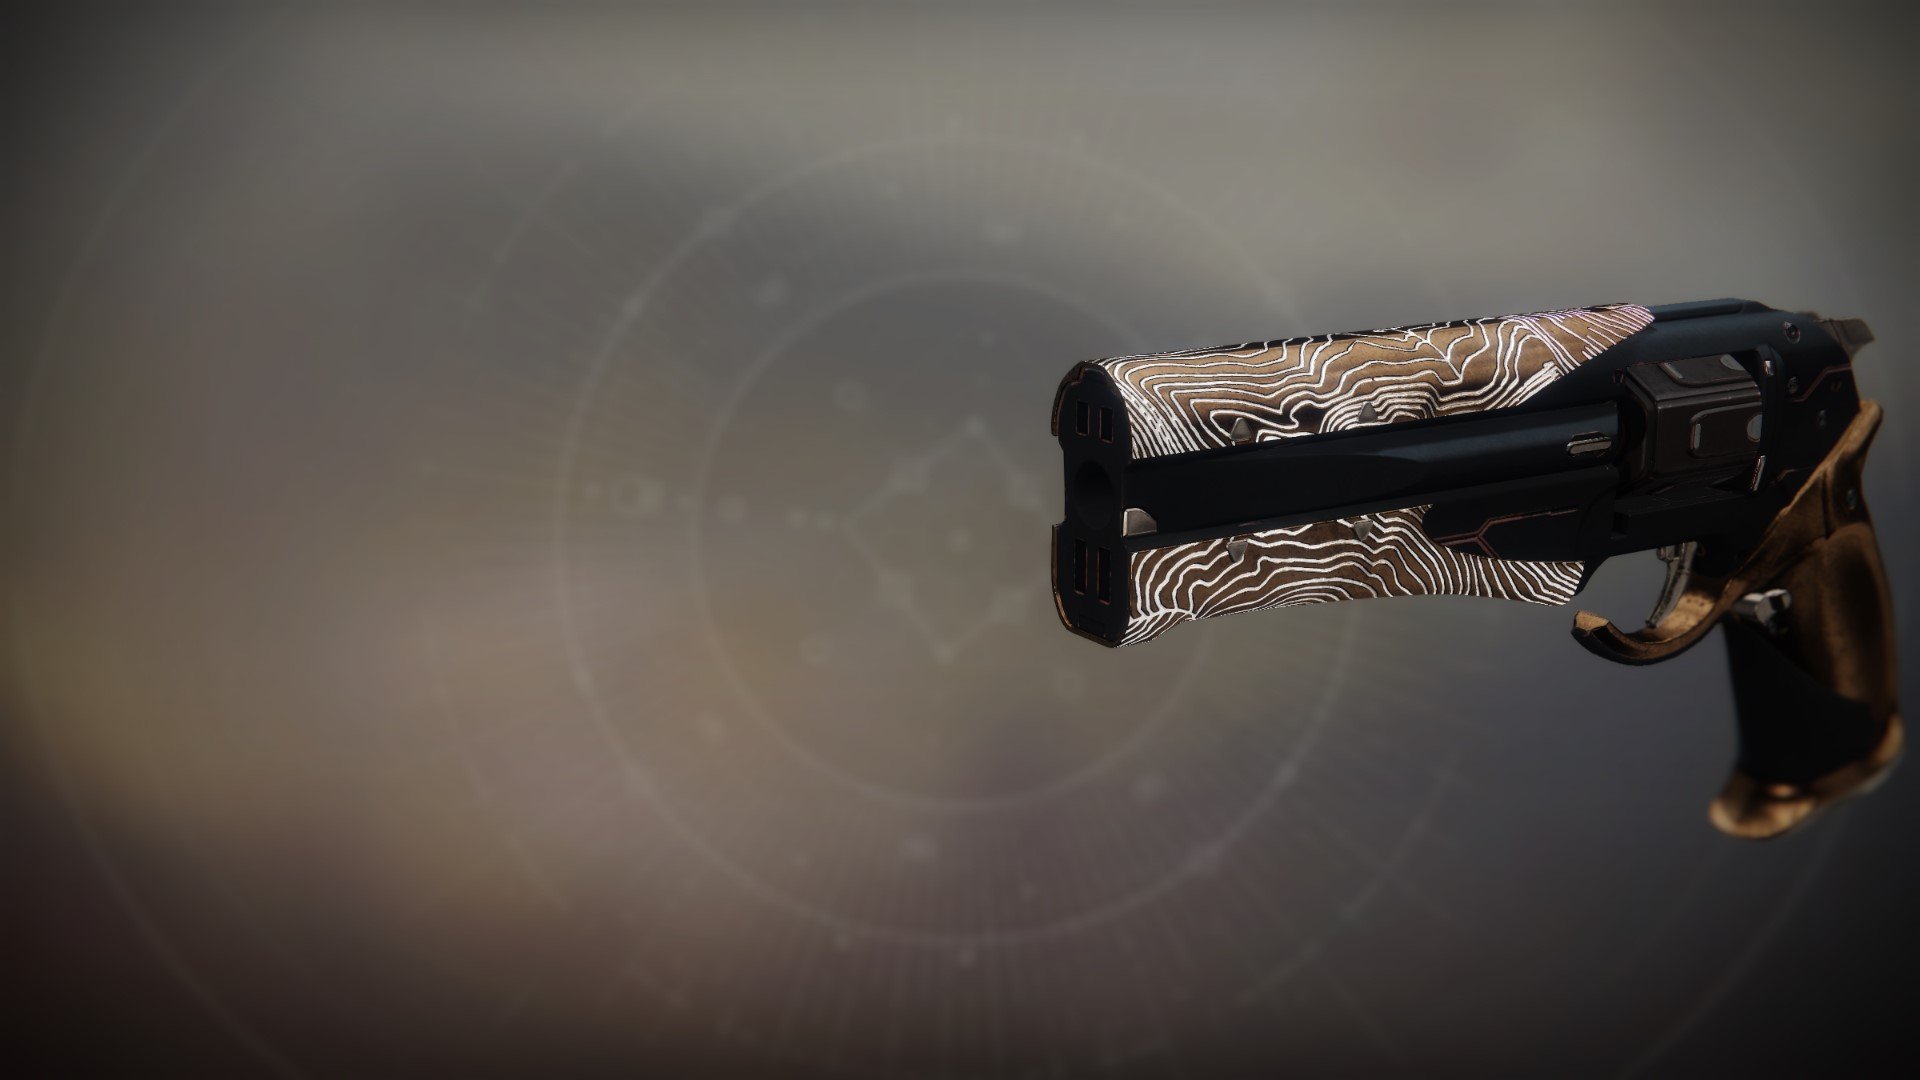
 Reckless Oracle
Legendary //
Rapid-Fire Frame // Auto Rifle
Desirable Perks
- Barrel:
- Arrowhead Brake
- Corkscrew Rifling
- Magazine:
- Ricochet Rounds
- High-Caliber Rounds
- Column 1 Perks:
- Outlaw
- Column 2 Perks:
- Kill Clip
- Demolitionist
Masterwork: Range
Mod Slot: Minor Spec
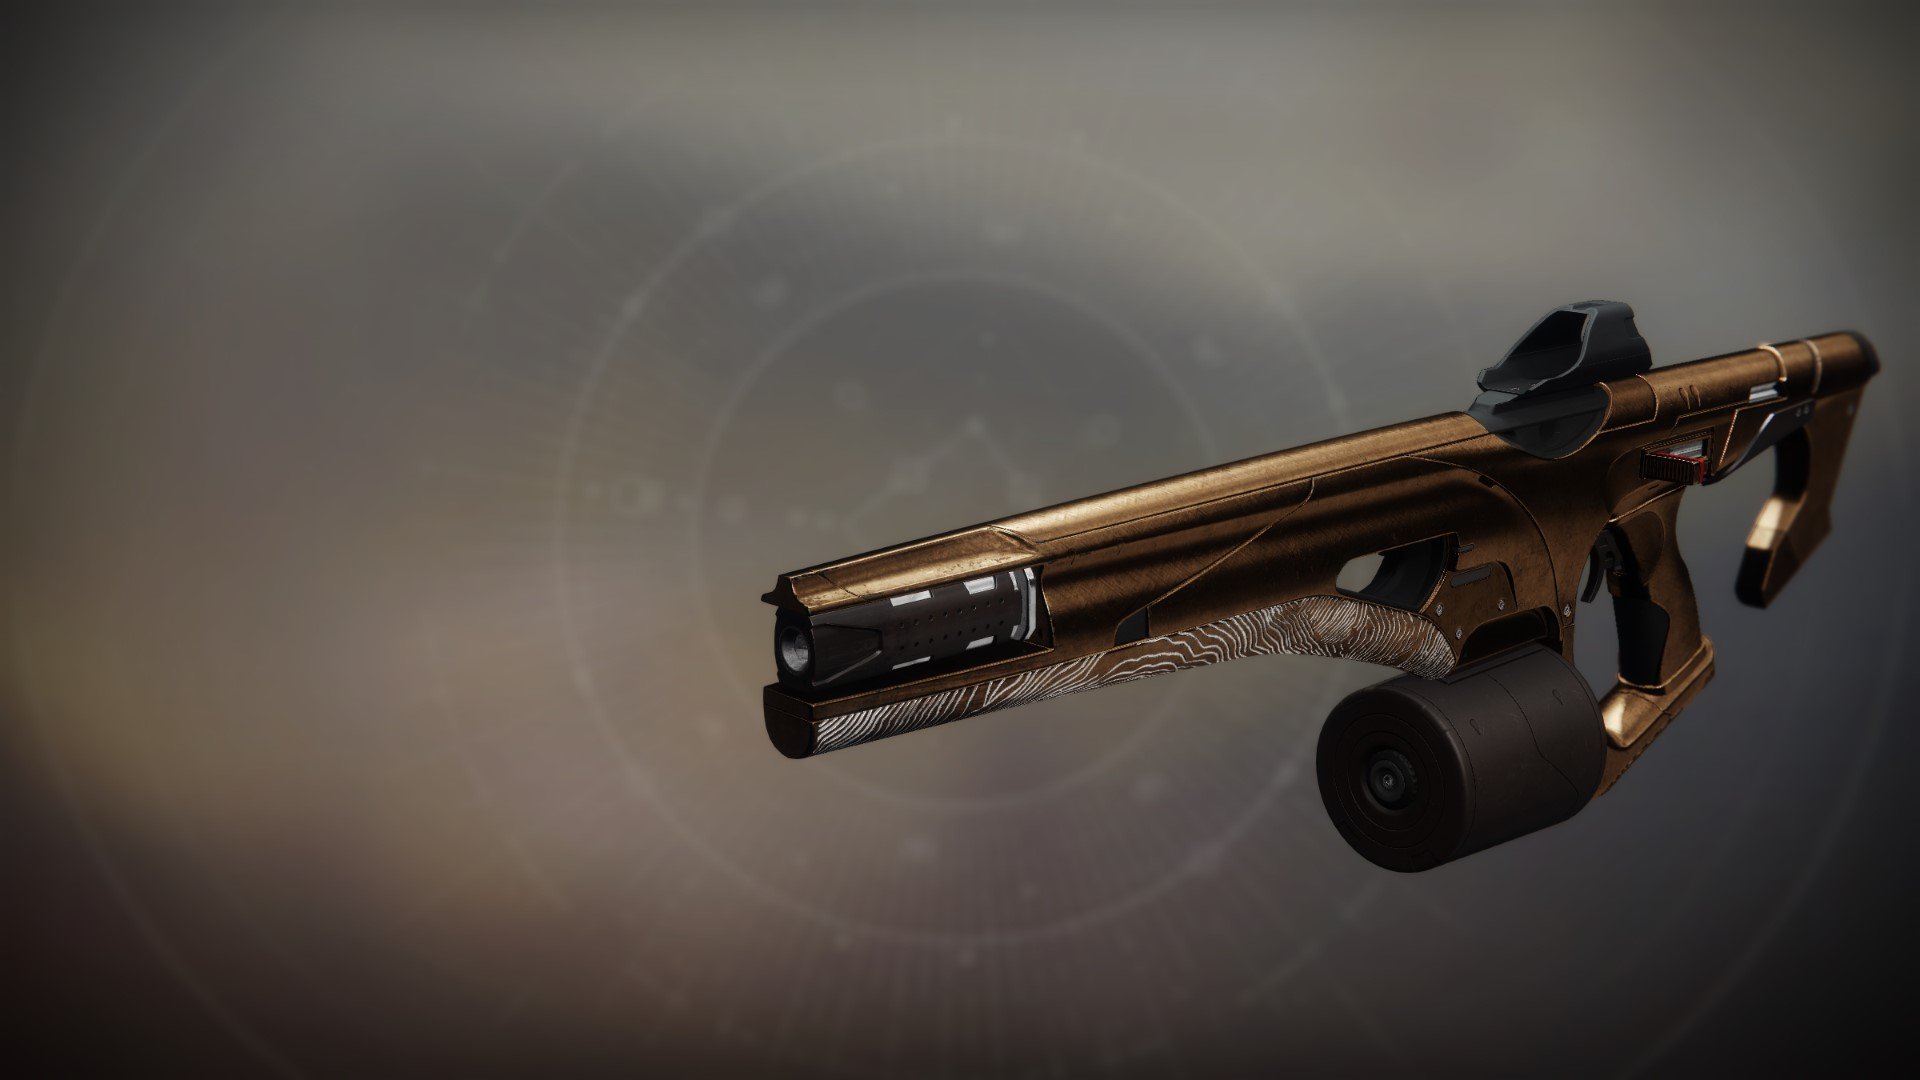
The Reckless Oracle can be a fairly decent Auto Rifle, given the right roll. With a small perk pool and mostly bad perks, this weapon is nearly always overlooked. However, for those who enjoy both Void builds and Auto Rifles, this is definitely one of your best picks.
 Sacred Provenance
Legendary //
Aggressive Burst // Pulse Rifle
Desirable Perks
- Barrel:
- Arrowhead Brake
- Corkscrew Rifling
- Magazine:
- Ricochet Rounds
- High-Caliber Rounds
- Column 1 Perks:
- Rapid Hit
- Outlaw
- Column 2 Perks:
- Kill Clip
Masterwork: Range
Mod Slot: Counterbalance Stock
Definitely more of a PvP pick. Its main competition comes from the Disparity, another Aggressive top-slot Pulse Rifle that can roll the same god rolls that this pulse can, while being craftable as well. However, this does not mean that the Sacred Provenance is instantly worthless; its Range and Reload stats are higher than that of the Disparity, and, more importantly, is readily obtainable unlike the Disparity. If you do not have the pattern or god roll already, that can only be acquired from Xur or the Gunsmith at random.
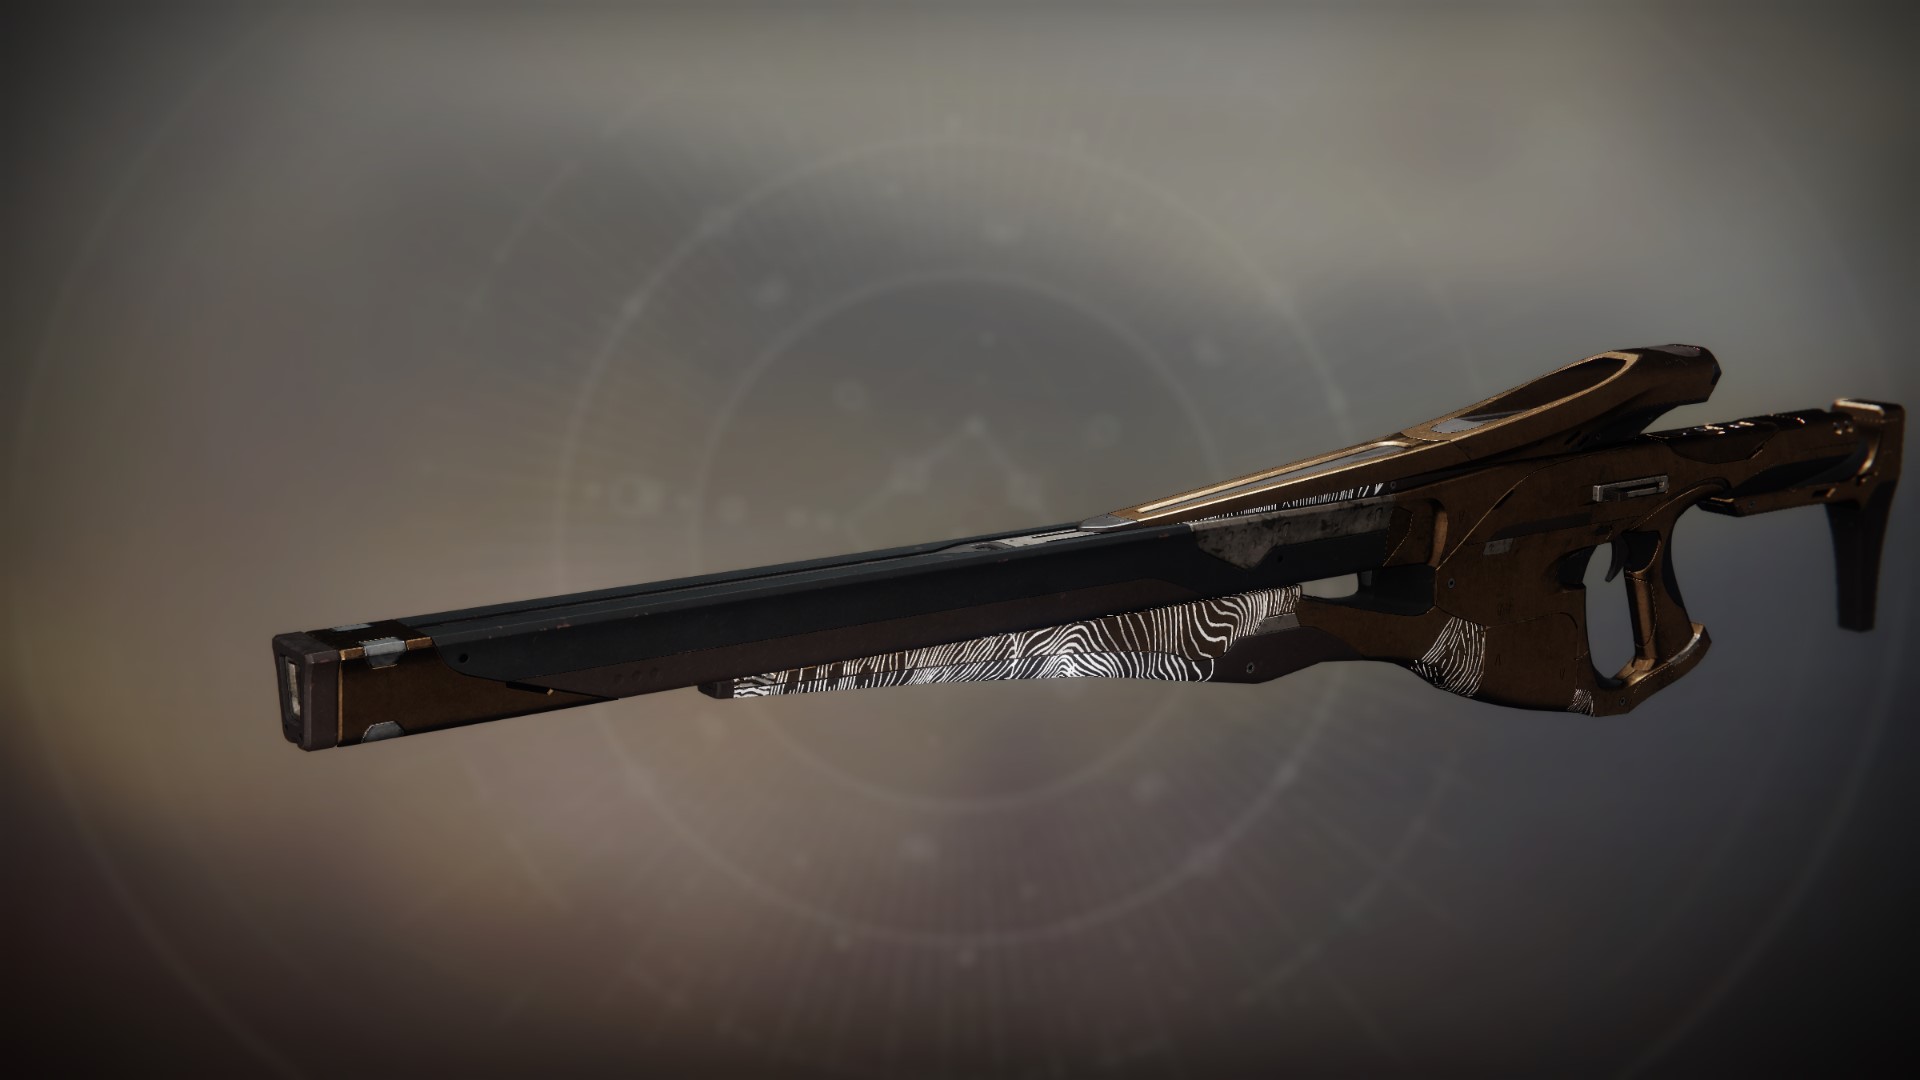
 Ancient Gospel
Legendary // Adaptive
Frame // Hand Cannon
Desirable Perks
- Barrel:
- Corkscrew Rifling
- Hammer-Forged Rifling
- Magazine:
- Accurized Rounds
- Column 1 Perks:
- Rapid Hit
- Outlaw
- Column 2 Perks:
- Kill Clip
- Rangefinder
Masterwork: Range
Mod Slot: Targeting Adjuster, Icarus Grip
This weapon is much more suited for PvP. With a excellent duelling roll of Eye of the Storm + Rangefinder, which is also a god roll on other “meta” PvP Hand Cannons like the Austringer and Cantata, the only thing holding this gun back is its stats, which are a relic of the past and simply unable to compare with the much stronger weapons of today, such as the Palindrome and Exalted Truth.
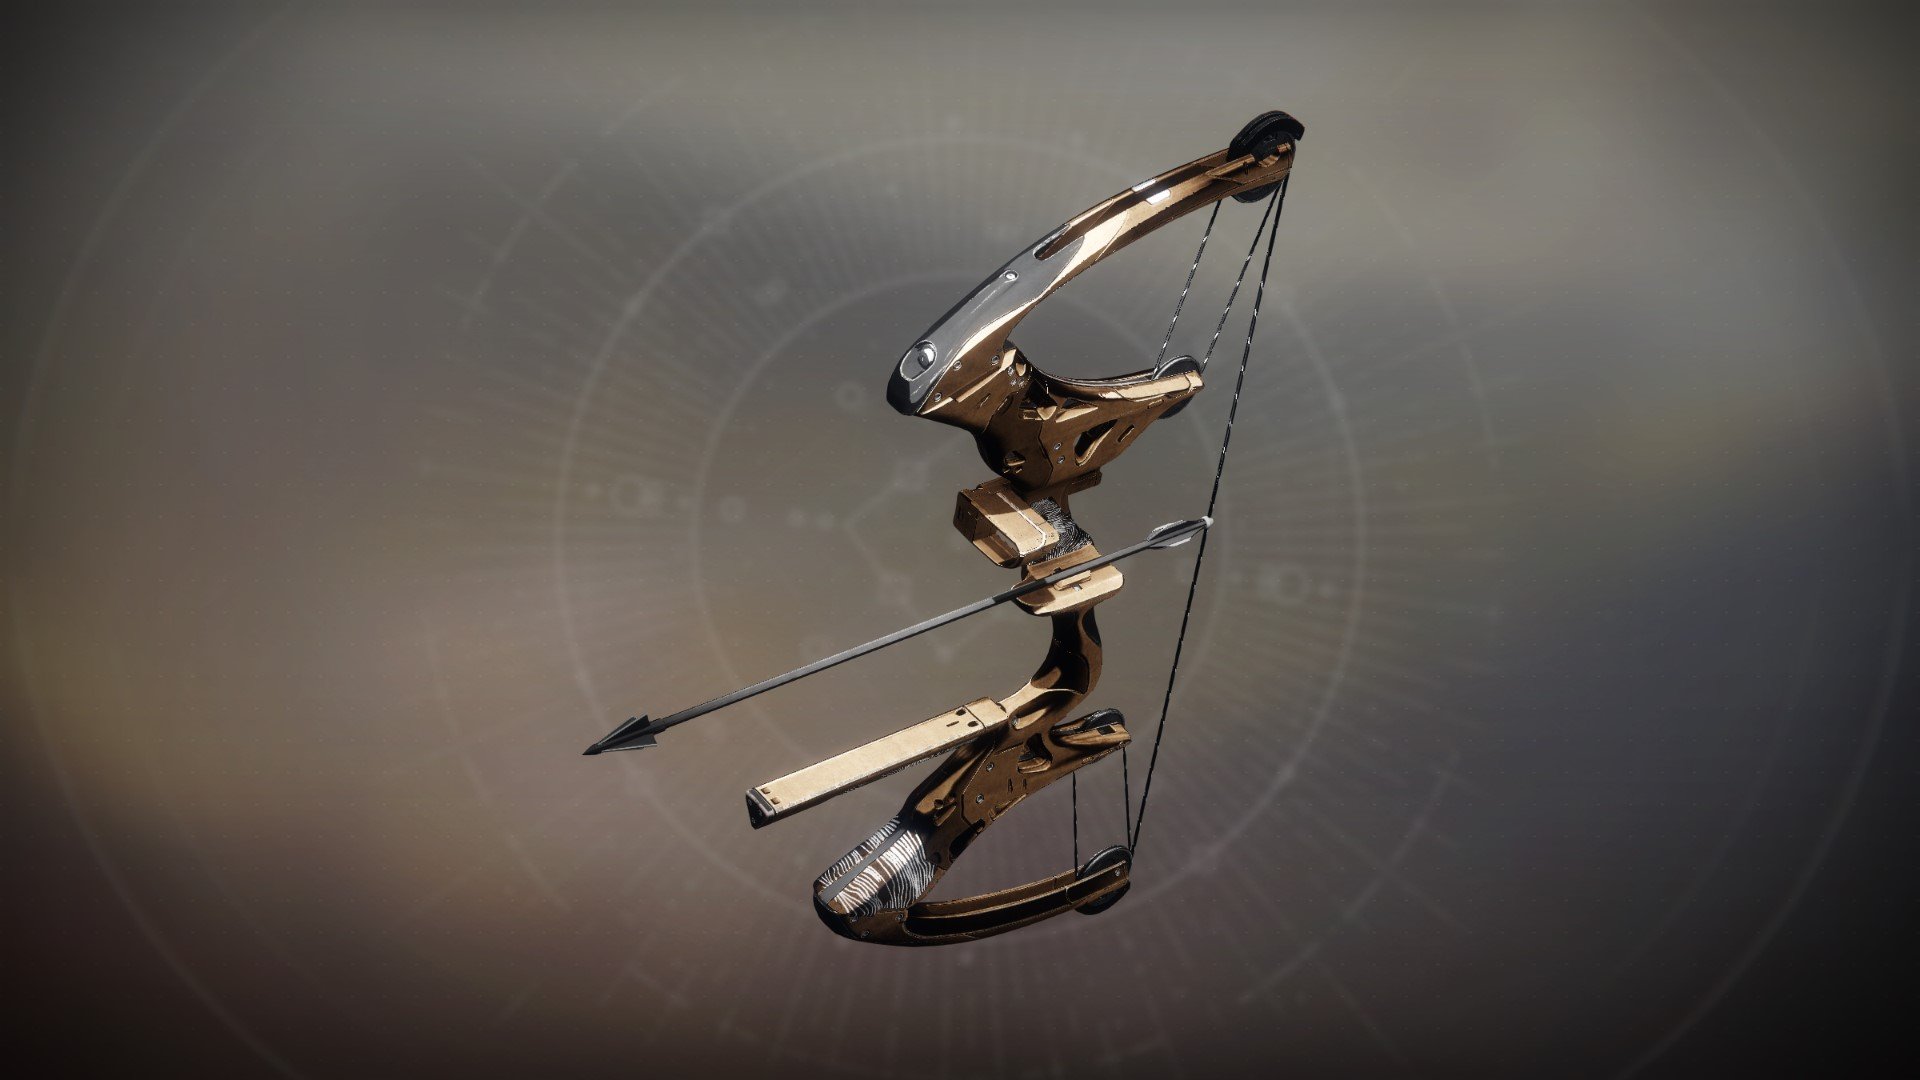
Accrued Redemption
Legendary //
Precision Frame // Bow
Desirable Perks
- Bowstring:
- Elastic String
- Arrow:
- Compact Arrow Shaft
- Helical Fletching
- Column 1 Perks:
- Archer's Tempo
- Column 2 Perks:
- Explosive Head
Masterwork: Draw Time
Mod Slot: Major Spec
The Accrued Redemption is one of the best Top-slot bows in the business. With a highly viable roll for endgame content in Archers' Tempo + Explosive Head, the Accrued Redemption proves itself to be a very capable bow in Nightfalls when Bows are featured for Champion Stunning. Its only competition in this slot is the Raconteur from Season 20, which can get the same roll. In PvP, it again faces competition from the Raconteur, as well as the Biting Winds, which can make it a bit harder to recommend using in the Crucible. Nevertheless, if you are someone who uses Bows in PvP, this is definitely worth your time trying.
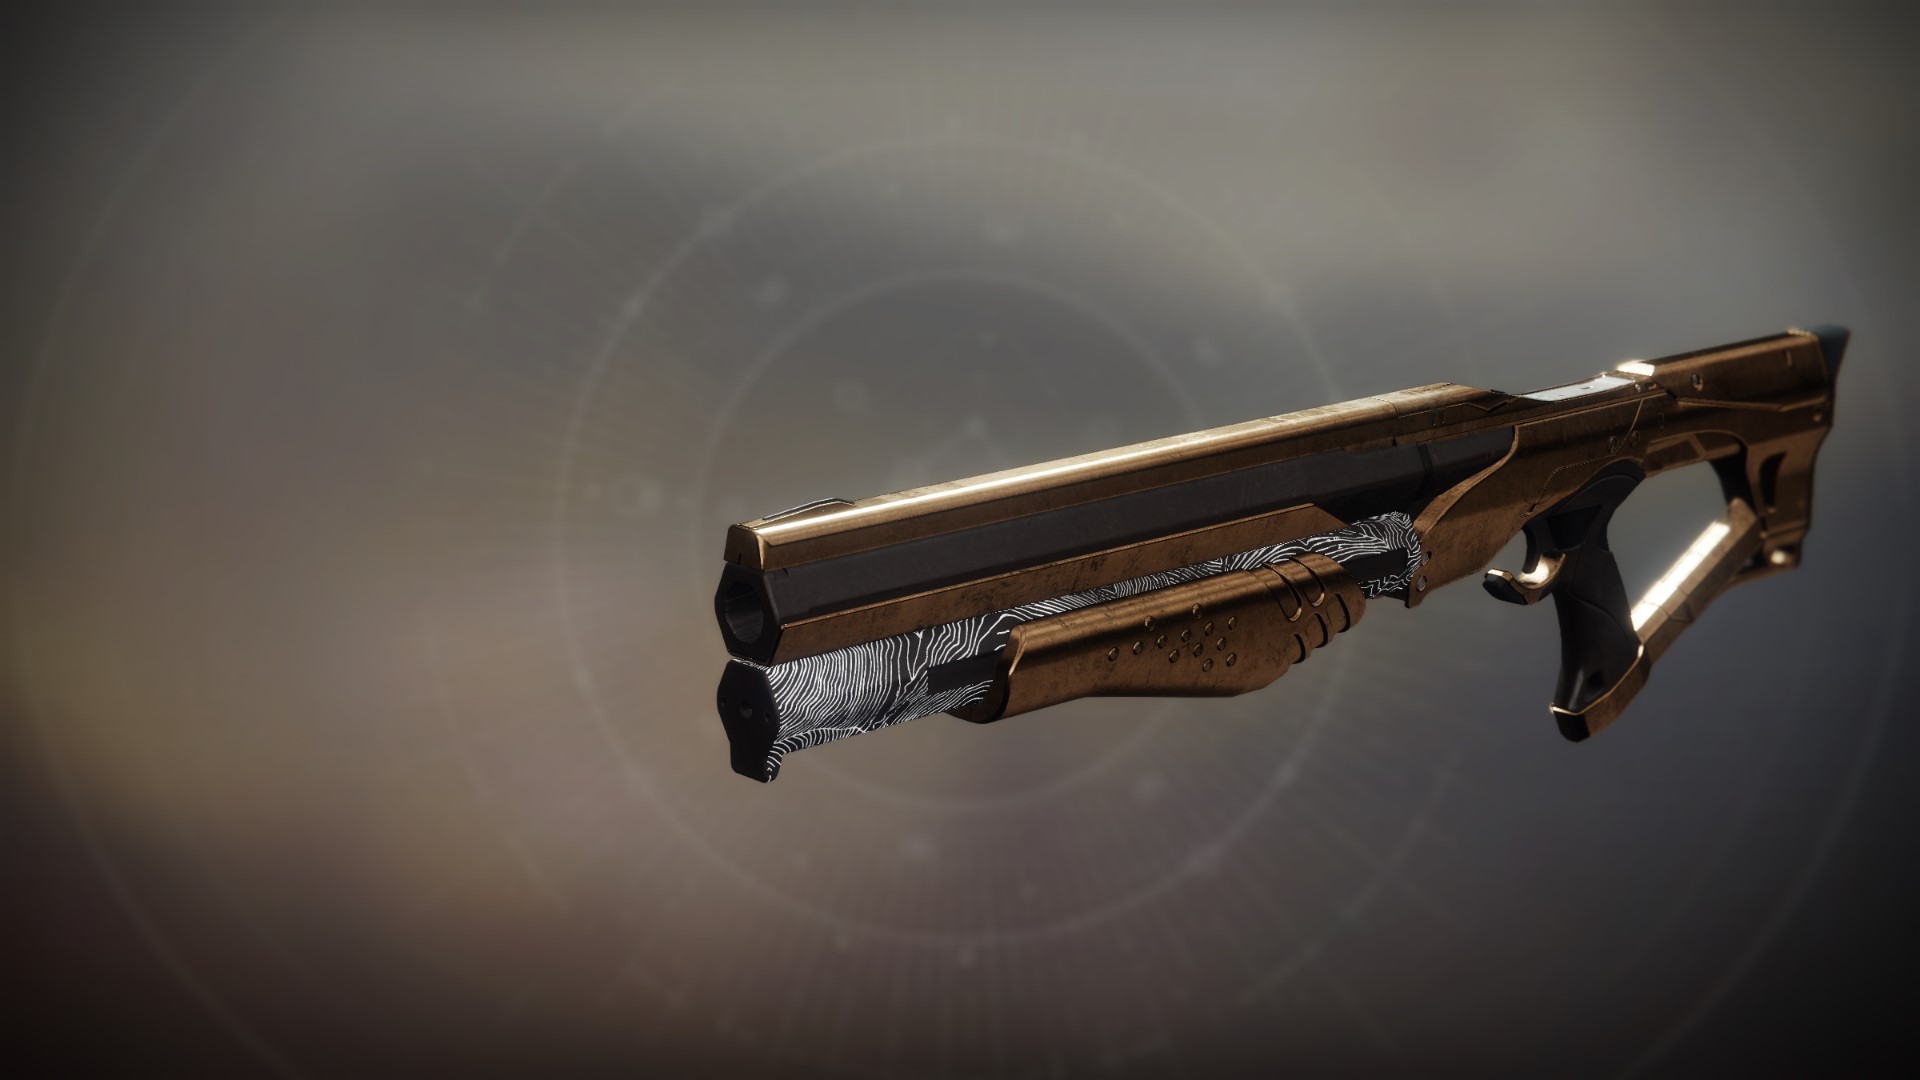
 Prophet of Doom
Legendary //
Precision Frame // Shotgun
Desirable Perks
- Barrel:
- Smallbore
- Rifled Barrel
- Magazine:
- Accurized Rounds
- Assault Mag
- Column 1 Perks:
- Feeding Frenzy
- Column 2 Perks:
- One-Two Punch
Masterwork: Range
Mod Slot: Major Spec
This weapon is not worth using in PvE. Fun fact: the Prophet of Doom comes with 2 more range than the Matador, is in the same frame and gets Opening Shot as well! Despite this, the Prophet of Doom is rarely used compared to the Matador for good reason. The advantage of 2 range is unable to offset the Prophet's lower base handling and unremarkable first column. Nevertheless, if you do not have a good Matador but manage to find a good roll of this gun, it may be worth using until you get a good Matador.
Prophet of Doom
Legendary //
Rapid-Fire Frame // Fusion Rifle
Desirable Perks
- Barrel:
- Corkscrew Rifling
- Battery:
- Liquid Coils
- Column 1 Perks:
- Under Pressure
- Column 2 Perks:
- High-Impact Reserves
Masterwork: Range
Mod Slot: Counterbalance Stock

In PvE, Zealot is simply outclassed by other Rapid-Fire Fusions like the Cartesian Coordinate and Iterative Loop. In PvP, however, Zealot is one of the best fusions in its frame, with some of the best stats, as well as a very reliable roll that adds much-needed consistency to this frame of Fusion Rifles.
Omniscient Eye
Legendary //
Rapid-Fire Frame // Sniper Rifle
Desirable Perks
- Barrel:
- Fluted Barrel
- Arrowhead Brake
- Corkscrew Rifling
- Magazine:
- Accurized Rounds
- Column 1 Perks:
- Outlaw
- No Distractions
- Mulligan
- Column 2 Perks:
- Snapshot Sights
Masterwork: Range
Mod Slot: Targeting Adjuster
In PvE, this sniper is simply outclassed by superior Rapid-Fire snipers like the IKELOS SR and the Distant Tumulus. In the Crucible, the Omniscient Eye is regarded as one of the better Rapid-Fire Frame snipers, which isn't saying much because Rapid-Fire frame snipers are simply inferior to their adaptive and aggressive counterparts.
Divinity
Exotic // Trace Rifle
Details
The exotic perk Judgement spawns a spherical field around a small target or at the center of large ones that causes them to take increased damage. Sustained fire causes a burst of damage
One of the most important weapons from a raid, and for raids. The Div inflicts a 15% global damage debuff after 0.65s of firing, and expires after 1.5s of not damaging the target. While the 15% debuff is beaten by the 30% from Tractor Cannon/Shadowshot, what sets this weapon apart is the bubble that it creates, which acts as a free, easy-to-hit crit spot, allowing for increased viability for crit-based weapons such as Izanagi's Burden or LFRs.
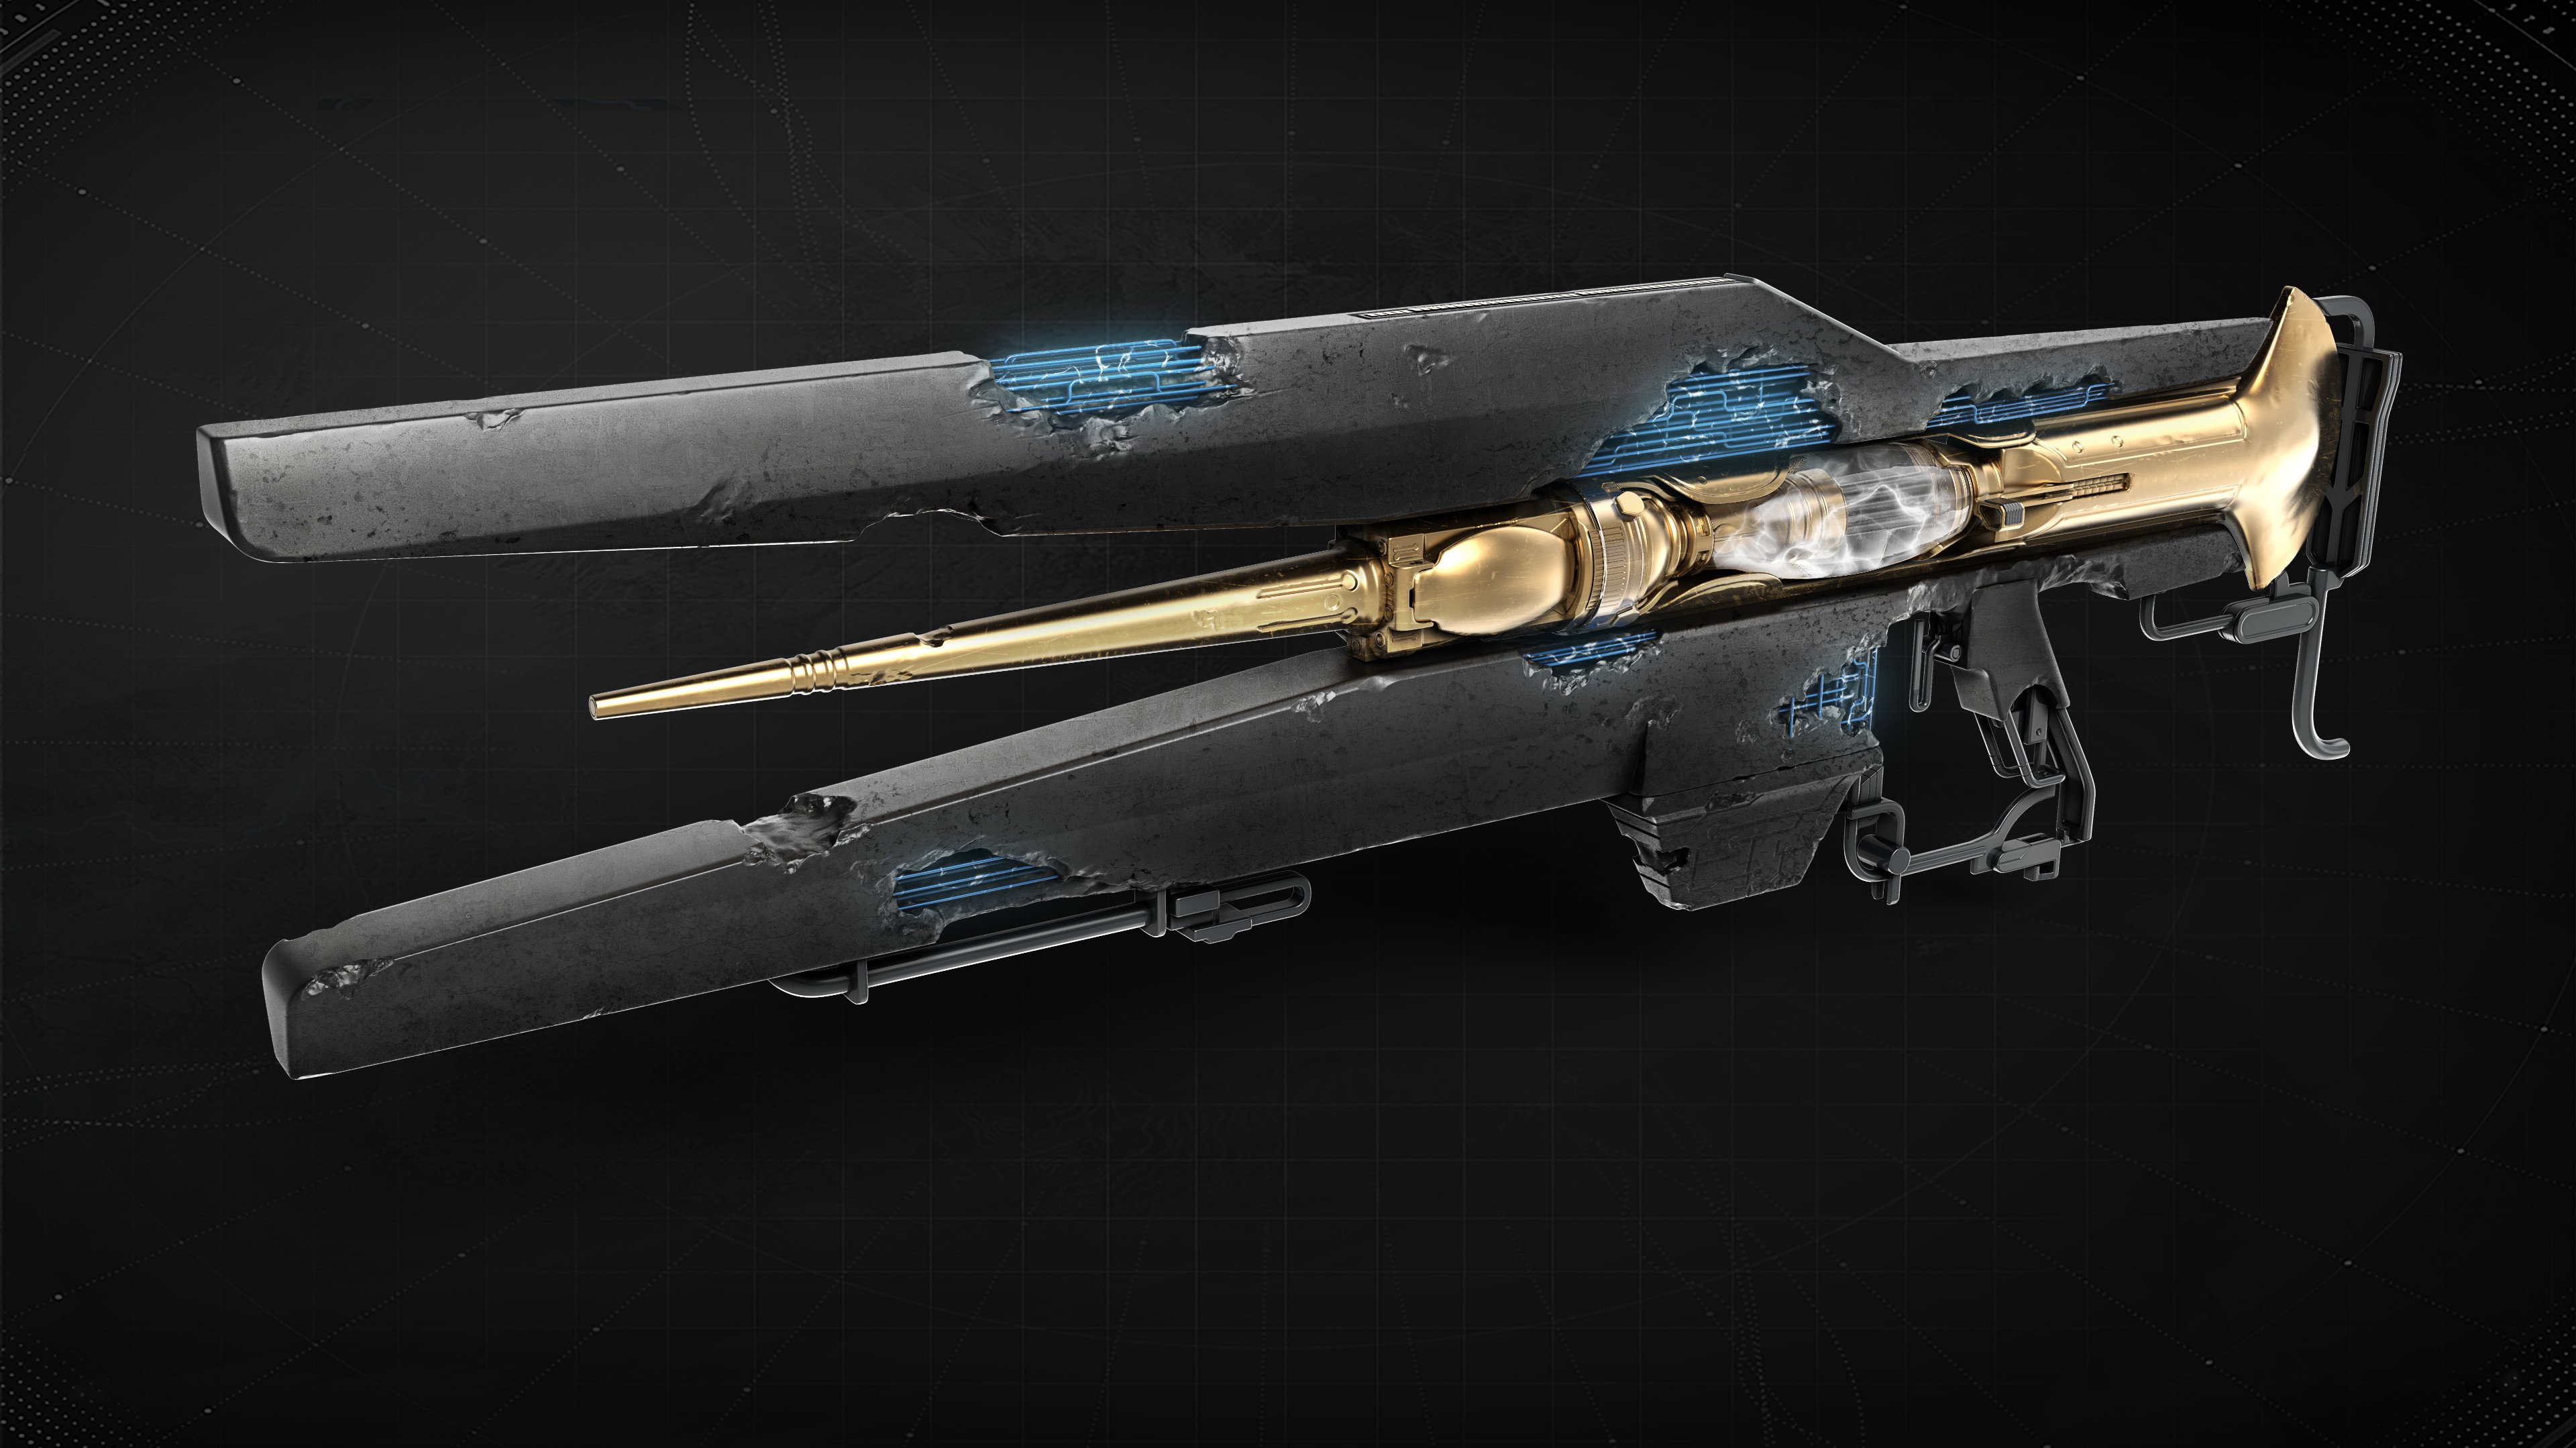
Moreover, this brilliant exotic is not a random drop. Div is the only raid exotic so far that drops as part of a questline. Be sure to reach the relevant step in your quest before entering the Garden of Salvation, and be sure to keep a clear mind when solving the puzzles.
Embrace
Objective: Evade the Consecrated Mind
Roles:- 3 eaters for Voltaic Overflow.
- 3 runners to open vex barriers
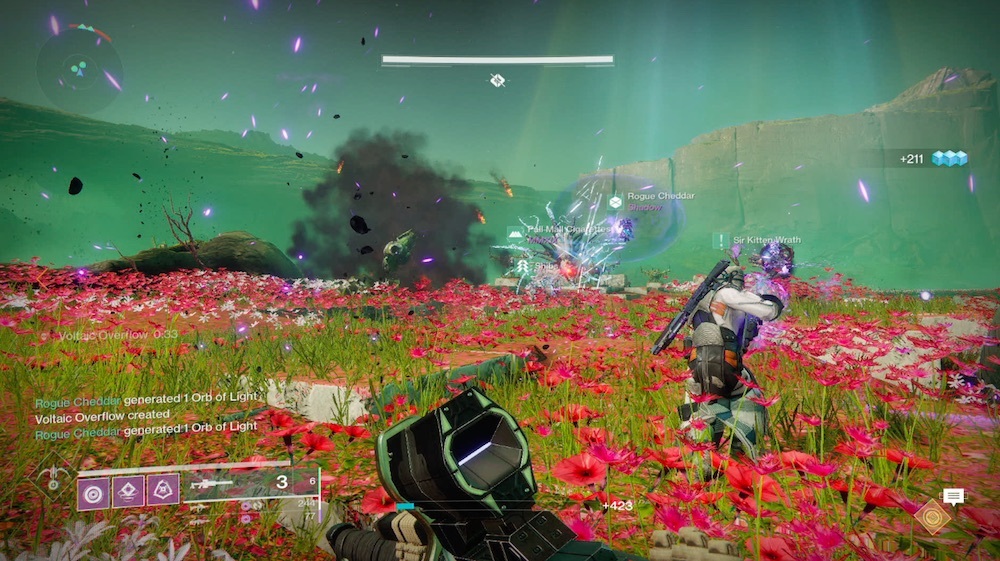
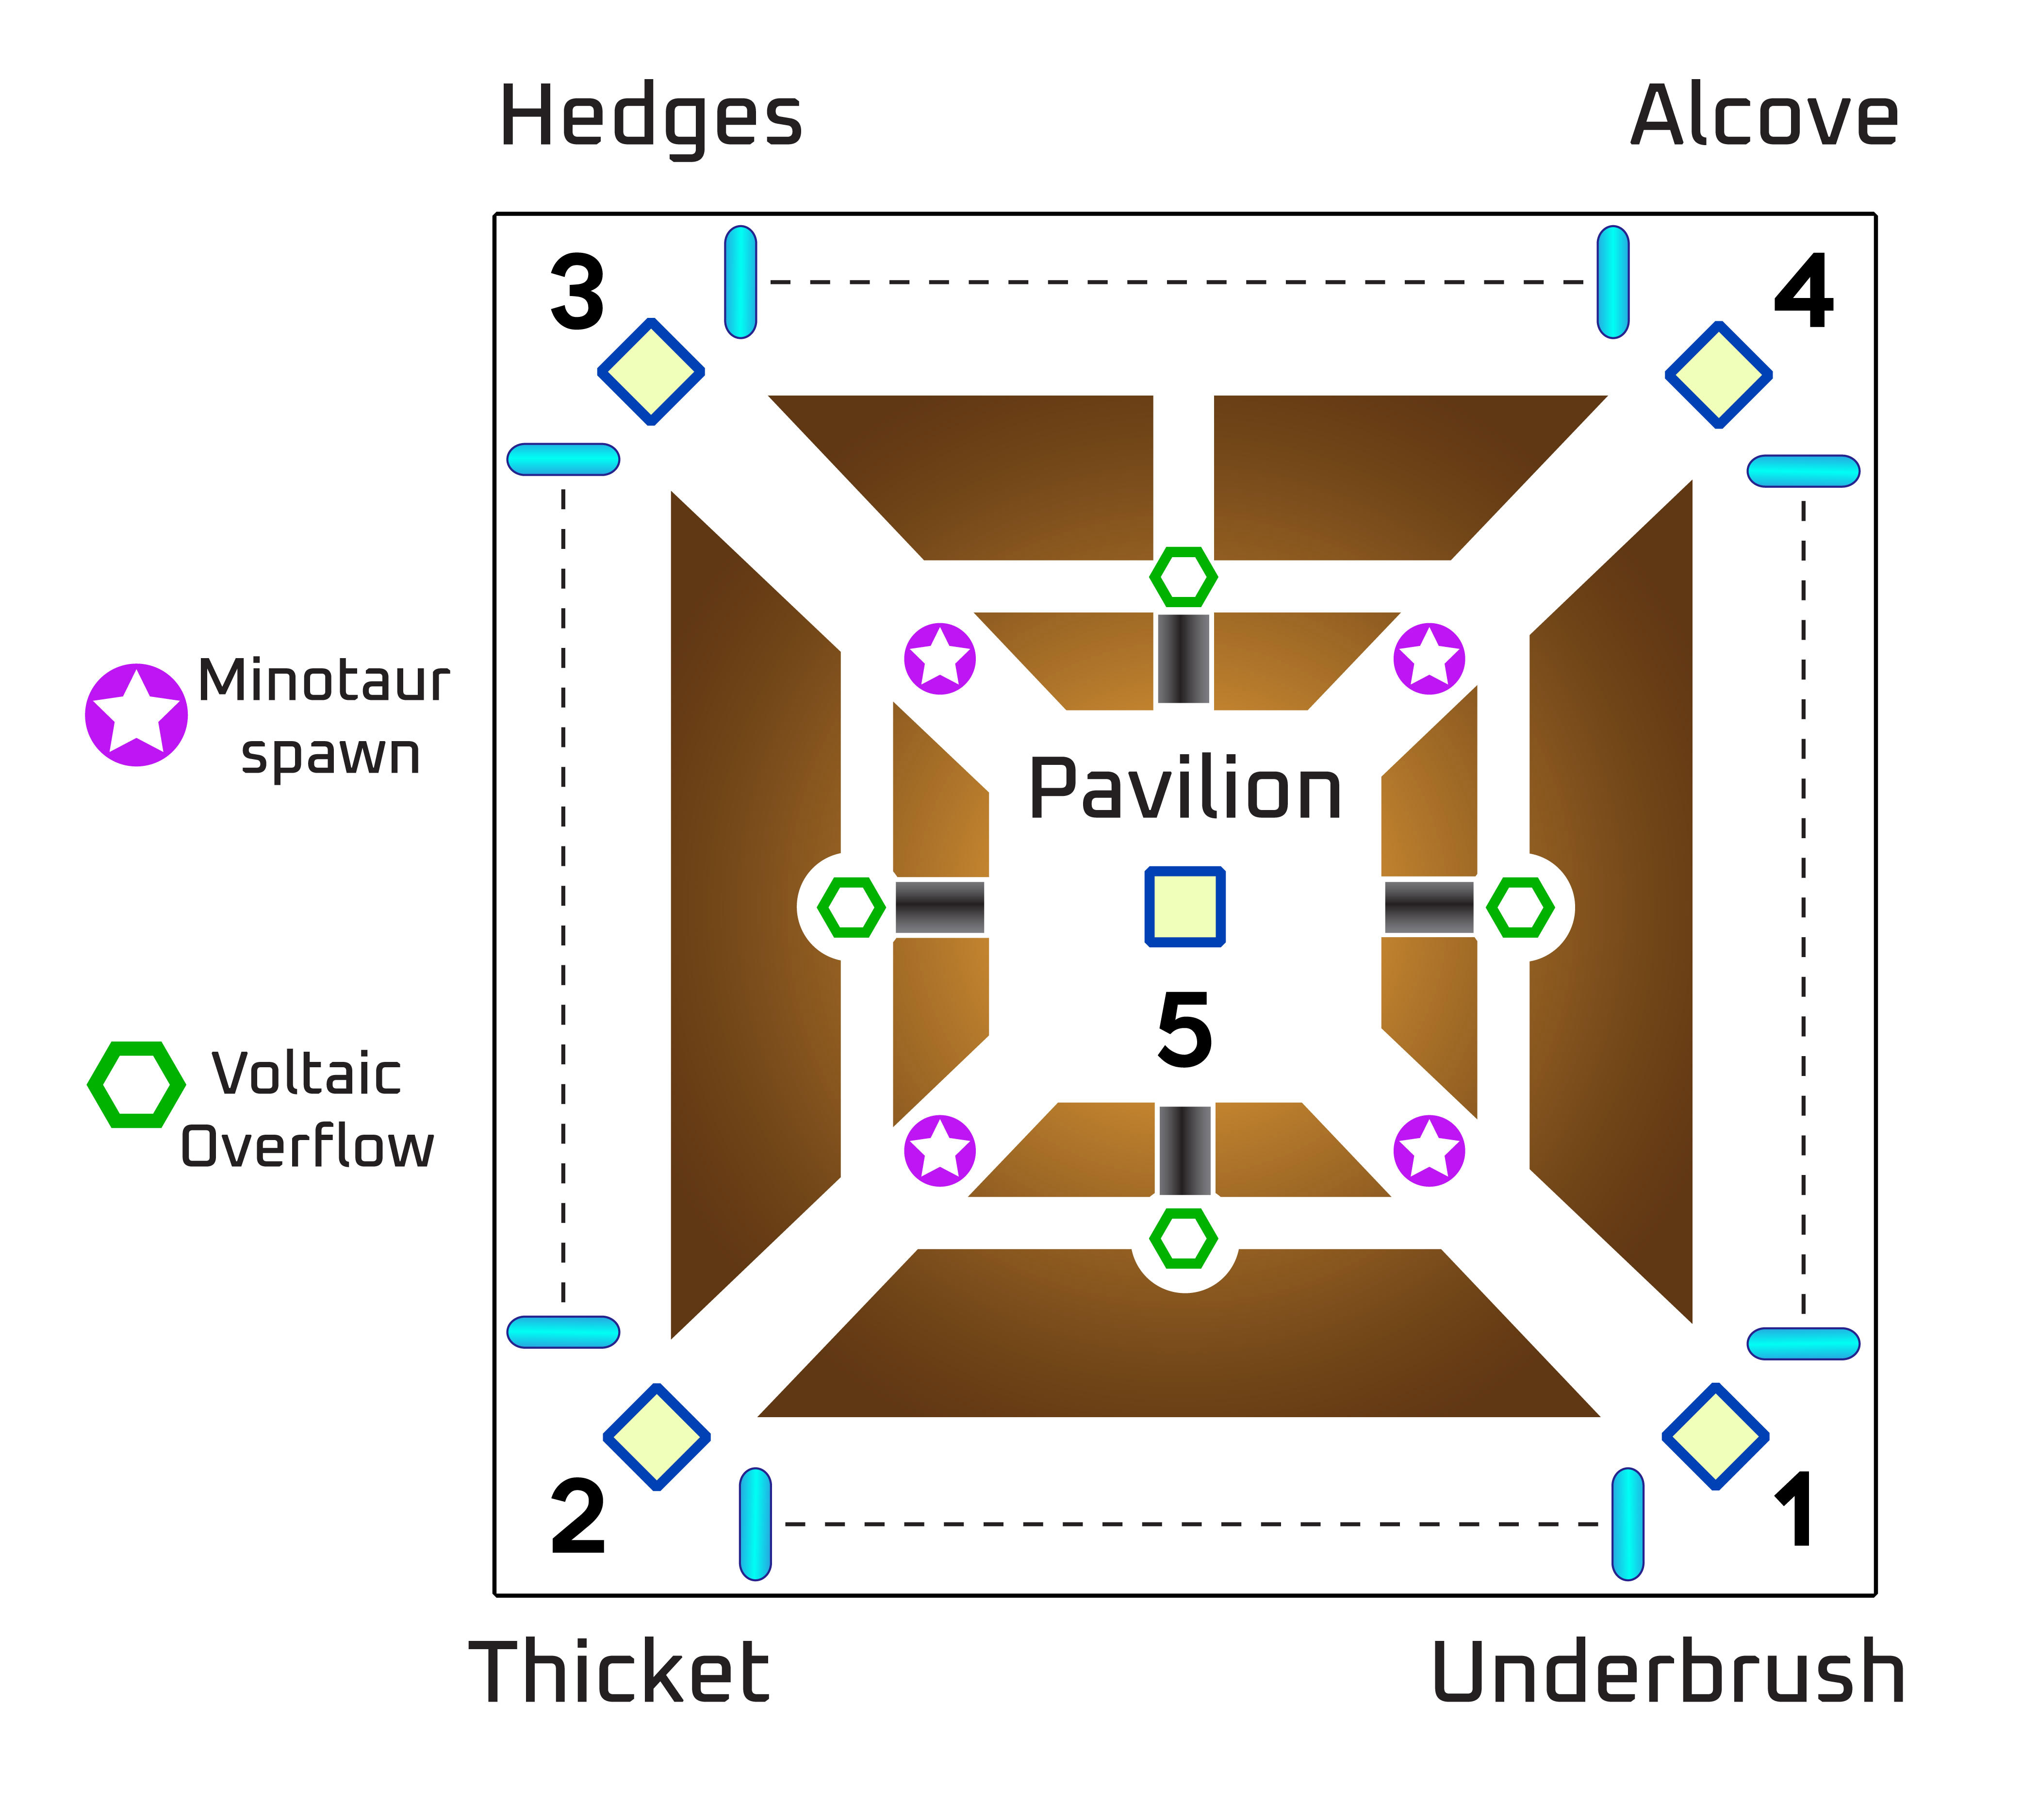
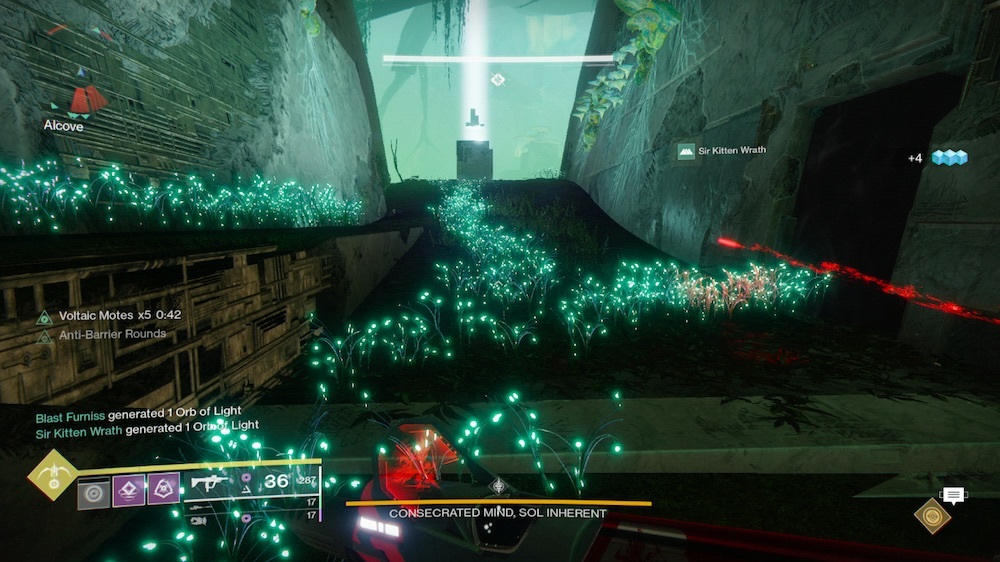
The first encounter in the Garden of Salvation has players evade the Consecrated Mind. To do this, teams are split into two to open doors and collect Voltaic Overflow. The end of the section is a mad dash through an open field.
Encounter Mechanics
- Consecrated Mind will produce a Voltaic Overflow about every 60 seconds. It will detonate if not picked up, killing the squad. A 2 minute 30 second timer will be given to the person who picks it up. The player will be killed if they collect another one while this timer is still running.
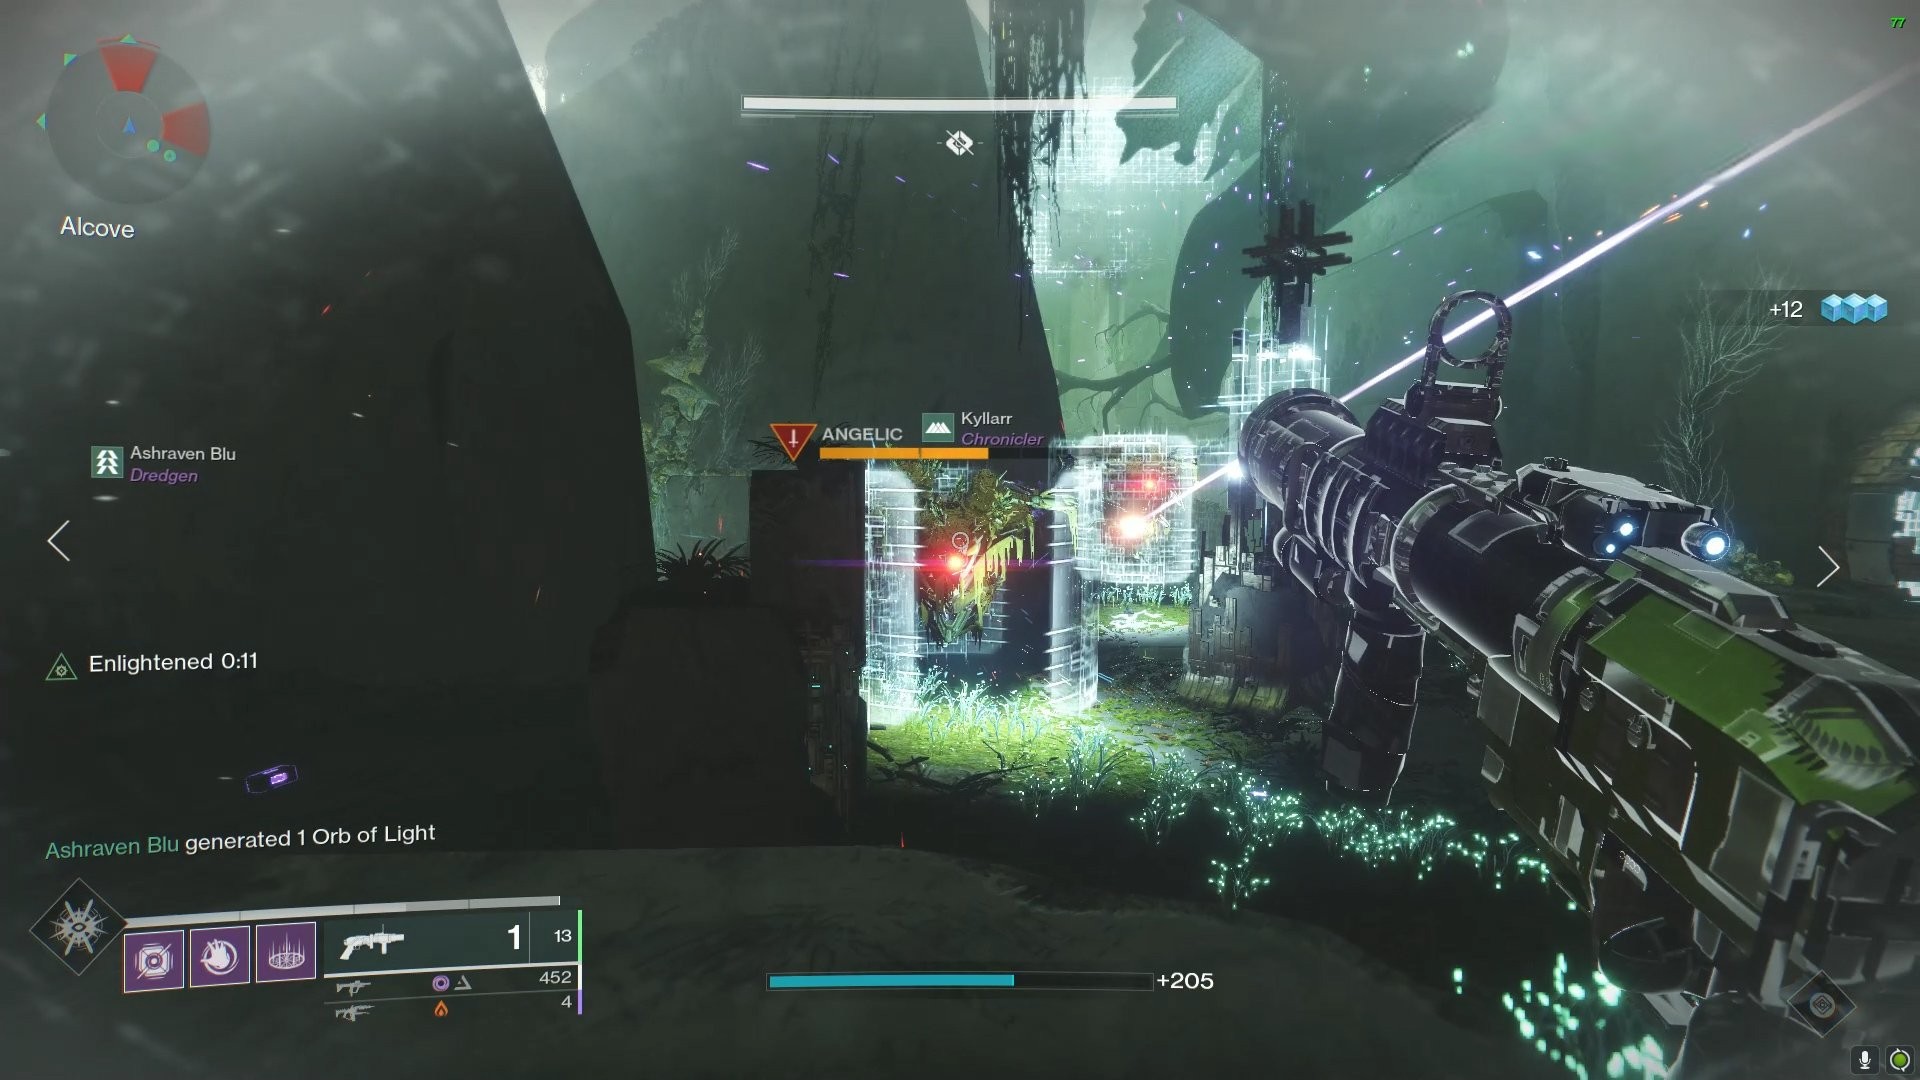
- Angelic: A unique form of Hydra that needs to be eliminated in order to unlock the box and enable users to utilize it to tether open a door.
- Tethering: By firing an unlocked Vex box while standing next to it, all players in the area are connected by a tether. The locks on the Vex barriers can be opened with this.
- Overload Minotaurs are present.
General Summary
- To begin the encounter, construct a tether link to the Vex barrier.
- One team advances to the next barrier, kills the Angelic, and unlocks the door.
- While remaining close by the Consecrated Mind, another group collects its Voltaic Overflow.
- The rear team advances past the forward team into the new location when Consecrated Mind moves.
- Continue to jump, gather Voltaic Overflow, and tether the Vex barrier open.
- To finish the encounter, when on the open field, gather Voltaic Overflow and battle to the opposite side.
Three or four players will need to build a human tether connecting the floating box to the door in order to start the battle. To make a tether, fire at the box. The battle will start when the door opens.
To defeat enemies and deal with the boss, three players must remain in the first chamber. The boss's generated Voltaic Overflow must be collected. The Vex barrier must be reached by three players moving forward and battling. There is an Overload Minotaur on the path to each barrier, and it can only be severely damaged after being stunned by Overload Rounds. In order to release the barrier, defeat the Angelic and use the Vex box to make a tether to it. On your way to the entrance, look around for the Vex box at one of the possible spots.
Consecrated Mind will advance to the location of the previously closed Vex barrier. The squad further back will need to advance up as the boss moves, pushing past the boss to the next Vex barrier. They will also have to deal with an Angelic and an Overload Minotaur.
 Voltaic Overflow produced by the Consecrated Mind.
Up until the last Vex barrier, this leapfrogging strategy is maintained. Three Vex boxes are required to unlock the final barrier because it has three locks. It's crucial to go quickly since Consecrated Mind will be waiting on the opposite side.
When the Vex barrier comes down, Cyclops, Overload Minotaurs, and the Consecrated Mind are all over this field, and they are also generating Voltaic Overlfows as they go. Reaching the finish line is the major objective of the last leg. It's up to you how you handle this, but having a few players concentrate on taking out the Cyclops can let the other players go forward more quickly. The Overload Minotaurs are subject to the same rules. So that at least one player can persevere to the end, keep them occupied.
 The final obstacle before the dash to the finish line is the third
Vex barrier.
The final obstacle before the dash to the finish line is the third
Vex barrier.
 While gathering Voltaic Overflows, battle through the field,
eliminating the Cyclops and Overload Minotaurs.
While gathering Voltaic Overflows, battle through the field,
eliminating the Cyclops and Overload Minotaurs.
The fight ends when Consecrated Mind vanishes, at which point you can open the chest and take your rewards.
Encounter Triumph:
Voltaic Tether - Escape the Consecrated Mind while allowing only players with Voltaic Overflow to tether.
Challenge Mode:
Leftovers - During the opening encounter, keep pairs of Cyclopses alive in every room.
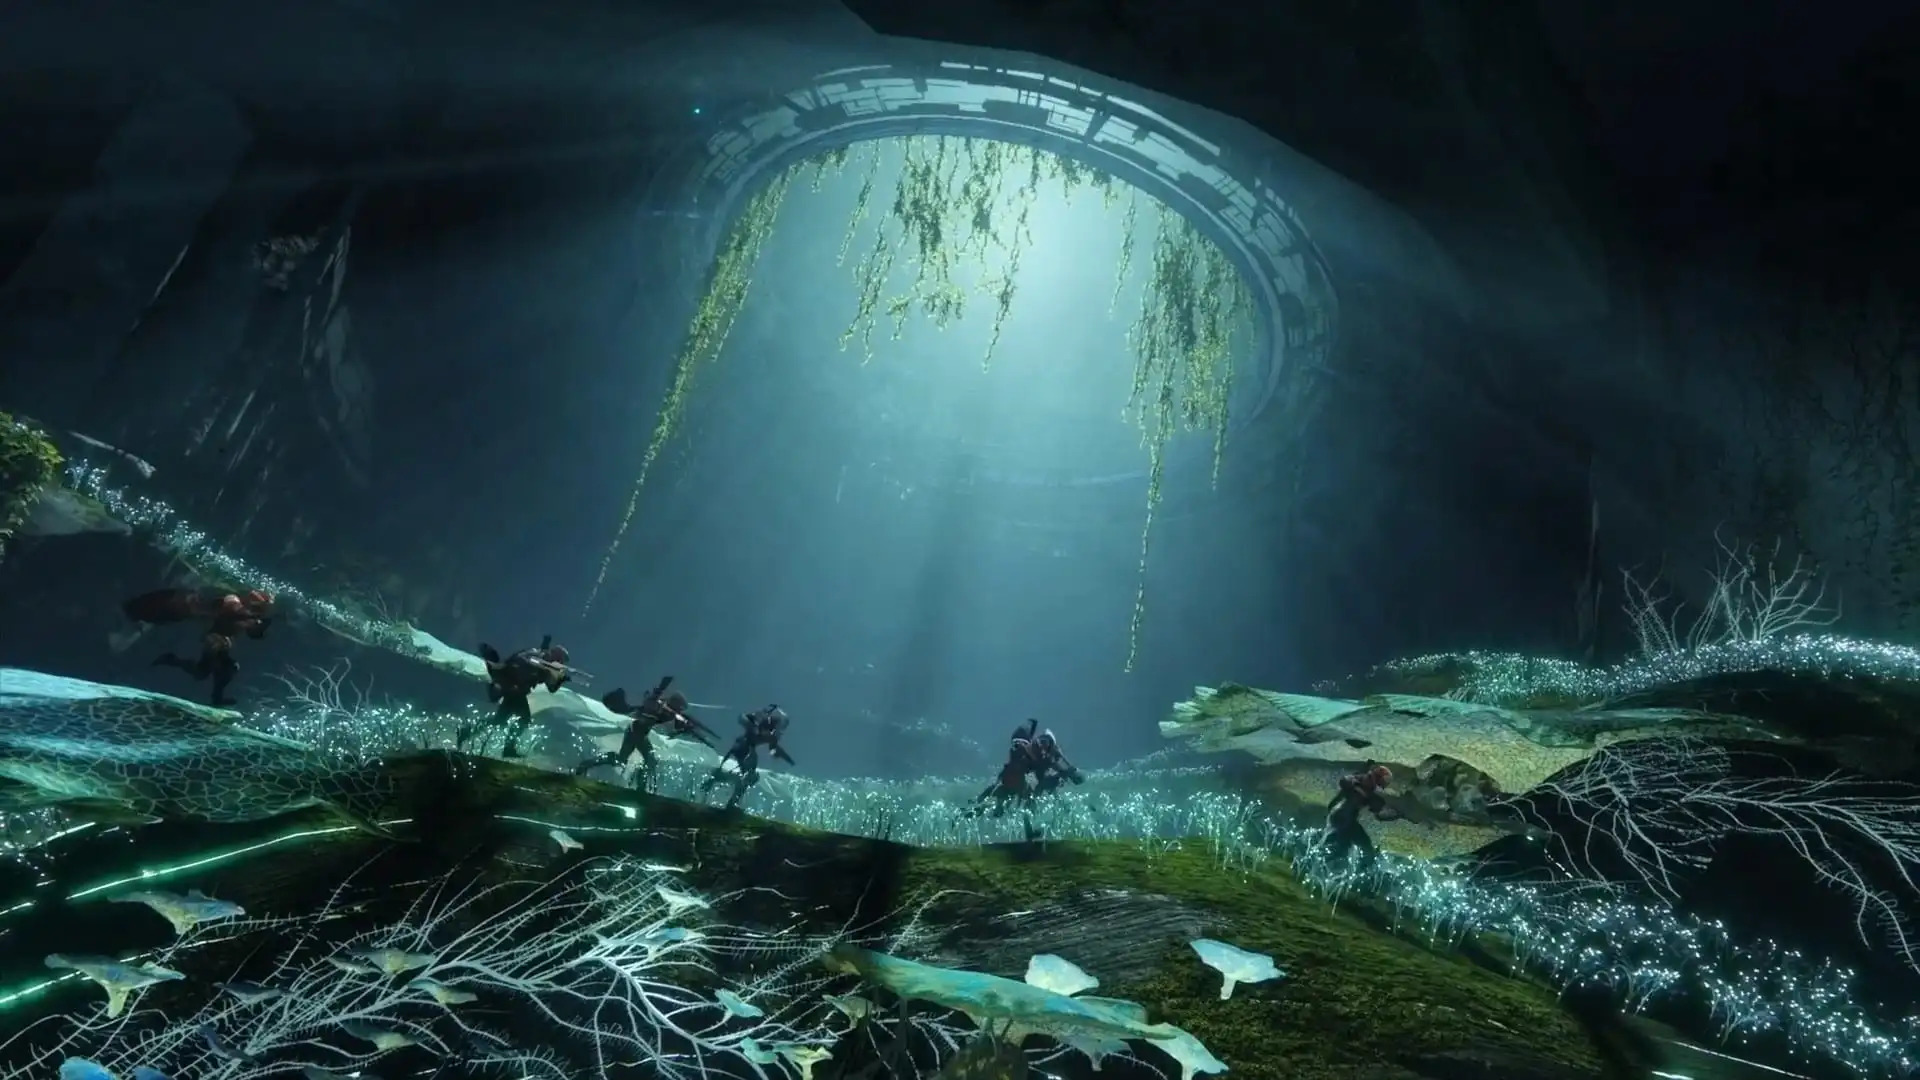
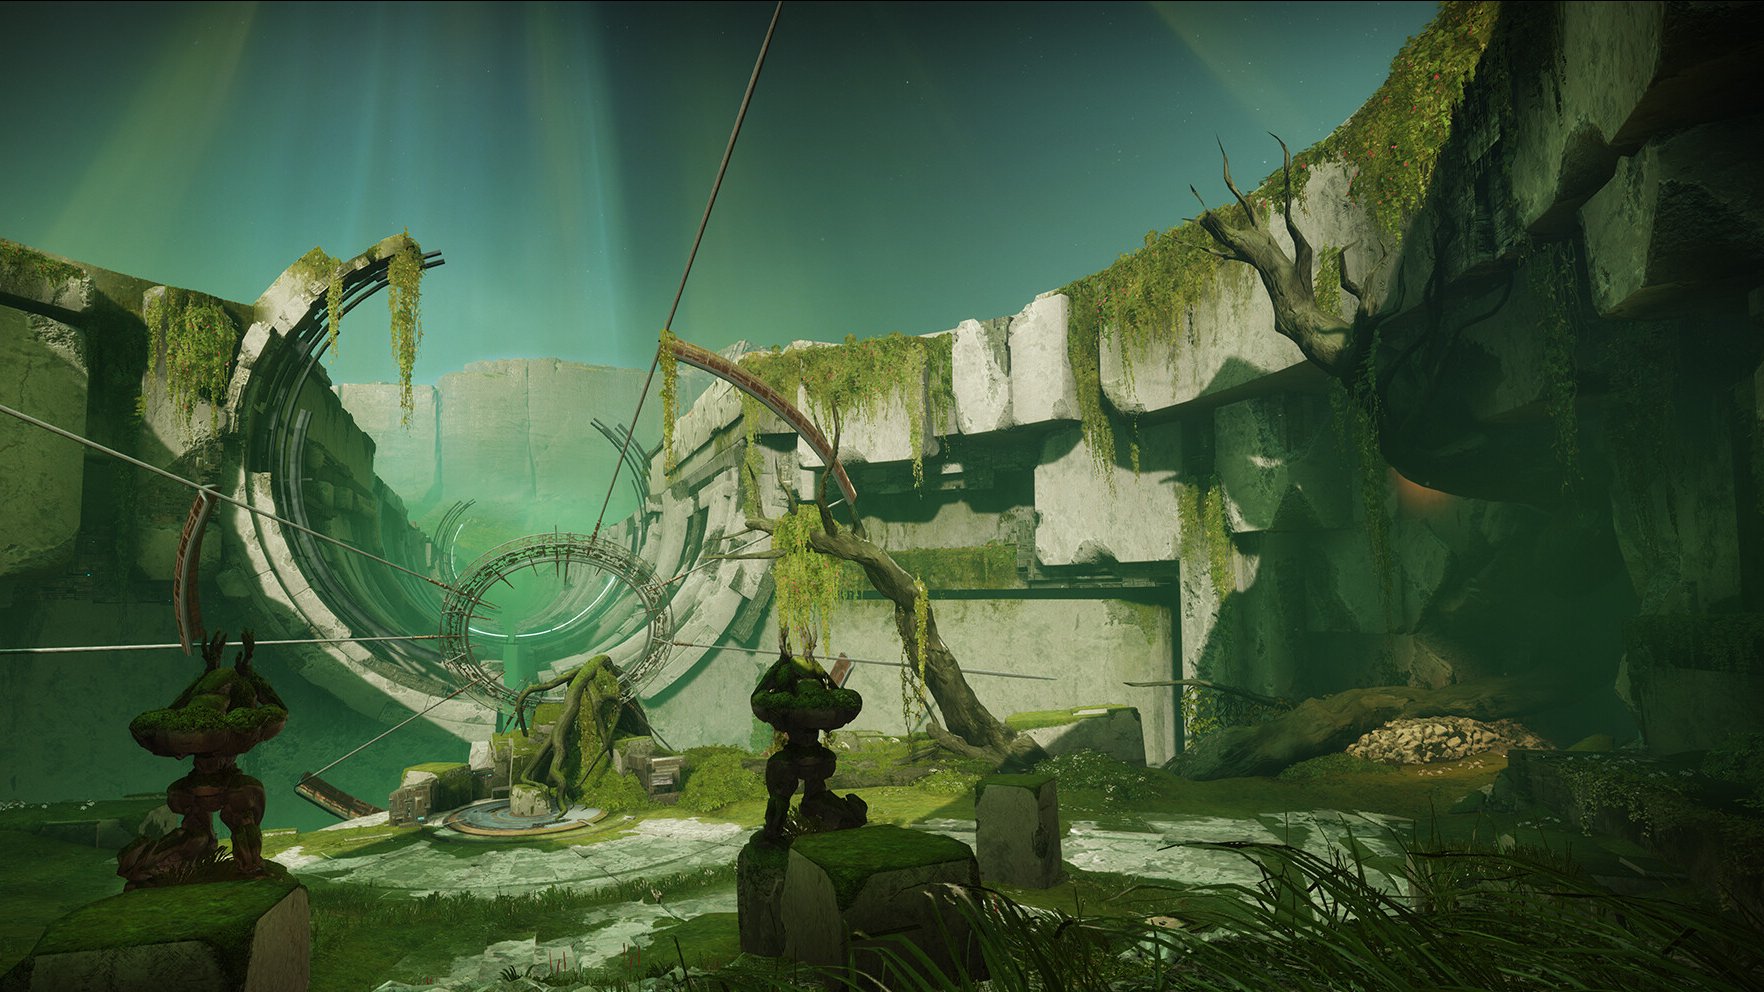
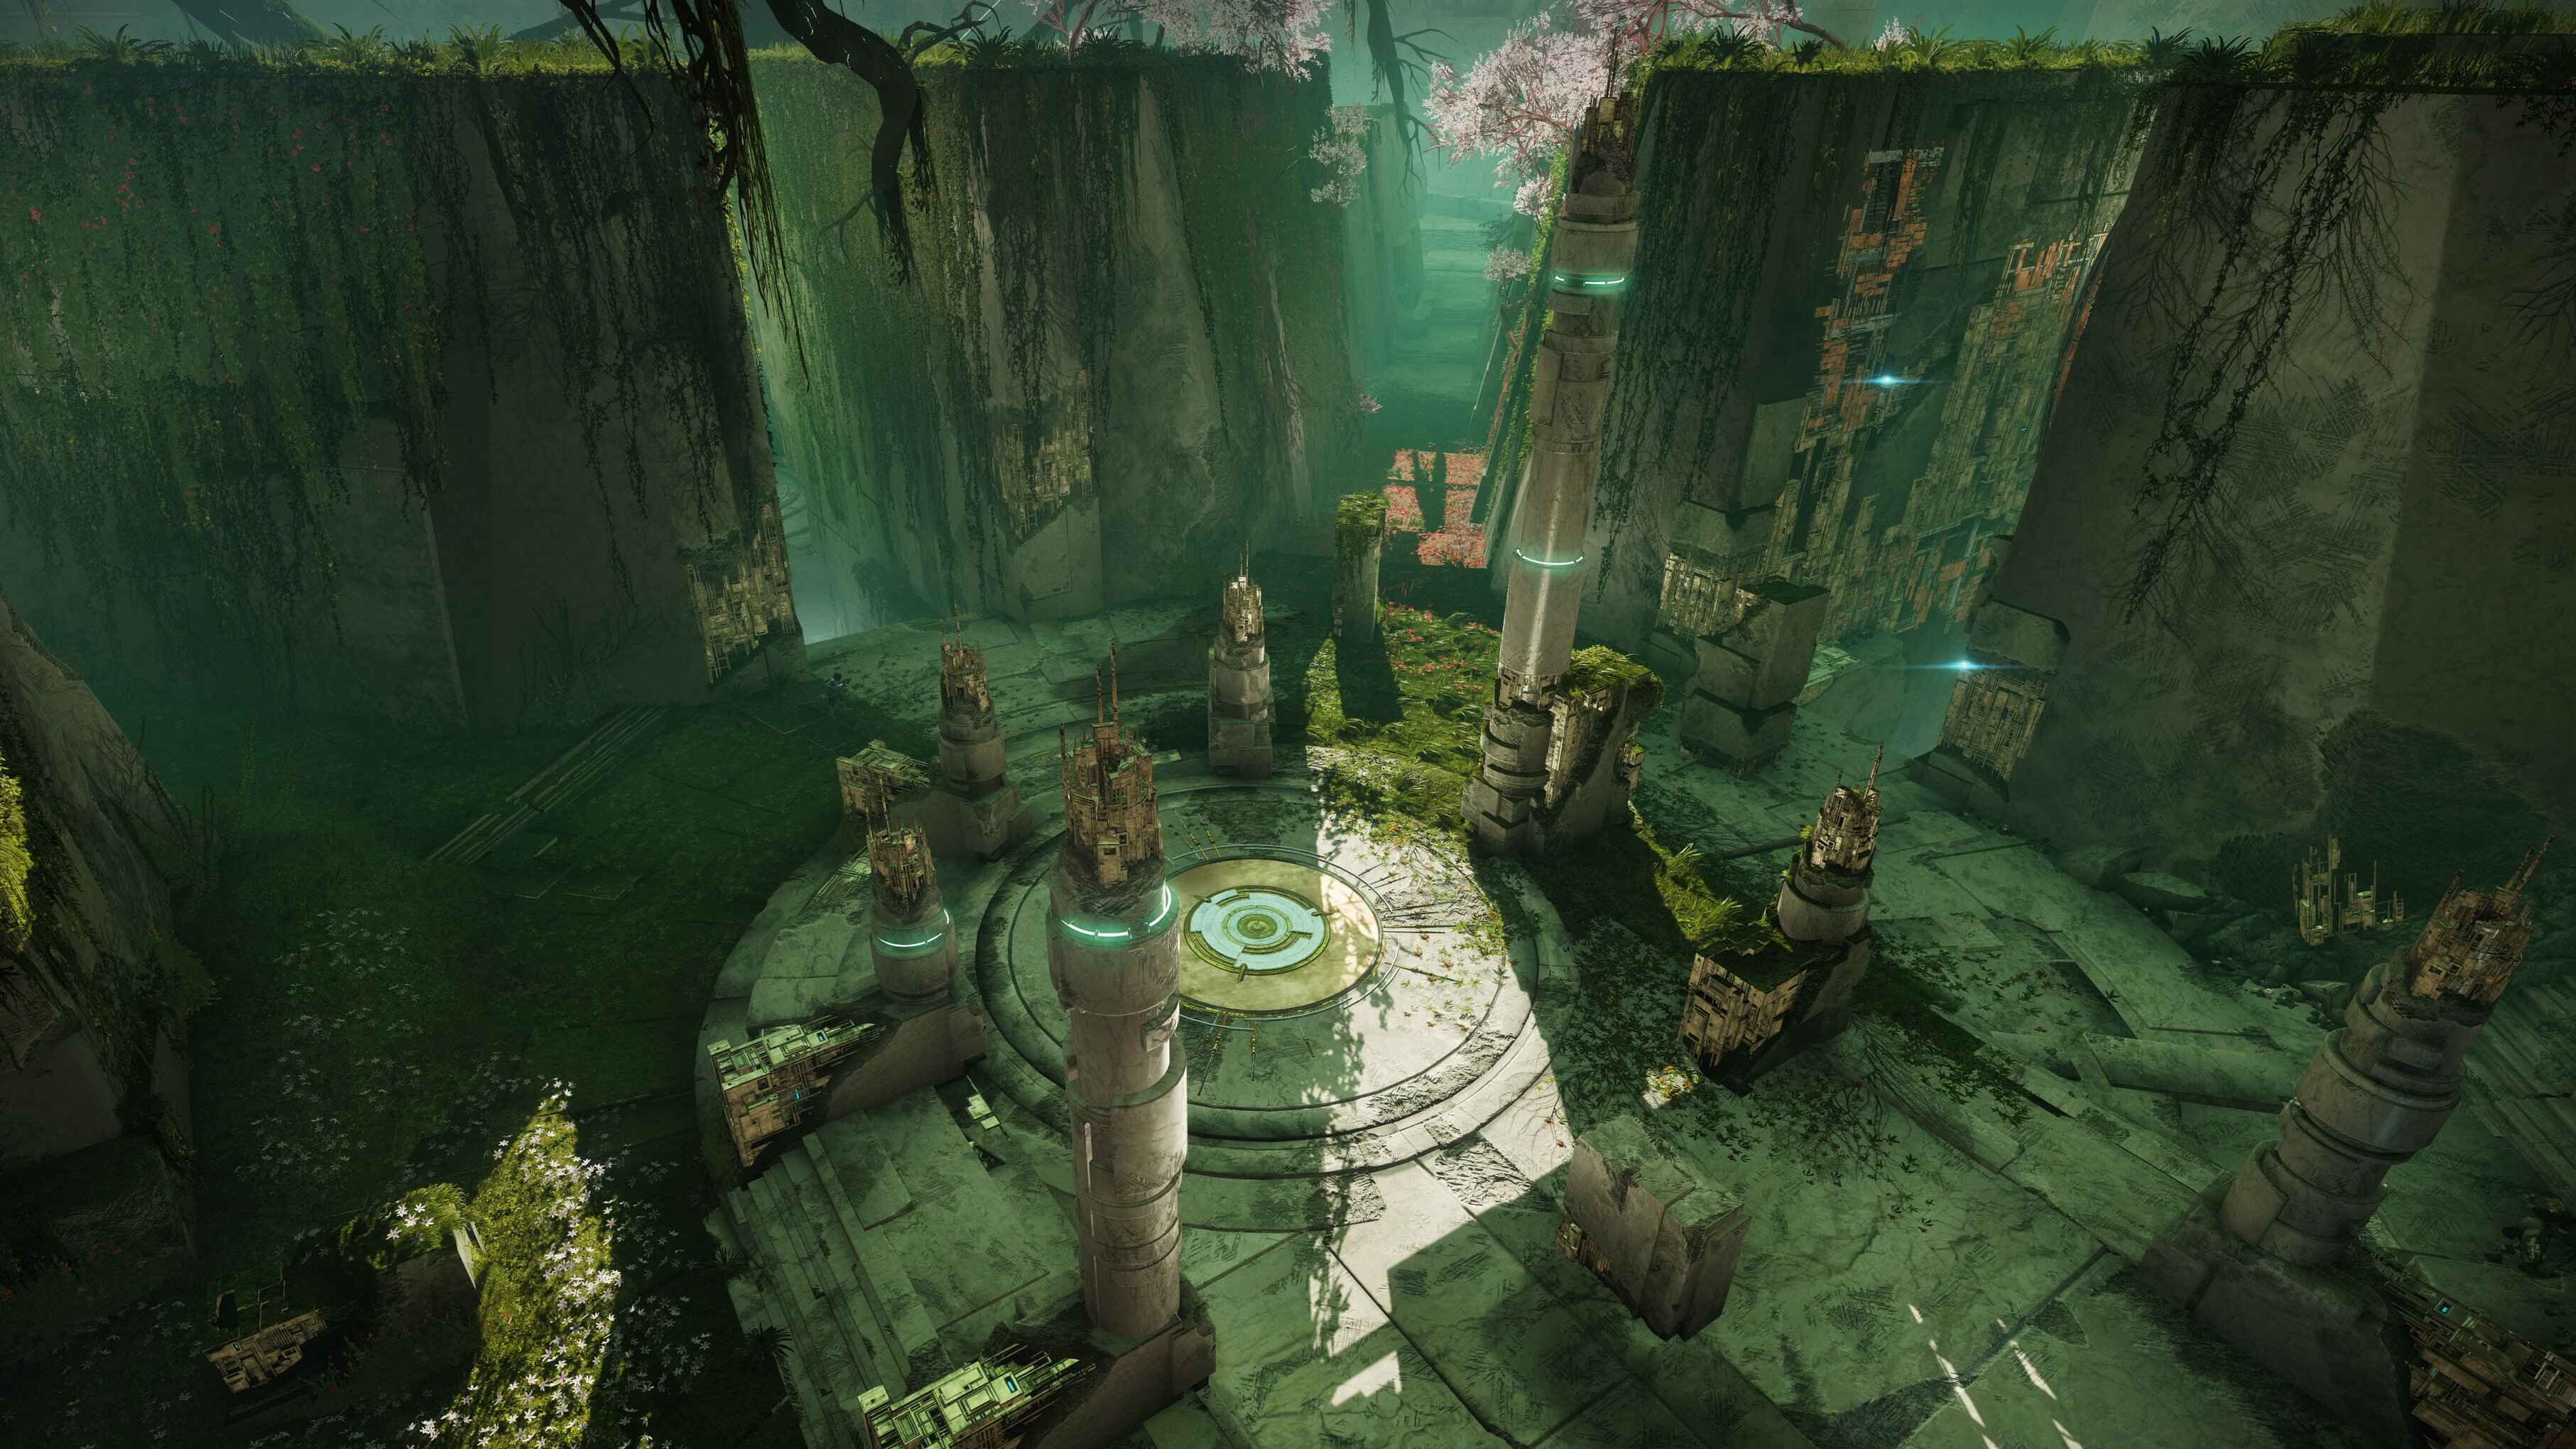
Undergrowth
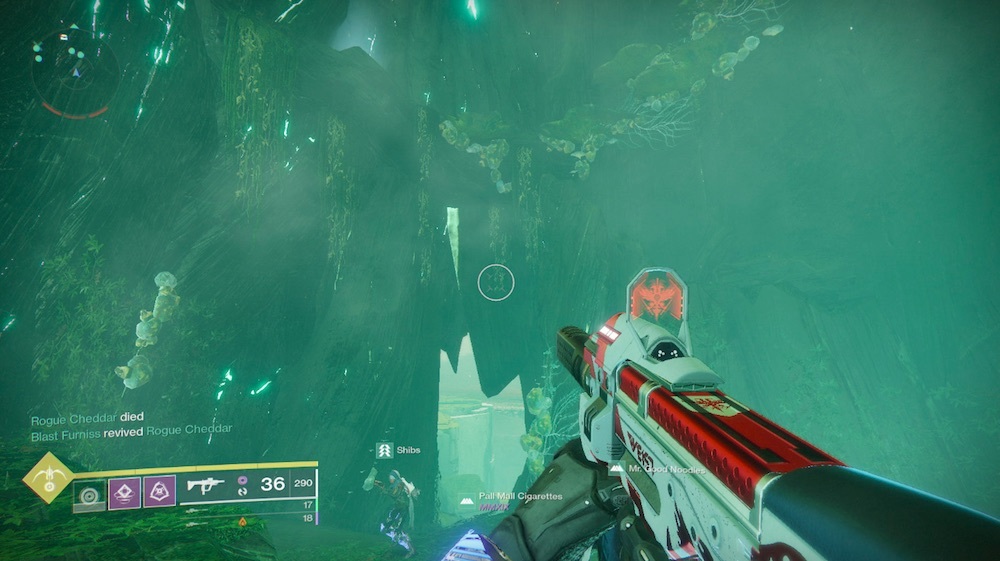
The following portion of the raid consists of a jumping puzzle across a region known as the Undergrowth. The way forward isn't too complicated; starting from the point where you initially descend underground, you must go generally onward. You're on the correct track if you witness moving walls that are attempting to crush you to death. There is a chest hidden in this region as well. It is actually rather easy to find, yet it is also simple to overlook.
How To Find The First Hidden Chest
You'll see a passage leading away to your left along one wall when you first approach the Undergrowth, and another one heading along the wall to your right. You need turn left onto the large tree root that extends out across the chasm in order to reach the treasure. Go to the end of it and stare over the chasm at the bronze Vex equipment that can be seen off in the distance. That is where you are going.
A square platform that is going up and down like an elevator can be seen on the right side of the bronze structure. You must time your jump to land on it since it hangs at the top but swiftly reverses when it touches the bottom. Actually, you're attempting to move just past the elevator. When it reaches its lowest point, land on it, then get off of it to discover a little hole adjacent to where it ends. Find the chest by slipping through the opening. Be aware that there are no powerful drops in this hidden chest, only items like mods and shaders. The raid loot that you have previously obtained from prior encounters appears to be possible to obtain again, but it will only drop at your current level.
Cross To The Next Encounter
The easiest way to move forward is to approach the area from the right side at first, hopping over the large tree roots to reach the parts with the moving walls that will try to kill you. Although it might be challenging to traverse, the way forward is rather obvious. You'll find the second fight on the other side of the Undergrowth, where you'll have to defend a string of Vex spires against approaching foes.
Summon the Consecrated Mind
The players are required to call upon the Consecrated Mind for the second encounter in the Garden of Salvation. To do this, four relays are locked at each of the area's four corners and kept there until the center Vex barriers open.
Roles:
- 4 relay defenders.
- 2 floaters travelling between a pair of relays.

Encounter Mechanics
- Barrier Hobgoblins are present.
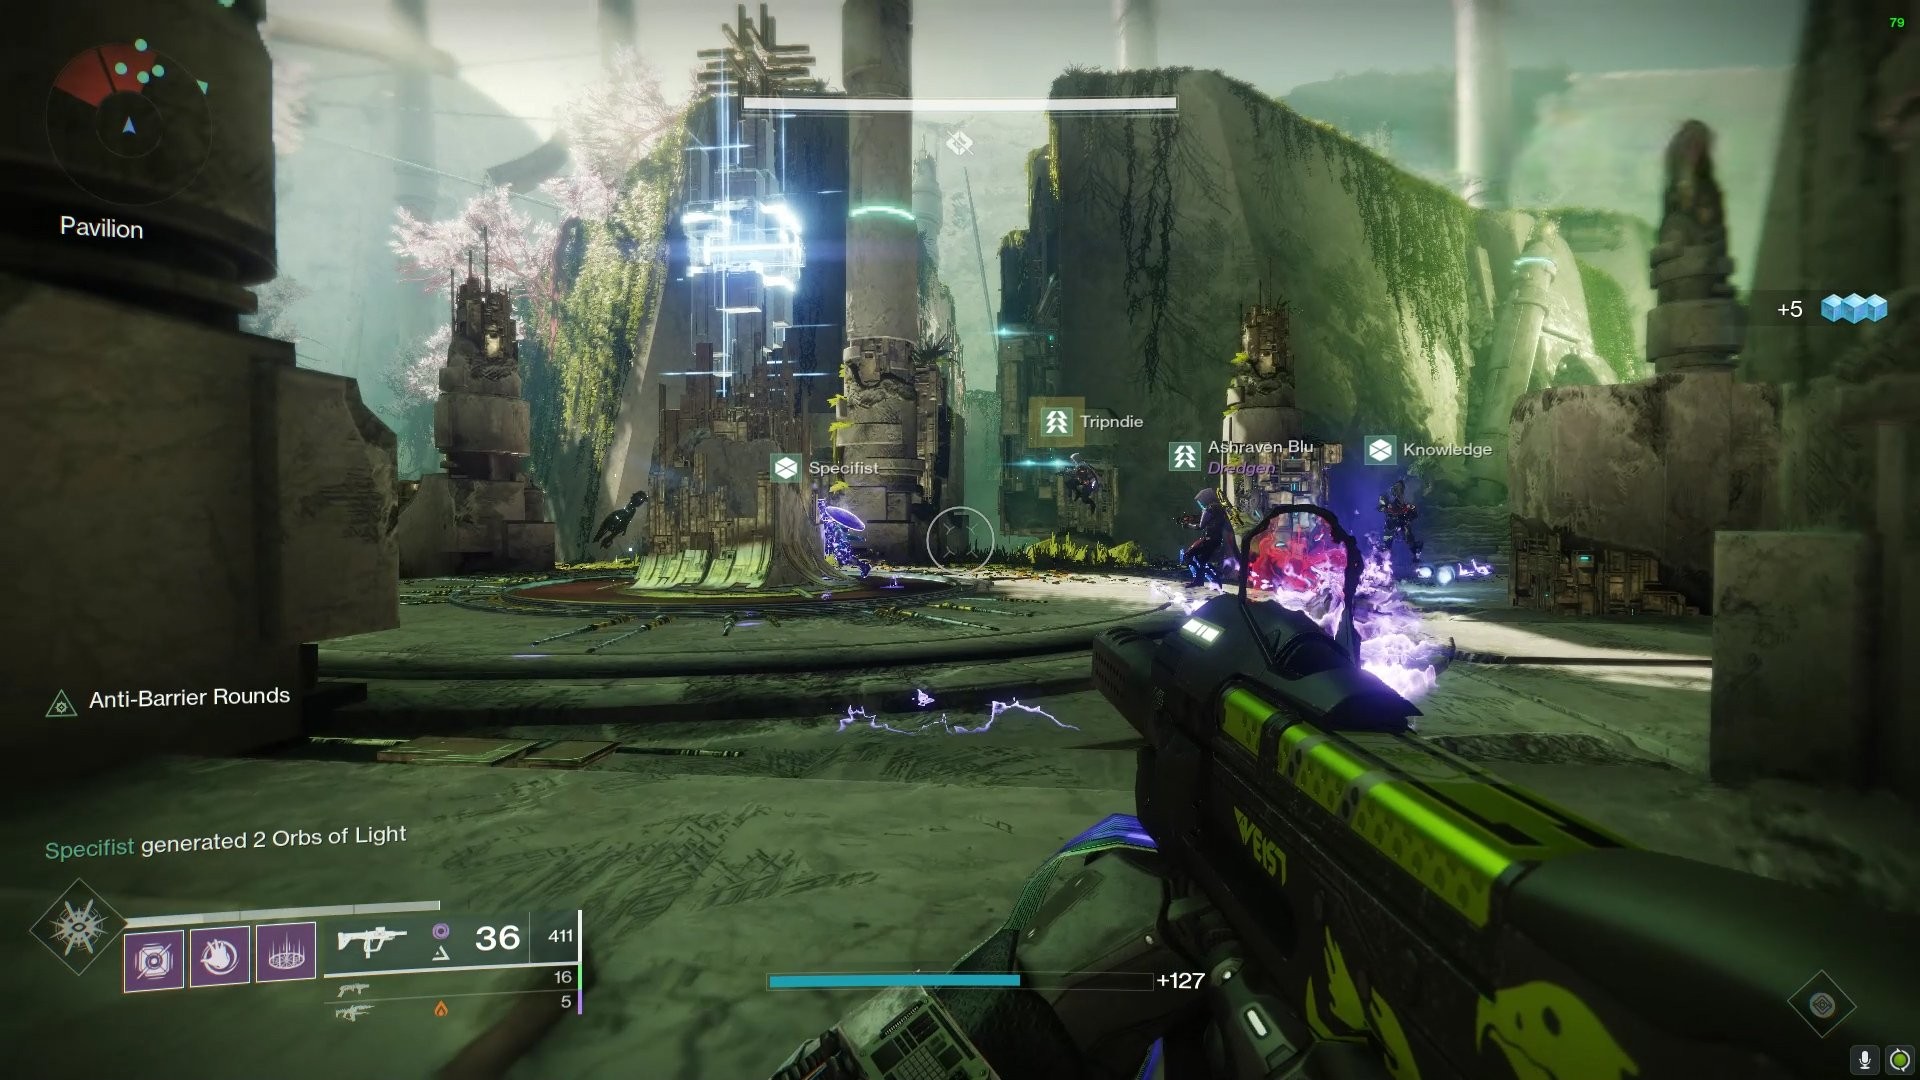
- Relays: Using a Vex box and tether, relays must be protected from Vex and charged. One is at each corner of the map, and one is in the exact middle for the last wave of foes. while attached, offers an Enlightened boost. When they do, the portals at the back will open, giving you easy access to every corner.
- Tethering: A tether to the relay must be established using the Vex boxes located in each location, which must also be refreshed if any Vex have uploaded. Additionally, it offers the Enlightened bonus.
- Enlightened: A 44-second enhancement that enables players to damage an enemy's white shield.
- Angelics: Must be eliminated in order to open the Vex cages. Once all four relays are functioning, they attack the relays in three-person groups.
General Summary
- To begin the encounter, eliminate the goblins in the middle.
- While four players move clockwise to the following relay, two players defend the current relay.
- Relay 2 is taken down by four players, leaving one to defend it. The others continue.
- Relay 3 is taken down by three players, leaving one person to defend it. The others continue.
- Relay 4 is cleared by two players, leaving one person to guard it.
- The last player and one player from Relay 1 float between each relay, clearing foes and recharging the Enlightened boost.
- Three Angelics will attack each relay. The center Vex barrier will fall after all 12 have been vanquished.
- Until the conflict is over, all players engage in combat in the middle and guard Relay 5.
It takes a lot of endurance to win this battle in the Garden of Salvation raid. Simply maintaining buffs and attempting to withstand an onslaught of foes are the only puzzles that need to be solved. It's important to note that there are several strategies you may employ in this battle.
Defeat the three Goblins to begin the encounter before they can sacrifice themselves. Four players should now start moving clockwise in the direction of Relay 2 at this point. To charge the relay and activate the Enlightened boost when necessary, the two players at Relay 1 should defeat the Angelic and utilize the Vex box.
The four players must kill the Angelic and defeat the Barrier Hobgoblins in the meanwhile. Allow one player to stay behind to defend Relay 2 after using the Vex box to obtain the Enlightened bonus. To acquire a buff refresh, this lone player needs to cooperate with the two other players at Relay 1.
Relay 3 must now be attacked by three players in order to defeat the Barrier Hobgoblins and the Angelic and obtain the Enlightened boost. While the final two players push to Relay 4, leave one player there to protect the relay. Send a player from Relay 1 to Relay 4 if they need to assist in securing it. Once more, defeat the Barrier Hobgoblins and Angelic, acquire the Enlightened bonus, and then defeat the enemies to trigger the last relay.
At this time, protecting each relay from enemy attacks is the main concern. Normal foes, White Shield adversaries, and Angelics will all be present. While Enlightened, a single bullet can quickly erase the white barrier. A relay will be attacked by three Angelics, so keep an eye out for the on-screen prompt that says "Undergrowth defenses deployed." Before they overwhelm a relay, cooperate to sweep out these Angelics. Use the Vex portals to leap across each corner rapidly.
 Three Angelics will assault each relay. The central Vex barrier
will come down once all four groups have been destroyed.
Three Angelics will assault each relay. The central Vex barrier
will come down once all four groups have been destroyed.
The central Vex barrier will fall when each relay has been attacked, allowing each corner access to the center. Each player should cautiously go to the center, where the last relay is waiting.
The combat is identical to the last one, however it only takes place in one place this time. First, defeat the Angelic, then unite to tether the relay. Remember to refresh the buff whenever all of the Angelics have been vanquished by using the Vex block.
The battle will conclude and a loot chest will spawn if you successfully defend this relay from three waves of foes.
Encounter Triumph:
Repulsion Theory - Summon the Consecrated Mind without tethering to a relay while Enlightened.
Challenge Mode:
A Link to the Chain - Complete the second encounter by having everyone gain the Enlightened buff at the same time.
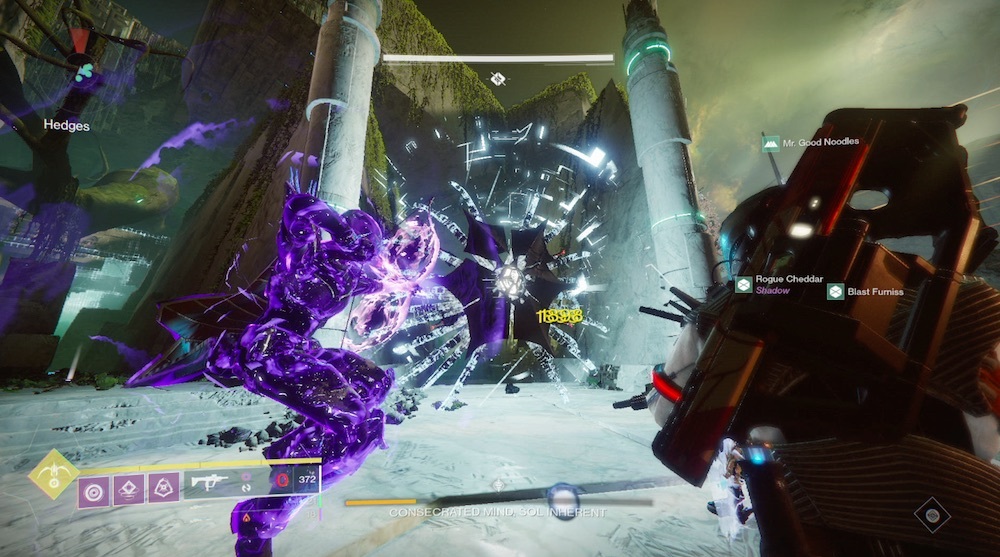
Consecrated Mind, Sol Inherent
Players must destroy the Consecrated Mind in this encounter in the Garden of Salvation raid. The Consecrated Mind's eyes are shot, motes are deposited, and this takes place in the Undergrowth's center.
Roles:
- 3 guardians dealing with motes (Gambit Team)
- 3 guardians dealing with Voltaic Overflow (Eyes Team)
Encounter Mechanics
- Gambit Team:
- Motes: When slain, Minotaurs will spawn along the lanes and drop motes. Gather motes, then put them in the relays. To start a damage phase, bank 30 motes. The player will receive a 60-second counter after collecting a mote; if the counter hits zero before the motes are banked, the player will forfeit all of the collected mote. A maximum of 10 motes can be held by a player at once.
- Relays: In each round, the bank will be one of the four relays in the corners. It will light brilliantly to demonstrate this. To start a damage phase, 30 motes must be banked.
- Enlightened: A player gains the Enlightened buff whenever they bank motes. The relay must then be protected from enemies with white shields.
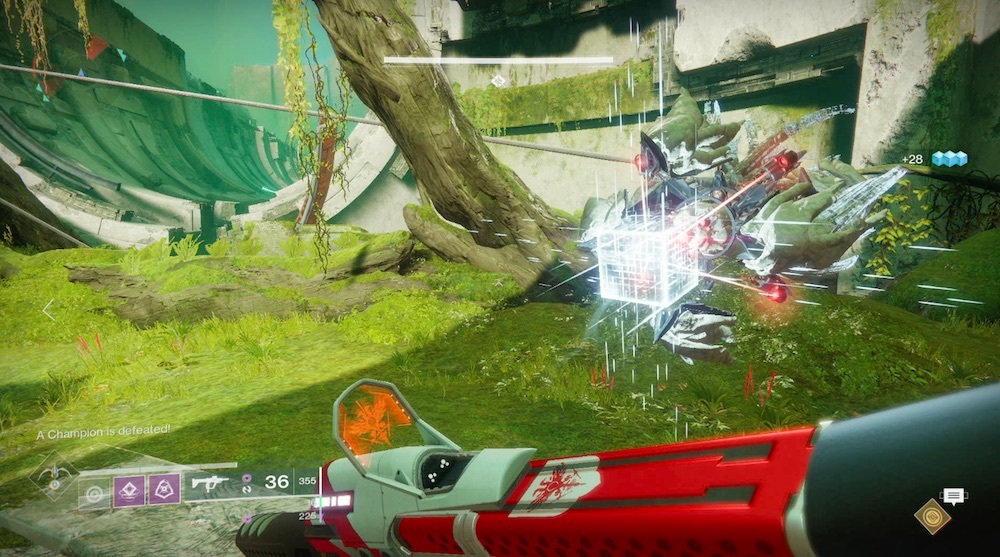
- Eyes Team:
- Voltaic Overflow: The boss will launch a Voltaic Overflow that must be gathered in order to avoid the squad being eliminated. A 2 minute 30 second timer will be given to the person who picks it up. The player will be killed if they collect another one while this timer is still running. The person who picks up the Voltaic will be forced to explain how the eye mechanism works while being imprisoned.
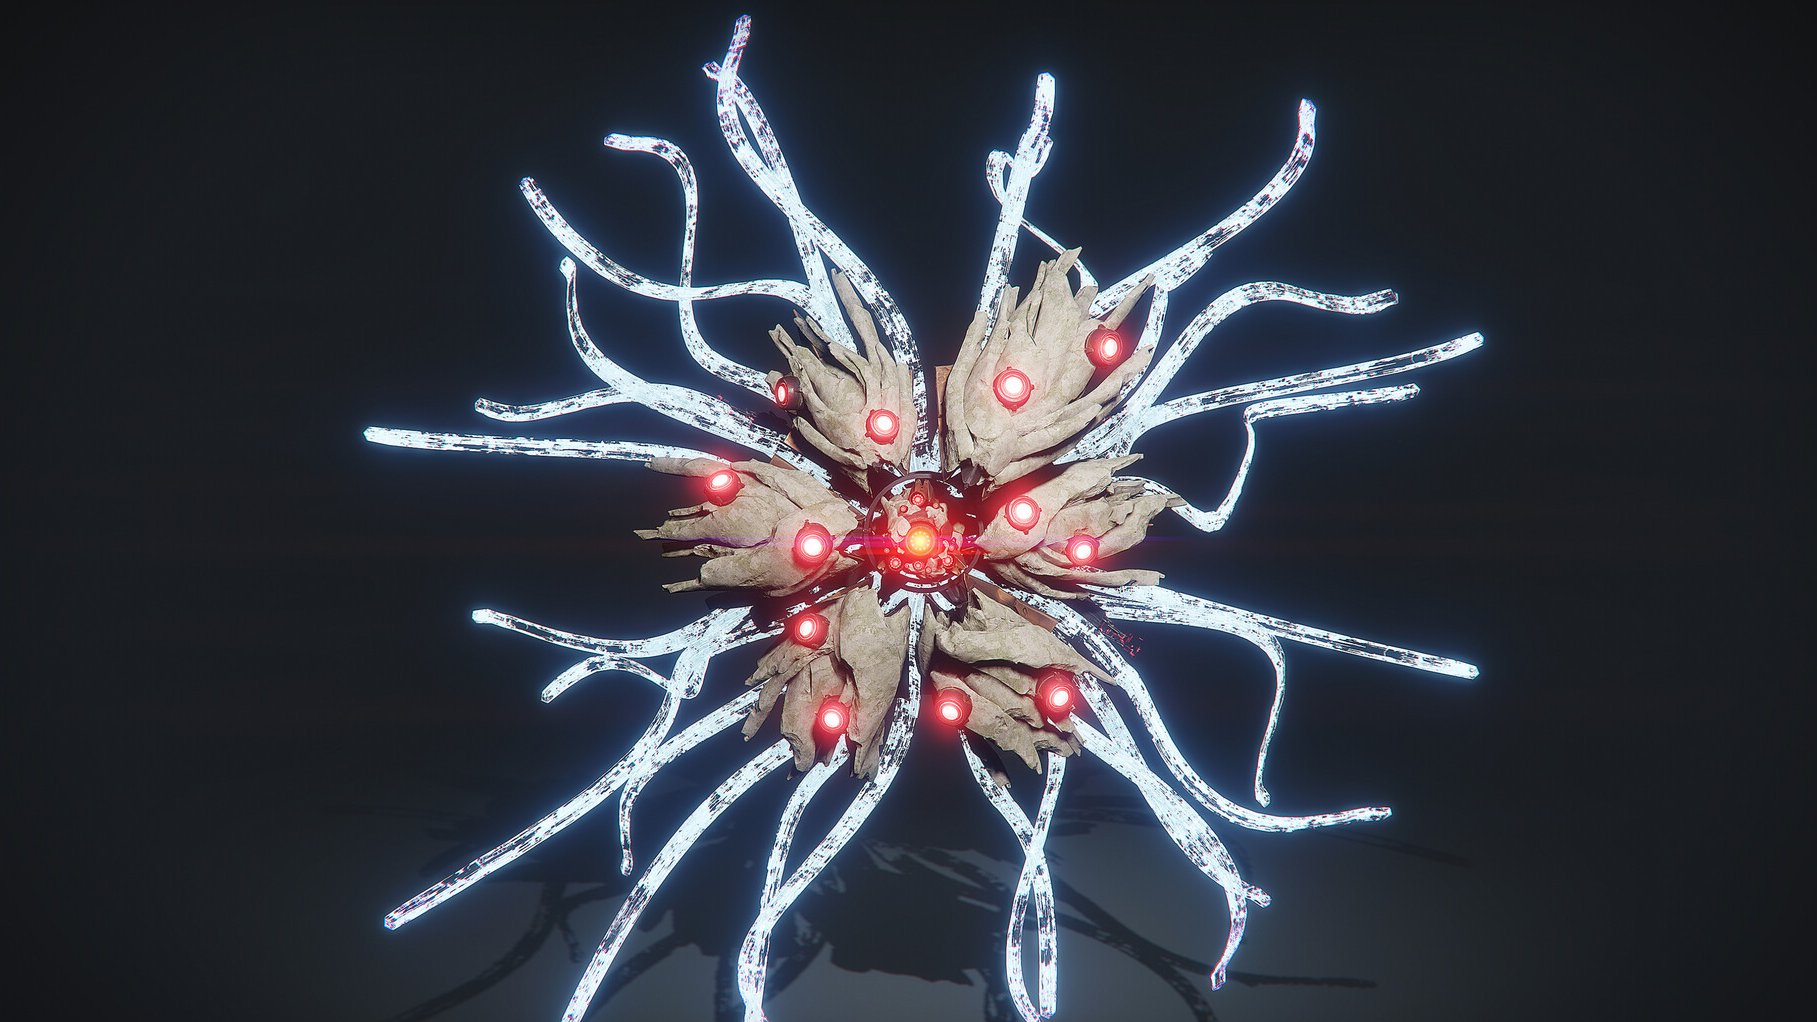
- Boss Eyes: A player will get imprisoned after they have collected the Voltaic Overflow. With its eyes glowing, the boss will extend out its fins. Which eyes are red—in or out—must be called out by the player who was imprisoned. The imprisoned player must be released by the assisting players shooting the proper eye. The captive player will die if the three proper eyeballs are not destroyed.
General Summary
- To begin the encounter, create a tether connecting the Vex box to the central relay.
- Three players will find the bank, where they begin killing minotaurs and gathering motes. When a player deposits their collected motes, they can break the white shields with the Enlightened buff.
- Three other players will follow the Consecrated Mind. The Voltaic Overflow is collected by one player, who then announces whether the inside or outside of the eyes are red.
- If all three players obtain Voltaic Overflow counters, switch player roles.
- Follow the boss to the bank once 30 motes have been gathered to start the damage phase.
- To stun the boss and expose its weak spot, shoot each of its red eyes. As the boss retreats, shoot it in the center. Rinse and repeat until the boss is destroyed.
Make a tether chain connecting the Vex box and the relay to begin the battle against the Consecrated Mind. Players must begin playing their parts as soon as the boss spawns.
To ensure that someone gets the motes, the three gambit team players must find the Minotaur and kill it. The aim is for one player to collect 10 before the following player begins to collect. Once you have 10 or before the timer expires, deposit the motes.
The Consecrated Mind must be followed by the other three participants in the eyes team. While the other two flank, have one player gather the Voltaic Overflow. The imprisoned player should stare at the boss and call out either "in" or "out" depending on which eye is red. The eyes for in or out should be shot by the other two players. The trapped player should always go for the top fin, while the flanking players should aim for the left and right fin. There is no doubling up because all the eyeballs are killed in this manner.
If at some point, all three players are likely to have the Voltaic Overflow debuff, meaning they're unable to collect another charge, you can sub in one of the mote collectors to take the Voltaic Overflow.
 Gambit Team members must pick motes dropped by Minotaurs and
bring them to a glowing spire which looks like above.
Gambit Team members must pick motes dropped by Minotaurs and
bring them to a glowing spire which looks like above.
 Eyes Team will follow the boss and shoot its eyes. Based on this
image, you should target the "outside" eyeballs because they are
glowing red.
Eyes Team will follow the boss and shoot its eyes. Based on this
image, you should target the "outside" eyeballs because they are
glowing red.
The screen will display the message "The Consecrated Mind is drawn to the overloaded relay" once 30 motes have been banked. Get ready for the damage phase by following the boss to the spire. All of Consecrated Mind's eyes will glow red when it reaches it. Destroy every eye to make it reveal its weak spot. Deliver as much damage as possible in the middle while the boss retreats back to the center. Rinse and repeat the phases until it dies.
Encounter Triumph:
Relay Rally - Defeat the Consecrated Mind without allowing any player with the Relay buff to kill a combatant.
Challenge Mode:
To The Top - Defeat the Consecrated Mind by only depositing 10 Motes at a time.

Boundless Horizon
You can exit through the door beyond the revolving hallway once the Consecrated Mind is destroyed. From there, the route will lead you back via another jumping puzzle. Continue moving on until you come across a field with plants, trees, and a few big waterfalls of white Vex milk. Here is where you'll find the raid's second and last hidden chest.
How To Find The Second Hidden Chest
From here, battle your way through a few foes before climbing the large tree on the area's right side. There are two openings up ahead as you proceed up the slope. You can enter the large tree by using the entrance on the left. You should be able to see a platform with a glowing chest on it above the entrance if you turn around and face the opening.
You may either hop up on the stump on the right side of this chamber and jump straight up to that platform, or you can take a roundabout route around the perimeter of the tree.
As you make your way back up the hill, you'll finally reach a huge new arena which you'll battle the raid's final boss.
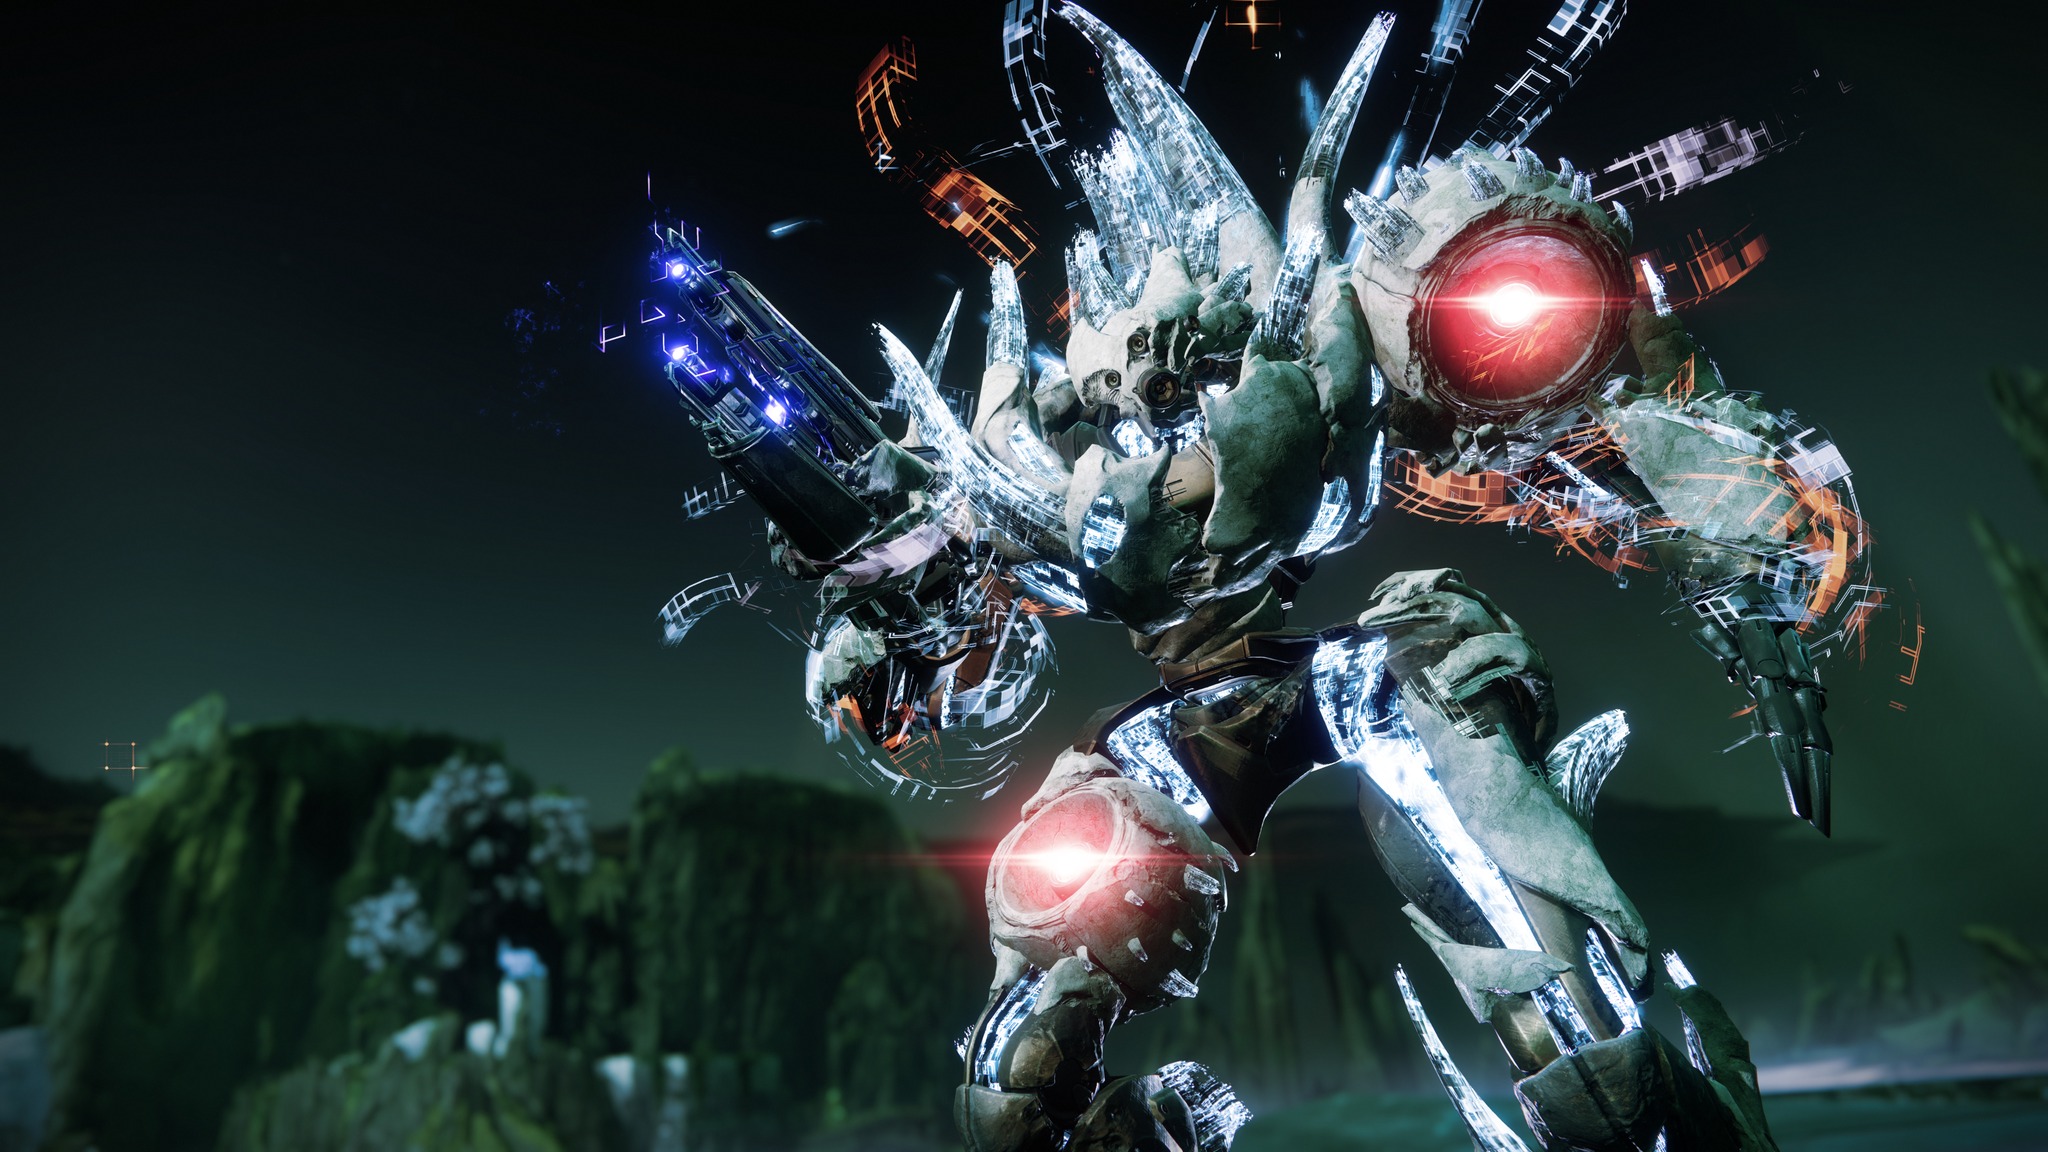
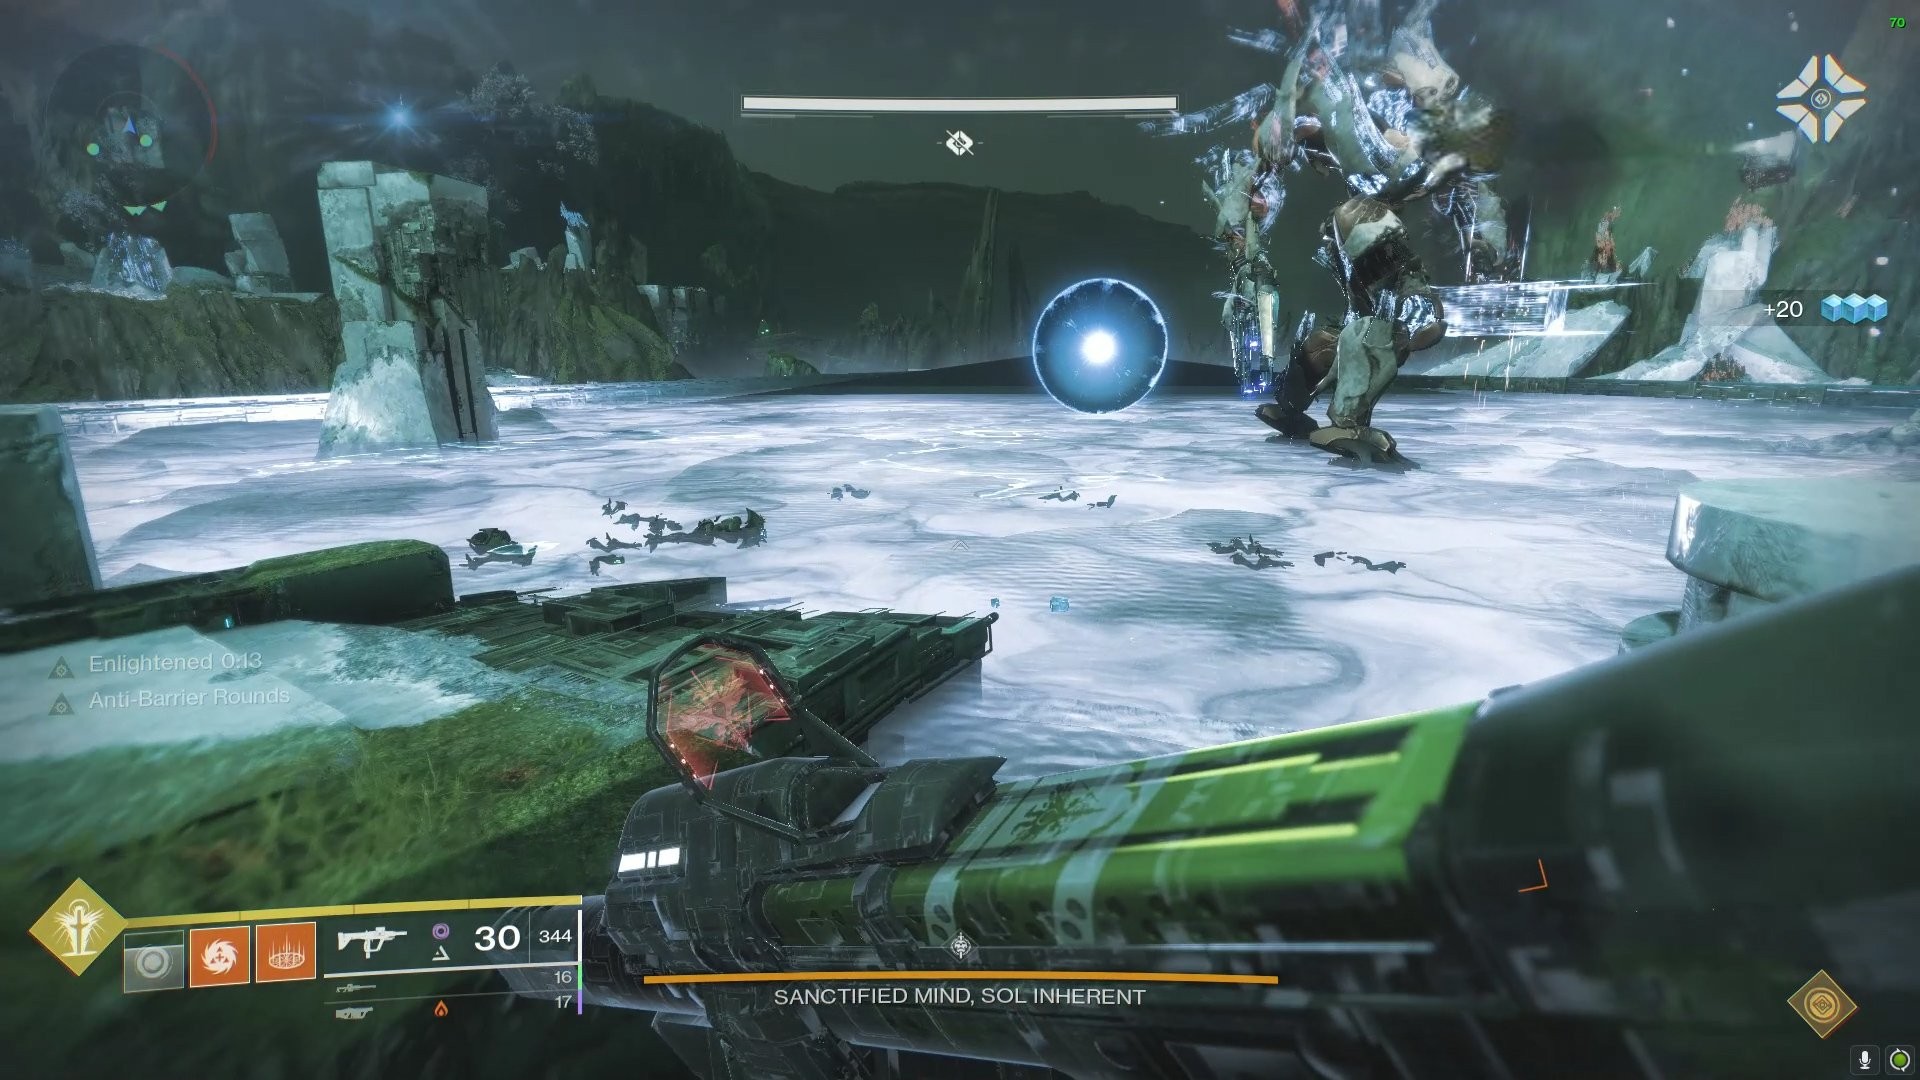
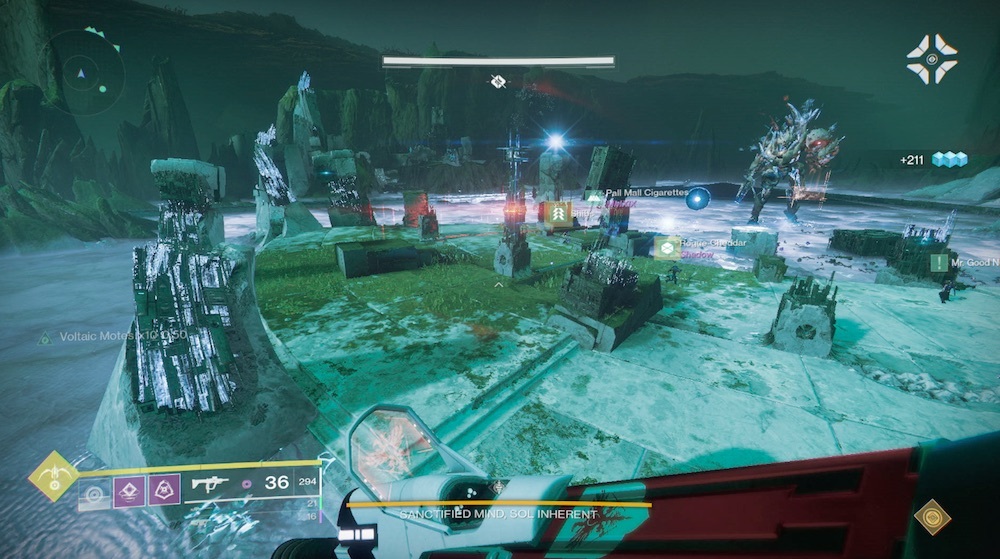
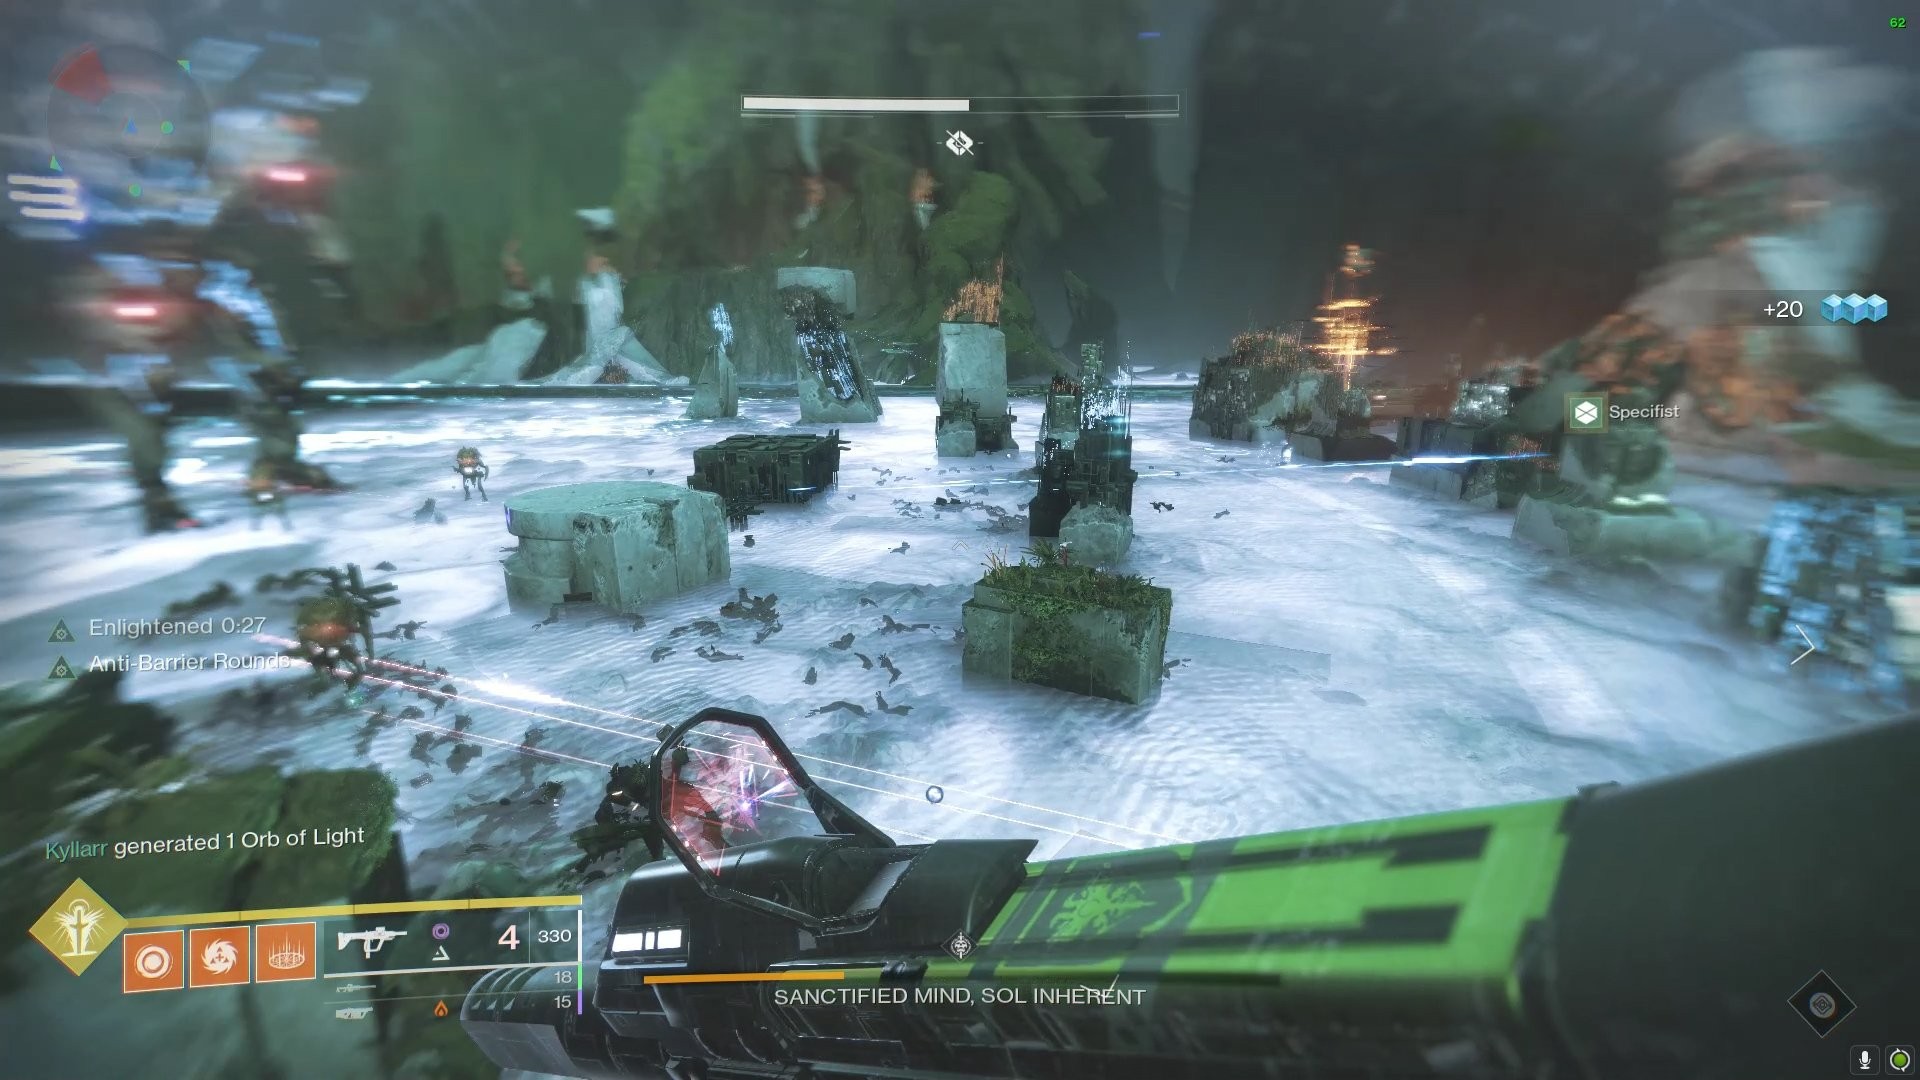
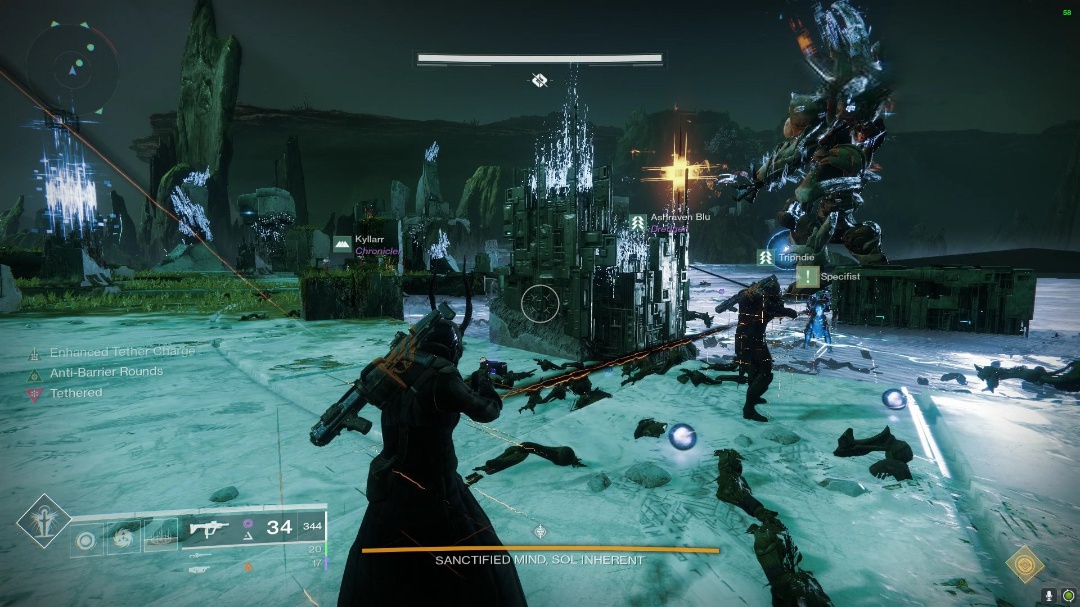
Sanctified Mind, Sol Inherent
The Sanctified Mind is the final opponent in the Garden of Salvation. Making a tether from the relay to the monster is the objective of this encounter. Each relay has to have 30 motes deposited for this to happen.
Roles:
- 2 players (Motes Team 1)
- 2 players (Motes Team 2)
- 2 Players (Platforming Team)
Encounter Mechanics
- Relays: In the boss arena, there are several relays, but only two are ever switched on. Both active relays require 30 motes to be completely charged. To tether to the boss' sign and stun him for a damage phase, relays are needed. The platforms the monster destroys can be recovered using the relay's tether. Relays on the left are always blue, while those on the right are always orange. In addition, relays grant an Enlightened bonus after receiving motes.
- Motes: The monsters on the islands to the left and right drop motes when killed. Gather these motes, then place them in the relays. Players can take down the white shields thanks to the Enlightened buff, which is obtained by depositing motes. Moreover, the motes are color-coded. Only the orange relay and the blue relay may accept deposits of orange and blue mote particles, respectively. Motes have a 60-second expiration window, so players cannot keep them around permanently.
- Boss shoulder and knee: The monster' knee or shoulder can be destroyed to open a portal that leads to the side islands where players can gather motes. When a player's shoulder or knee gets damaged while they are on the island, they will be dragged back to the main arena. A Cyclops will spawn each time the shoulder or knee is shattered.
- Platforms: The boss will randomly destroy a platform once a shoulder or knee is damaged. You will die if you are on a platform when it collapses. The cable from the relay may be used to rebuild these platforms.
- White Shields: Only those who possess the Enlightened buff are capable of disabling these shields. The Enlightened player(s) should only concentrate on destroying shields because they are destroyed by a single gunshot.
General Summary
- Shoot the boss to start the battle, then take out the enemies and the Angelic.
- Send the player(s) through to gather motes after destroying the boss' shoulder, knee, or both. Destroy the shoulder or knee to bring them back once they have gathered 10 points. Continue until each relay has 30 motes.
- Defeat the spawning enemies, including the Angelic.
- The boss will display a blue plus or an orange plus. Create a tether to the plus sign by using the proper relay. As soon as it is destroyed, use the opposing relay to quickly create a tether to the boss.
- DPS the Sanctified Mind. Rinse and repeat until it's dead.
Charging one relay at a time is the most efficient approach. Concentrate on charging the second relay once the first one is charged. The number of people left guarding the main arena grows even though it lengthens the time it takes to kill the boss.
Mote Team 1, Mote Team 2, and Platform Team are the three pairs you should divide your fireteam into. The platform team must guard the relays and construct platforms, while the mote teams are in charge of gathering and depositing motes.
Shoot the boss to begin the Sanctified Mind encounter. Take down the spawning foes while keeping an eye out for the Angelic. When the Angelic is destroyed, the relays become accessible, and you can begin doing damage to the boss' shoulder or knee.
Destroy the shoulder, then send Mote Team 1 through to gather motes. Each Mote Team should gather at least 15 motes before returning. Destroy the shoulder once Mote Team 1 has 15 motes, bringing Mote Team 1 home, and then send Mote Team 2 through right away.
Destroy the shoulder when Mote Team 2 has 15 motes to bring them home. Destroy the knee while directing Mote Team 1 to the opposite side to get 15 motes. Once Mote Team 1 gets 15 motes, take them home by destroying the knee, then send Mote Team 2 over to gather the remaining 15. When Mote Team 2 is ready, destroy the knee so they may return home.
 When the knee is destroyed, a blue portal is revealed.
 When the shoulder is destroyed, an orange portal is
revealed.
When the shoulder is destroyed, an orange portal is
revealed.
When a Mote Team returns, have the players place the motes right away into the totems. This guarantees enough players with the Enlightened buff to deal with ads. Players from the Mote Team should pop the white shields and assist in protecting the relays.
The Platform Team will need to protect the relays during this entire process, eliminate the Cyclops as they spawn, and reconstruct the platforms. Select a demolished platform, use the relay's tether to chain to the plus symbol, and the platform will return after a short while.
Try to choose platforms that are essential to the battle while recreating platforms. Platforms near the relays or in the center are more crucial than those on the periphery. Determine who is closest to the plus and who is the first person in the tether so there is no mistake.
The difference between an arena with platforms and without them:
Pre-damage will begin when Sanctified Mind reaches 30 motes on each relay. The boss will approach while flashing a plus sign. The first relay you need to use to stun the boss is the color it displays. Clear the baddies and go to the right relay.
The relay will open when the Angelic dies. Use the relay that corresponds to the sign's color to tether to the plus symbol (a minimum of three players are necessary, although four are encouraged). As the first symbol breaks, switch to the other relay right away and build a tether to the monster to break the second sign. Always have the second symbol in the opposite color from the first.
Decide who will be at each link in the chain and in what sequence. Get as far away from the relay and tethering players as you can if you're not part of the chain to avoid becoming unintentionally attached.
 The Sanctified Mind summoning a darkness/orange plus sign.
Connect the orange totem to the boss.
The Sanctified Mind summoning a darkness/orange plus sign.
Connect the orange totem to the boss.
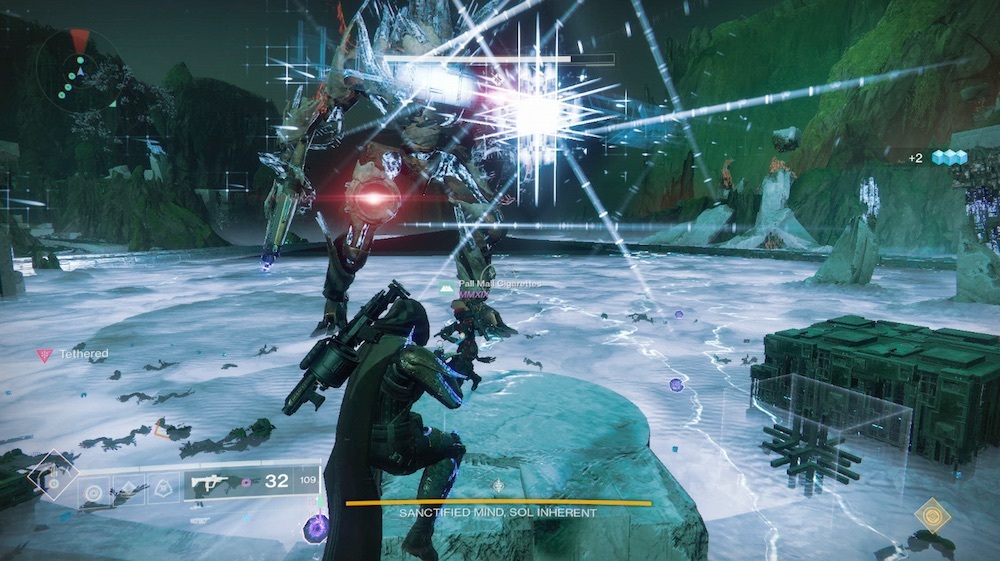 The Sanctified Mind summoning a light/white plus sign. Connect
the white totem to the boss.
The Sanctified Mind summoning a light/white plus sign. Connect
the white totem to the boss.
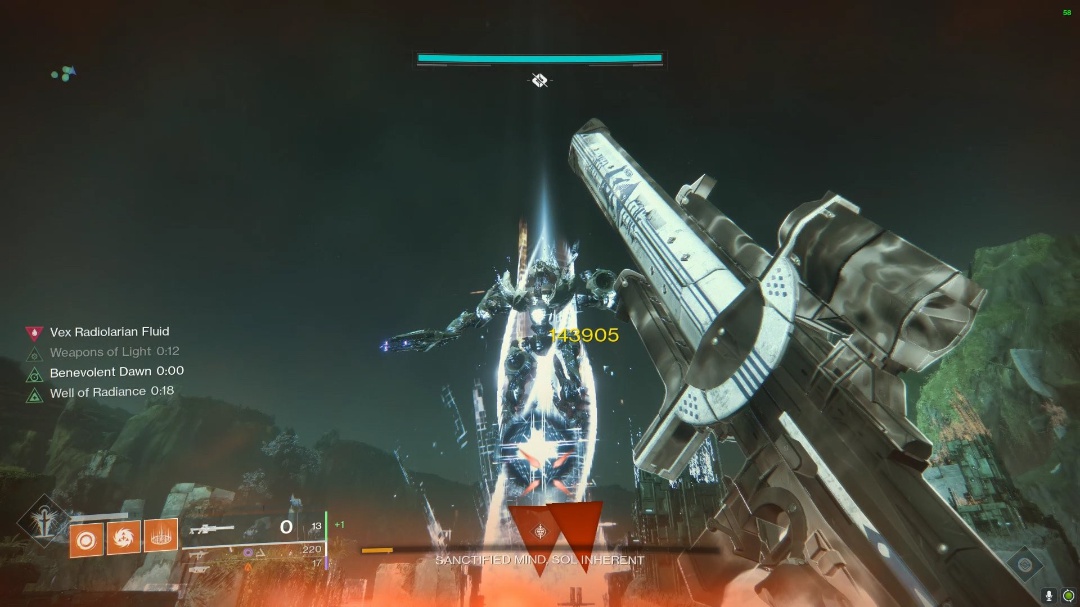
After utilizing the tether to destroy the two symbols, unite and DPS the Sanctified Mind. The boss will briefly stand on the ground before hovering in the air. Its stomach is the crit area. While there is a brief opportunity to harm the boss between the two symbols, obtaining the second tether is more crucial. Make the players that aren't connected to the tether chain do more harm.
In terms of actually damaging Sanctified Mind, a Ward of Dawn with Weapons of Light is exceptionally valuable. While the damage doesn't stack, a Well of Radiance provides bonus health, which allows players to ignore the radiolarian fluid damage.
Encounter Triumph:
Stop Hitting Yourself - Defeat the Sanctified Mind after destroying 20 combatants with Vex Instantiation.
Challenge Mode:
Zero to One Hundred - During the Sanctified Mind fight, recharge a relay with 30 Motes in ten seconds or less.
You will have conquered the Garden of Salvation raid once the Sanctified Mind is permanently destroyed, but there is still work to be done in the raid. Keep scrolling for more video guides and a guide to get Divinity, the raid's exotic trace weapon, which demands a lot of effort and cooperative six-player puzzle-solving.