
King's Fall Guide
Done by: Vedallion#7774 | Jan 30th 2023
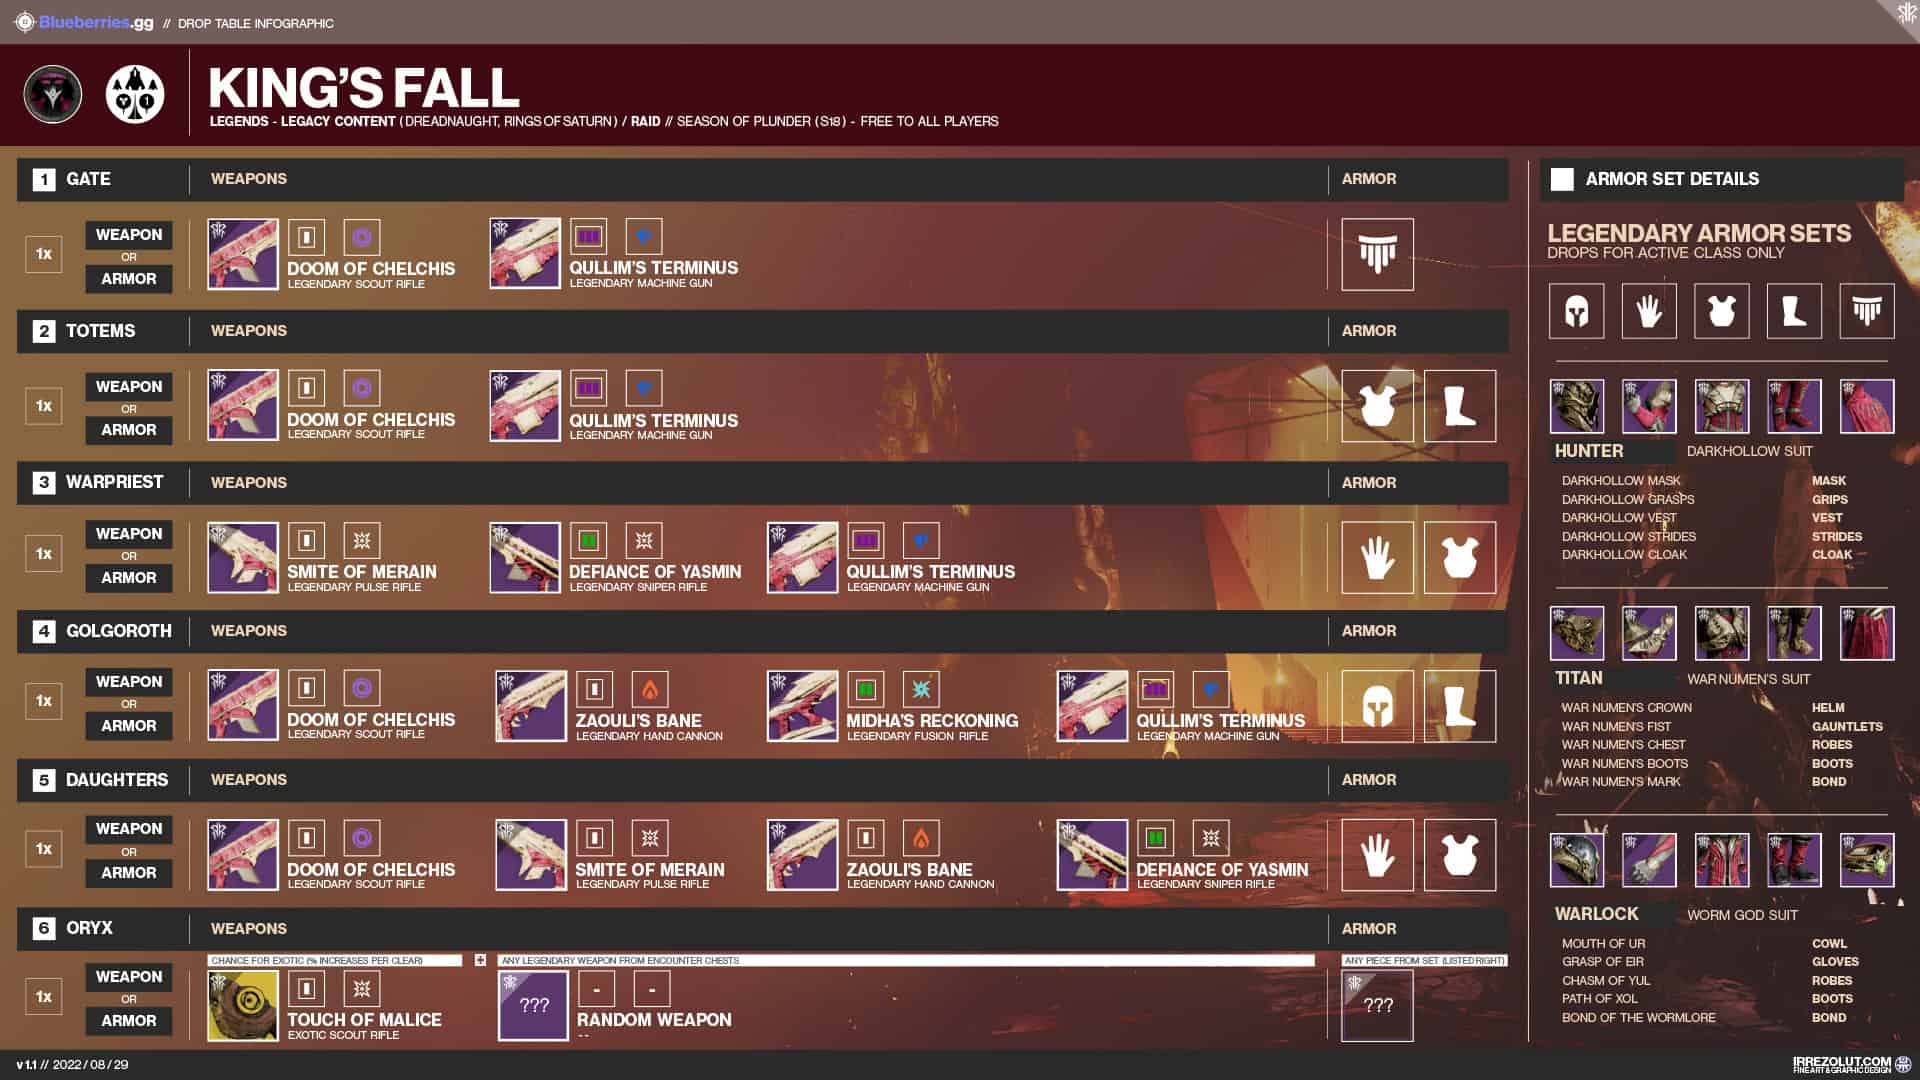
Drop Table
Weapons

Runneth Over - Finishing a reload Overflows the Magazine by 10% for each ally within 15 meters. Maxes out at 50% increased Magazine Capacity.
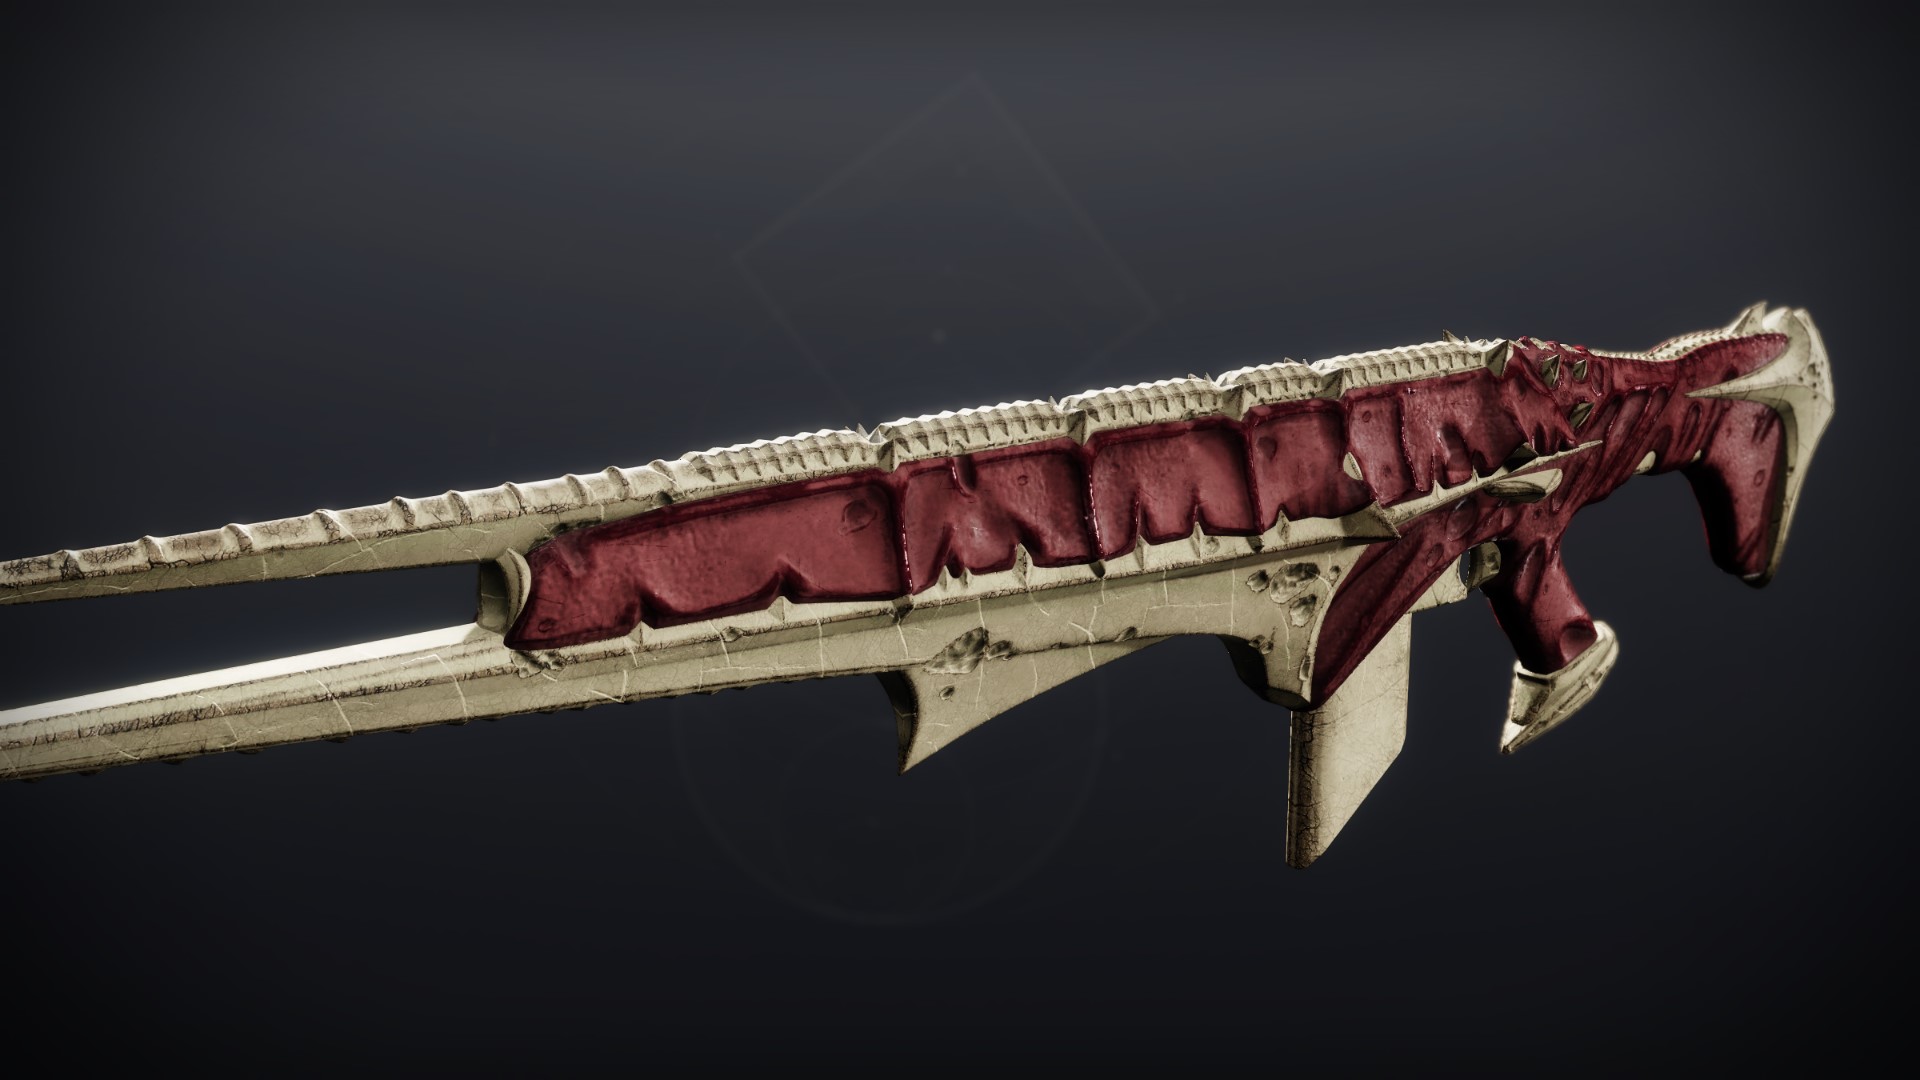
 Smite of Merain
Legendary //
Adaptive Frame // Pulse Rifle
Desirable Perks
- Barrel:
- Arrowhead Brake
- Magazine:
- Accurized Rounds
- Column 1 Perks:
- Demolitionist
- Column 2 Perks:
- Firefly
Masterwork: Range, Reload Speed
Mod Slot: Minor Spec, Adept Big Ones Spec
Craftable with swash/pugi or demo/junkie synergies with ability-focused playstyles. Great weapon that can be tailored to your tastes. Also boasts unique double damage perks with FF/OFA, but is not always convenient to activate. I wish these didn't color so badly.
Defiance of Yasmin
Legendary
// Adaptive Frame // Sniper Rifle
Desirable Perks
- Barrel:
- Fluted Barrel
- Magazine:
- Accurized Rounds
- Column 1 Perks:
- Snapshot Sights
- Column 2 Perks:
- Opening Shot
Masterwork: Range
Mod Slot: Targeting Adjuster, Adept Targeting
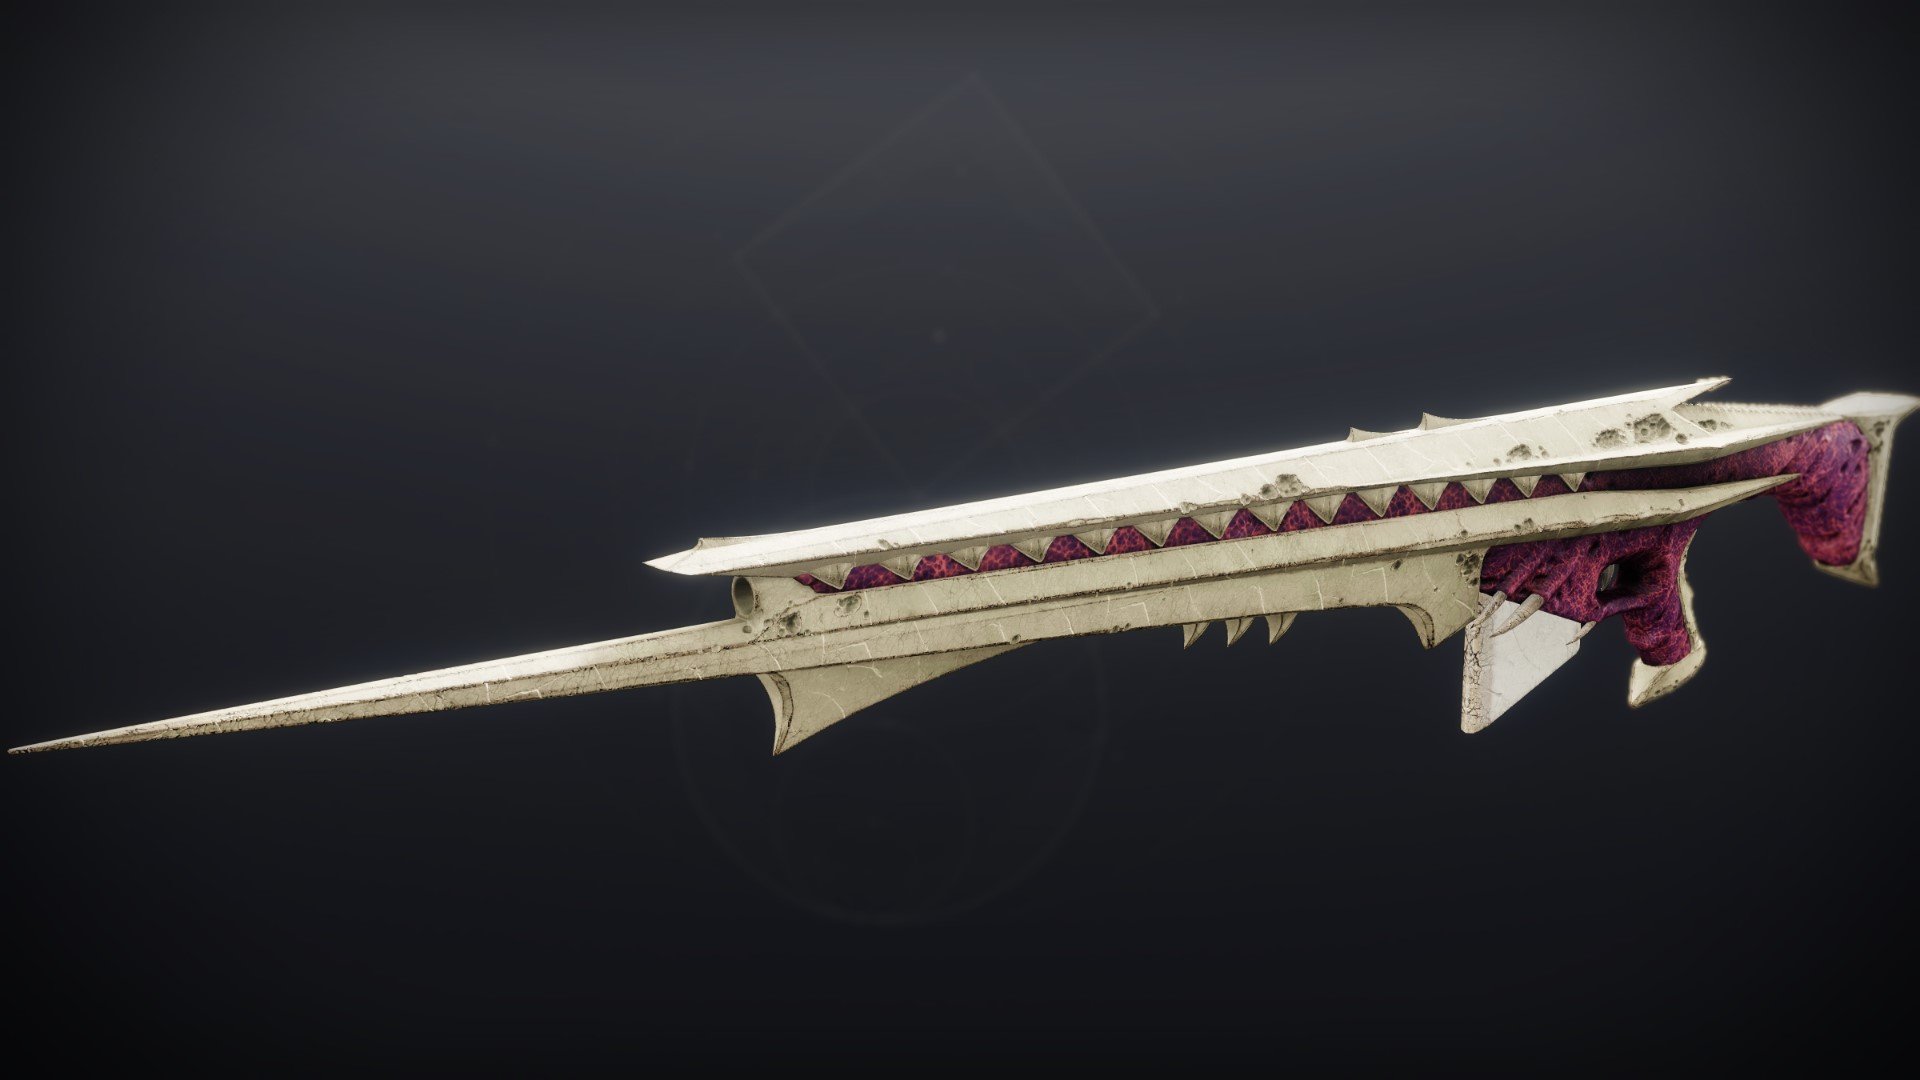
Decent PvE option, overfilling the magazine near allies. Highly desired for PvP with snap/op shot roll. Clean design and wide FOV when aiming down sights. You cannot change the red parts of the gun. That's its flesh.
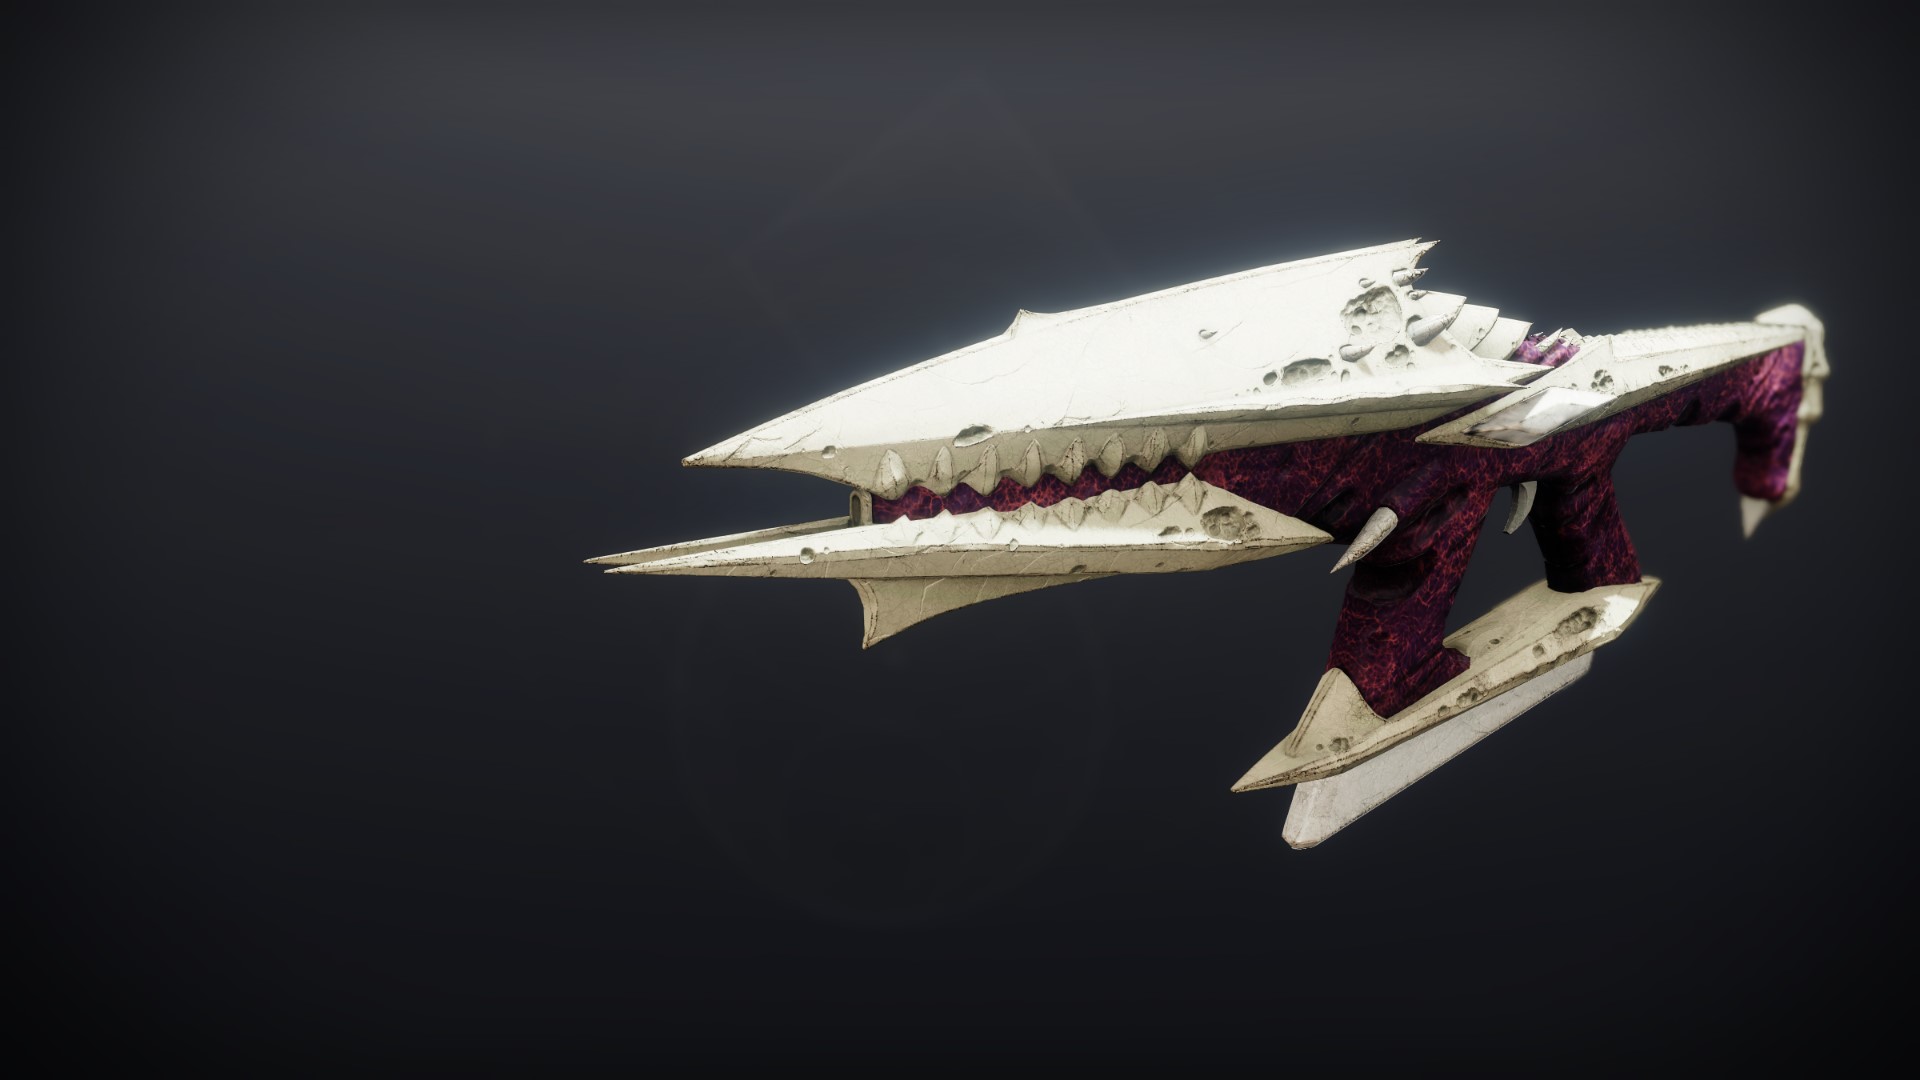
 Doom of Chelchis
Legendary //
Precision Frame // Scout Rifle
Desirable Perks
- Barrel:
- Arrowhead Brake
- Magazine:
- Accurized Rounds
- Column 1 Perks:
- Explosive Payload
- Firefly
- Column 2 Perks:
- Dragonfly
- Frenzy
Masterwork: Range
Mod Slot: Major Spec, Minor Spec, Adept Big Ones Spec
Hard hitting scout that can uniquely roll double damage perks. Highly sought-after PVE pick for damage buffs without on-kill requirements, or for a fun firefly + dragonfly roll. Objectively the best weapon from the raid, beating out the raid exotic. If you hold the gun long enough, you may hear it ask for food. Do not oblige.
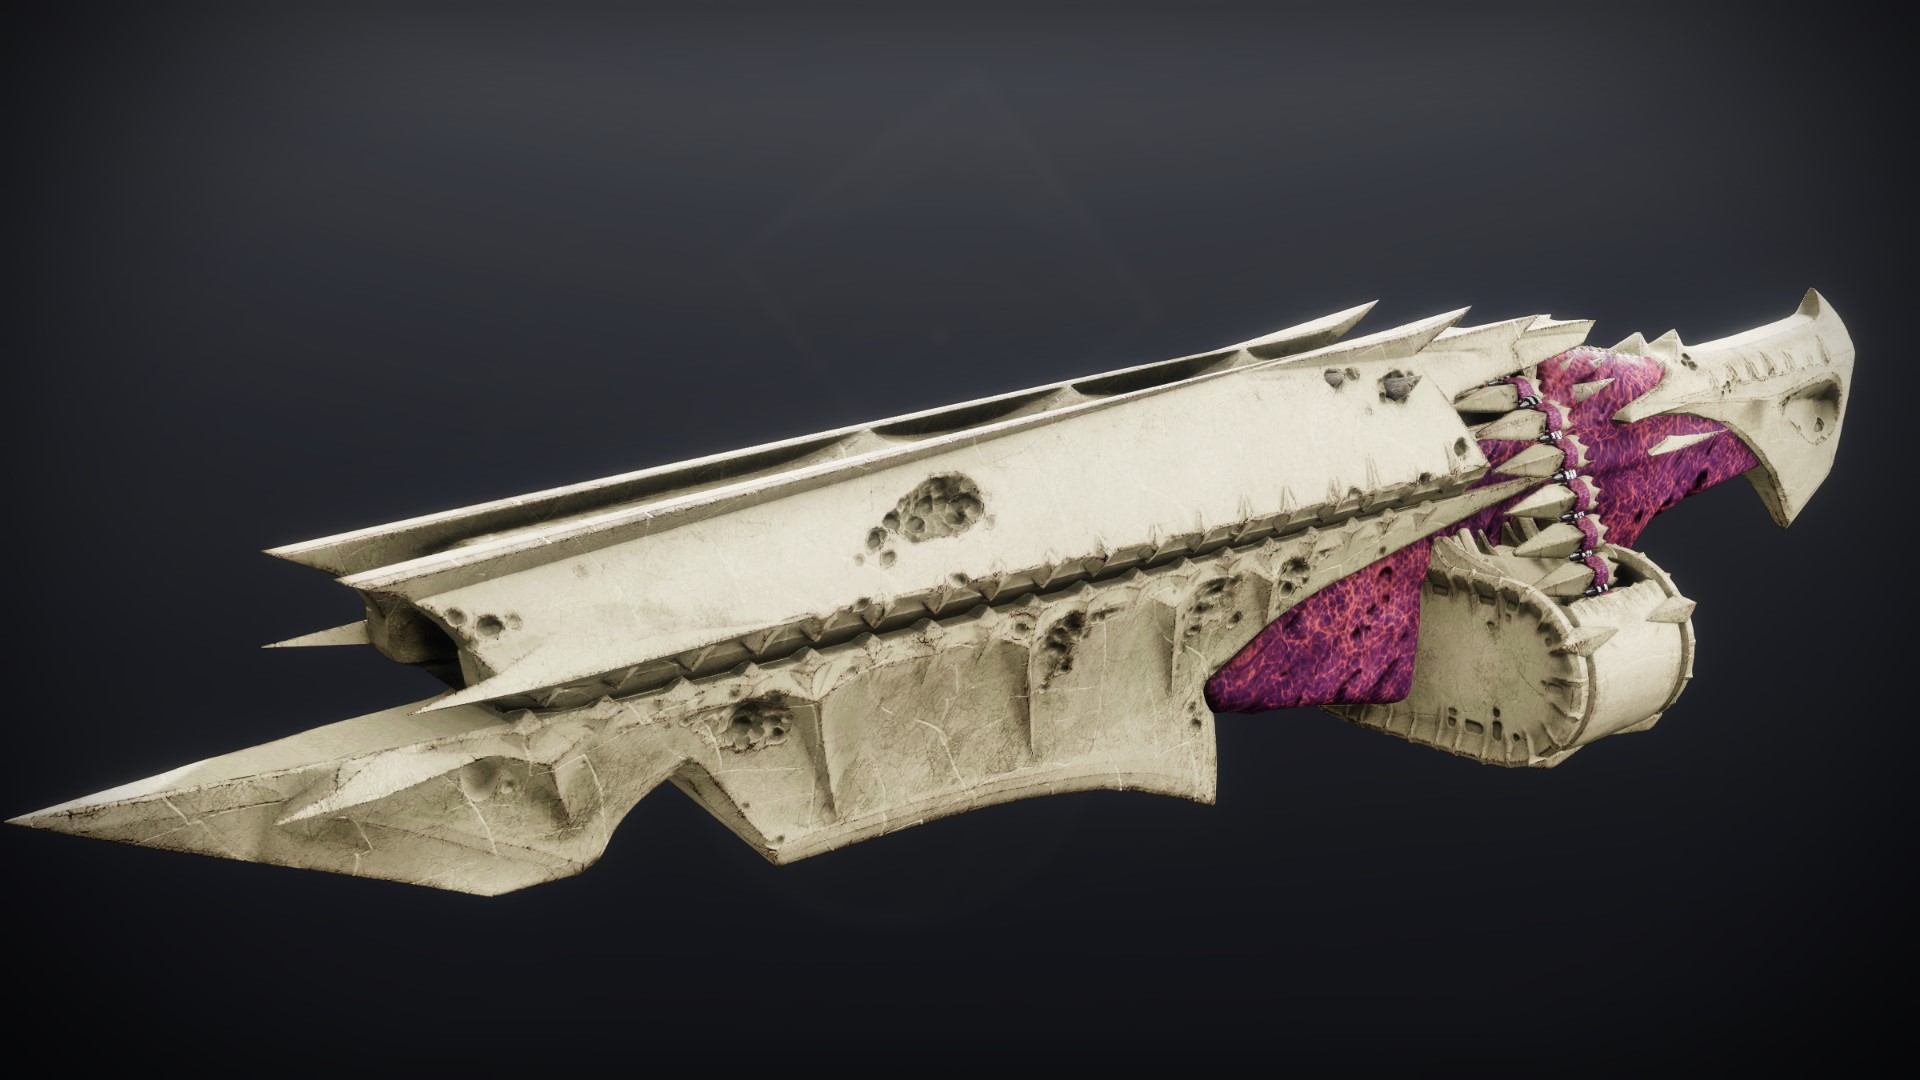
 Zaouli's Bane
Legendary //
Adaptive Frame // Hand Cannon
Desirable Perks
- Barrel:
- Arrowhead Brake
- Magazine:
- Accurized Rounds
- Column 1 Perks:
- Explosive Payload
- Column 2 Perks:
- Incandescent
- Firefly
Masterwork: Range, Reload Speed
Mod Slot: Minor Spec, Adept Big Ones Spec

Another weapon with double damage perks. Explosive Payload + Incandescent makes the Bane a mini Sunshot. Workable in PvP With Exp/Opening Shot + Eye of the Storm, but is hindered by poor reload speed. If my weapon isn't alive why does it have teeth?
 Midha's Reckoning
Legendary
// High-Impact Frame // Fusion Rifle
Desirable Perks
- Barrel:
- Arrowhead Brake
- Battery:
- Accelerated Coils
- Enhanced Battery
- Column 1 Perks:
- Backup Plan
- Field Prep
- Column 2 Perks:
- Reservoir Burst
Masterwork: Range, Charge Time
Mod Slot: Major Spec, Adept Big Ones Spec
Hard hitting fusion with unique opportunities. In PvE, rolls with Tricorn for high damage, or Reservoir Burst that synergizes with Runneth Over to provide burst shots on every bullet above the normal mag size. For PvP, it rolls unique double charge time perks in Backup + Warmup/Kickstart. The writer is biased, and for a full opinion on this gun you may wish to check out Legoleflash's breakdown of the perks.
It's not Glacioclasm, but the apocalypse may hit us before next Christmas.
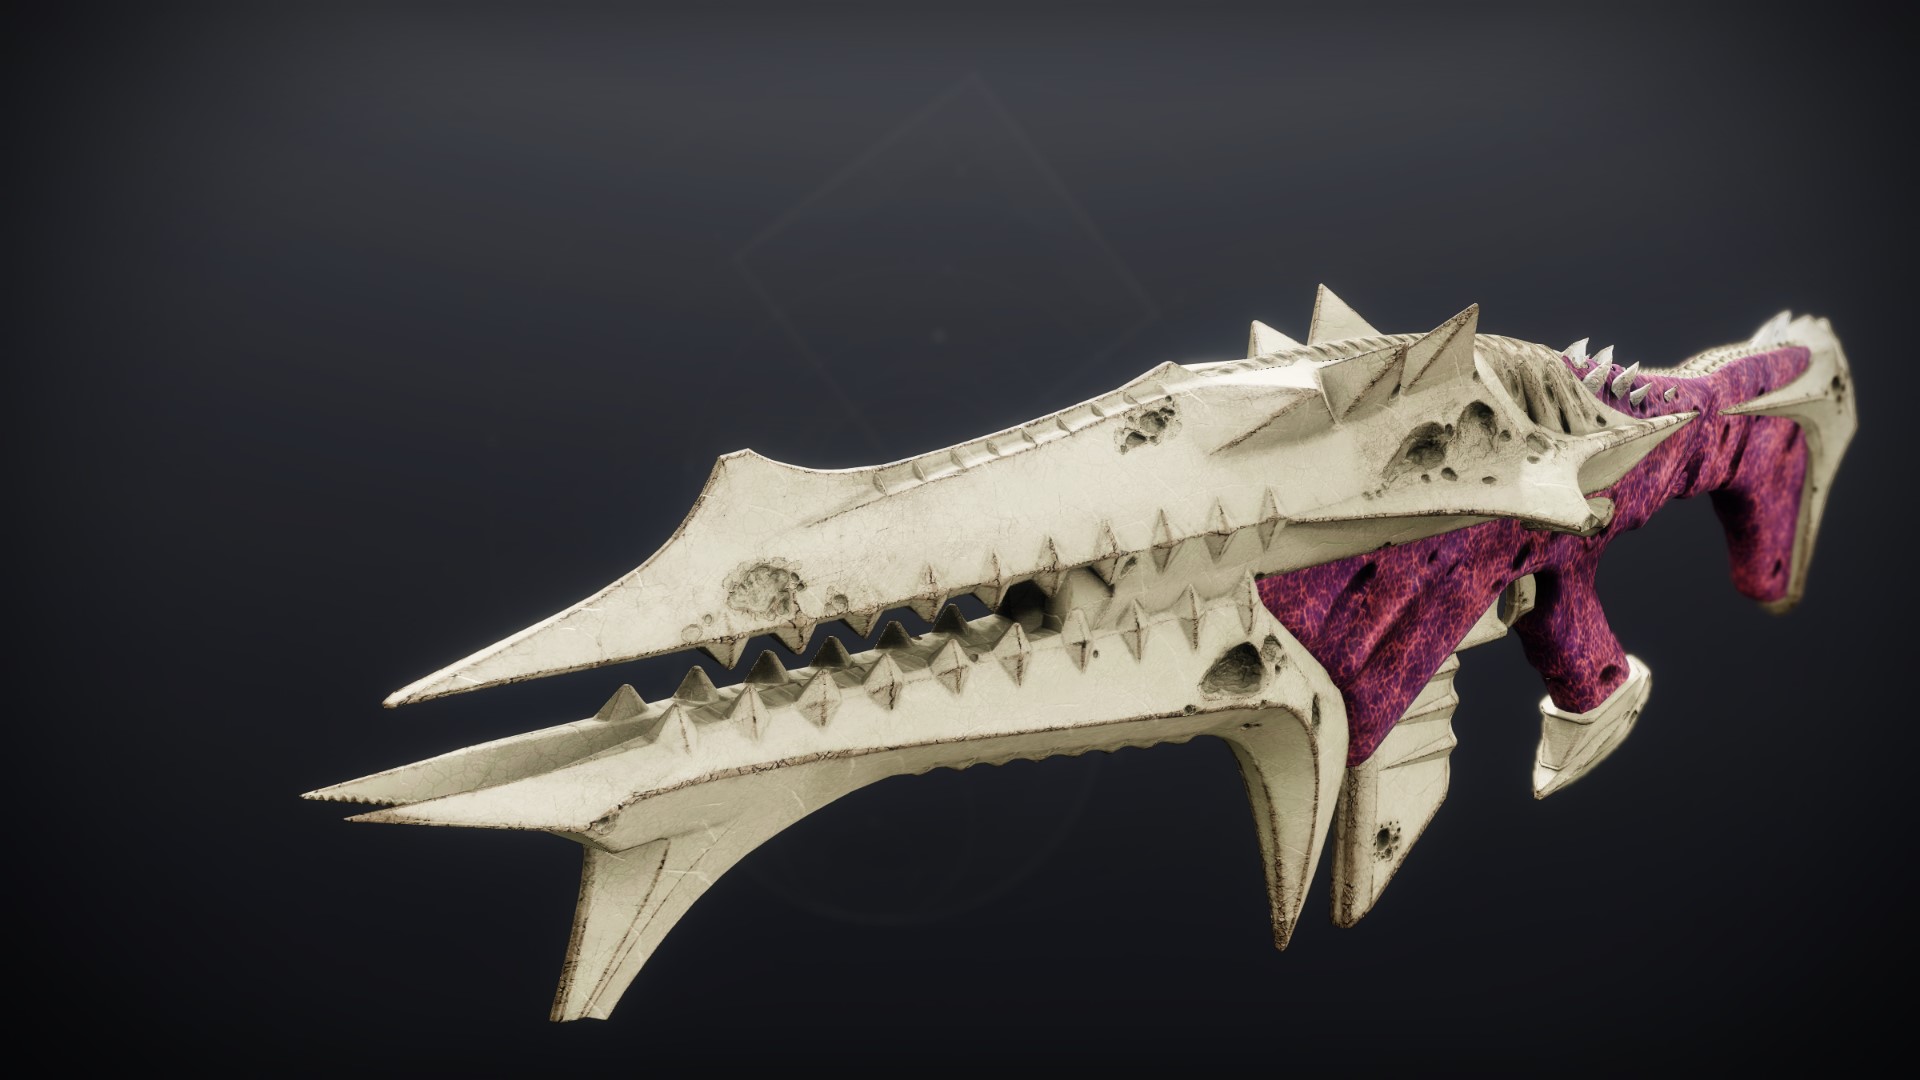
 Quillim's Terminus
Legendary //
High-Impact Frame // Machine Gun
Desirable Perks
- Barrel:
- Arrowhead Brake
- Magazine:
- Accurized Rounds
- Column 1 Perks:
- Unrelenting
- Dynamic Sway Reduction
- Column 2 Perks:
- Killing Tally
- Firefly
- Firing Line
Masterwork: Range, Reload Speed
Mod Slot: Backup Mag, Boss Spec, Adept Big Ones Spec
Runneth Over overflows the magazine for synergy with Killing Tally, but a lack of desirable perks in the third column sets this machine gun behind its peers. It does its job for ad-clear, but it's no workhorse, and may not blow your mind. Last night I woke up and found this gun had crawled into my bed - without my consent - and had eaten my ear. Not a fan of it. Commemoration from Deep Stone Crypt doesn't bite, and lasts longer with more reliable mag size perks to back up Killing Tally.
Touch of Malice
Exotic // Scout
Rifle
Details
Precision hits charge up a Taken Captain's blight that deals high damage and blinds. 10 charges for one blight shot. The final round in the magazine deals bonus damage and regenerates itself immediately, giving an effective infinite magazine. Inflicts self damage every time you shoot this bullet.
The catalyst is acquired from unique puzzles inside the Kings Fall raid. Upon completion, the weapon gains Rapid Hit.
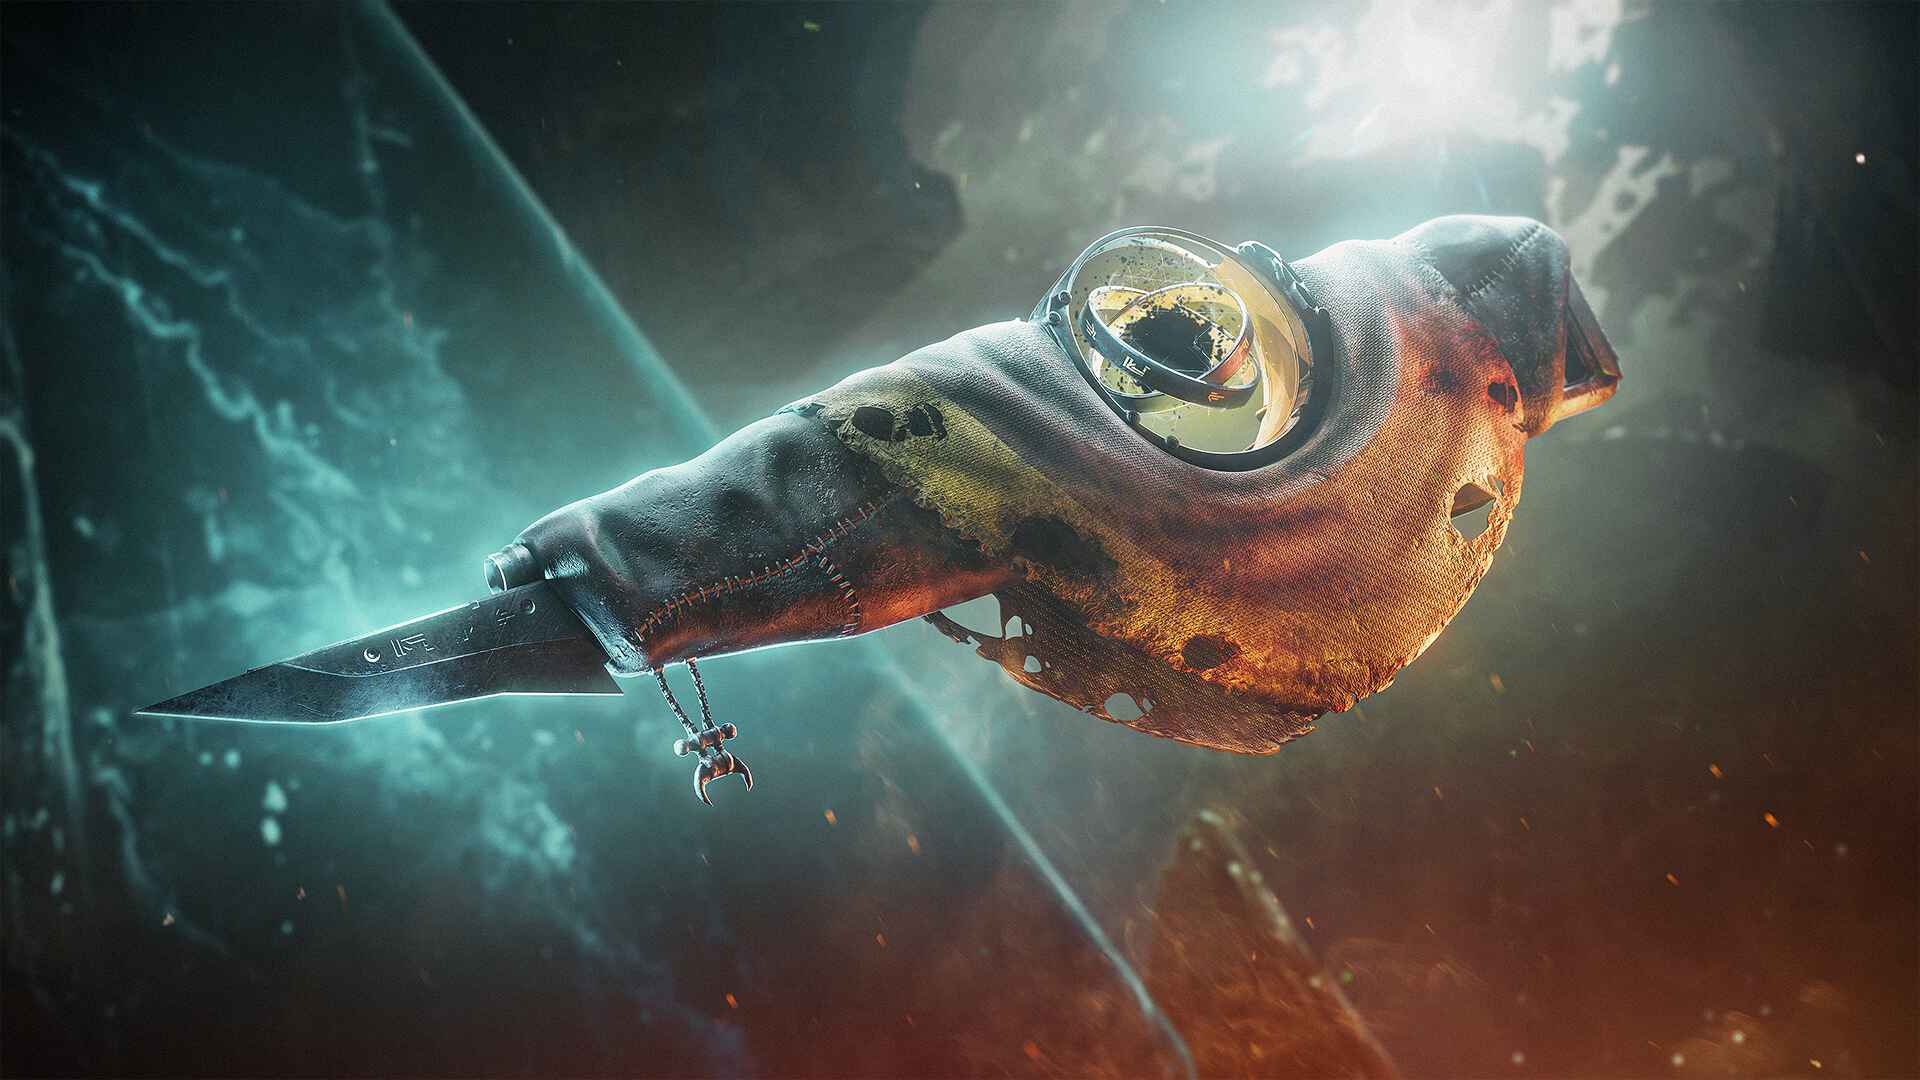
High DPS, a perk that triggers on simple precision hits, and a bottomless magazine make the Malice seem appealing. However the self damage from Malice can be fatal, and should be used with high caution or with self healing. I tried this weapon when doing a sherpa and accidentally killed myself in front of my learner team during the encounter without telling them what went wrong.
In PvP, this masochistic final round can achieve a TTK of 0.5s at the cost of the gun assisting your opponent to split your ribs open. If you survive long enough, the charged blight is usually a oneshot, and blinds opponents like a Taken Captain would. Malice is an acquired taste, and is not for everyone. Consider the Touch of Grass instead.
Deepsight Chest Symbols & Locations
At the end of the raid, you can unlock an additional "red border" chest. You must complete the raid in a single sitting and shoot three symbols. You must memorize the symbols and be familiar with their locations.
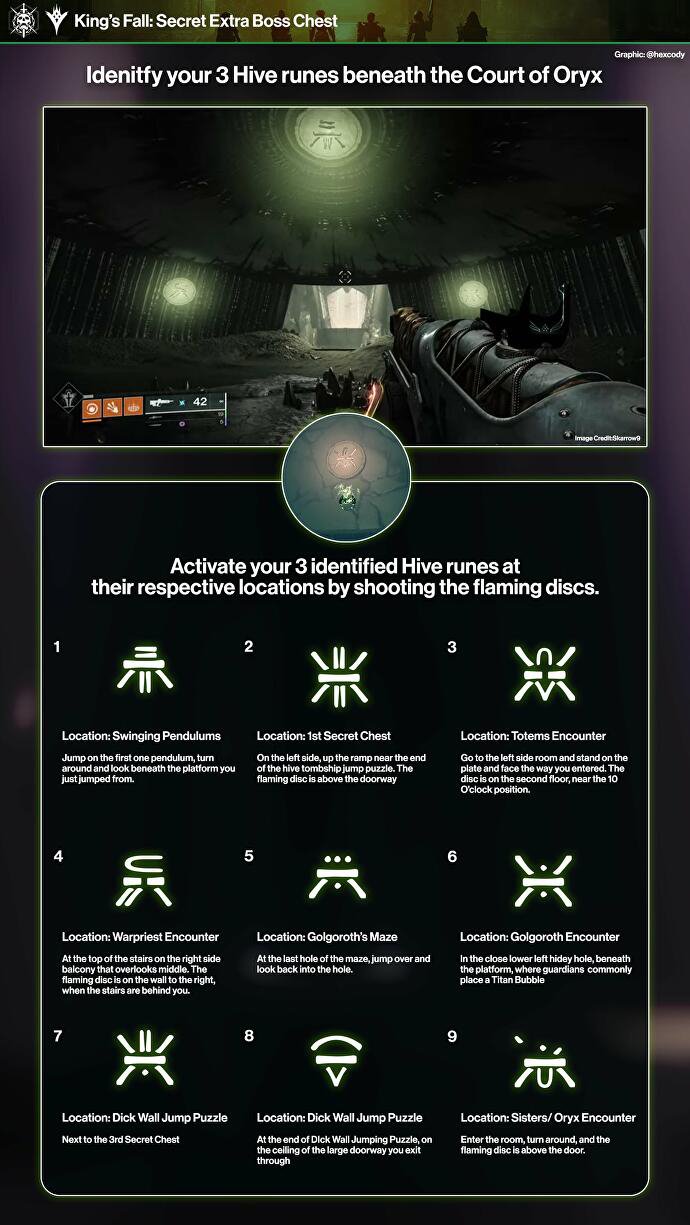
This website provides an additional resource that simplifies this even further by telling you precisely which parts of the raid you should concentrate on once you input the symbols you see.
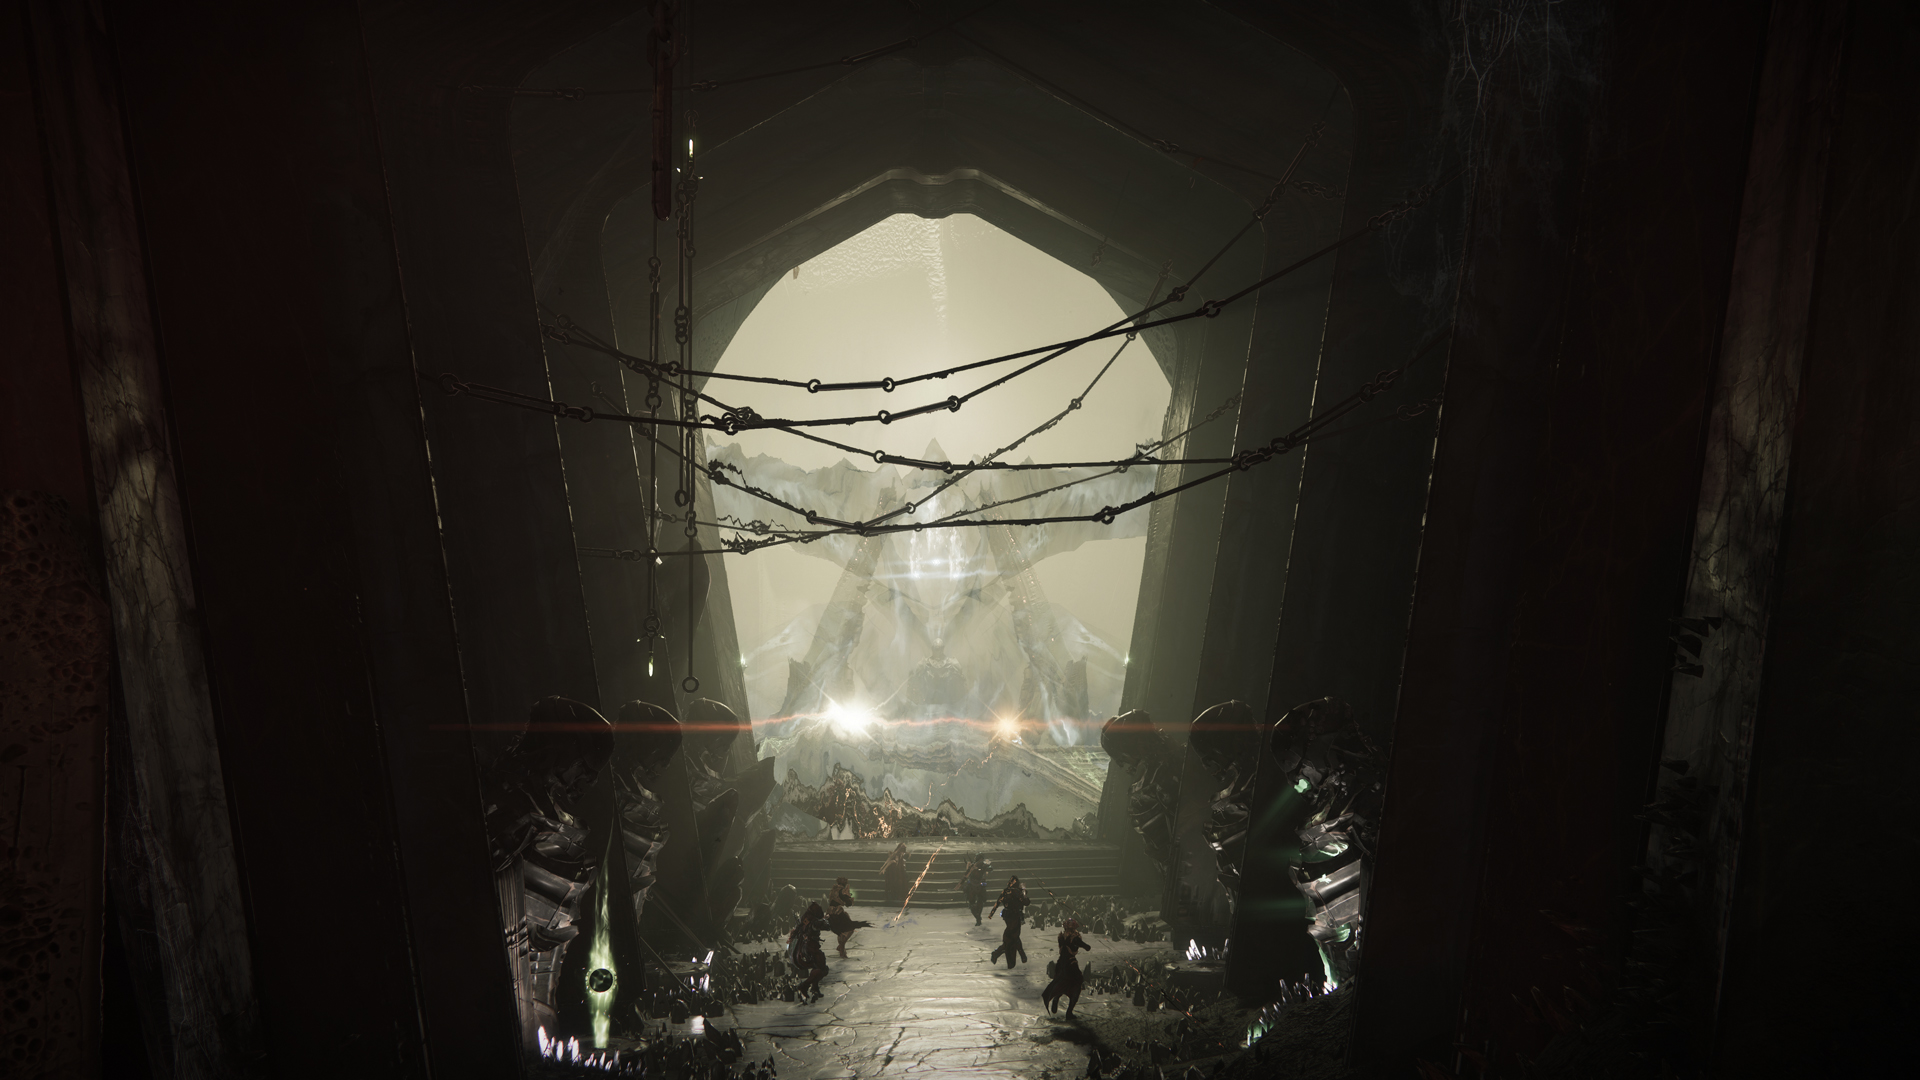
Court of Oryx
King's Fall's first encounter is basically the same as it was in Destiny 1. The statues in the middle corridor are where you must deposit pairs of orbs of light that you have collected. Some passageways will become blocked by barriers each time an orb is retrieved. To open these, just shoot at the taken orb on them. After all six of the statues have their orbs, a doorway will open, allowing your squad to go to the following area.
First, separate into pairs, with one team on the right and the other on the left side of the room. The following duties will be on each team:
- Orb Collectors
- Escorts
- Clearers
A barrier will block the center passage as soon as the Orb Collectors grab the first orbs, and adds will spawn in. It will be up to the Escorts and Clearers to shoot the barrier open and deal with any enemies as you can't shoot while carrying an orb.
While carrying the orb, each Collector will have a timer. The orb will despawn whenever it drops to zero and must be recollected. Within five seconds of one another, they must all place their orbs inside the glowing statue.
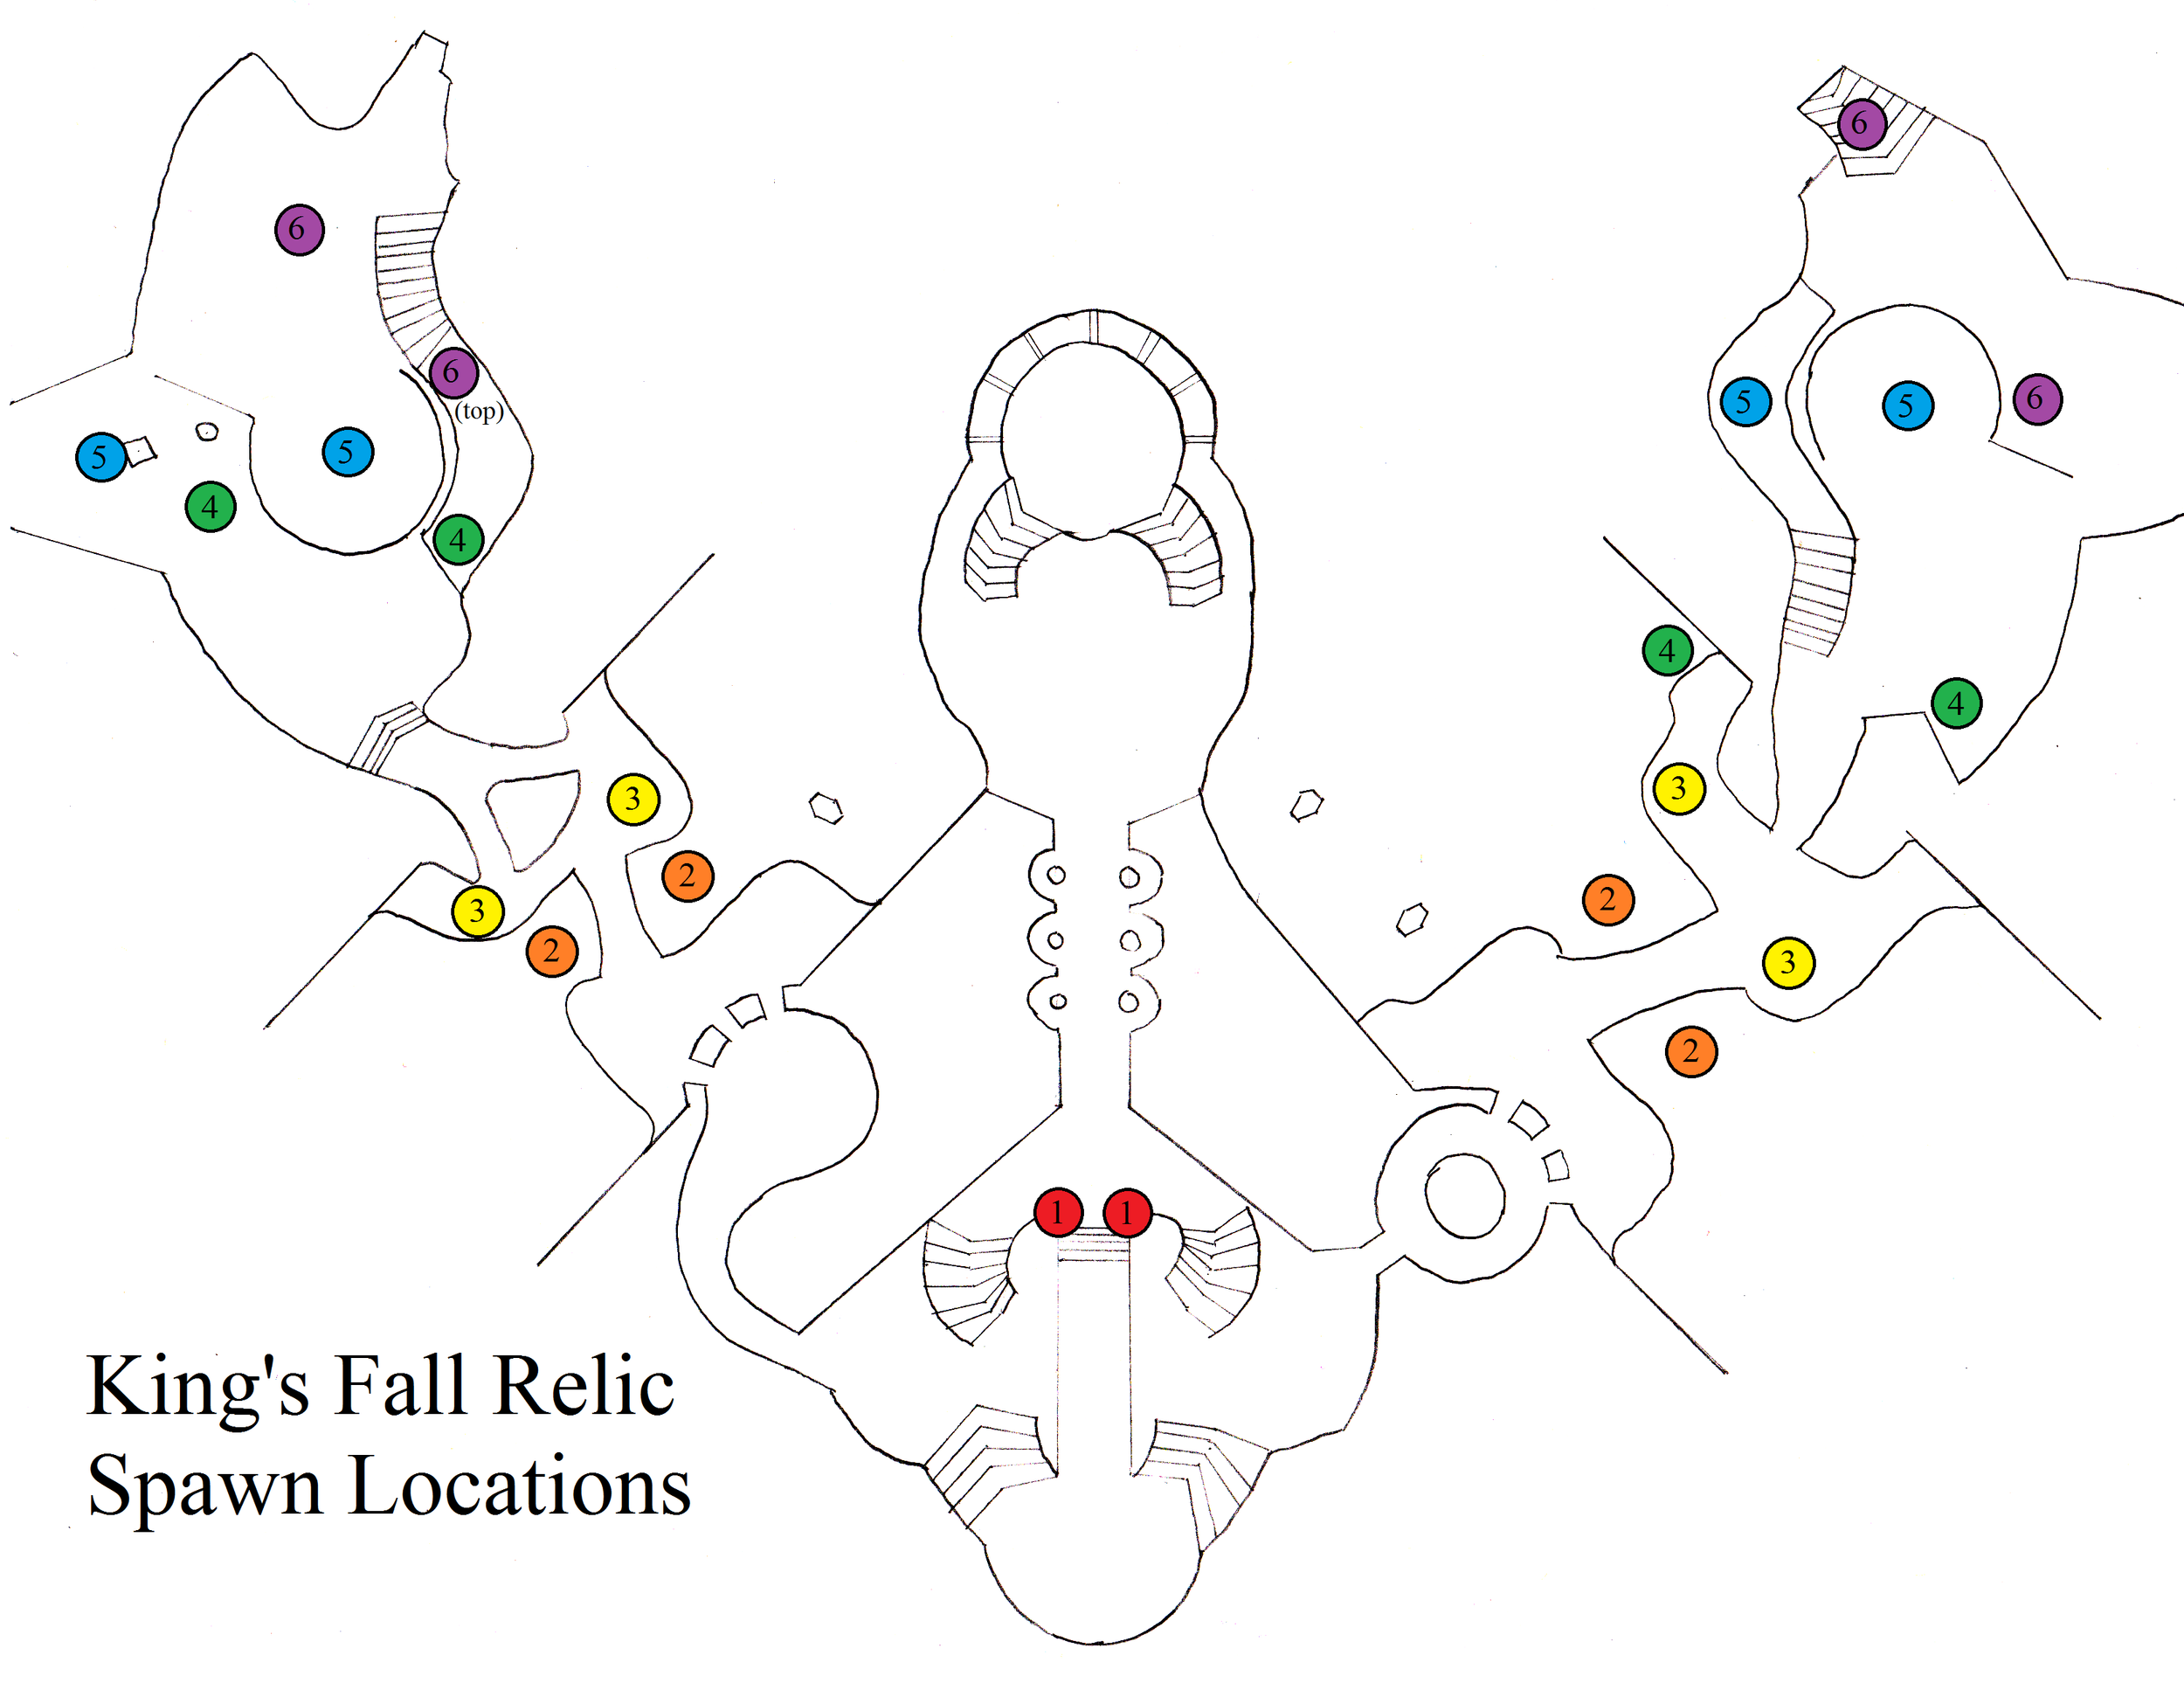
Once the deposits have been made, they can each gather a new set of orbs from their respective sides while being protected by the Escorts and the Clearers, who keep the doors open and the enemies under control. The following set of orbs will spawn farther away each time the orbs are successfully planted, along the left and right halls. A doorway that runs directly down the middle of the corridor opens up once six sets of orbs have been dropped, and enemies spawn all around it. You are sent onto Oryx's throneworld if you successfully fight your way through the portal. The first chapter is finished.
Encounter Triumph:
Controlled Dunks - Complete the Hall of Souls encounter while never letting the same player deposit relics until everyone else has.
- The first two relics count towards this challenge.
Master Difficulty:
- Overload Taken Hobgoblins spawn in the middle whenever a Relic is picked up.
- Unstoppable Taken Phalanxs spawn on the left and right whenever a Relic is picked up.
- Arc shields on Taken Captains.
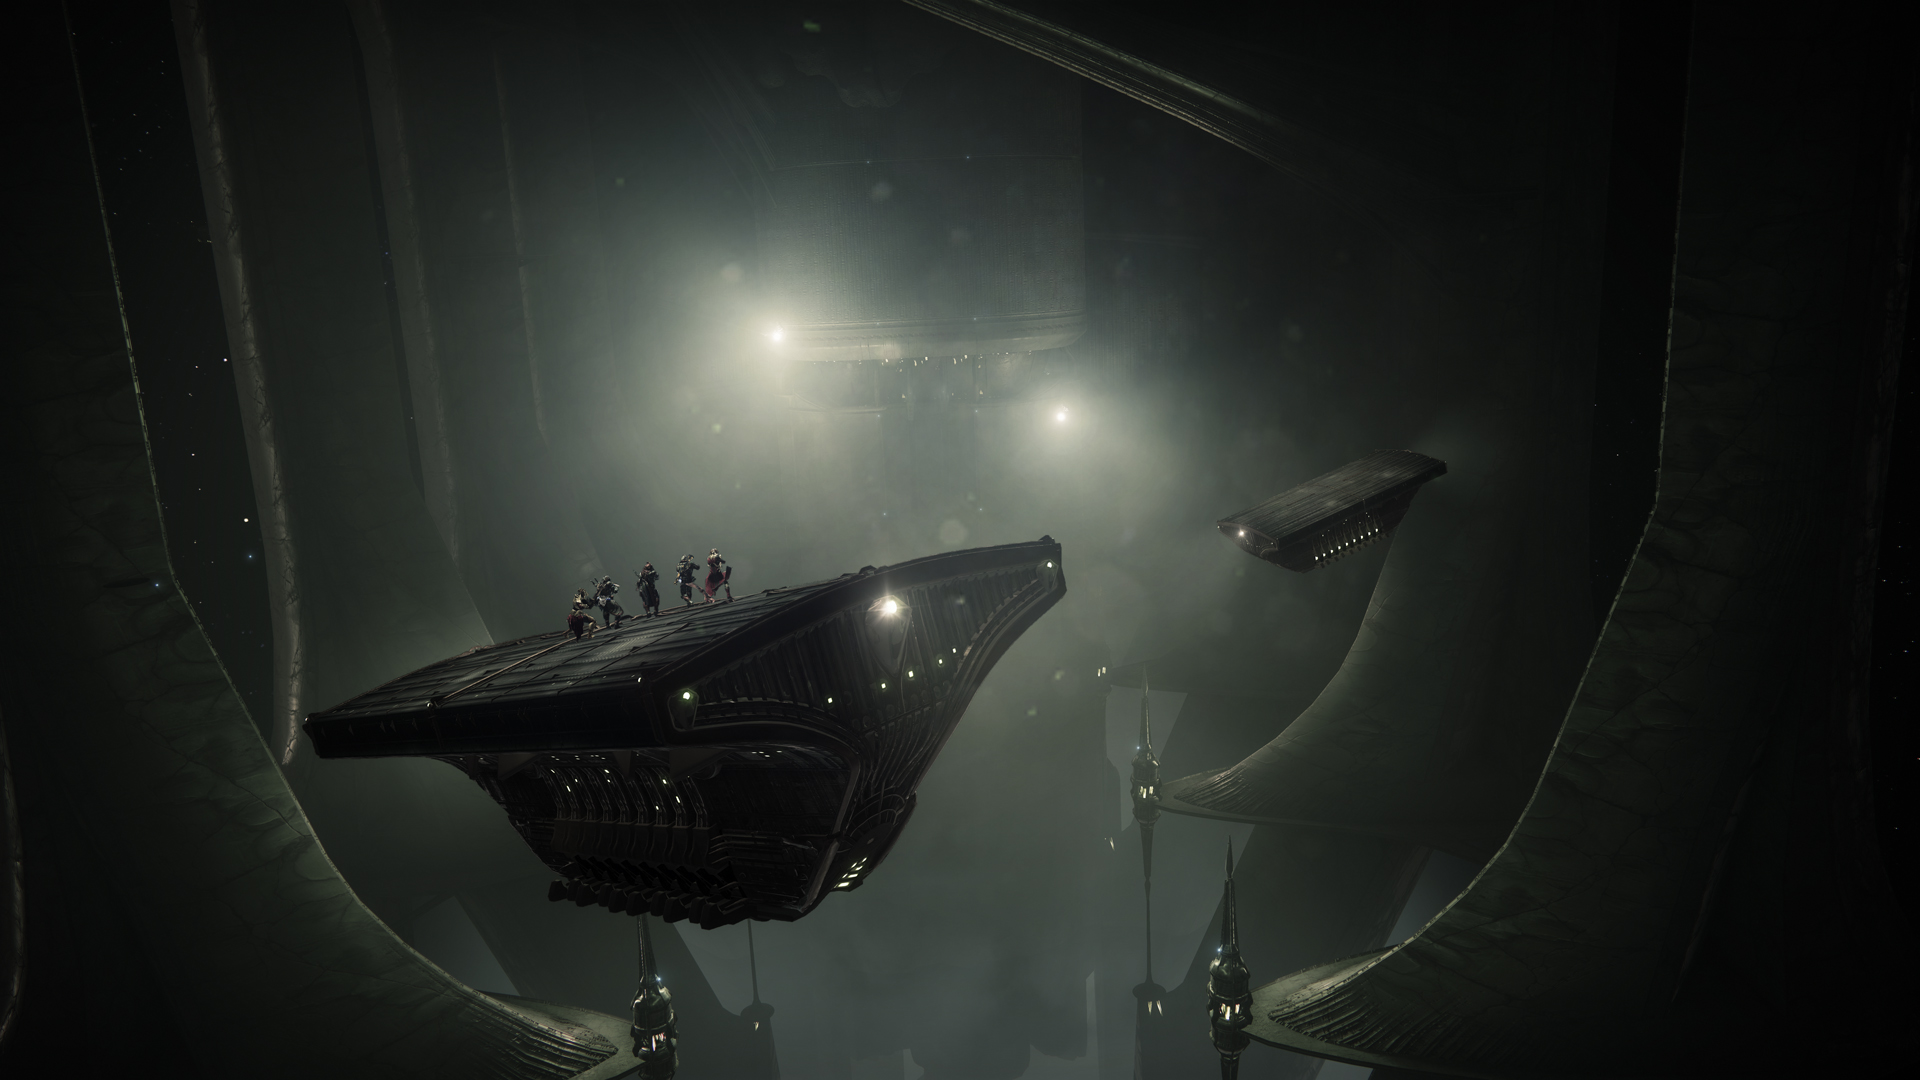
The Crux
The plan is to hop aboard a sequence of ships as soon as your current ride disappears after hopping onto the first ship from the starting platform. Knowing how to use and time your subclass jumps is crucial.
There is not enough words to describe this well so I will just link a couple of videos:
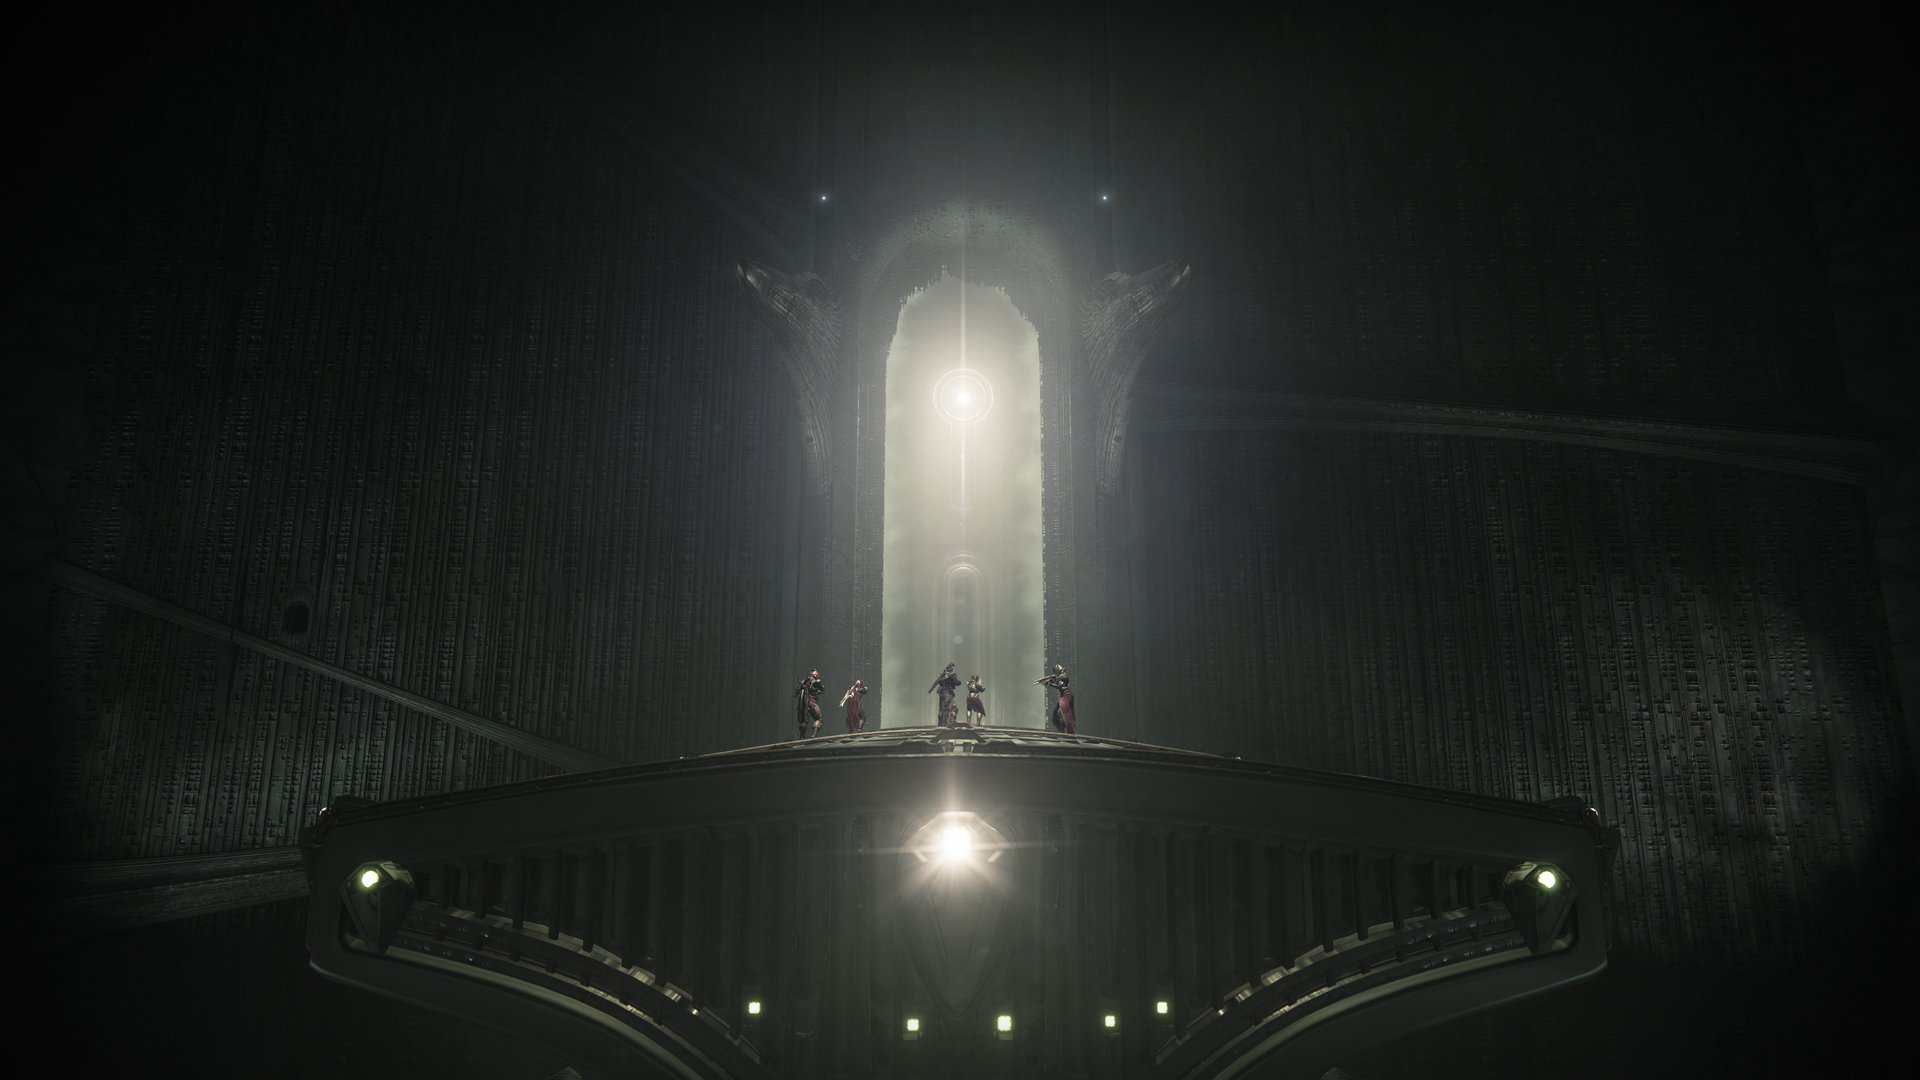
Portico
Hidden Chest #1
You must split into two teams in order to open your first hidden chest. Before you leap onto the second tomb ship to cross the large gap, check for two circular plates, one at either end of the ledge to the left and right of the tomb ship you need to board. These are pressure plates, and to open the route to the chest, you'll need to leave one player behind for each plate.
Send the other four players to board the tomb ship and ride it over the abyss at this point. When you look at the wall on the left side, you'll notice what appears to be a ramp going up and to the left, toward a hole in the wall (Refer to the picture above). As you walk closer the archway that the ship will pass beneath. When the tomb ship gets close to this wall, get off and run to the ramp ledge. Be careful since the wall has multiple protrusions close to the ramp that, if you go straight up into the hole, might knock you off. The entrance here is orginally closed, but because your friends are on the pressure plates, it will be open when you reach the top of the ramp and enter the hole. You will then be on a ledge above where the tomb ship docks. On the opposite side lies the chest. Behind this door also one of the deep sight resonance rune for the red border chest.
When the first four players receive the chest, leave this spot and head in the direction the tomb ship would have brought you. Many Hive enemies, including a Shrieker, are standing by. Clear them away, then search the area on each side of the tomb ship's landing area for two additional round pressure plates. Leave one player for each plate; this will keep the chest's door open so that the two players you left on the other side of the chasm may now ride the tomb ship to the ramp and take possession of the chest for themselves.
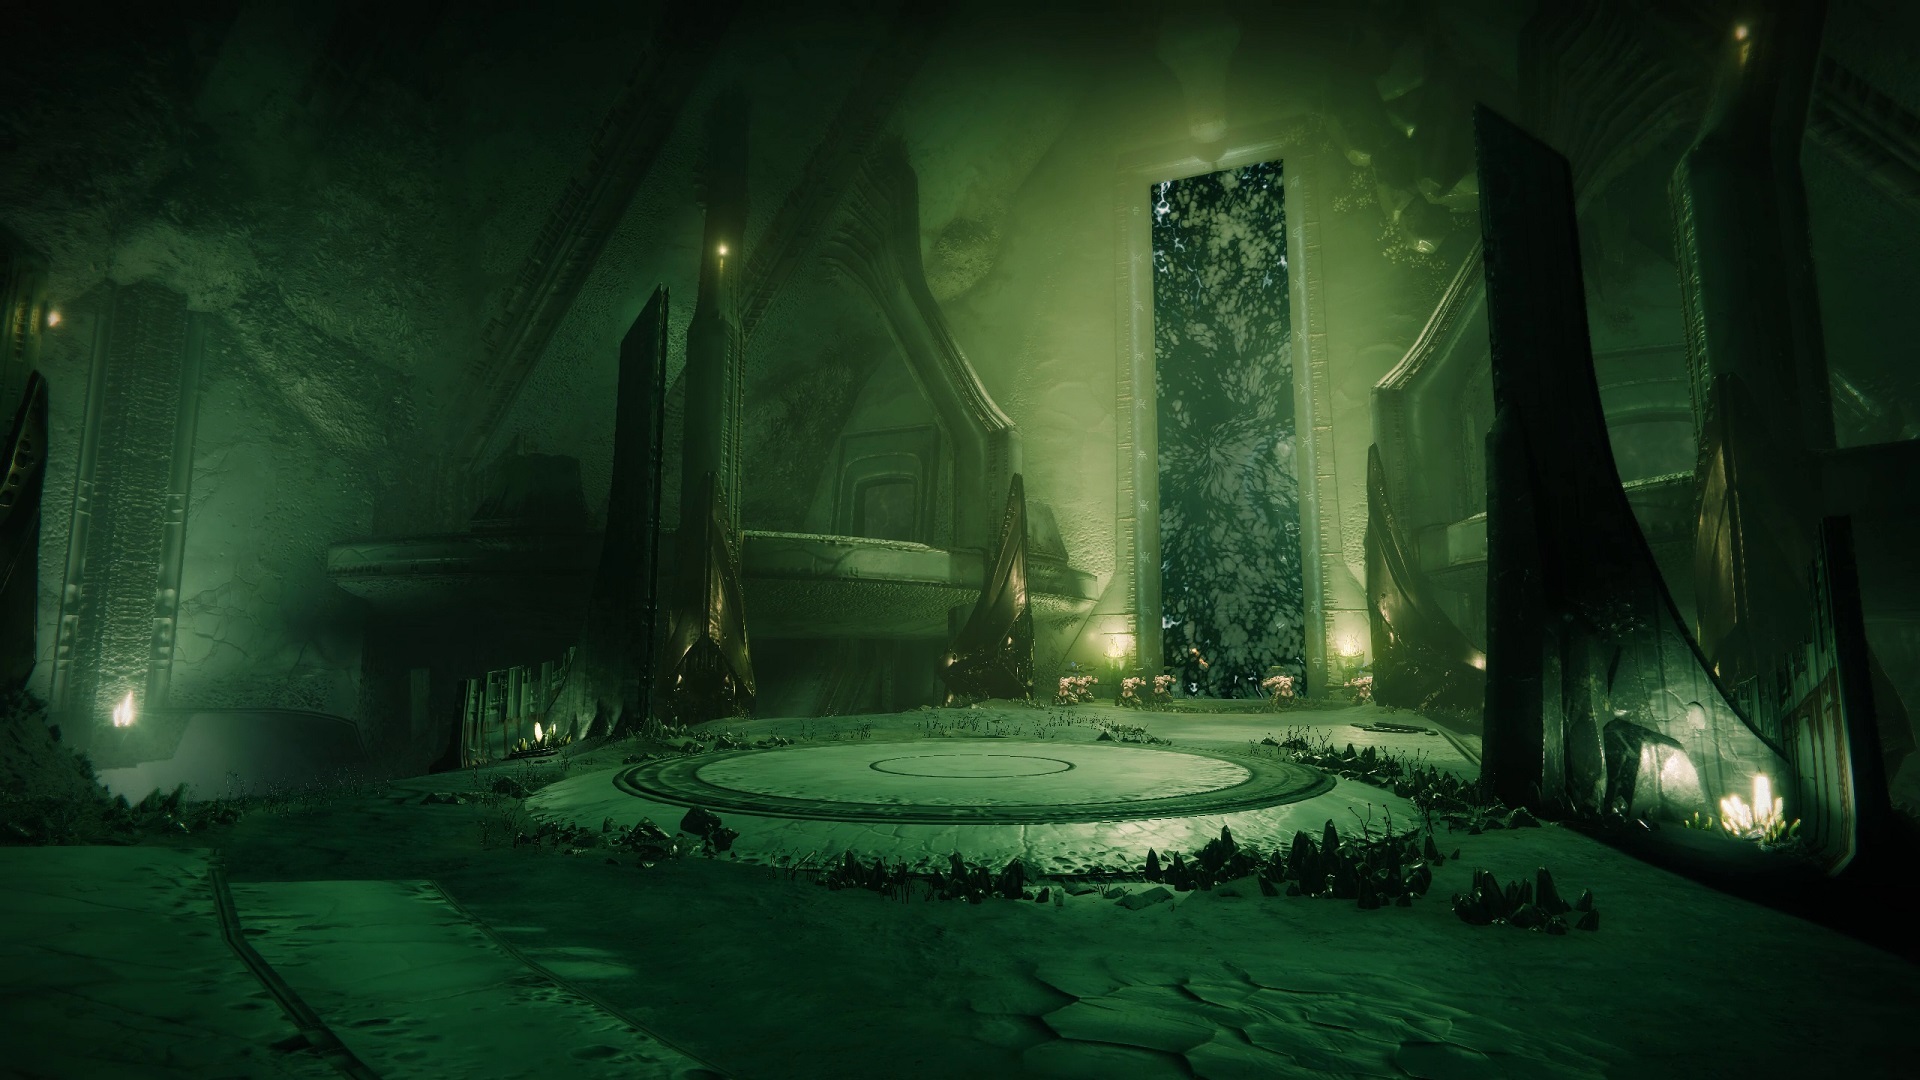
Basilica
Roles:
- 2 x Stealers
- 2 x Holders
- 2 x Depositors
Depositors clear adds and deposit any Deathsinger's Power they have gathered while standing in the center room's circle. They rotate and become Brand Stealers once they lose all of their Deathsingers Power. It will mostly be the responsibility of the Depositors to slay any Unstoppable Ogres that sometimes appear.
The two balconies in front of the center chamber are occupied by Stealers. On their balcony, they kill a wizard, which causes the Blightguard to appear. The Brand Stealer orb is left behind by the dead Blightguard. By stealing the Aura, the Stealer joins the Holder at the totem, and takes over as the new holder.
At the beginning of the encounter, Holders will gather the orbs and stand beneath one of the two Annihilator Totems. It is their responsibility to kill as many enemies as they can in order to gather Deathsinger's Power and to inform the Stealers when their countdowns are about to expire. They rotate and become Depositors once the brand has been stolen.
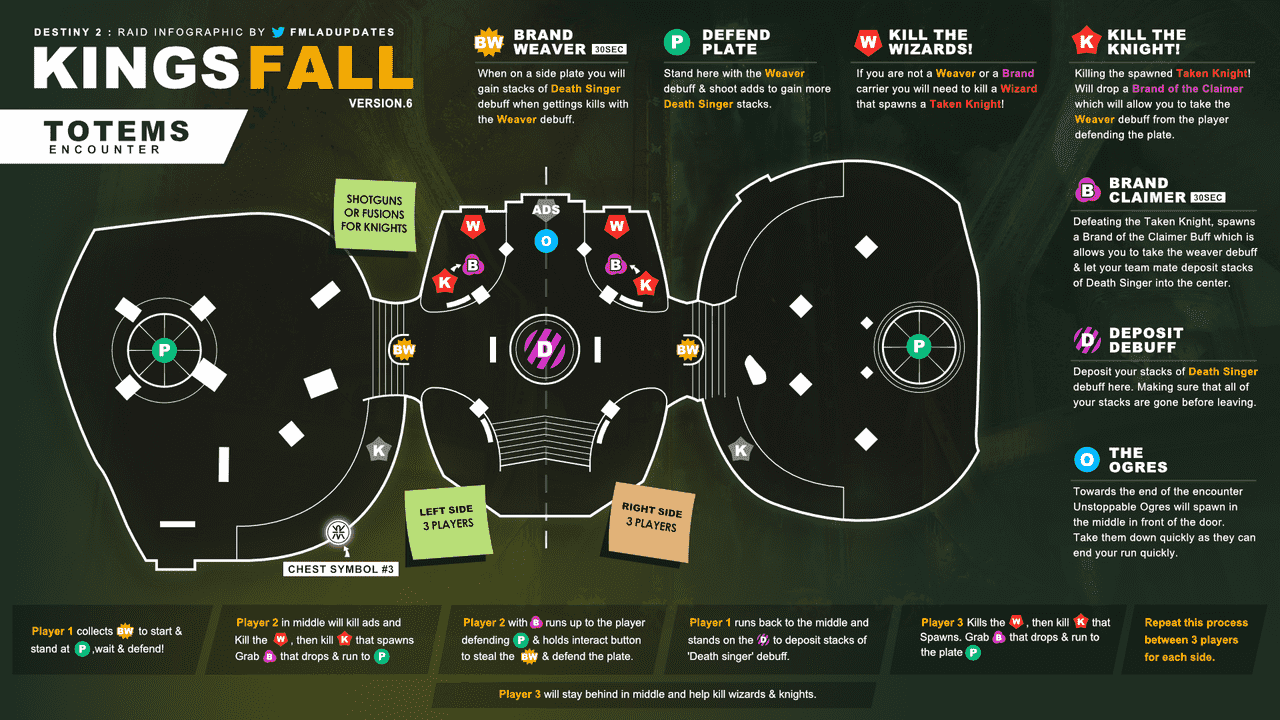
The three members of each team will alternate between these duties on a regular basis. The center door will finally open after enough of Deathsinger's energy has been deposited. Gather your loot and go on to the next battle.
Encounter Triumph:
Overzealous - Complete the Basilica encounter while never stealing a Brand from a player standing near a Totem.
Challenge Mode:
The Grass is Always Greener - Players cannot take the same Brand type twice in a row.
Master Difficulty:
- Unstoppable Hive Ogres now spawn in side rooms as well as in the middle.
- Solar shields on Hive Wizards.

Warpriest
Following Basilica, Warpriest is the first boss of King's Fall and the first significant DPS challenge in this raid. Each member of your team is accountable for DPS. As you approach the Warpriest's hall, however, you must choose at least one person to stand to the left, middle, and right of you. This person will start the process by standing onto three activation plates.
Roles:
- 3 x Plate Duty
- 3 x Brand Claimers
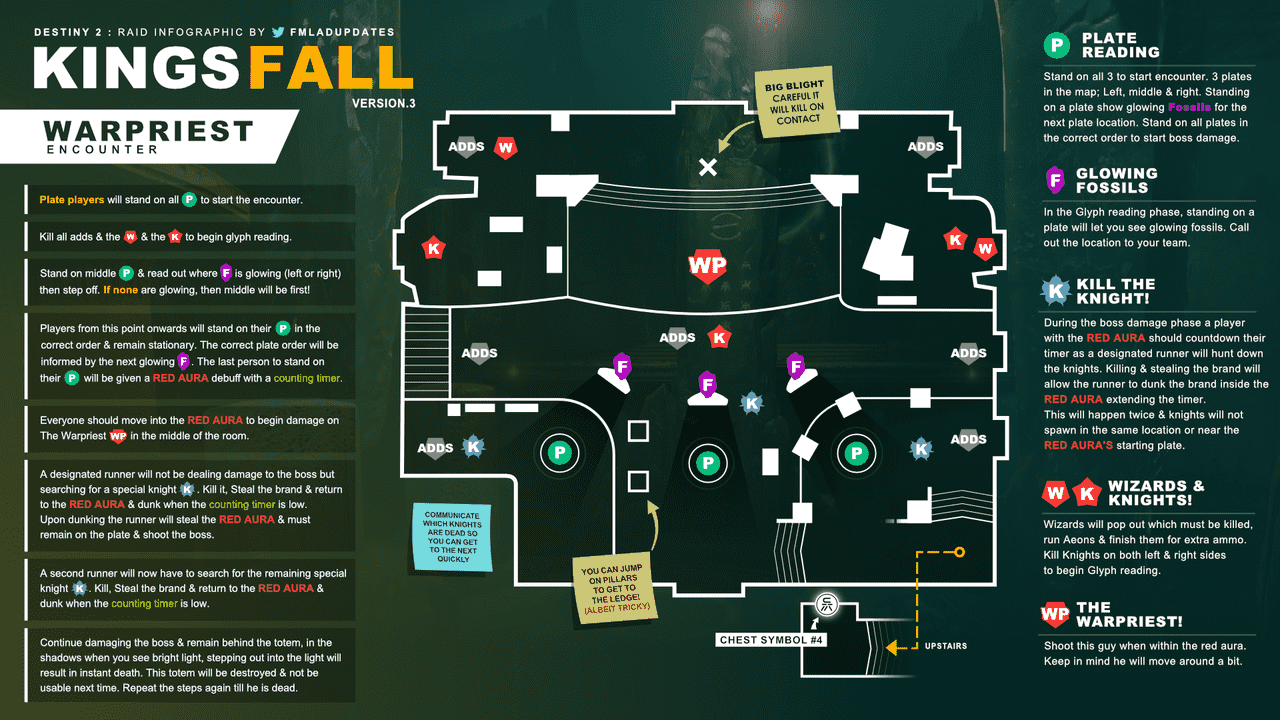
Acolytes, Adepts, Knights, Wizards, and Thrall are present when the battle starts. A "Glyph sequence" is started after dispatching three Revenant Knights that spawns on the three plates. The individual tasked with holding the middle plate must stand on it, turn to face the trio of towering tombstones, and then get up. One of the tombstones will illuminate on the side facing the Warpriest, but only those standing on a plate will be able to see it. The center plate holder can view this side due to the angle of the left and right tombstones, thus they should be the ones checking to see what is glowing. As they come into view, they shout left or right. If nothing is clearly lighted, the center tombstone is glowing. The person who's side the illuminated tombstone is on has to step on their plate. That individual will now analyze the tombstones to identify the next plate that has to be turned on. Once the third guardian stands on their plate, it will spawn the Brand of the Initiate and start the DPS phase.
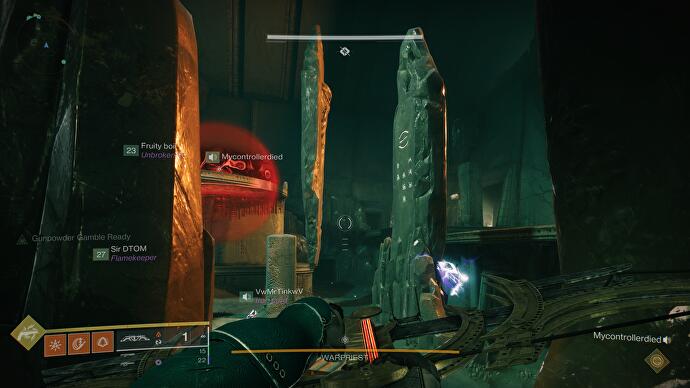
Brand of the Initiate
The Brand of the Initiate will be given to the last person to activate their plate. A red orb forms around them as a result. Now the Warpriest can be harmed by anybody in this orb. After 20 seconds, The Brand of the Initiate will expire. However, if a teammate with the Brand Stealer buff steals it, it can be reset. During the DPS phase, a Blightguard knight that spawns randomly on one of the three sides may be found and killed to obtain this.
The Warpriest will trigger the Oculus, an attack that eliminates everyone in the chamber save for guardians hidden in the shade of a gravestone, when Brand of the Initiate finishes or after numerous successful Brand steals. The Oculus destroys each tombstone, so you can only hide behind it once.
Everyone goes back to their own sides when the Oculus is over, and the cycle is repeated. When it's time to read the order while standing on plates, a light shines over the spot where the gravestone had stood. Keep in mind that there won't be any more cover to hide behind, so you must deal enough damage to the boss to kill it before the fourth Oculus. To clear the adds and read the plates once again, everyone goes back to their sides.
If you prevail in this battle, the Warpriest chest will provide the second main reward drop of the King's Fall raid.
Encounter Triumph:
Brand Buster - Complete the Warpriest encoutner while never letting the same player obtain the Brand until everyone else has.
Challenge Mode:
Devious Thievery - You cannot hold the Brand Claimer buff for more than five seconds.
- As soon as you pick it up off a Knight, you have five seconds to reach your teammate and take the Brand.
Master Difficulty:
- Barrier Hive Knights replace Revenant Knights (Glyph sequence Hive Knights).
- Overload Hobgoblins replace Ravenous Taken Knights (Glyph sequence Taken Knights)
- Solar shields on Blistered Wizards and Servile Knights.
- Void shields on Taken Acolytes.
Golgoroth's Cellar
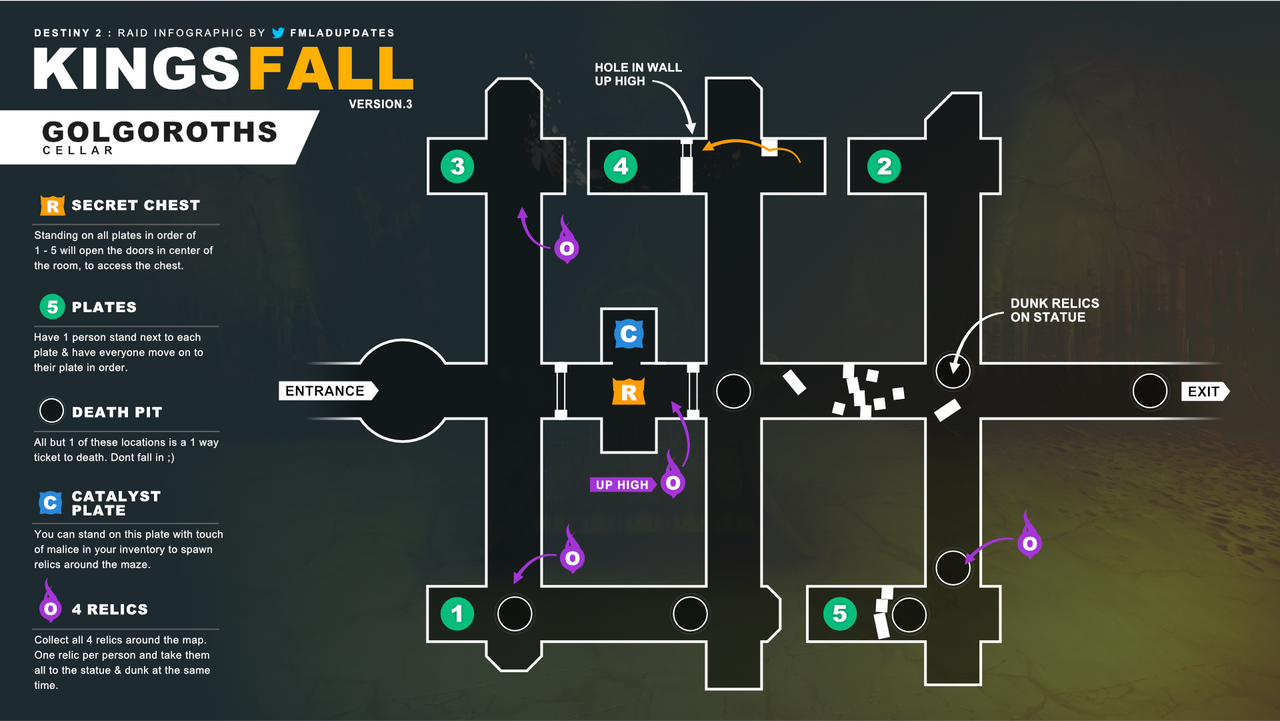
Hidden Chest #2
Take the first right, then the left, then the left again, turn right, and go straight ahead toward the chandelier to exit Golgoroth's cellar. Along the journey, keep an eye out for unexpected floor pits and explosive Thralls. One player should take the first left out of the entry corridor and wait by a pressure plate in order to grab the hidden chest. From the beginning, another turns right and waits beside a second plate. By turning right, then left, then left once again, and finally all the way to the end of the hallway, you will find the third plate. Additionally, that individual needs to leap from a nearby pillar to a location behind the door where the plate is located, land, and proceed to stand next to the plate. Have one person wait at the midway point of this identical passageway since it is the chest door.
Stepping on the plates in a precise order while the final individual is in place will open the chest door. In order of proximity to the maze's entrance, they are:
- Close Right
- Far Left
- Close Left
- Middle Left
- Far Right
When one person steps up to the plate at a time, you know you're doing it correctly. Everyone will hear a mechanism snap into place if it is the right one. The wrong one will cause the plate to flash red. If you see the red light, make sure to get off of it immediately. Grab your loot after having the person who is standing next to the chest door confirm that the procedure succeeded. You'll face Golgoroth after everyone has arrived at the exit door, which will then open.
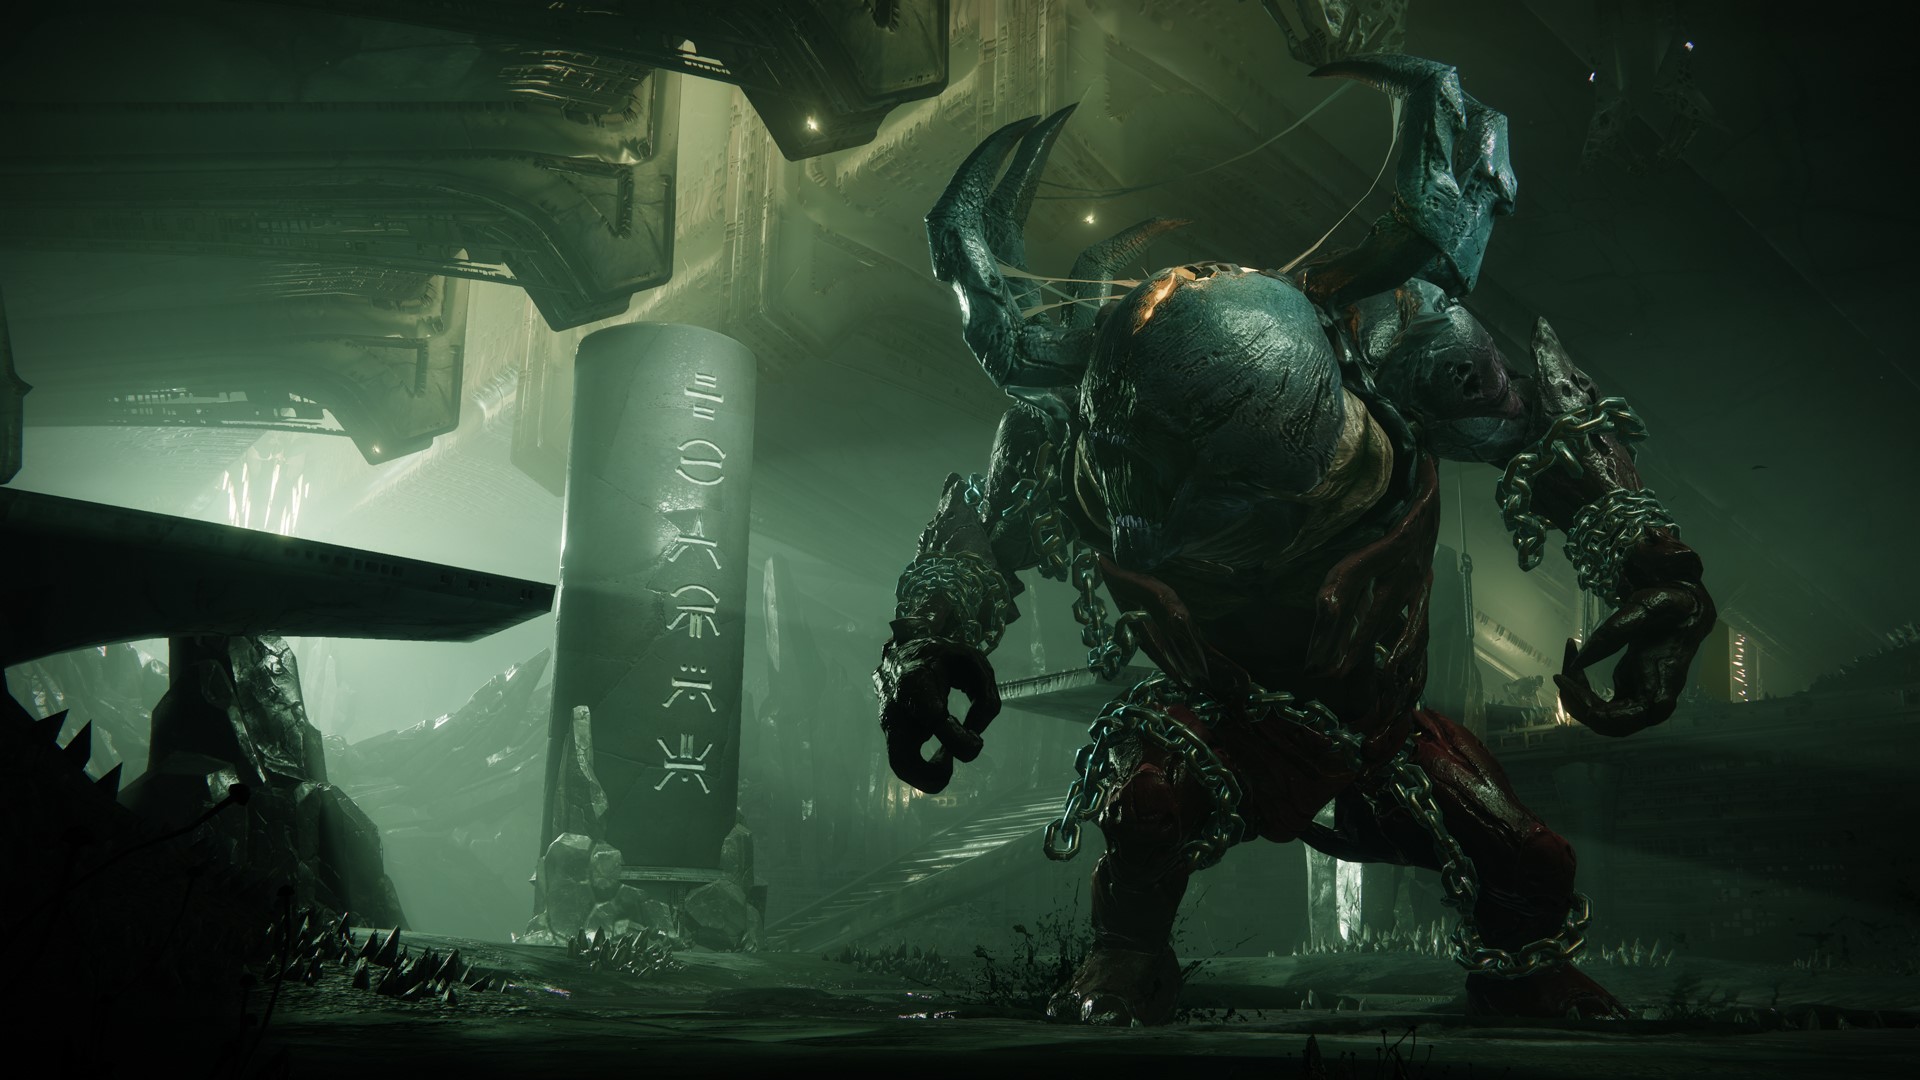
Golgoroth
Roles:
- 4 x DPS
- 2 x Gazers
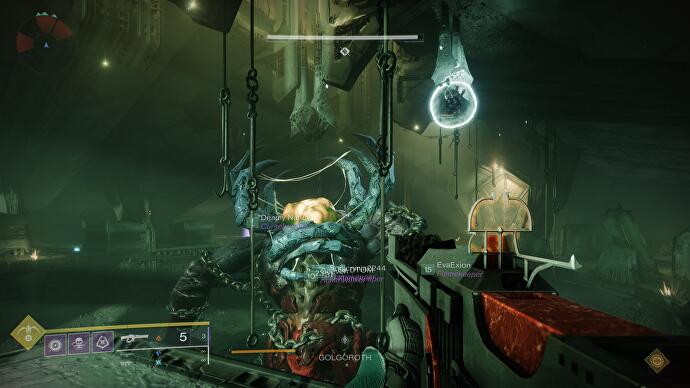
Shoot the ball that is attached to the ceiling to begin the encounter. Golgoroth and waves of enemies will spawn in. Focus on eliminating the lesser adds while avoiding Gorgoroth's attacks. There will eventually be a wizard with yellow health bars. Kill them, then be ready for the damage phase to begin.
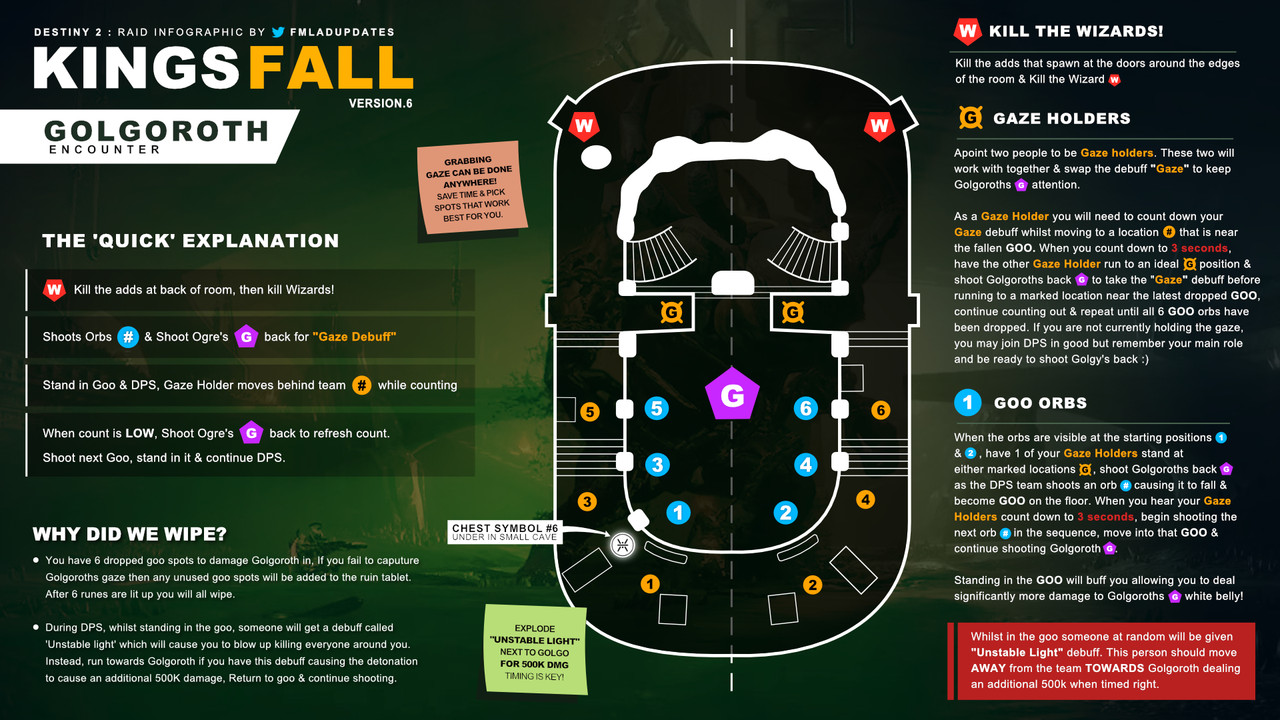
Holding Golgoroth's Gaze
You need to fire another orb that has emerged and is affixed to the ceiling in order to damage Golgoroth. When it cracks, a Pool of Unclaimed Light will fall into the hole. The big crit point on Golgoroth's chest will be the target of the four DPS guardians when they stand in this pool.
Golgoroth's attention will be kept on the two Gazers so that the DPS squad may concentrate on doing damage. On Golgoroth's back, a large luminous weak spot can be seen. The Golgoroth's Gaze buff is brought on by using a powerful weapon that deals precise damage on this target. For the next 20 seconds, Golgoroth will only aim at this target.
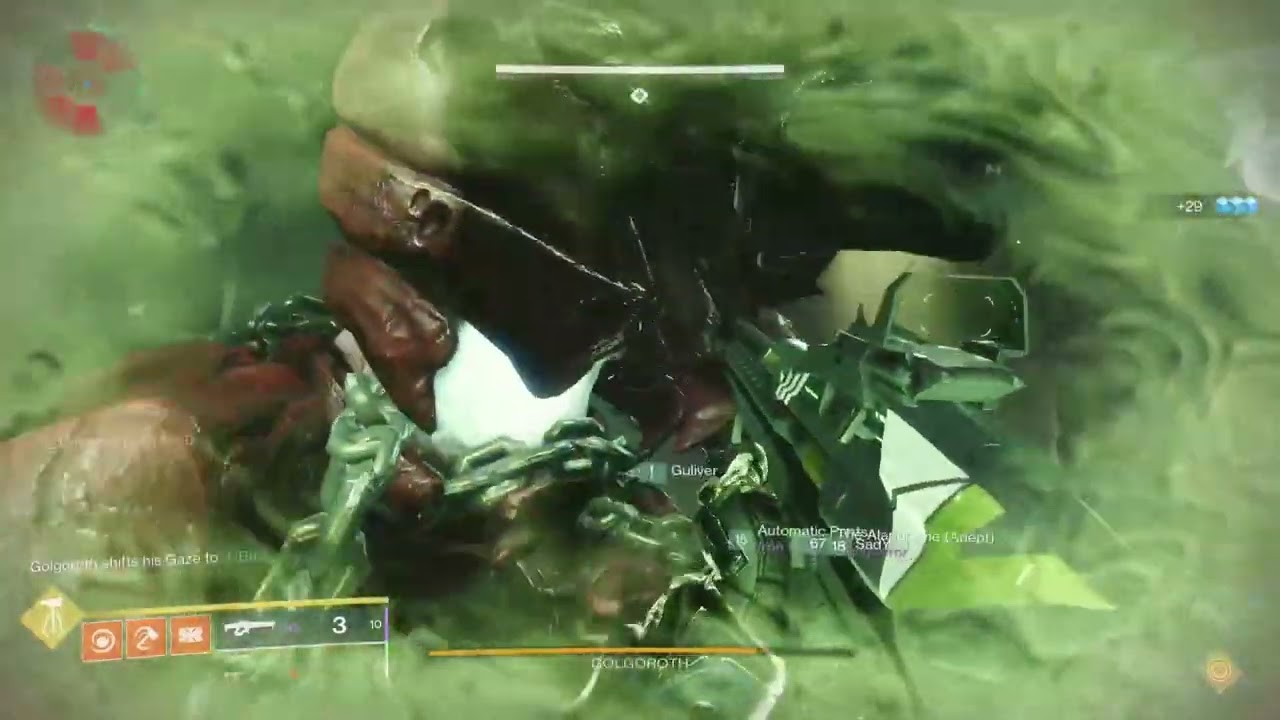
Now the Gazers will rush around the room's edge and stand in such a way that Golgoroth is facing the DPS squad and firing at the Taunter. The second Taunter will shoot into the Golgoroth's back as the timer on his Golgoroth's Gaze approaches zero, grabbing his attention. Up until the DPS phase is through, the Taunters will exchange Golgoroth's Gaze. The Taunter will be targeted by poisonous orbs that track around obstacles fired by Golgoroth. They cannot be avoided, although they are readily taken down by weapons with a quick rate of fire, such as auto rifles. They will deal damage over time to your health so exotics that grant restoration like Loreley Splendor will work very well here.
Damaging Golgoroth
A large swarm of Thralls, Knights, and eventually Taken Phalanx will assault your DPS team. Wells of Radiance from Warlocks, and AOE attacks like Withehoard are key to keep the team alive and shooting at Golgoroth.
The time you have in the Pool of Unclaimed Light is limited to about 15 seconds. On the ceiling, a second Orb will appear. Shoot it to get a new pool. For your DPS phase, a total of six orbs will arrive one after the other.
One of the members in the DPS team will experience Unstable Light at random. On their screen, a countdown timer will show in the lower left corner, and their screen will gradually be covered with green hive effects. When it falls to zero, they will blow up. They won't be harmed, but nearby guardians will be killed. If you have Unstable Light, leave your squad and come back when you explode.
Everyone will return to the upper portion of the Arena to kill adds and prepare for a new damage phase after all six pools of light have been exhausted or the Gazers have failed to capture Golgoroth's gaze. Rinse and repeat until Golgy is dead.
Note: A fatal error is the failure to shoot down all 6 pools of light, or failing to capture the gaze. In addition to taking away from your potential DPS, missing orbs feed the Tablet of Ruin in the center of the arena towards the back. The fireteam will be wiped out if the tablet is fully ignited.
Encounter Triumph:
Taking Turns - Complete the Golgoroth encounter while never letting the same player taunt Golgoroth until everyone else has.
Challenge Mode:
Gaze Amaze - If you've got Golgoroth's Gaze, you must be in a Pool of Reclaimed Light when you lose it.
Master Difficulty:
- Barrier Hive Knights replace Knights that stand on the outcroppings.
- Solar shields on Blistered Wizards and Revenant Wizards.
- Void shields on Ravenous Taken Wizards.
Transept
The Transept may be identified by the massive hole in the middle. You must navigate along ledges on the left and right sides of the chasm and cross certain unseen platforms that only become apparent as you get closer to them in order to cross it (or if you scan them with your Ghost by pulling it out). Since there are massive dick-shaped pistons all over the ledges that will send you flying, this segment is largely for laughs. Move very cautiously close to those penis-looking protrusions because they are actually spear-shaped pistons that occasionally protrude from the wall.
It's really not necessary to go into much detail here because the route is rather simple: hug the wall until you can no longer do it, then use your Ghost to light up secret passages that will lead you to the other side of the gap. Once you can cross over once more, you can keep going until you reach the exit by ascending. But first, you should seek for the last raid-related hidden chest and another Deepsight Resonance rune.
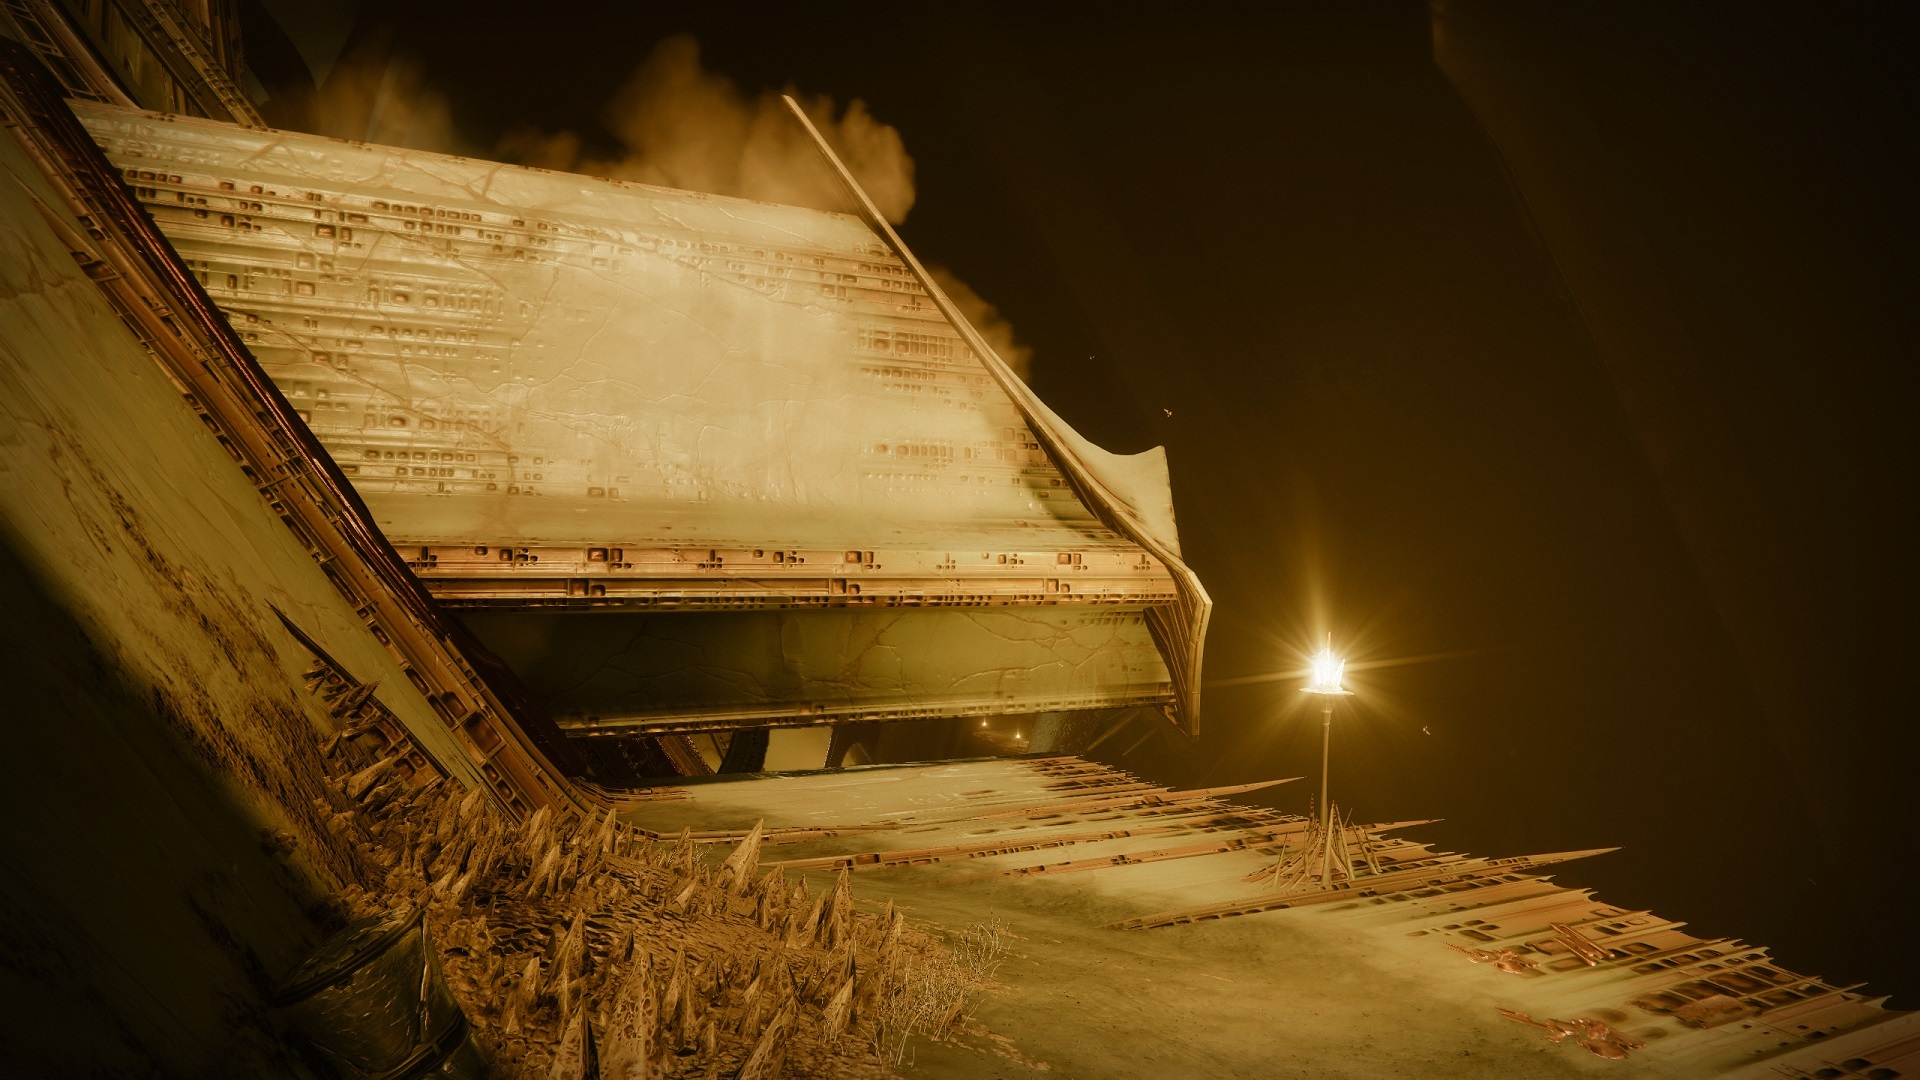 There are several pistons throughout the Transept route that will
launch you into the depths of the Dreadnaught. This one is seen
extended.
There are several pistons throughout the Transept route that will
launch you into the depths of the Dreadnaught. This one is seen
extended.
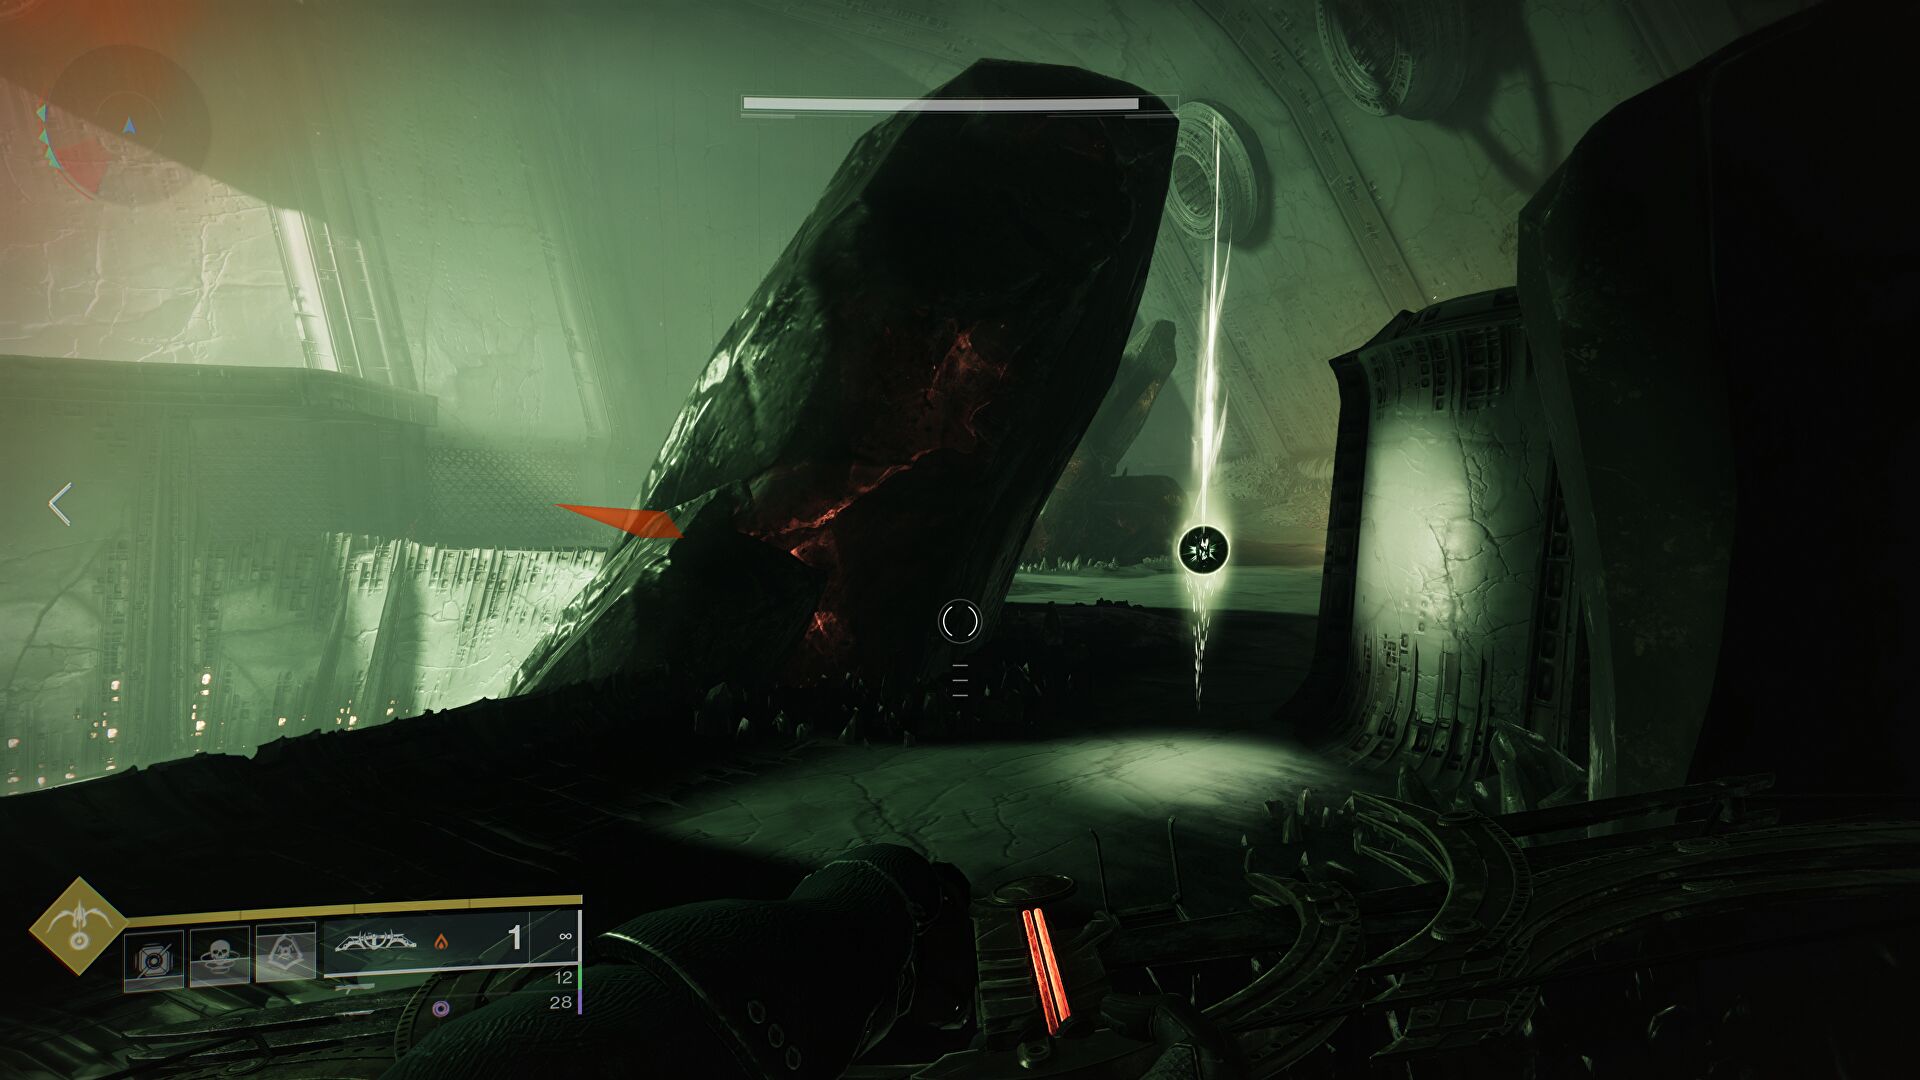
Hidden Chest #3
Make your way through the Transept till you reach the point when you must cross over to the opposite side of the space. Look to your right as you cross. A vertical column with a few little ledges sticking out of it should be visible. Utilize your Ghost to look for any further hidden ledges that might lead you to the column. After jumping across to the ledge, use your Ghost to climb up and around. A gap where you can leap in may be seen on the room's wall if you jump up to a higher ledge and then look there. The final concealed chest is located in the back of the large chamber you find there.
Once you uncover this hidden room, you can't miss the Deepsight Resonance rune that is directly above where you discover the third hidden chest. Kill the opponents and follow the ledges back in the Transept until you can no longer move; then, search for more secret platforms to return you to the wall you started on. When you arrive, check upward for additional ledges. These will let you return to the beginning, but you must climb to reach the exit.
 Once you get to the last hidden chest, you can also find a Hive
rune.
Once you get to the last hidden chest, you can also find a Hive
rune.
Right over the exit door as you leave the Transept, another deepsight rune will be visible on the ceiling above you. The last raid arena, which will host the final two boss battles, is reached after ascending via a bit more light platforming. In fact, the first serves as something of a test run for the second.
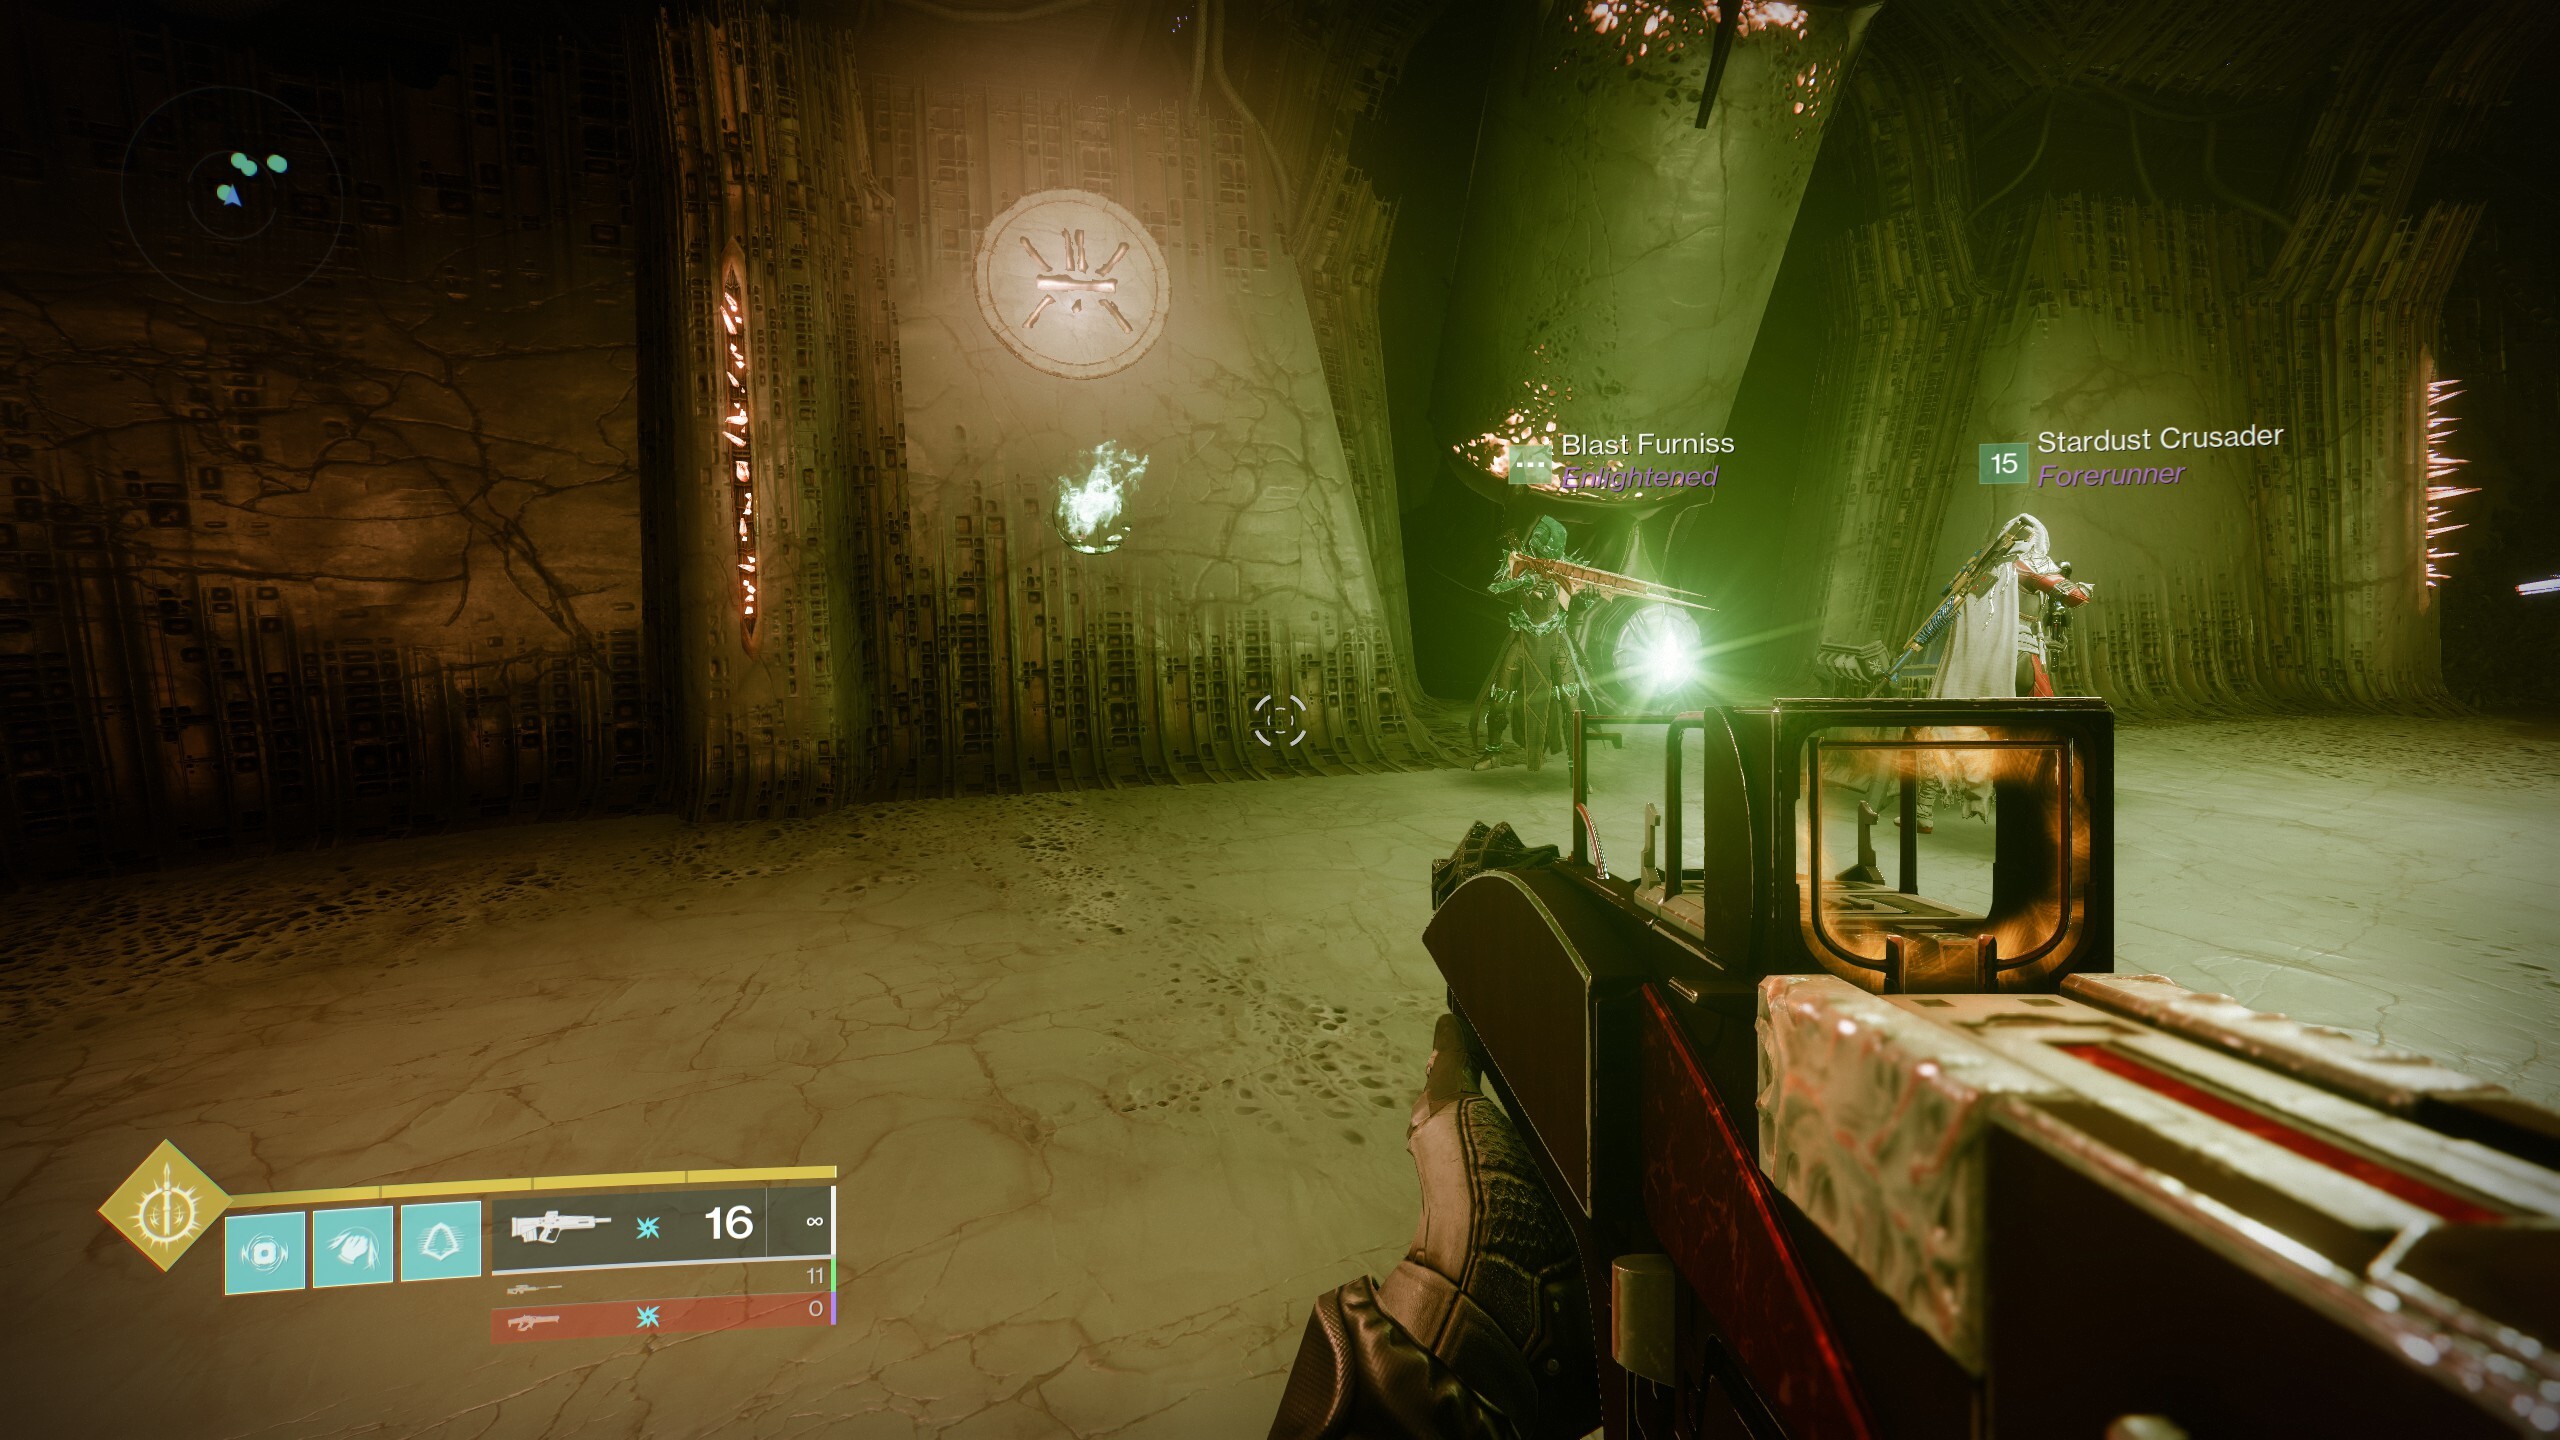
Ir Halak, The Unraveler
Ir Anûk, The Weaver
The Deathsingers, also known as the Daughters of Oryx, Ir Halak and Ir Anûk, stand atop two massive pillars in the center of the chamber, to the left and right of the entrance, respectively. Four lower activation plates, two on the far side and two on the near side, surround these pillars. These are often referred to as R1 and R2 for the near and far plates on the right and L1 and L2 for the near and far plates on the left.
Roles:
- 4 x Plate Duty
- 2 x Floaters
- 1 x Runner (Chosen at random, if it clashes with a Plate Duty, a Floater will take over his/her place on the plate.)

Once you start taking out enemies, one player will be chosen at random be Torn Between Dimensions. This player becomes the Runner. The Runner is in charge of retrieving an orb of light that is circling one of the plates by traversing platforms built by their squad.
Find the plate that has a Revenent Knight on it. Kill the knight and place the person in charge of that starting plate on it. After that, ask that person whose plate is under the orb and adk that plate holder to stand on it, that is the ending plate. Only people on the plates can see where the orb is. Order is essential here, if stood wrongly, the plates will turn red and burn any player standing on it. If any of these plate holders is the runner, a Floater will replace his/her plate duties.
Upon activation of both plates, a series of floating platforms will be seen. The Runner will ascend them and make contact with the circling orb. Once they do, everyone will clear their plates, start clearing adds, and get ready for another player to be Torn Between Dimensions.
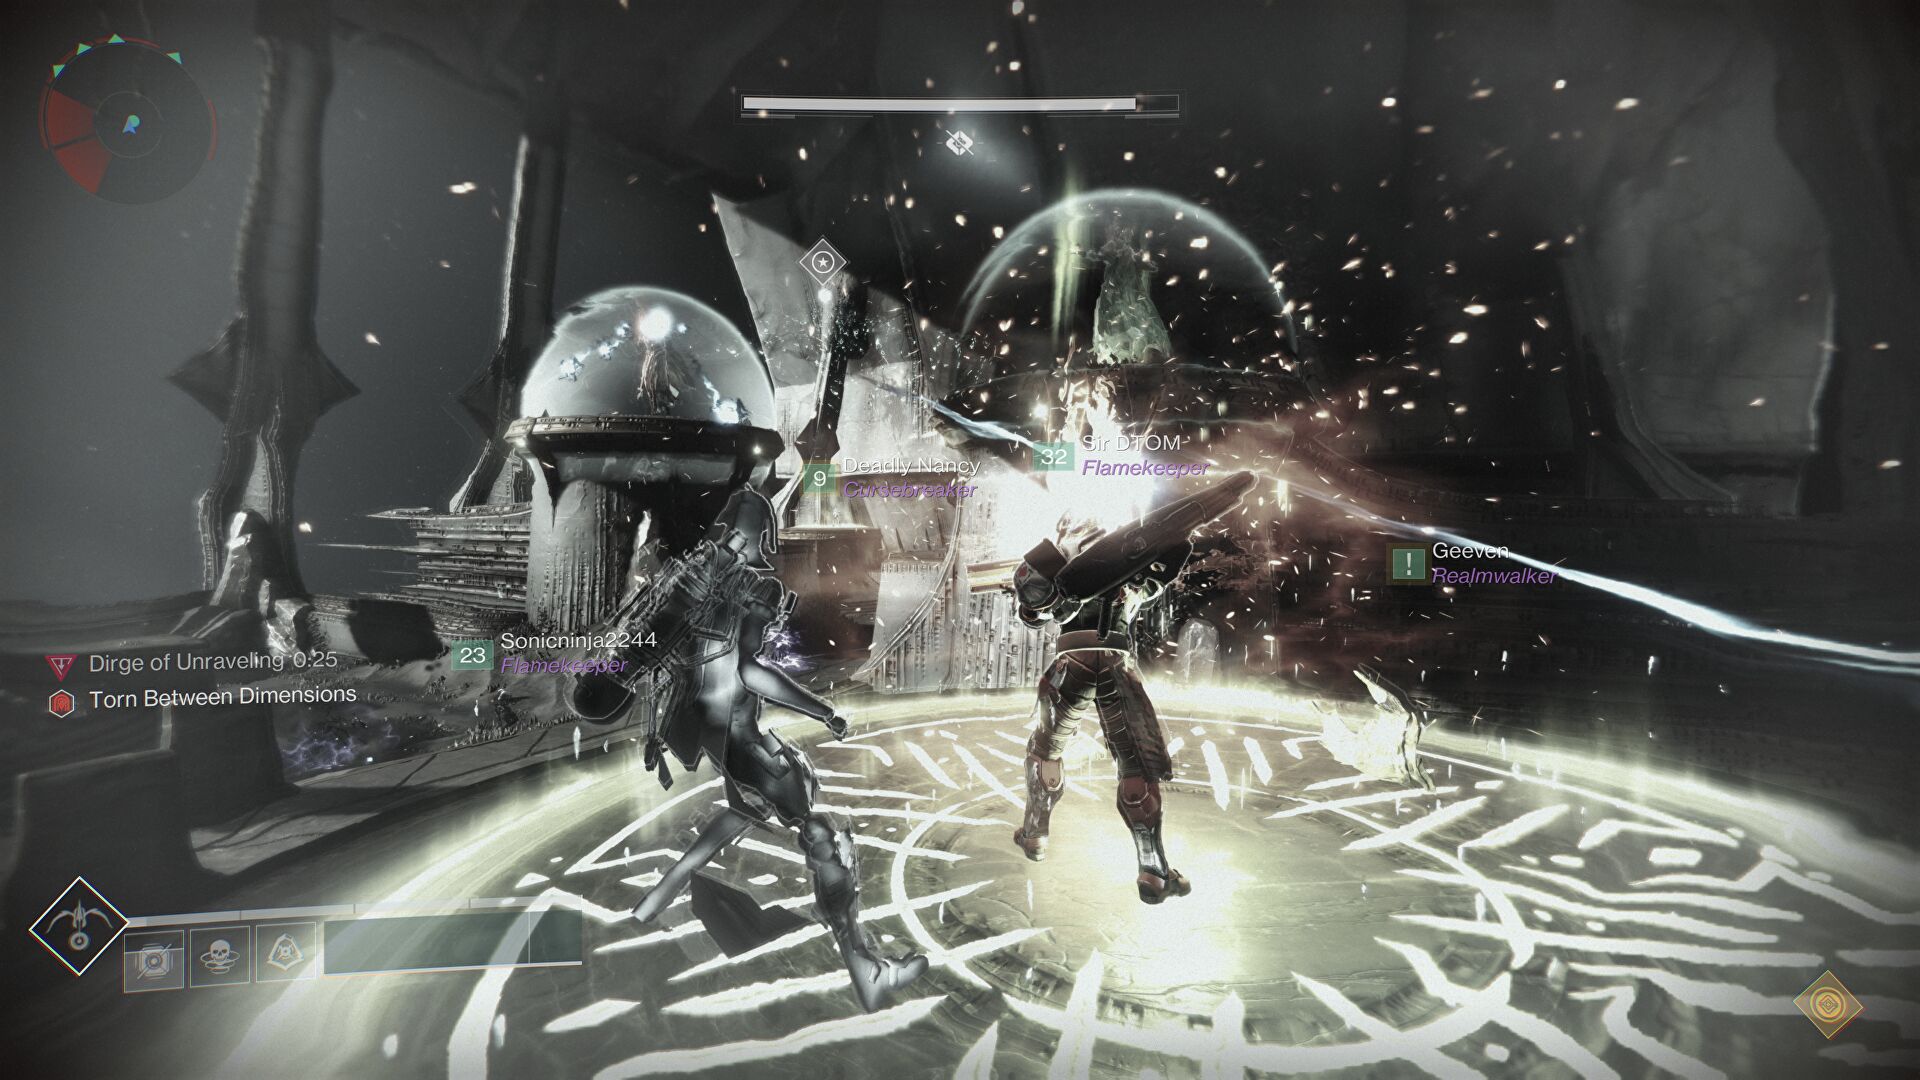
This should be done two more times. The Brand Claimer buff is given to the third Runner, who must pick up the orb. They must now choose which of the two Daughters to steal the brand from. To begin the DPS phase, dive down to that Daughter and grab their brand.
Two things happen when the Daughter's brand is stolen. The Daughter's shield is first taken away to allow for damage. Second, it surrounds the stealer with the Aura of Invincibility, rendering them and everyone else around impervious to damage.
Tip: You can see which sister is casting the spell by seeing which sister has a green aura around her. More experienced teams will choose to steal the brand from the casting sister so that when they do kill her, the wipe mechanic ends immediately and they can start clearing adds sooner. If you steal the brand from the non-casting sister, even after killing her, everyone still has to wait in the Brand of Invincibility until the dirge is complete to deal with adds. This can result in a waste of time. This method is usually safer for master runs.
The remainder of the group should gather across from the DPS target at the foot of the Deathsinger platform. Everyone should use their strongest DPS weapons to attack the exposed boss because the guy who stole the brand will soon join them. The Deathsingers will cast a spell that instantly kills anyone who is not in the Aura when the DPS phase has ended. Remain in the aura until it fades away, then repeat the process.
There are a few crucial elements. The Dirge of Unraveling or the Hymn of Weaving will be sung by the Deathsigners throughout the first phase, which involves building the Brand Claimer. If you haven't stolen the Brand by the time the two minutes are up, wipe and start over.
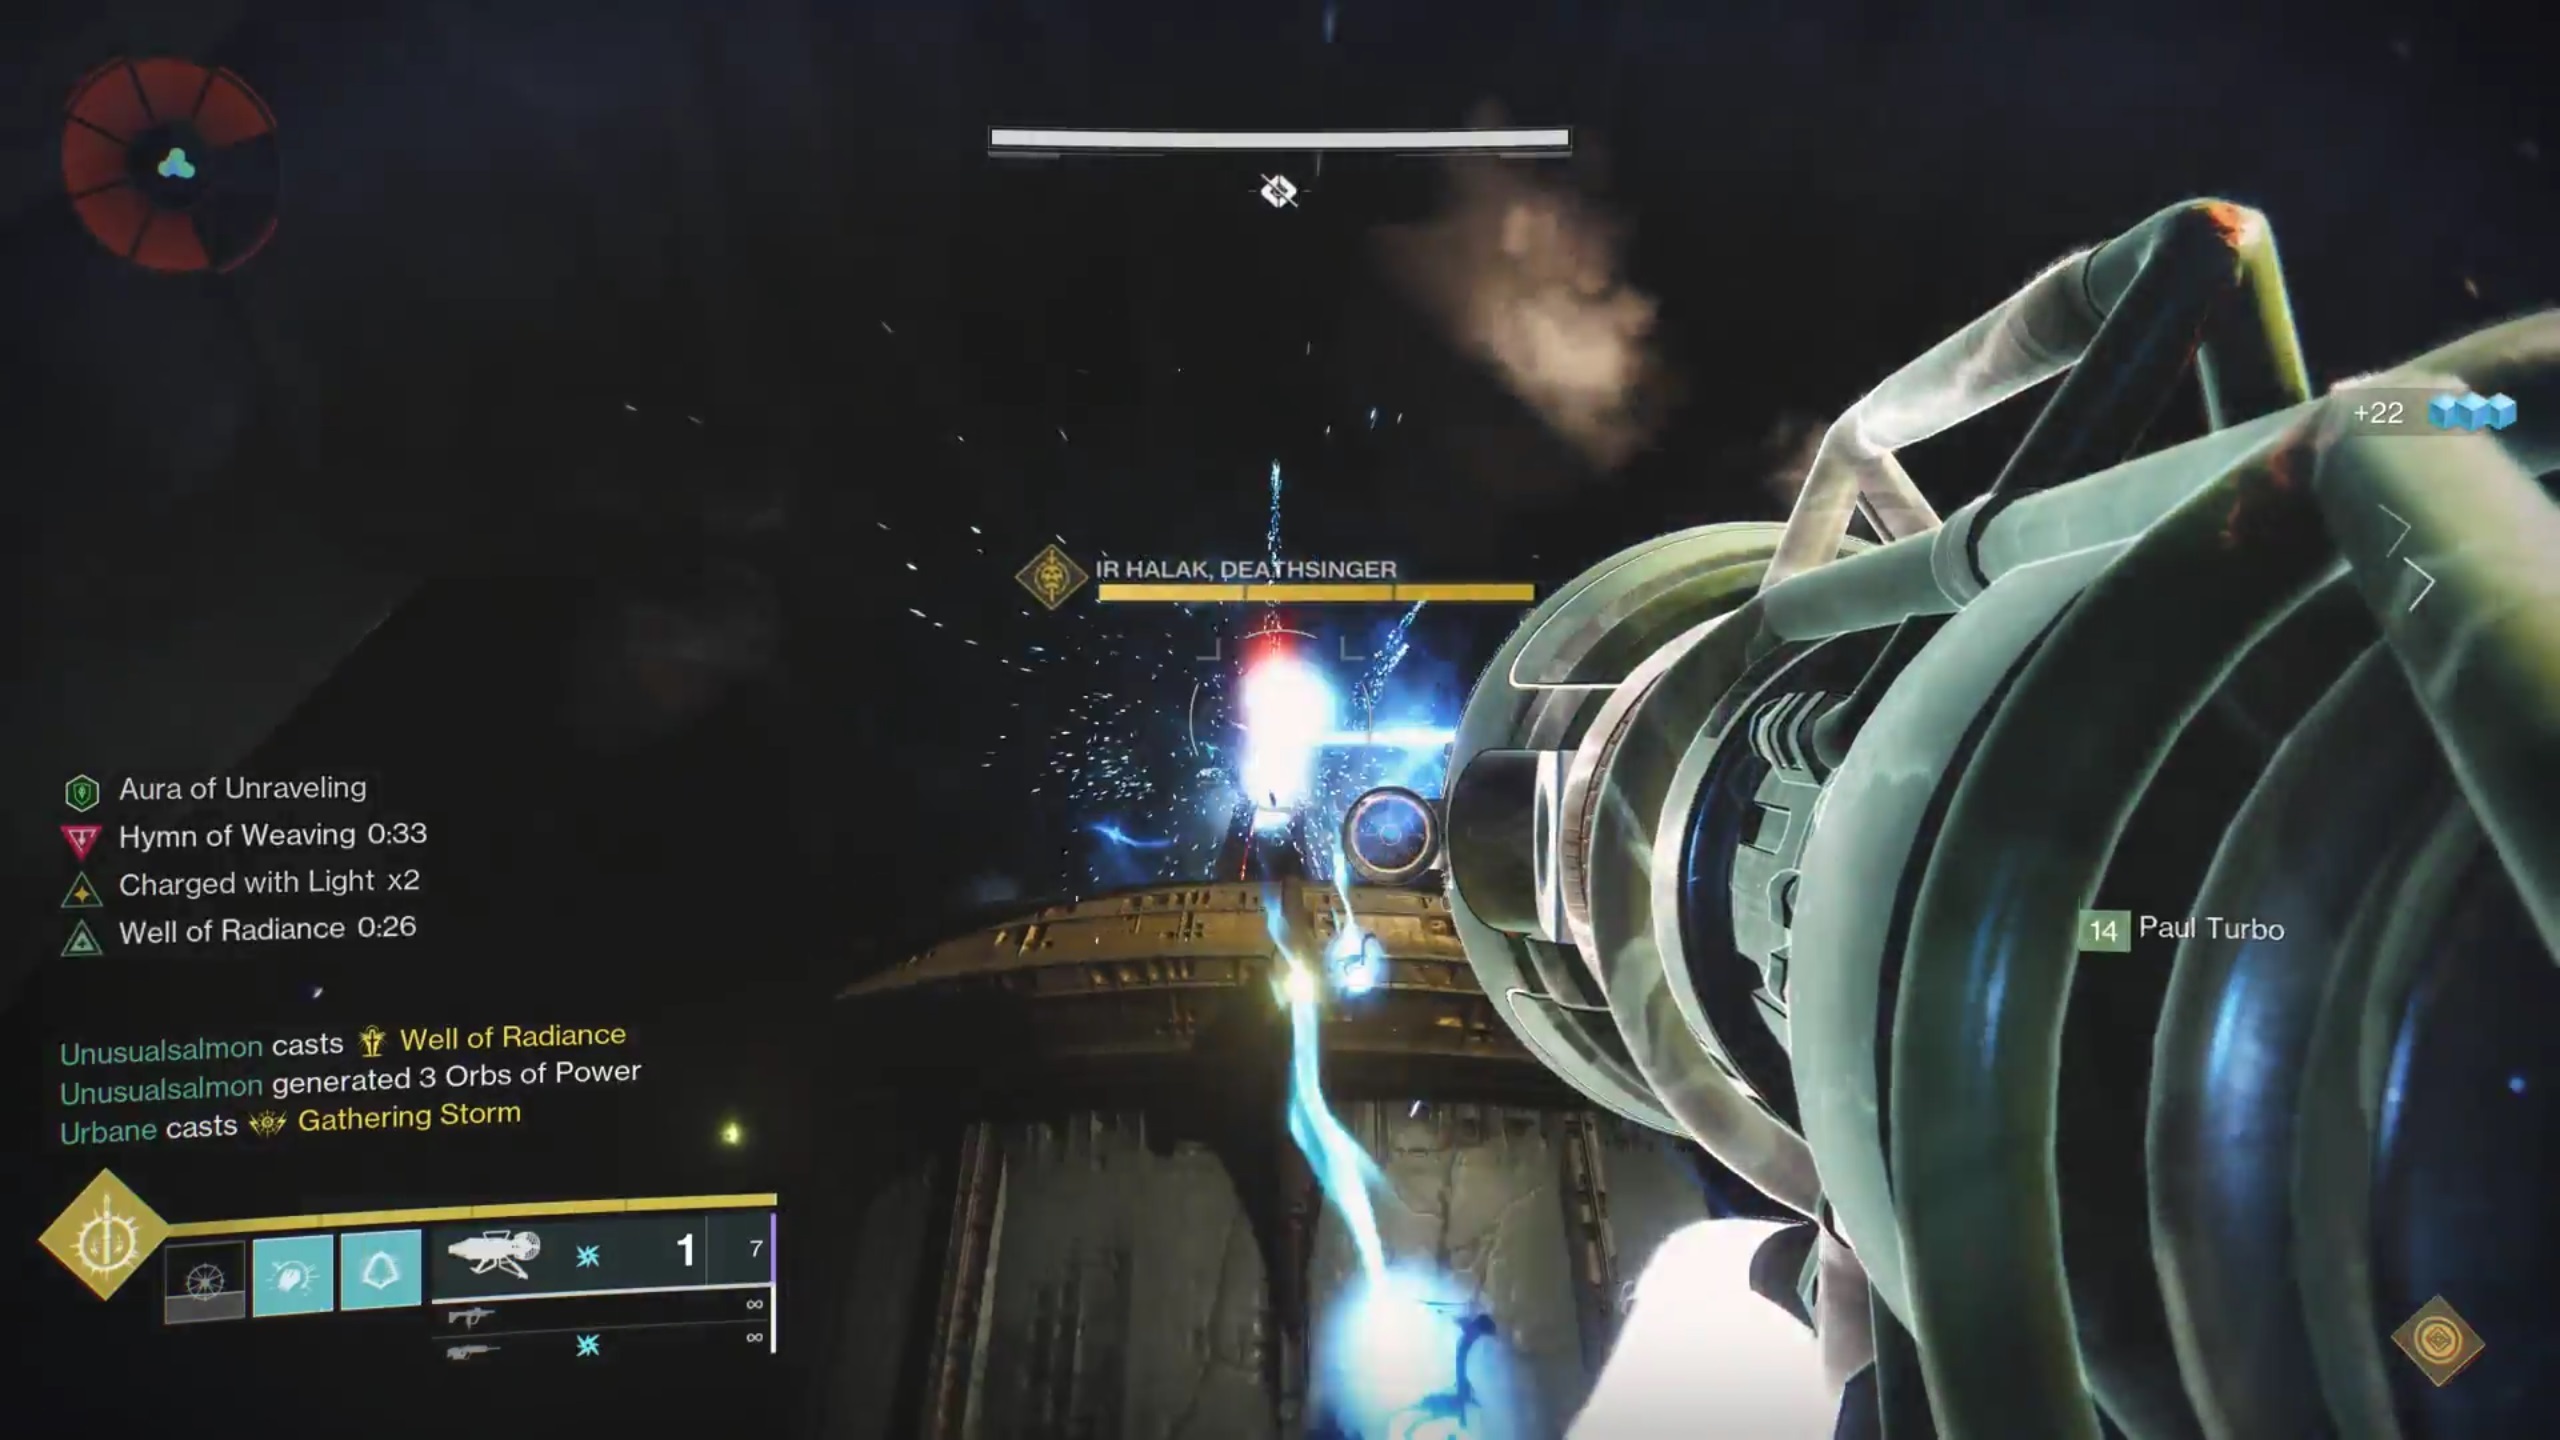
In order to prevent your group from dying, you must eliminate both Deathsingers during the subsequent DPS phase. It could be beneficial to purposefully leave some health on one of them before defeating the other. Finally, the length of the Deathsinger's song determines how much time you have for DPS. To allow yourself more time to slay the Daughters of Oryx, finish your runs and get the Brand Claimer more quickly.
Encounter Triumph:
The Floor Is Lava - Complete the Daughters encoutner while never letting a Torn Between Dimensions player touch the ground.
Challenge Mode:
Under Construction - If the Ascendant path fades from existence, the same players cannot reactivate the platforms.
Master Difficulty:
- Barrier Hive Knights replace Hive Knights on platforms.
- Arc shields on Taken Phalanxs and Taken Captains.
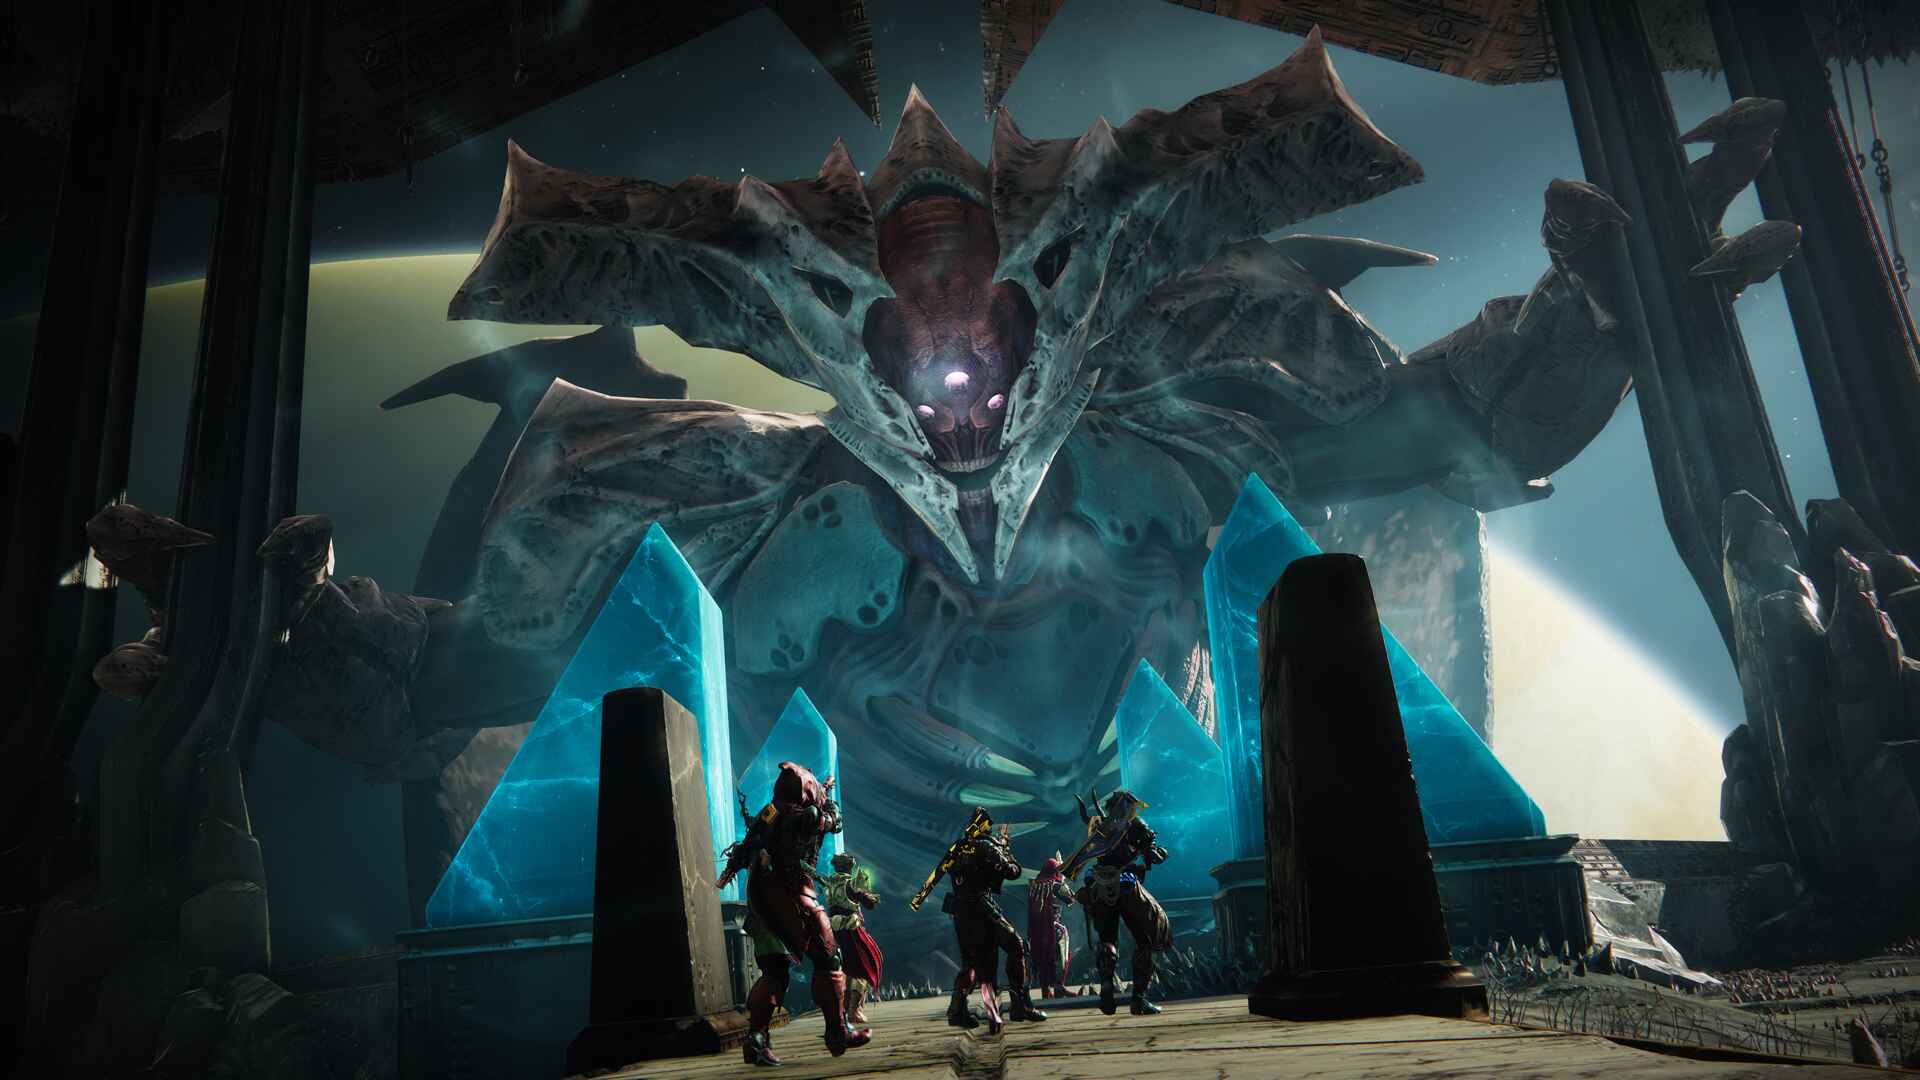
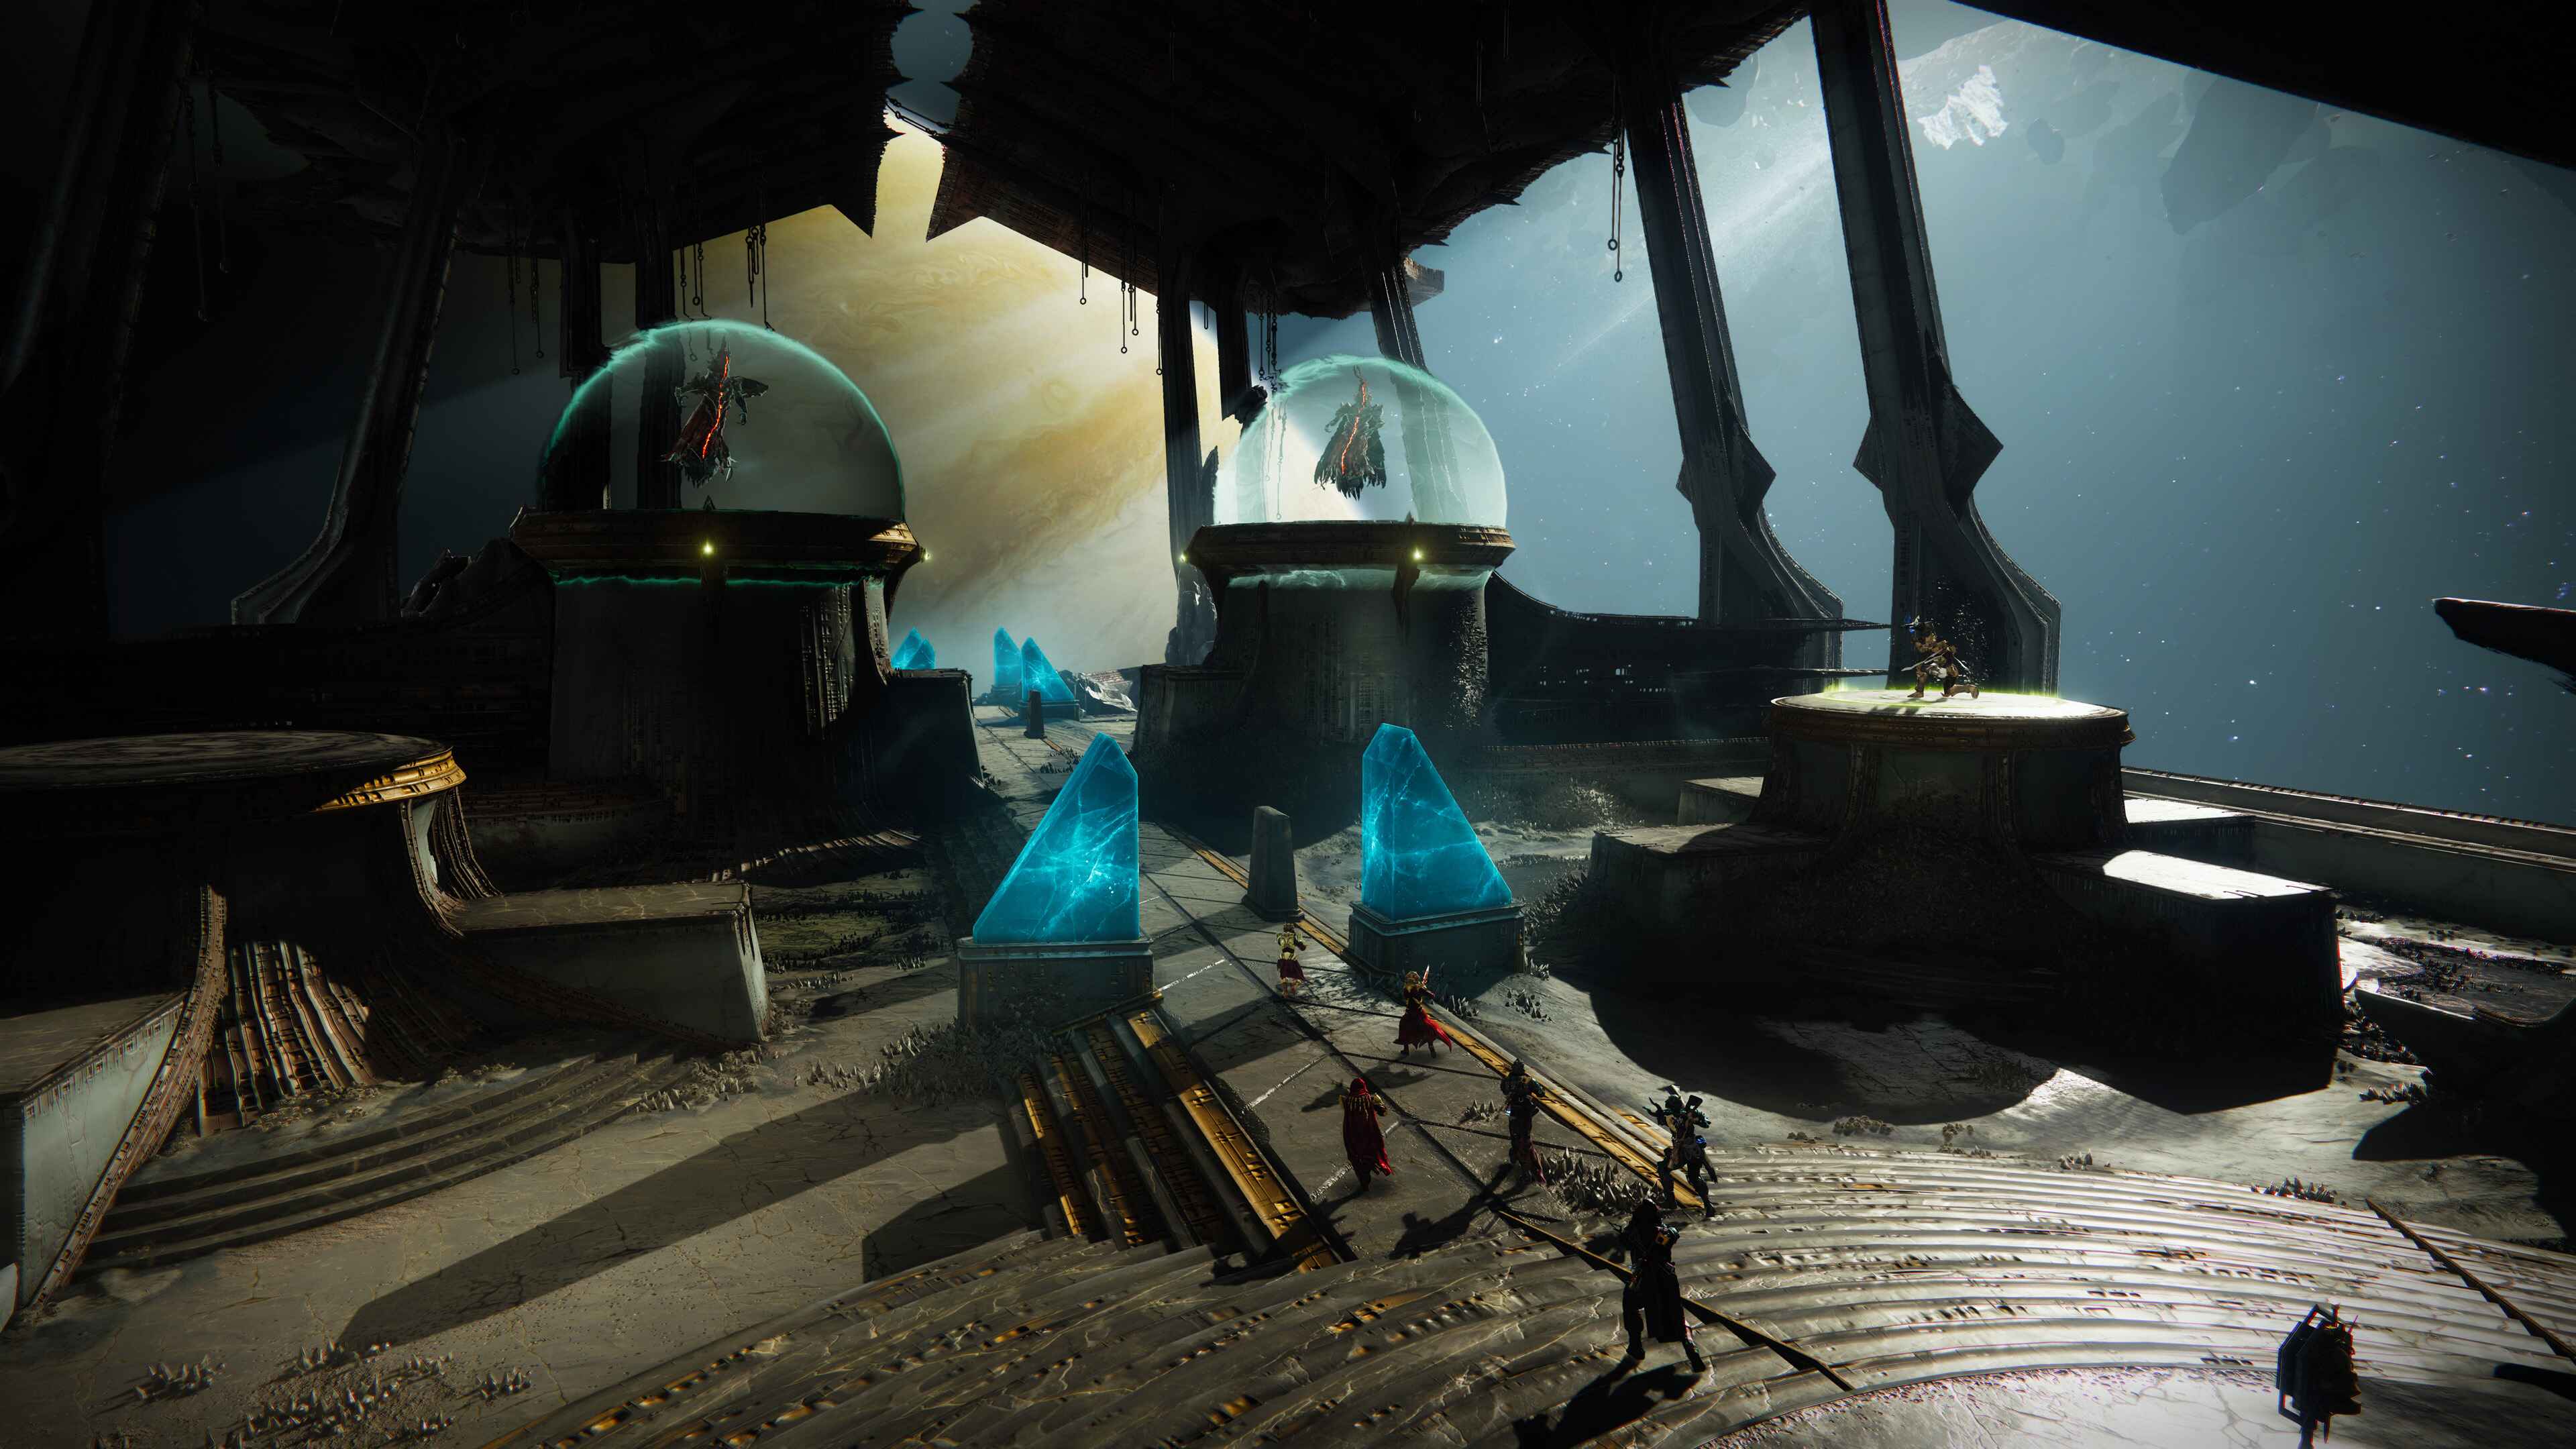
Oryx, The Taken King
Located in the same arena as his Daughters, Oryx serves as the final boss in King's Fall.
The Daughters of Oryx roles should be used again, with four players allocated to plates and two floaters:
- 4 x Plate Duty
- 2 x Floaters
- 1 x Runner (Chosen at random, if it clashes with a Plate Duty, a Floater will take over his/her place on the plate.)
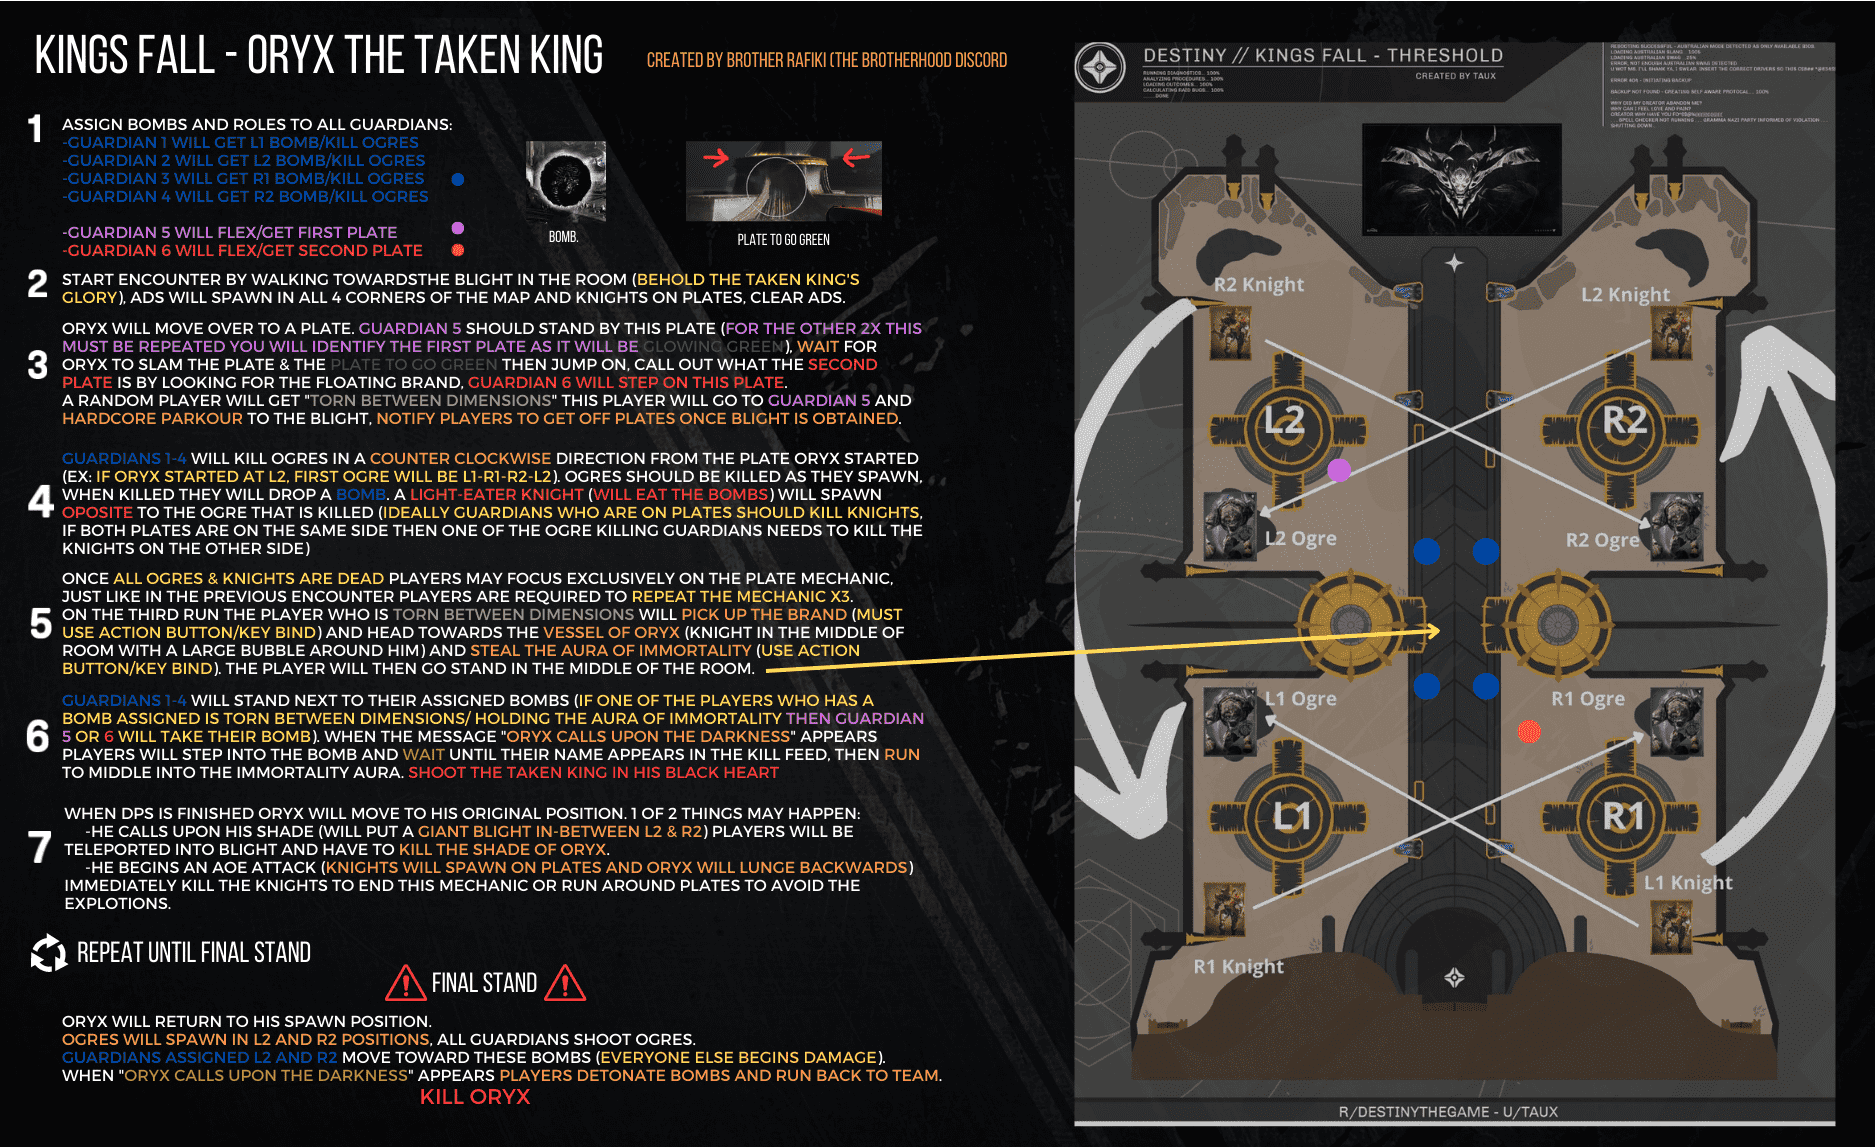
Clear adds until Oryx smashes his fist against the starting plate, which has to be activated after. One Guardian will be Torn Between Dimensions at random and become the Runner. The Runner should join the guardian who is holding this plate.
To find the ball of light, the Runner must look above the other plates. The designated Guardian will stand on the designated plate when you call out which one it is, creating the floating platforms. Everyone will quickly get away from their plates when the Runner collects it. After two more repetitions, the Runner will acquire the Brand Claimer.
A particular knight known as the Vessel of Oryx will come when the second orb of light is gathered. It possesses the Aura of Immortality, which the Runner with the Brand Claimer must steal. Light Eater Ogres will spawn close to each dish when players are gathering the orbs of light. Once you kill them asap, they will leave behind a taken blight, which will serve has a bomb to detonate to stun Oryx. They emerge one at a time and are rapidly eliminated by well-organized team. On each corner of the map, Light Eater Knights will spawn and race to the opposing side of the map to consume the blights. Stop them before they get to their intended targets.
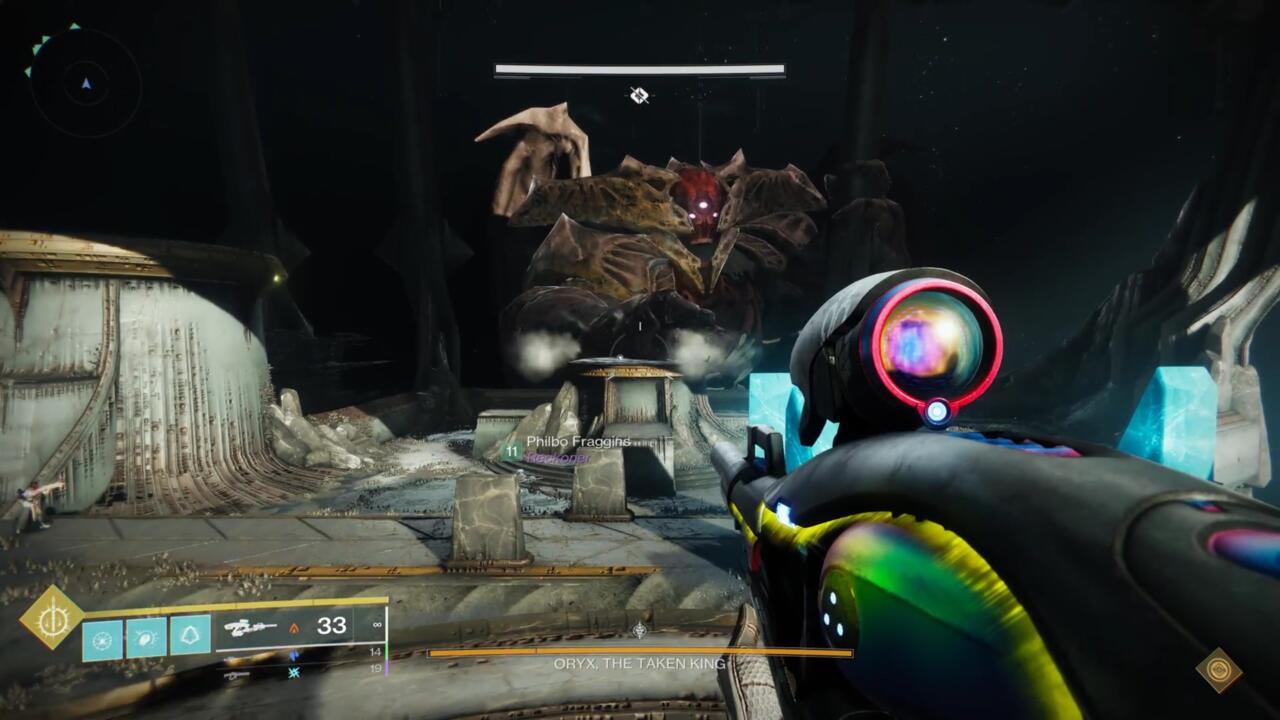 You must stand on the first platform after Oryx slams it with his
fist in order to obtain the Brand Claimer.
You must stand on the first platform after Oryx slams it with his
fist in order to obtain the Brand Claimer.
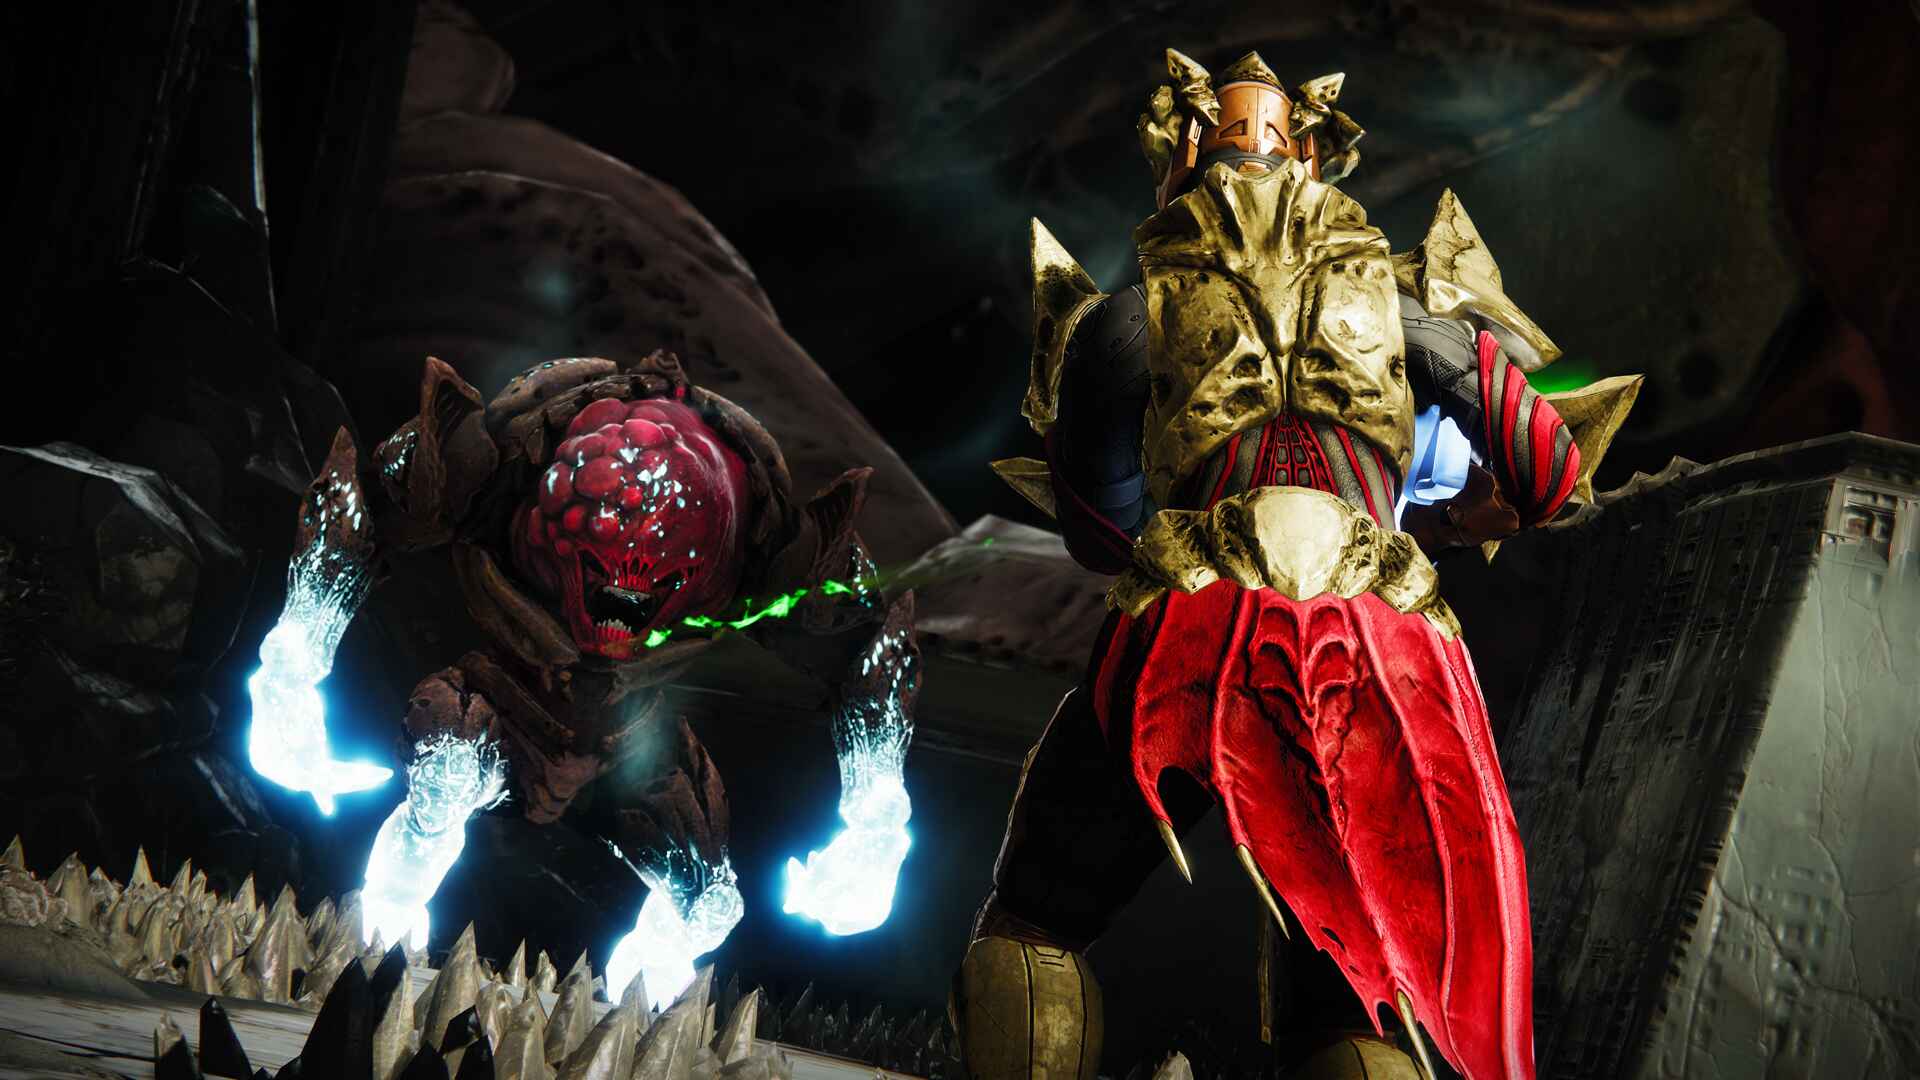 It is crucial that you eliminate these ogres quickly, as close to
the corners where they spawn as you can, followed by their
Knights.
It is crucial that you eliminate these ogres quickly, as close to
the corners where they spawn as you can, followed by their
Knights.
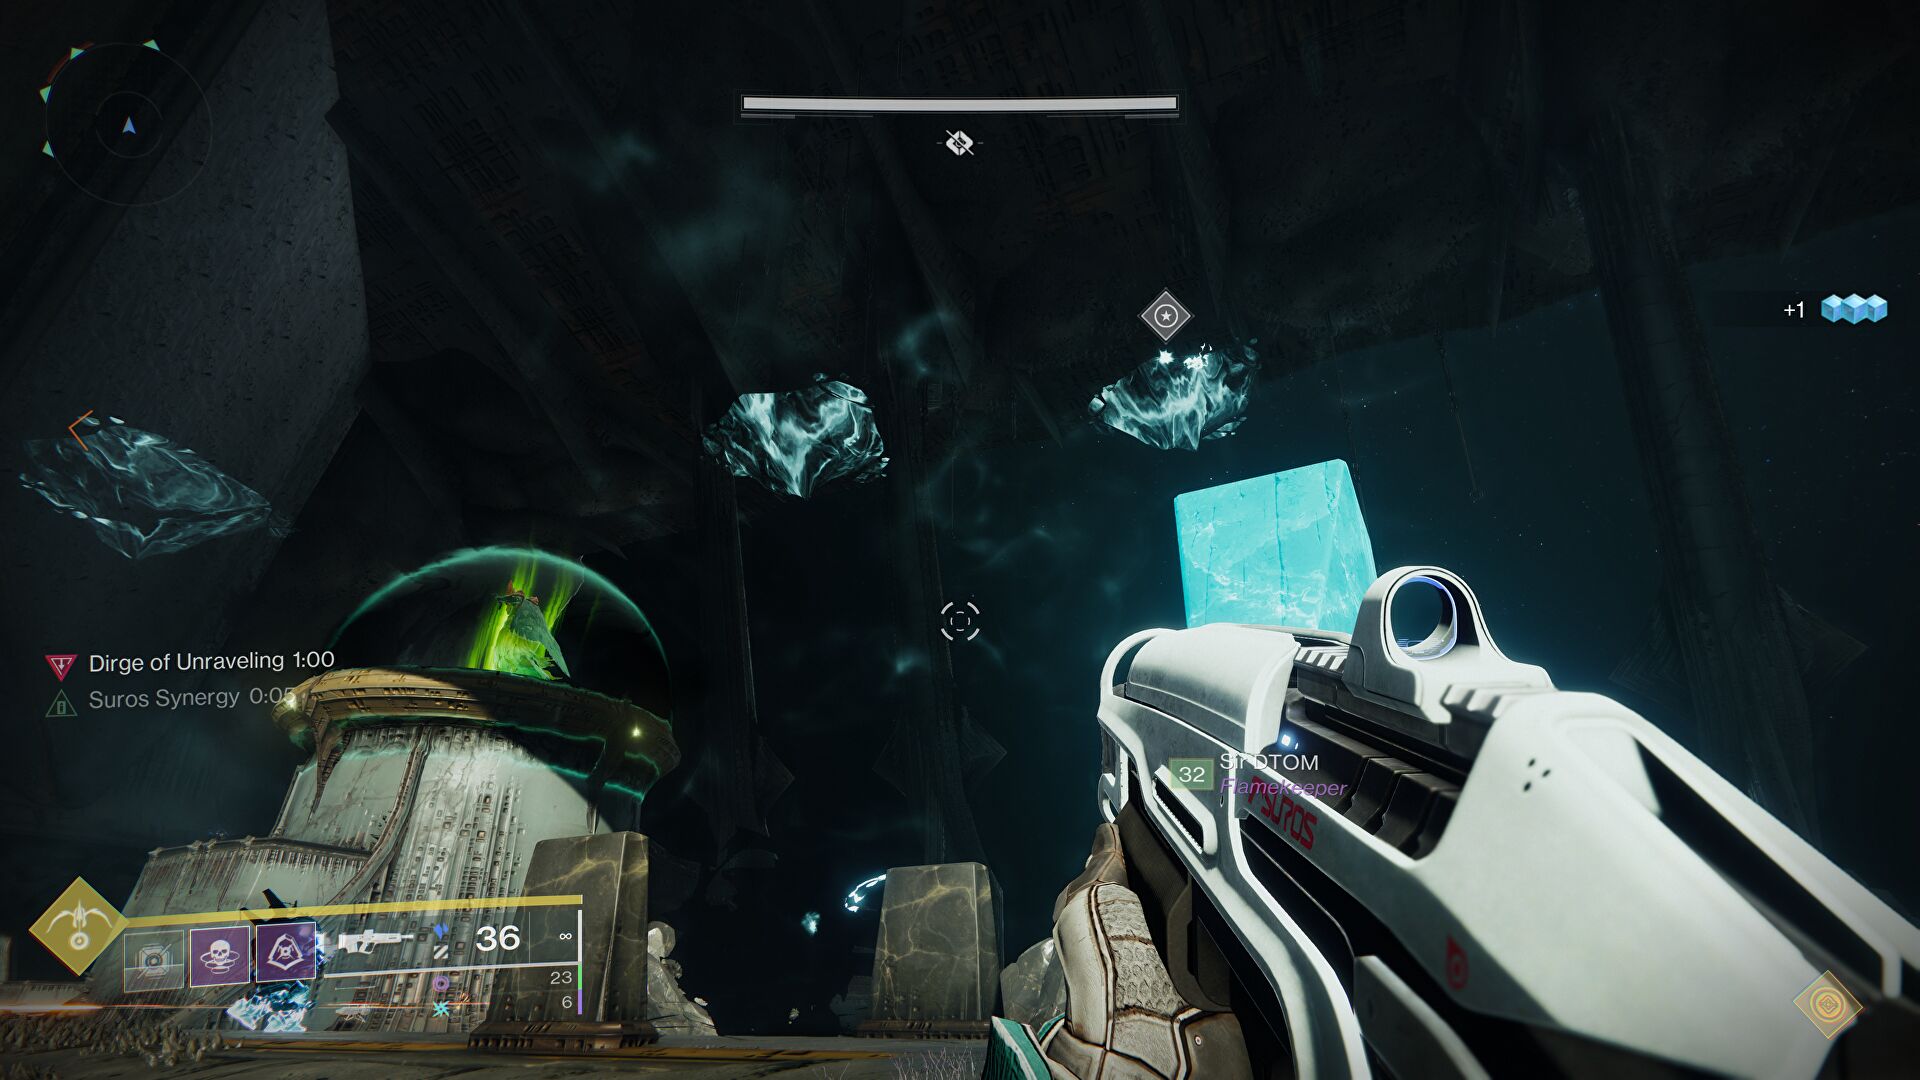
How to DPS Oryx
The Runner will gather at the arena's center once the Aura of Immortality has been taken and all of the Knights have died. The 4 Plate Duty guardians will standby next to their designated blights. Once Oryx strikes his fist against one of the plates, everyone must enter the bomb at their designated. They must remain there until a flavour text on the bottom left of the screen says, "(Guardian Name) has detonated a Corrupted Light".
All players will return to the center and seek refuge in the Aura of Immortality as soon as a guardian sees their name. All of the blights will explode and stun Oryx, killing any players outside the Aura. When Oryx is stunned, his chest will open up to reveal a significant crit area for DPS. DPS him with all of your might. The phase ends when his chest closes.
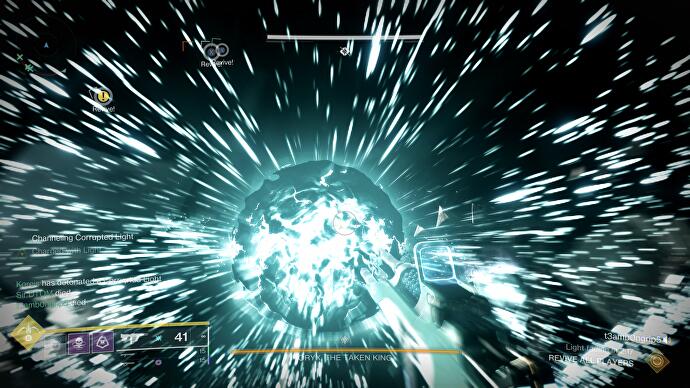 Step into the designated Blight when you see the message "Oryx
calls upon the Darkness." Leave the Blight and get to the aura as
soon as you see a message with your name on it so you can survive
the bomb's blast.
Step into the designated Blight when you see the message "Oryx
calls upon the Darkness." Leave the Blight and get to the aura as
soon as you see a message with your name on it so you can survive
the bomb's blast.
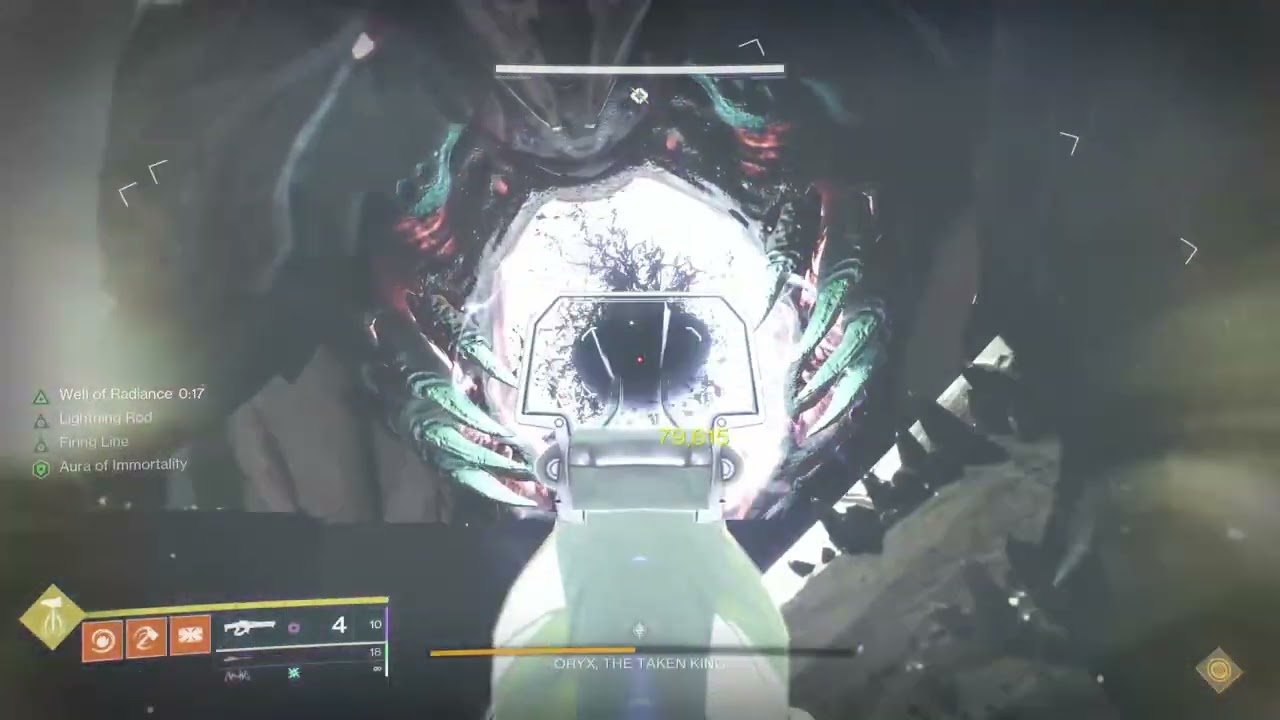 DPS Oryx while he is stunned. LFRs are the best option.
At the end of a DPS phase, Oryx will do one of two things:
- Start lauching bombs.
- Summon a big taken blight.
If he starts lauching bombs towards the players, everyone must start fleeing in order to avoid the blasts. While the two floaters run in the middle or on each end of the arena, those with allocated plates should sprint circles around their plates. The orb collection phase resumes after the bombing ceases.
Tip: You can tell he is doing this attack when taken knights spawn on all 4 plates, killing these 4 knights will end his attack immediately, so kill them asap.
If he summons a blight to the area's front, he will begin teleporting players inside of it one at a time. There is a Shade of Oryx within. The party will be eliminated if you take too long to slay the Shade. Everyone returns when the Shade is killed, and the cycle repeats.
Tip: The Shade of Oryx will keep teleporting around the edges of the blight. Titan hammers can stun him, preventing him from teleporting and allowing guardians to kill him faster.
Final Stand
Oryx will enter the final stand once he is left with the final portion of his health bar. One person should be designated as the bomber, while the rest should be DPS. Ogres will spawn close to the R1 plate and Oryx will move to the front of the arena. When you kill it, another Ogre will appear next to the L1 plate. The bomber will blow the bomb at R1 as soon as the ogre dies, rendering Oryx vulnerable to damage and preventing him from summoning the darkness and destroying the party.
Everyone will immediately begin dealing as much DPS as they can. He will eventually make another effort to summon the Darkness. The L1 bomb will be detonated by the Bomber to stop this. Keep your attention on bringing his health to 0 to win the battle.
Now take in the show of the Taken King being launched into outer space.
Encounter Triumph:
Overwhelming Power - Complete the Oryx encounter by detonating enough bombs to trigger the last stand in the same round.
Challenge Mode:
Hands Off - You cannot kill the same Light-Eater Ogre or Light-Eater Knight more than once.
Master Difficulty:
- Overloads Taken Hobgoblins replace Taken Knights on platforms.
- Arc shields on Light-Eater Knights and the Vessel of Oryx.
- Void shields on Taken Acolytes.