
Pit of Heresy Guide
Done by: Vedallion#7774 | Jan 25th 2023
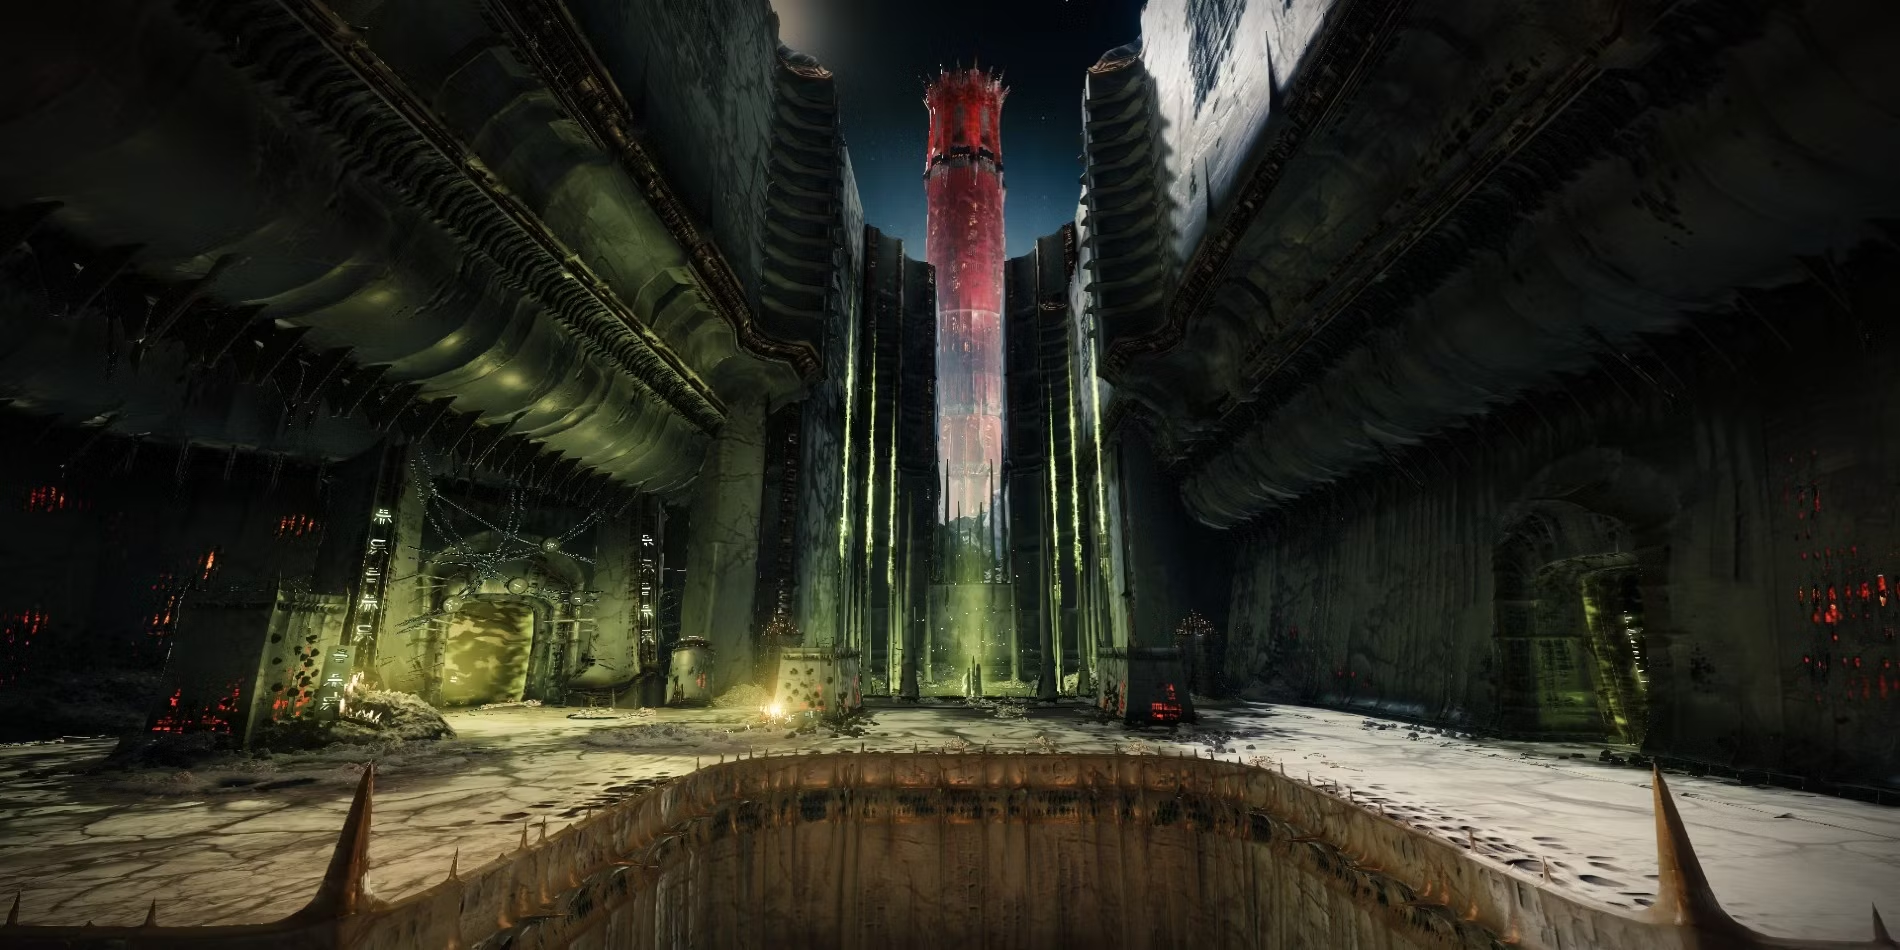
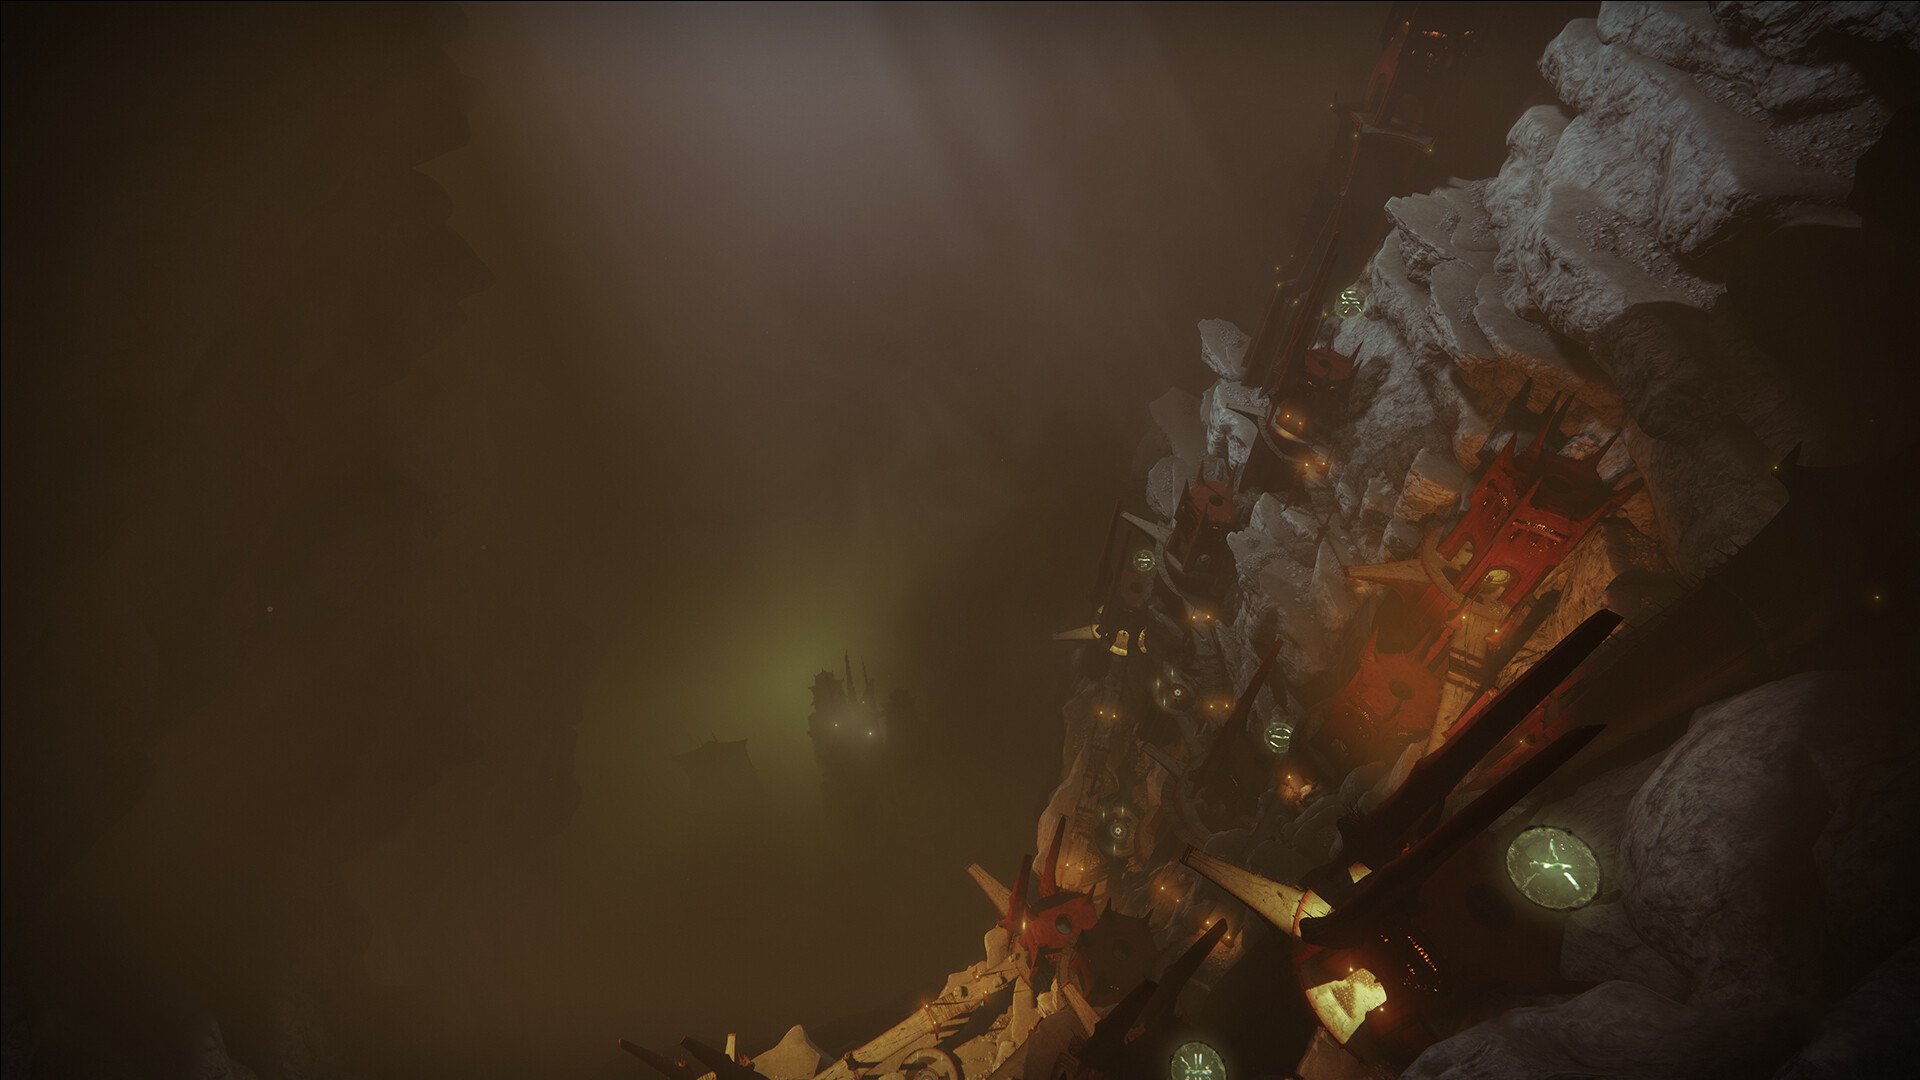
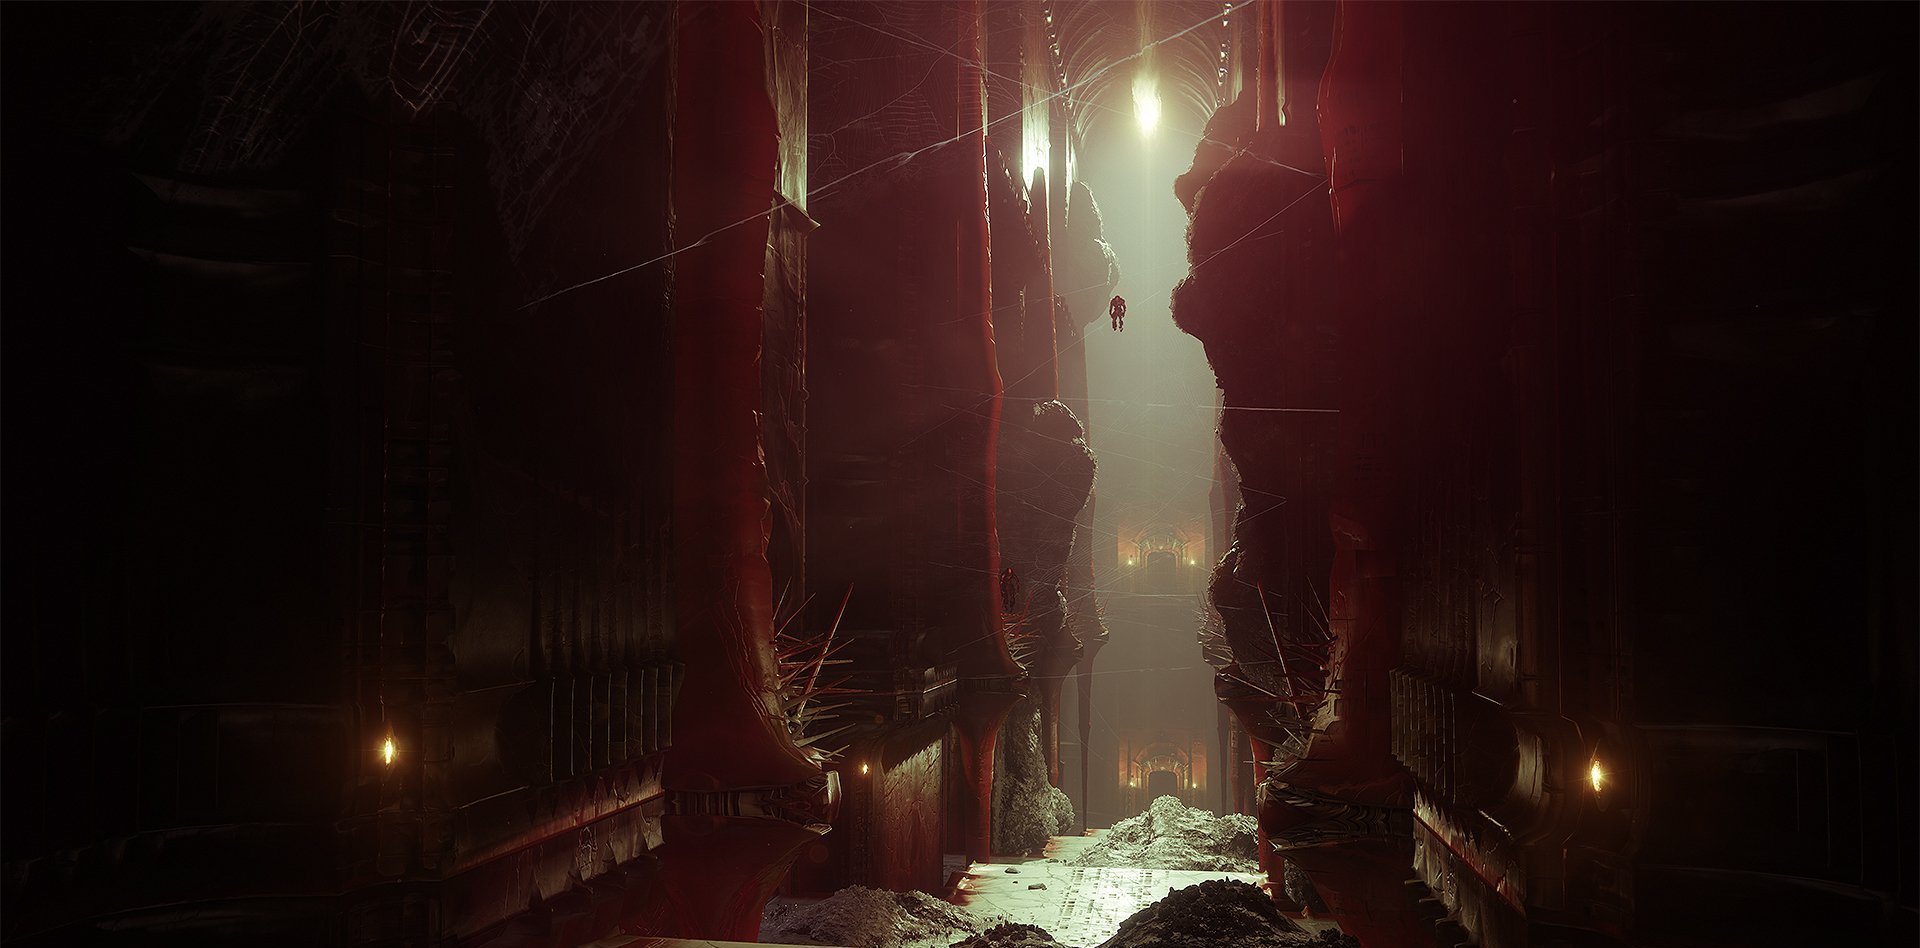
Sorrow's Harbour
The Hive-themed dungeon in Destiny 2 is called The Pit of Heresy. The newest three-person game requires participants to descend to the Moon's interior and vanquish an ancient evil. There are several encounters, each with distinct mechanics that build on the others and end in the boss battle. Although a flawless solo is achievable, most players are undoubtedly more concerned with learning how to clear the dungeon first.
Necropolis
The Necropolis is the location of the first encounter in the Pit of Heresy dungeon. This enormous, city-like building is perched on a rock. It only takes a little bit of running around to grasp this encounter:
- Enter a chamber and study the symbols on the chain there.
- Find these three symbols as massive holograms outside.
- Vanquish the minibosses in each of these three chambers.
Each miniboss may only be damaged with a Hive Relic sword. The enormous Knights scouring the region drop these swords. Be cautious that occasionally an Ogre is accompanying these Knights. Three separate strikes may be made with the Relic sword: a light strike, a heavy strike that fires an energy blast, and a shield that blocks blows. To damage the miniboss, utilize each of the following moves:
- Use the light strike to defeat the Knight.
- Use the ranged heavy assault to defeat the Wizard.
- Use the guard to reflect projectiles back at the Shrieker.
Each of the chains will break after all three minibosses have been eliminated, allowing you to go on to the next location. Look for the light beam that directs you onward as soon as you leave the current chamber.
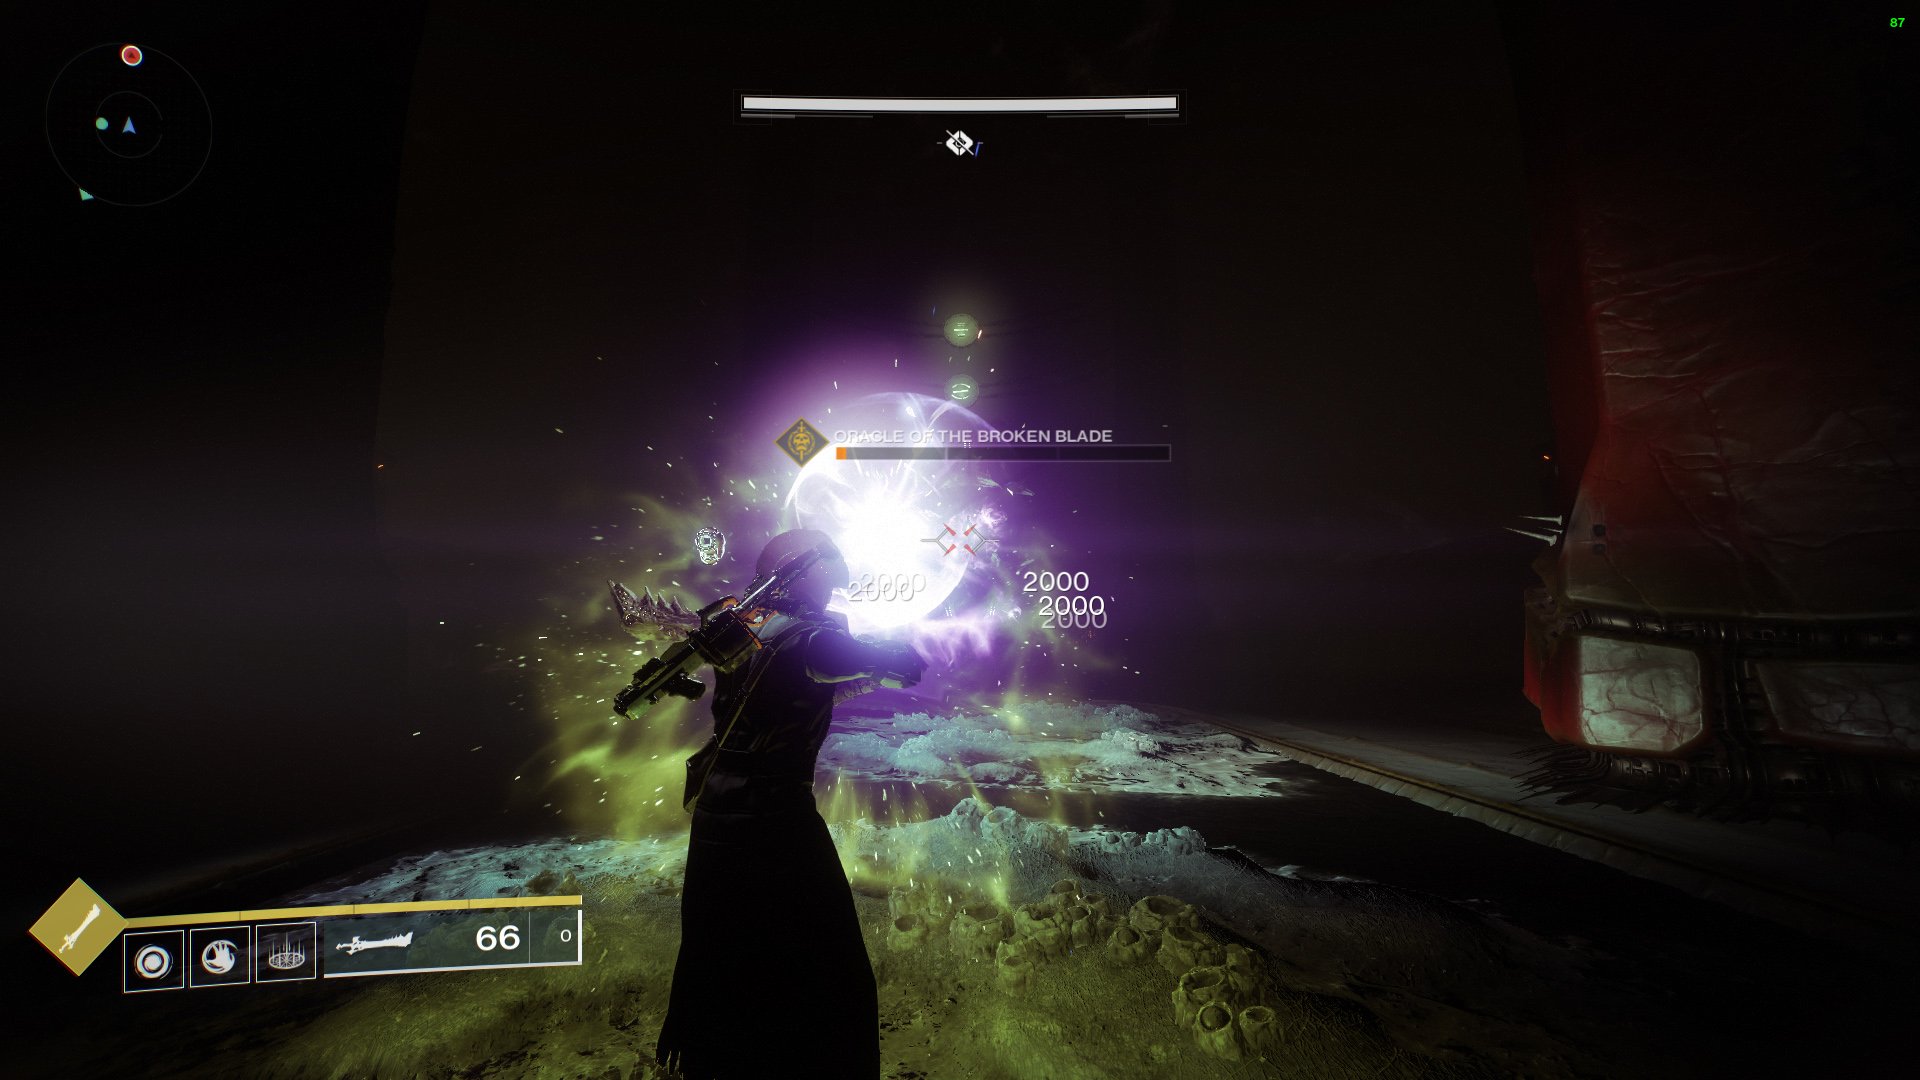 Three Broken Blade minibosses exist, each with a distinctive
symbol. Take the sword, find them in their chambers, and slay them
all.
Three Broken Blade minibosses exist, each with a distinctive
symbol. Take the sword, find them in their chambers, and slay them
all.
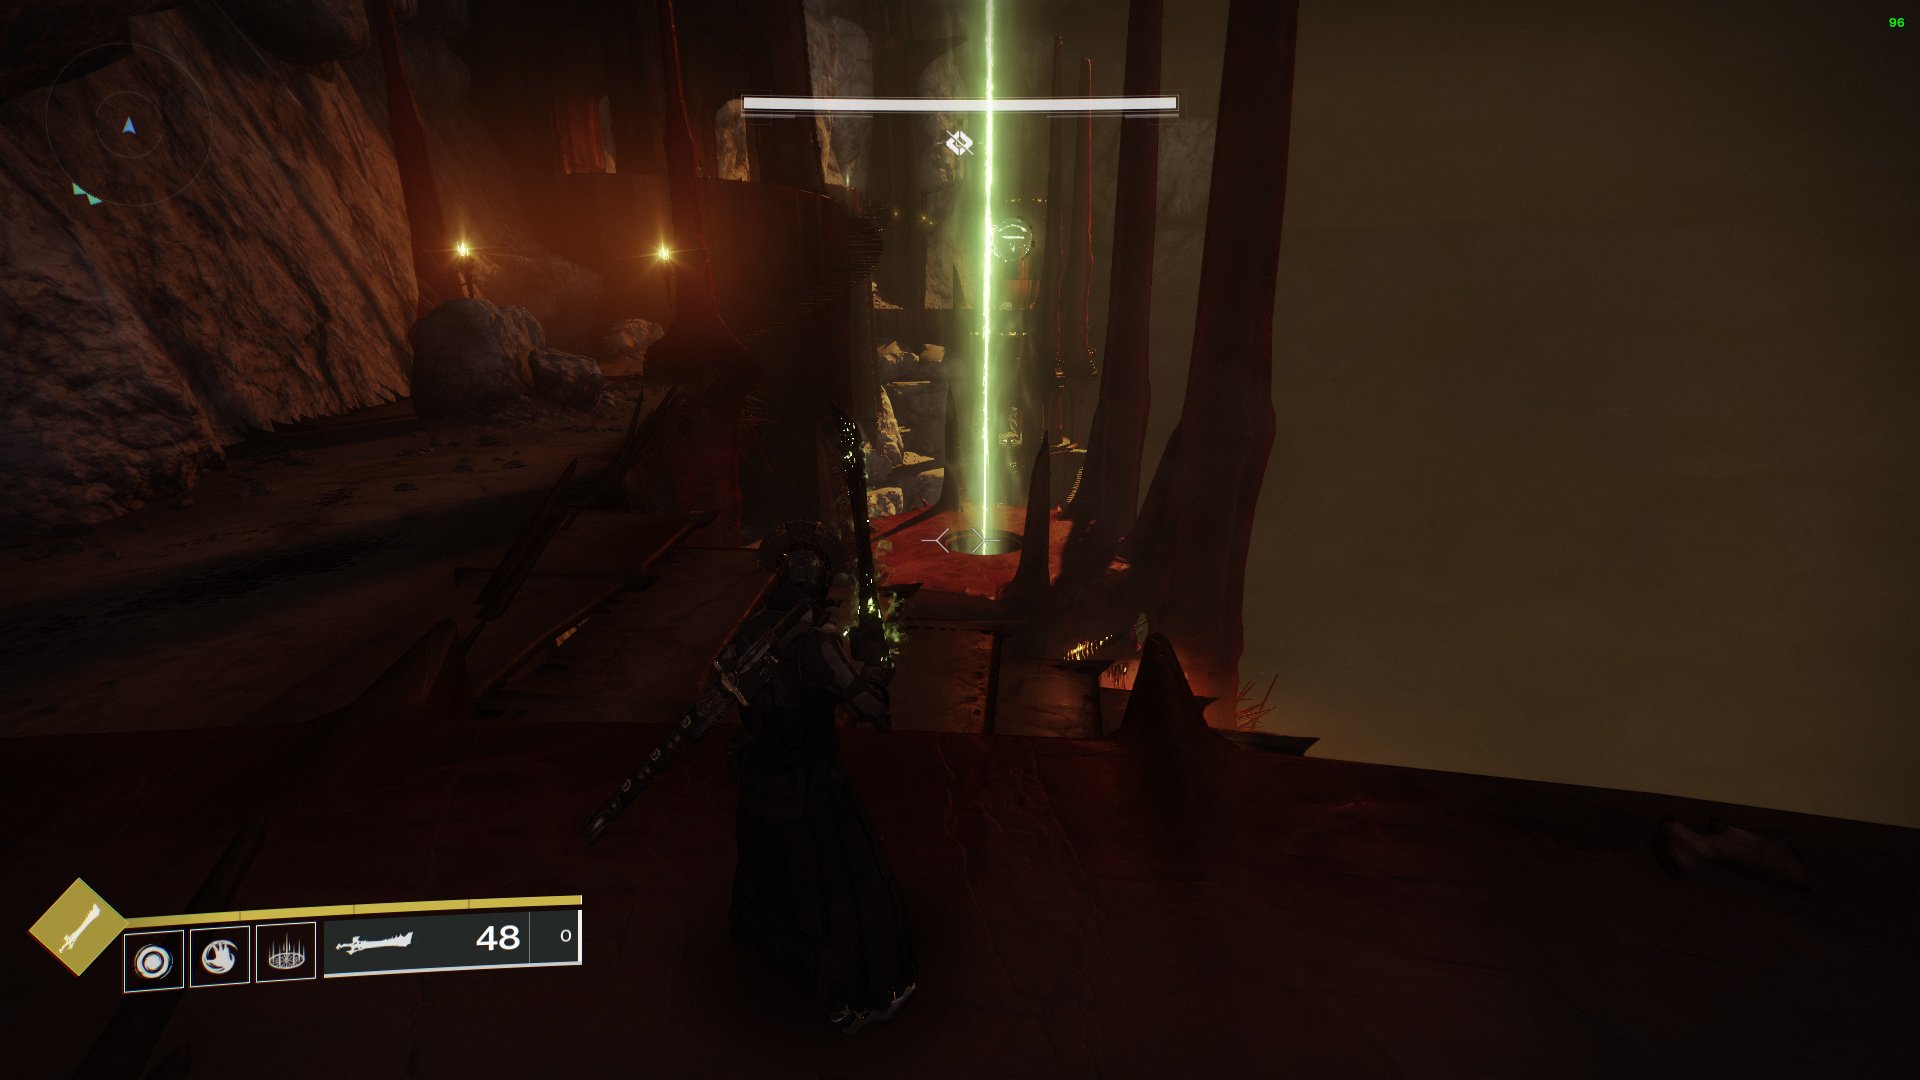 You can exit the first encounter in the Pit of Heresy by
following the green light.
You can exit the first encounter in the Pit of Heresy by
following the green light.
The Wall Of Doors
Players will enter a chamber with several entrances as they move forward. There is a trap door in almost every doorway that will launch gamers off the map. Players should search for a small opening in the wall that is immediately to the right of the platform in the chamber rather than attempting to enter through the doors.
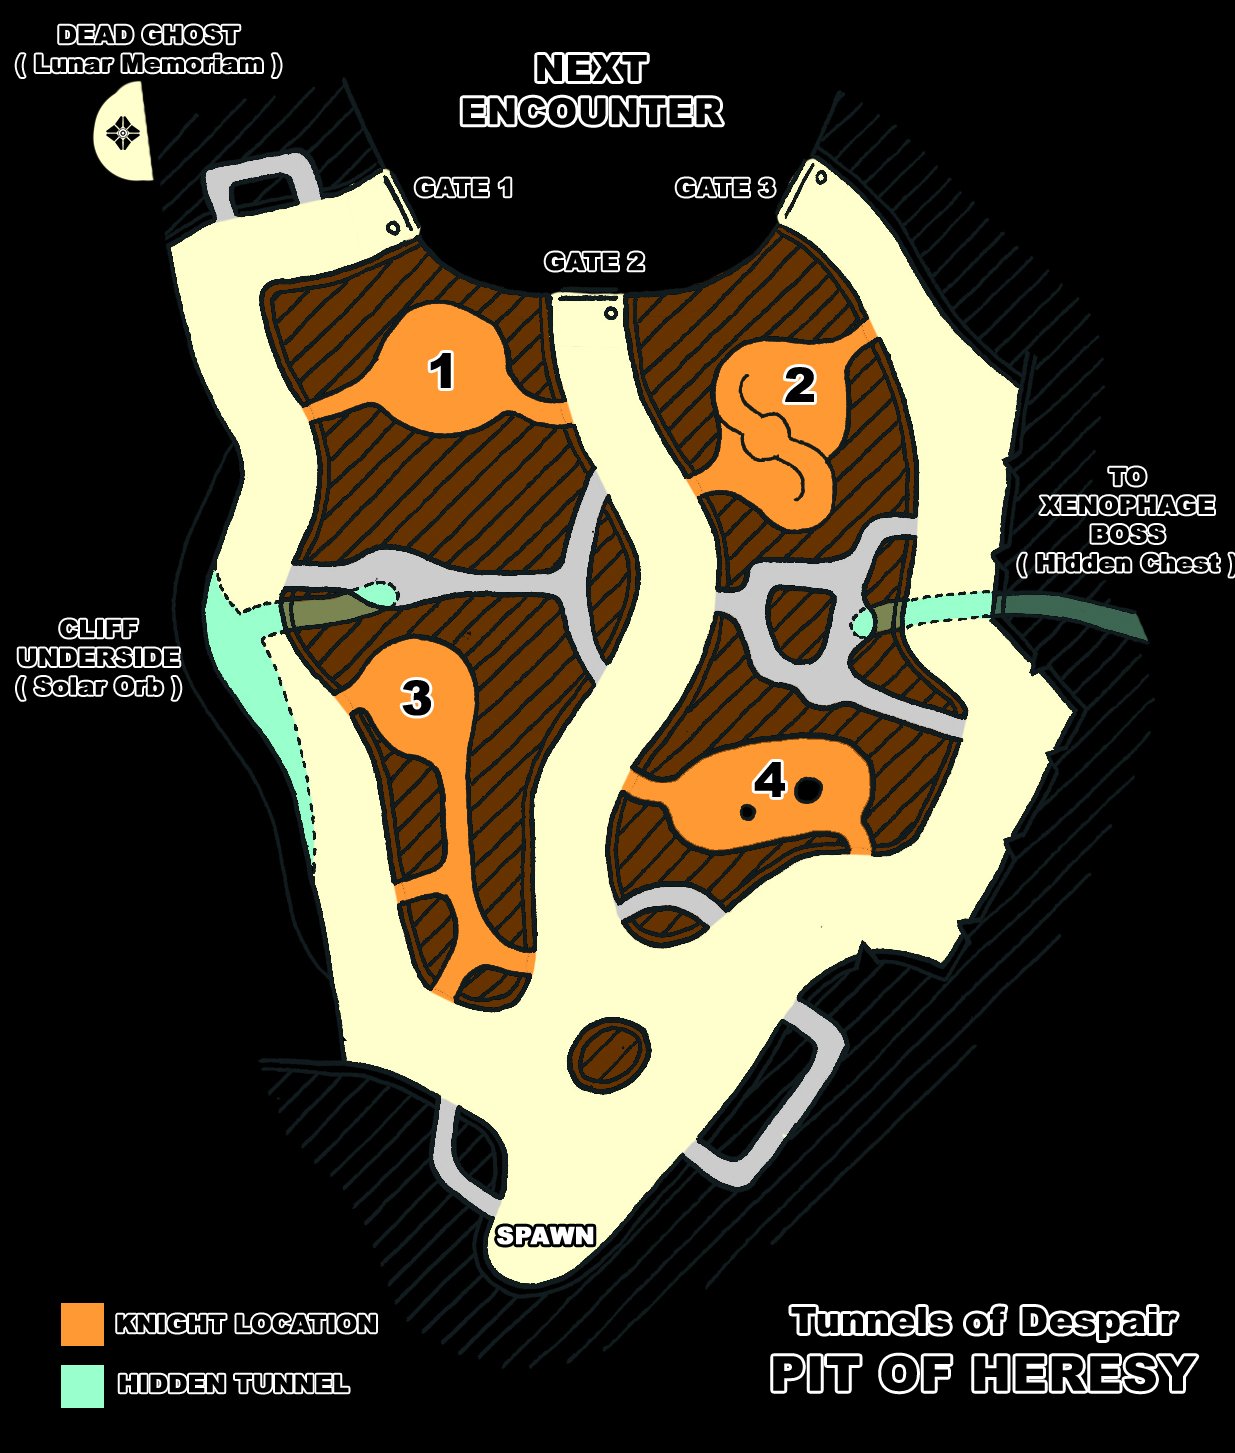
Tunnels of Despair
In the Tunnels of Despair encounter, players must dash through tiny caverns while taking down Knights and using orbs to open doors. This area is also where players will need to divert from the main objective for the Xenophage exotic quest. This encounter is completed in the following steps:
- By shooting off the webbing in your path, you can enter the caverns.
- Defeat the Heretical Knights in the caverns and grab its orb.
- Dunk each orb at each of the 3 barriers around the map.
While grabbing the orbs from the Knights and killing them is simple enough, dodging the Harrowing Pariah Ogres is a challenge. These three ogres are invulnerable, do a lot of damage, and patrol the major tunnels. You'll have to lure them away from your fireteam or sneak past them. The Ogres patrol tunnels that have barriers at the end of each one. To enter the next encounter, destroy each of the three barriers.

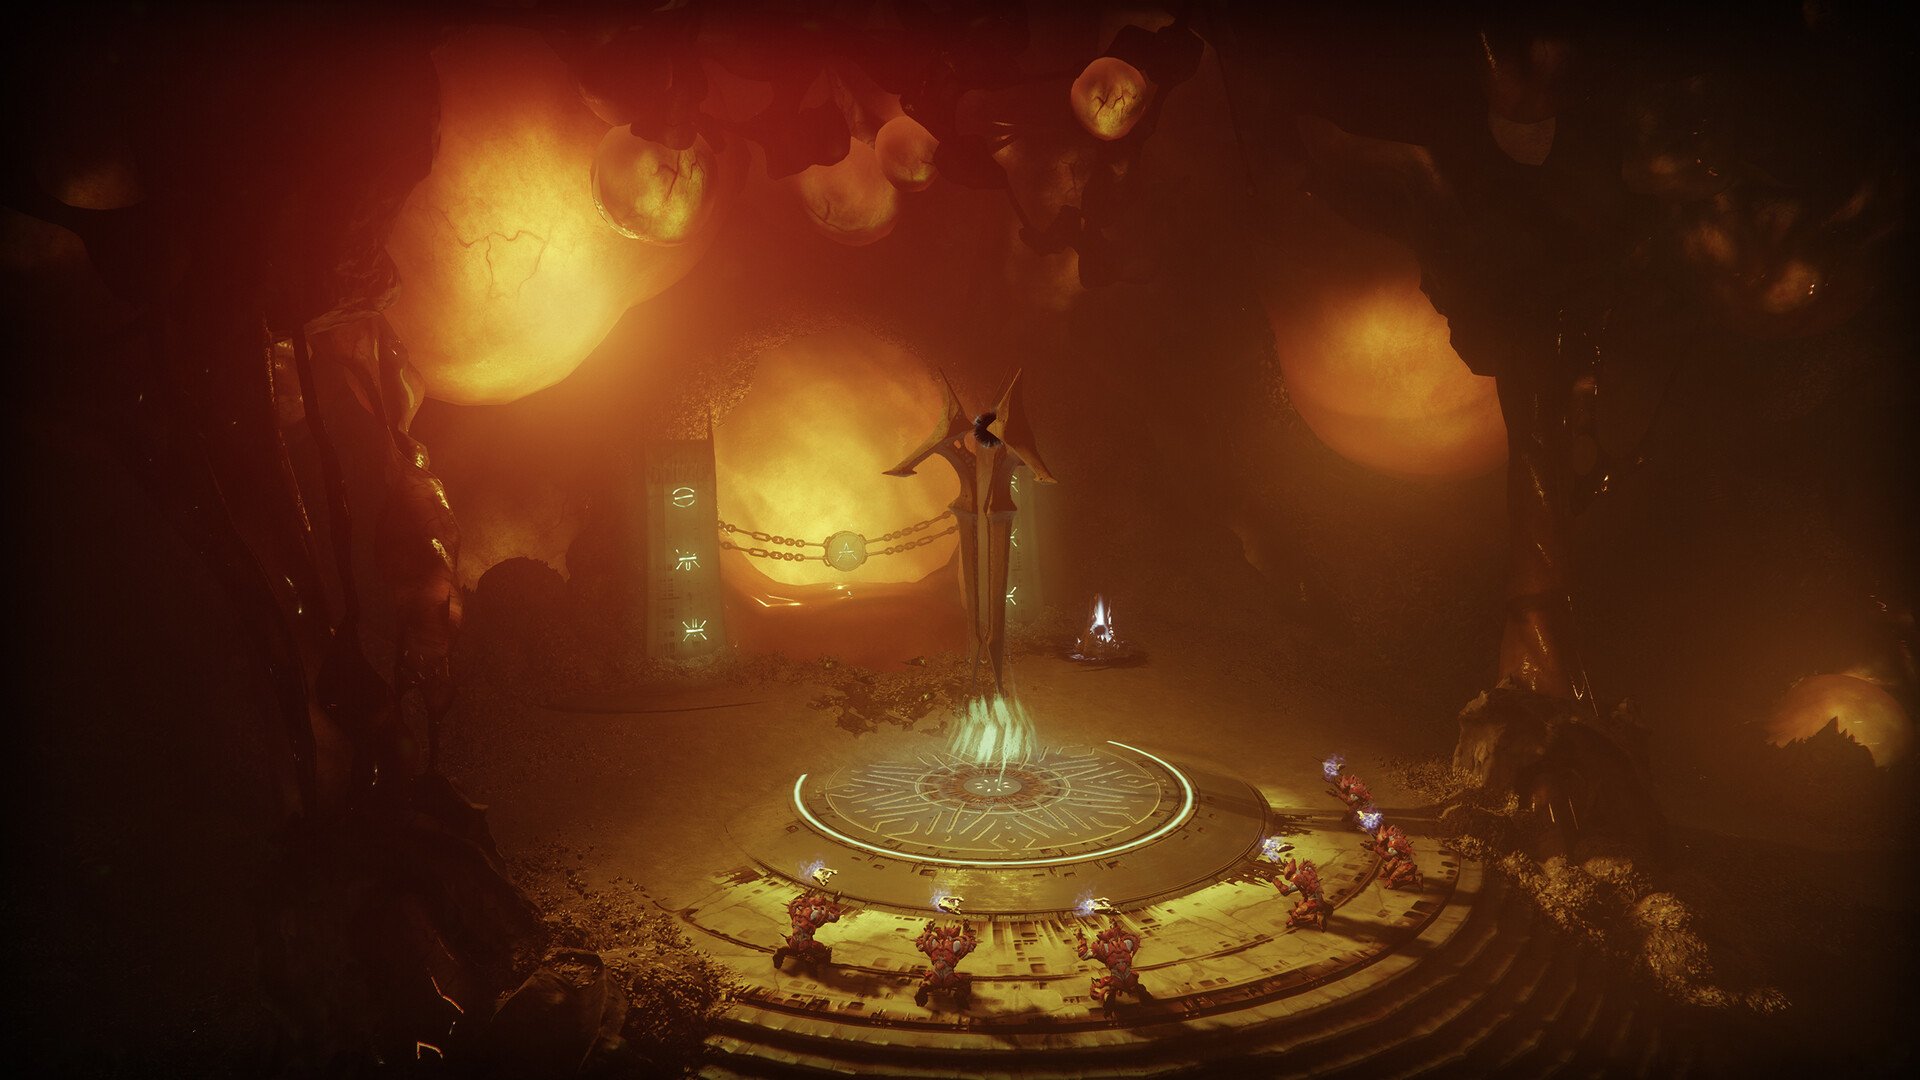
Chamber of Suffering
The first "increase" in difficulty is probably going to be the confrontation in the Chamber of Suffering. Speed is key in this encounter since the longer you remain, the more damage you will receive. The actual workings are rather straightforward:
- To stop the Annihilator Totem from killing your squad, stand on the plate underneath it.
- Defeat the spawning Heretical Knights and grab their orbs.
- The door behind the Annihilator Totem may be destroyed by dunking six orbs.
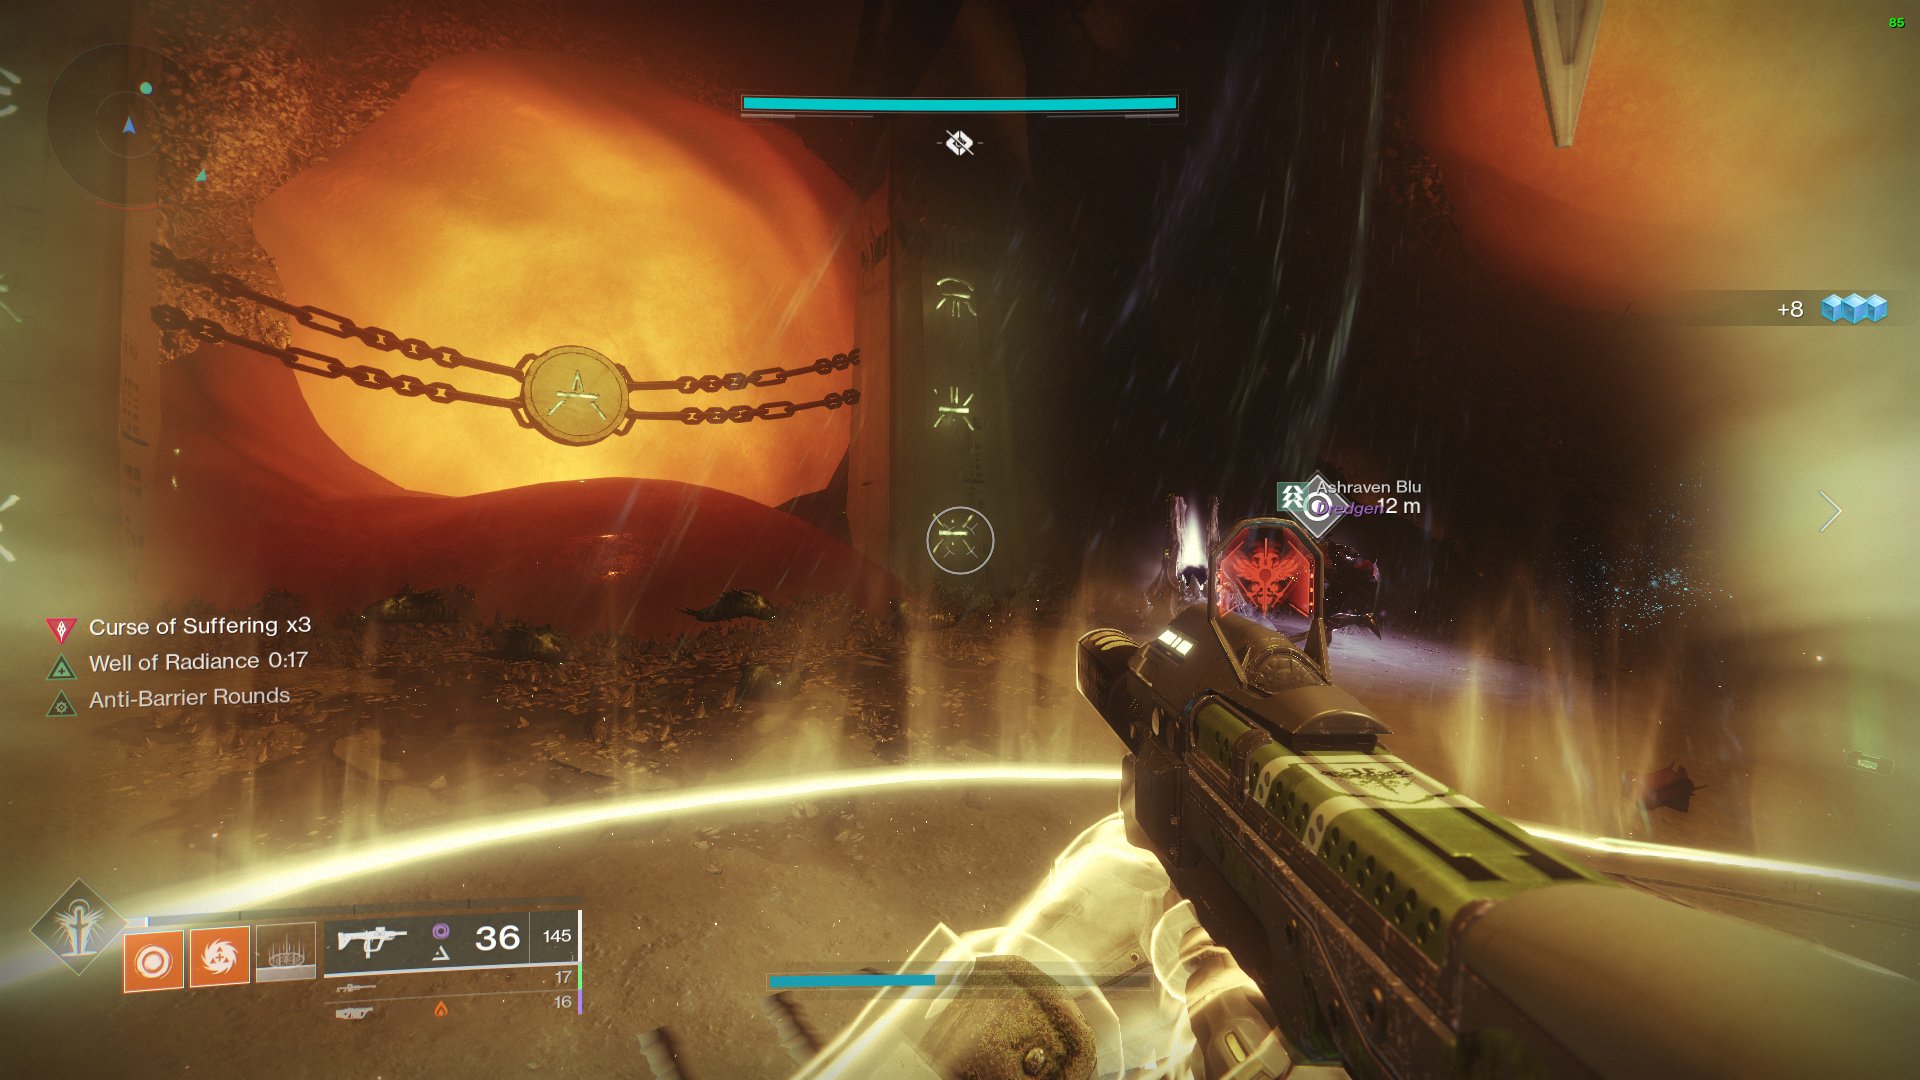
Although killing the Knights and other opponents isn't difficult, the difficulty comes from needing to remain still and attract their attention. In addition, a Warlock's Well of Radiance providing additional health can help the player on the Annihilator Totem kill enemies.
Knights spawn on top as you progress through the fight. You need to instantly concentrate fire on them because these Knights are going to bombard the plate. To get rid of any extra enemies, make use of your super abilities.
Time is of the importance. The Curse of Suffering debuff will stack up on you more quickly the longer you remain. The amount of damage your adversaries will inflict on you increases with each stack. At 5x Curse of Suffering, the majority of opponents will be able to one-shot you. Once you have dunked 6 orbs the encounter will end, stating the flavour text "The suffering has ended".
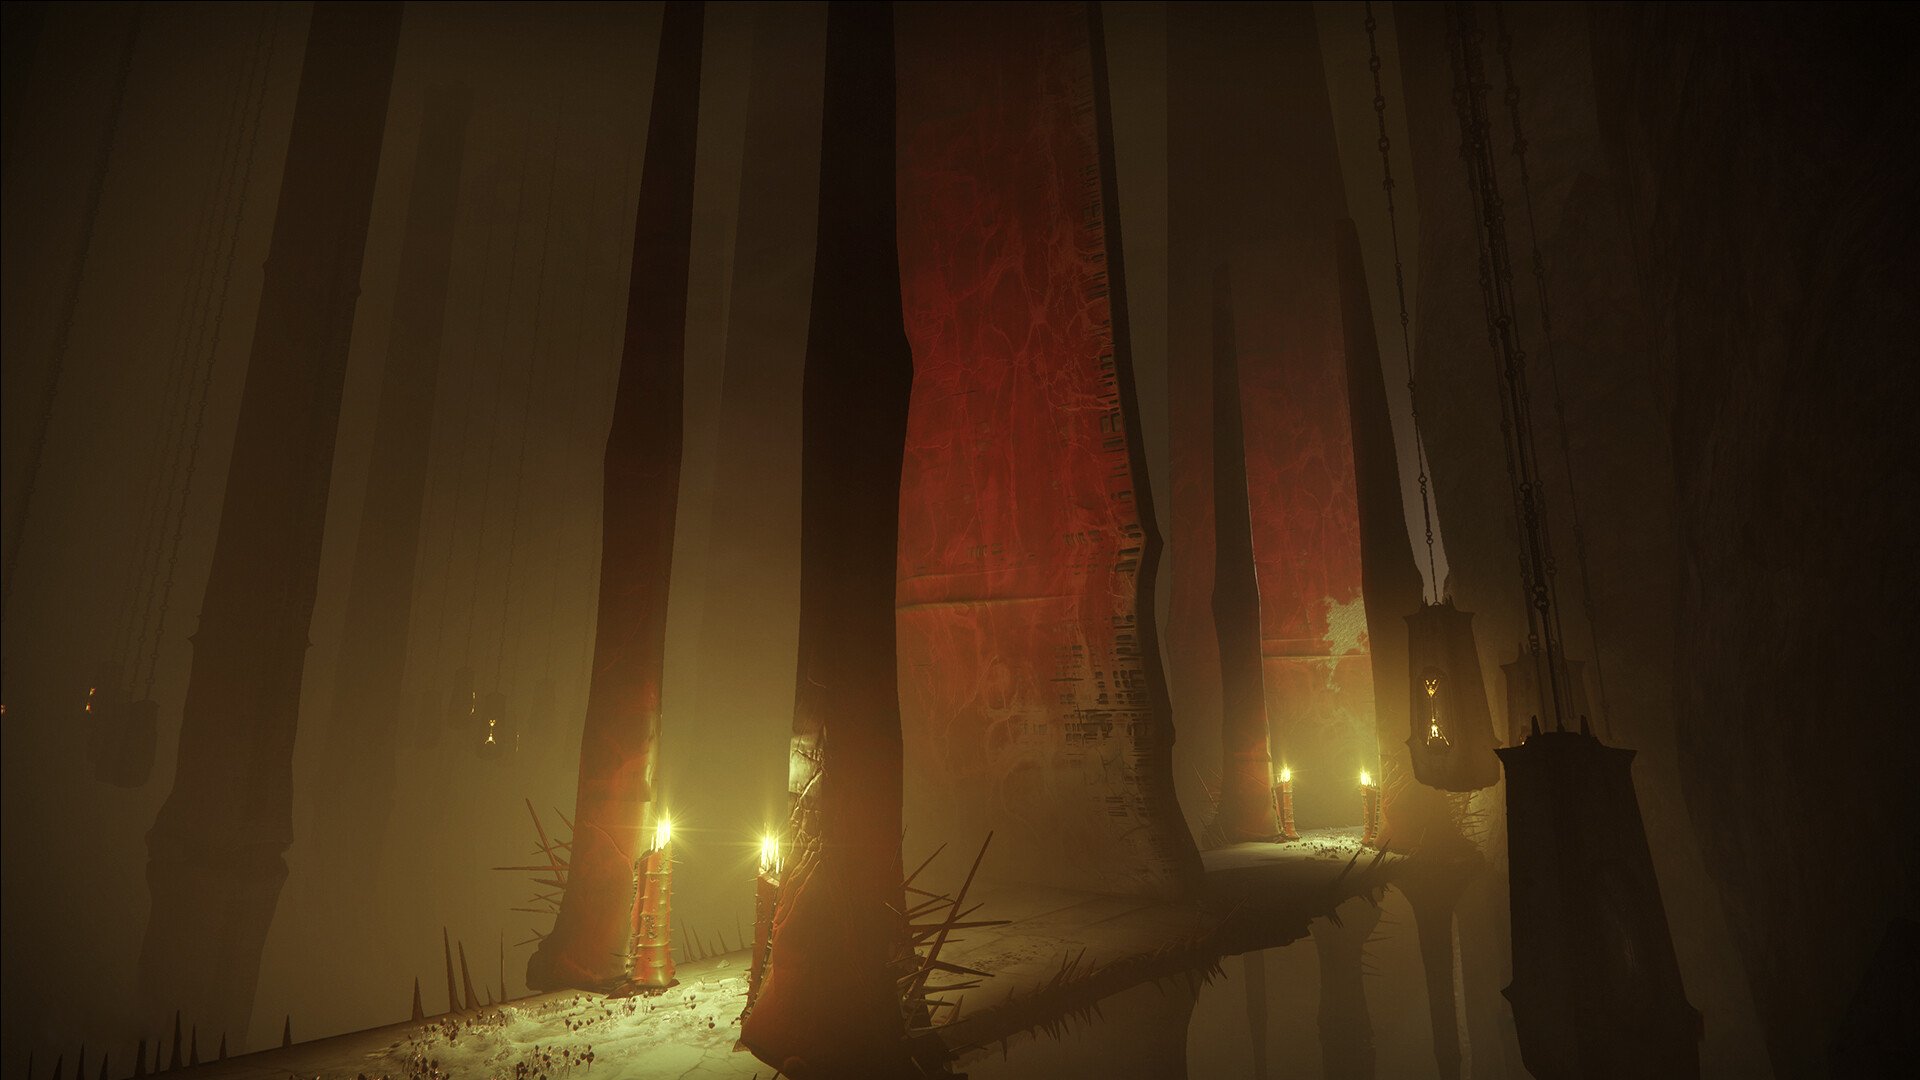
The Harrow
Similar to the previous encounter in the Necropolis, you must battle the enemies you come across while searching for particular symbols across the map.
- Find the three symbols displayed at the area's entrance.
- Find these symbols around the labyrinth.
- Defeat the Malevolent Ritualist Wizard near the symbol to break the lock.
- Break all three locks to complete the encounter.
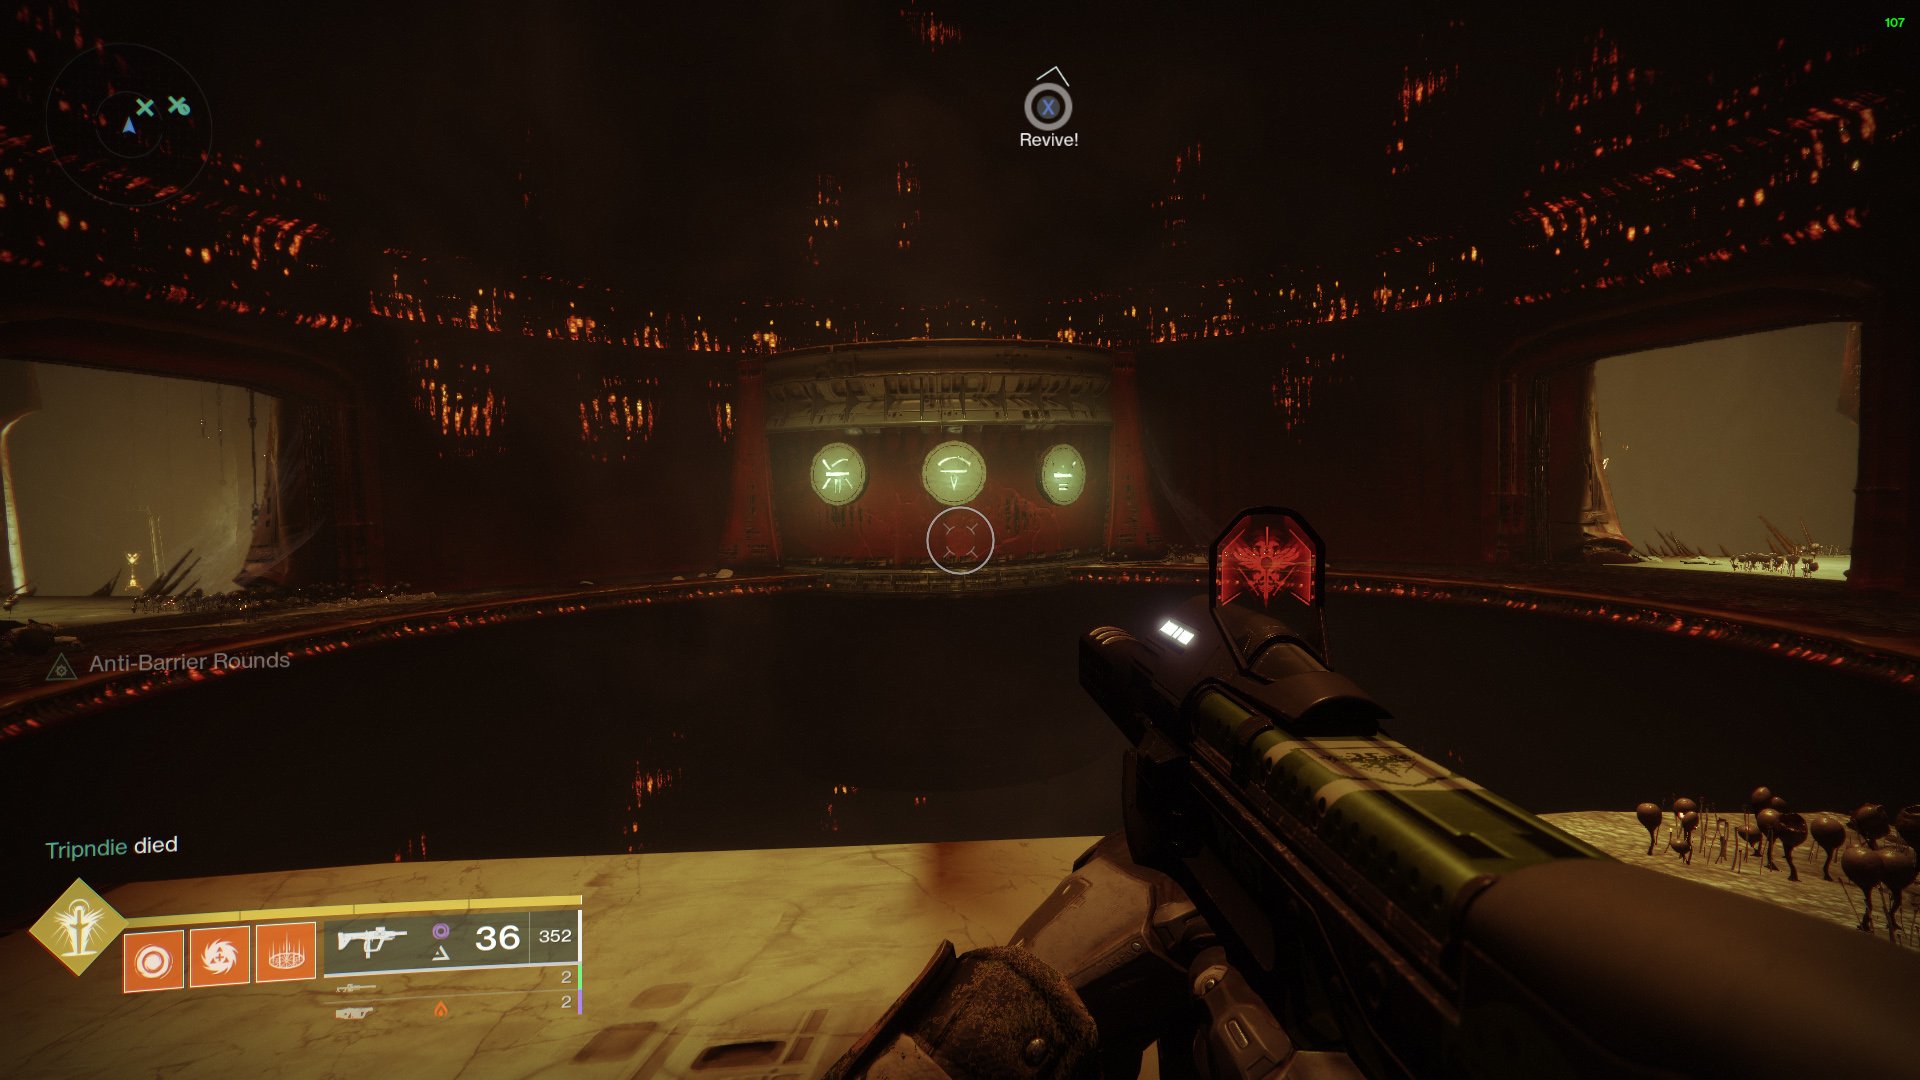
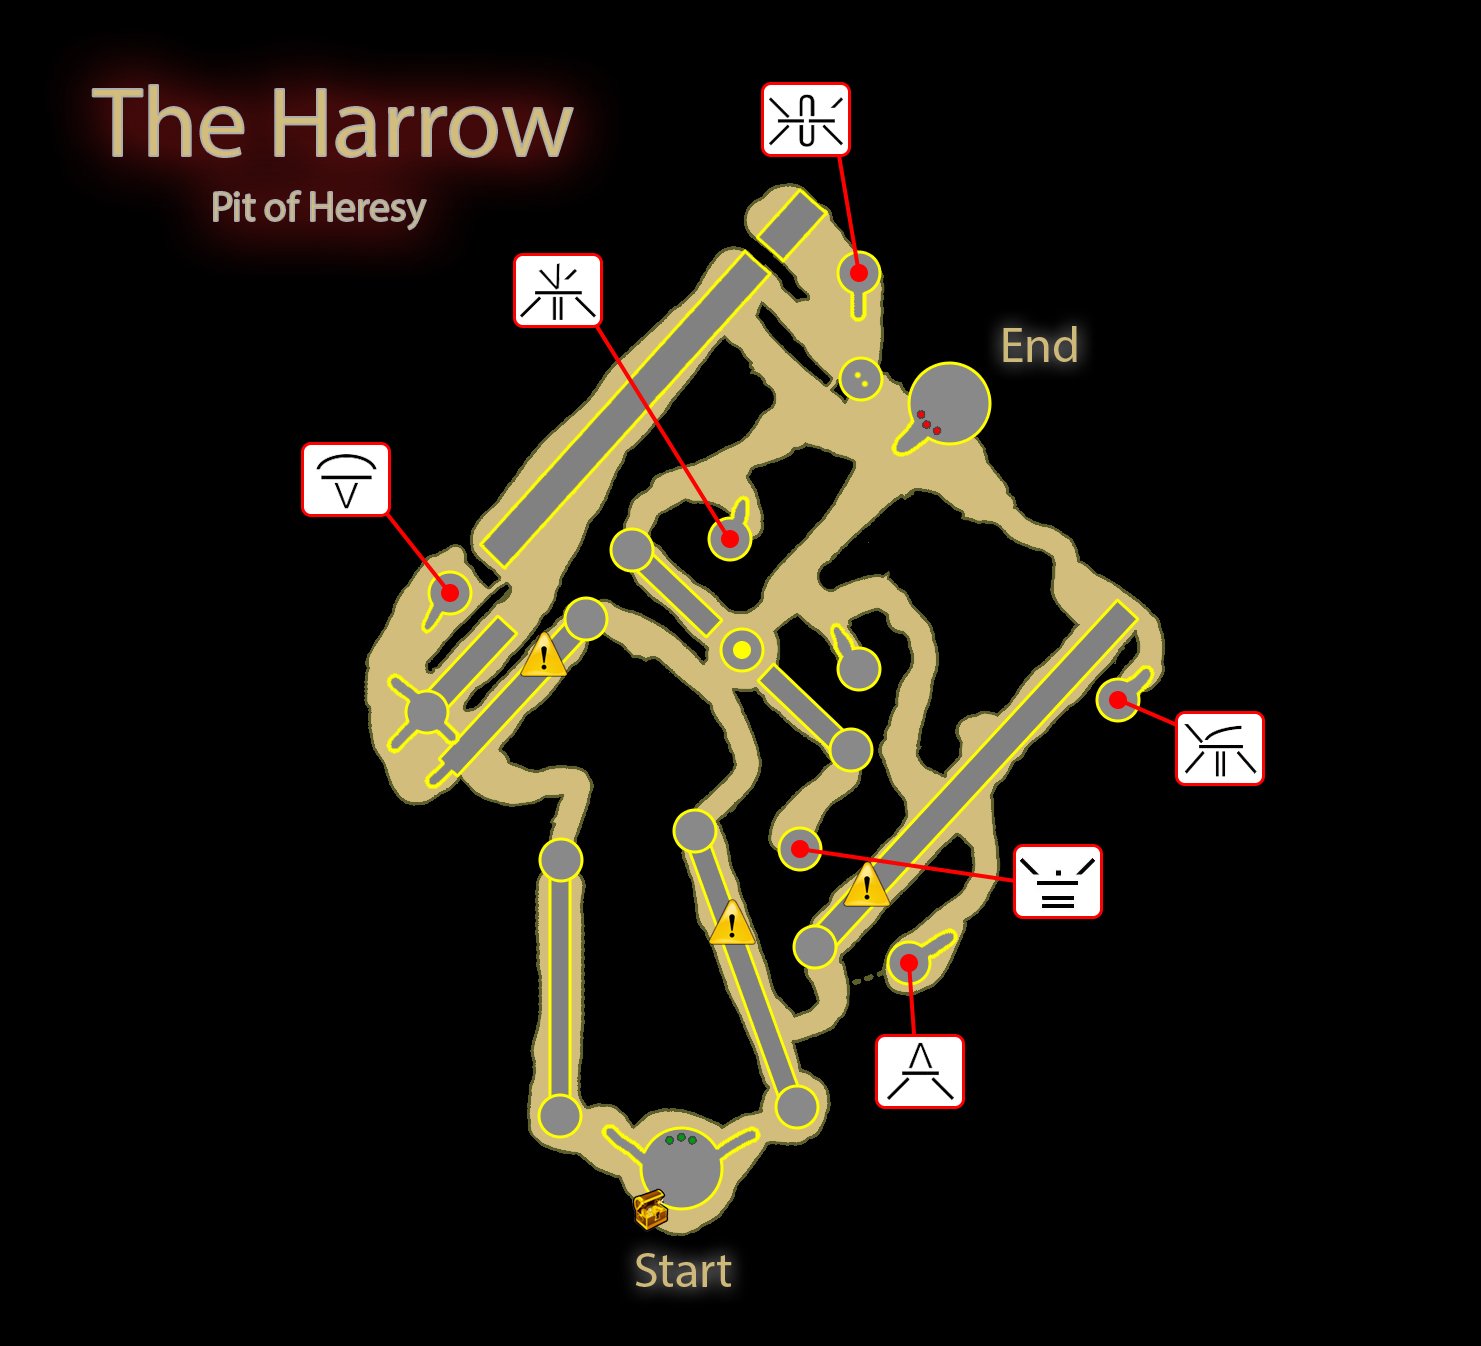
Three symbols are fixed to the side of the wall as you enter the area. You need to locate these three symbols in The Harrow. The actual difficulty of The Harrow lies in dodging the maze of traps without dying. The Wizards should also be avoided since they have a high damage output.
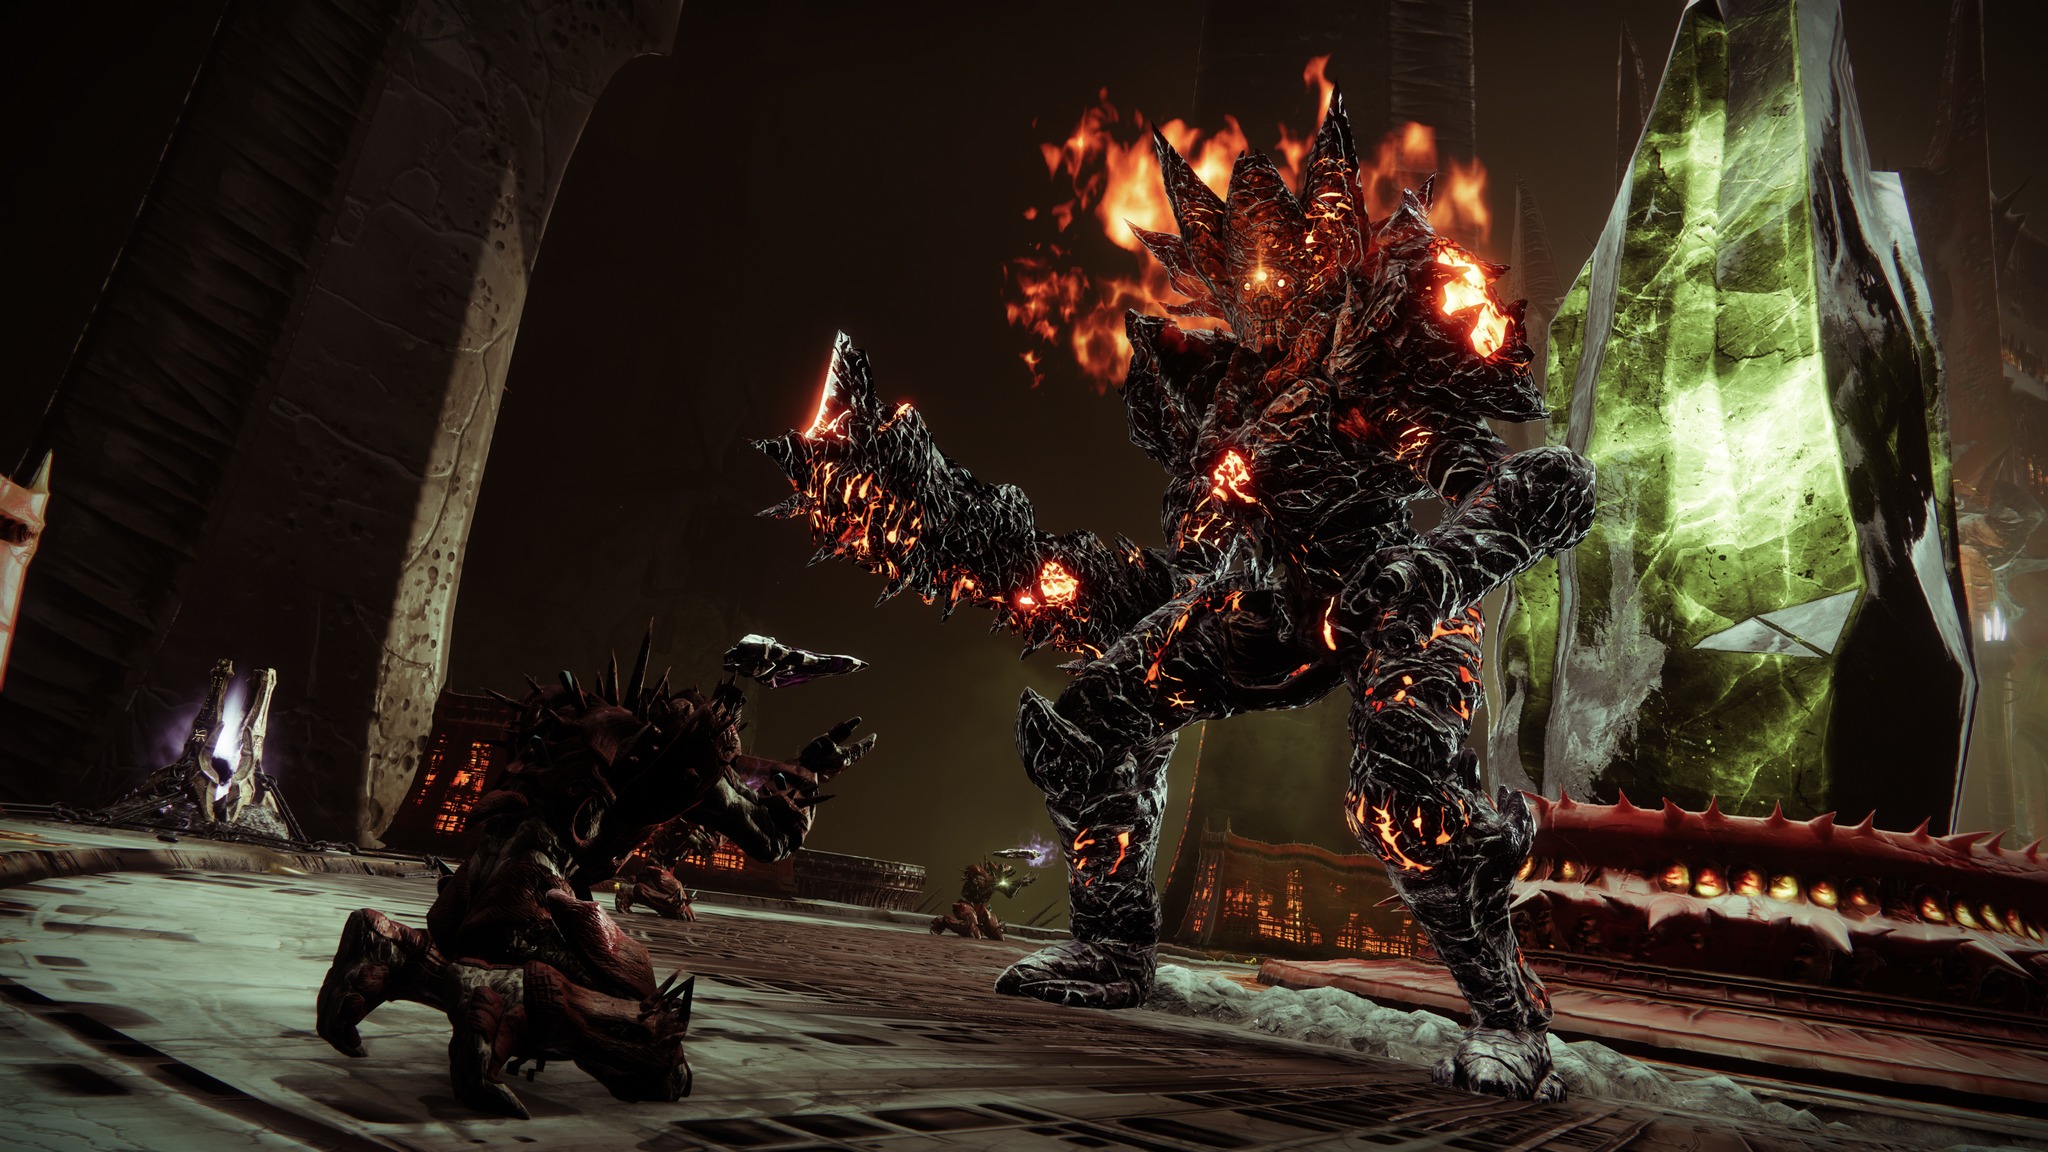
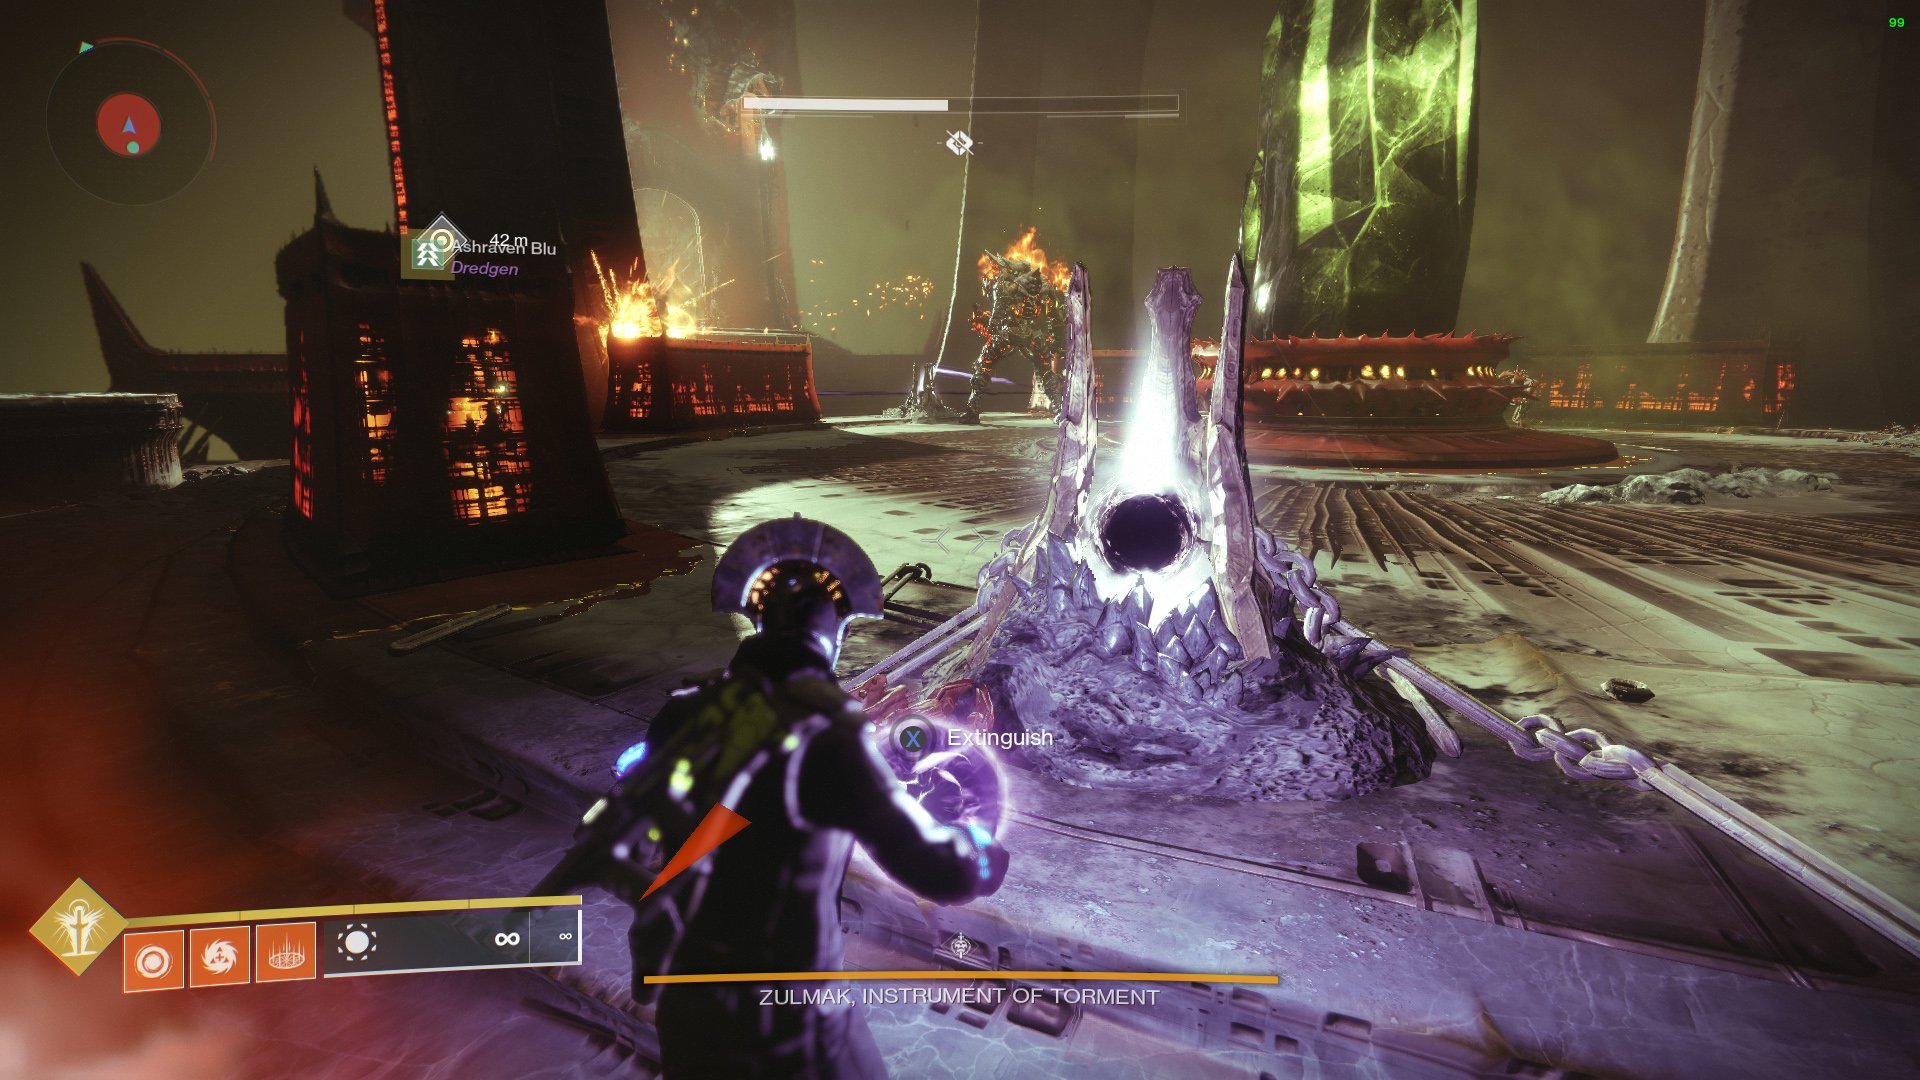
Zulmak, Instrument of Torment
The Pit of Heresy dungeon's final room is called the Cradle of Damnation. Fighting Zulmak, the Instrument of Torment, is the objective of this encounter.
To complete this encounter, you must utilize all you've learned thus far:
- Take the relic swords from defeating the Knights in the middle.
- Use the swords to destroy the three outside minibosses (Knight, Wizard, Shrieker).
- Ignite the pedestal by dunking the three orbs to the middle.
- DPS Zulmak while you are standing in the middle location.
- Leave the area once Zulmak kneels to charge the crystal.
Much like the first encounter, start the fight against Zulmak by defeating a Knight and taking his sword. Use this sword to defeat one of the minibosses in the towers around the arena. You must use the correct sword move to defeat it:
- Use the light strike to defeat the Knight.
- Use the ranged heavy assault to defeat the Wizard.
- Use the guard to reflect projectiles back at the Shrieker.
When the miniboss is defeated, take the orb and use it to ignite the pedestal in the center. Once all three orbs have been dunked, the damage phase will begin.
Zulmak can only be damaged if you are standing in the center of the arena. Zulmak will fall to his knees and begin charging the crystal when the damage phase comes to an end. Anybody who is still in the arena will be killed by a blast of fire when the crystal is completely charged. Simply leave the circle to prevent this from happening. phase will start.
Zulmak will still move around and attack during the damage phase. Avoid the extremely powerful ranged attack that this boss uses. The result is a circle of ongoing fire damage that starts as a line of fire that spreads outward. If you are hit by this ability, move.
Continue doing this until Zulmak is killed. Go to the chest to get your rewards. You've just finished the Pit of Heresy dungeon.