Done by: Vedallion#7774 | Jan 23rd 2023
Drop Table
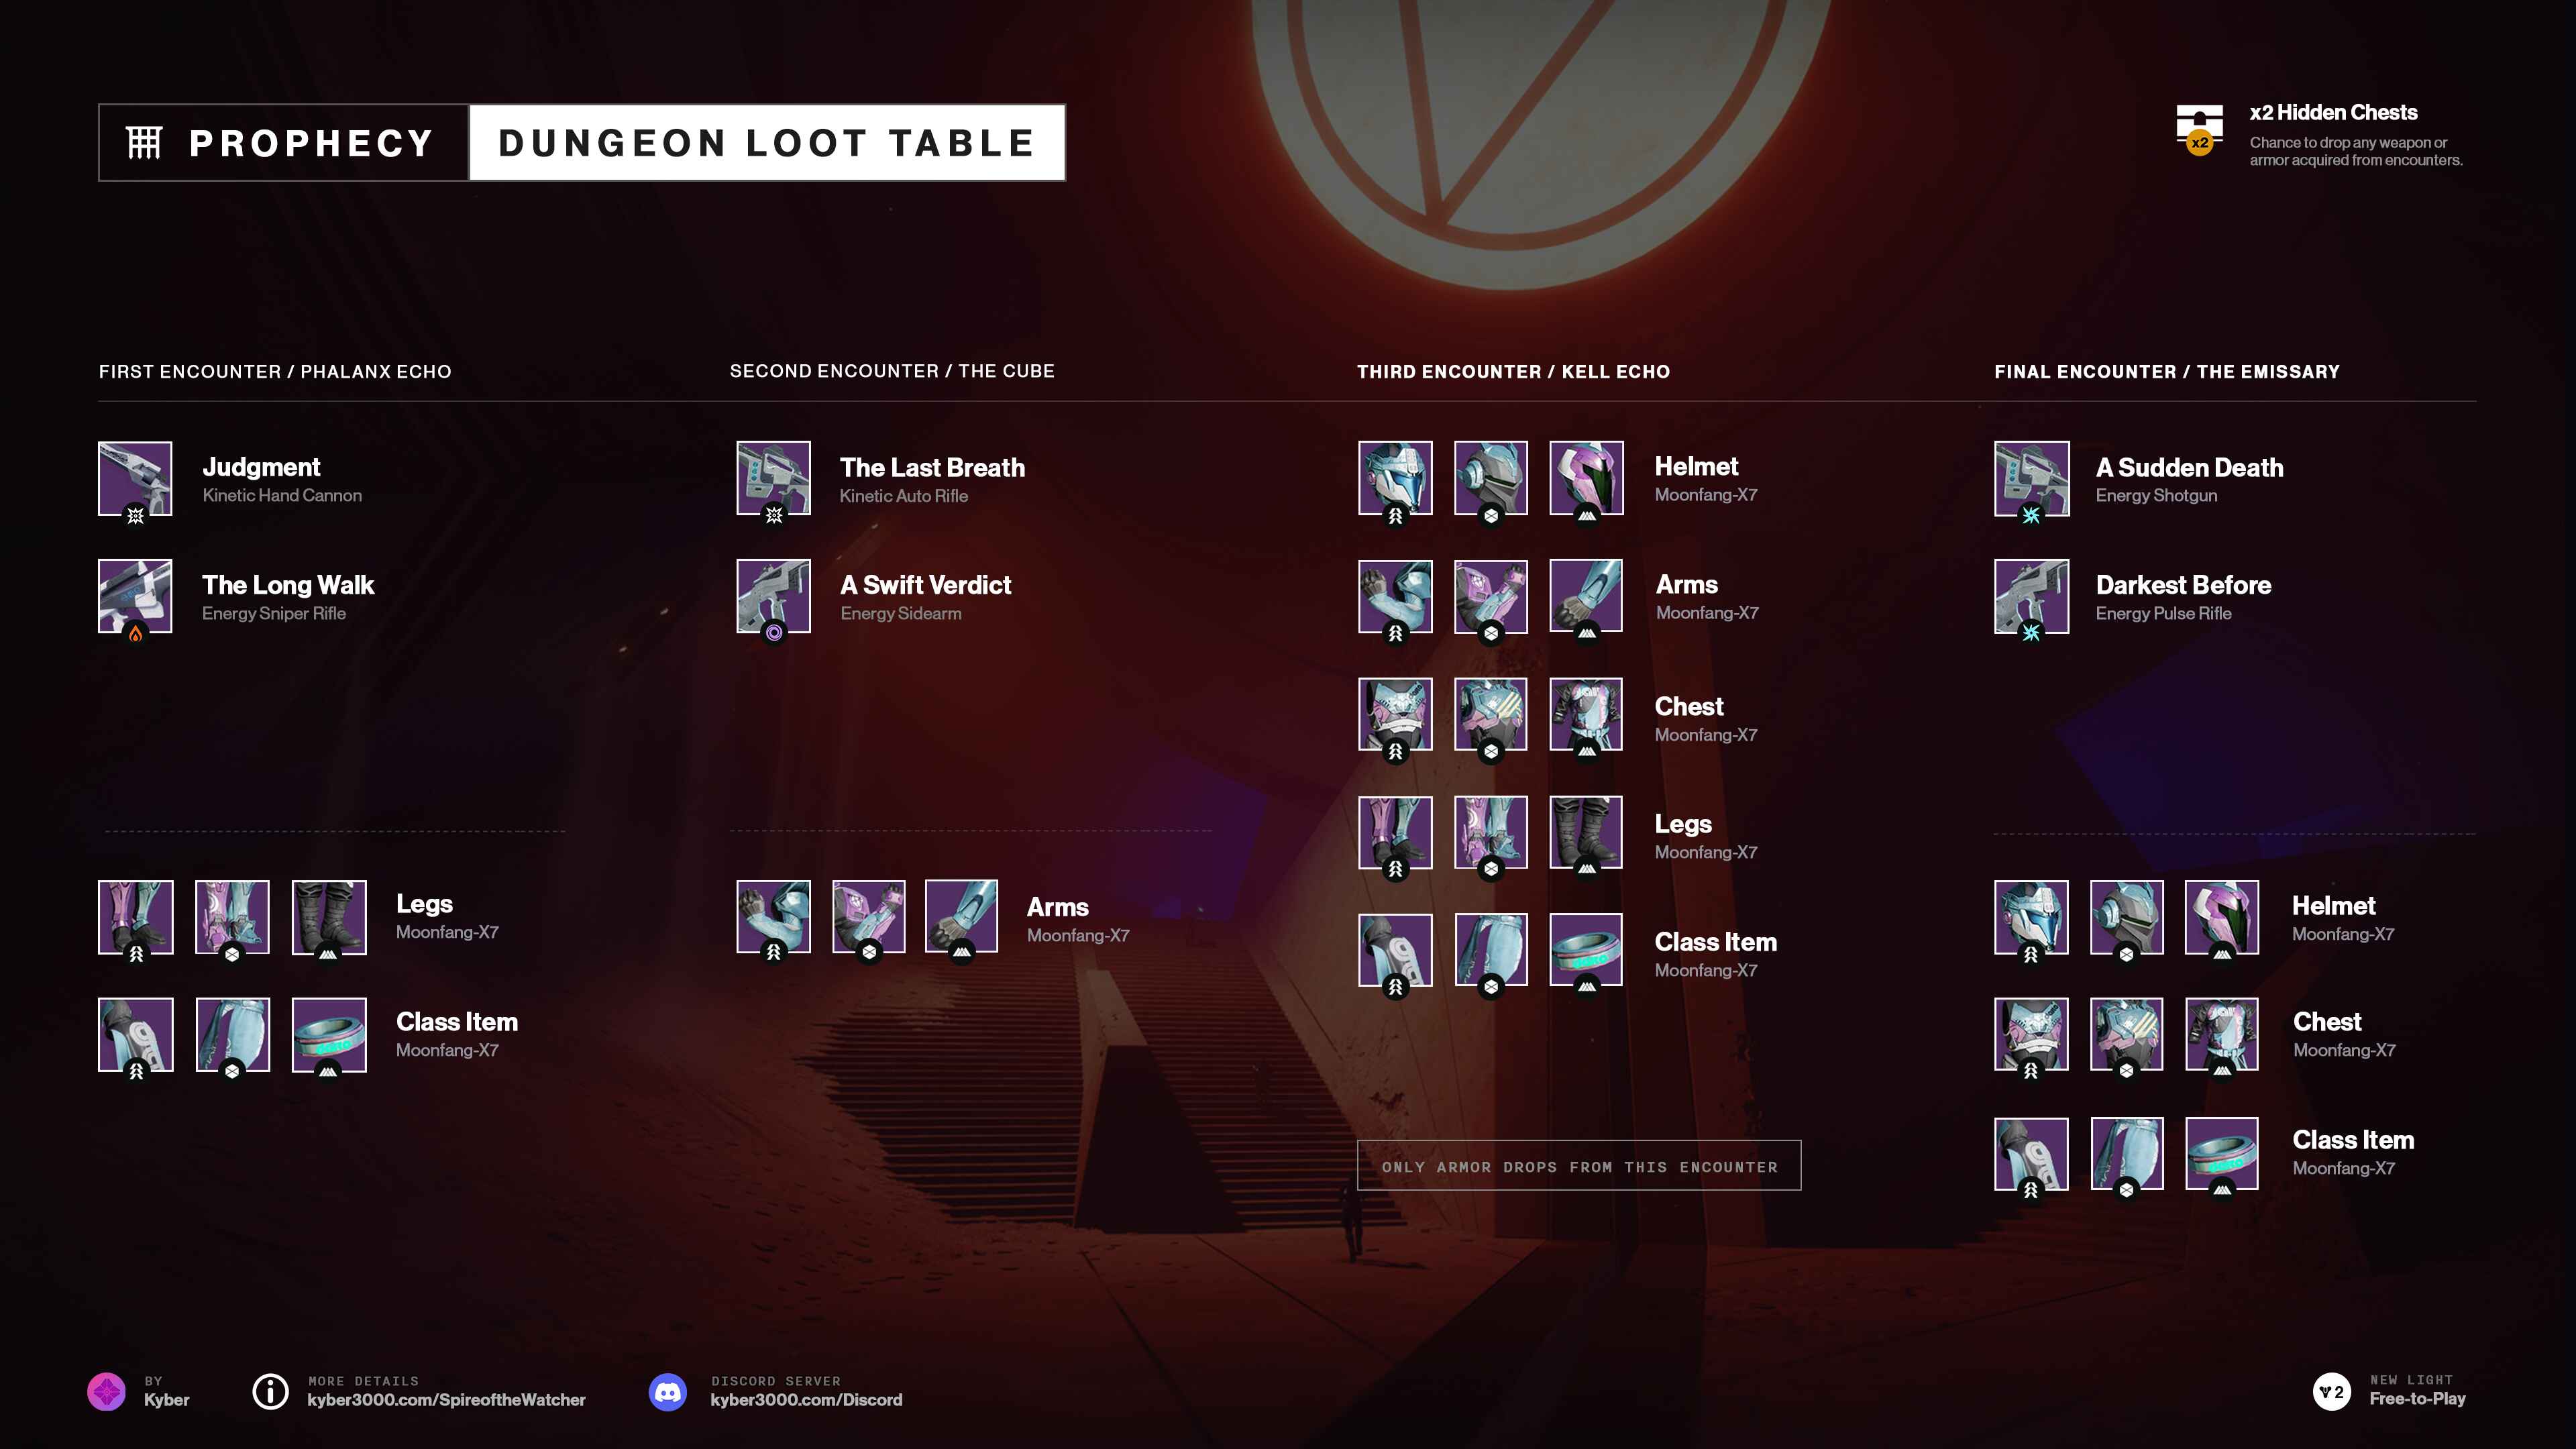
Entrance
After leaving the Drifter's ship, you'll find yourself in a pretty lengthy tunnel full with Taken enemies. Two energy pillars, one constructed of Light and the other of Dark, will be present at the tunnel's exit. You must acquire either Light Motes or Dark Motes from Taken Knights who have been killed in order to cleanse these pillars.
Depending on the lighting around your character, different types of Motes will drop. Standing in the light produces Light Motes, whereas standing in the shadows produces Dark Motes. Based on the animated vignette that appears on your screen, you may predict which Motes will emerge.
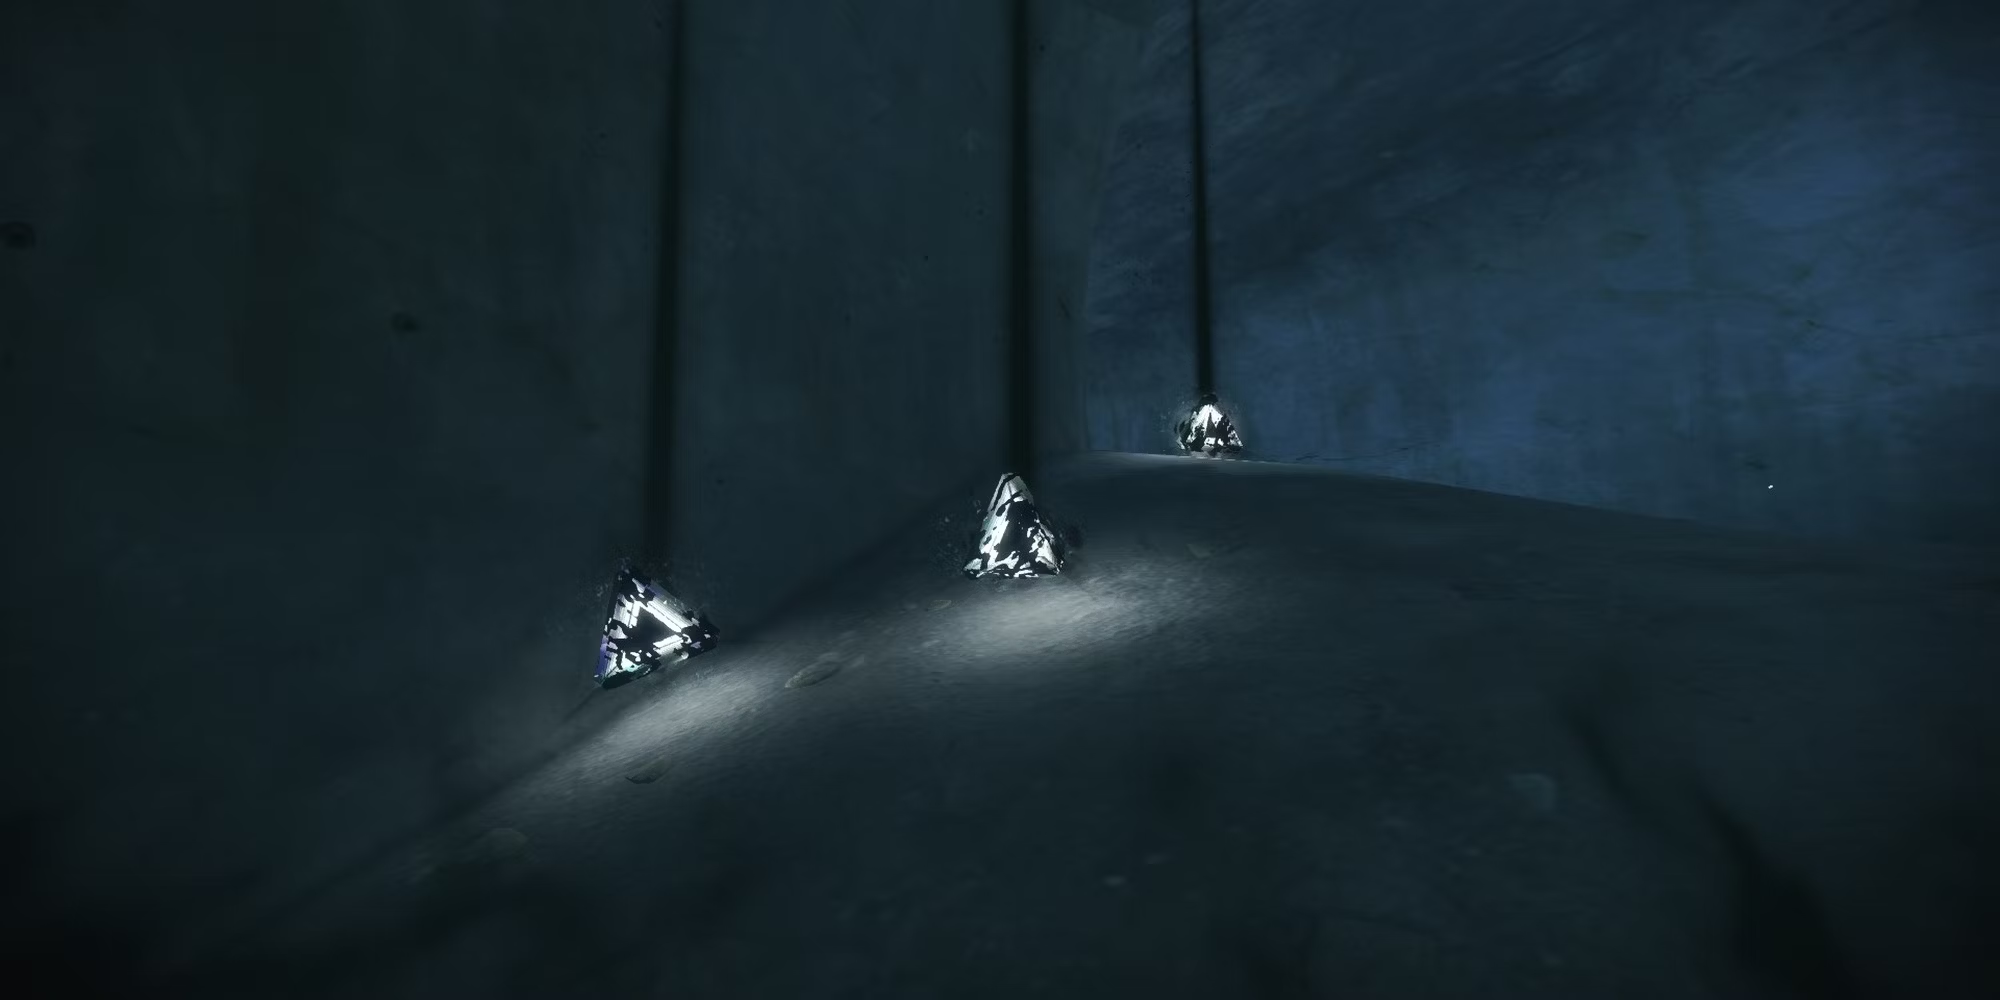 Dark Motes are shown by black tendrils.
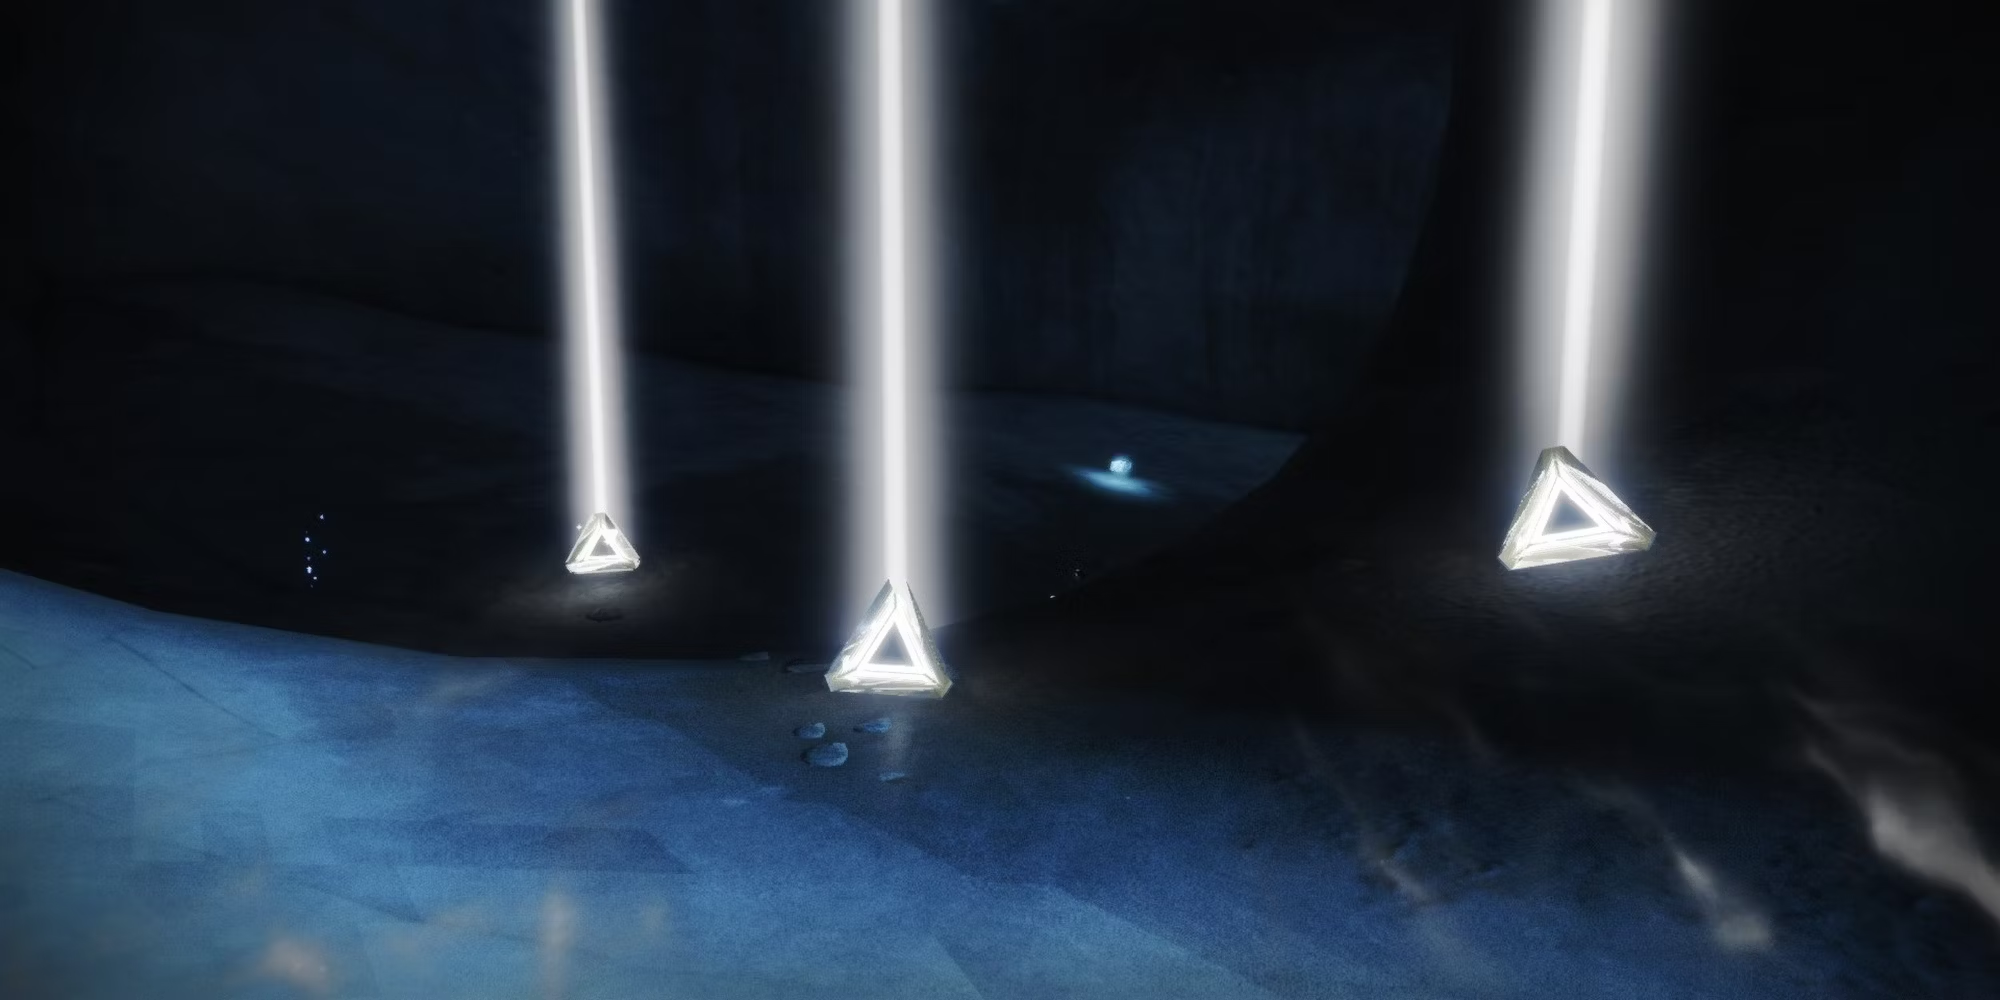 Light Motes are shown by white tendrils.
Your weapons will be disabled to carry a charged Mote after you have five of a either type of Mote. You have to sprint to a pillar that matches your color, then press the fire button to "purge" the pillar. So be careful while taking Motes of different sorts since if pillar. So be careful while taking Motes of different sorts since if you take a different Mote type before you reach x5 stacks, your previous Motes will be lost. Your x5 Mote stack will likewise despawn if you use one of your class abilities or your Super.
To complete the section, carry out the pillar cleansing process a couple more times. You will be led up a mountain of debris by a Taken Captain, who you will encounter later in the dungeon. Jump across the wide chasm once you're on top of the rubble to get to the middle golden platform. Prepare yourself to take on Phalanx Echo, your first boss.
Tunnel Skip
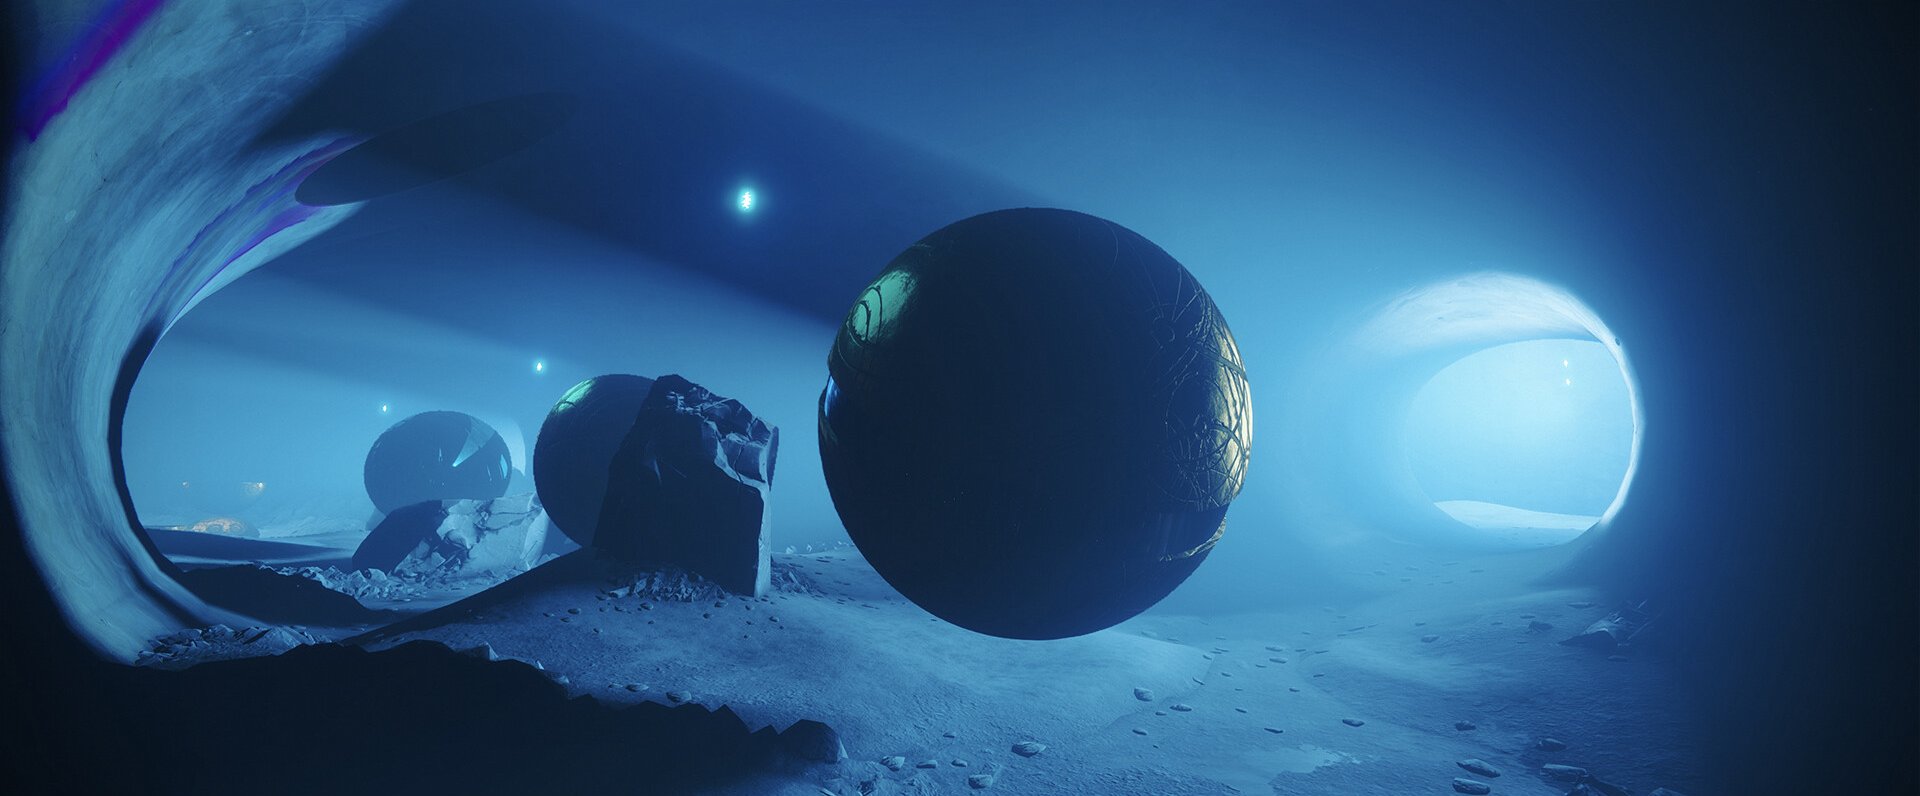
When you initially enter the tunnels, hop onto the first golden sphere that comes into view. After making a left, ascend the tunnel to the surface. Use Salvation's Grip or Stasis Glacial Grenades to build platforms to make this simpler. Stasis crystals can be used to ascend to the surface (shown in the gallery above). From there, leap as usual towards the direction of the center of the arena.
If you don't have the Beyond Light expansion, you may either drive up the tunnel with the Always of Time Sparrow or traverse the path up by yourself. For the latter, you must rely on your exotics' mobility and your swords for this skip. Before performing this, make sure you have all of your Heavy ammunition.
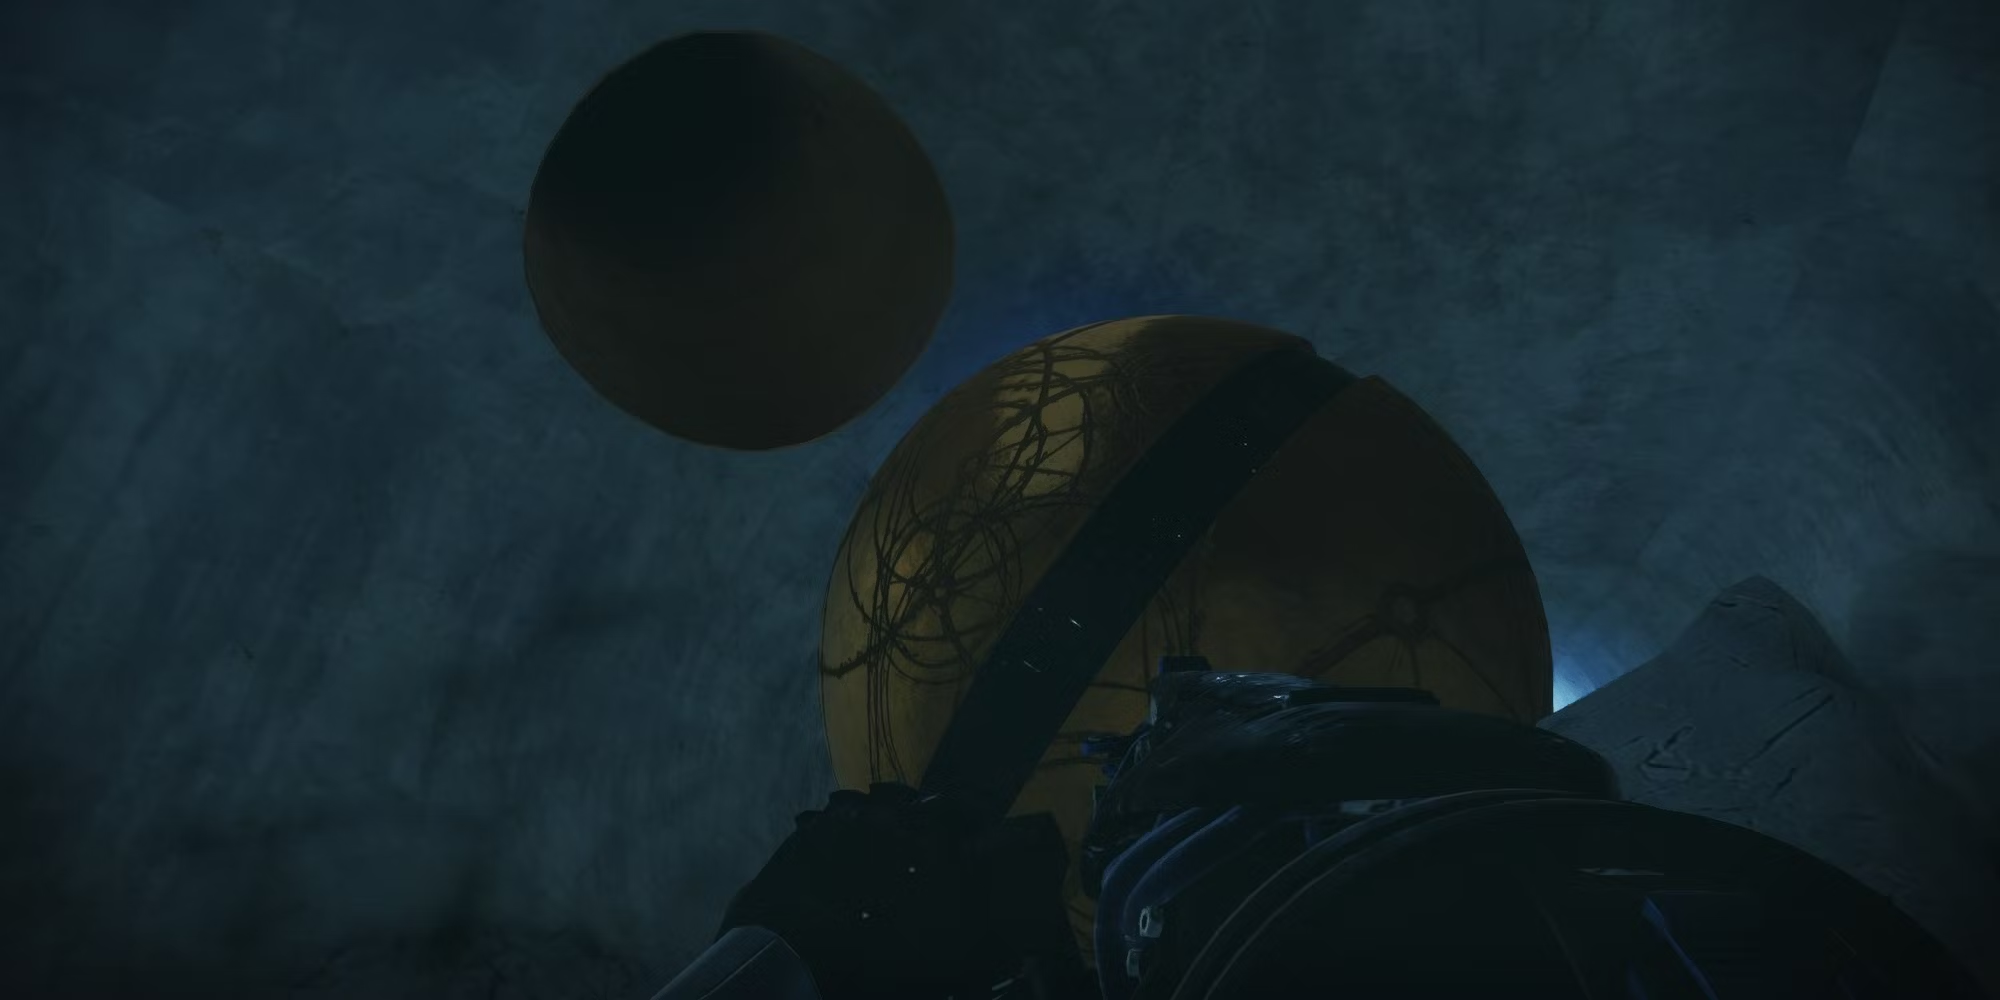
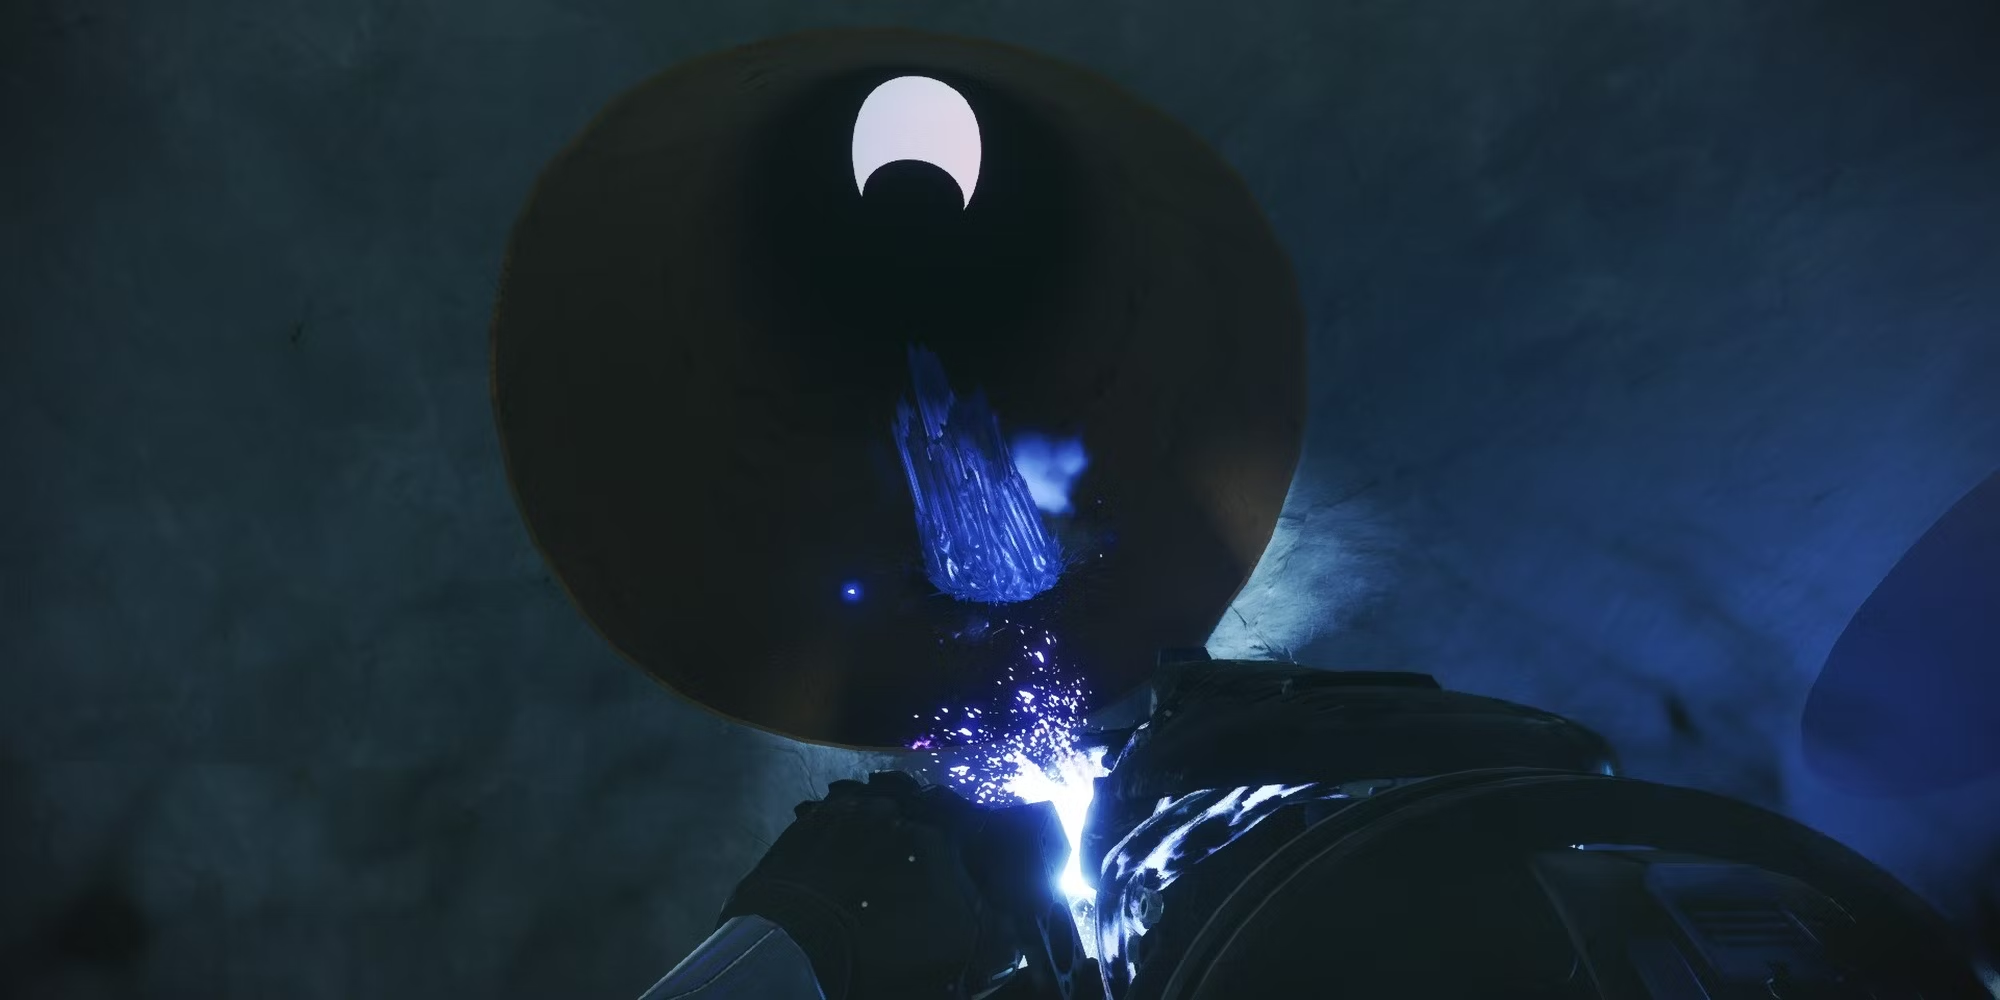
Each class can do the following:
- Hunters: Equip ST0MP-EE5, a sword of your choice (ideally Lament), and Triple Jump. Swing your Sword till you reach the top by jumping from the platform once, using your second leap to enter the tunnel. Your third jump will get you to the top.
- Warlocks: Equip a Sword and Dawnblade (Attunement of Sky). Swing your sword while you glide to the tube, then Icarus Dash to the top as your sword loses propulsion.
- Titans: You may reach the top of the tube with ease by using any Sword and Lion Ramparts. Once your Sword stops providing speed, you can reach the surface using a catapult or high lift.
Phalanx Echo
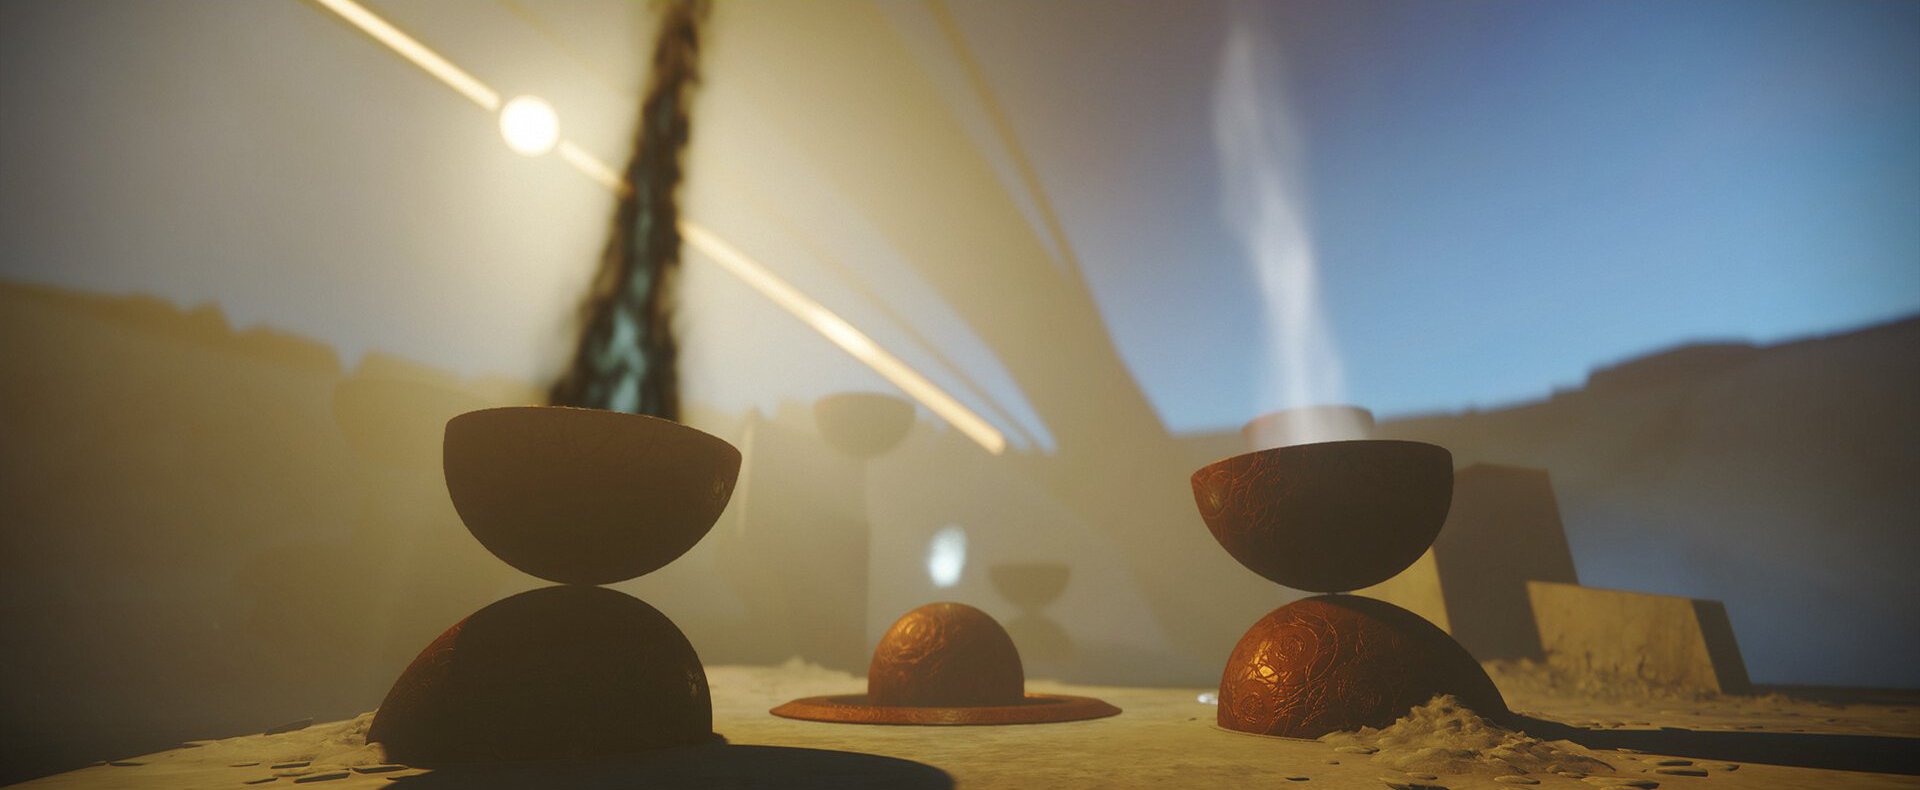
Taken Knights, a large number of Taken Psions, and Destiny's physics engine are the three main threats in this encounter. You have almost no cover to hide in throughout this confrontation because the arena is so small. Even worse, the boss will regularly send you into the abyss with powerful bolts fired from its shield.
The four pillars of light hovering above the arena must be cleansed similarly to how you did in the last encounter if you want to take down the Phalanx Echo's immunity barrier. The illumination in the arena will vary with each pillar you remove. In this phase, waves of Taken Psions will also spawn alongside a couple of Knights. Before concentrating on the Knights, eliminate the Psions by using Warmind Cells or firearms like Riskrunner. Consider emptying up the arena of adds before you start cleaning as no Psions will respawn until you purify a pillar.
Cleansing Tip: Two pillars can be cleansed with a single charged Mote. As high as you can go from the highest pillar is where you want to be. Cleanse once you are equidistant from both pillars. If you're in the proper spot, both plates will be cleared, greatly accelerating this encounter.
Heaven/Hell (Wasteland)
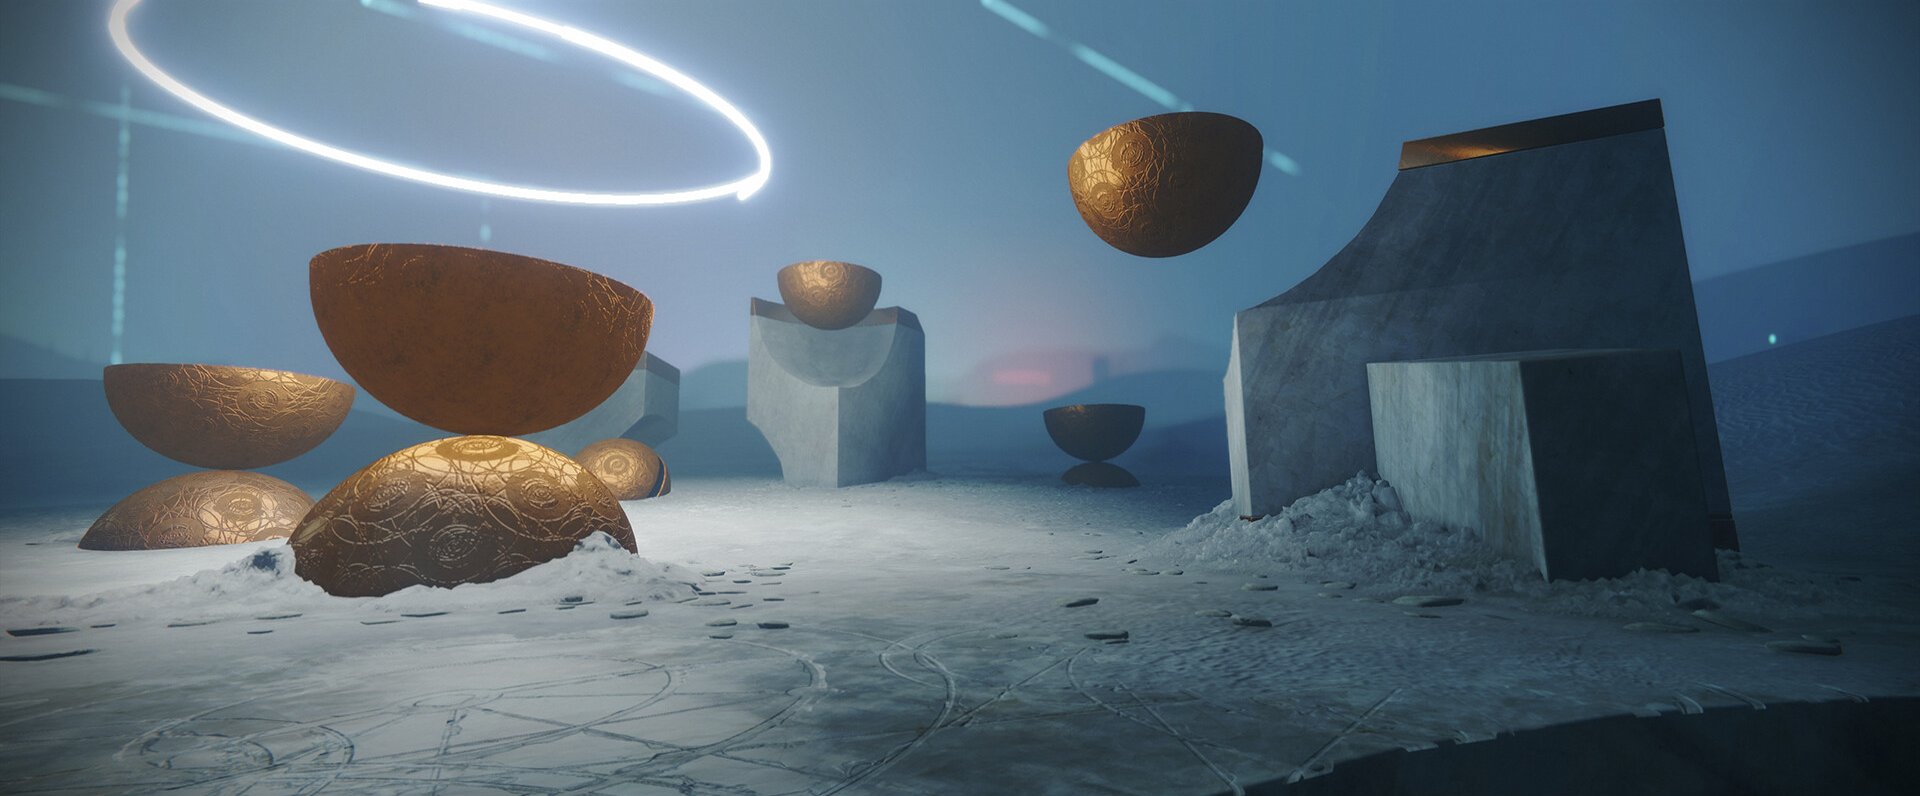
Get in your Sparrow and scan the area for any Taken Blights. The Taken Minotaurs that patrol the sand dunes should be avoided since they have the ability to quickly and easily kill your Sparrow. You must eliminate the Taken Blights once you locate them. A Blight may be eliminated with just one anarchy bolt. Destroy the three Blights, then sprint to the nearest floating Toland orb. Repeat this two more times to uncover the exit, which is within the enormous cube building across from the spawn. Run through the little passageway to the meeting with the hexahedron.
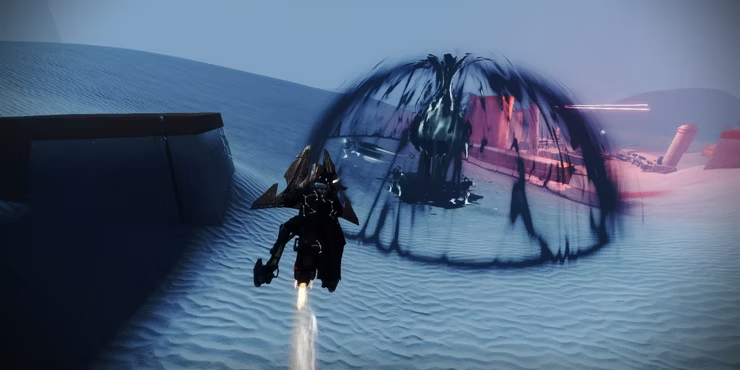 Look for the Taken Blights and take them down.
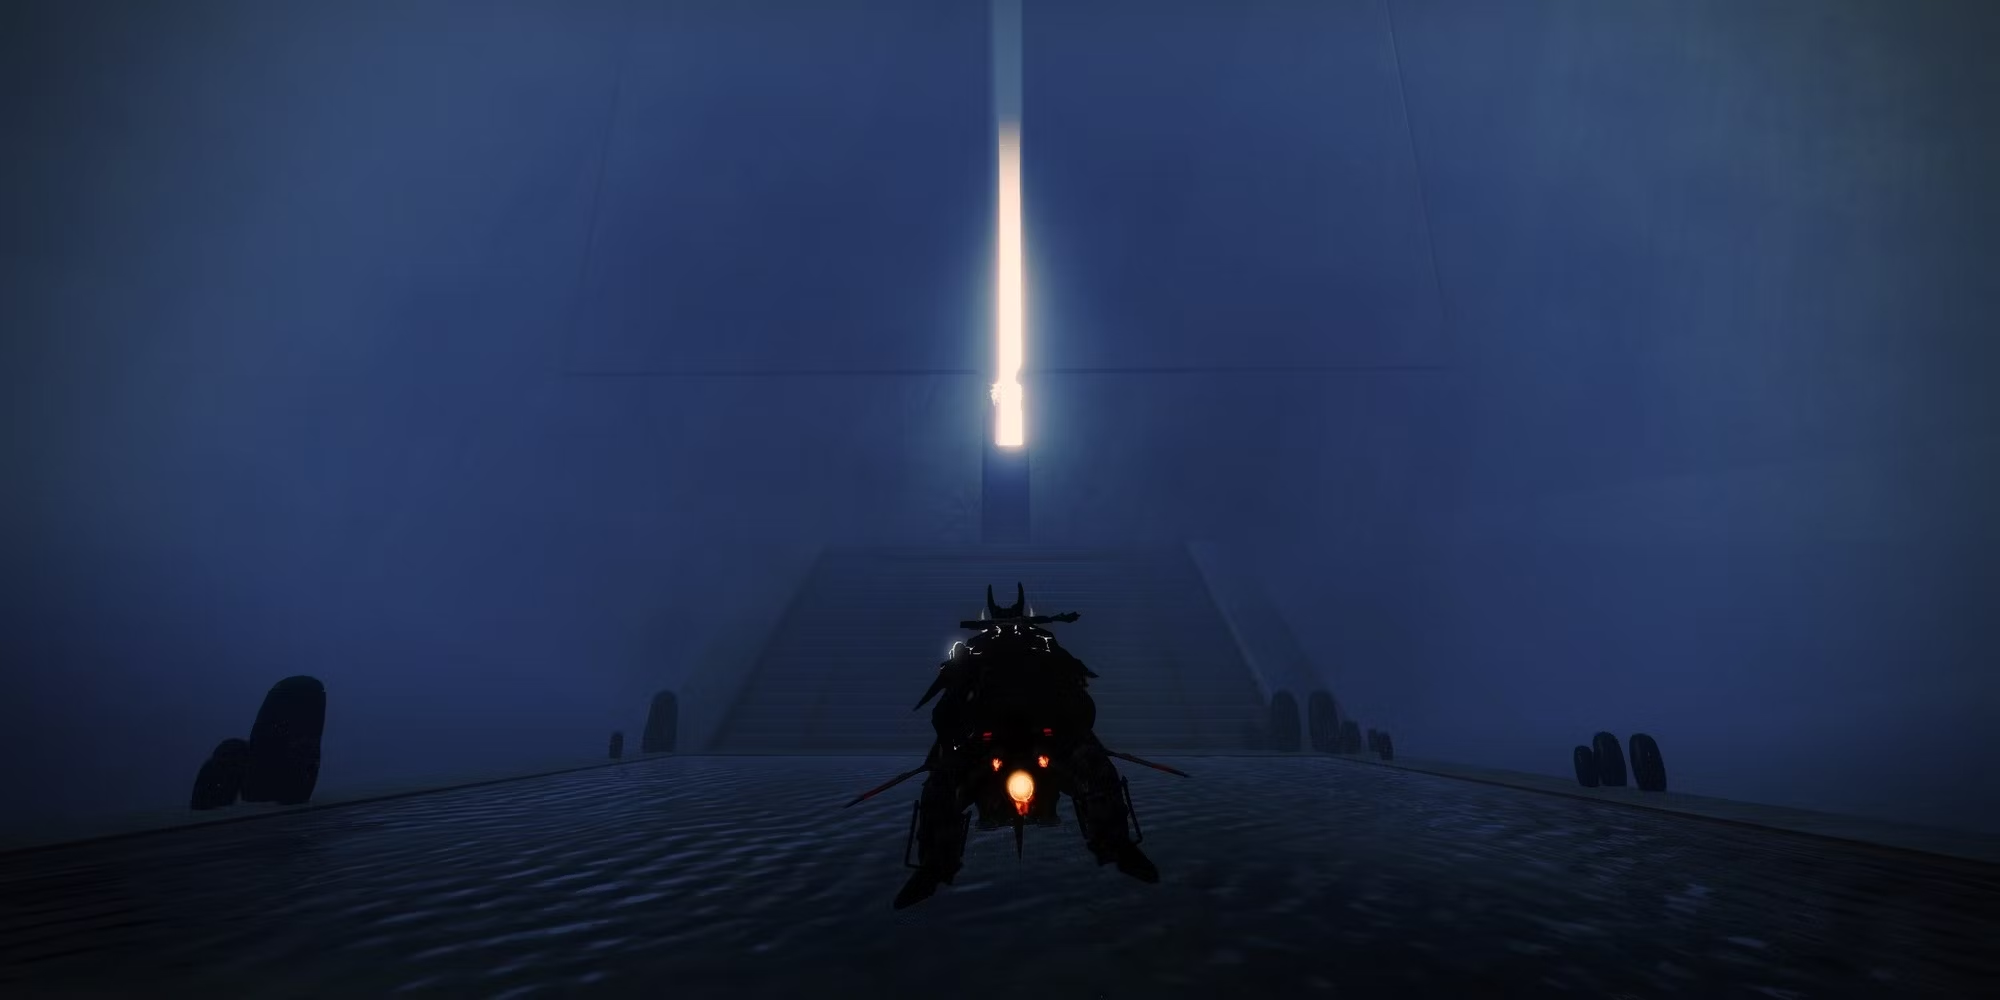 After destroying all the blights, find the exit to the next
encounter.
Secret Chest #1
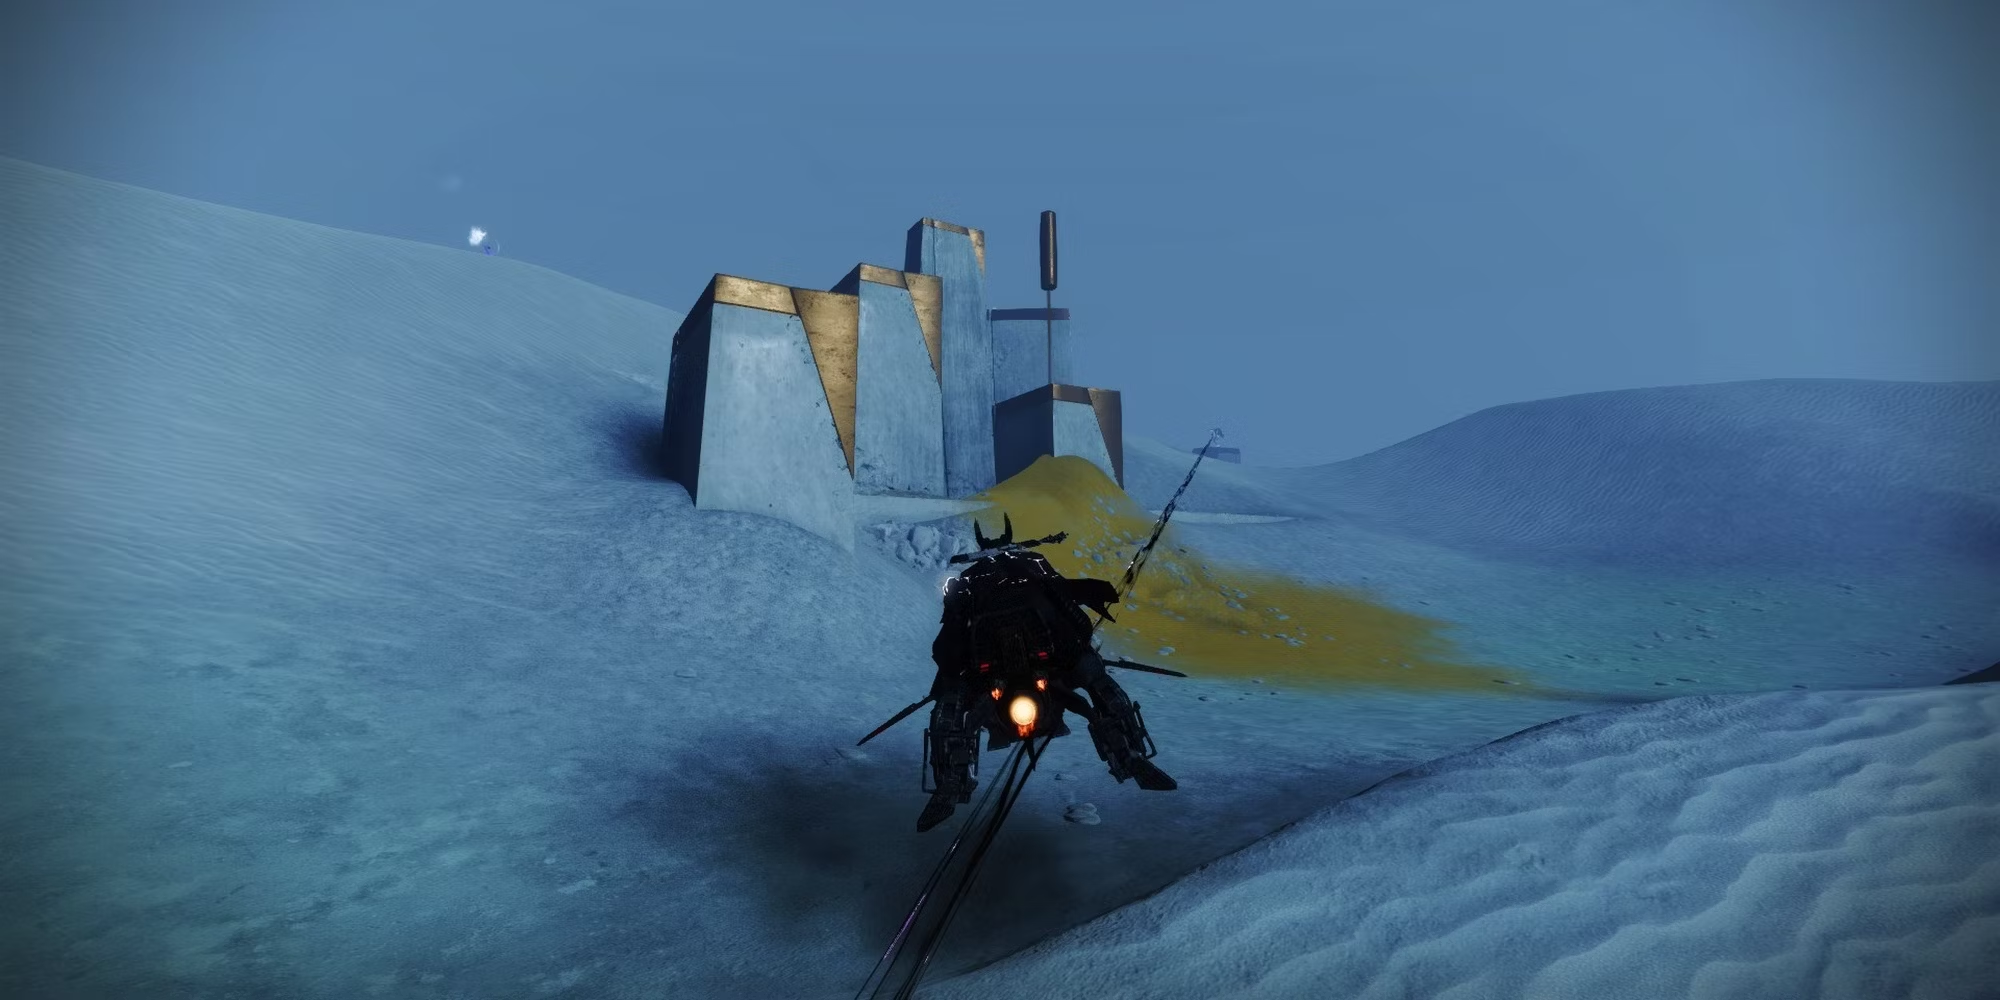
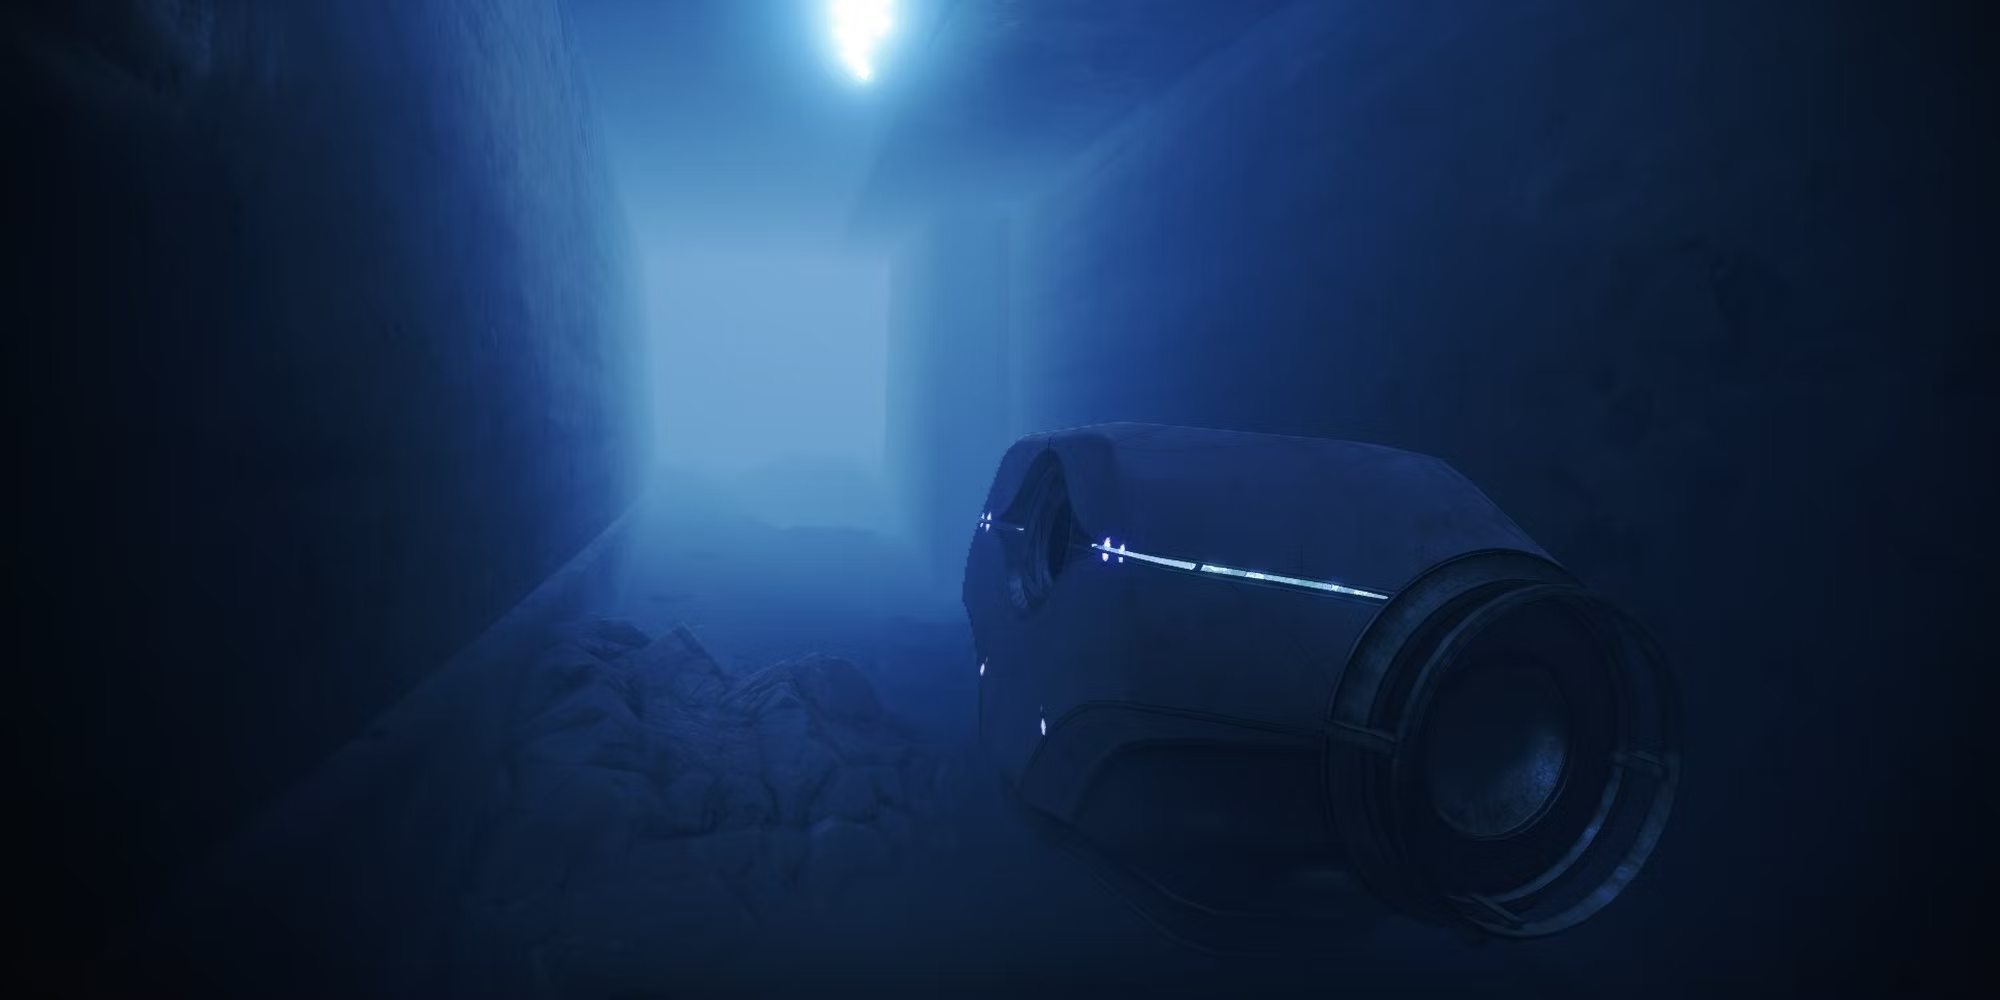
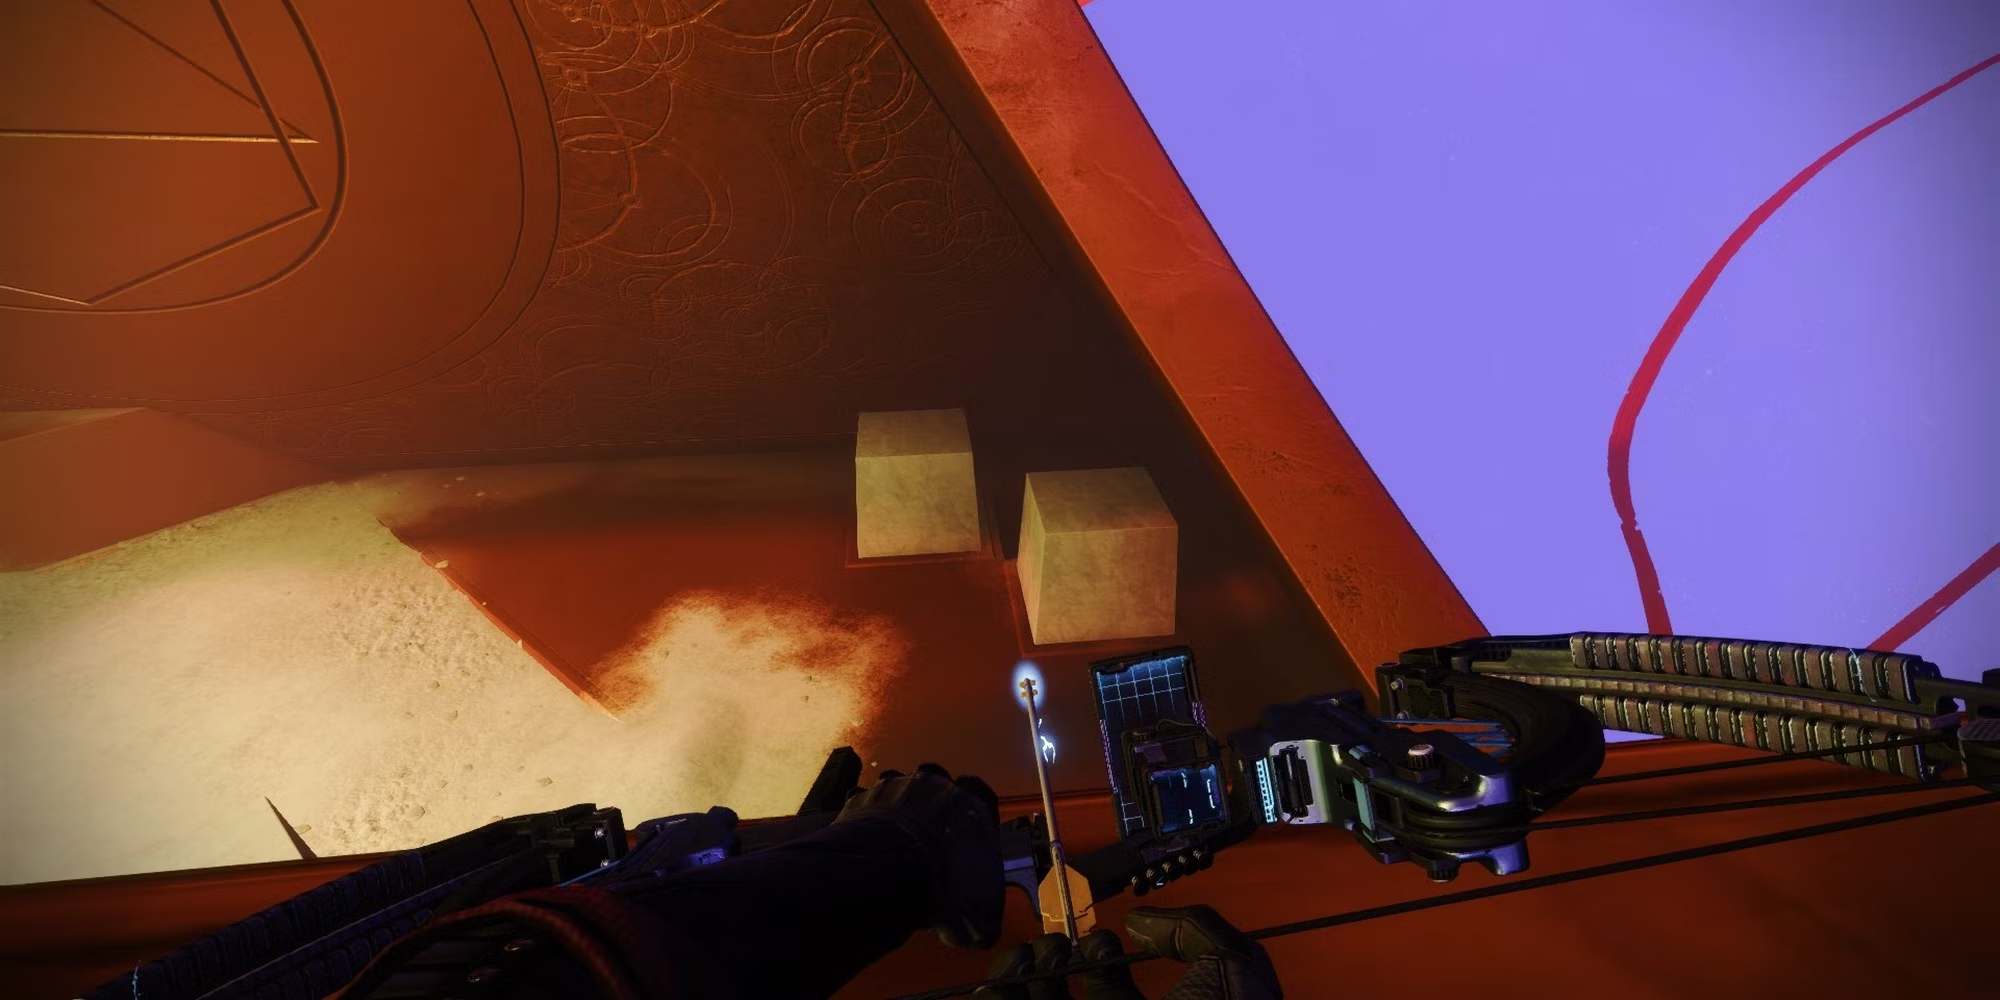
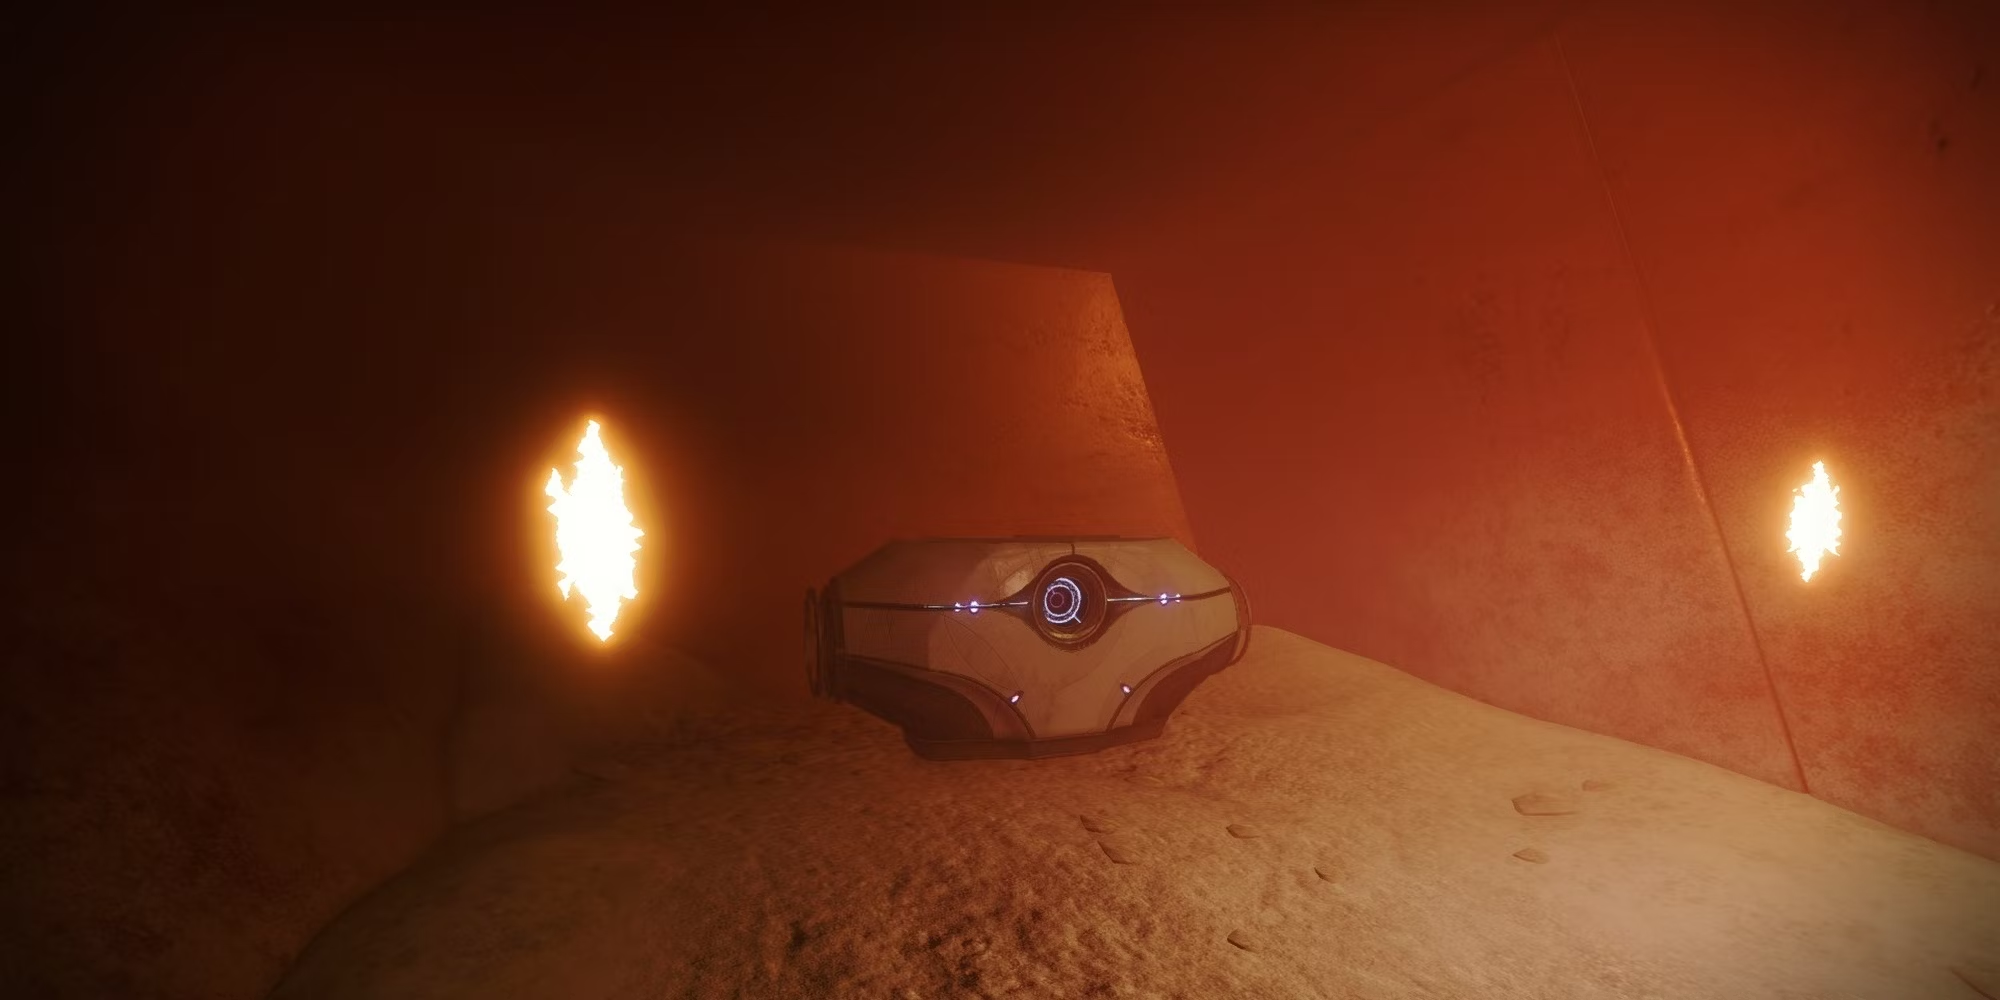
It is located in the northern part of the wasteland, directly in front of where you spawn. Turn around and move slightly to the right as you approach the cube structure that leads to the following encounter. Look for a building with some golden sand in front of it. Head inside it down the middle to uncover a hidden chest within the structure.
Hexahedron
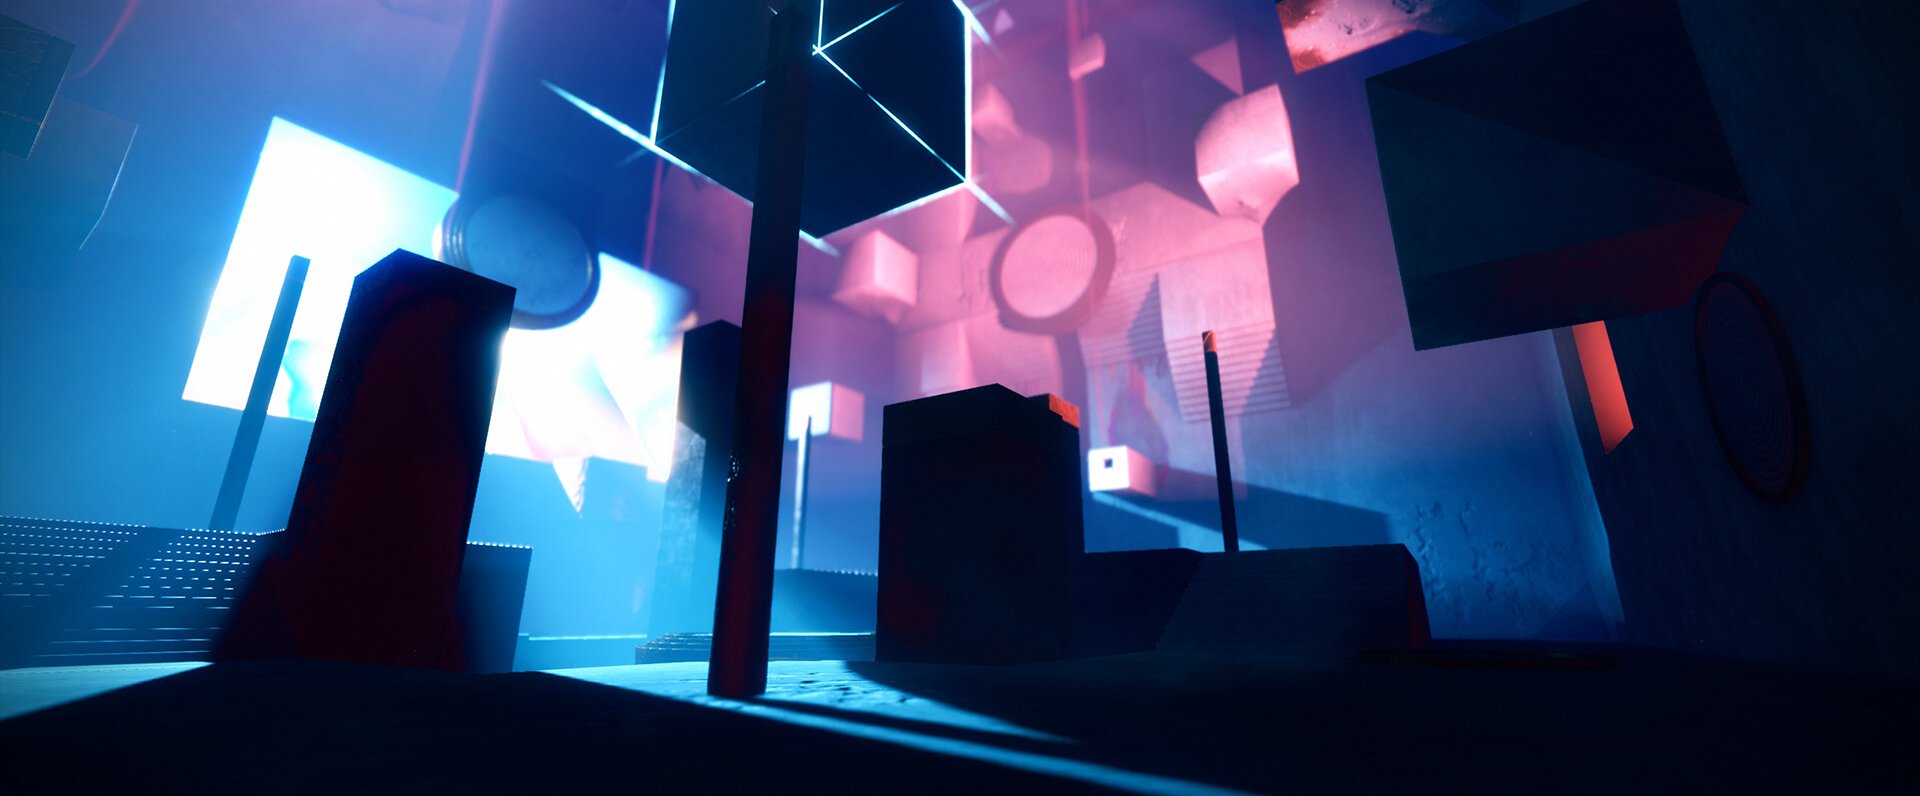
The Hexahedron is an endurance encounter where you will face a swarm of foes that will flank you from all sides. You must advance by purifying particular energy pillars while turning the chamber in the direction you purified. You'll encounter two easy-to-kill Centurion bosses once you've appropriately cleaned enough pillars. They can be eliminated by almost any Special or Super with little difficulty.
As soon as the encounter begins, glance up at the room's walls. A Toland orb will be hovering above one of the pillars on the corresponding wall. The pillar containing the Toland orb needs to be cleaned. Cleanse the north pillar if a Toland orb is on the northern wall, and so on. Rarely will you walk into a space with a Toland orb suspended from the ceiling. You can cleanse whichever pillar is most practical in this situation.
Concentrate on killing the Taken Hobgoblins first while emptying out each chamber. Two of them will always appear above you on opposite sides of the space. Kill them right away, and then focus on the Taken Acolytes. These Acolytes will produce a large number of Eye turrets if uncontrolled. When eliminating the Knights, keep in mind where you should be standing; when you're ready to go on, stand on the center plate. Rise and repeat until you get to the boss.
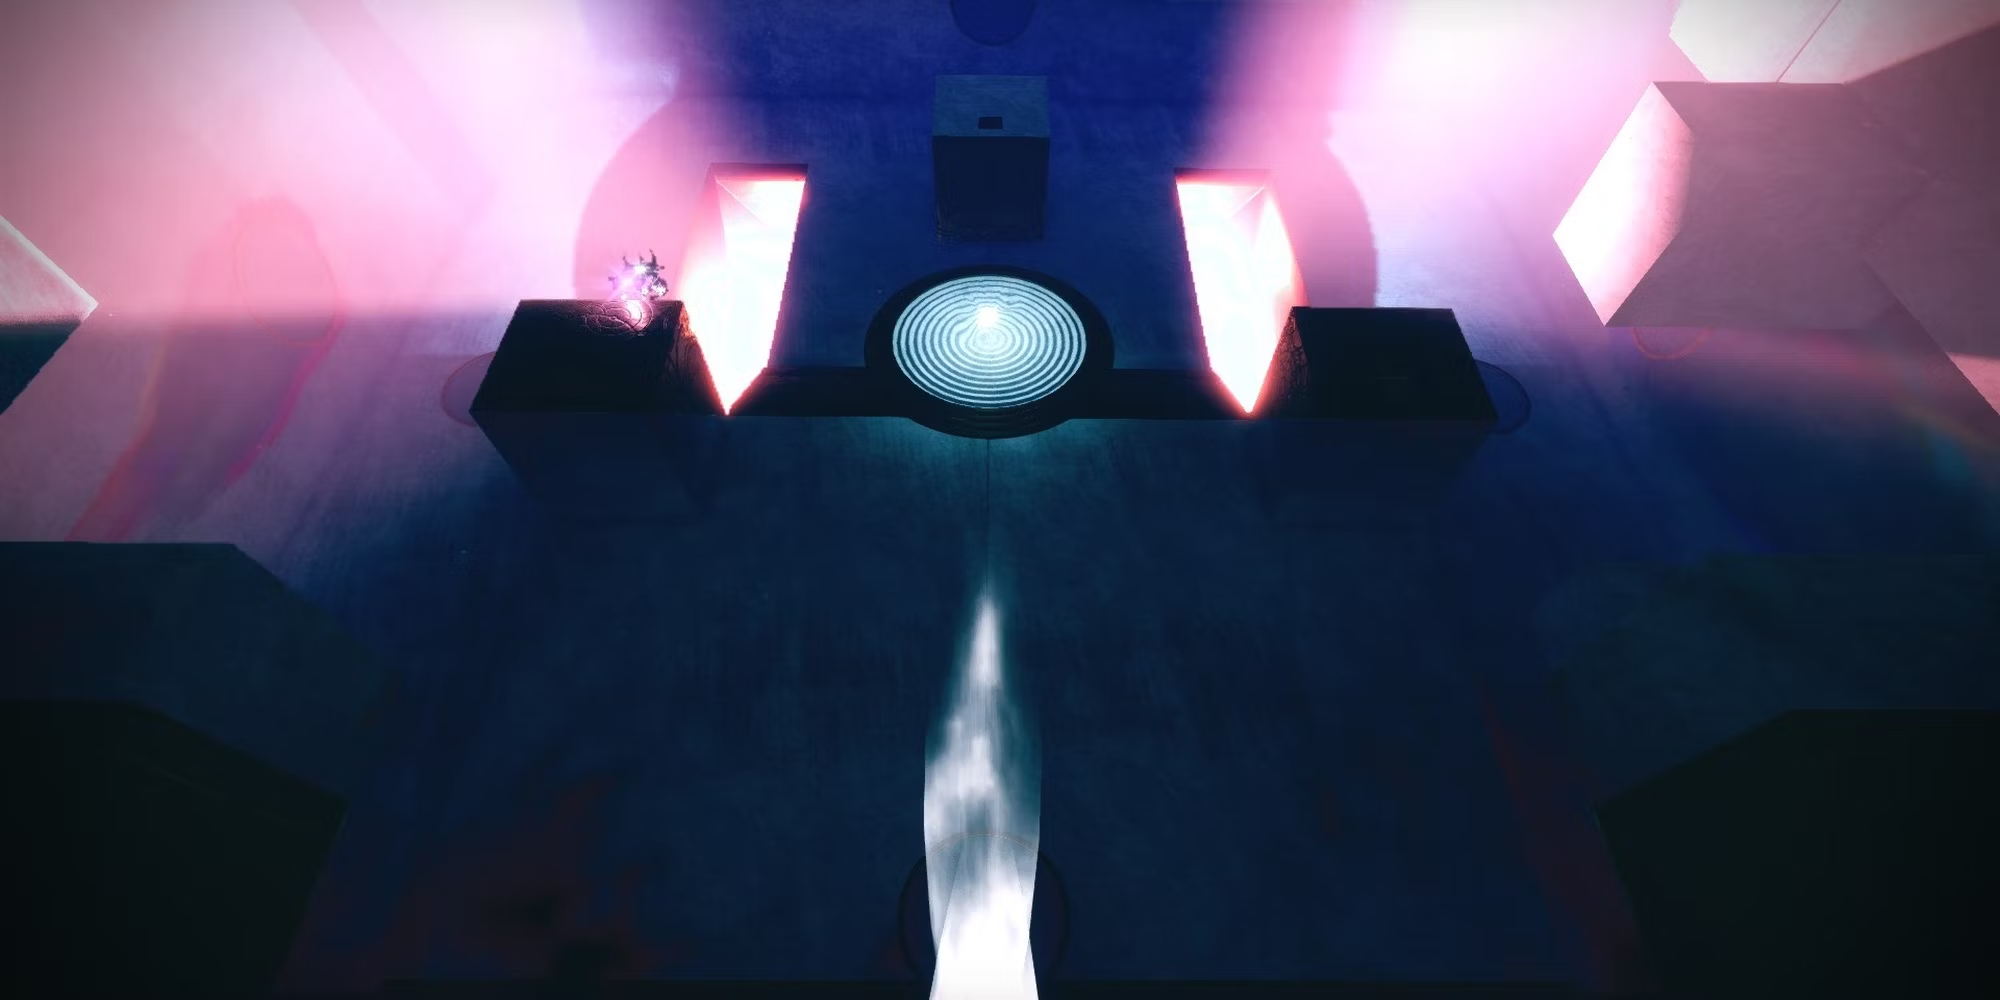 Chase Toland down by cleansing the pillar under his light
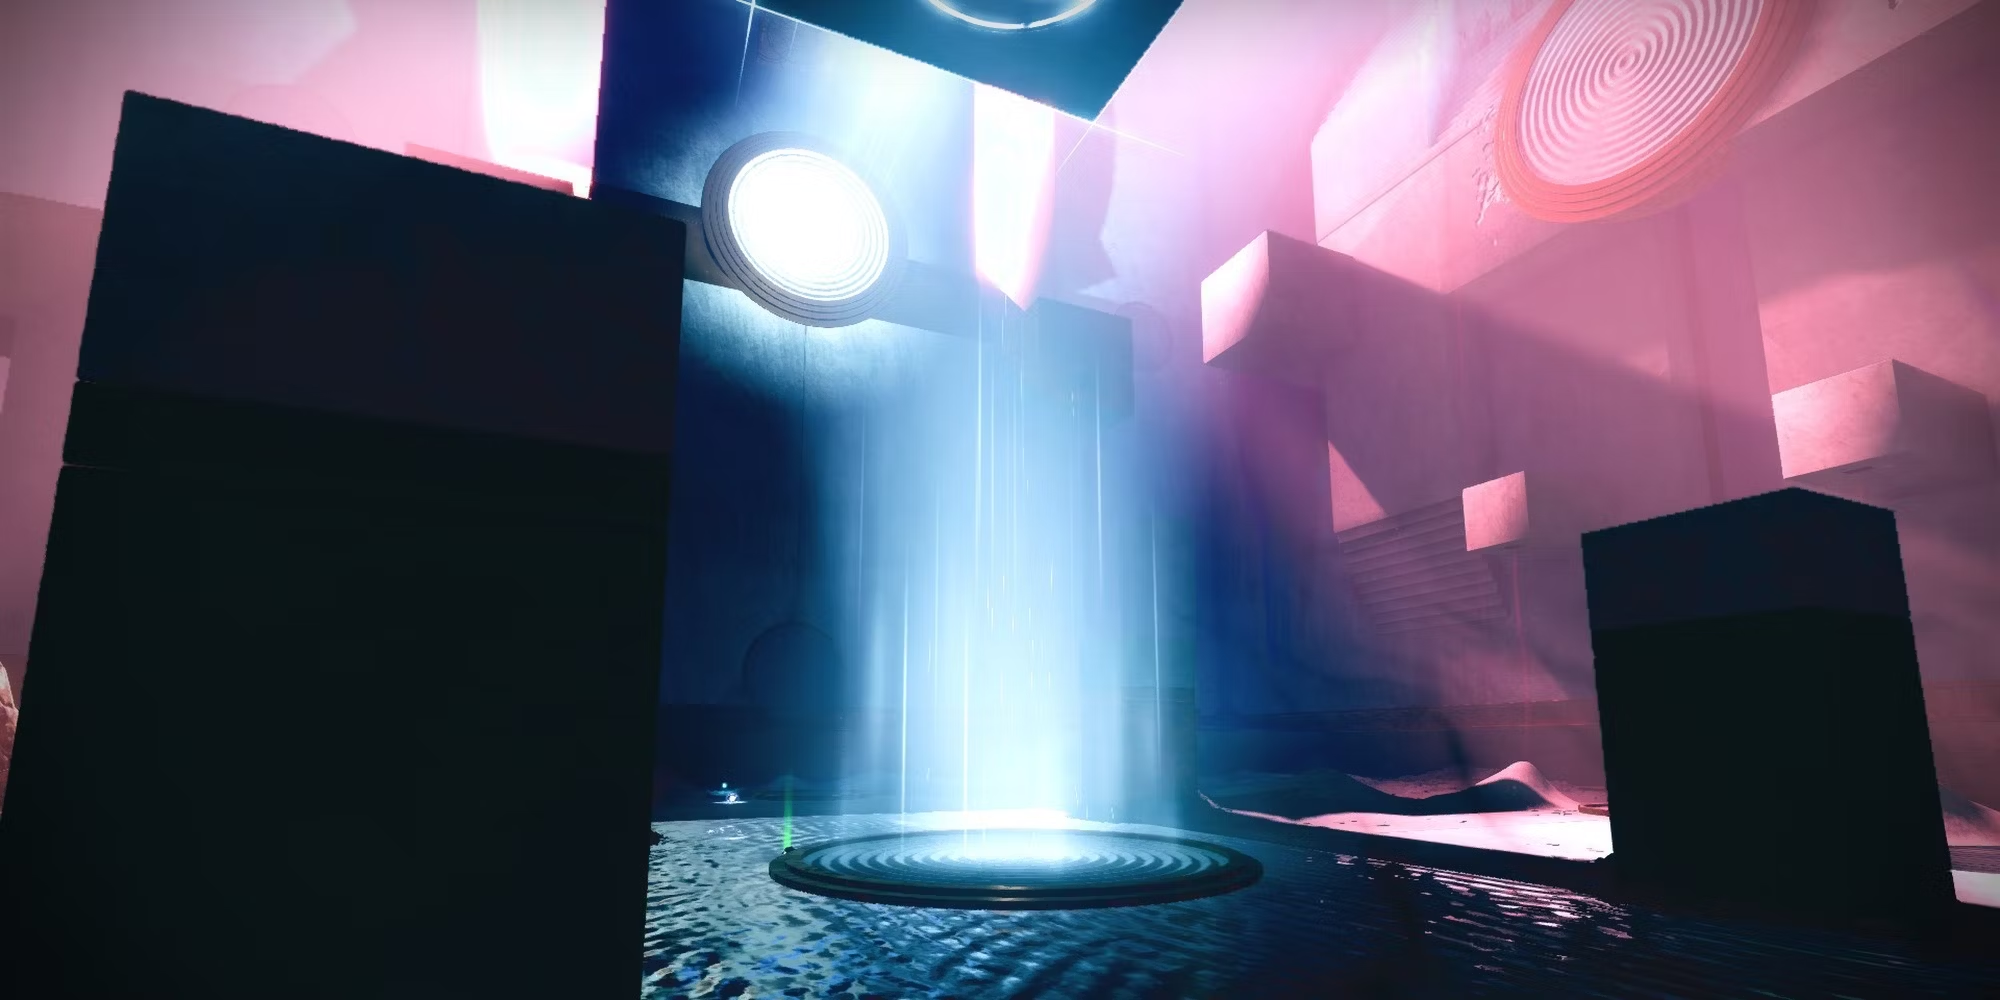 After cleansing the correct pool, the centre area will brighten
up.
Go back to the Wasteland after the bosses have been eliminated. The next encounter may be found by following the Kell Echo Captain.
Singularity (Rainbow Road)
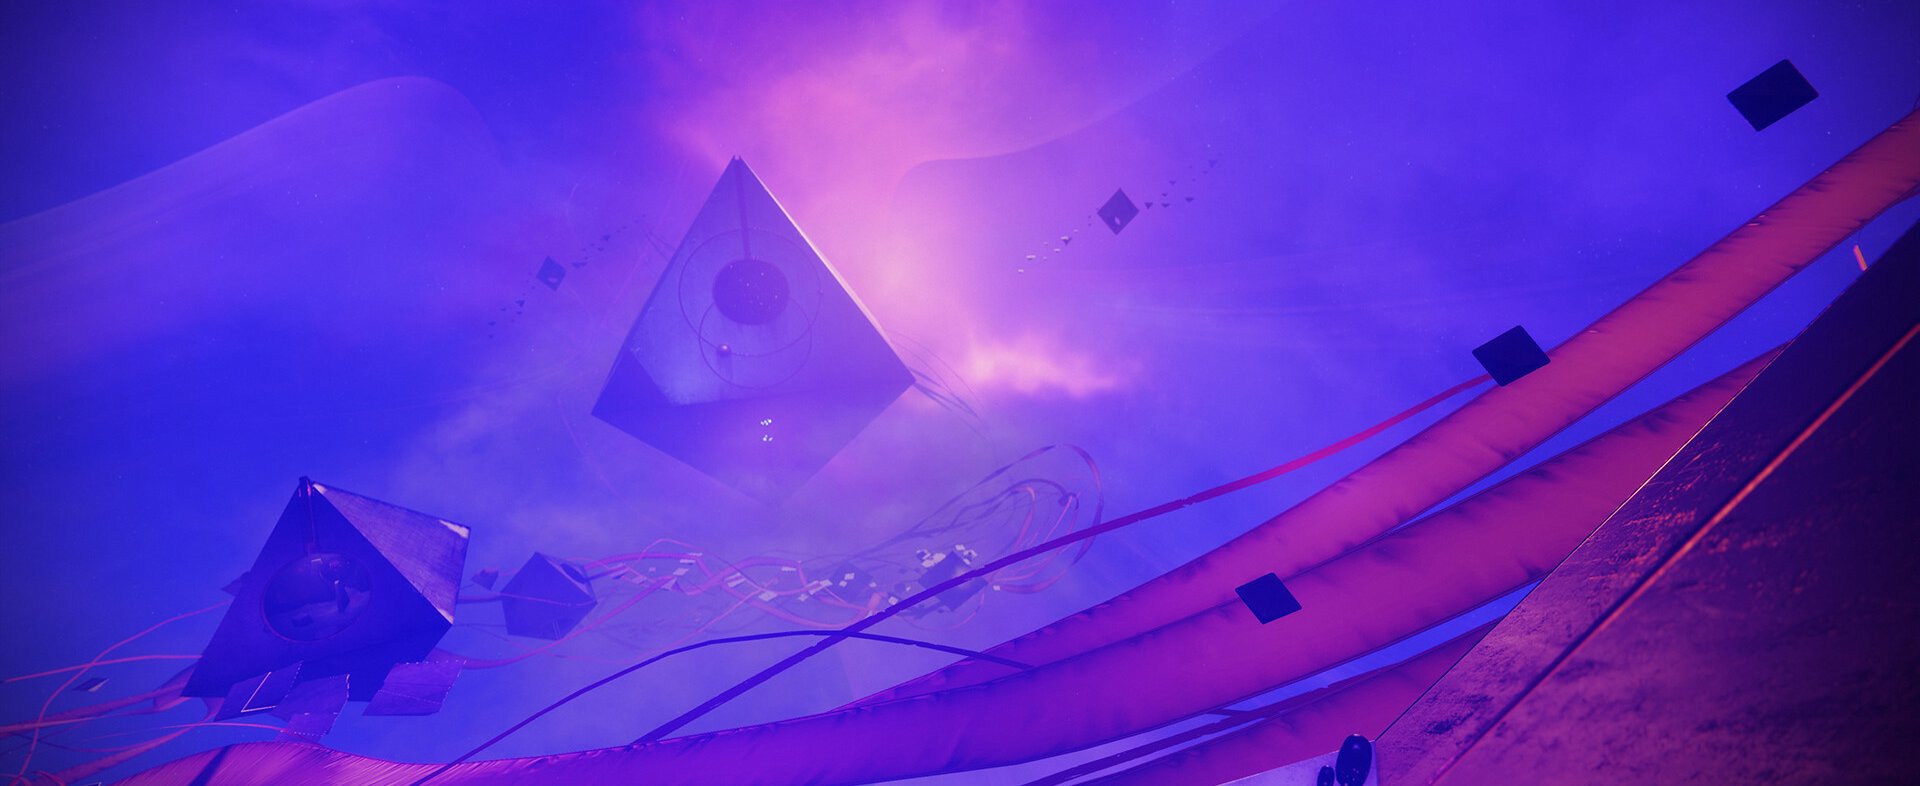
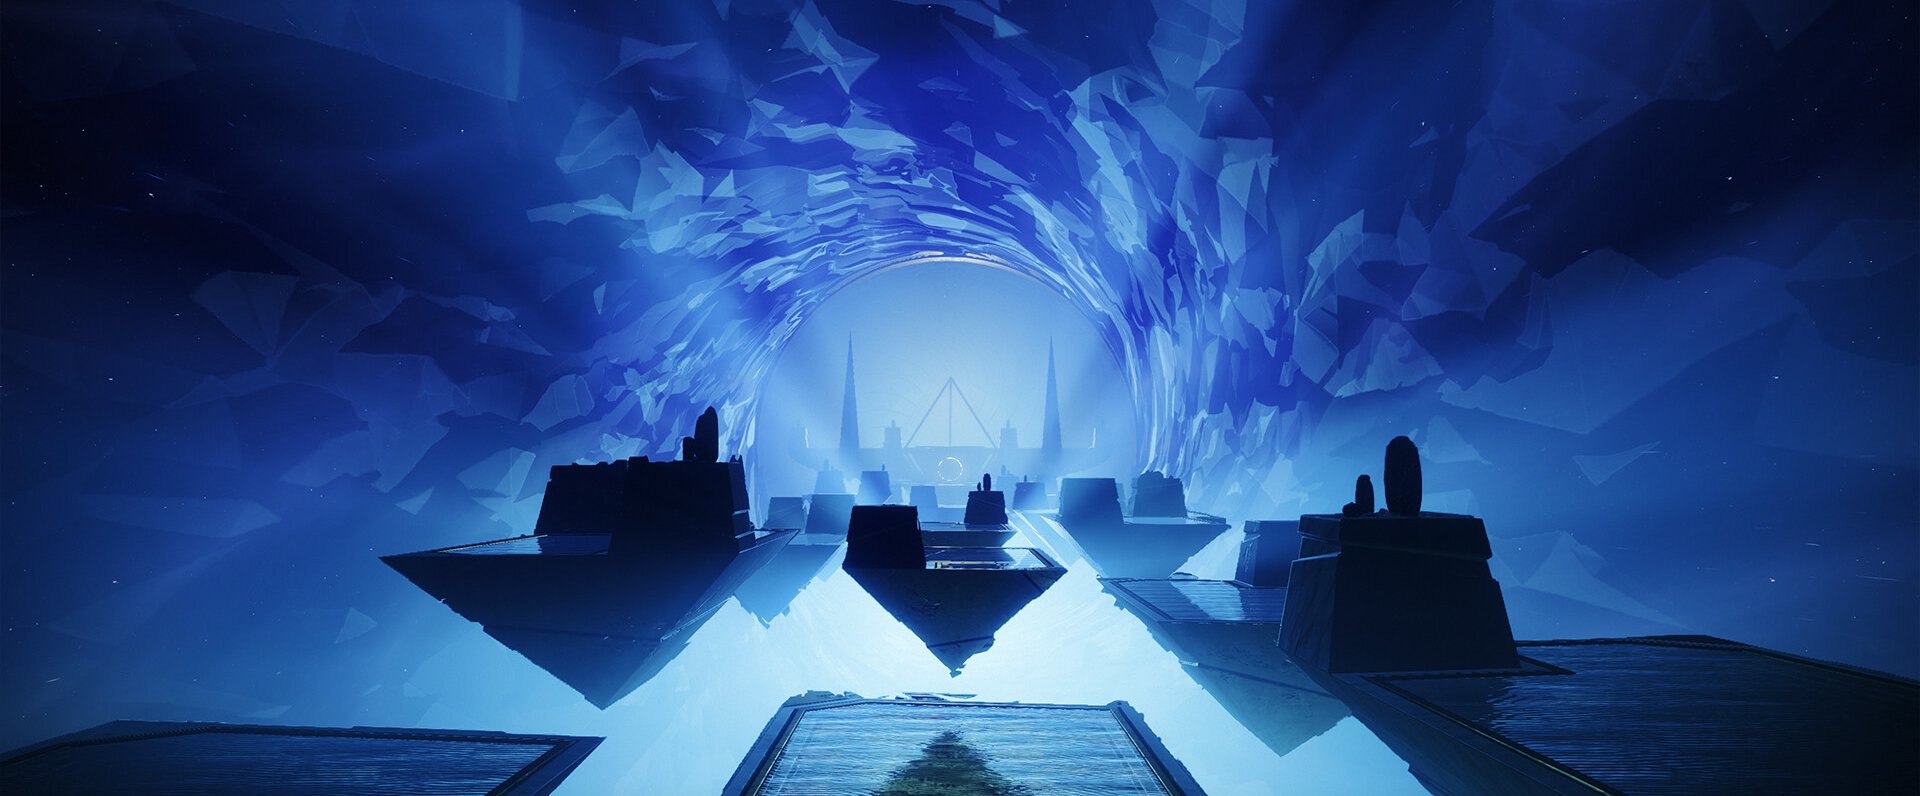
Reach the enormous diamond at the trail's end by continuing along the middle path. The trail will be littered with Vandals and Knights who will cause you problems. Sparrows with 160 speed should have little trouble dodging these enemies. If you're aiming for a flawless run, go slowly here. Watch for floating platforms you may leap onto whenever the path appears to come to an end.
Secret Chest #2
This chest may be found in the final floating diamond structure to the gravity lift's left. After you finish the initial platforming phase, take the road to the structure. Step off your Sparrow as soon as you enter the diamond. To discover a hole, dash to the room's lower right corner. To get to the chest, descend down the hole and then follow the trail.
Kell Echo
Similar to the previous encounter, the second encounter will begin with waves of Taken Psions and Knights flooding the arena. Unlike the Phalanx Echo, the Kell Echo will be accompanied by three copies of itself, one in each corner of the arena, firing at you. Finding cover becomes a problem because of this. Take a defensive subclass before attempting this. You will require on-demand healing, add-clear, or invisibility if you want to survive this confrontation.
Similar to prior encounters, you'll need to acquire Motes to clean the arena's pillars. Three corners in this situation need to be cleaned. The Kell Echo clone will despawn if you use a Mote to cleanse a portion of the chamber; after a short while, a Taken Ogre will spawn in its place. Stop the Ogre from dying quickly by killing him right away. Cleanse all three plates before stepping off the teleporter in Kell Echo's center to engage in combat.
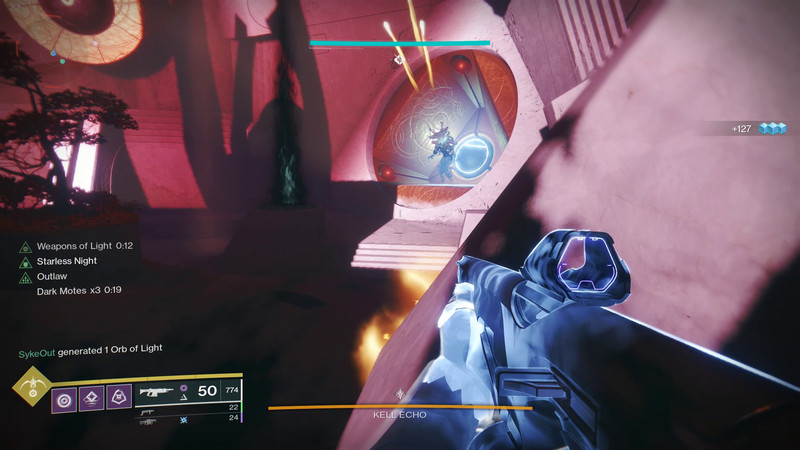
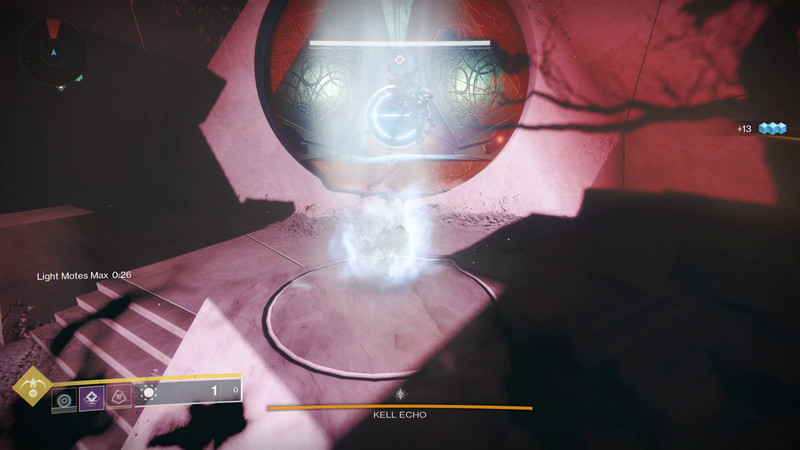
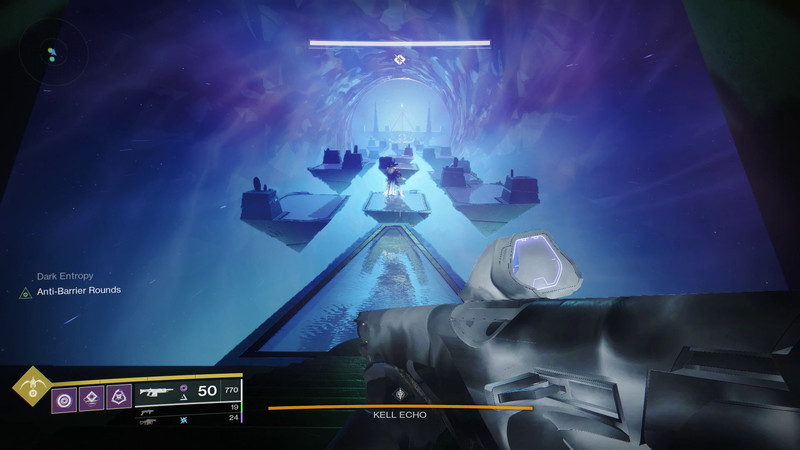
The Kell Echo is a modified Taken Captain with a huge health bar. It will fire a portal instead of releasing Taken Blights, which will transfer you to the beginning of the arena. Avoid being attacked by this attack at all costs. You could teleport outside the map due to the teleport's own teleportation effect and blindness. If you manage to survive that, you will accumulate Dark Entropy every two seconds that you are away from Kell Echo. When you accumulate x10 Dark Entropy stacks, you will die. Standing close to the boss will cause you to lose stacks. To indicate how near you should be, Kell Echo will cast a ring around himself. This distance is quite forgiving.
In addition to those mechanics, Kell Echo will fire a standard fallen weapon at you. Every 15 seconds or so, the boss will teleport to a new position, repeating this process five times until arriving at his ultimate destination. There will always be two Hobgoblins in the arena whenever Kell Echo teleports. Prior to fighting with the boss, eliminate the Hobgoblins.
DPS is carried out throughout this whole section. Use anarchy, witherhoard, heavy weapons, or anything you have to DPS. Your best opportunities for damage are when you first enter the chamber and when Kell Echo reaches the end. The boss will stand at the end of the room for 15 seconds before the DPS phase ends. Up until the boss is dead, repeat the pillar cleansing and DPS stages.
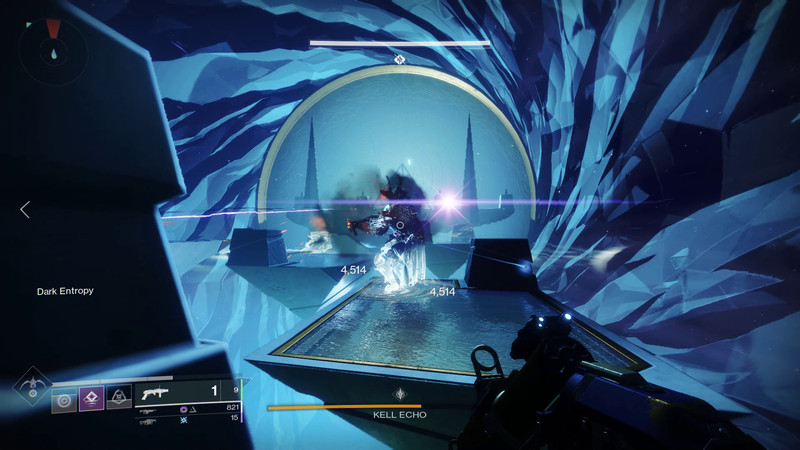
Beyond that, our best advice is to proceed cautiously. Kell Echo doesn't need to be one-phased. Don't be greedy with damage, carry a spec that will let you live, and do consistent damage. Once it's dead, you've completed the dungeon.

