Done by: Vedallion#7774 | February 10th 2025
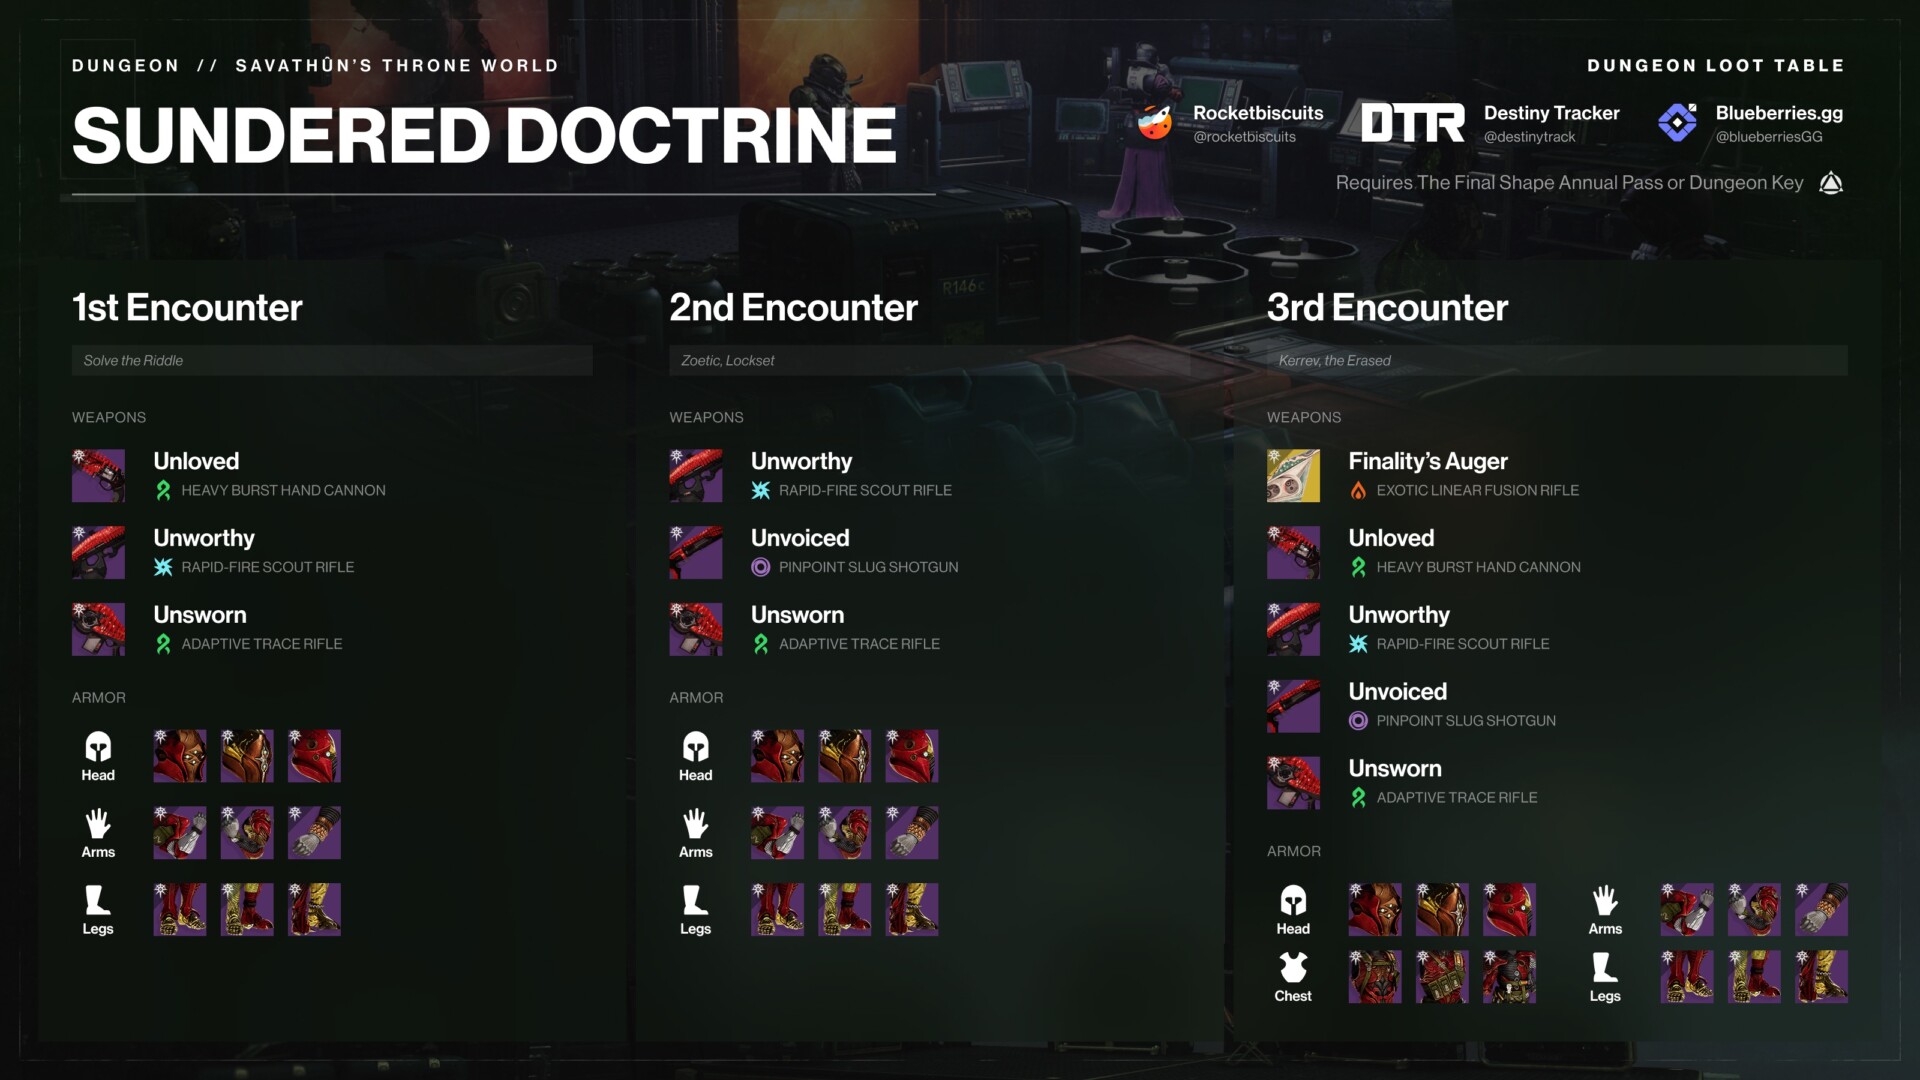
Drop Table
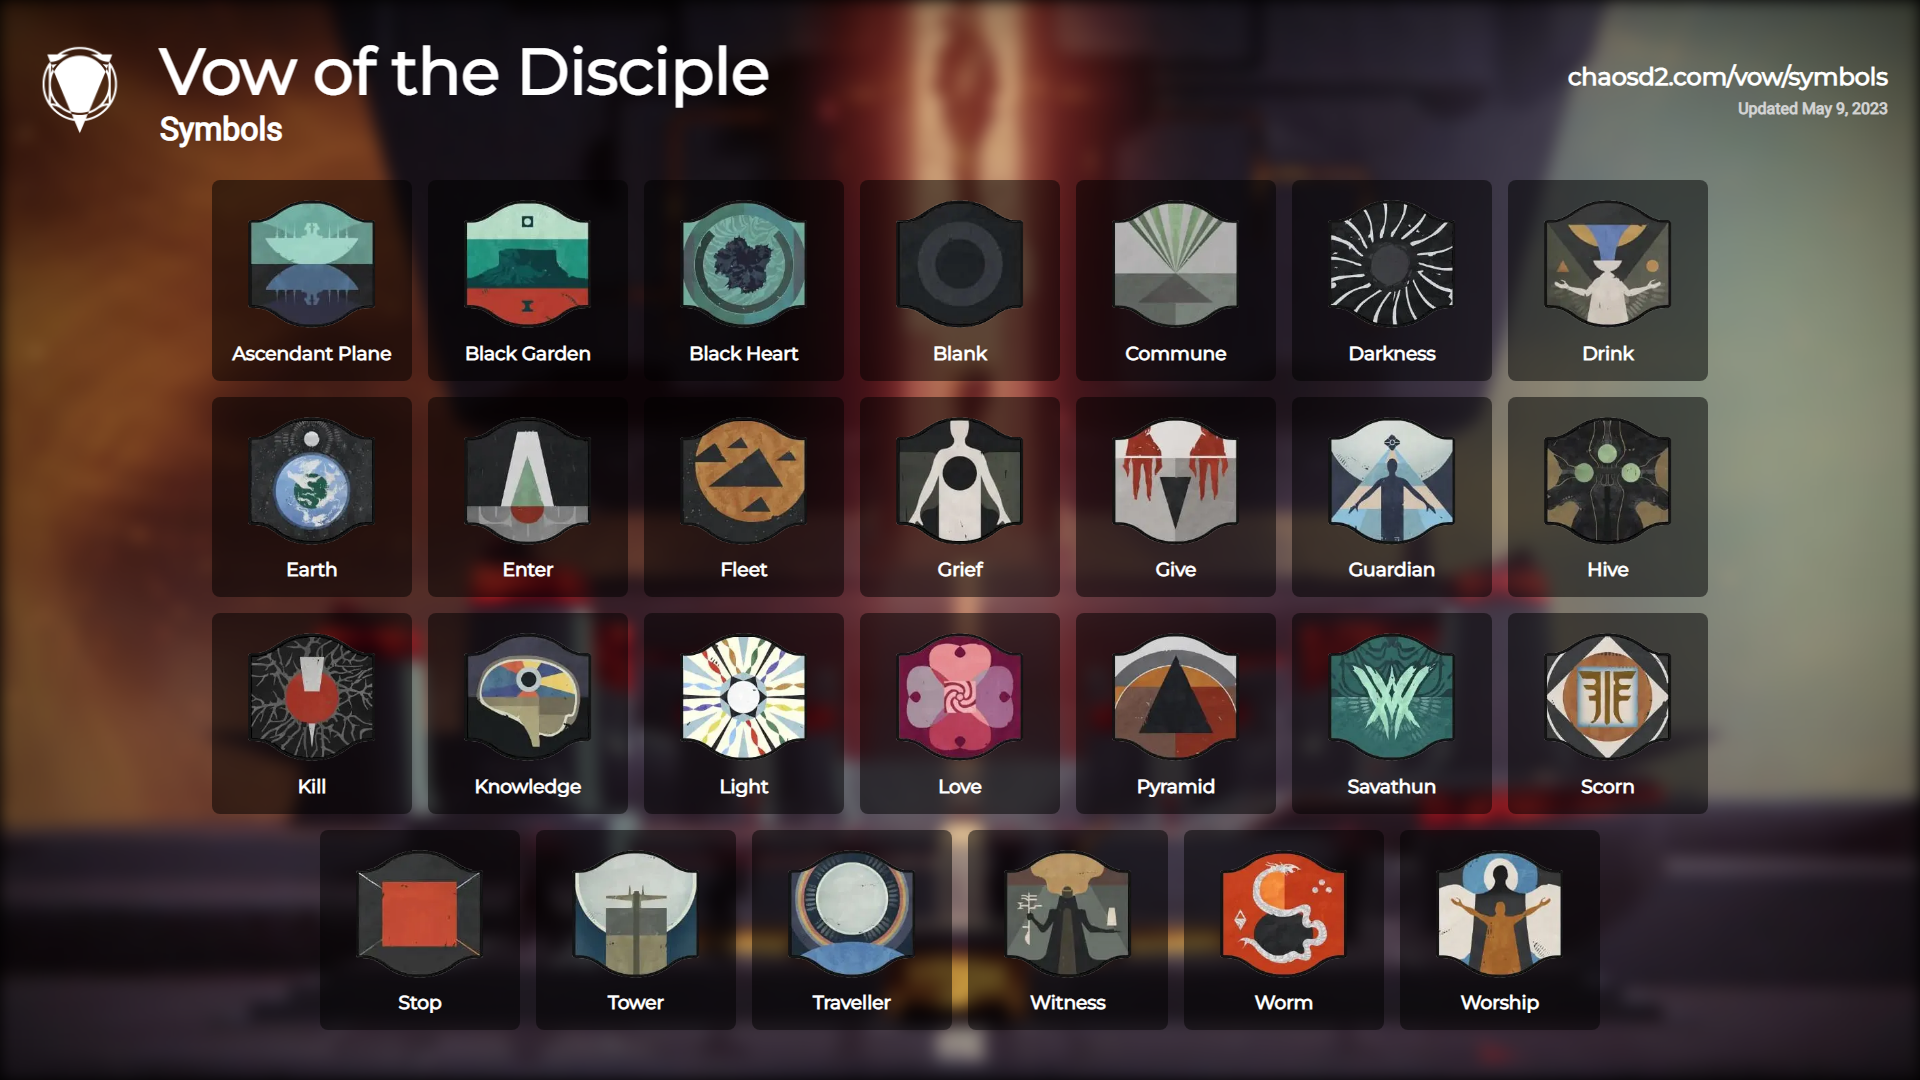
Vow of the Disciple Glyph Icons
This dungeon will also utilise the symbols from Vow of the Disciple:
All Truths and Lies Combinations
This compiled list of all possible combinations of truths and lies may help you solve the encounters.

Secrets and Collectibles
Secret Chest #1
After completing the first encounter, you will enter a large, maze-like area where navigation can be challenging. The first secret chest is locked behind a puzzle requiring the destruction of three Darkness Cruxes hidden within the maze.
Crux Locations:
- Darkness Crux 1: From the entrance, take the first left, followed by another left. Descend the stairs, and you will find the first Darkness Crux on your left.
- Darkness Crux 2: Return up the stairs and continue straight to the end. Look to your right to locate the second Darkness Crux.
-
Darkness Crux 3: Proceed forward, drop down, crouch, and move
ahead until you reach an open area. Then follow these steps:
- Turn right.
- Take the second left.
- Take the first right.
- Take the first left.
- Finally, take another left to find the third Darkness Crux on your left.
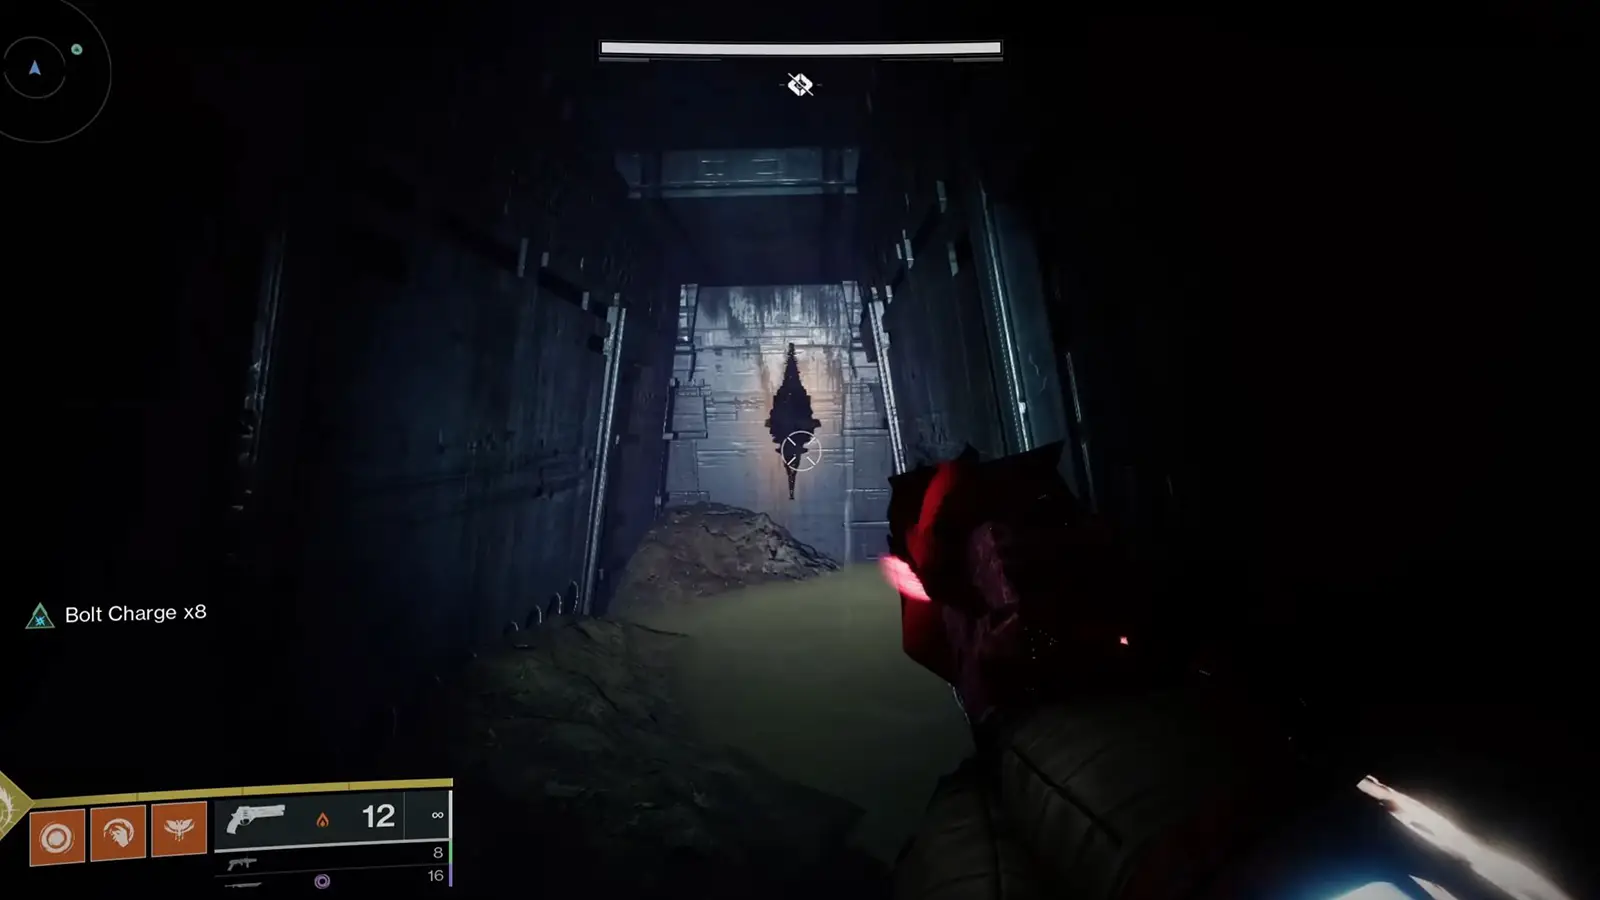 How a crux looks like. Find 3 of these to spawn in the
chest.
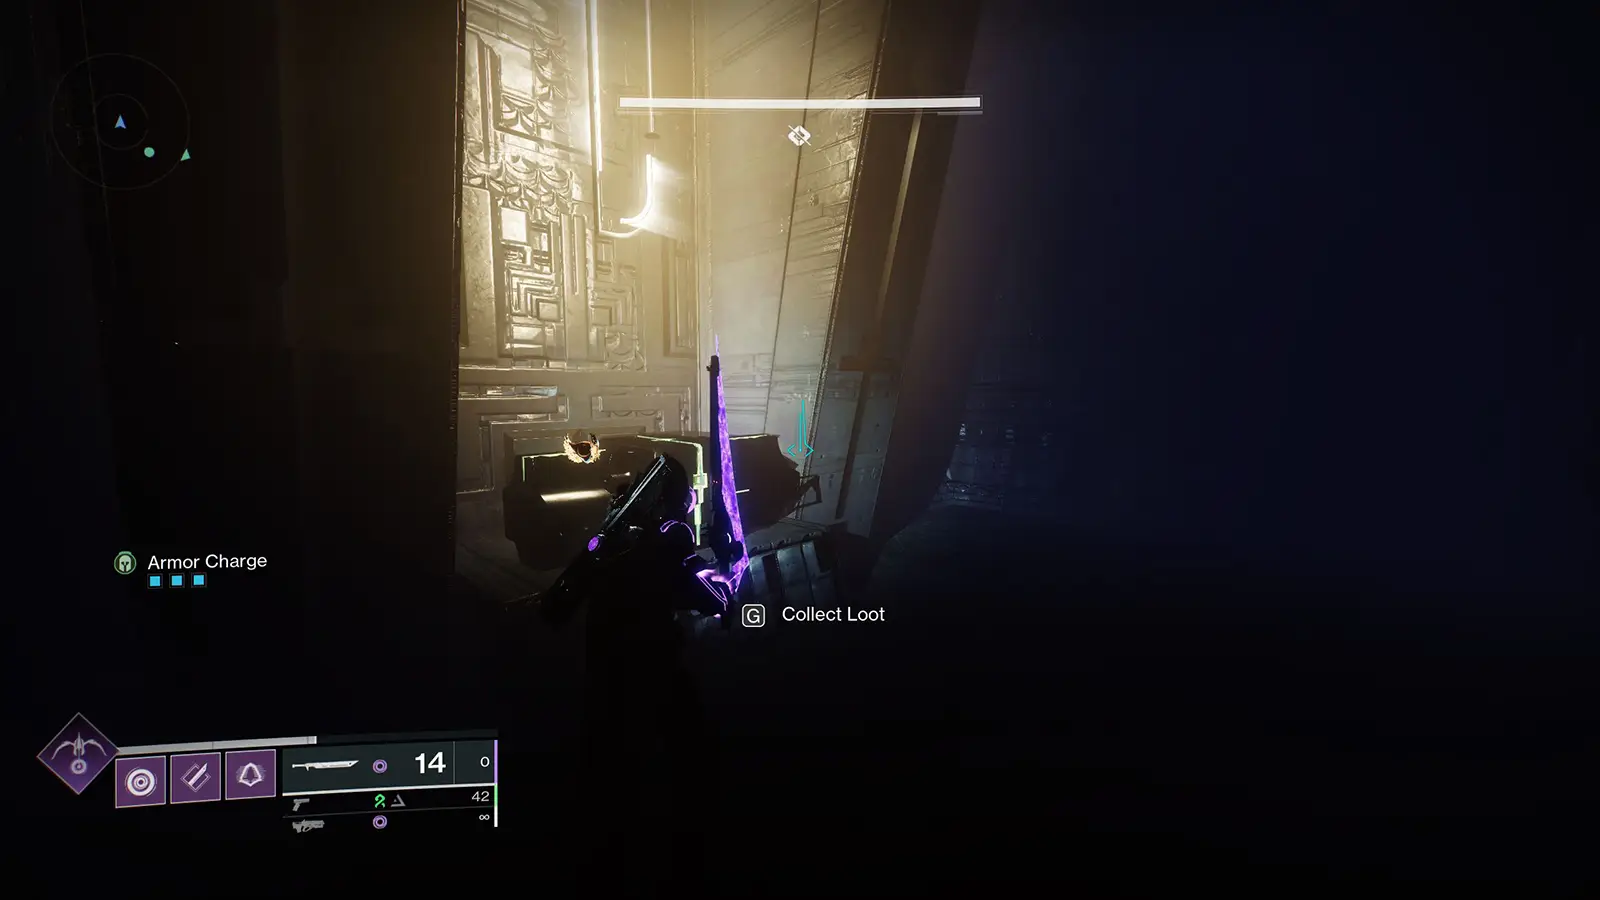 The chest will spawn in the center of the area.
Secret Chest #2
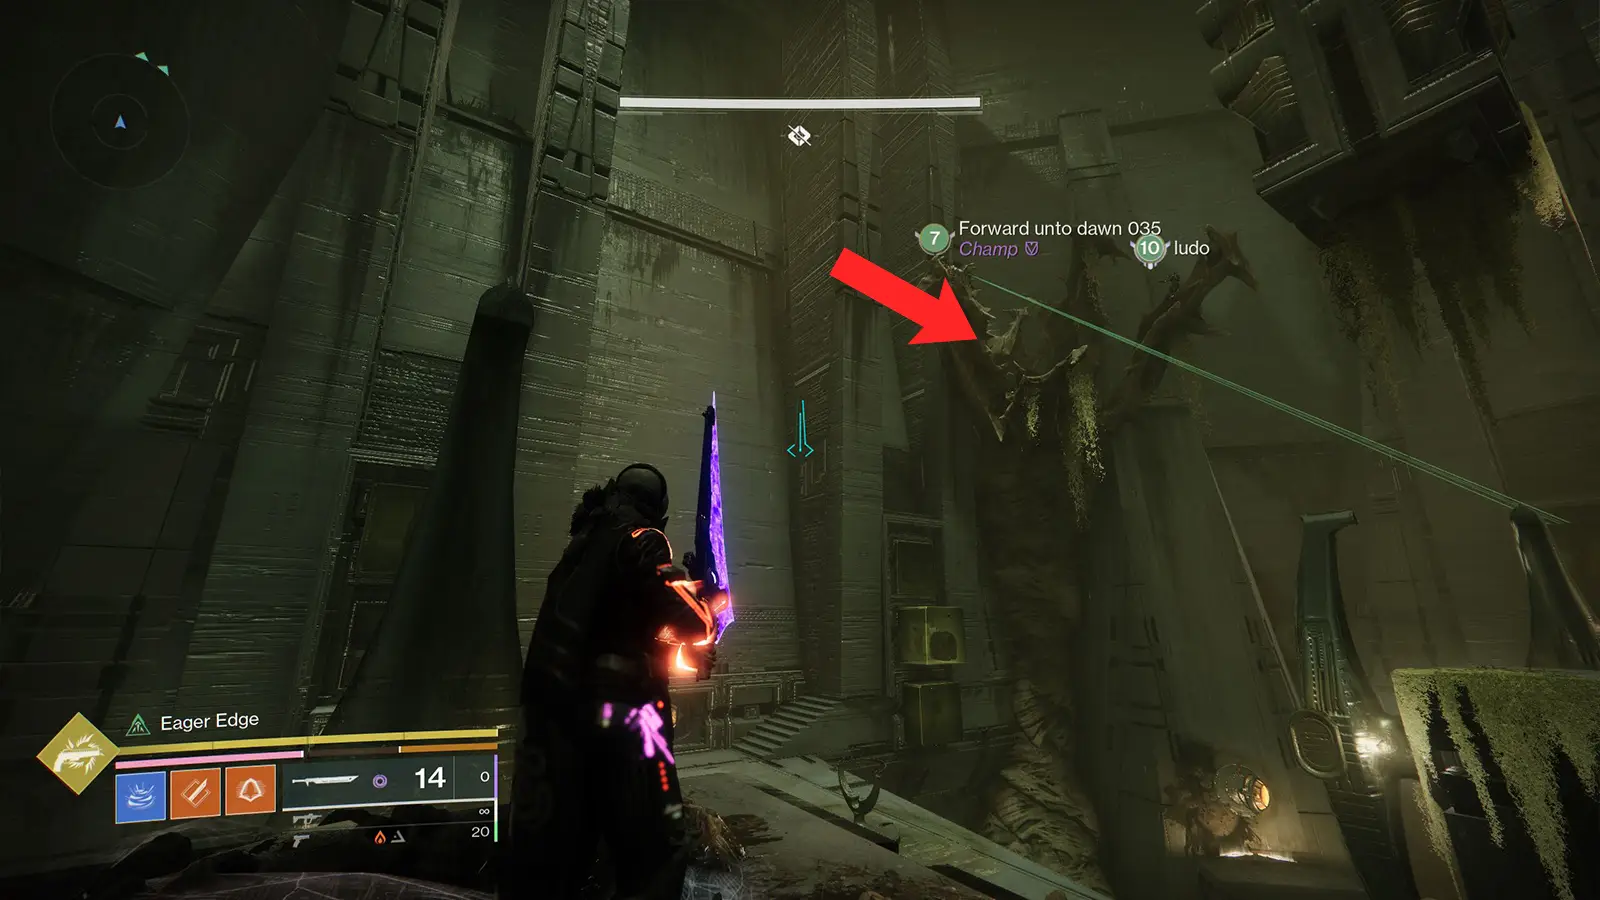
The second secret chest is located in a room just before the final boss encounter, where you must align the Snake and Enter Darkness beams. Upon entering, look towards the top right of the room to find a worm-like structure protruding from the wall.
The chest is concealed inside the worm's open mouth. To access it, jump onto the middle platform, locate a small ledge positioned beneath the chest, jump onto the ledge and then leap again into the worm's mouth to claim the chest. Alternatively, using the Strand Grapple can make reaching the chest easier.
Finality's Auger Exotic Catalyst
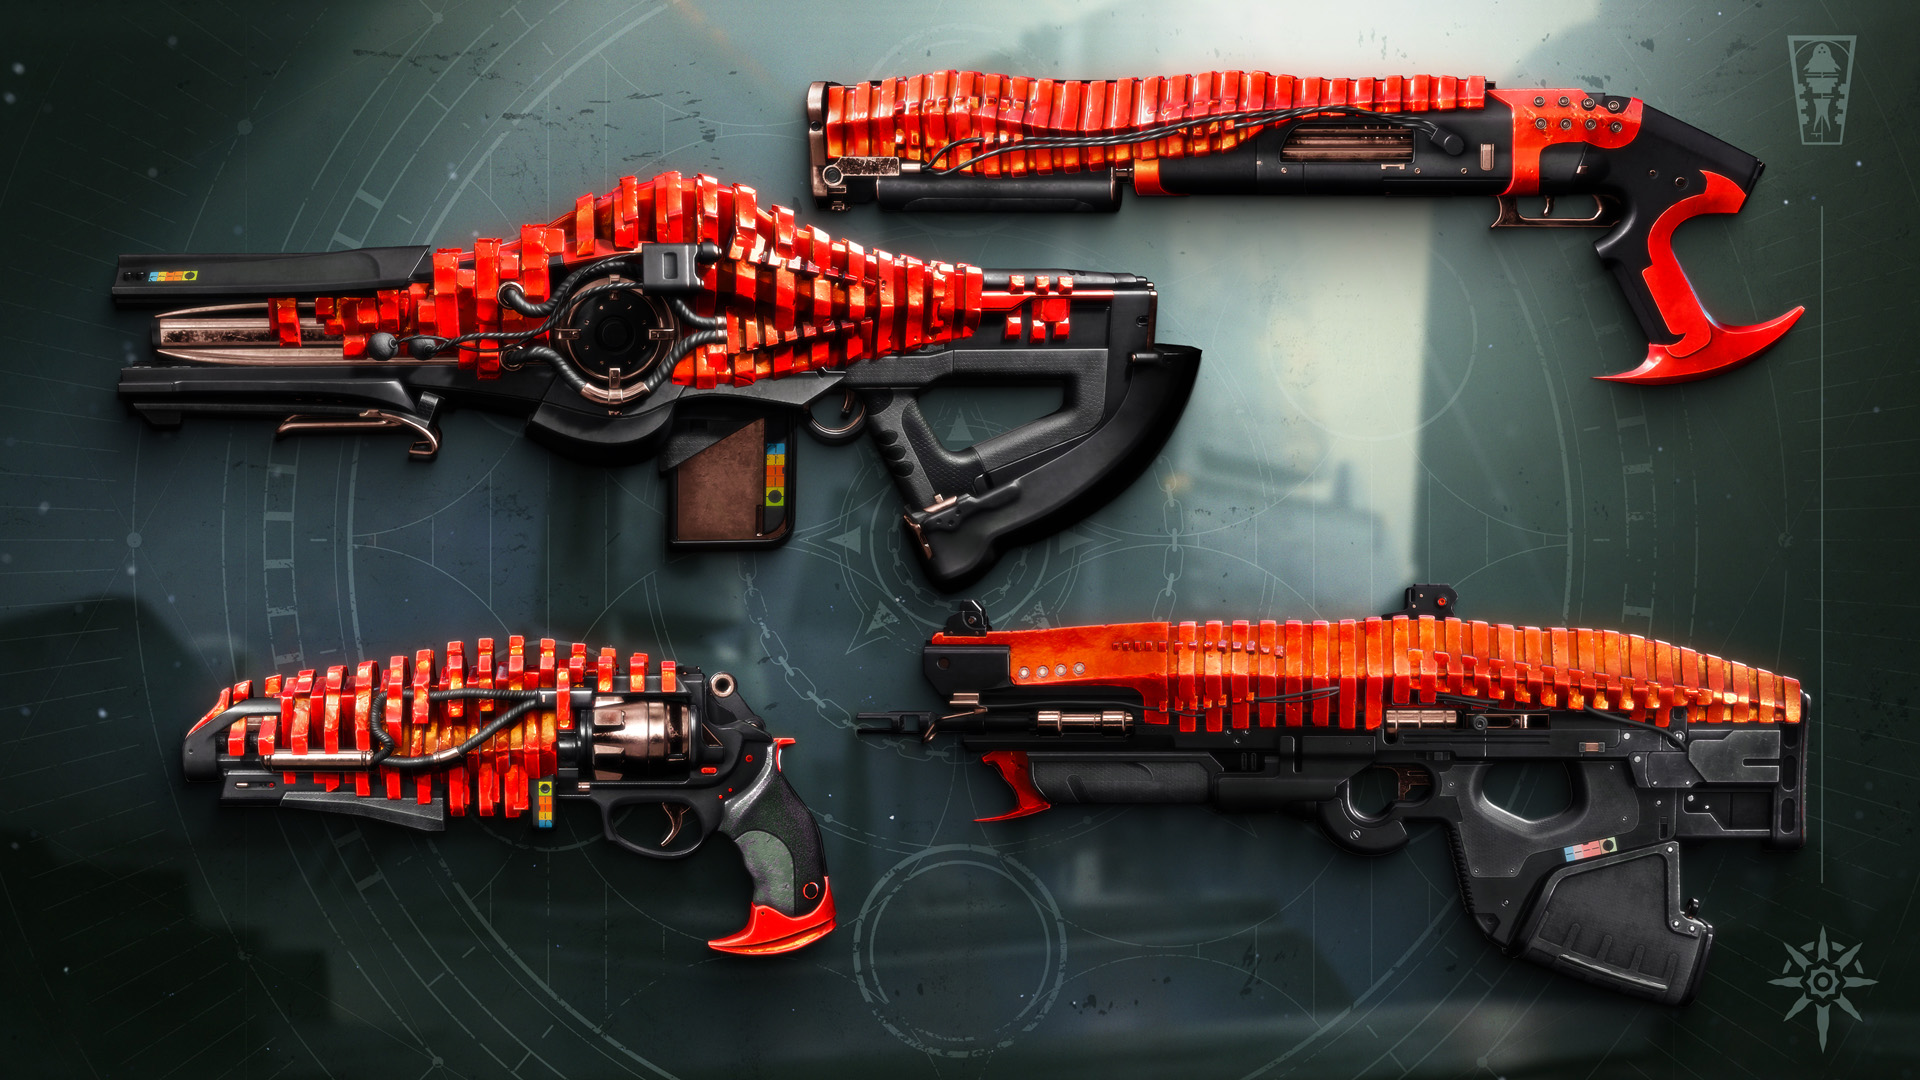
Weapons

Subjugation - Weapon adapts to targets. When dealing damage:
- To weak targets: shots explode.
- To strong targets: targets become exhausted.
- To Guardians: the weapon's flinch resistance increases.
- VS Chill Inhibitor: 3.5%
Exhausted targets deal reduced outgoing damage.
 Unloved
Legendary // Heavy Burst //
Hand Cannon
Desirable Perks
- Barrel:
- Arrowhead Brake
- Column 1 Perks:
- Dragonfly
- Hatchling
- Magazine:
- Ricochet Rounds
- Column 2 Perks:
- Tear
Masterwork: Range
Mod Slot: Backup Mag
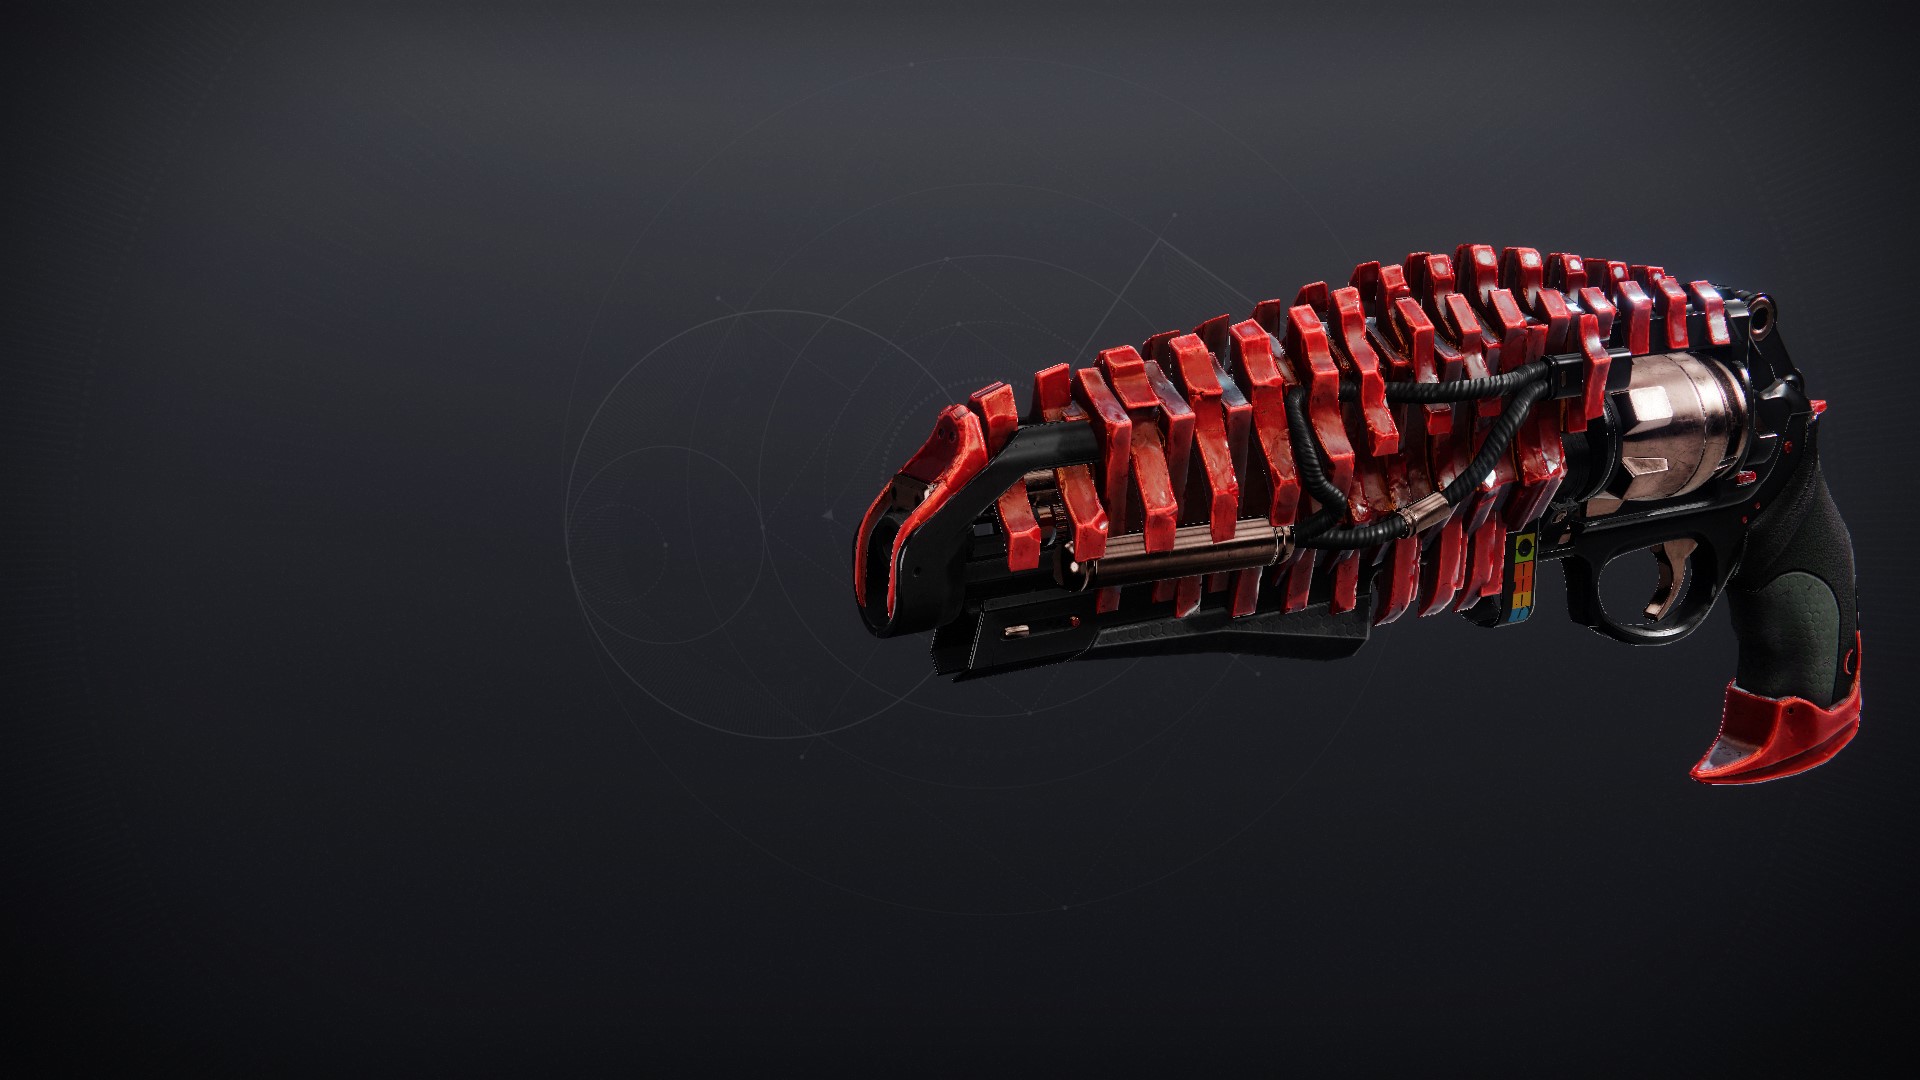
Unloved introduces a Strand-element hand cannon with a heavy burst fire mode, delivering high damage per burst and synergizing well with Strand-based builds. This weapon excels in both damage output and synergy, making it a top-tier choice for Strand builds. Hatchling and Paracausal Affinity work exceptionally well together, allowing for constant Threadling spawns while benefiting from a flat damage boost. The origin trait, which functions similarly to Explosive Payload, further enhances its effectiveness. When paired with a triple Strand build and an exotic fusion rifle, this weapon shines—maximizing Strand interactions, generating Orbs, and ensuring consistent high damage. An outstanding choice for those looking to go all-in on Strand-focused gameplay.
 Unsworn
Legendary // Adaptive
Frame // Trace Rifle
Desirable Perks
- Barrel:
- Arrowhead Brake
- Column 1 Perks:
- Rewind Rounds
- Battery:
- Enhanced Battery
- Column 2 Perks:
- Detonator Beam
Masterwork: Range
Mod Slot: Backup Mag
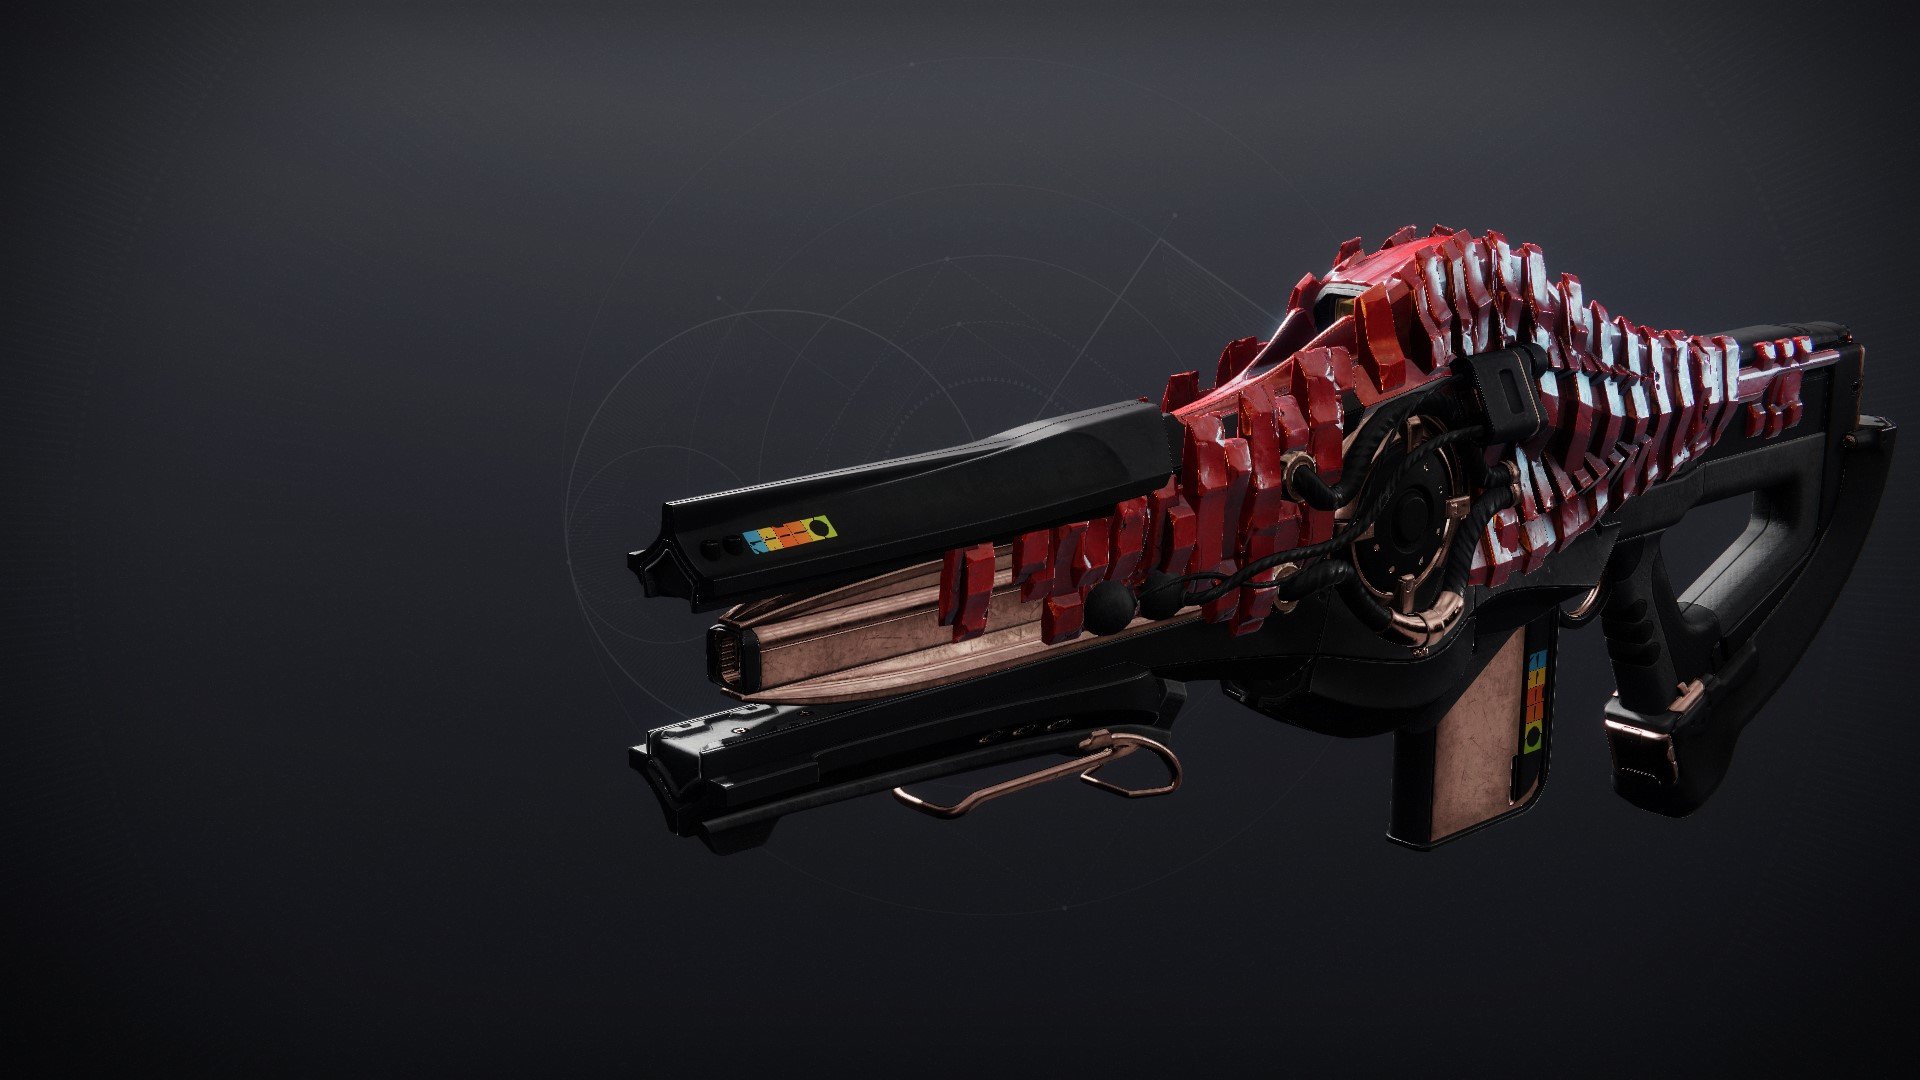
This trace rifle stands out as one of the best weapons from the Sundered Doctrine dungeon, offering strong versatility in both boss DPS support and ad-clear roles. The Origin Trait adds great utility, functioning similarly to Explosive Payload for minor enemies while applying a Sever-like effect to tougher targets. If you're running double special and need a secondary weapon to hold special ammo for boss DPS, Shoot to Loot + Detonator Beam is an ideal choice. If you plan to use it as an ad-clear weapon, Tear + Detonator Beam, Hatchling, or Killing Tally provides excellent wave-clearing potential. Overall, this weapon is an exceptional choice for PvE, offering strong perk combinations that cater to different playstyles.
 Unworthy
Legendary // Rapid-Fire
Frame // Scout Rifle
Desirable Perks
- Barrel:
- Arrowhead Brake
- Column 1 Perks:
- Firefly
- Magazine:
- Ricochet Rounds
- Armor-Piercing Rounds
- Column 2 Perks:
- Voltshot
Masterwork: Range, Stability
Mod Slot: Backup Mag
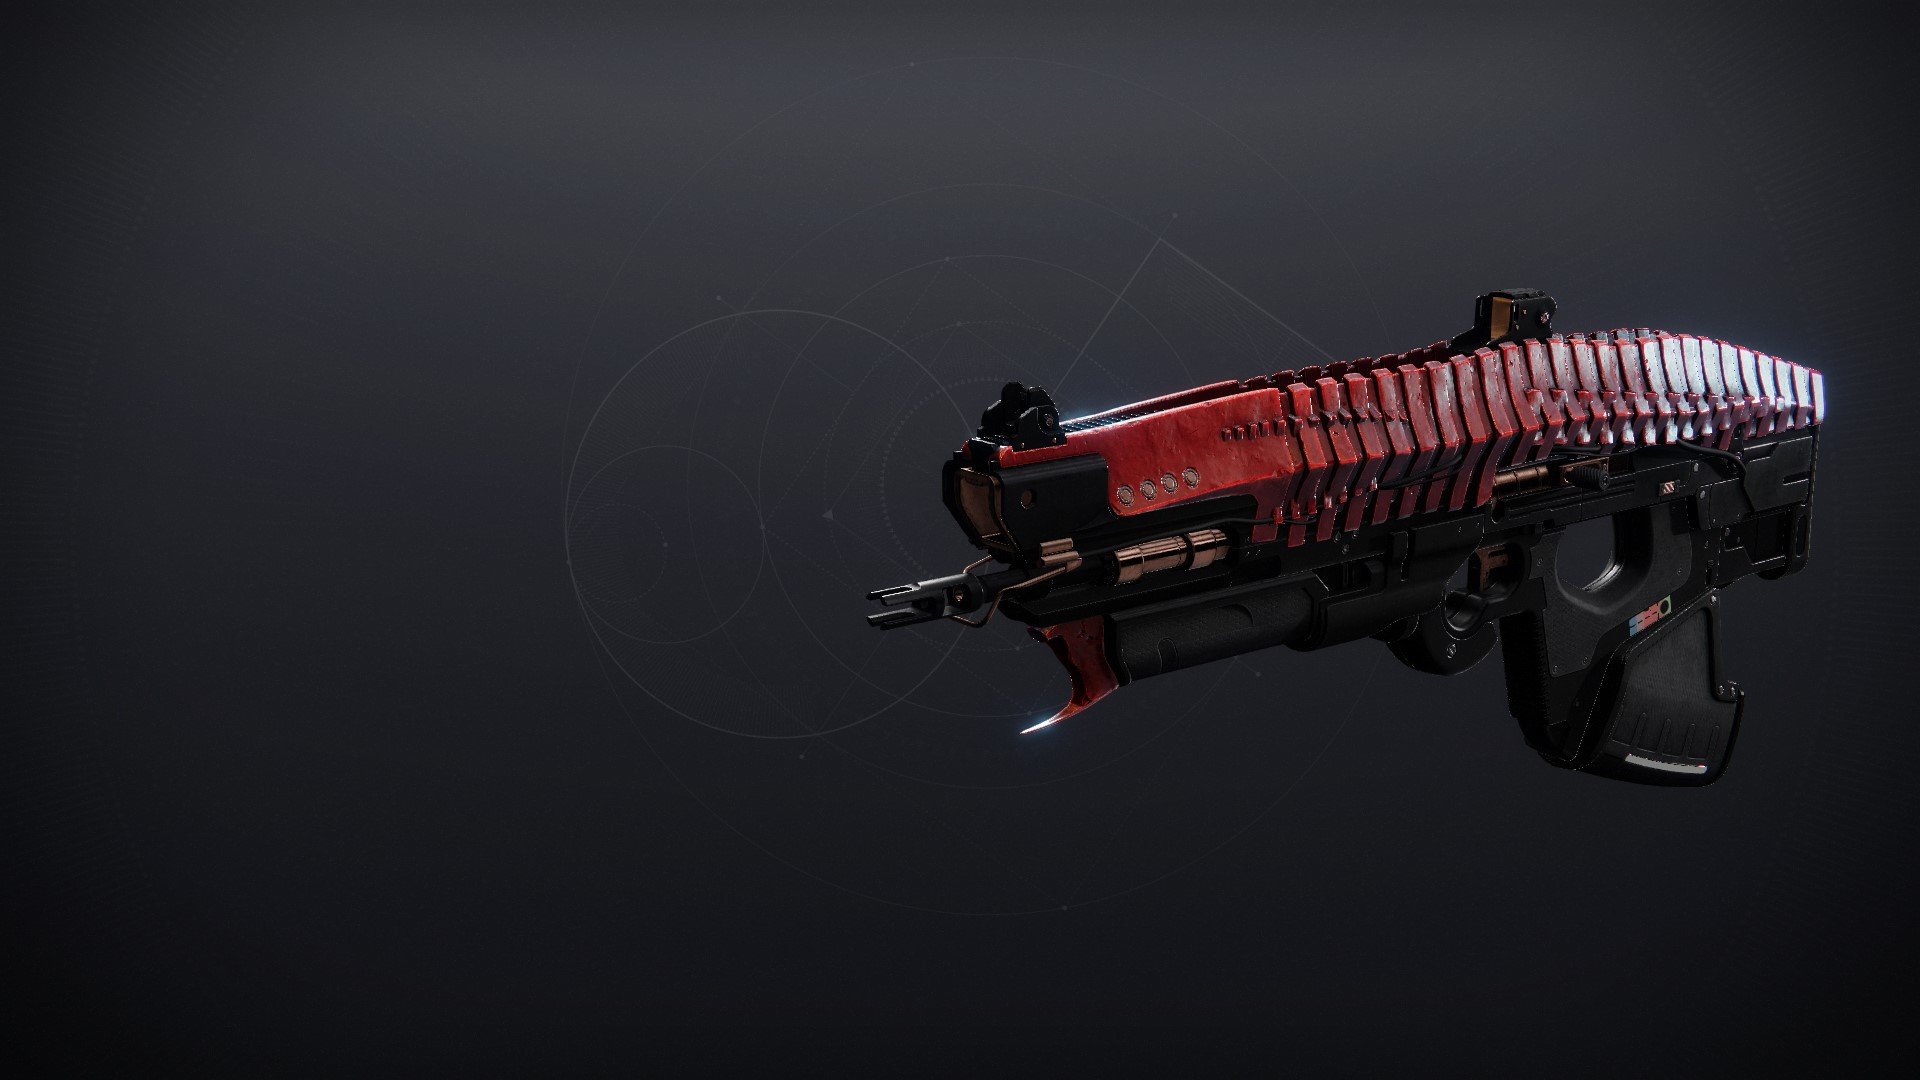
Unworthy is a rapid-fire scout rifle with an Arc element, providing a high rate of fire and versatility across various combat situations. Its rapid-fire nature and Arc synergy make it a top-tier choice for both clearing adds and dealing sustained damage, especially when utilizing Arc-focused builds. For a more pvp-centric build, you can consider going for Rapid Hit or Keep Away with Zen Moment for more stability and reload speed on precision hits or increases range when no enemies are nearby.
 Unvoiced
Legendary // Pinpoint Slug
Frame // Shotgun
Desirable Perks
- Barrel:
- Arrowhead Brake
- Column 1 Perks:
- Destabilizing Rounds
- Redirection
- Envious Arsenal
- Magazine:
- Assault Mag
- Column 2 Perks:
- Bait and Switch
- Demoralize
Masterwork: Range
Mod Slot: Backup Mag, Ballistics
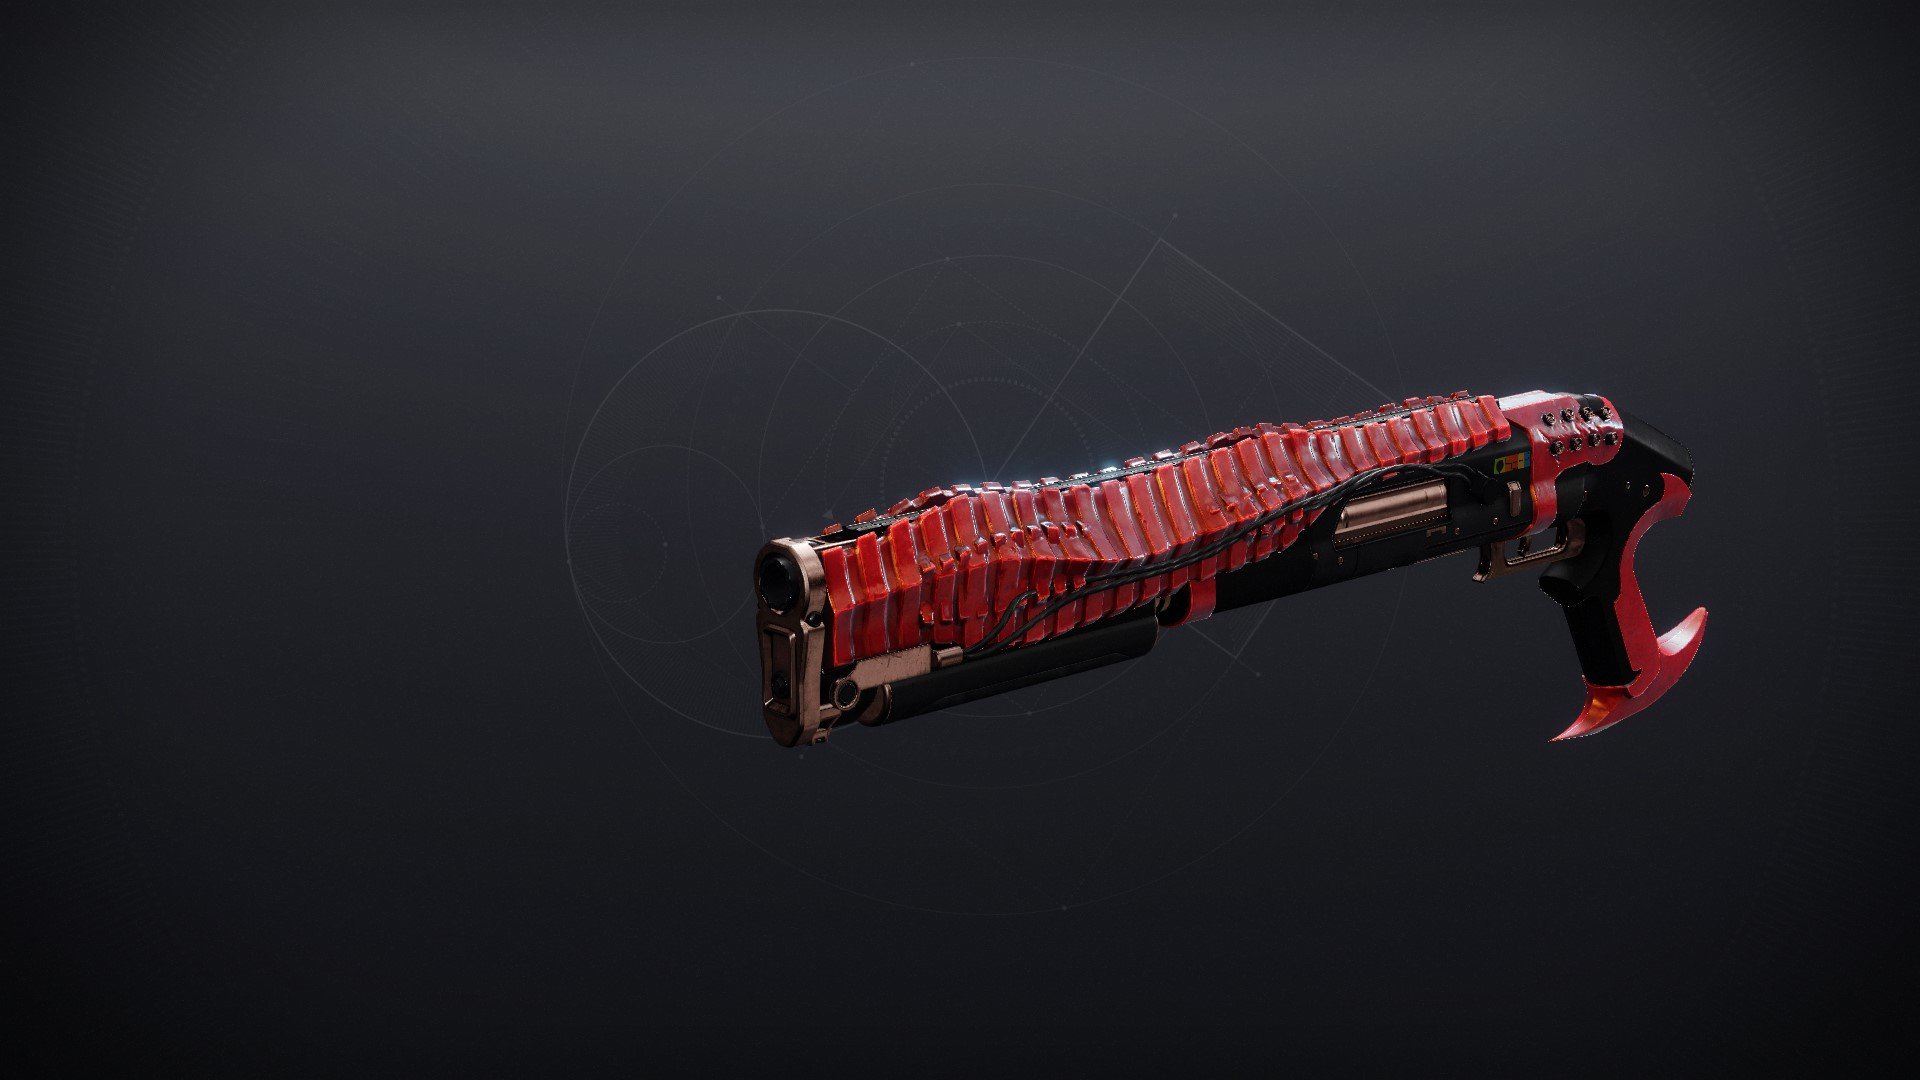
This weapon stands out as a Best-in-Slot Energy choice for Slug Shotgun rotations, particularly when utilizing Envious Arsenal + Bait and Switch for optimal damage output. Additionally, it offers unique perk combinations such as Redirection + Vorpal Weapon or Frenzy, making it highly effective for quickly eliminating Champions. For those looking to enhance ad-clear or apply area-of-effect damage on Elite kills, Destabilizing Rounds in the first column provides another versatile option. For PvP, the weapon features Lonewolf + Closing Time, making it a viable option for players who favor Slug Shotguns. While not a standout choice, it remains a competent selection for those comfortable with this weapon archetype.
 Finality's Augur
Exotic // Linear
Fusion Rifle
Details
Ruinscribe's Forge: [Alternate Weapon Action] to fire a special projectile that deploys a Ruinscribe Turret. This projectile costs 3 ammo to fire. Aim the projectile skyward to provide the clearest sight lines for the turret which will automatically shoot at nearby targets.
Ruinscribe's Beacon: While a Ruinscribe Turret is deployed, this weapon can paint targets with its laser projectiles. The turret prioritizes painted targets and fires more powerful munitions at them. [Alternate Weapon Action] to swap between normal fire and laser fire modes.
(Catalyst) Bait and Switch: Deal damage with all equipped weapons within a short time to give this weapon a damage boost.
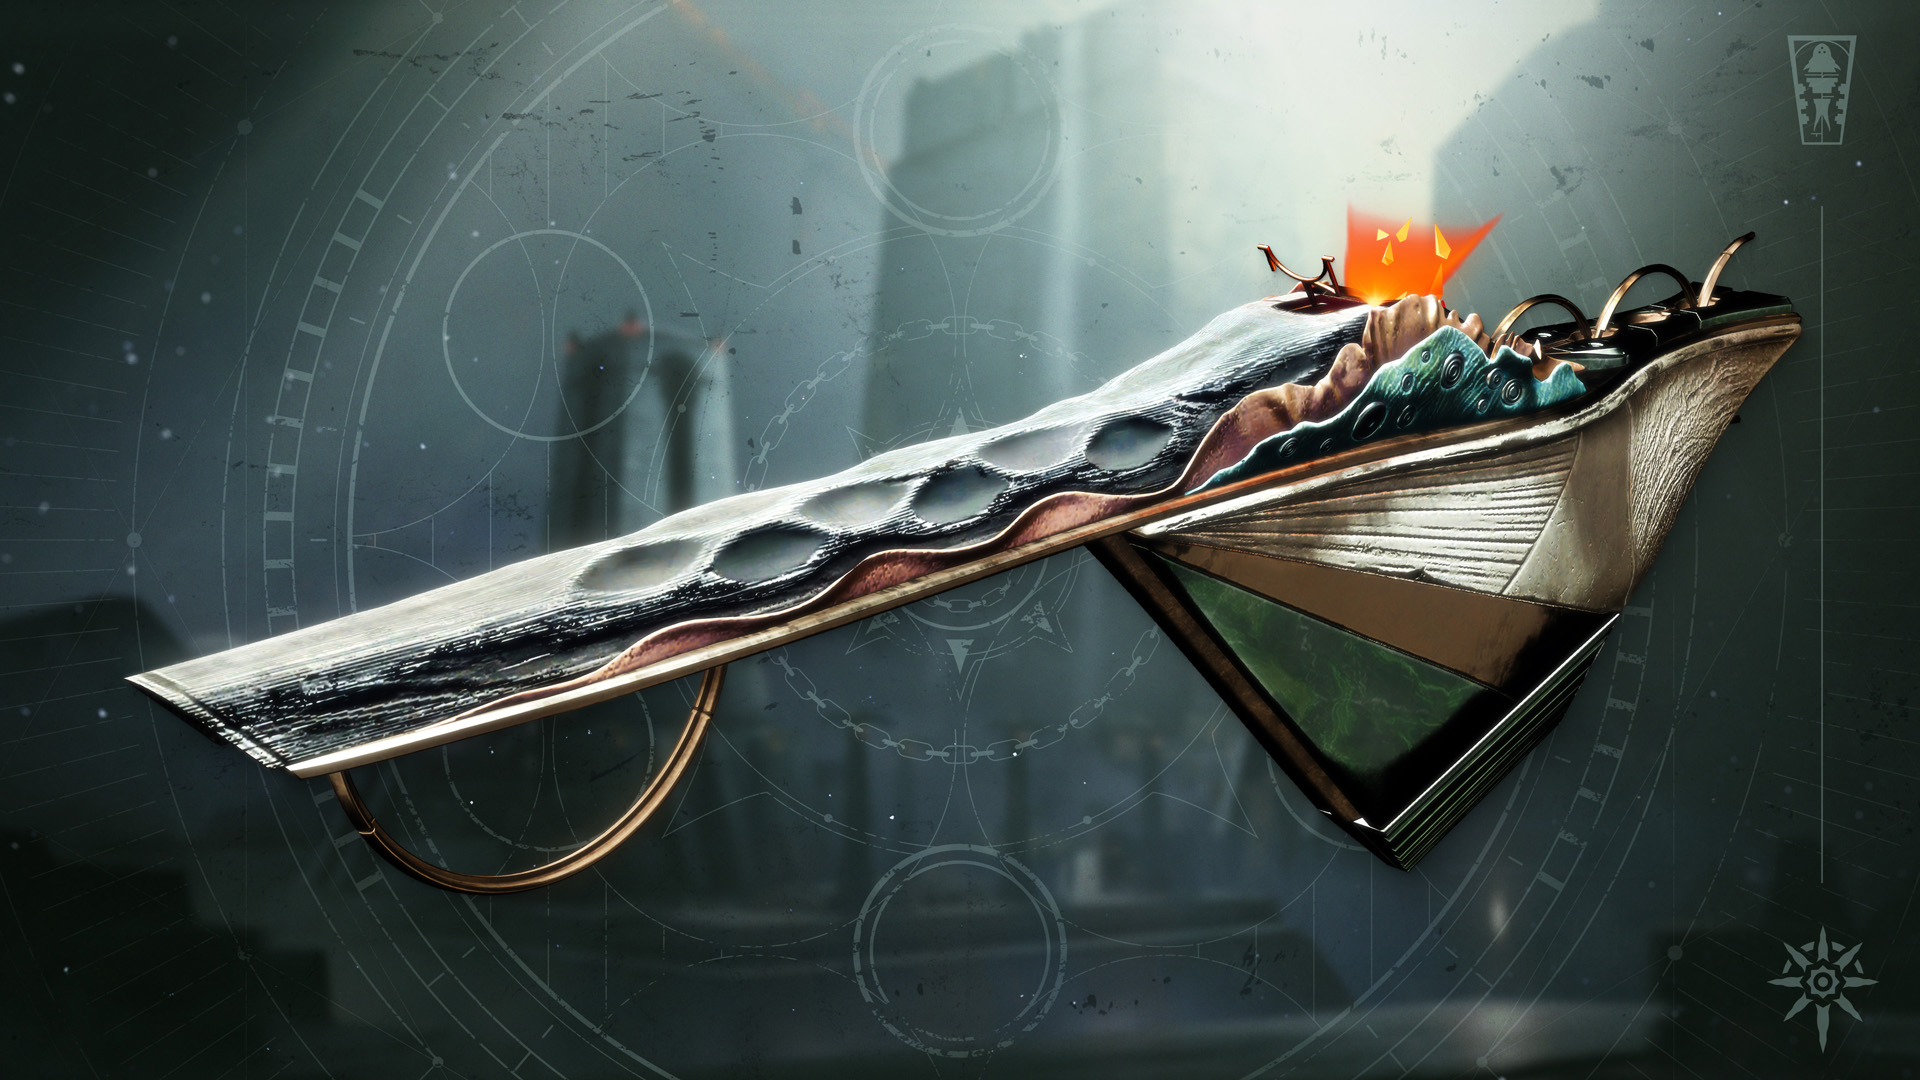
Overall, this Exotic offers strong utility across both PvE and PvP, making it a standout choice for those who enjoy adaptive, turret-based gameplay. The turret mechanic excels at clearing large groups of ads or locking down key areas, providing consistent crowd control. Additionally, it can be directed to focus on specific targets, including bosses, continuously firing volley missiles until the target is eliminated or the turret despawns. Damage output is solid, and with Bait and Switch as its catalyst, combined with particle recontruction, it has potential for strong boss DPS.
In PvP, the turret can two-shot opponents if properly targeted, making it highly effective for securing kills or finishing off weakened enemies. It also serves as a great zoning tool, controlling lanes and forcing opponents out of cover.
Gear Focusing
How to unlock focusing:- Complete the Drowning Labyrinth quest by collecting all nine worms.
- Return to the Hidden base camp to find a new document near the dial.
- Input the final code: Worm, Give, Guardian to activate "Fully Initiated" status.
- Find the focusing crate in the base camp on the top right corner facing the exit to the bridge - The symbol indicates the drop being targeted.
- Match glyphs to weapons and armor by interacting with the appropriate symbols in specific dungeon locations.
Each item has a corresponding glyph symbol and location in the dungeon:
| Gear | Symbol | Dungeon Location | Symbol Location |
|---|---|---|---|
| Chest Armor | Witness | Before the first encounter | Under the bridge outside the base camp. |
| Helmet | Hive | Before the first encounter | In the drop-down section with red & white light. |
| Class Item | Guardian | Before the first encounter | In the flooded room with the waterfall passage, on a wall to the right. Grab this before entering the passage. |
| Gauntlets | Give | Before the second encounter | In the area with the control room. This one is on the left side of the zone. Shoot the door to enter. |
| Shotgun (Unvoiced) | Grief | Before the second encounter | In the sloped area that tries to throw you into the abyss. |
| Scout rifle (Unworthy) | Knowledge Remember |
Before the second encounter | In the area with the spiked spheres rolling down on you. |
| Hand cannon (Unloved) | Darkness | Before the final boss | In the room with the Worm and Enter glyphs, to the left of the Worm symbol. |
| Trace Rifle (Unsworn) | Worm | Before the final boss | In the room with the large Worm symbol on the wall and the Hive Worm corpses. |
| Leg armor | Fleet | Before the final boss | In the room just past the Worm and Enter glyphs. |
Once you've focused your loot in the Sundered Doctrine dungeon, you can claim your chosen drop from Rhulk's vault after defeating Kerrev, the Erased (the final boss). This chest is the same one that grants the class item and Finality's Auger catalyst (if you already own the Exotic). Loot is claimable once per character per week, meaning you can earn up to three focused drops weekly if you complete the dungeon on different characters.
Flooded Inspection - Solving the Riddle
Recommended weapons and builds:
- Ad-Clear Weapons and builds.
- Insta-killing ultimates to deal with Subjugators.
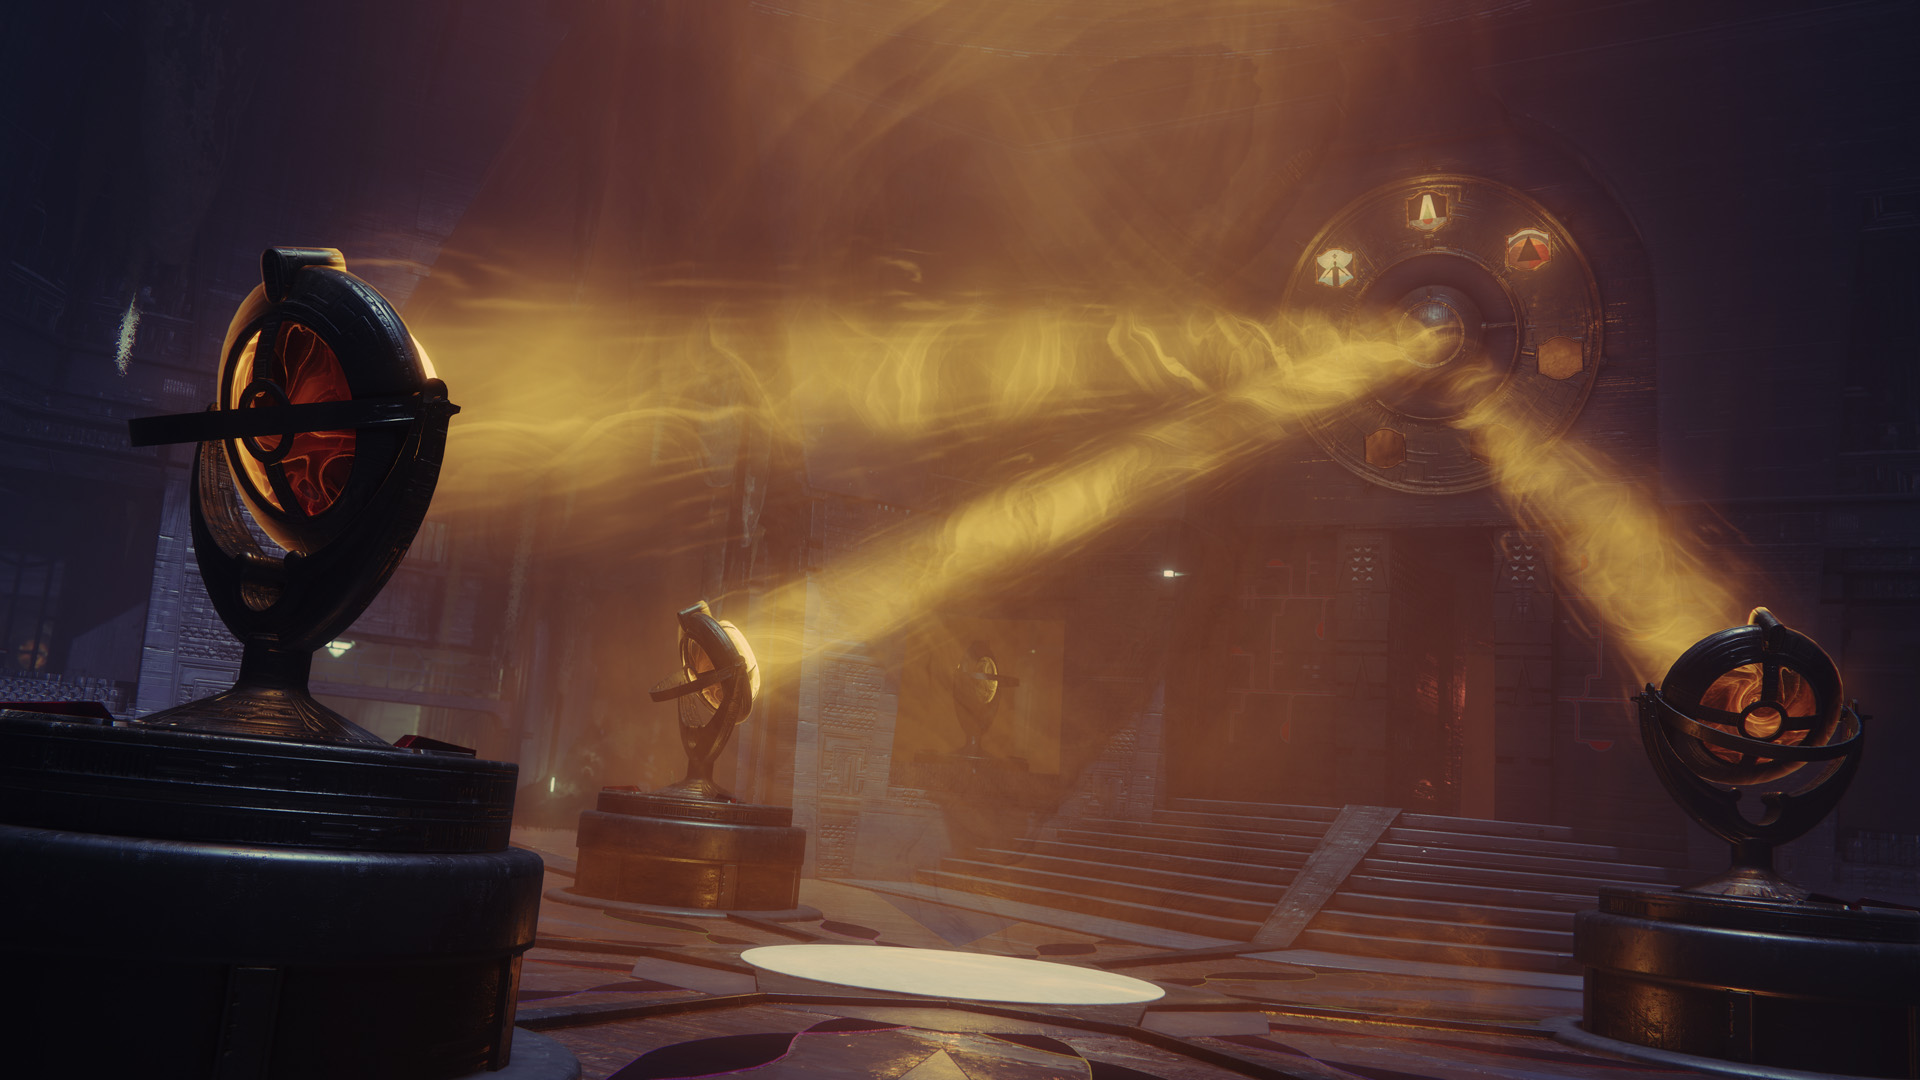
This initial encounter revolves around two main tasks: memorizing symbols and guiding light beams. You'll start in the central chamber, where three lenses are positioned in the middle, and a symbol wheel is mounted on the back wall. The wheel has three slots for symbols, but one is missing. Your goal is to identify the missing symbol and align a light beam with it.The puzzle takes place in a central chamber surrounded by four rooms—two on the left and two on the right. Each of these rooms contains a symbol wheel, with each wheel displaying a single symbol. To determine the correct symbol needed, players must either rely on their Destiny lore knowledge or use the Truthspeaker mechanic.
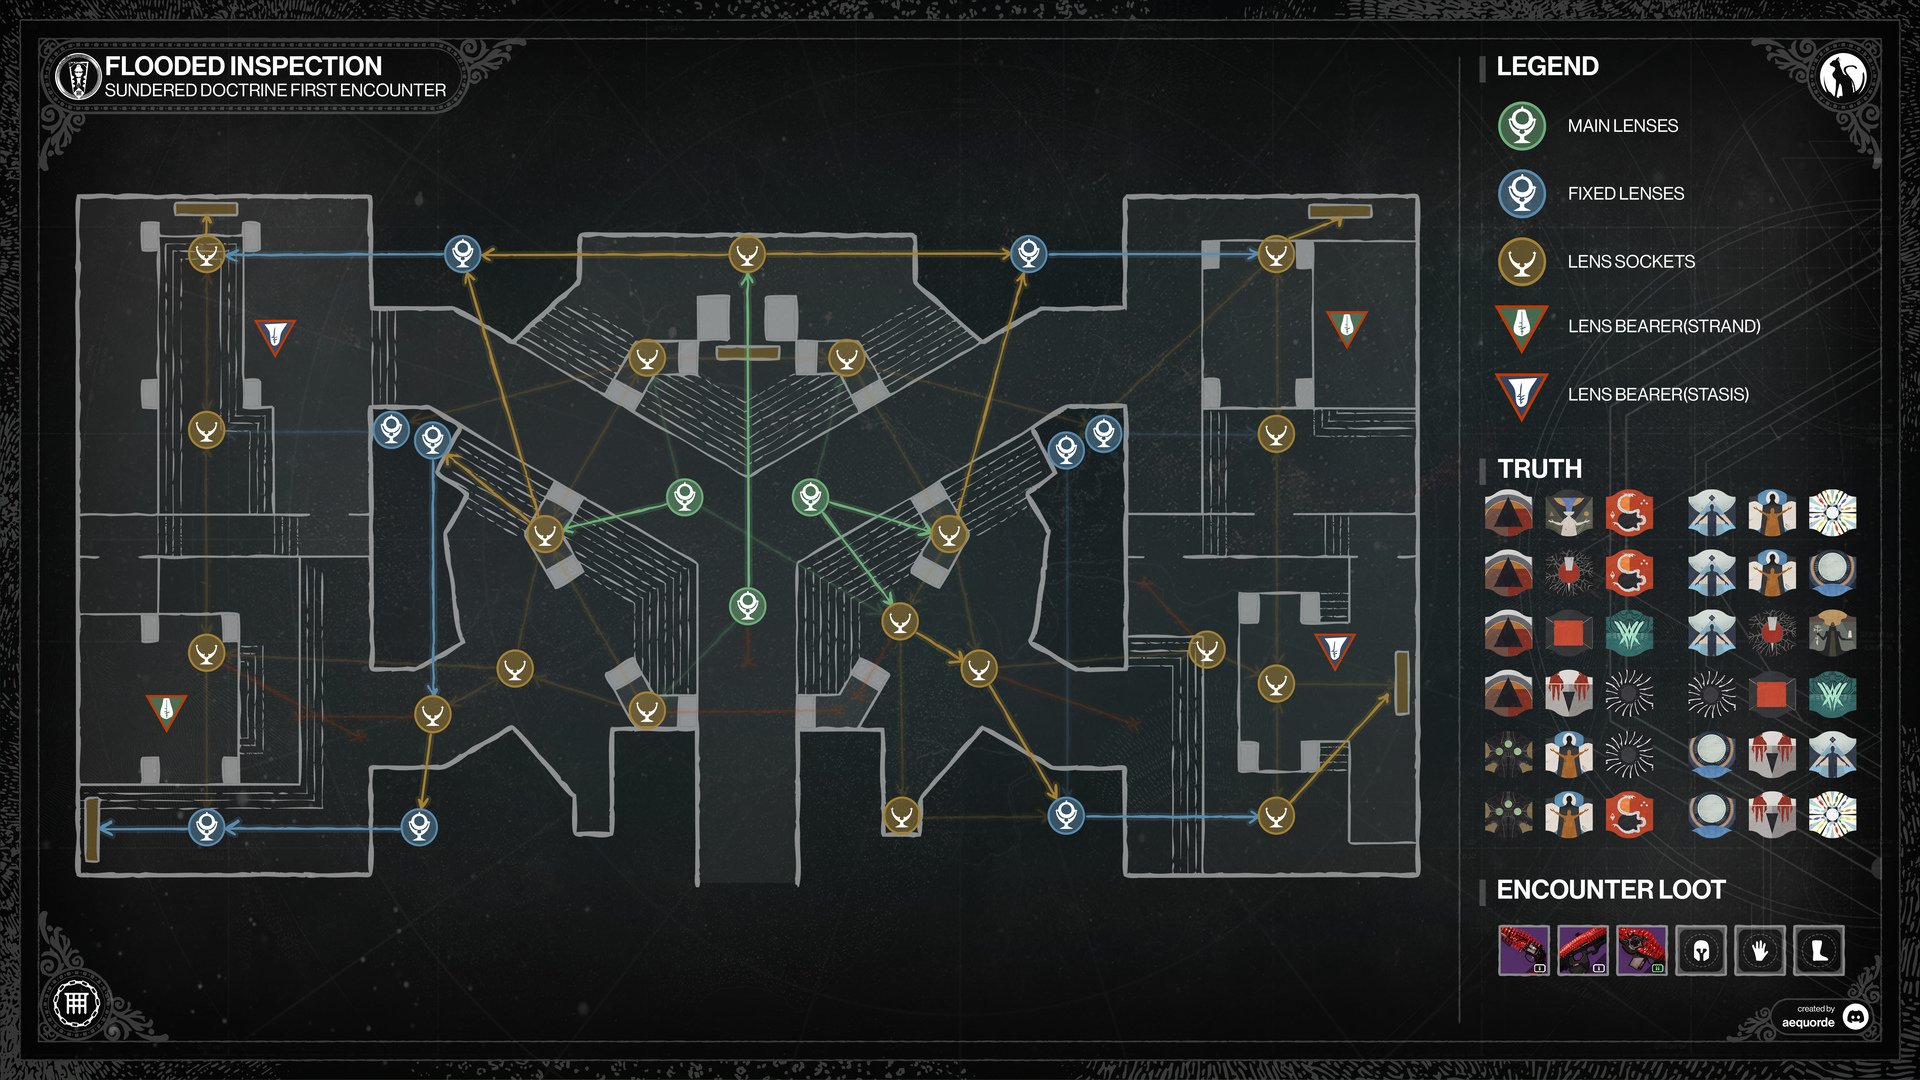
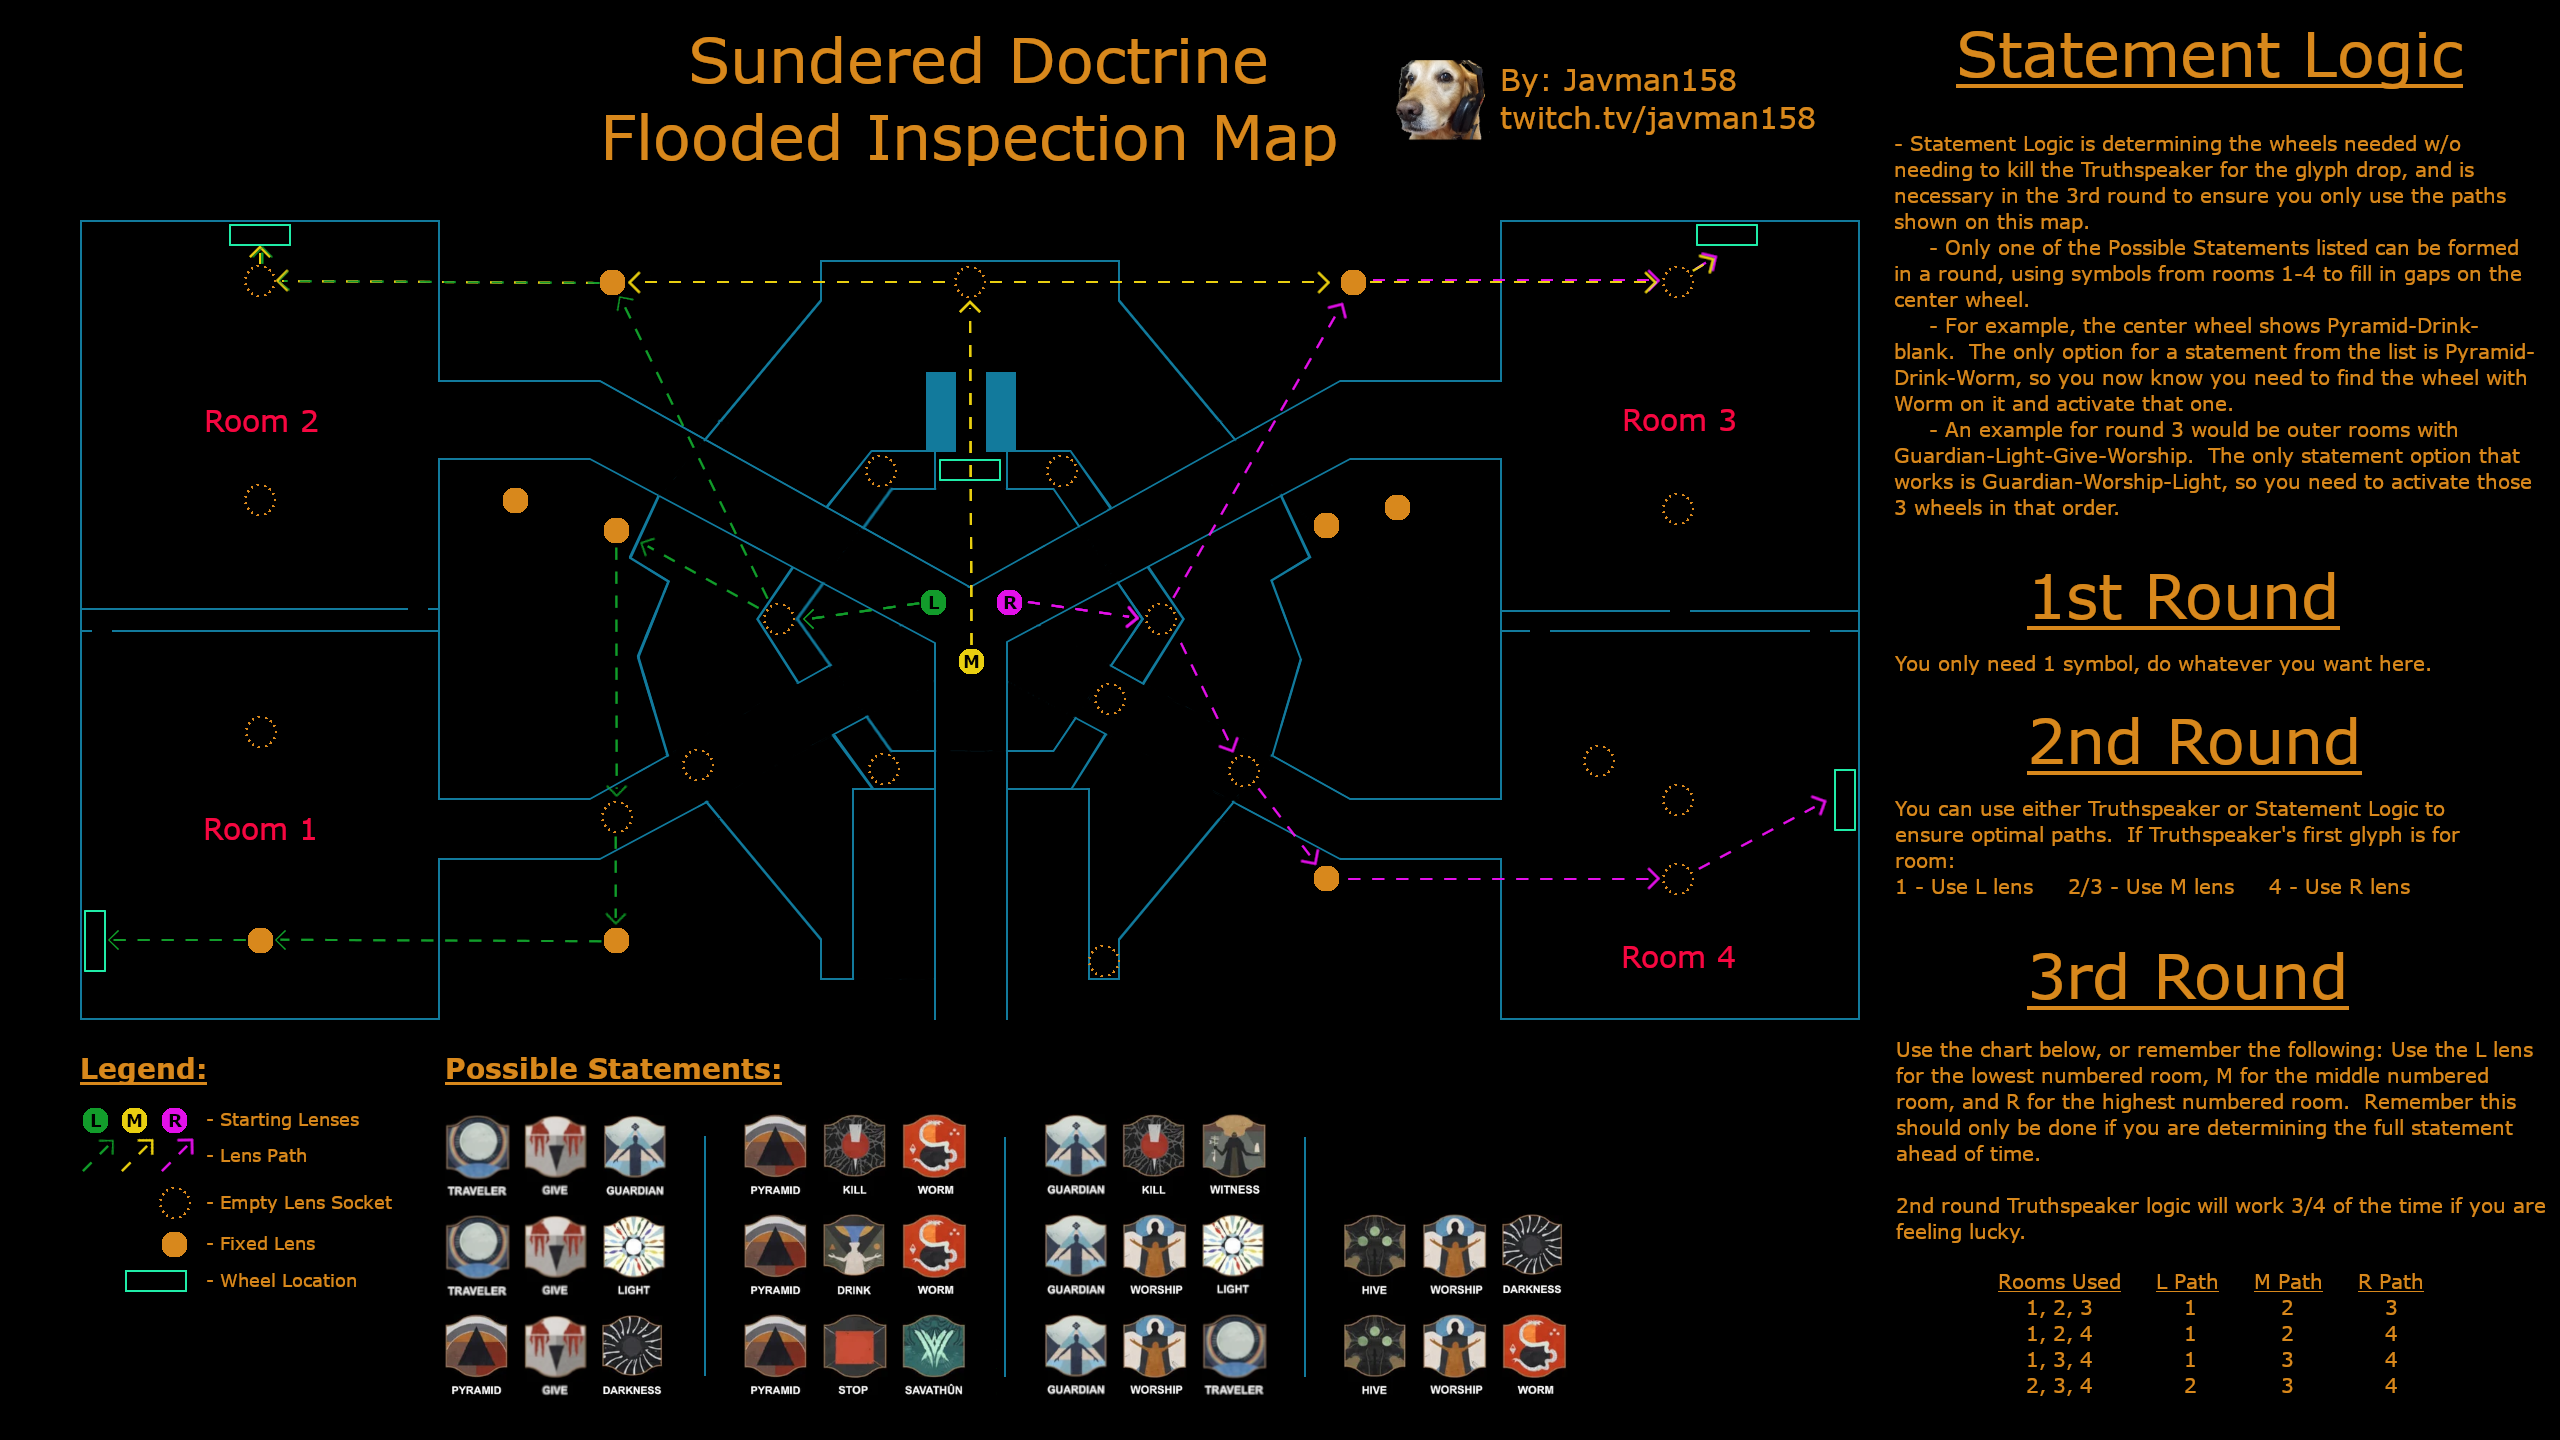
If you are looking for a simpler diagram to find the best possible routes to reflect the beams, this guide should also serve you well:
Method 1: Lore Method
For those familiar with Destiny's lore, the puzzle follows a storytelling approach. The symbols form a truth, in the form of a sentence, and the goal is to identify the truth that connects them. Here are some examples:
- If the sequence includes Traveller → [Unknown] → Light, the missing symbol is "Gift", as The Traveller literally gifts us with the light.
- If the sequence includes [Unknown] → Worship → Worm, the answer is "Hive", as the Hive literally get their power and immortality from the Worm Gods.
Having a solid grasp of Destiny's story or recent expansions can significantly speed up this puzzle.
Tip: The middle symbol is always a verb.
Method 2: Using the Truthspeaker
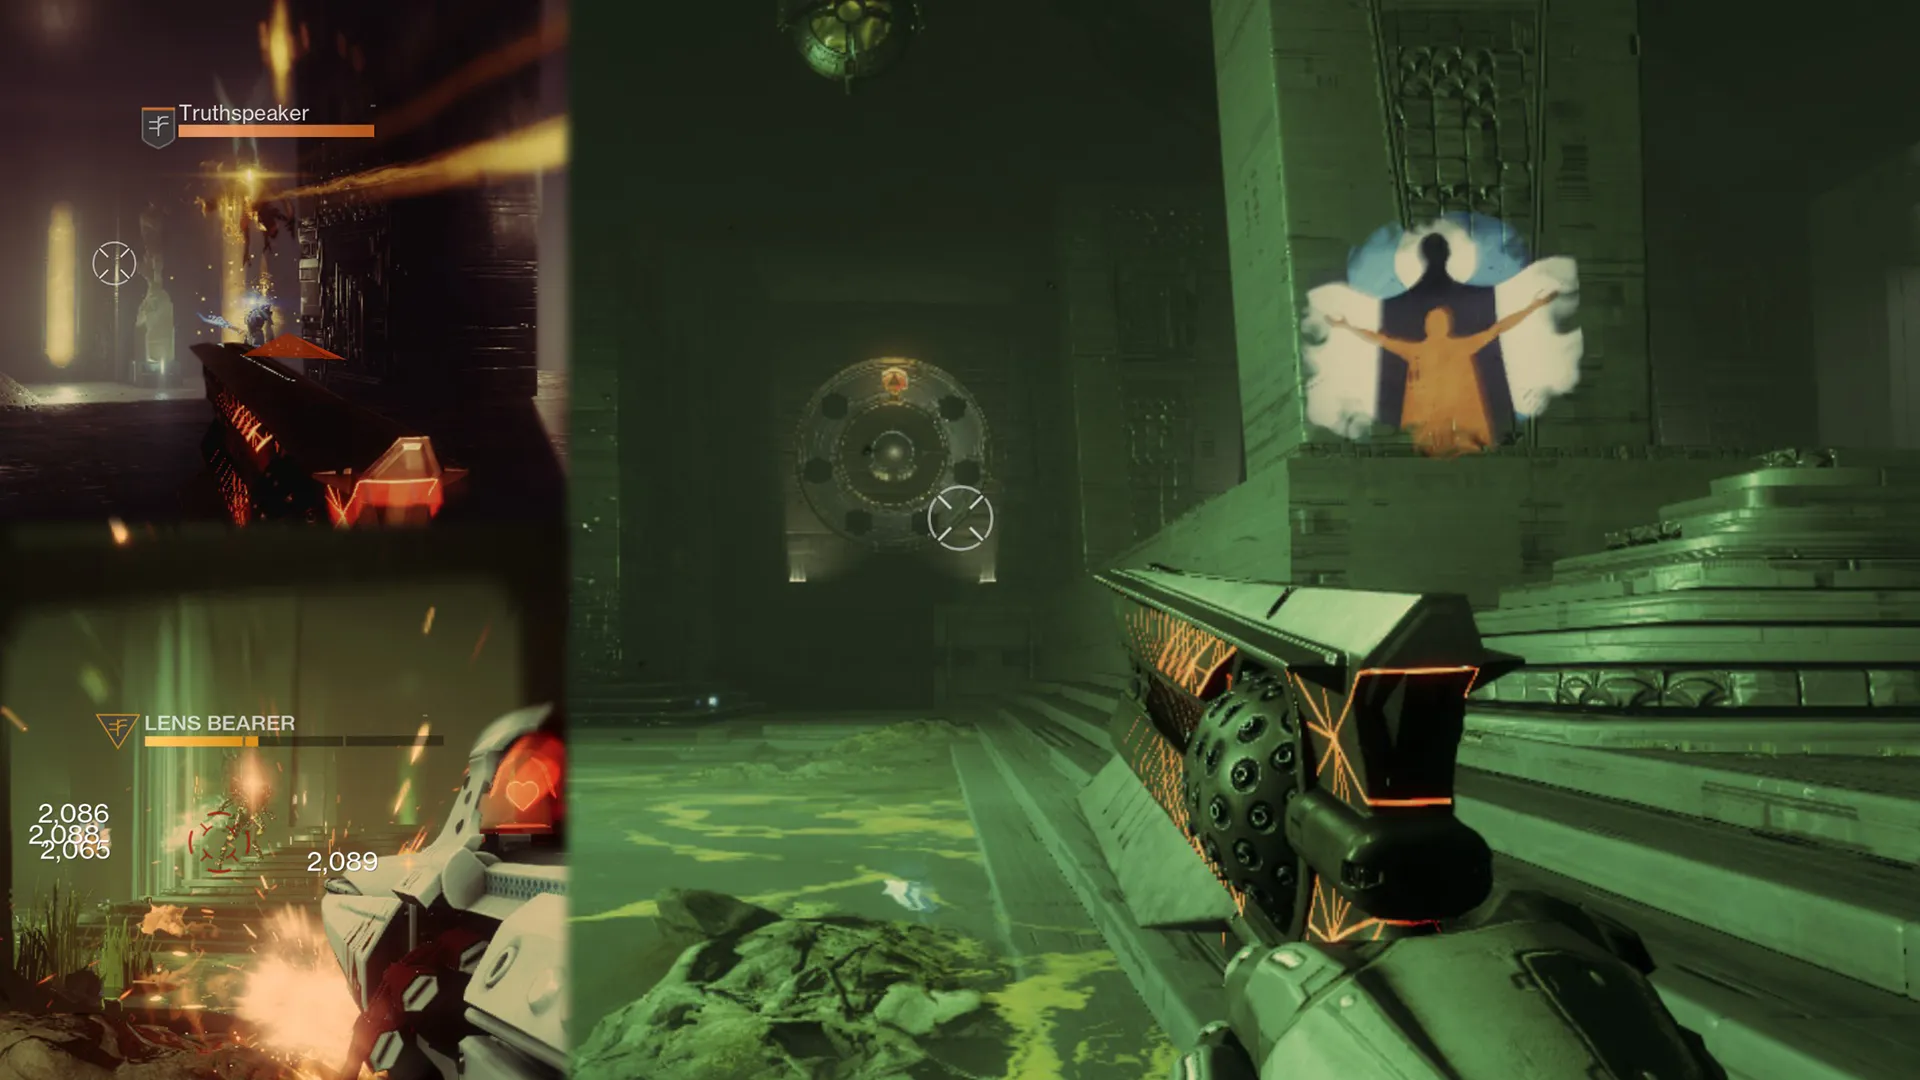
For those who prefer a more direct approach, the Truthspeaker mechanic provides an alternative. In each phase, one of the four rooms will contain an enemy called the Truthspeaker (marked as a Grim). Defeating this enemy will cause it to drop a symbol, which is the correct answer for that phase. Your task is then to locate this symbol on one of the wheels in the surrounding rooms and link the central light beam to it.
How to Link the Light Beam
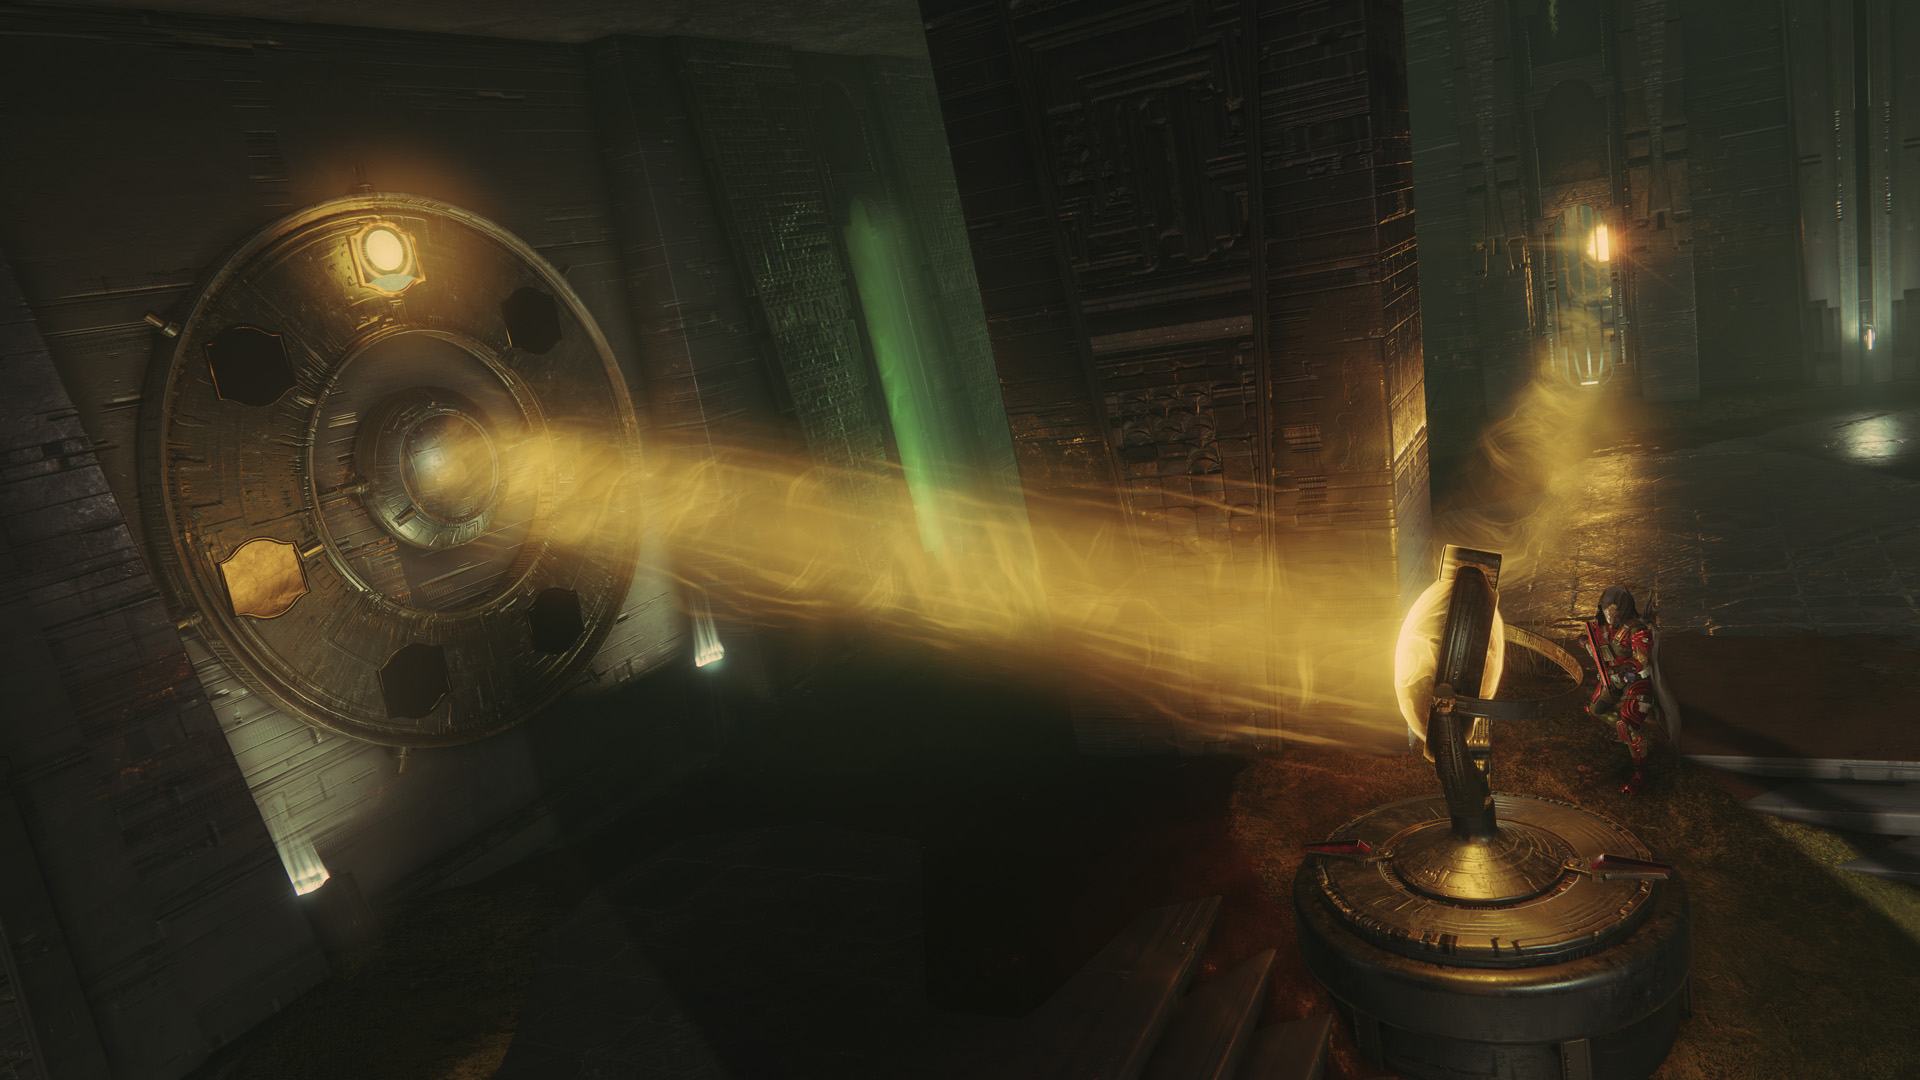
- Activate the Light Beam: In the central chamber, there are three lenses mounted above, which can generate beams of light when shot.
- Direct the Light Beam: The objective is to form a chain of light beams that reaches the correct symbol wheel. The three lenses in the central room are already in place, but others will be missing. Refer to the map above.
-
Collect and Place Missing Lenses: Each of the four rooms
will spawn a Lens Bearer Subjugator. Defeating one will
drop a lens, which you must pick up and place in an empty slot
within the encounter area. Once placed, the lens can be rotated
to direct the beam at preset angles, which can be identified by
examining its base.
- You can only carry one lens at a time, and once you place it onto a socket, you cannot pick it back up again.
- Complete the Chain: Continue aligning lenses until the light beam successfully connects to the wheel displaying the correct symbol.
Once the correct light beam chain is formed, a notification will appear stating, “The Pyramid accepts a truth”, confirming that the objective has been completed. However, the challenge escalates with each phase.
Phases 2 & 3
For the second phase, two symbols will now be missing from the wheel in the central room. The process remains the same, you now need to defeat a second Truthspeaker, which spawns after the first link is completed. If you're a true lore nerd, you can still guess your way through the puzzle with a bit of running around the rooms.
- Example: If the sequence is [Unknown] → [Unknown] → Witness, and you noticed one of the walls have the symbol "Kill", and kill is a verb, so you know something killed the Witness. Which you'll know the answer is Guardian → Kill → Witness.
All three symbols will be missing in the final round. Repeat the same process: Find the correct symbols. Defeat Truthspeakers (one per symbol). Gather lenses from Lens Bearers and create a chain for each symbol. Form the last sentence to complete the encounter.
- [Unknown] → [Unknown] → [Unknown]. You're ain't guessing your way out of this one mate.
Zoetic Lockset
Before entering the second major encounter, you must complete a mechanics-based puzzle designed to introduce key gameplay elements. The challenge involves symbol wheels, Perceptor Wizards, and a locked door with two symbols that must be matched. The room contains two symbol wheels (one on each side), enemies, and a locked door with a unique symbol on either side. Your objective is to highlight the matching symbols on the wheels to unlock the door.
Defeat a Perceptor Wizard to obtain Knowledge, which allows you to move the highlighted symbol one space on the wheel. The direction of movement (clockwise or counterclockwise) depends on the inner wheel's rotation. To change the rotation, shoot the shard above the wheel.
- One stack → Heightened Knowledge (moves the symbol one space).
- Two stacks → Brimming Knowledge (moves the symbol two spaces).
- Three stacks → Overflowing Knowledge (moves the symbol three spaces).
You can collect up to three stacks. Use your Knowledge buffs to adjust the symbol wheels until both match the symbols on the door. Once correctly aligned, the door will open, granting access to the second encounter.
- Anarchy, Le Monarque or Thunderlord for DPS.
- Void Auto rifle to proc weaken. (Applicable to Heresy's seasonal artifact)
- Mountaintop or a Sniper with Kinetic Tremors for clearing majors and extra DPS.
- Well of Radiance with Speaker's Sight
- Arc Staff Hunter
- Storm's Keep Arc Titan Bolt Charge Build + Thundercrash
Understanding Symbol Effects
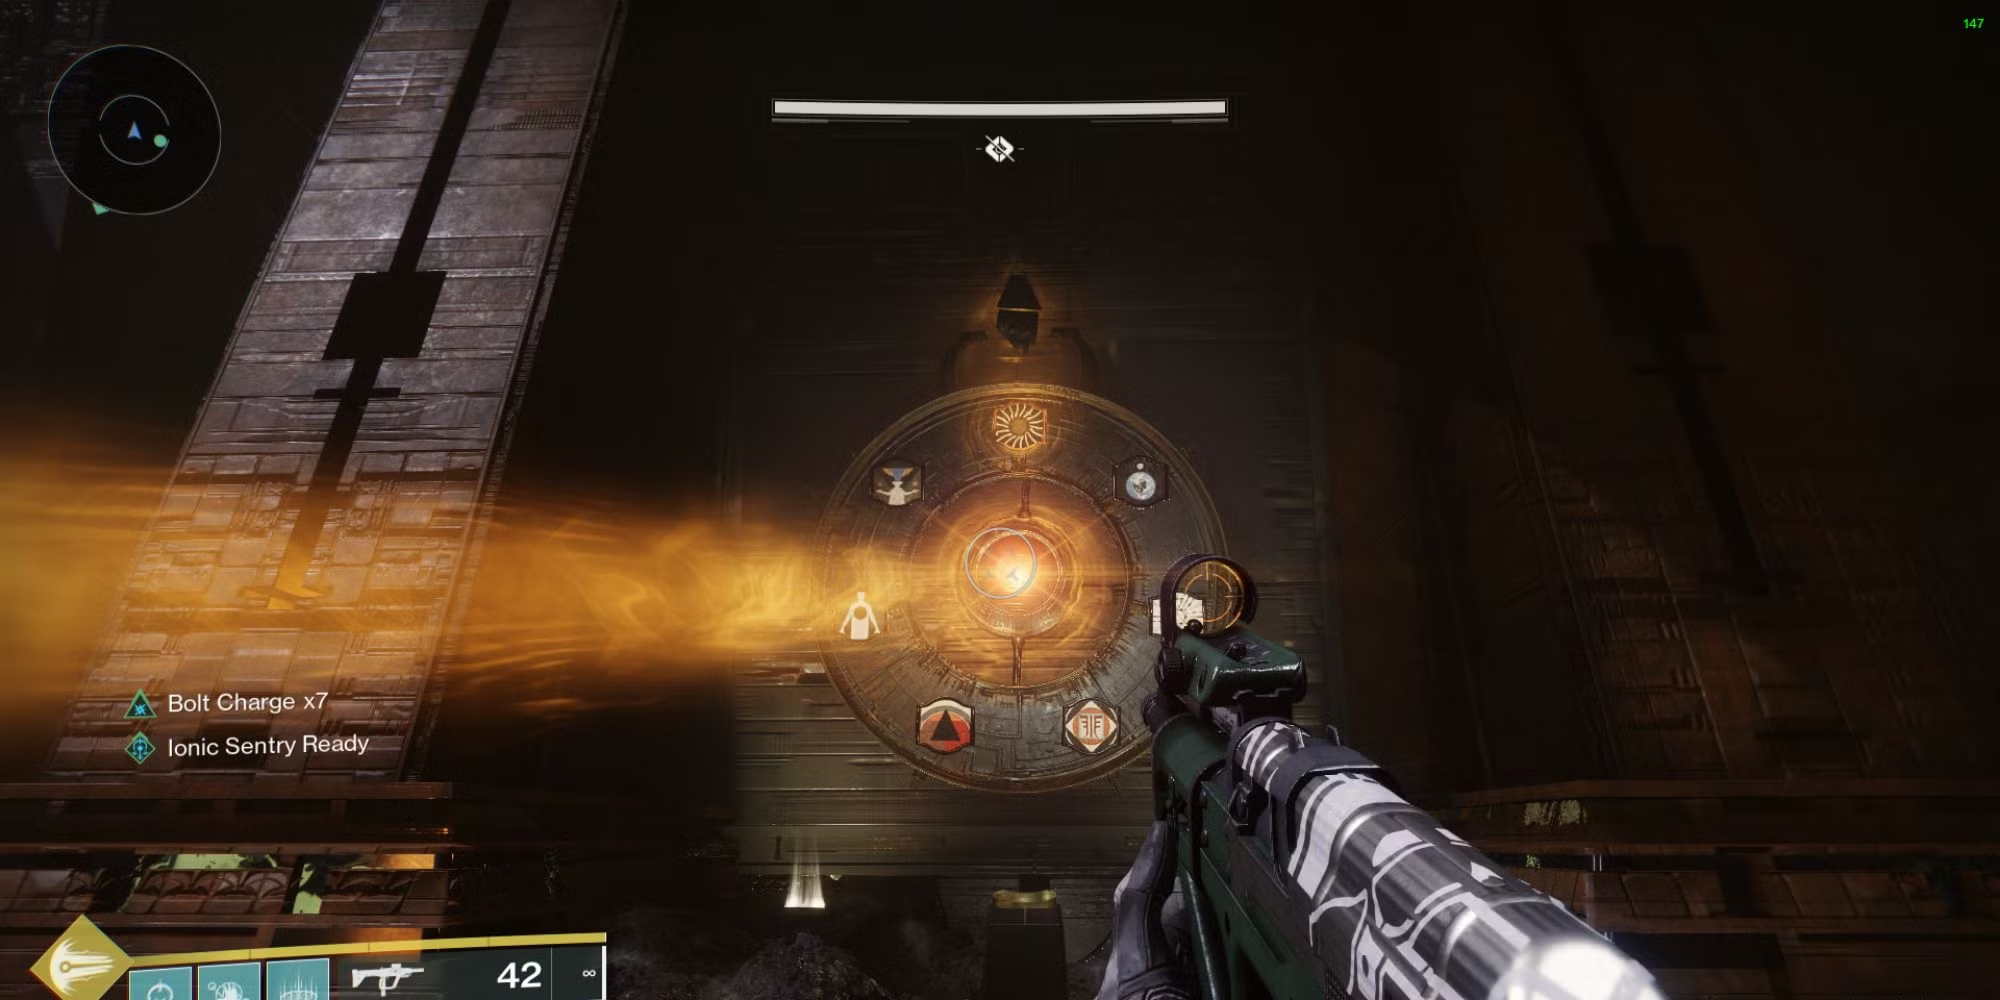
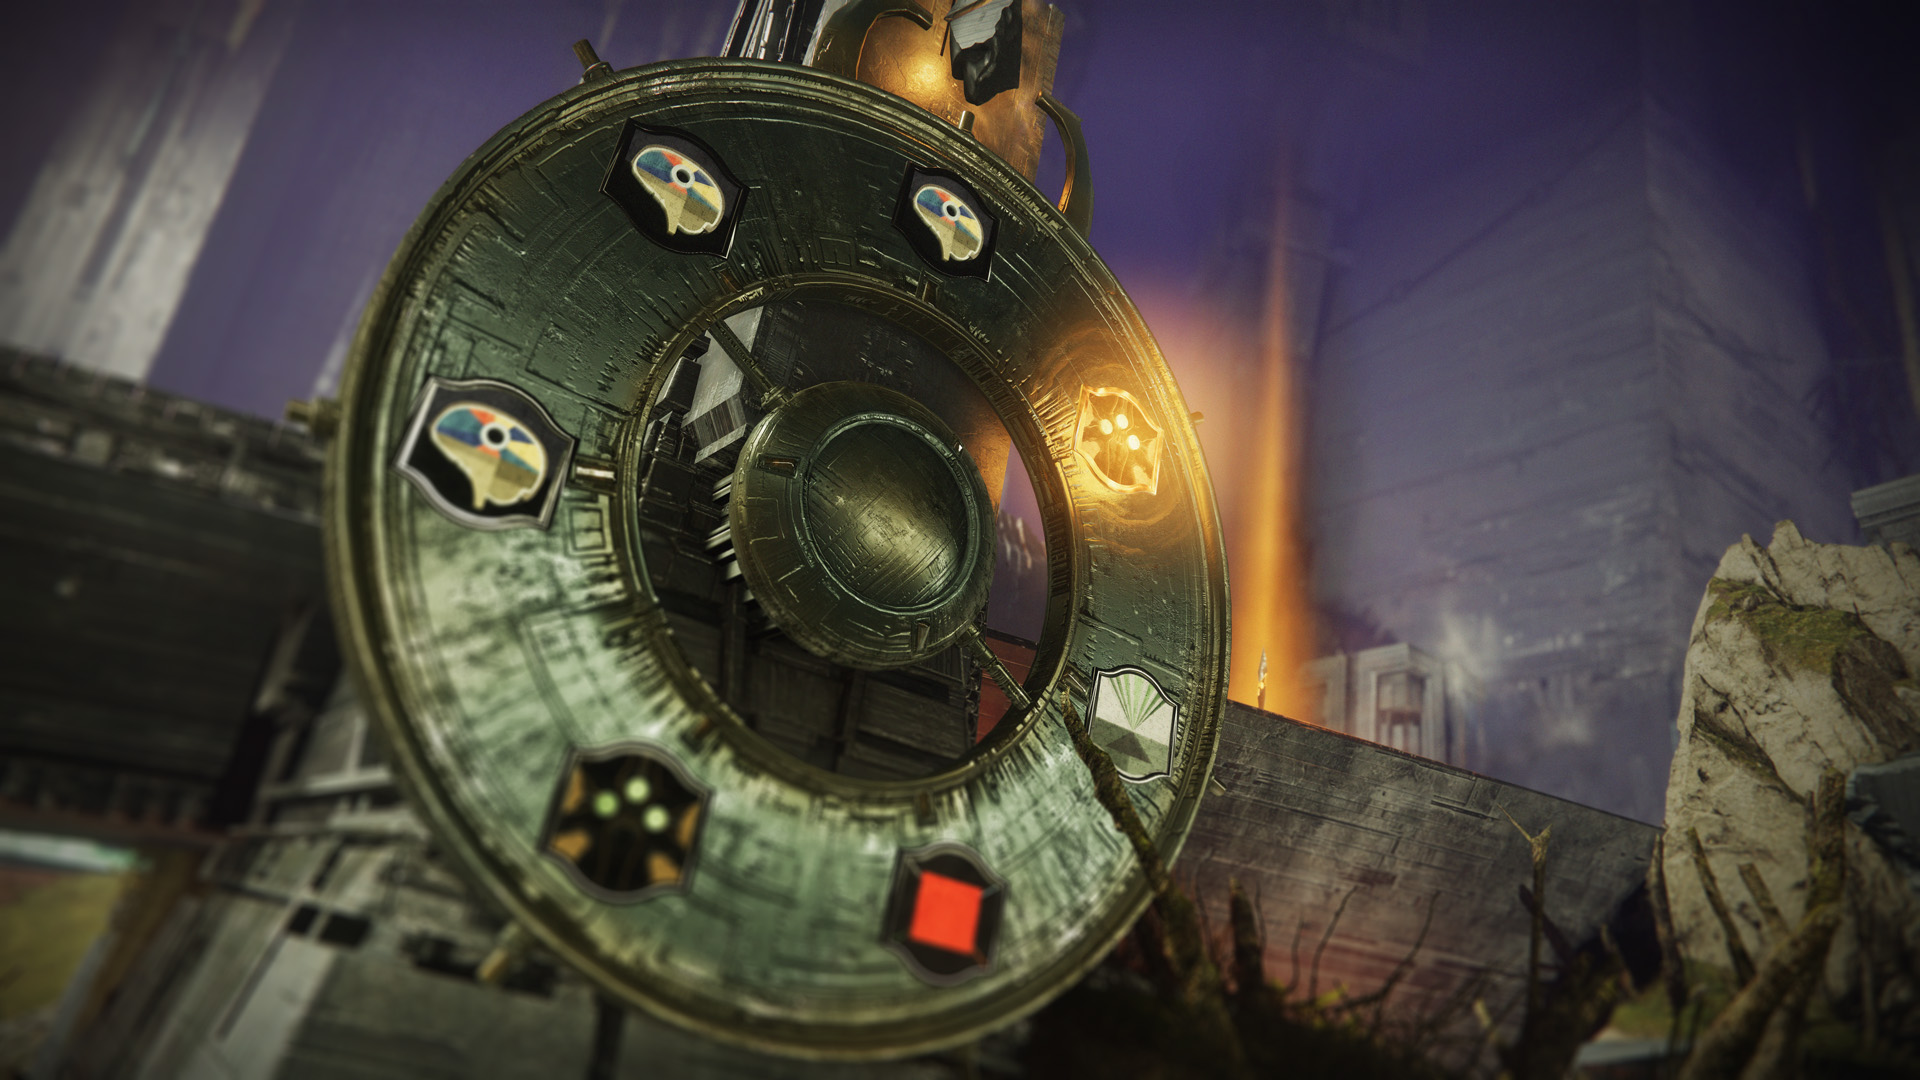
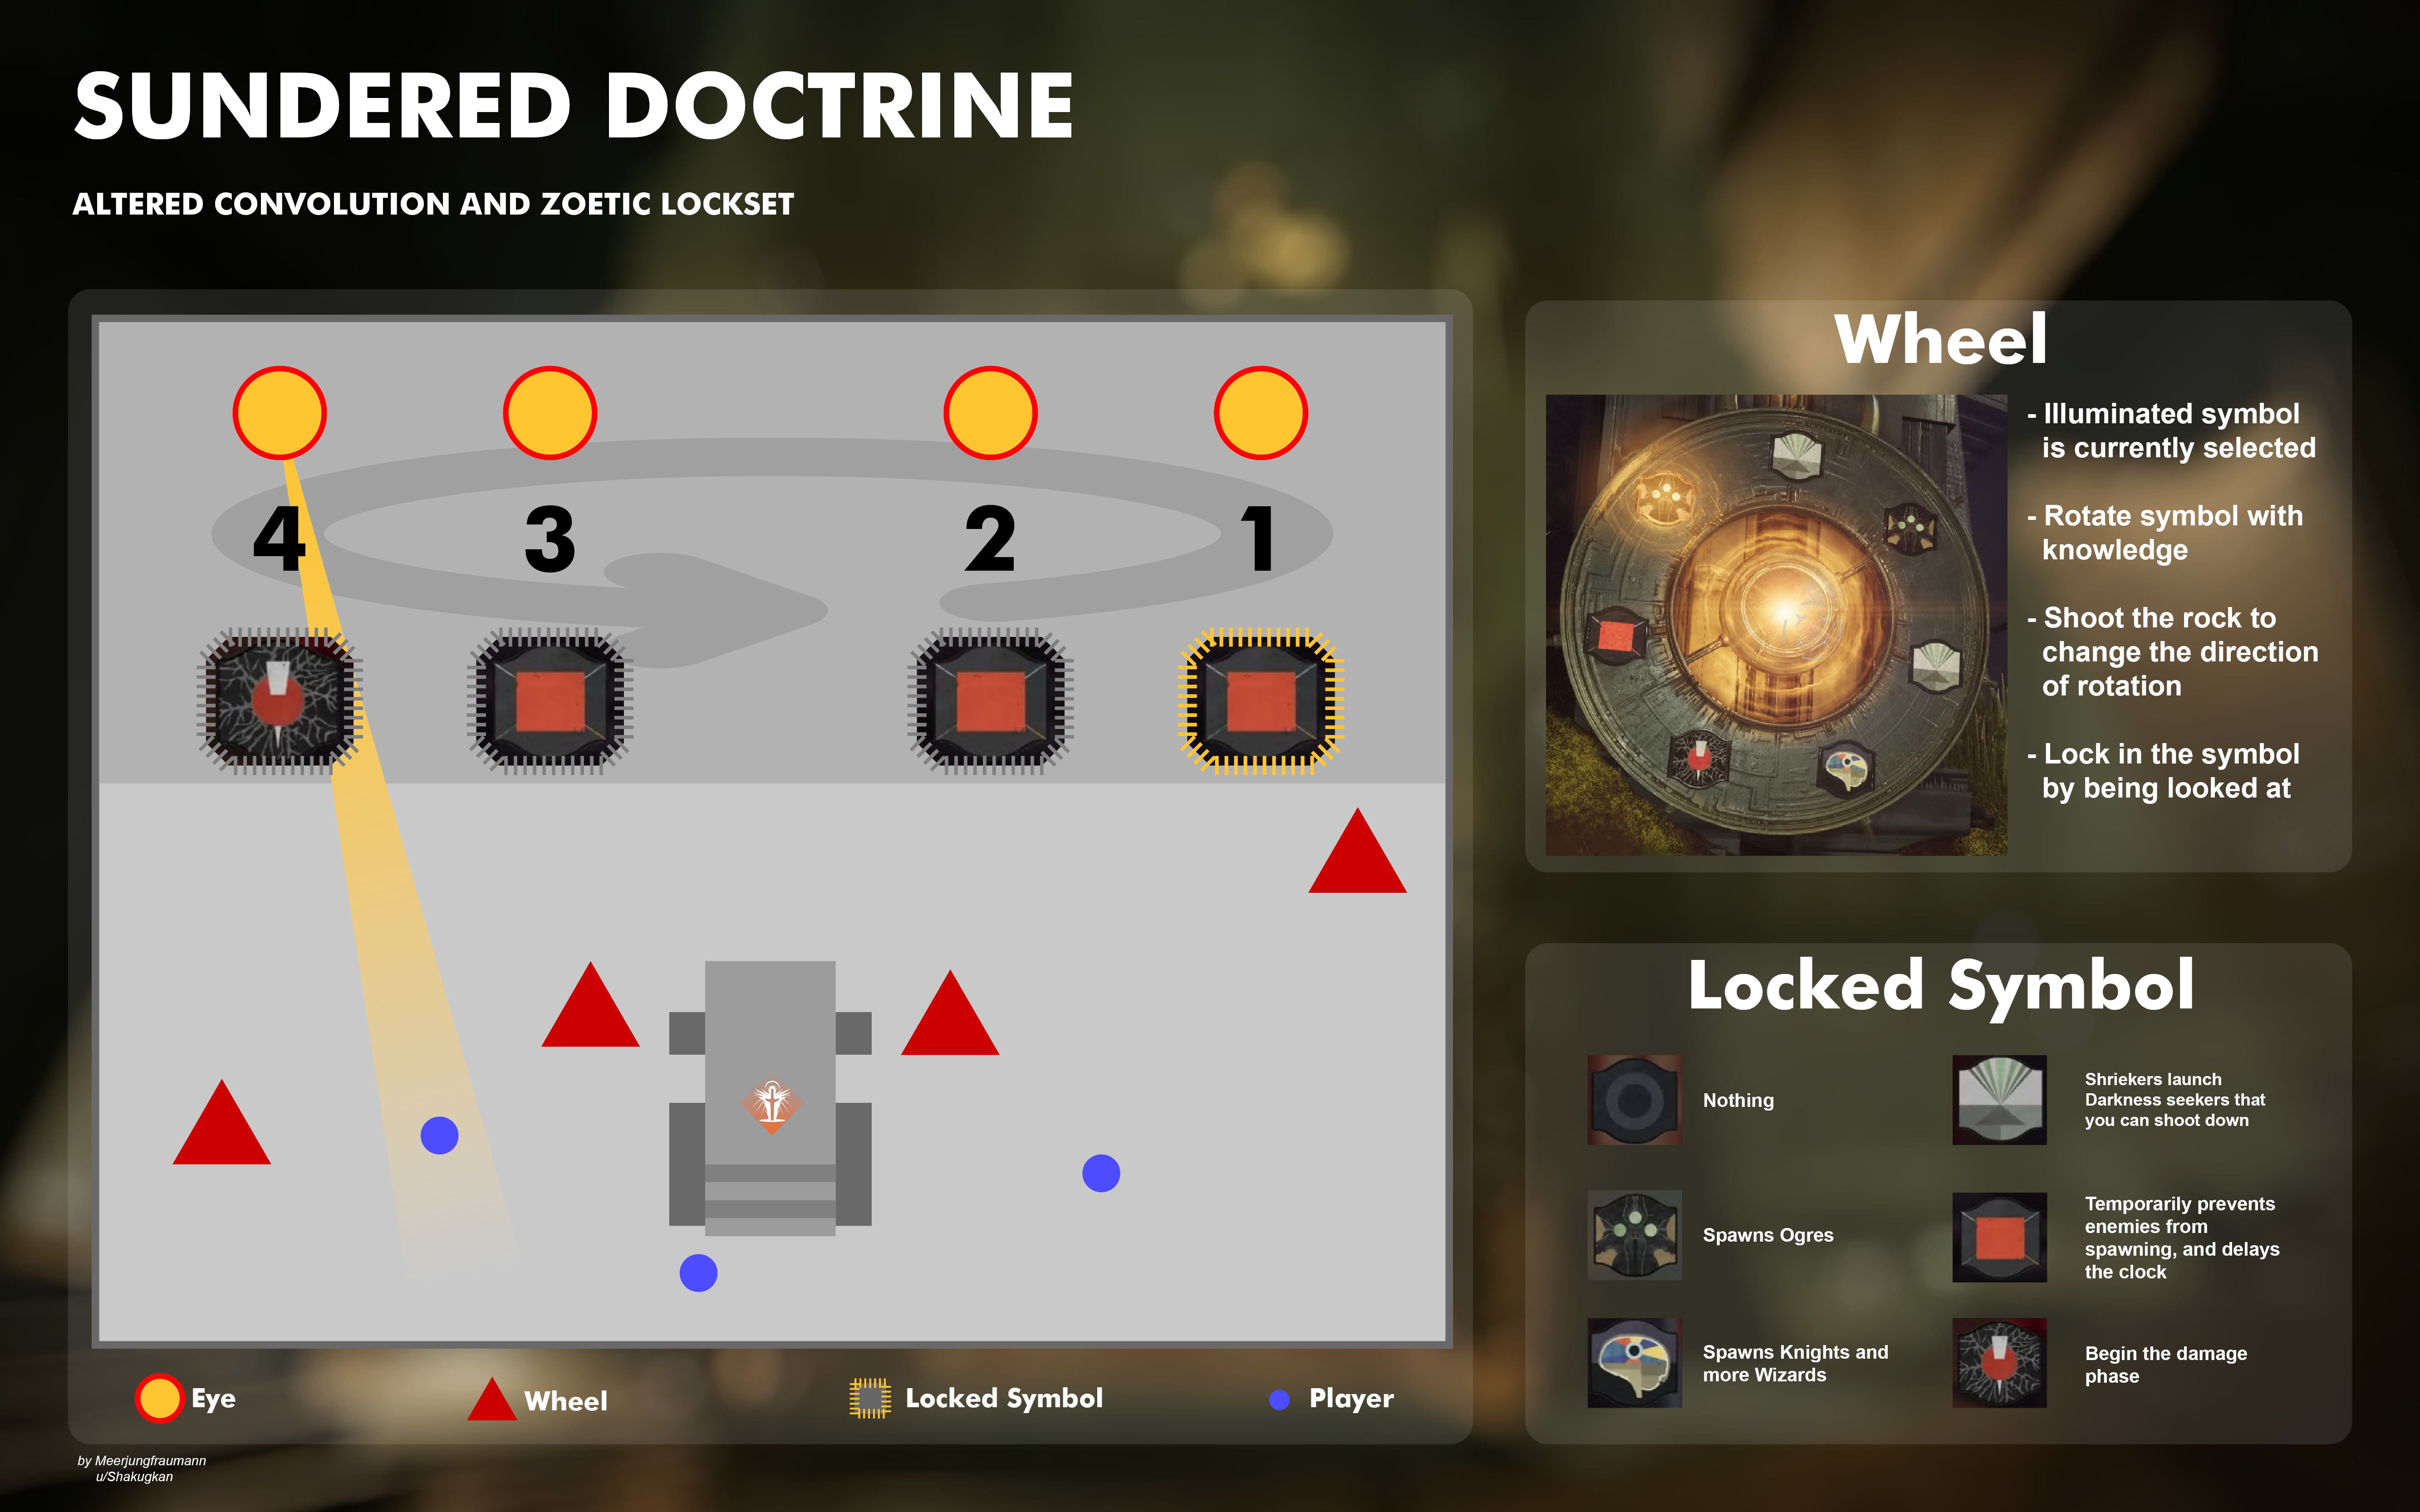
Each symbol wheel in the arena influences the battle by triggering a specific effect when read by the Shriekers:
- Hive - Summons Ogres.
- Knowledge - Spawns Knights and Wizards (providing more Knowledge buffs).
- Commune - Causes Shriekers to launch Darkness seekers, which can be destroyed.
- Stop - Temporarily halts enemy spawns and delays the encounter timer.
- Kill - Initiates the damage phase against the Zoetic Lockset.
Since Kill starts the damage phase, it must be placed at the optimal position to maximize time for damage.
Why Place Kill in the Final Slot?
If any Shrieker reads Kill too early, the damage phase will trigger immediately, locking in all current symbols. This can result in Ogres spawning during damage, creating chaos. Once the Shriekers read Kill, all symbol wheels reset to their current state. If Stop is in the correct positions, you can delay enemy spawns and extend damage time. Uninteracted symbol wheels will automatically rotate after being read, so planning ahead can help ensure Stop remains active during the damage phase. Proper coordination allows for an extended, uninterrupted damage phase—making the encounter much easier to manage.
DPS Phase
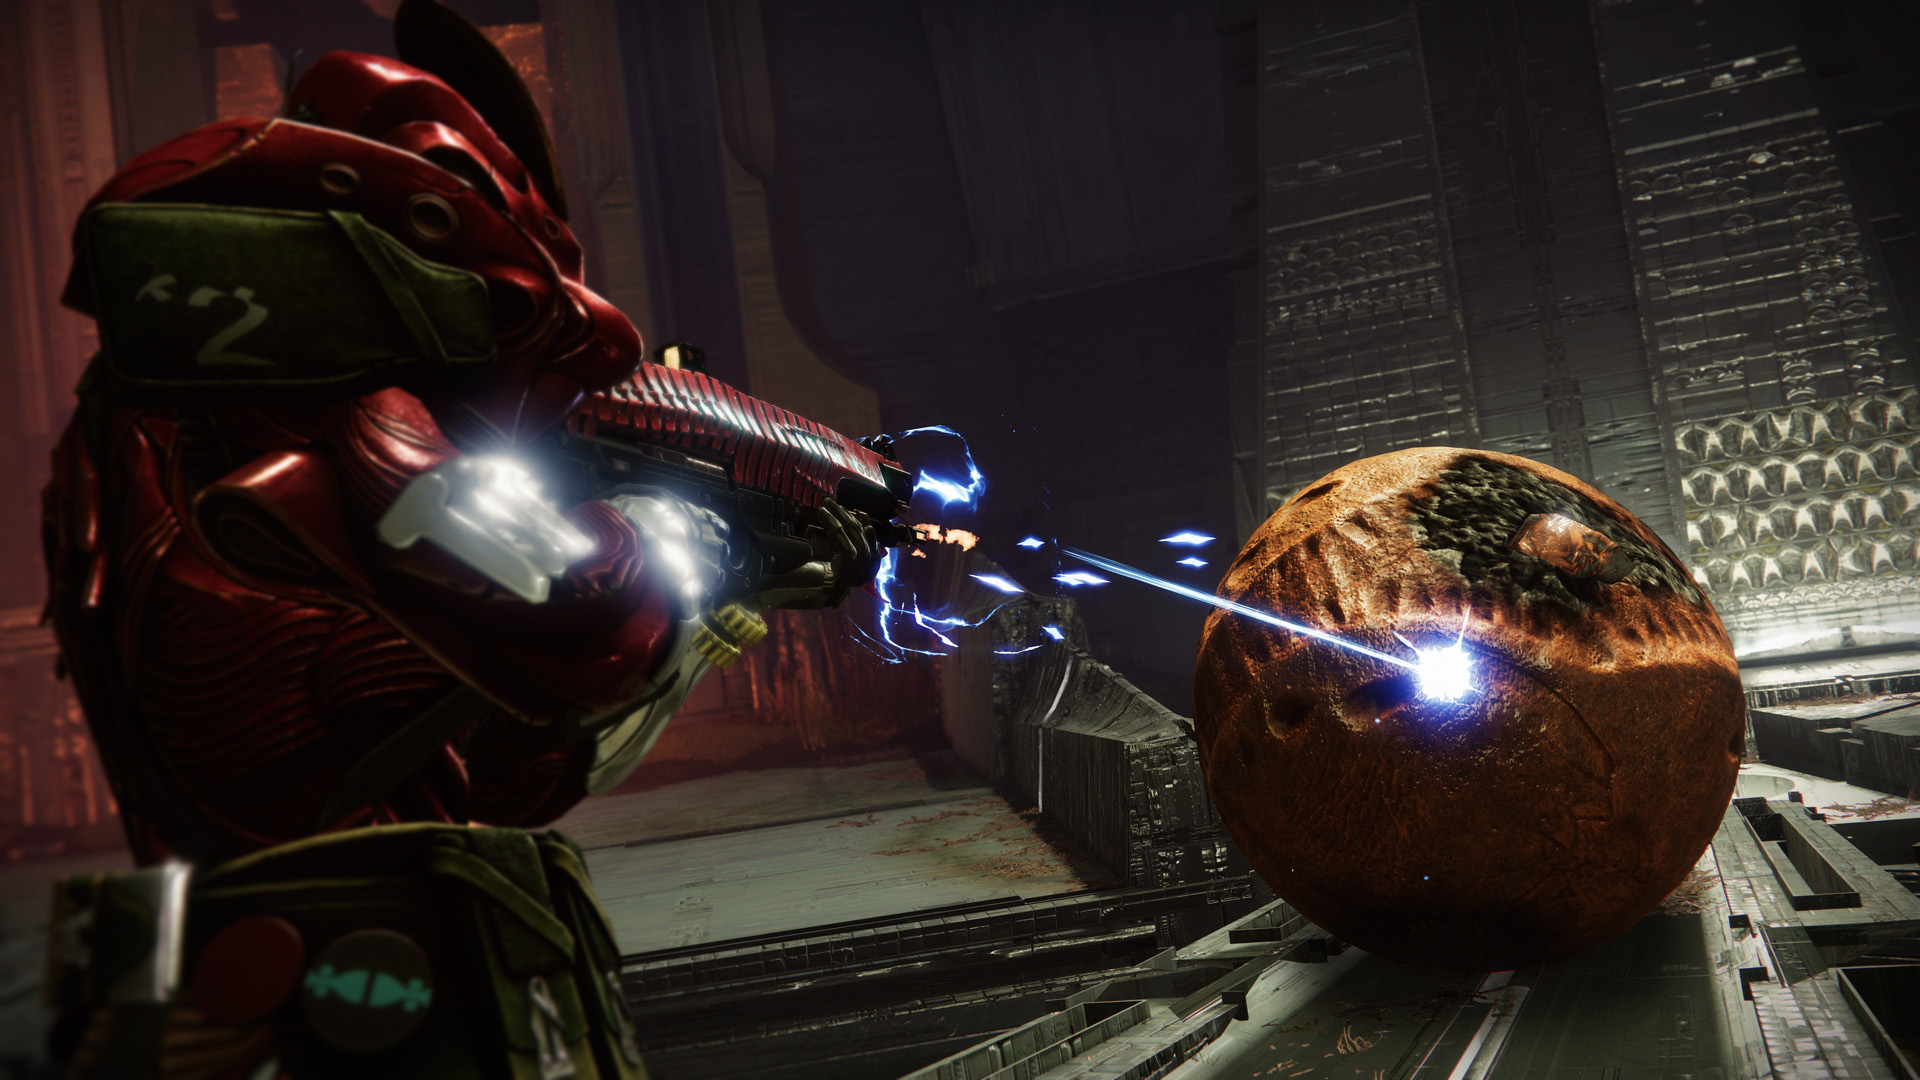
Attack any of the four Shriekers, as they share a single health pool. Since Shriekers do not take precision damage, weapons with damage-over-time (DoT) effects work best. You can place one anachy grenade on each Shrieker to maximize damage. Pair that with a void auto rifle to proc weaken and a bolt charge barricade titan and you'll be able to melt the Shriekers in no time.
To note: If you're left with a sliver of health to damage the boss with, there is nothing stopping you from starting the DPS phase earlier to finish the boss off :)
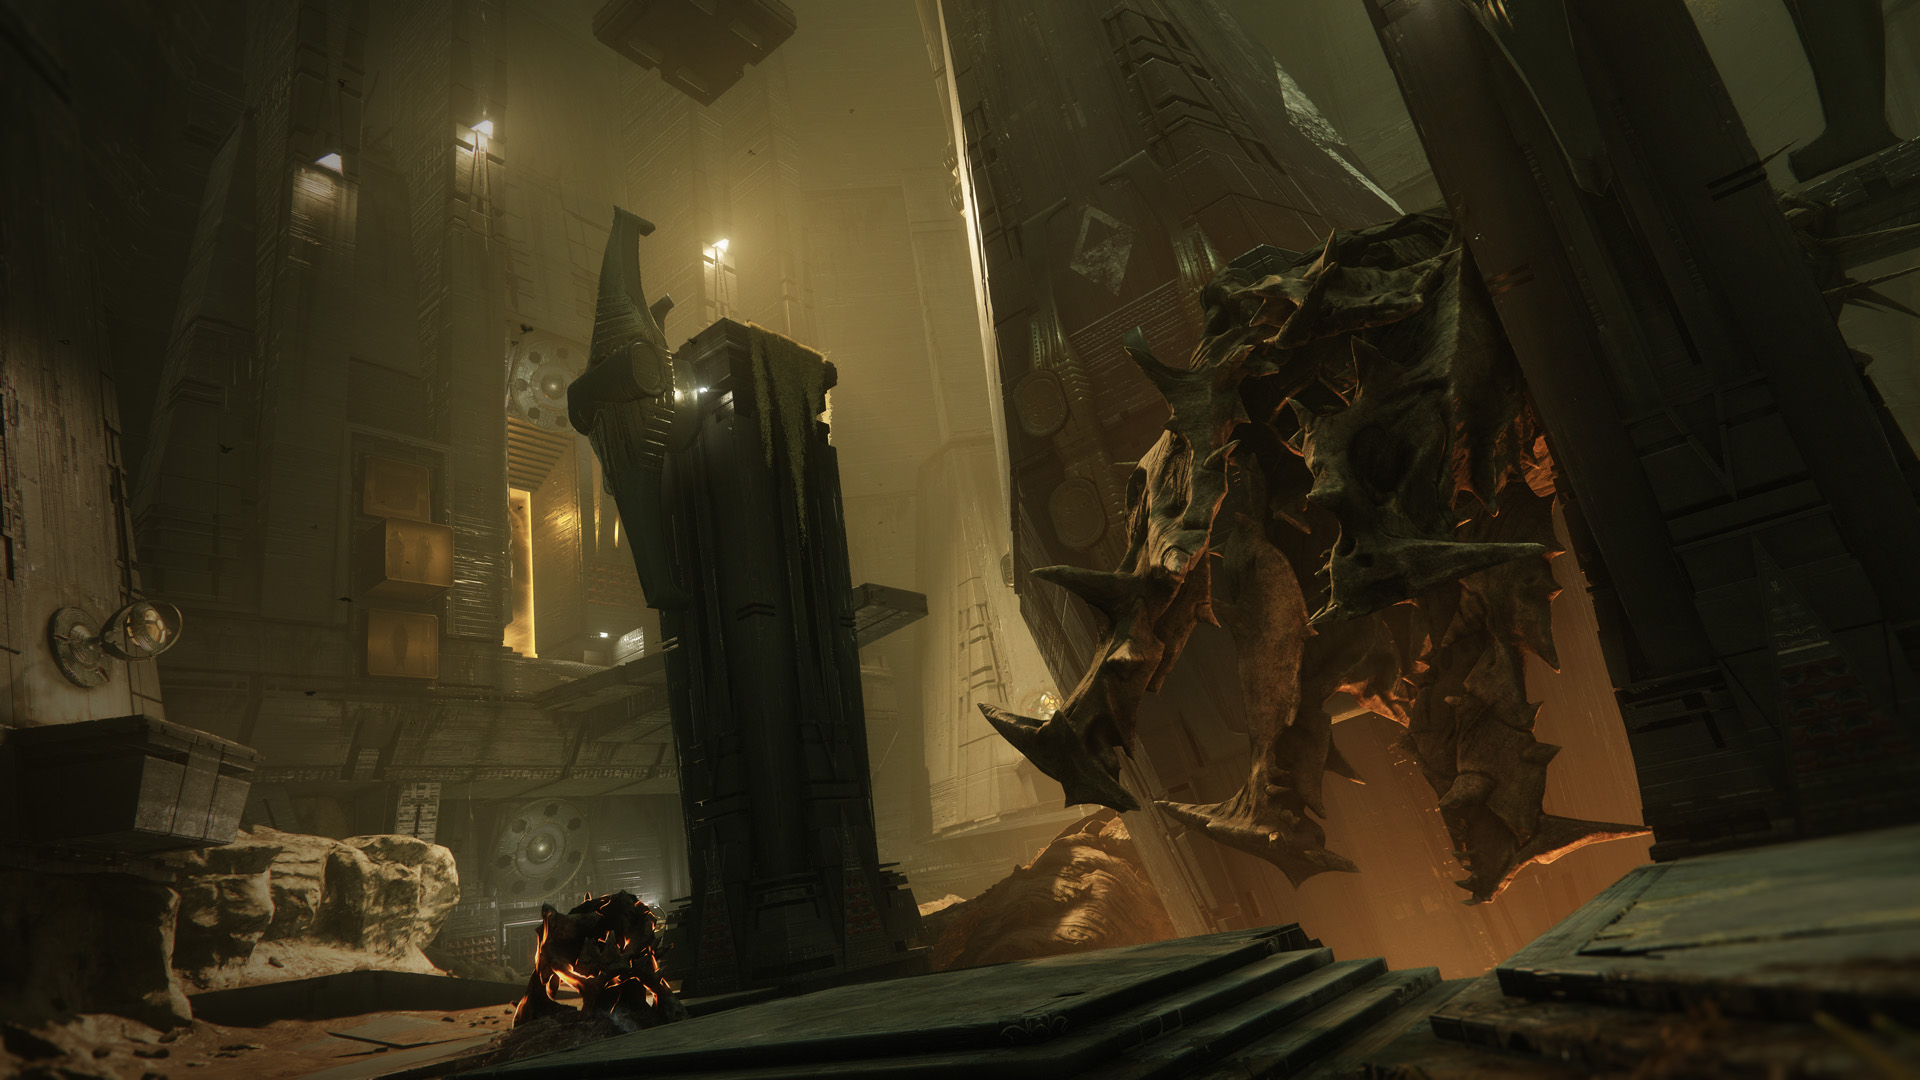
Once the Zoetic Lockset is defeated, you'll need to open the exit door. I'll just leave this here as a hint. You'll find it out eventually.
Isolate Preservation
Upon entering the room, you'll notice that both light sources are positioned on one side, next to the symbols for Enter and Worm. The goal here is to redirect the beams using Lenses to complete the circuit.
- Locate Lenses - These are encased in breakable Hive gunk scattered around the room. Destroy the gunk to collect them.
- Position the Lenses - Place them in front of the starting mirrors located near each symbol.
- Activate the Light Beams - Once the Lenses are positioned, shoot the Darkness Crux near each symbol to activate the beams.
- Align the Light Path - Adjust the mirrors and Lenses to guide the beams toward the required target, completing the circuit.
Tips:
- The beam that starts on the first floor always ends on the second floor. The beam that starts on the second floor always ends on the first floor. So adjust the lenses according to that the beams swap levels along the way.
- Solve the puzzle first before opening the secret chest as the ads will despawn after solving it.
Kerrev, The Erased
- Queensbreaker's Bow, Thunderlord
- Divinity for Support and DPS boost
- A fusion rifile (helps with opening doors)
- Ad-clear weapons.
- Well of Radiance with Speaker's Sight, Spare Warlocks can go for an Arc + Chaos Reach with Geomags build.
- Storm's Keep Arc Titan Bolt Charge Build + Thundercrash
- Arc Staff or Celestial Nighthawk Hunter
The final challenge of the Sundered Doctrine dungeon is a battle against Kerrev, The Erased. The boss arena consists of a large central chamber with two side rooms, one on the left and one on the right. Kerrev starts with an invulnerable shield, which must be disabled using the dungeon's light beam mechanics, similar to the first encounter. However, this time, the puzzle requires more strategic thinking.
The mechanics of this fight revolve around identifying and manipulating two sets of symbols behind where the boss is positioned at the start - one on the left side and one on the right side. These symbols represent two different narratives: One set tells the truth, the other set tells a lie. Your objective is to:
- Illuminate all three "lie" symbols.
- Remove light from any "truth" symbols.
How to Identify Lies and Truths
There are two ways to determine which symbols are lies:
-
Using Destiny Lore Knowledge
- If you're familiar with Destiny's story, you can interpret the symbols to distinguish false narratives from true ones.
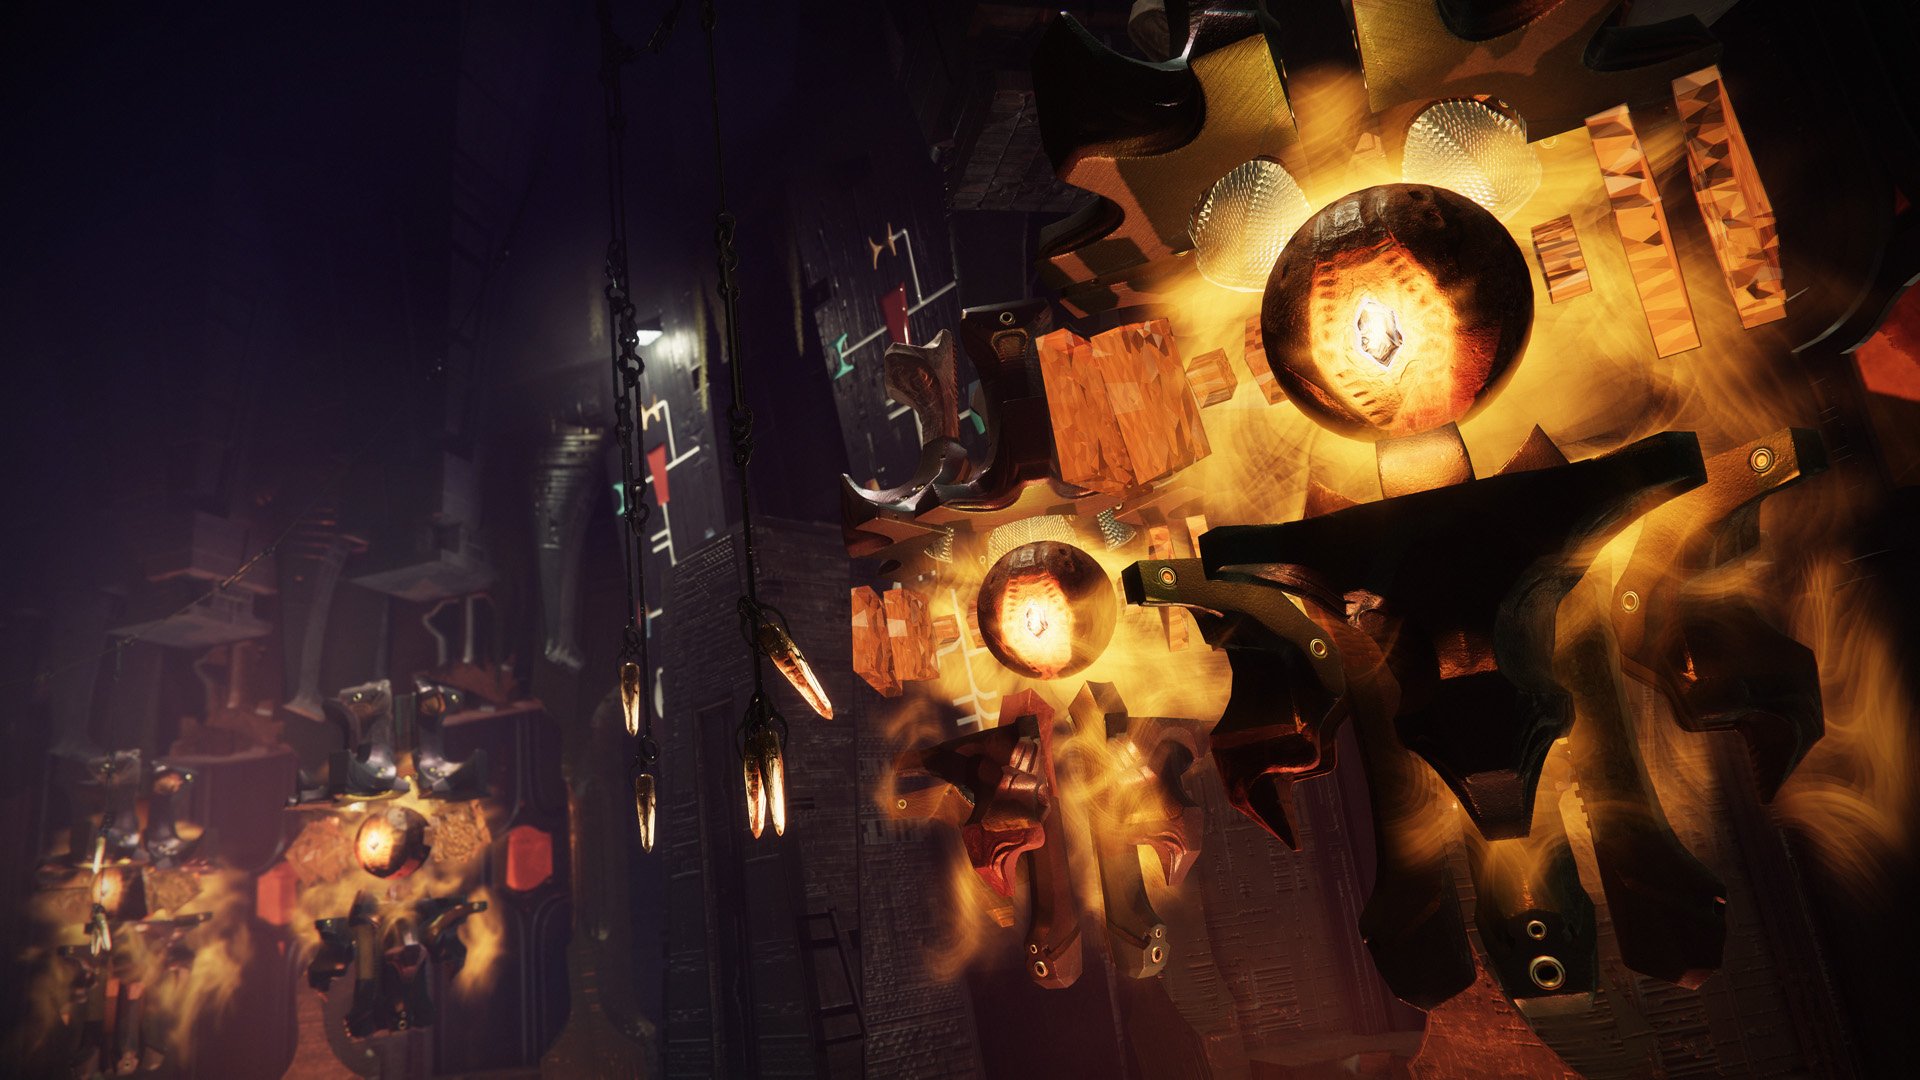
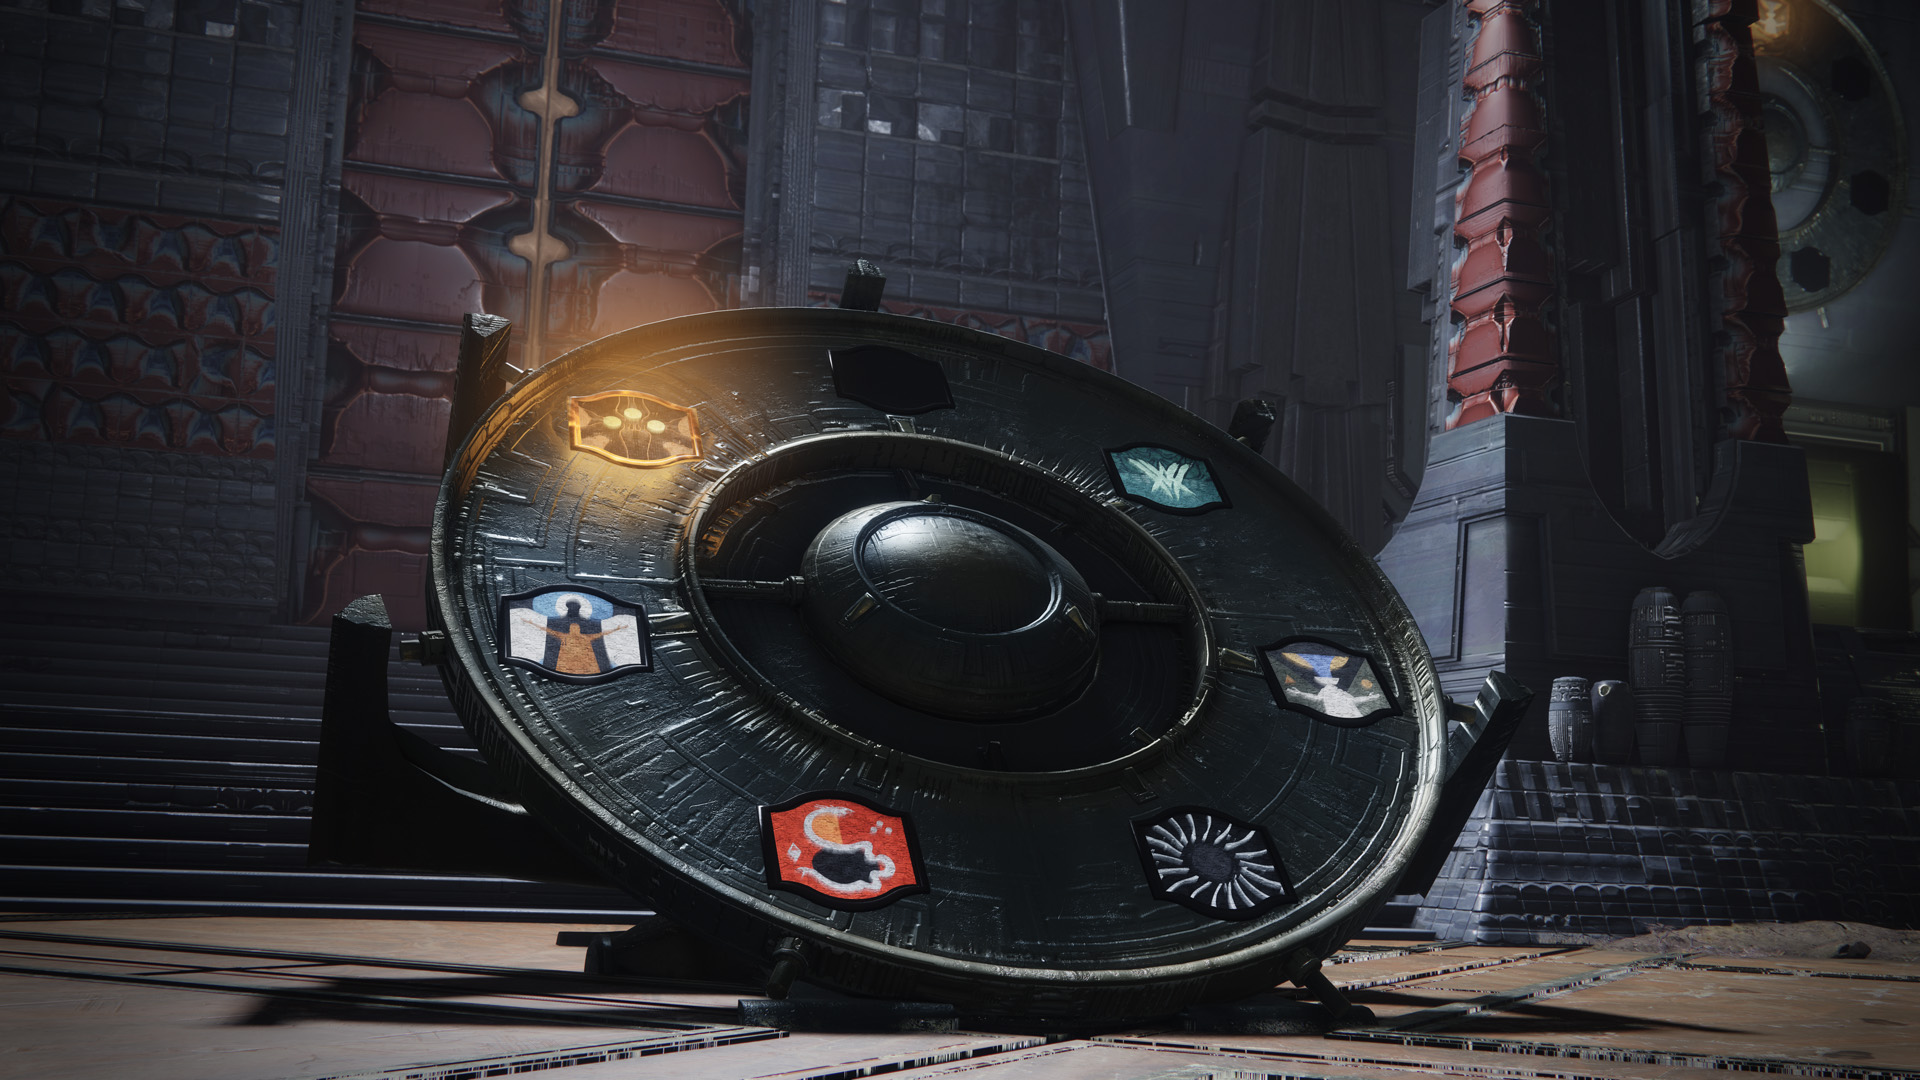
- In this example, half of the dial is showing Hive → Worship → Worm, which is a truth, and Savathûn → Drink → Darkness, which is a lie. So in this case, we'll need to activate Savathûn, Drink, and Darkness, and only deactivate Hive, as it is the only glpyh illuminated in this example.
-
Using the Truthspeaker for Hints
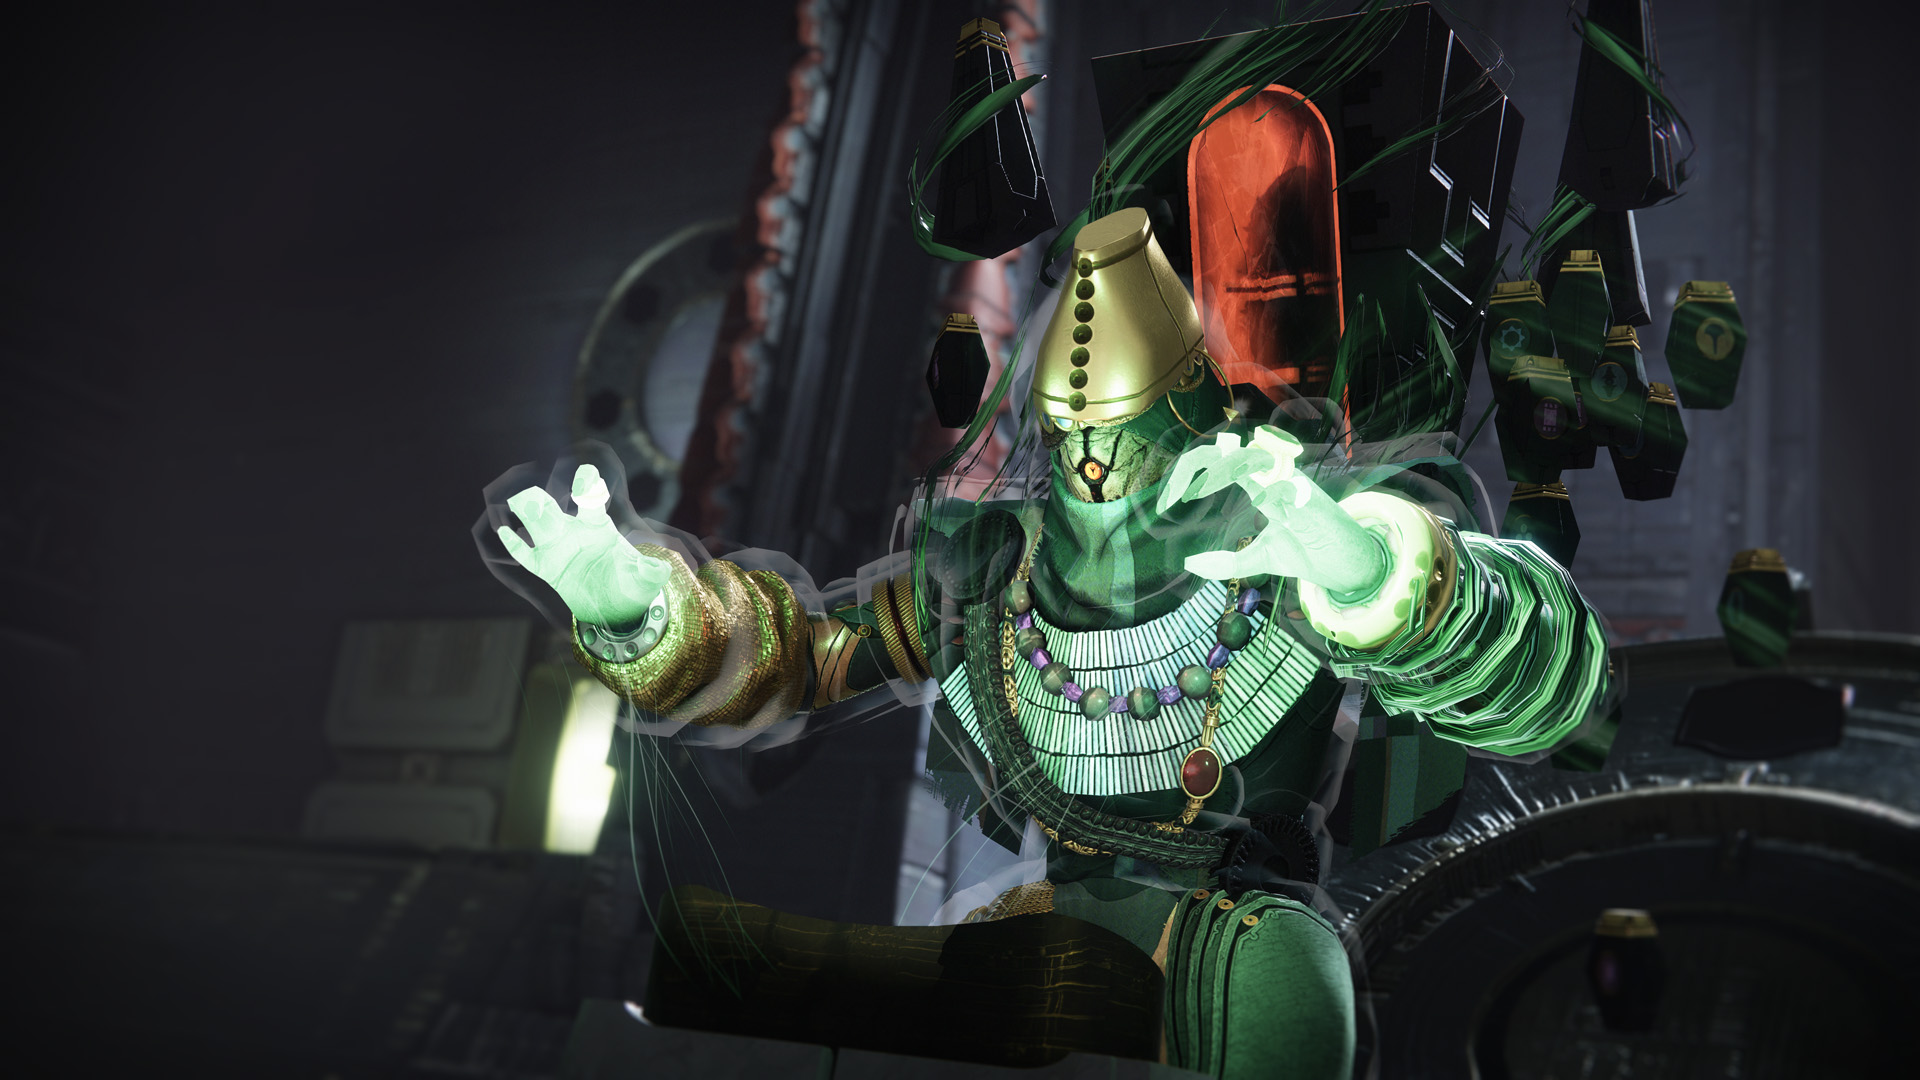
- If you're unsure about the lore, you can find the Truthspeaker in one of the two side rooms. The Truthspeaker spawns randomly on the left or right rooms after the fight starts. Defeating it will reveal the correct symbols to illuminate.
Accessing the Side Rooms
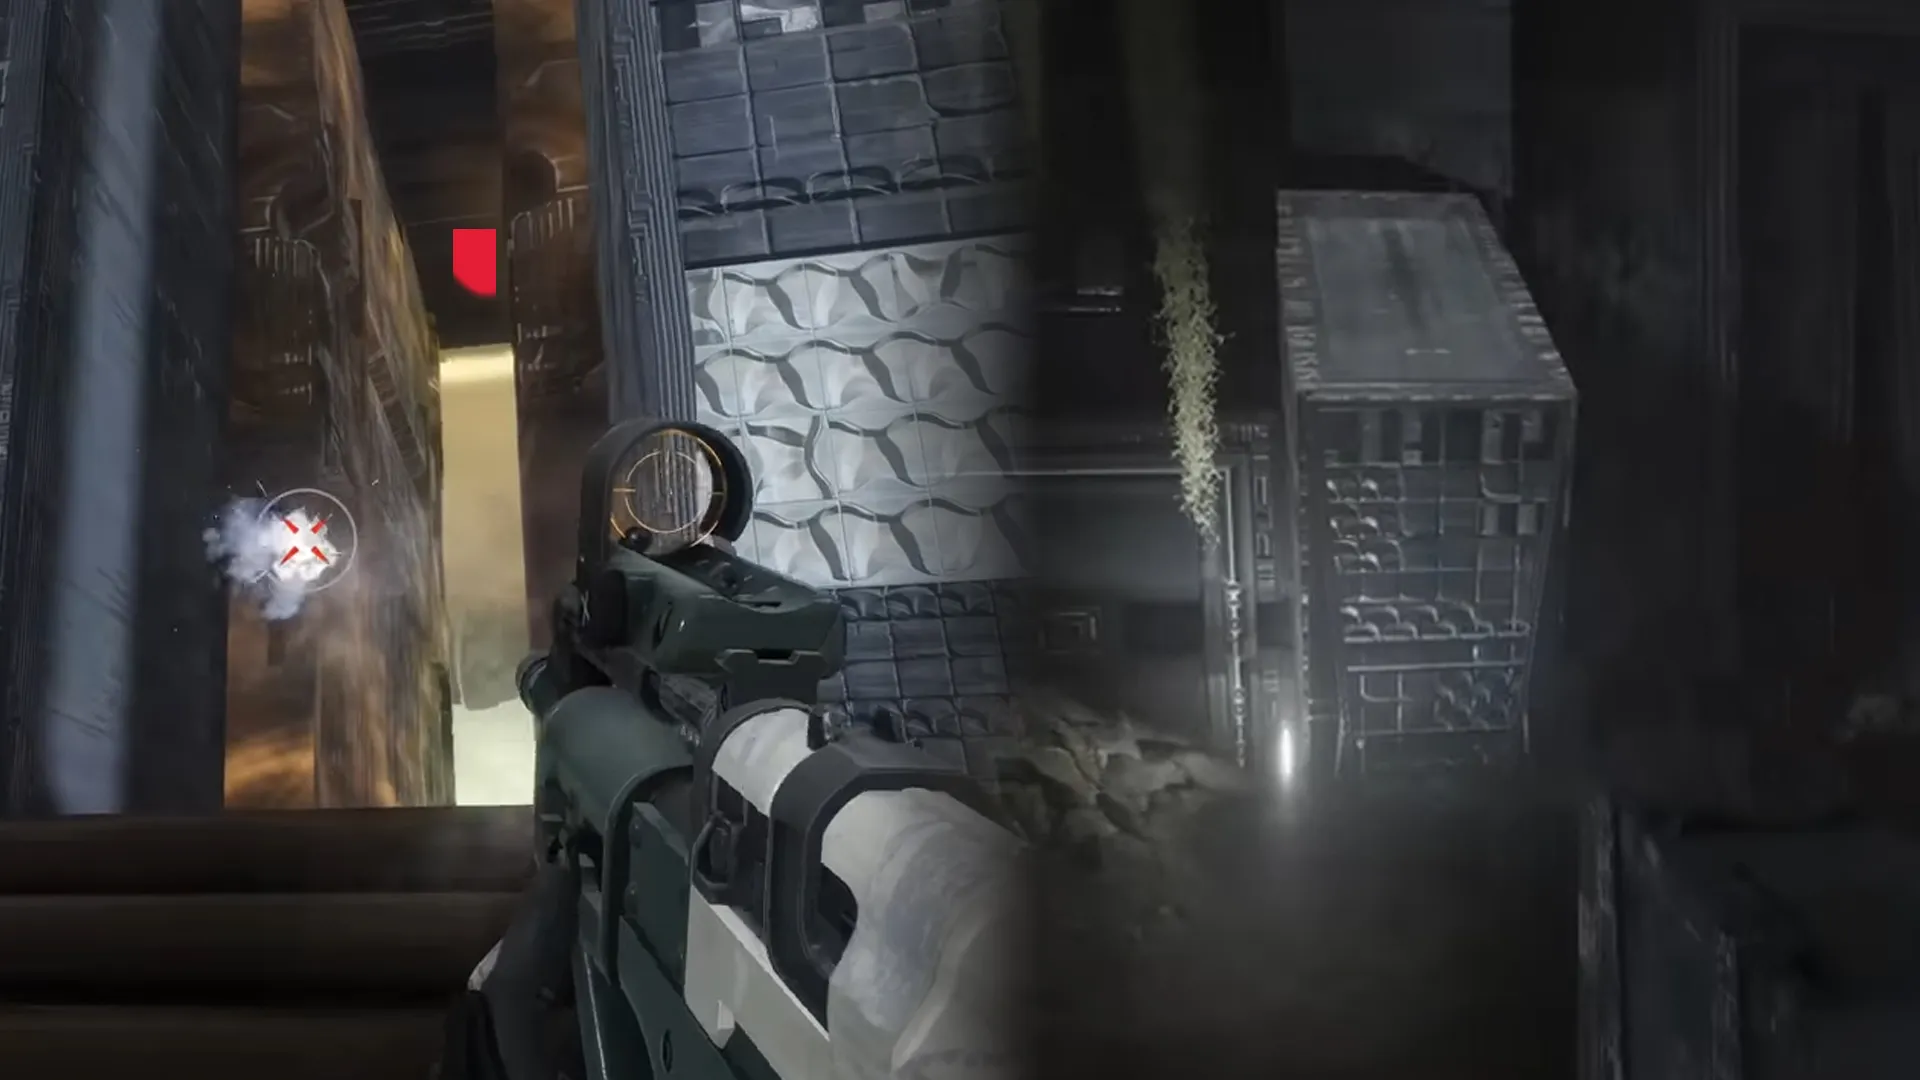
Entering the Right Room- Locate the rectangular platform protruding from the wall at an angle.
- Jump onto it - standing on it will cause it to lower, revealing an entrance.
- Walk through the opening to enter the room.
- Note: You cannot use this method to return to the central room. Instead, exit through a small tunnel further along the connecting wall.
- The entrance is more straightforward, but the door is sealed. To open it, shoot the door, similar to how you entered this encounter. Fusion Rifles or Higher rate of fire weapons are recommended.
- Ensure you fully open the door before passing through to avoid getting crushed.
Each of the required symbols can be found in one of the three rooms, with a lens positioned nearby to direct the light. To streamline navigation, you can use the following map:
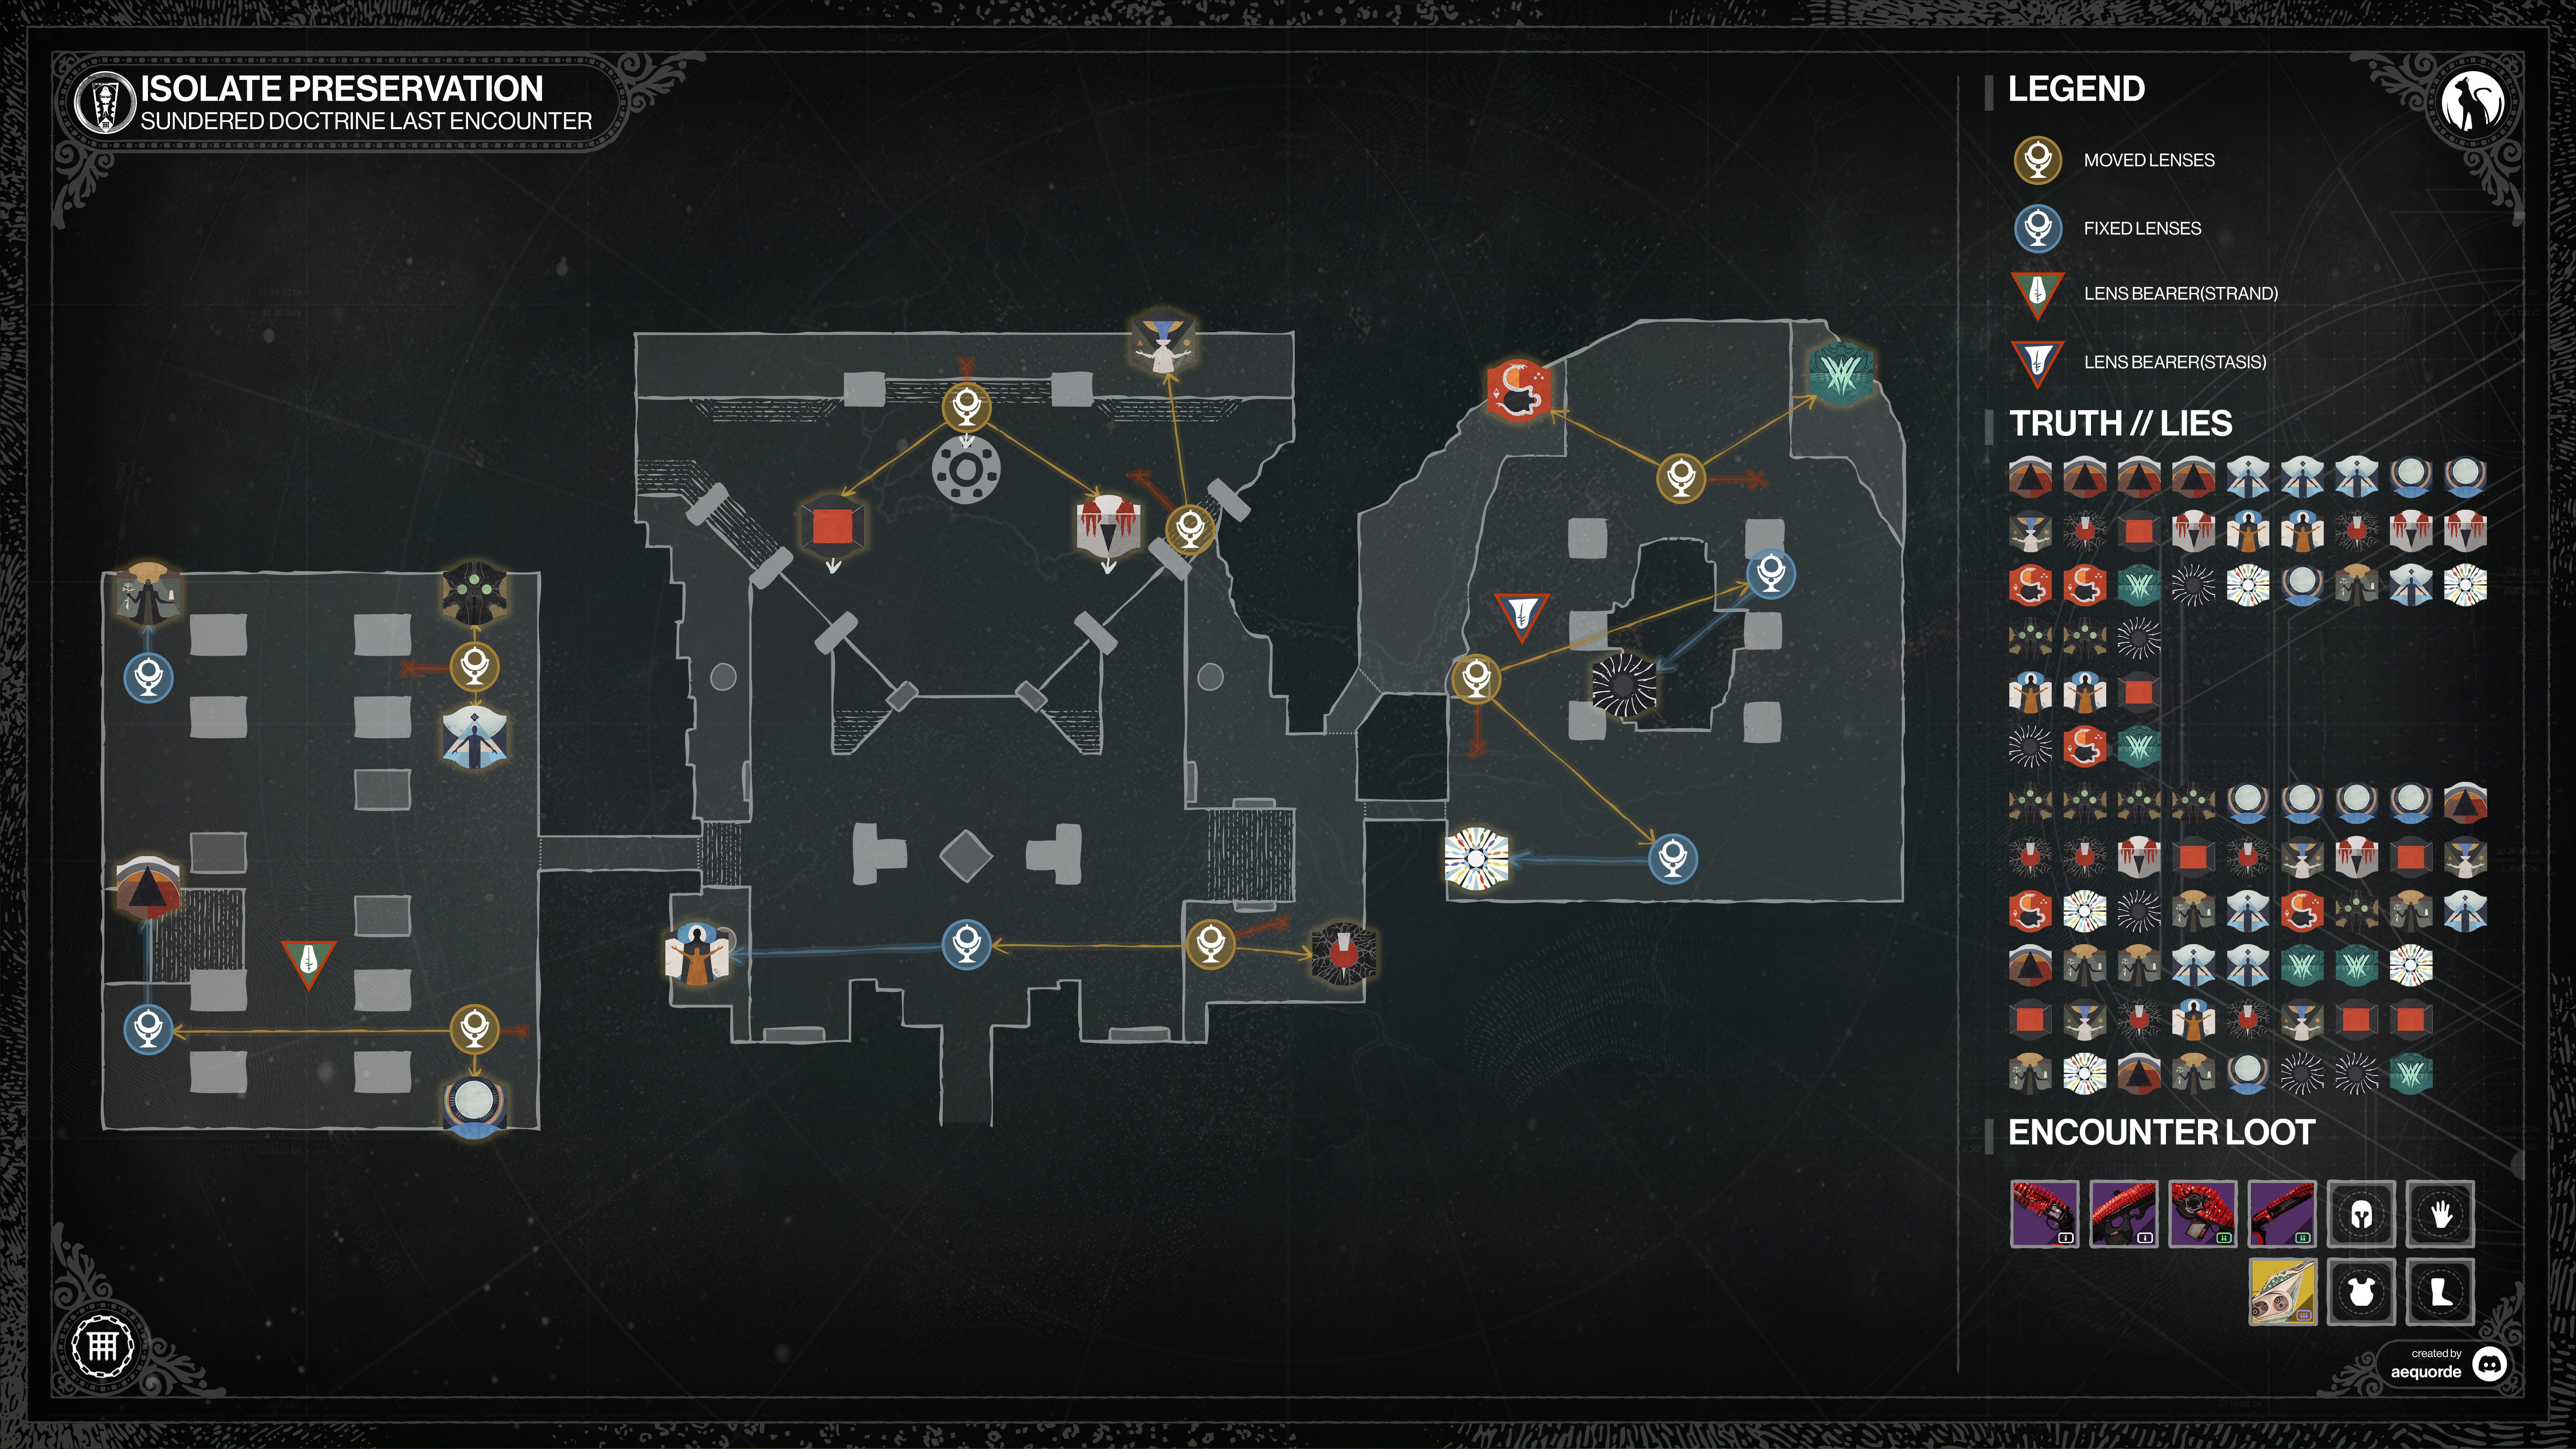
- Witness - Far-left corner
- Hive - Far-right corner
- Guardian - Directly right as you enter the room
- Pyramid - Ahead and to the left as you enter
- Traveller - Back-right corner
- Worship - Back-left corner
- Kill - Back-right corner
- Stop - Downstairs, under where the boss stands
- Give - Downstairs
- Drink - Far-right corner
- Light - Back of the room
- Darkness - Centre of the room
- Worm - Far-left corner
- Savathûn - Far-right corner
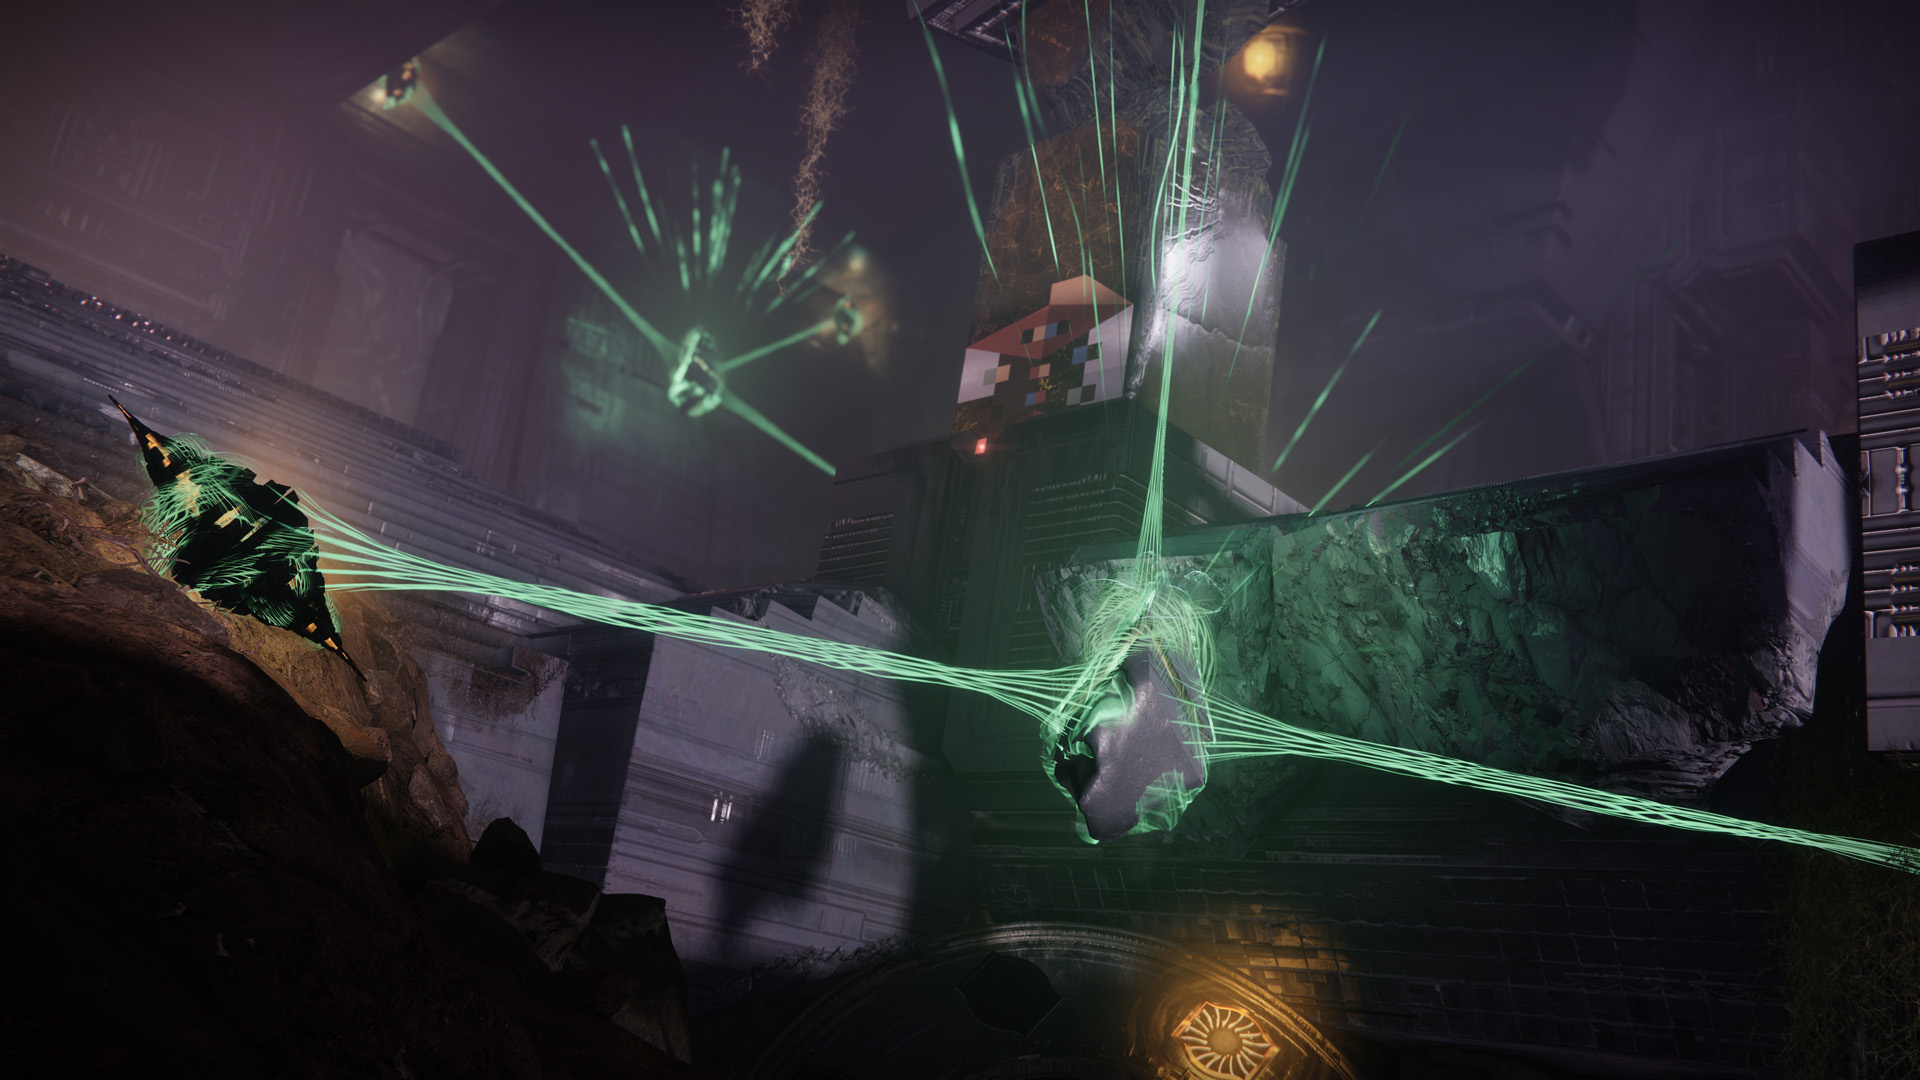
Some lenses are restrained by Strand energy. These lenses may or may not be needed to activated or deactivated for the mechanic. If you're lucky, you can ignore them and focus on the lenses that are needed. To unlock them, you must defeat Unwritten Attendants, small Psions which spawn around all 3 rooms, which upon death grants the Unwritten Empowerment buff. This buff enables you to break the Strand locks and access the lenses. However, be cautious as each destroyed lock will summon a wave of aggressive Threadlings. These Threadlings deal significantly more damage than the regular Threadlings, so prioritize them to avoid being overwhelmed.
DPS Phase
Once you've correctly toggled the necessary symbols, interact with the main symbol wheel in the central room to confirm your selection. The moment you do this, seek cover immediately. Recommended areas to hide are at the back left corner on the elevated platform, behind the wall, or on the front left above some blocks sheltered by the worm by one of the four main pillars.
This action triggers a burning effect that will rapidly deplete your health if you remain exposed, as well as the bosses's shield. Use the shadows of the structures in the room to shield yourself and wait for the flames to subside. If your symbols were set correctly, Kerrev's shield will burn away completely, allowing you to begin the damage phase. Be prepared - Kerrev is highly mobile, making it essential to track his movements.
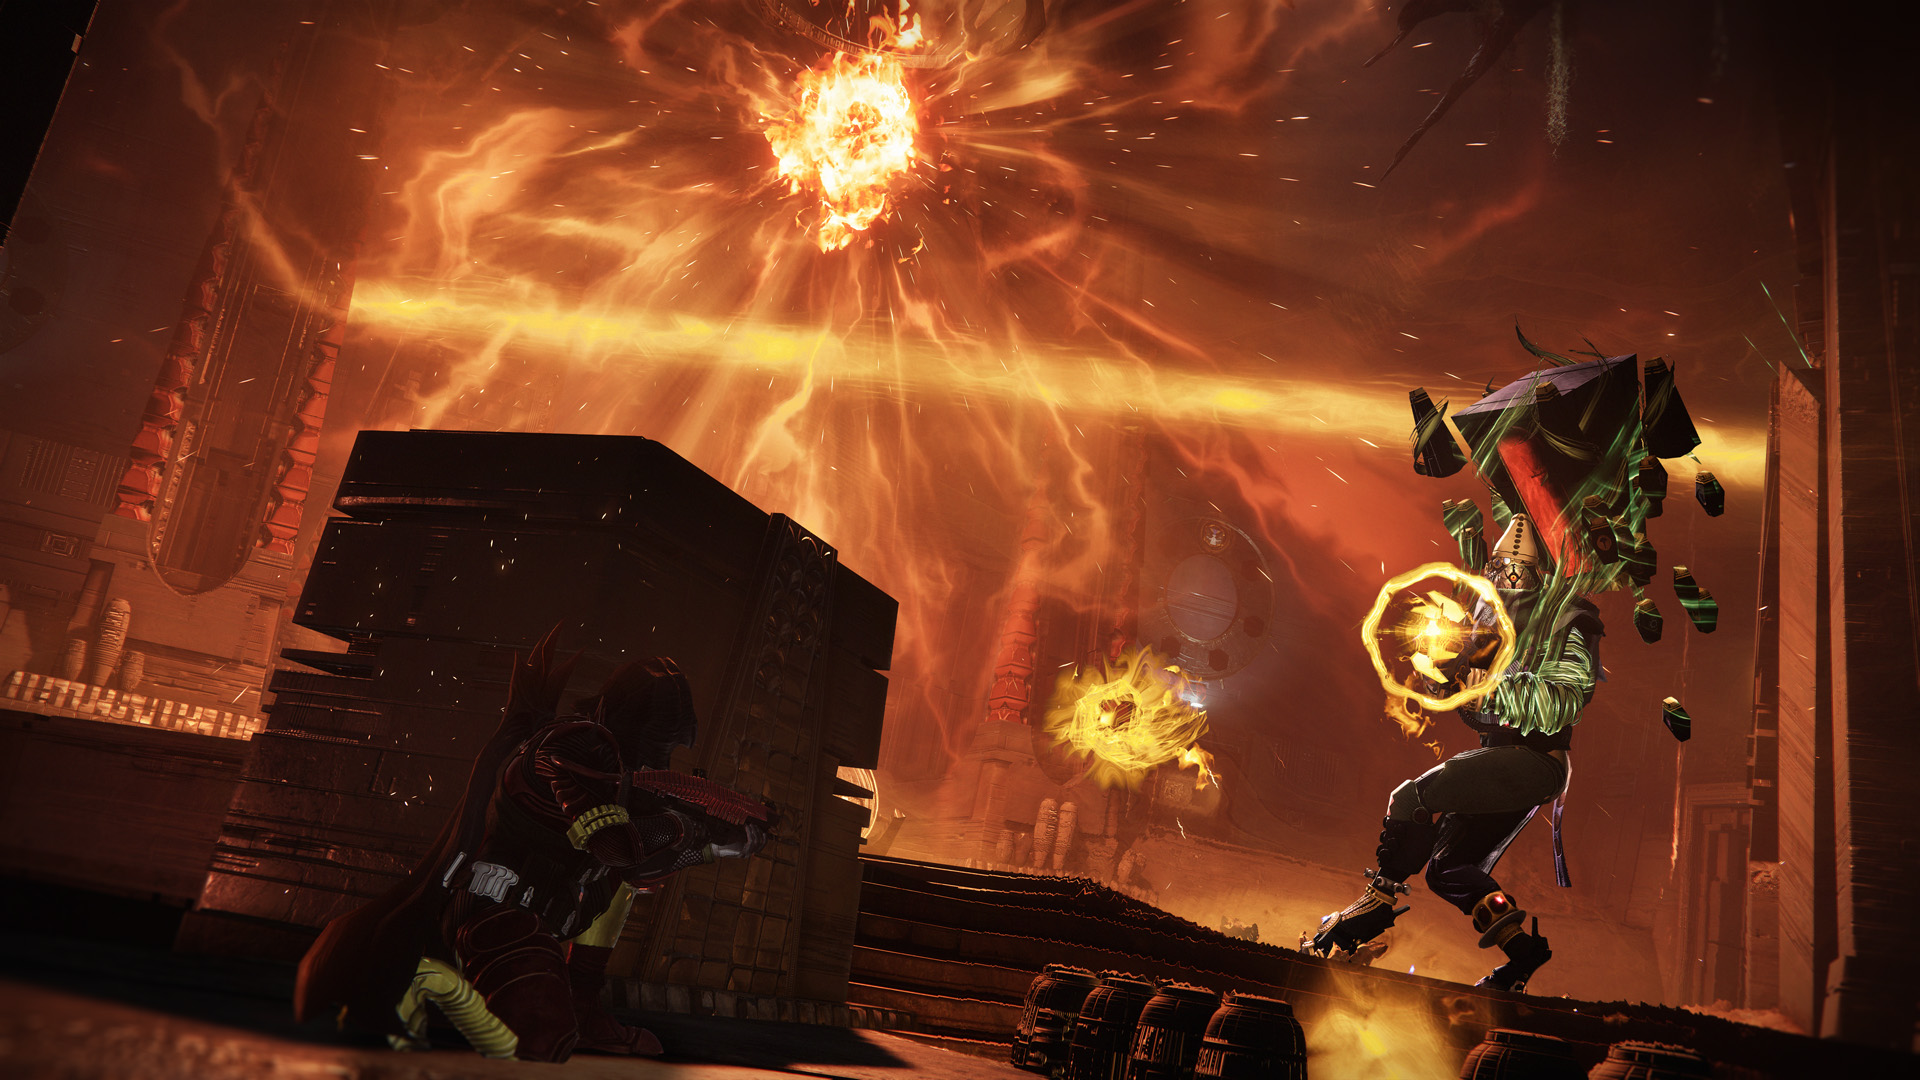
The damage window is brief, and Kerrev's shield will regenerate quickly after one more burning attack from the worm. Once that happens, repeat the mechanics from earlier to trigger the next damage phase. Continue this cycle until Kerrev is defeated, marking the completion of the Sundered Doctrine dungeon.
