
The Shattered Throne Guide
Done by: Vedallion#7774 | Jan 24th 2023
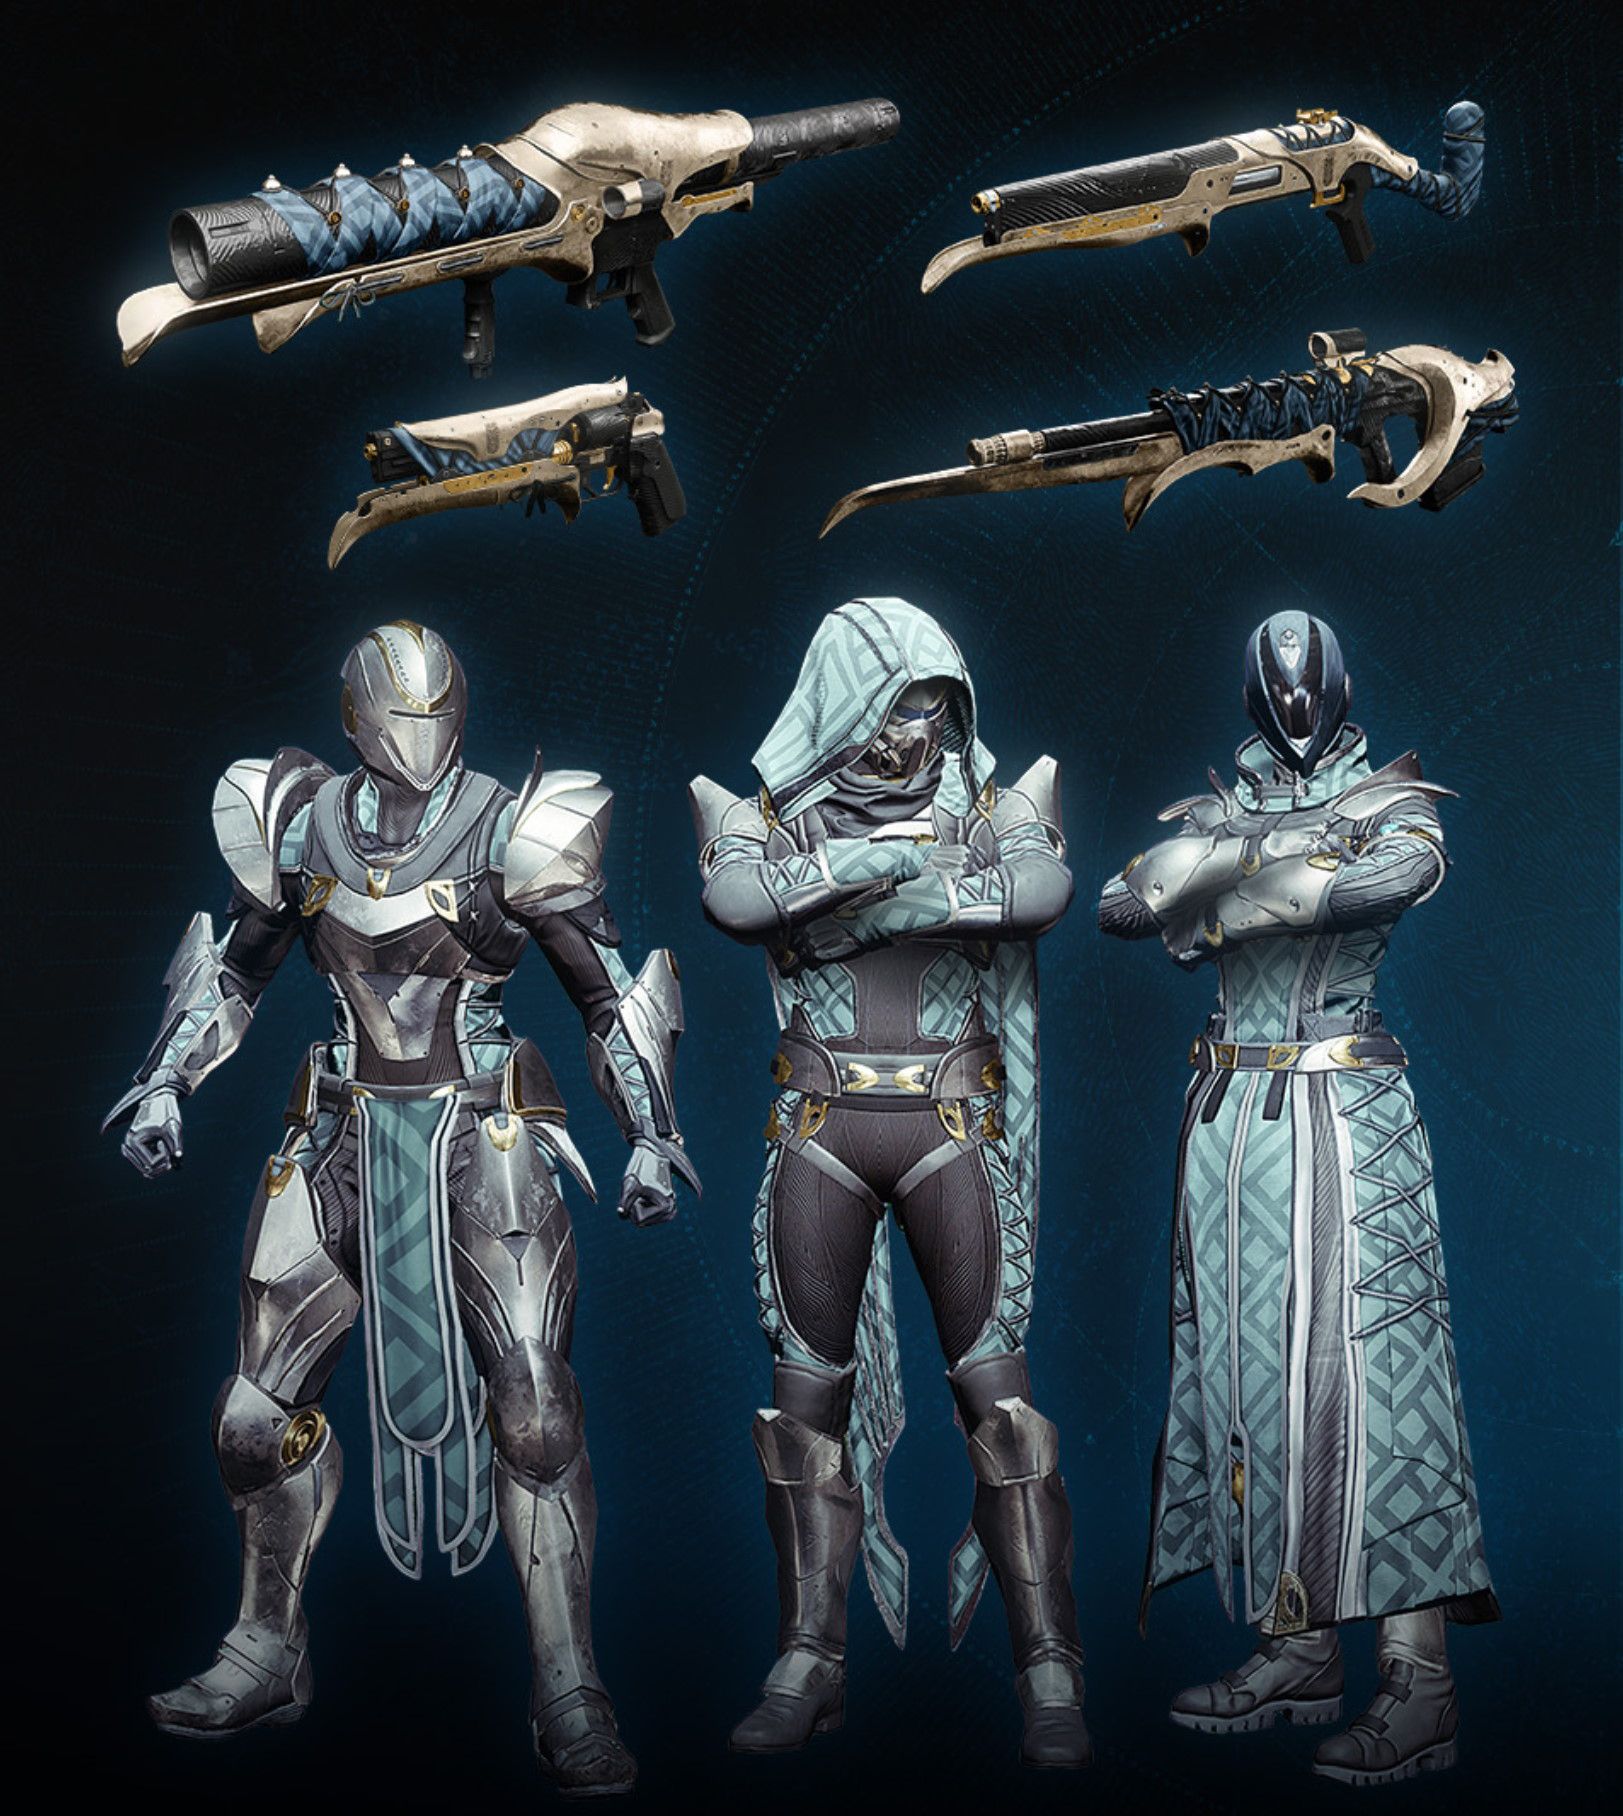
Drop Table
The Shattered Throne's loot table is shared by all encounters, in contrast to other dungeons in Destiny 2. Any item from the Dreaming City will be awarded if you successfully finish an encounter or unlock a chest. This dungeon's armor occasionally drops high-stat pieces with stat totals of 60 or more and spikey distributions. Wish-Exotic Ender's quest is also located in this dungeon.
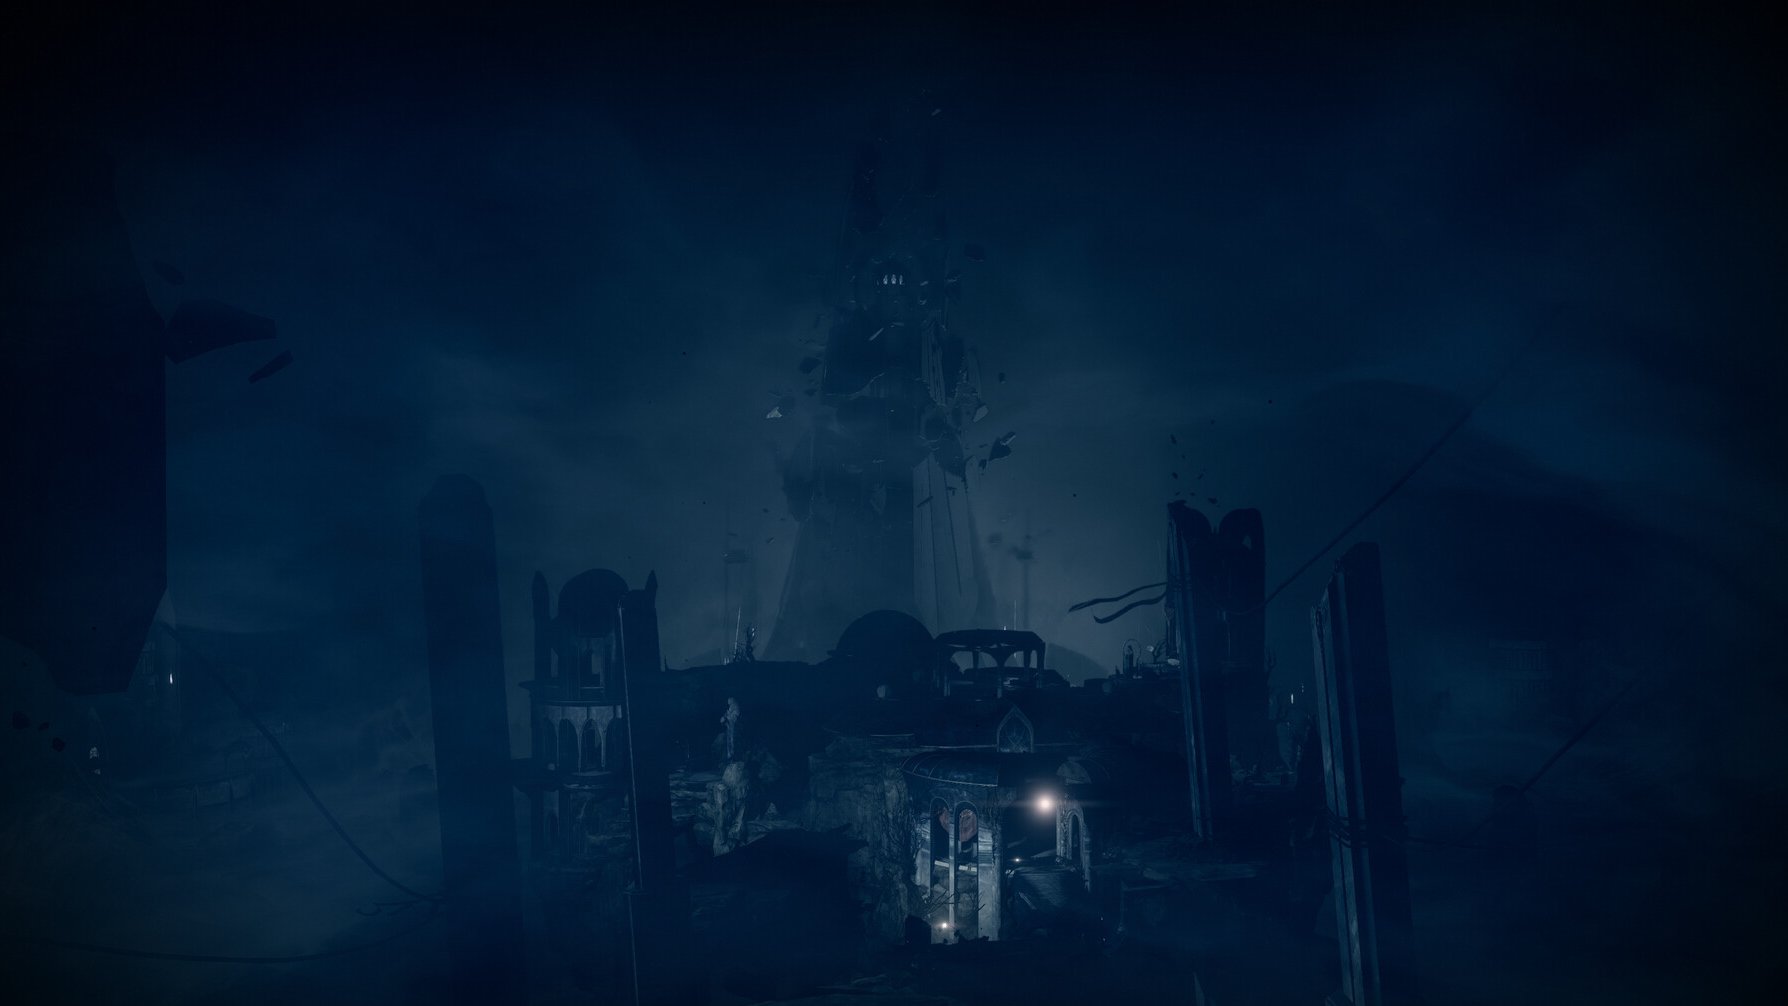
Erebus
This map shows the locations of all of the symbols and islands on Erebus:
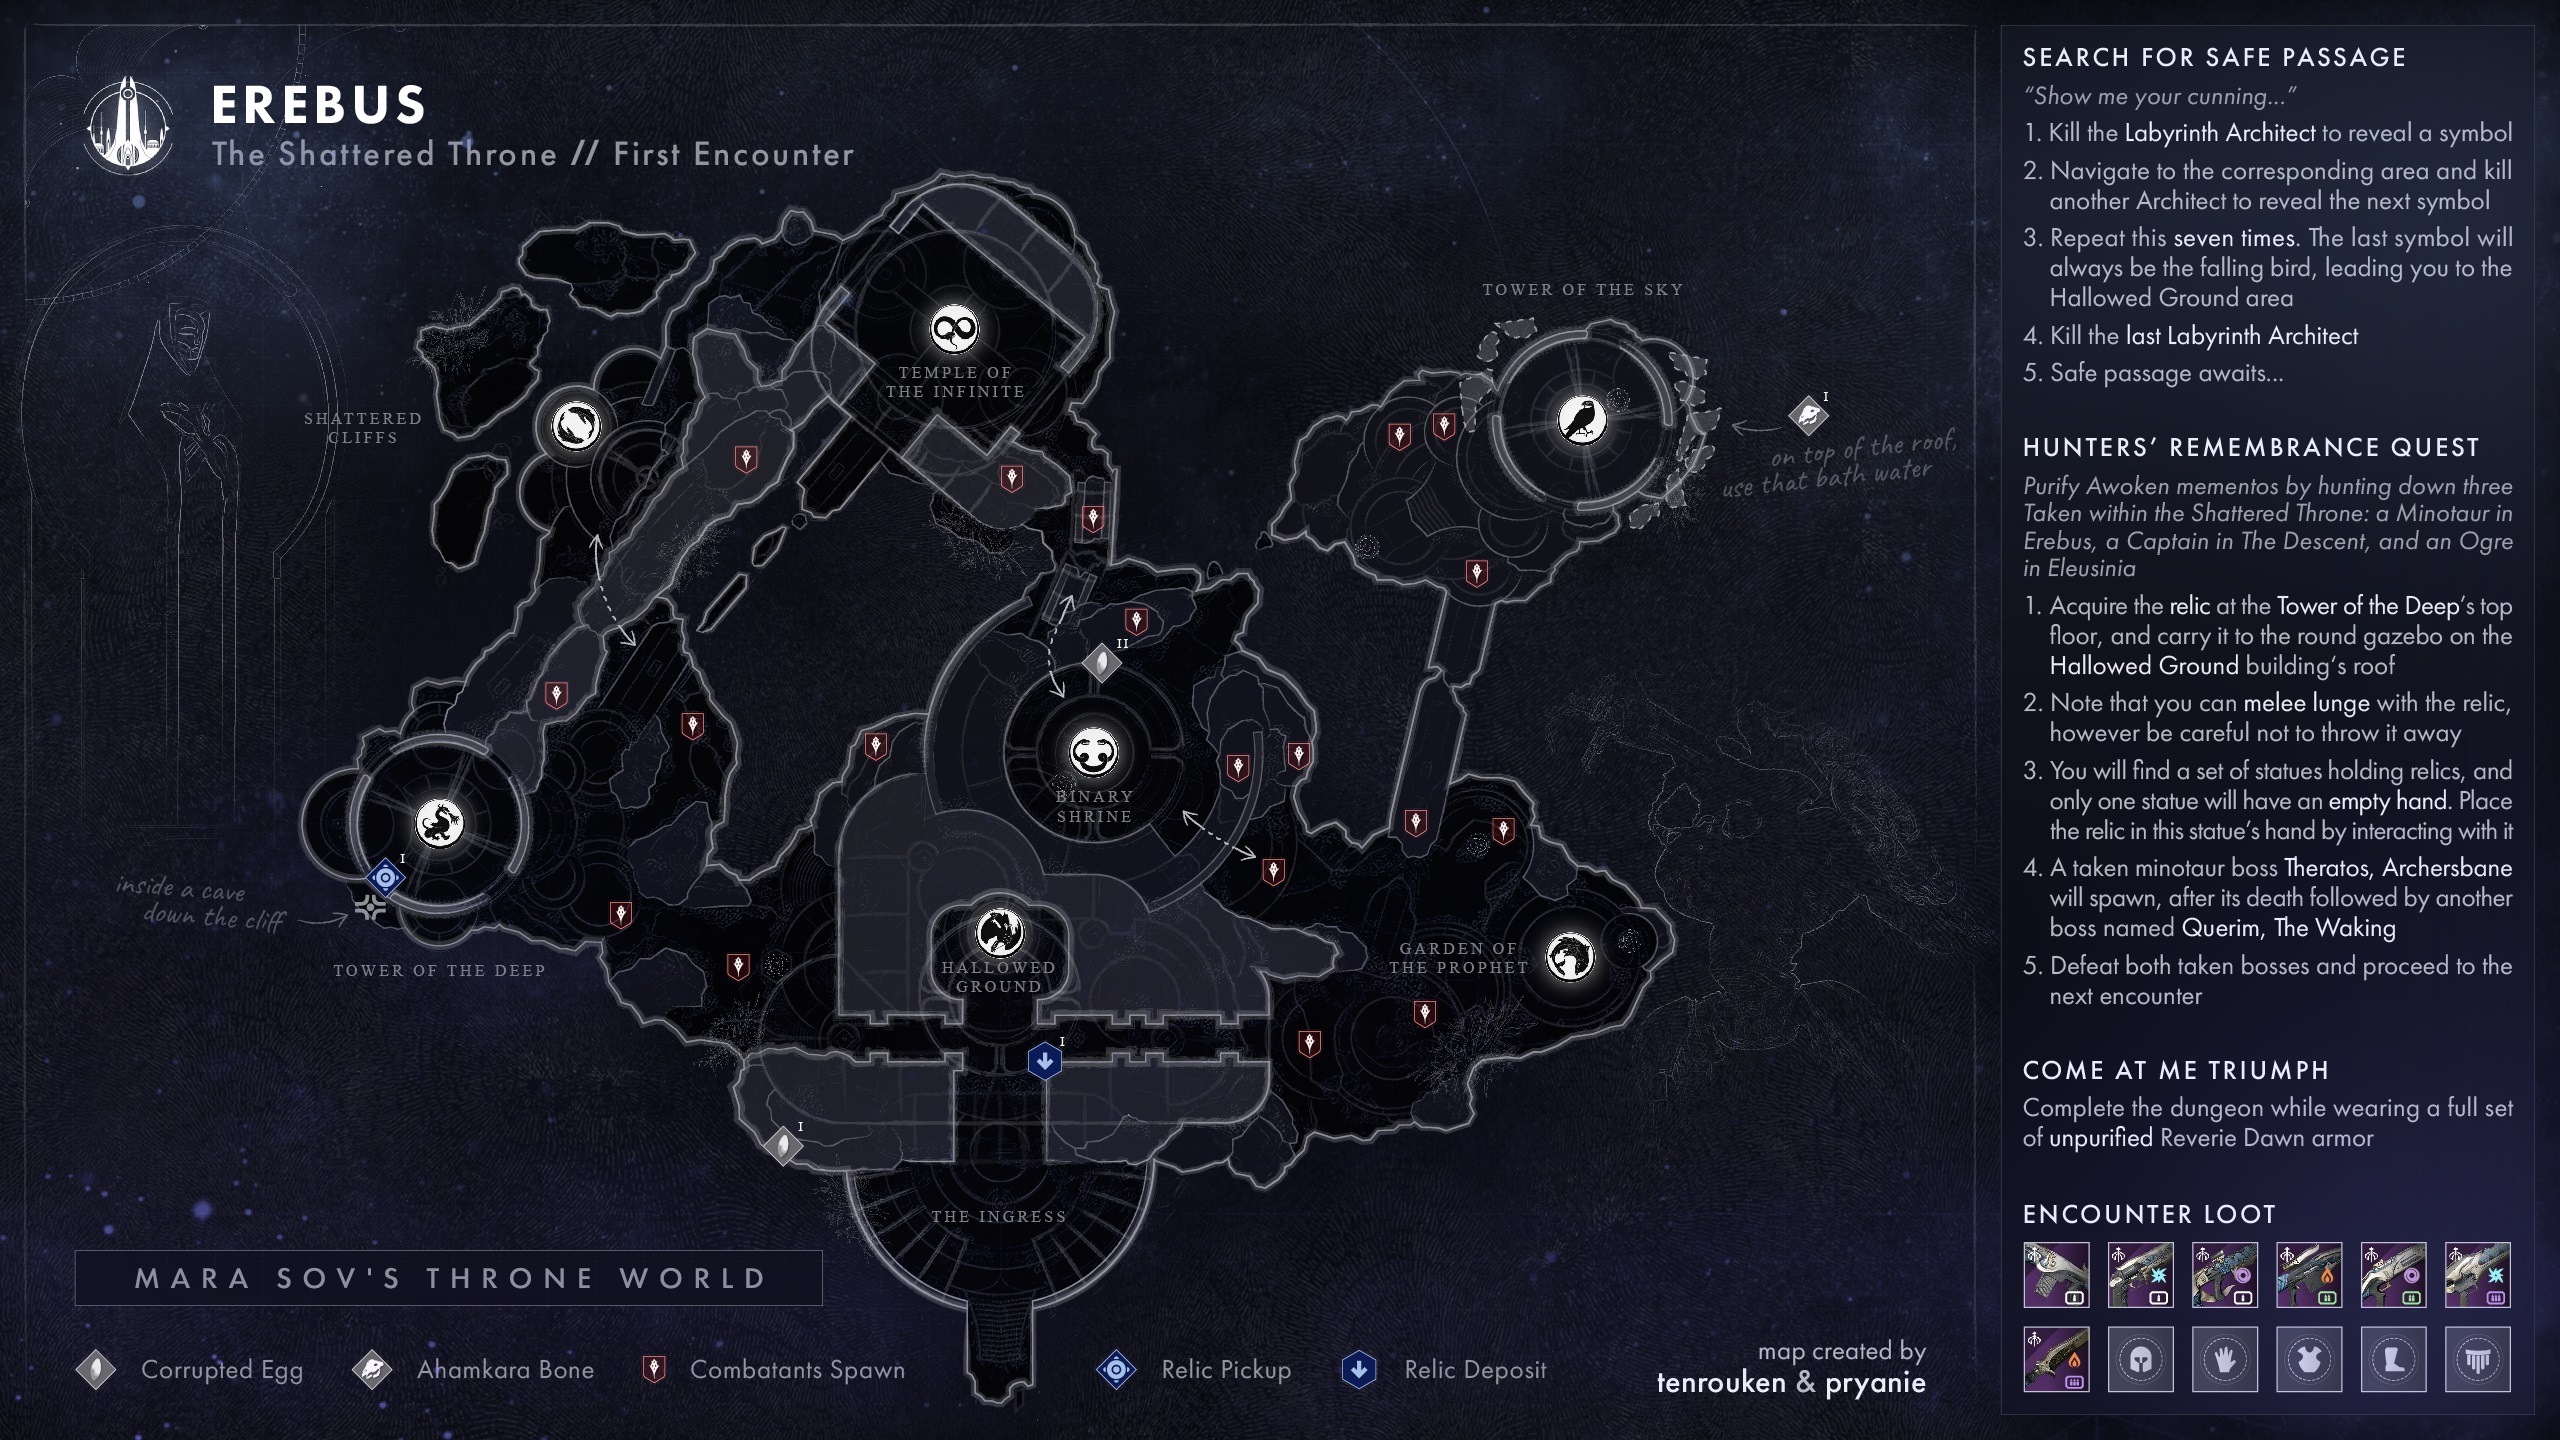
Players must defeat the mini-boss to reveal the next symbol after killing the first Knight, and move to the associated region of that symbol. This process must be repeated until all of Erebus' mini-bosses have been eliminated. The passageways between the parts may occasionally spawn Captains and hordes of Thralls, thus players should be mindful of these spawns. A sniper rifle, bow, or scout rifle will be helpful for this encounter because there will be Hobgoblins on some of the taller structures. Considering how weak each mini-boss is, they can all be killed using heavy and special weaponry.
Seven symbols must be memorized since there are seven mini-bosses to destroy. Fireteams are free to choose their own names for each sign, although the following are just an example:
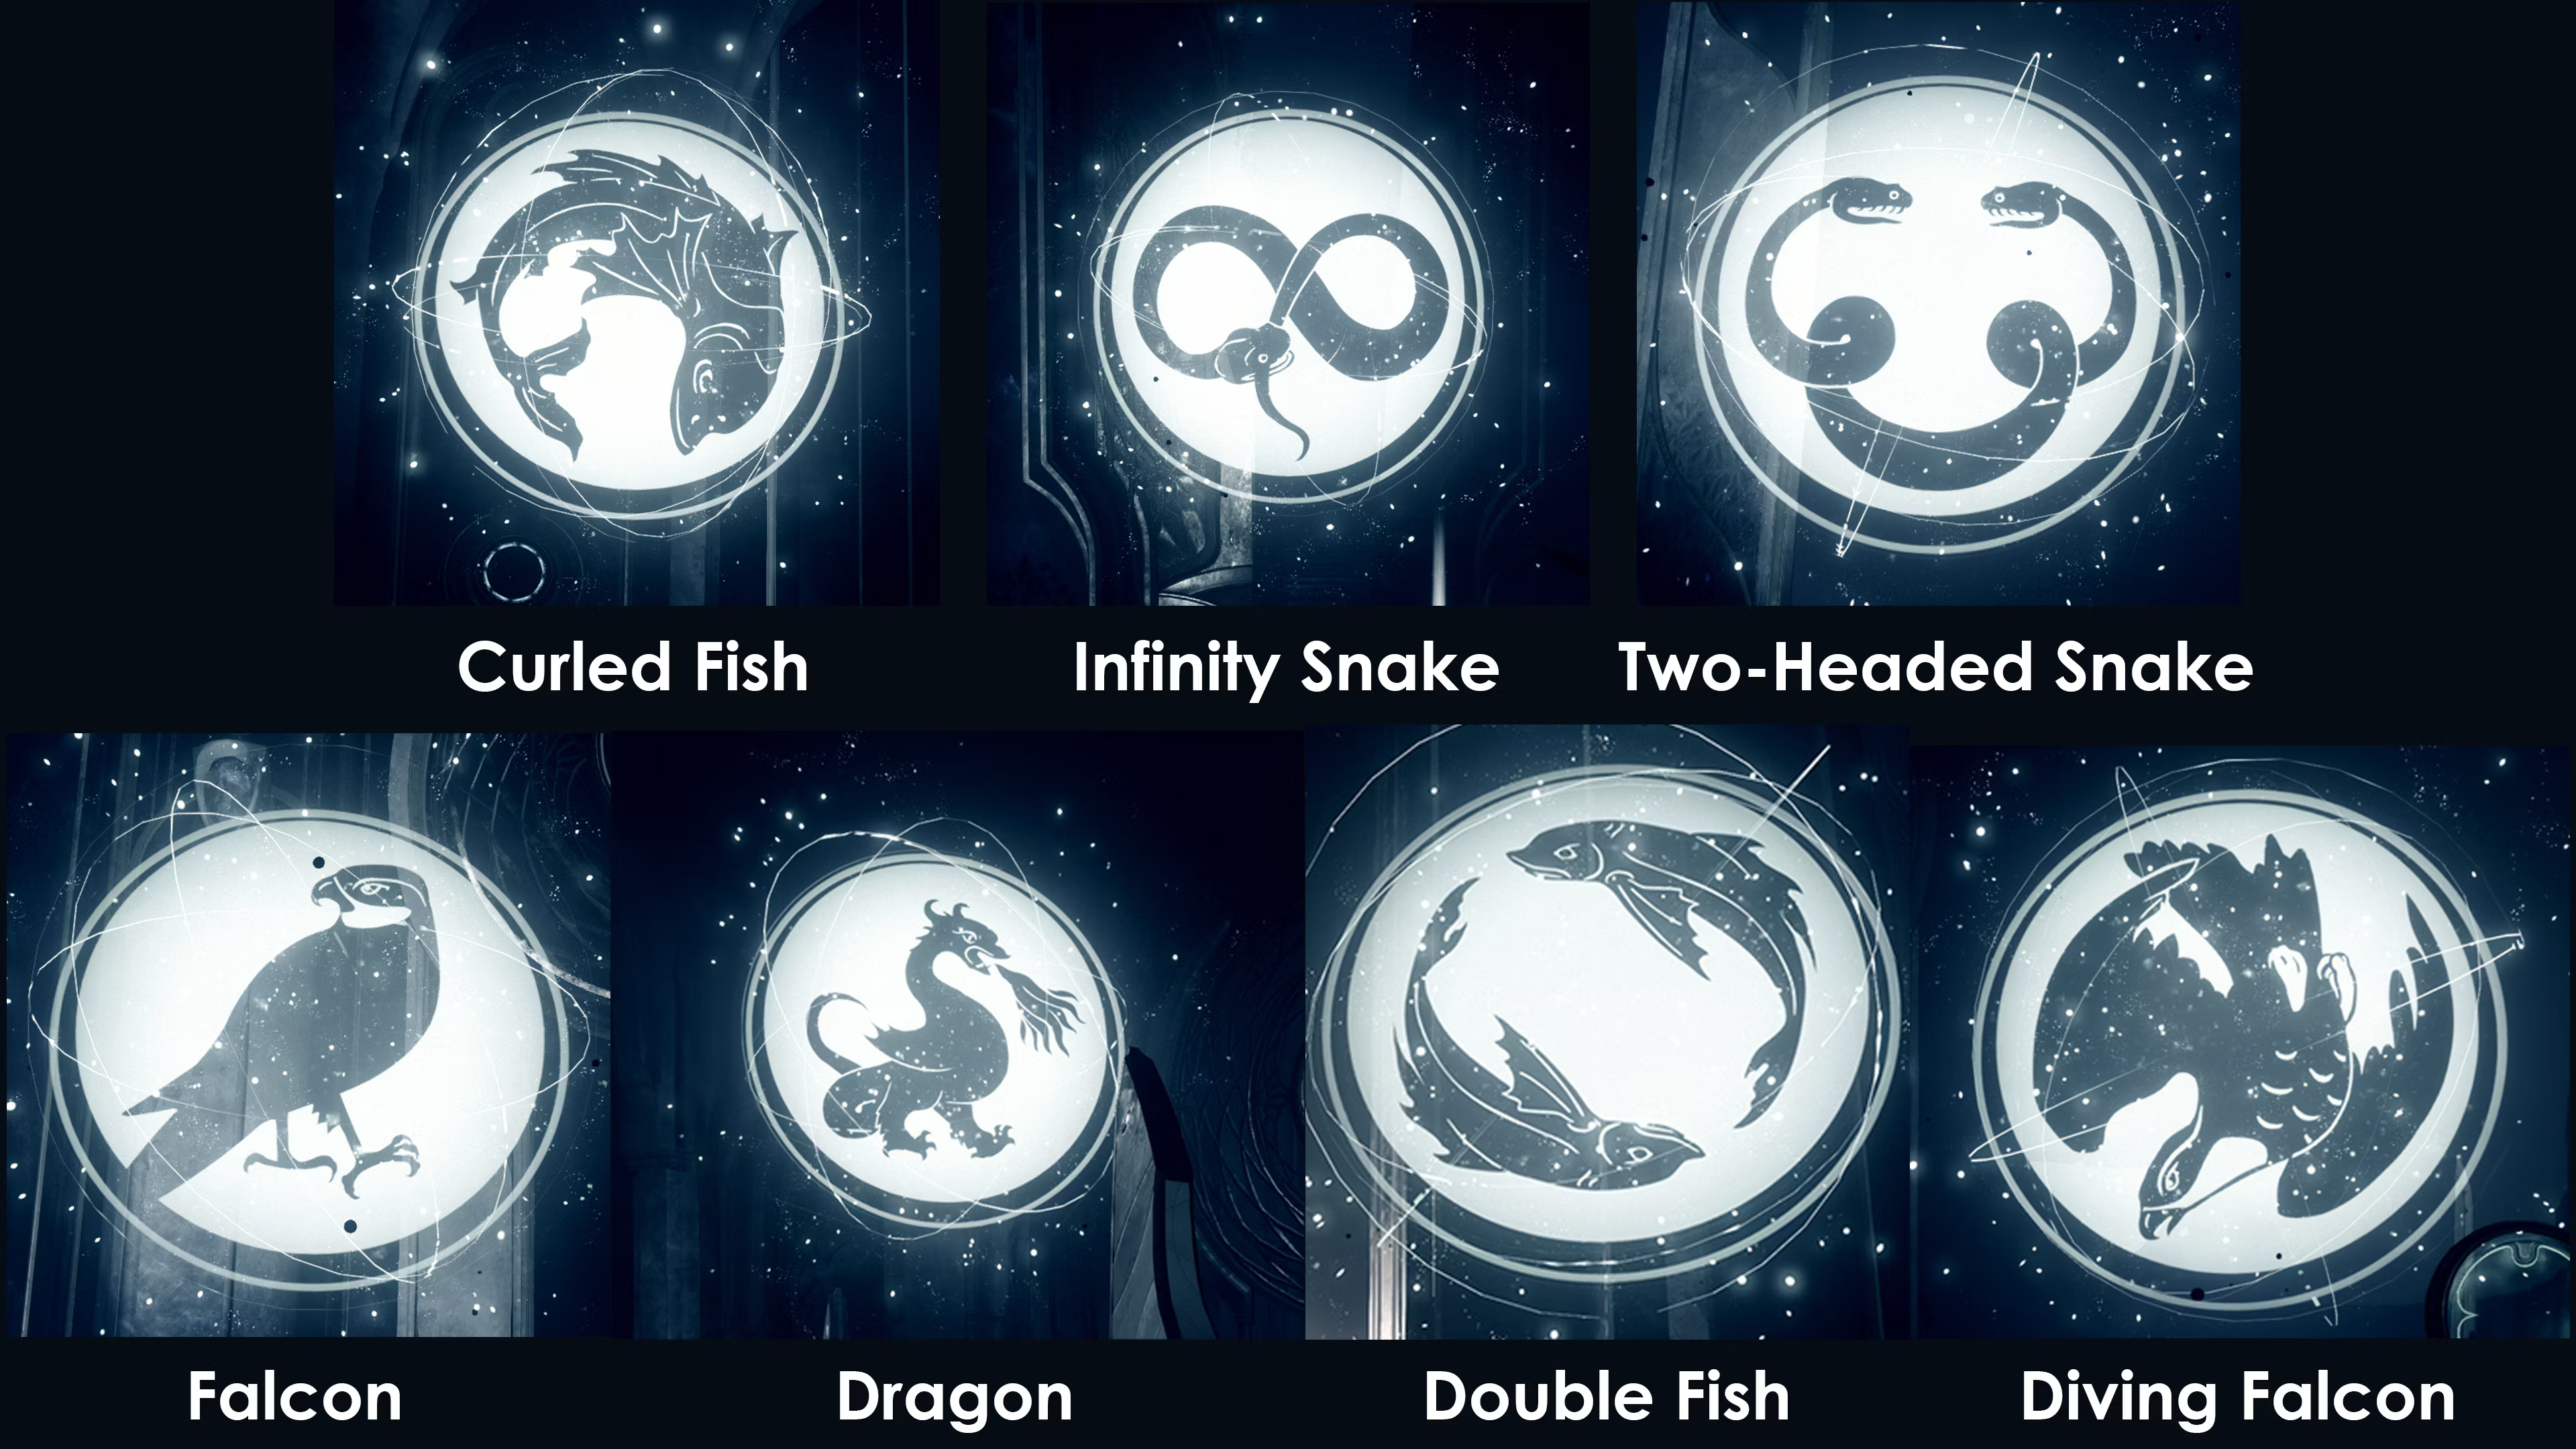
As an example, after eliminating the first Knight mini-boss, players may see the Dragon symbol. They should turn left and kill the mini-boss at the Tower of the Deep, which can be seen on the map and is where the Dragon sign will always be. After eliminating the Knight there, they may see the Curled Fish sign. Players should then go to the Garden of Prophet region and beat the mini-boss there.
It is essential to note that each section of Erebus is represented by a constant symbol. The order in which the symbols are presented to players varies from game to game, with the exception of the last symbol, which is always the Diving Falcon since it marks the location of the Erebus's completion and exit. Players will receive their first loot drop after eliminating the last miniboss, and a massive floor plate in an adjacent area will open to expose a big, light tunnel. To get to the next section, jump down the tube.
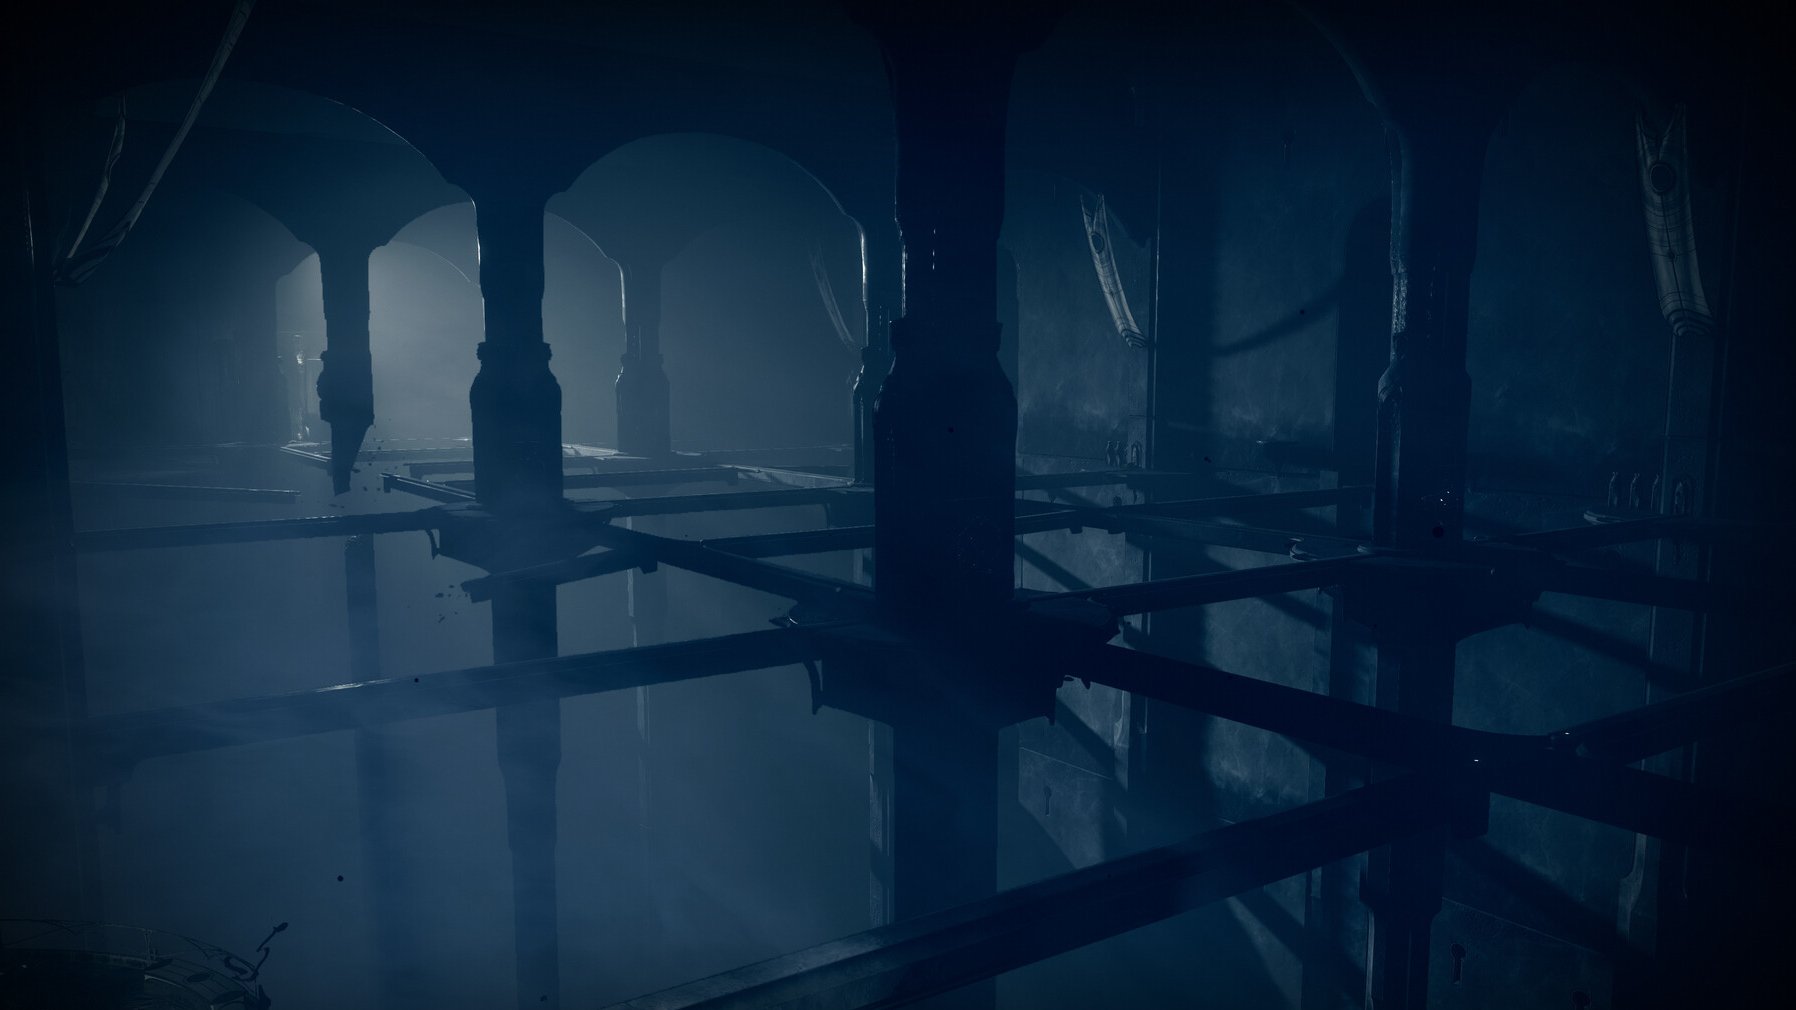
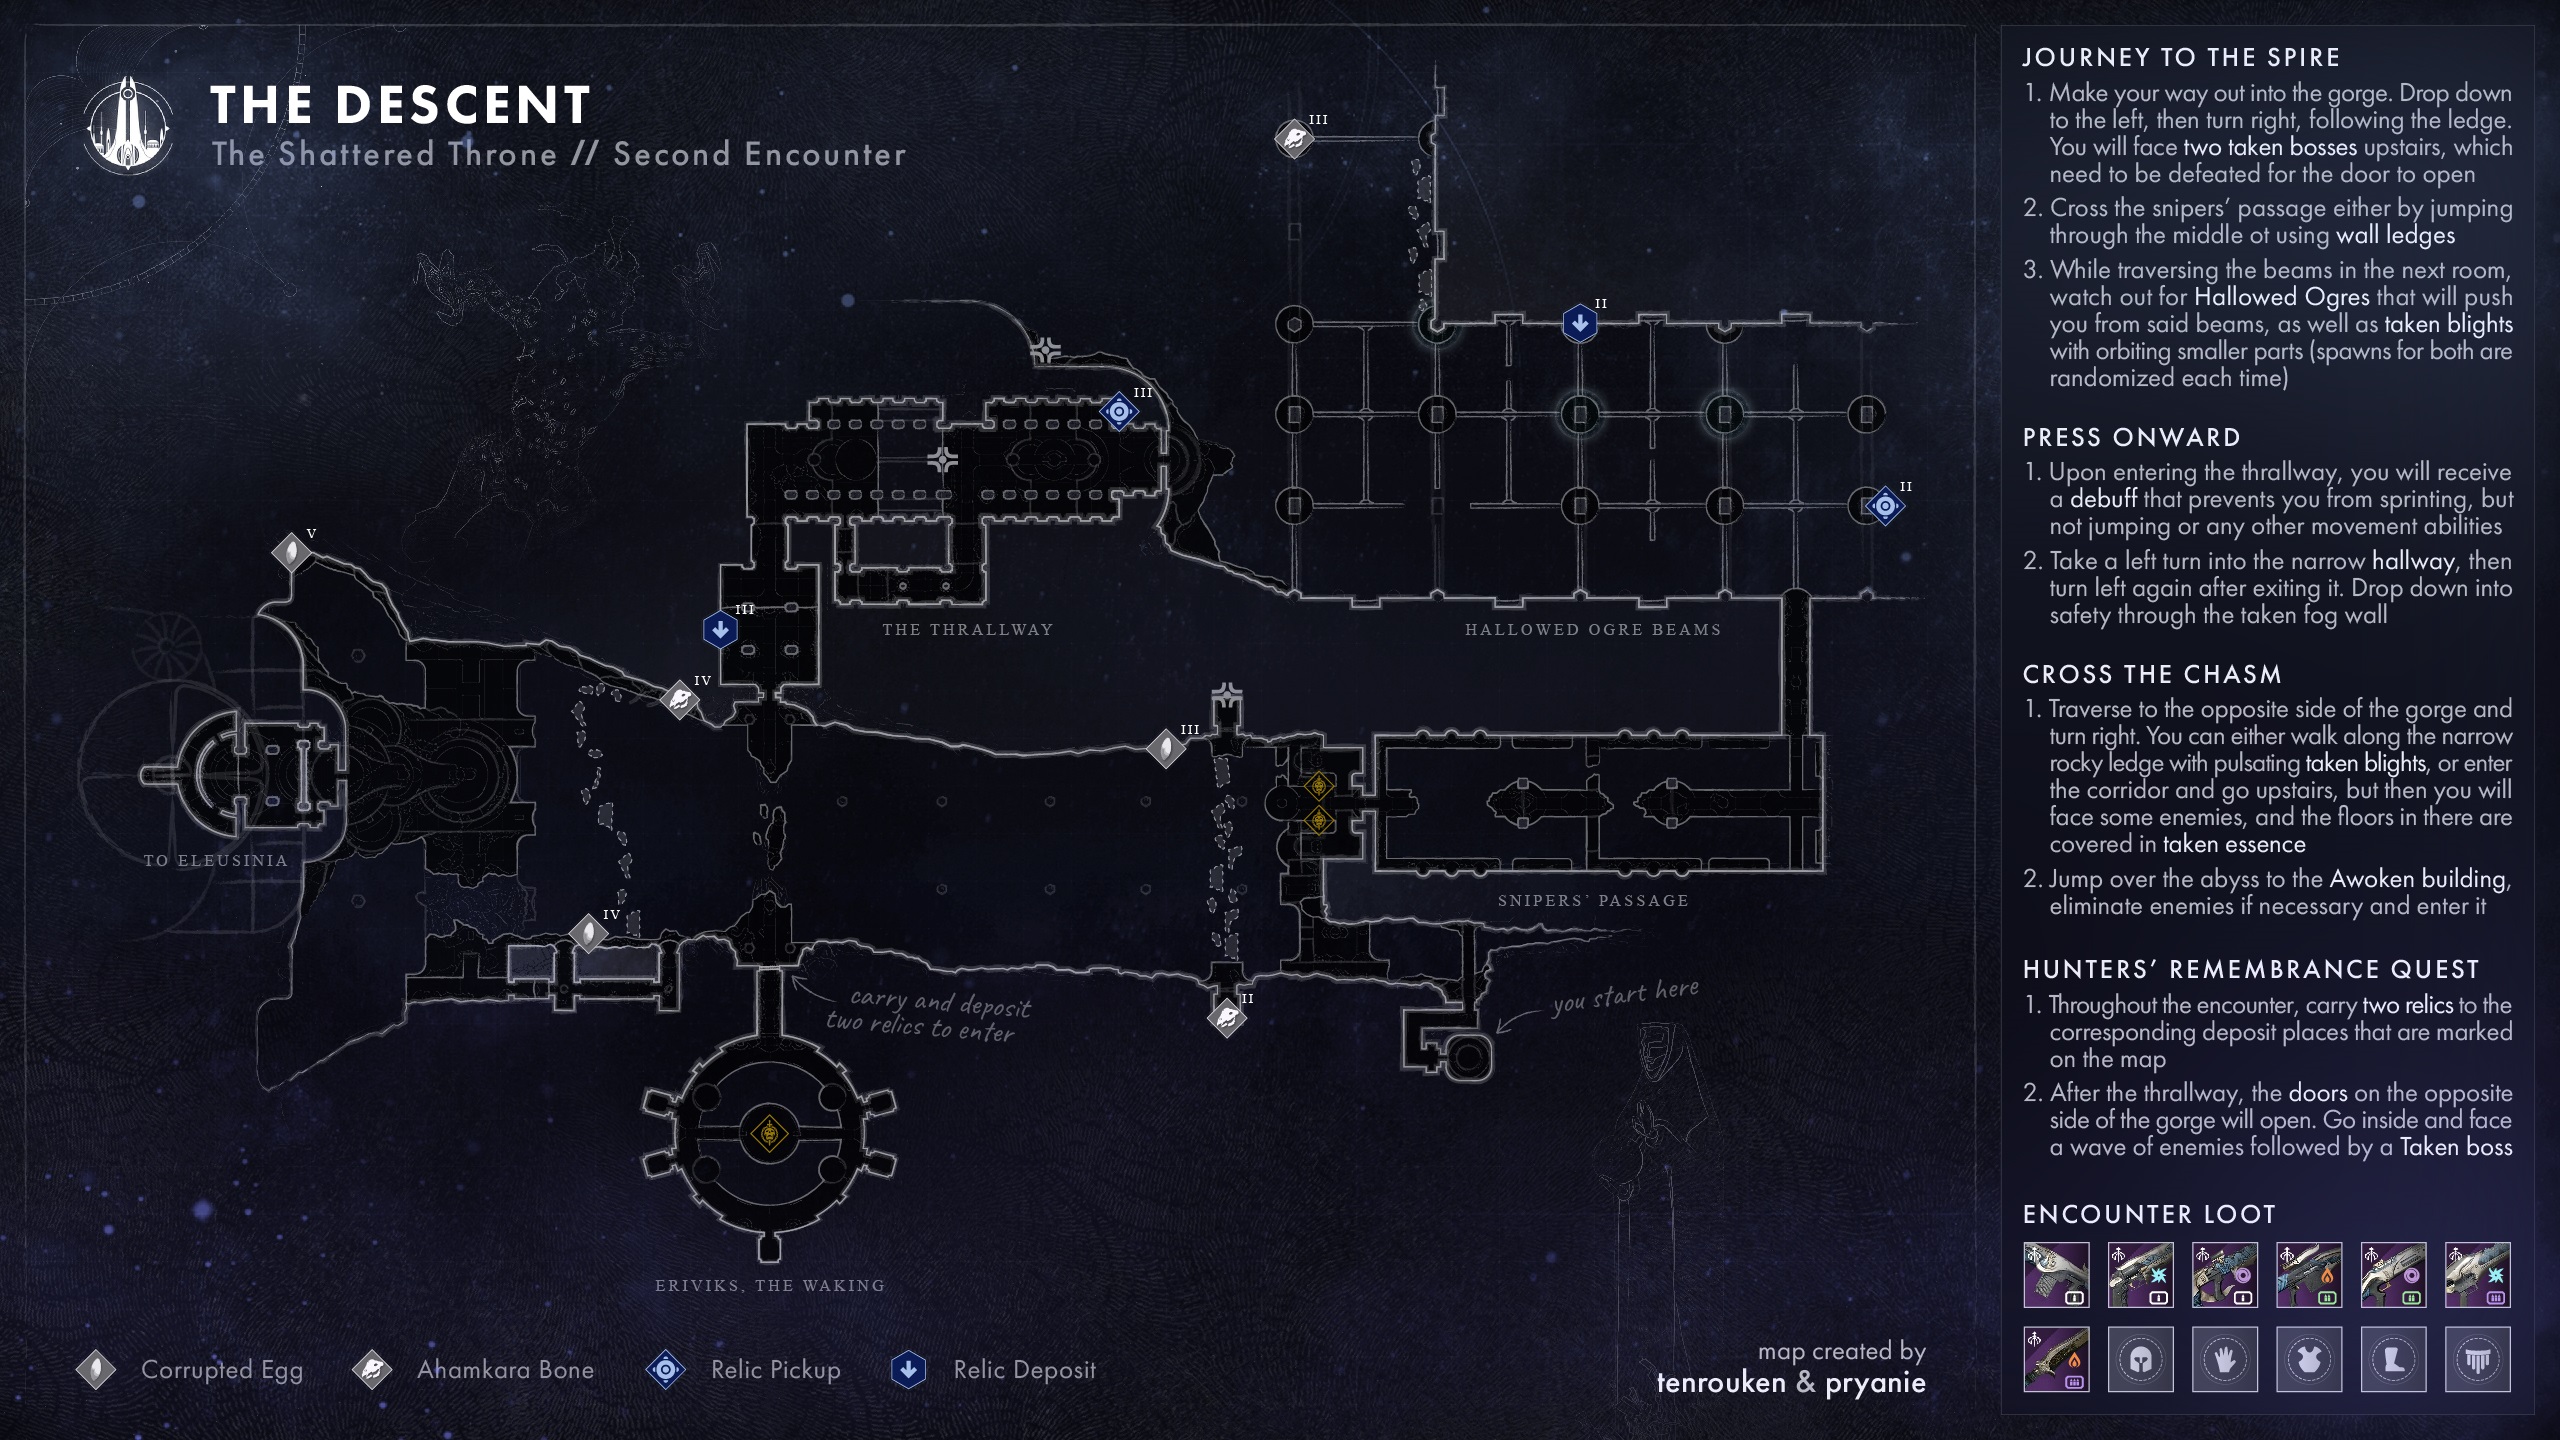
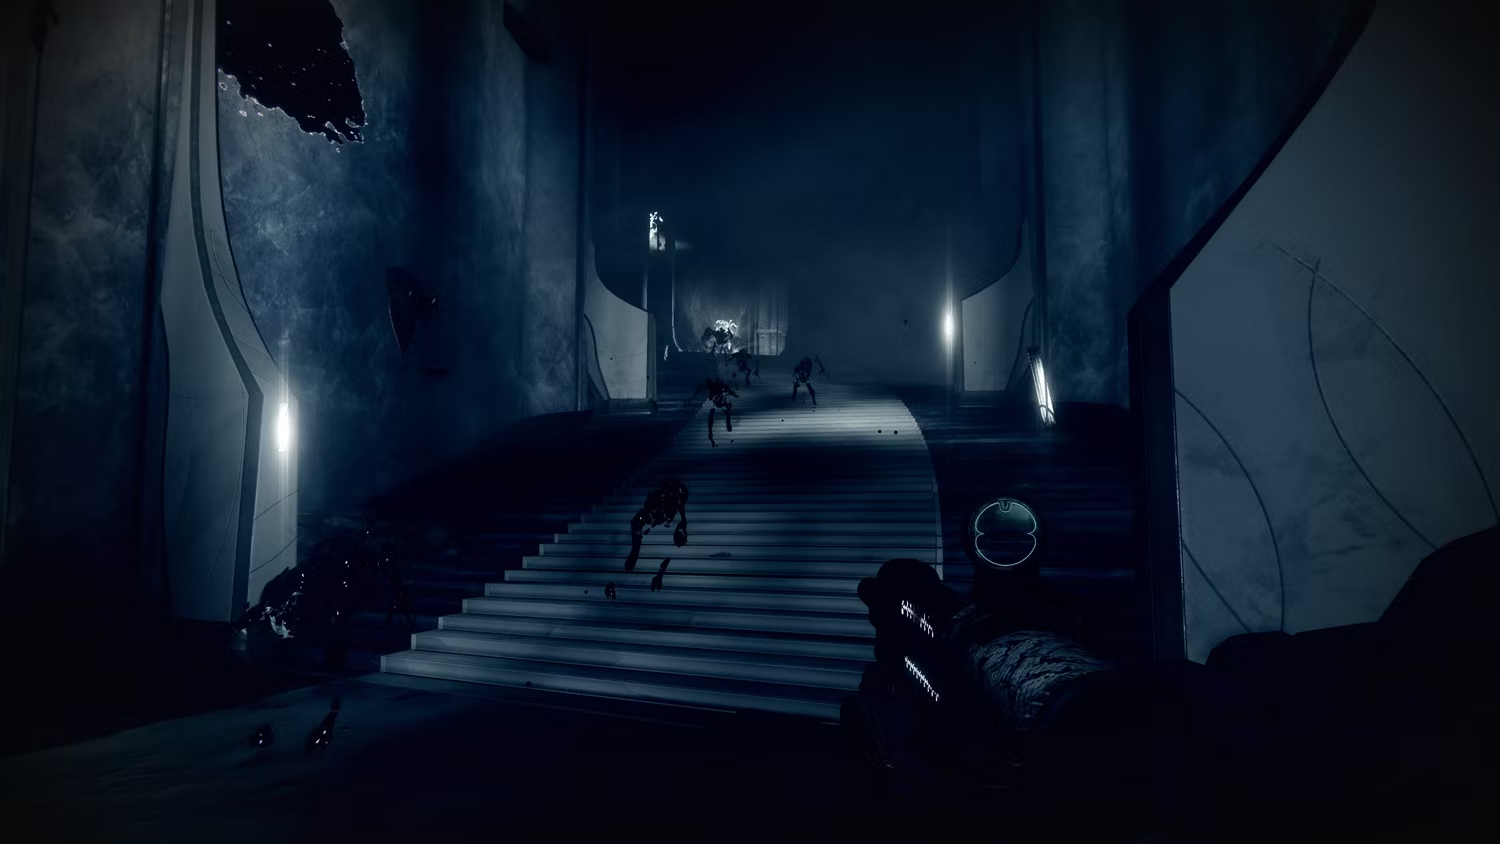
The Descent
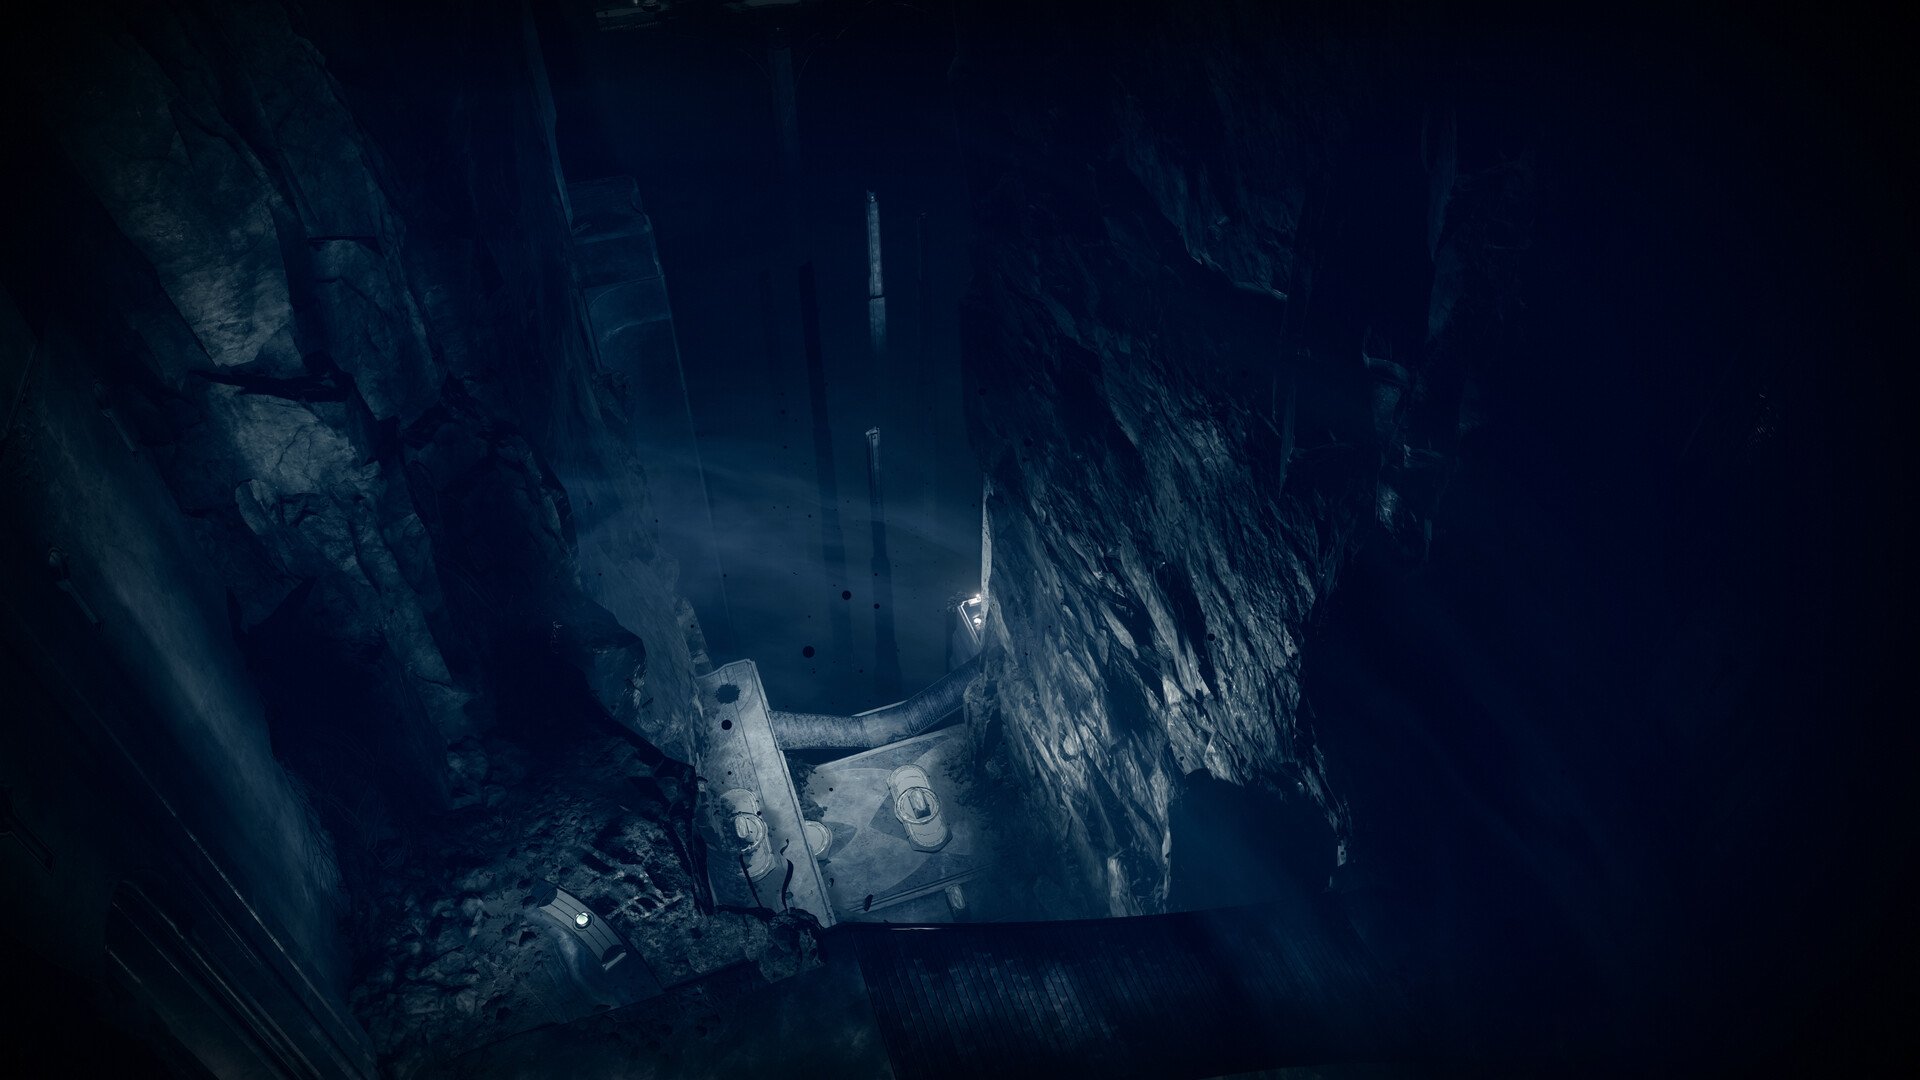
The Shattered Throne dungeon's following section are more of obstacles rather than actual battles that precede the second encounter. Players must continue racing down the main road until they reach a stairway that leads down after jumping down the tunnel. Players should turn left, gaze down, and stand on the stairs. Acolytes and Minotaurs will be on several big platforms that are located lower in the area.
To ascend up the big structure, players must leap down and follow the road and steps. More Minotaurs, Acolytes, Vandals, and Phalanxes will be encountered along the road for the players to contend with. A Captain mini-boss will be there when they get to the top of this structure. To unlock the entrance to the following room, simply kill this Captain.
Hobgoblin Hallway
The next space is a very long corridor with a lengthy, broken bridge running the length of the space. There are little ledges with Knights and Hobgoblins on them on either side of the bridge. Phalanxes will be stationed on the bridge itself to obstruct the way.
Players only need to race up the left staircase at the end of the area and across the whole bridge to exit this section. Players should concentrate on eliminating the Knights and Hobgoblins as fast as they can to lessen the risk on the bridge. This will make dealing with the Phalanxes and crossing the bridge much simpler. Once more, long-range weaponry are essential for successfully clearing this chamber.
Ogre Room
The next challenge is another enormous chamber, but this one is filled with long, narrow beams that are placed in a grid. The exit is where the bright, white light is to the left of the starting region of this chamber. As long as they are cautious to avoid falling off, players may effortlessly move across the beams.
It is vital to note that when you enter specific portions of this level, ogres will appear. These creatures may easily kill unwary Guardians by shooting missiles that knock them off the tight beams. Multiple Ogres may spawn in this chamber if players pass through it too rapidly. Take your time with this section, and as soon as an Ogre spawns, withdraw to a place that is a little safer and shoot the Ogre there. Players should keep moving forward in this manner until they reach the room's finish. When there are no more beams left, players should cross the opening and enter through the door.
The Thrallway
The community of Destiny 2 has given the name of this next location, which is a twisting corridor with endlessly spawning Shadow Thralls. Players will immediately cross a barrier that slows them down and prohibits them from running and utilizing their jump skills as soon as they pass through the doorway leading from the Ogre chamber to the Thrallway.
It is imperative that no players engage the Shadow Thralls in combat at any time throughout this encounter. Given that the players are continually going forward and that the Thralls typically spawn close to them, the players are almost always being pursued by the Thralls. Stopping to eliminate Thralls just wastes time and encourages the emergence of additional Thralls, who may then quickly encircle and kill the players. As a last option, players should use a grenade to eliminate any exceptionally dangerous Thrall swarms.
To avoid being swamped, players should concentrate on swiftly moving across the region and evading the Shadow Thralls. Even though the Thrallway road is very straight-forward, wielding a sword may be helpful since the third-person perspective offers players a greater area to observe, which can be helpful when trying to figure out which way to go.
The Shadow Thralls are unable to scale the higher ledges on each side of the narrow stairs of the Thrallway. These brief ledges may be used by players to gain some space and jump over any Thralls that may have generated in front of them. When another barrier must be crossed, players will have reached the end of the Thrallway. The slowing debuff is removed, enabling players to jump and sprint once again.
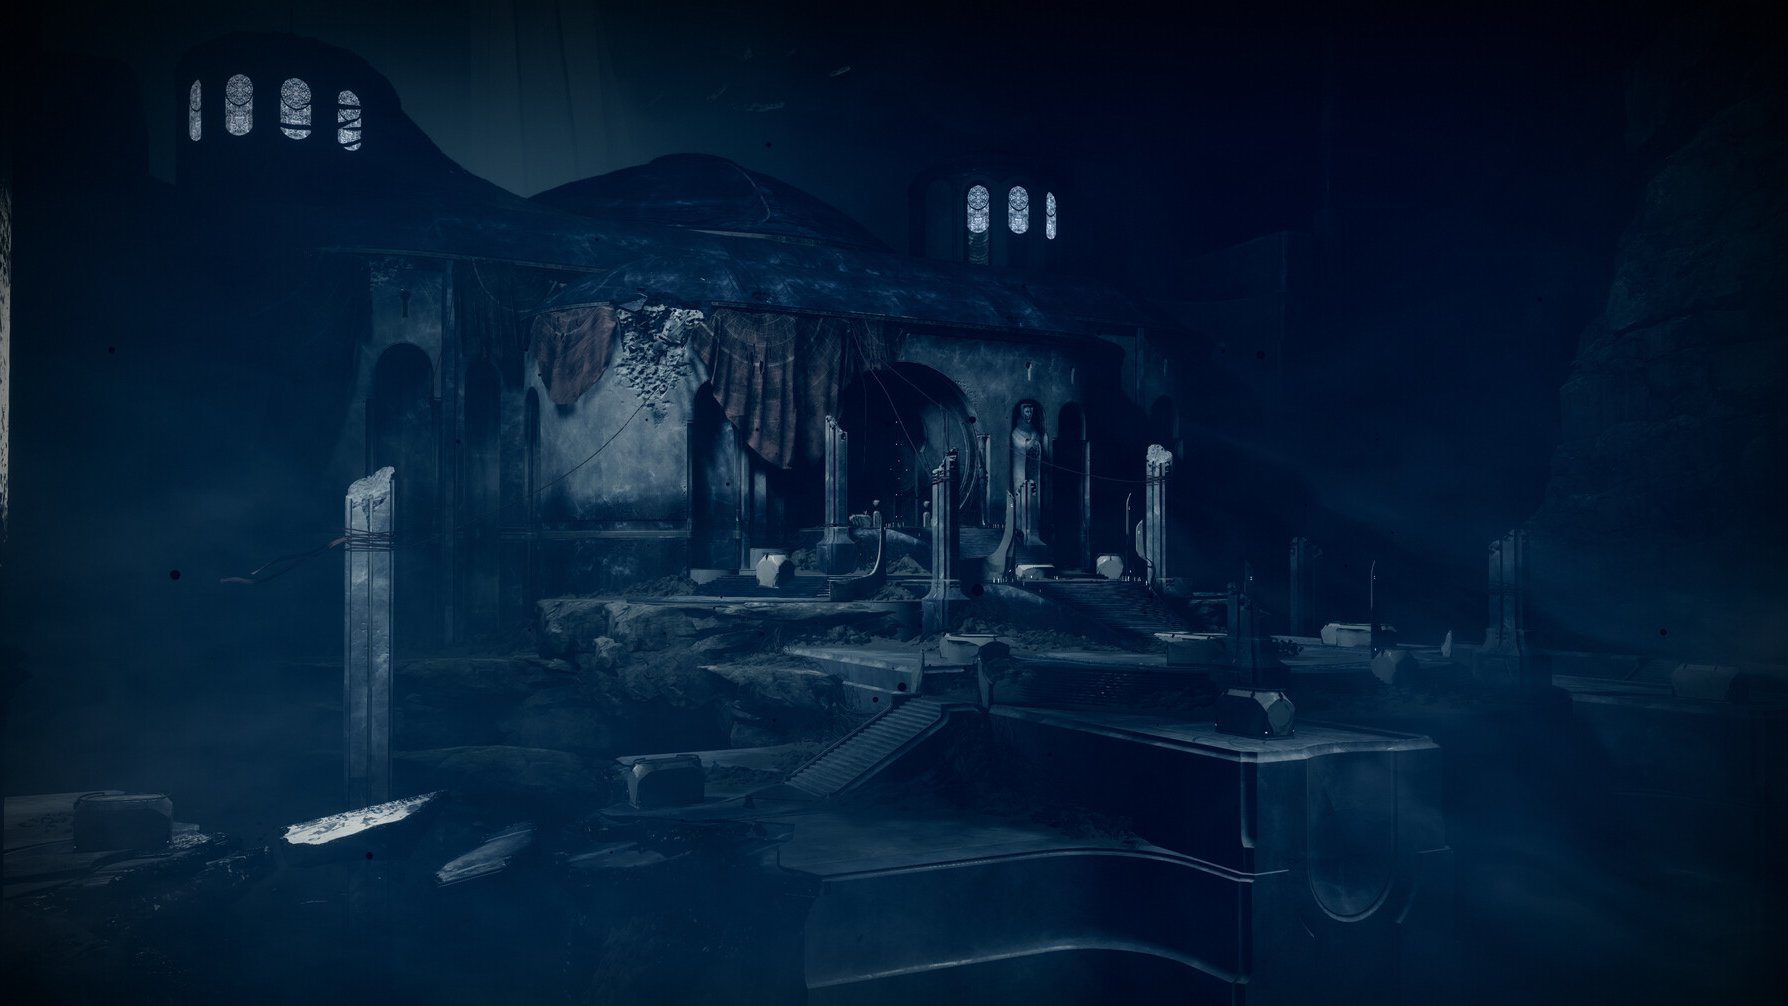
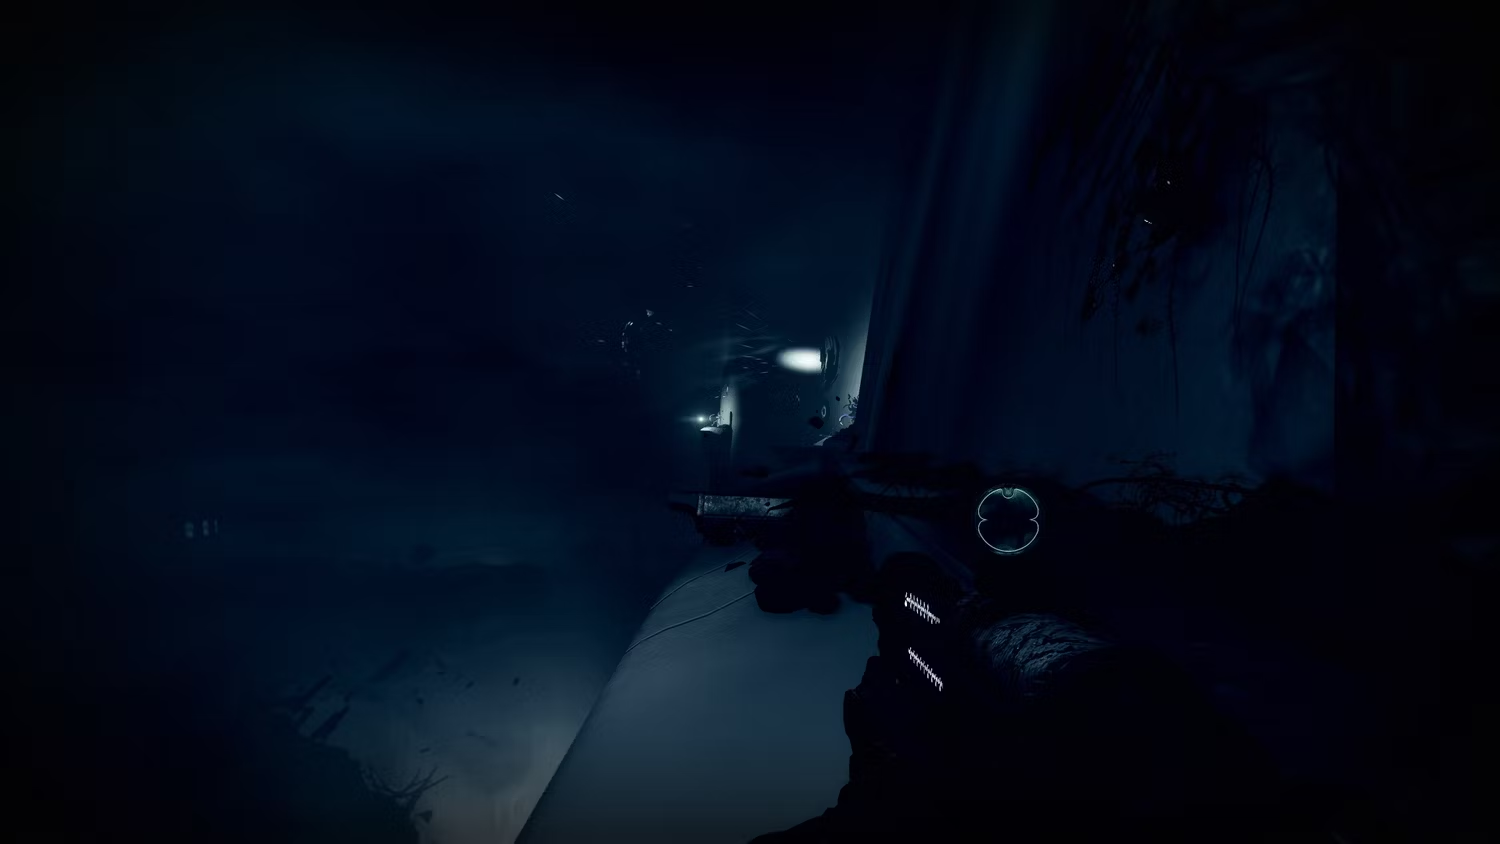
Crossing the Chasm
Players must advance onto the next region and cross a damaged bridge after jumping out of the Thrallway and landing on the ground. After crossing over, players should turn right and proceed in the direction of the enormous temple structure across the abyss.
There are two ways to go across this space. The first involves moving forward while taking a left turn into a hallway with a floor covered in black sludge. To survive this path, players essentially have to play a game of The Floor Is Lava.
The alternative is to leap up onto several rocky ledges. Although this path is straightforward, it is full with Taken wall blasts that, if a player is caught in one, will send them flying off the ledges. Players should eliminate the area of enemies as they get at the temple building's entrance before entering. They will eventually come to a doorway with a little balcony and no view. For the start of the second encounter, players should leap off the balcony. Lava must make it through the hallway unscathed.
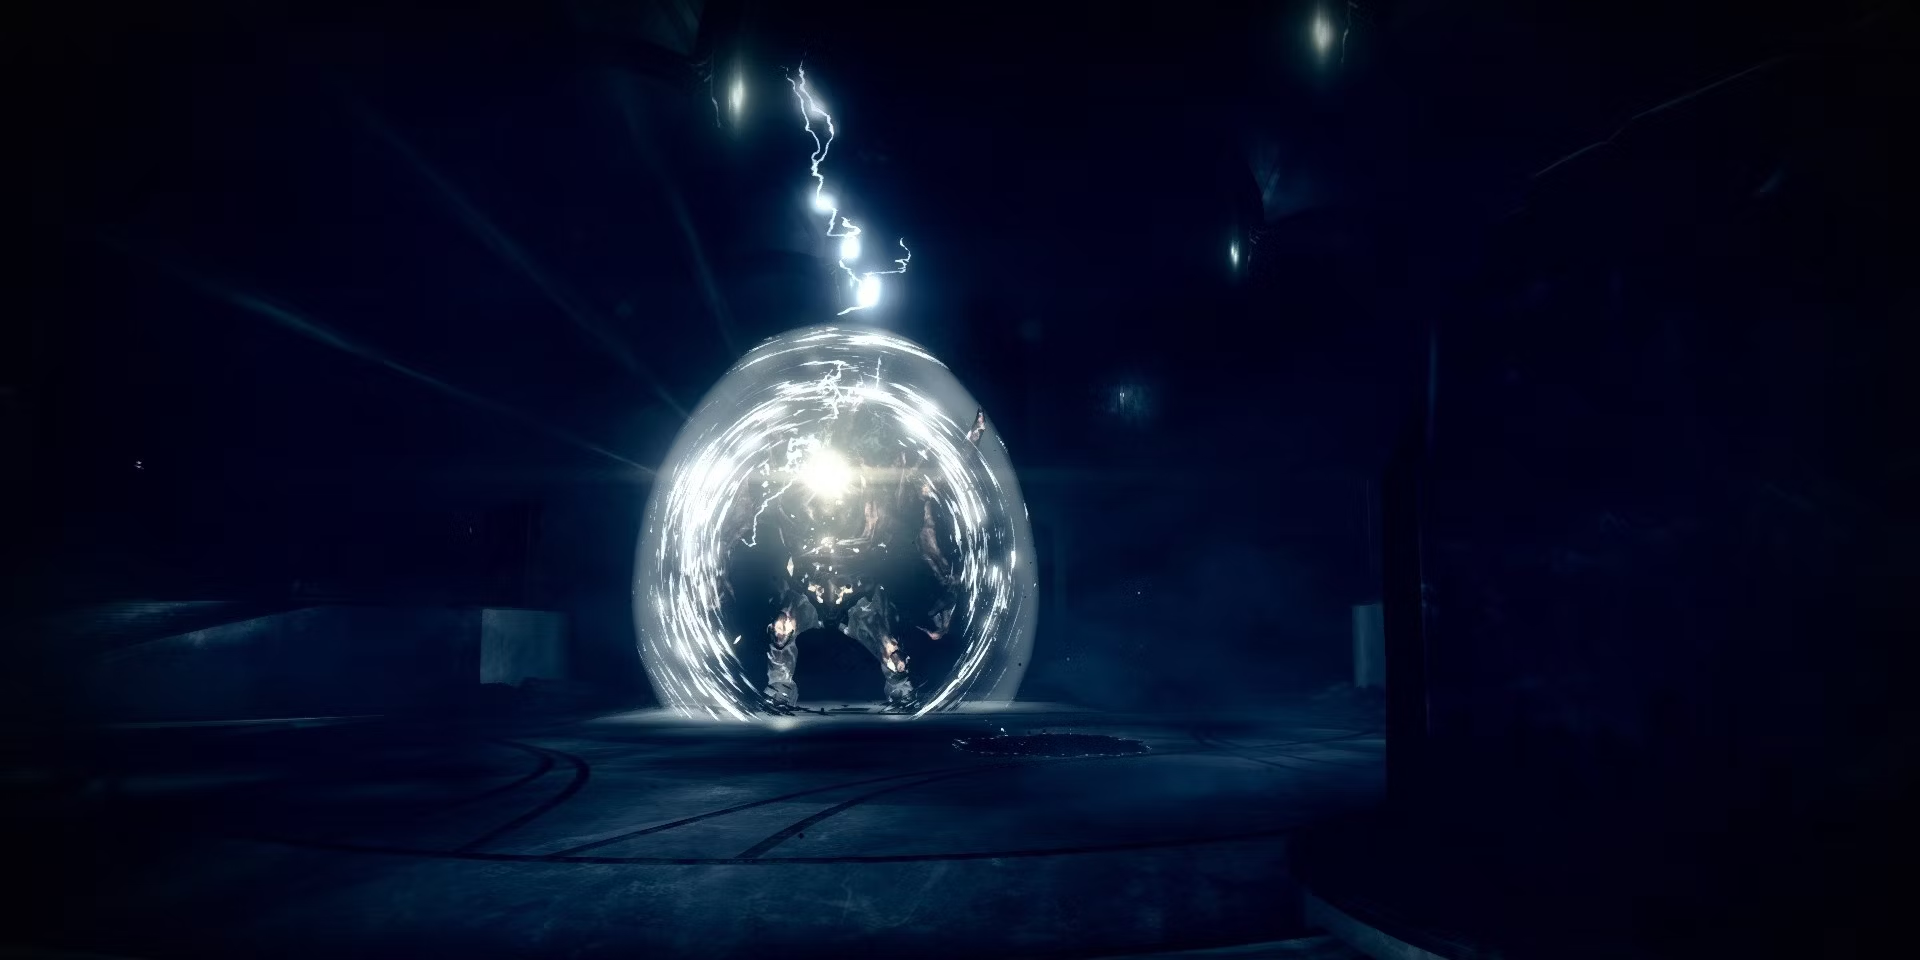
Vorgeth, The Boundless Hunger
The Shattered Throne dungeon's first boss and second significant encounter is Vorgeth. It is a massive Taken Ogre that is shielded at all times, protecting it from harm. Players need to damage Vorgeth's shield until it collapses and then kill him in order to end this encounter. The arena of Vorgeth is a large square with Vorgeth at the center. Four groups of enemies will spawn on either side of the arena as soon as players enter it. Two Vandals, two Goblins, and a Wizard known as a Keeper of Petitions make up each set of enemies.
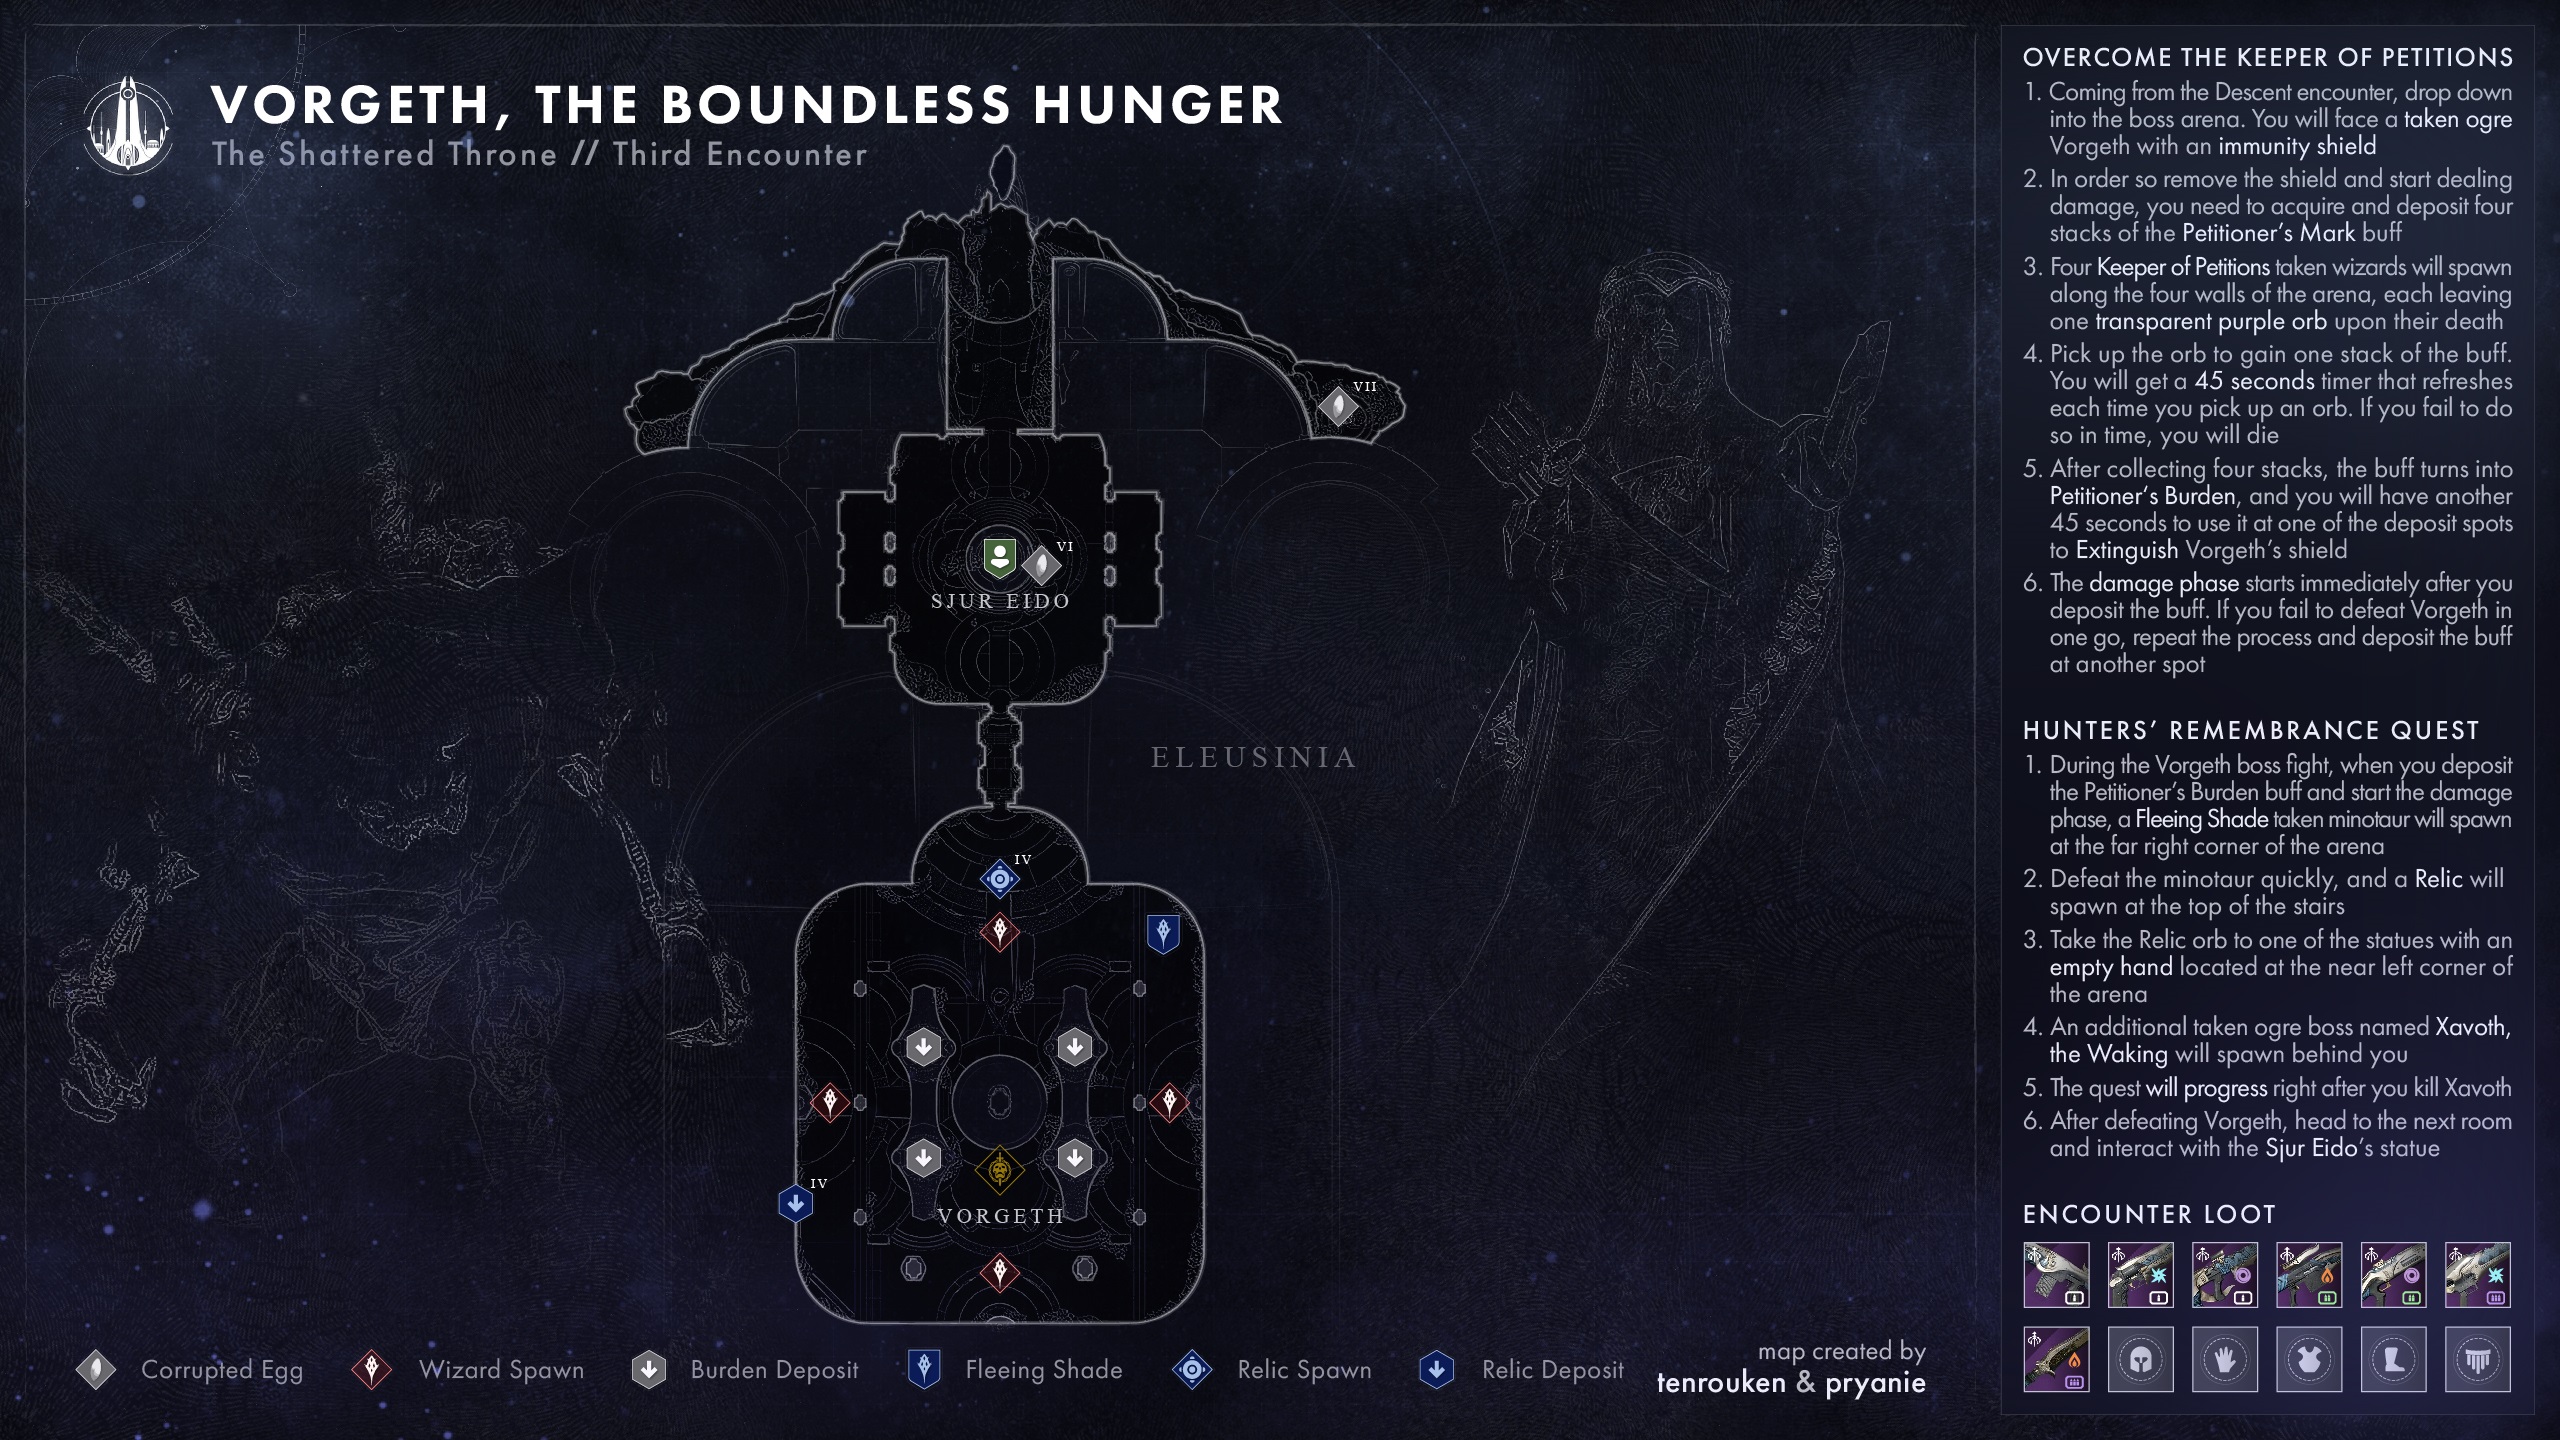
The four Wizards must be killed, and players must pass through the glowing purple orbs that they drop. All players will receive the 45-second-long Petitioner's Mark buff as a result of doing this. If the countdown expires, players will die; however, the timer will be reset each time another Petitioner's Mark buff is acquired.
Until all four Petitioner's Marks are collected, this buff has no effect. Once all 4 are collected, it changes to Petitioner's Burden, which likewise has a 45-second timer. Players may either concentrate on eliminating all of the other foes in the arena, leaving just the four Wizards to kill, or they can attack each group of enemies one at a time until all of the Wizards are killed. Players using the latter technique must clearly act swiftly since if the boost expires before they get the next one, they will die.
When a player has Petitioner's Burden equipped, they should dash to one of the four elevated platforms around Vorgeth and approach the little brazier. The buff will be deposited and Vorgeth's shield will be removed once the player is instructed to "extinguish" the brazier.
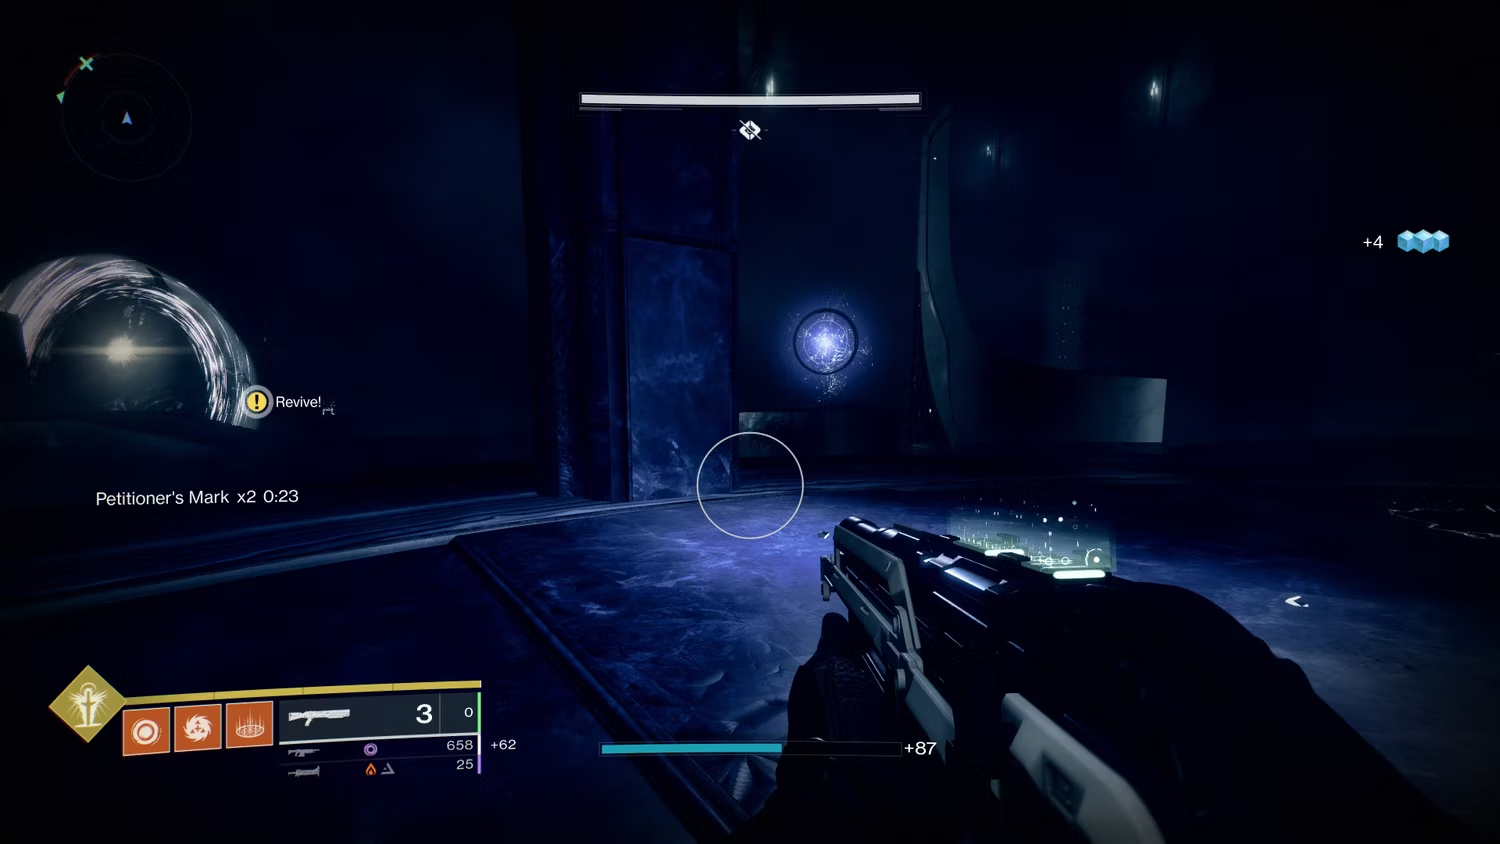 One of the four Petitioner's Mark buffs which must be collected
after killing the wizards.
One of the four Petitioner's Mark buffs which must be collected
after killing the wizards.
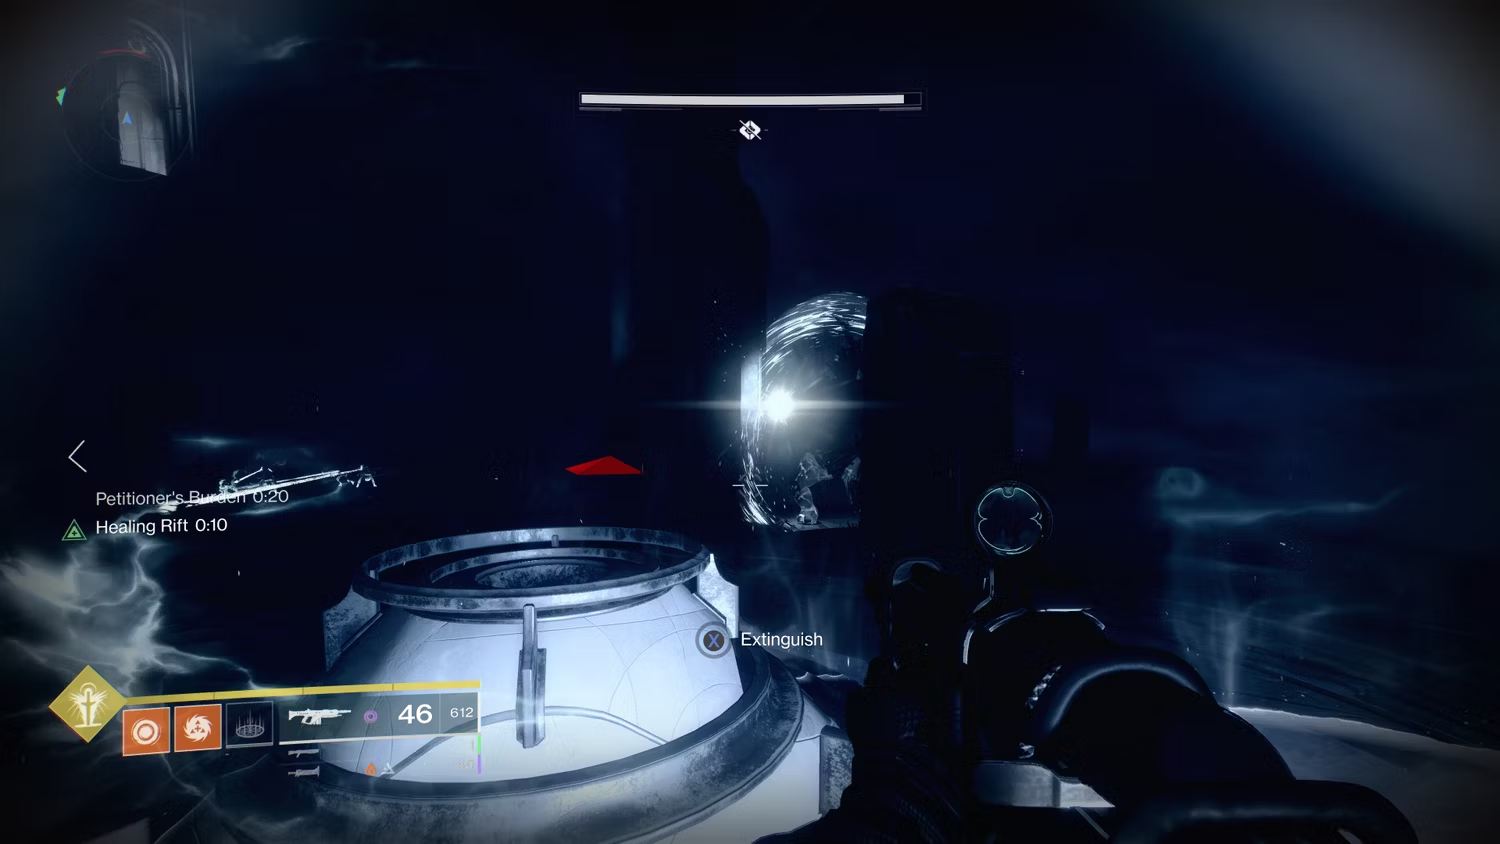 Deposit the Petitioner's Burden into the brazier to start
DPS.
Deposit the Petitioner's Burden into the brazier to start
DPS.
Now that its shield is down, players just need to do all the damage they can to kill Vorgeth. During this phase, Vorgeth will attack by firing many tracking darts out of its back, which can easily kill a Guardian if too many hit them. Ward of Dawn and Well of Radiance are great supers for negating this damage and buffing damage to Vorgeth. With the proper exotic armor and upgrades, Thundercrash, Blade Barrage, and Nova Bomb are all excellent supers to use for significant damage. Anarchy and Witherhoard are two strong boss-killing weapons that perform nicely when combined with a slug shotgun. Swords are arguably the strongest option when combined with a Ward of Dawn or Well of Radiance, particularly Falling Guillotine and Lament.
Vorgeth's shield will return and more monsters and wizards will emerge if players are unable to defeat it in one damage phase. To destroy Vorgeth's shield, just repeat the previous steps. After extinguishing the fourth brazier, players must restart if they are unable to vanquish Vorgeth.
Players will get their second set of rewards after defeating Vorgeth, and a big, bright gateway will then become accessible. After passing through the gateway, be ready to ascend the tower to the last boss.
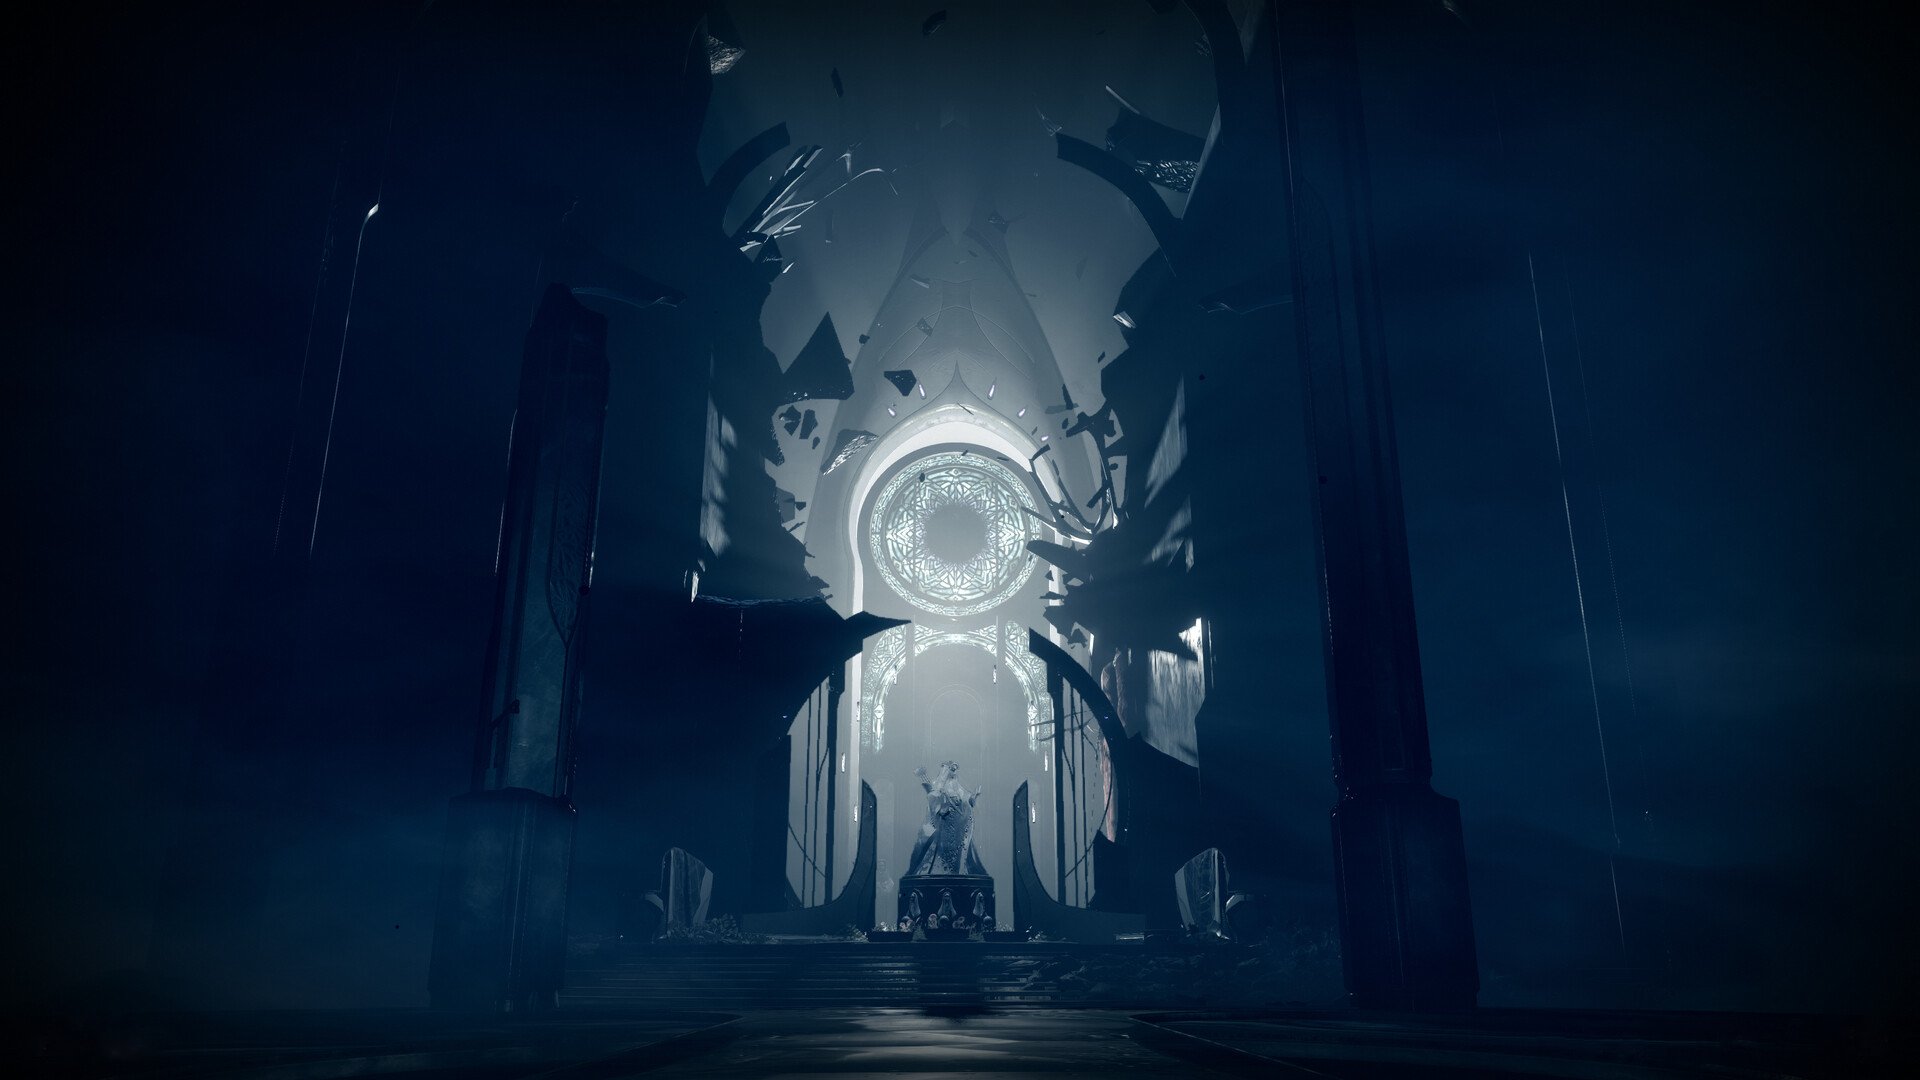
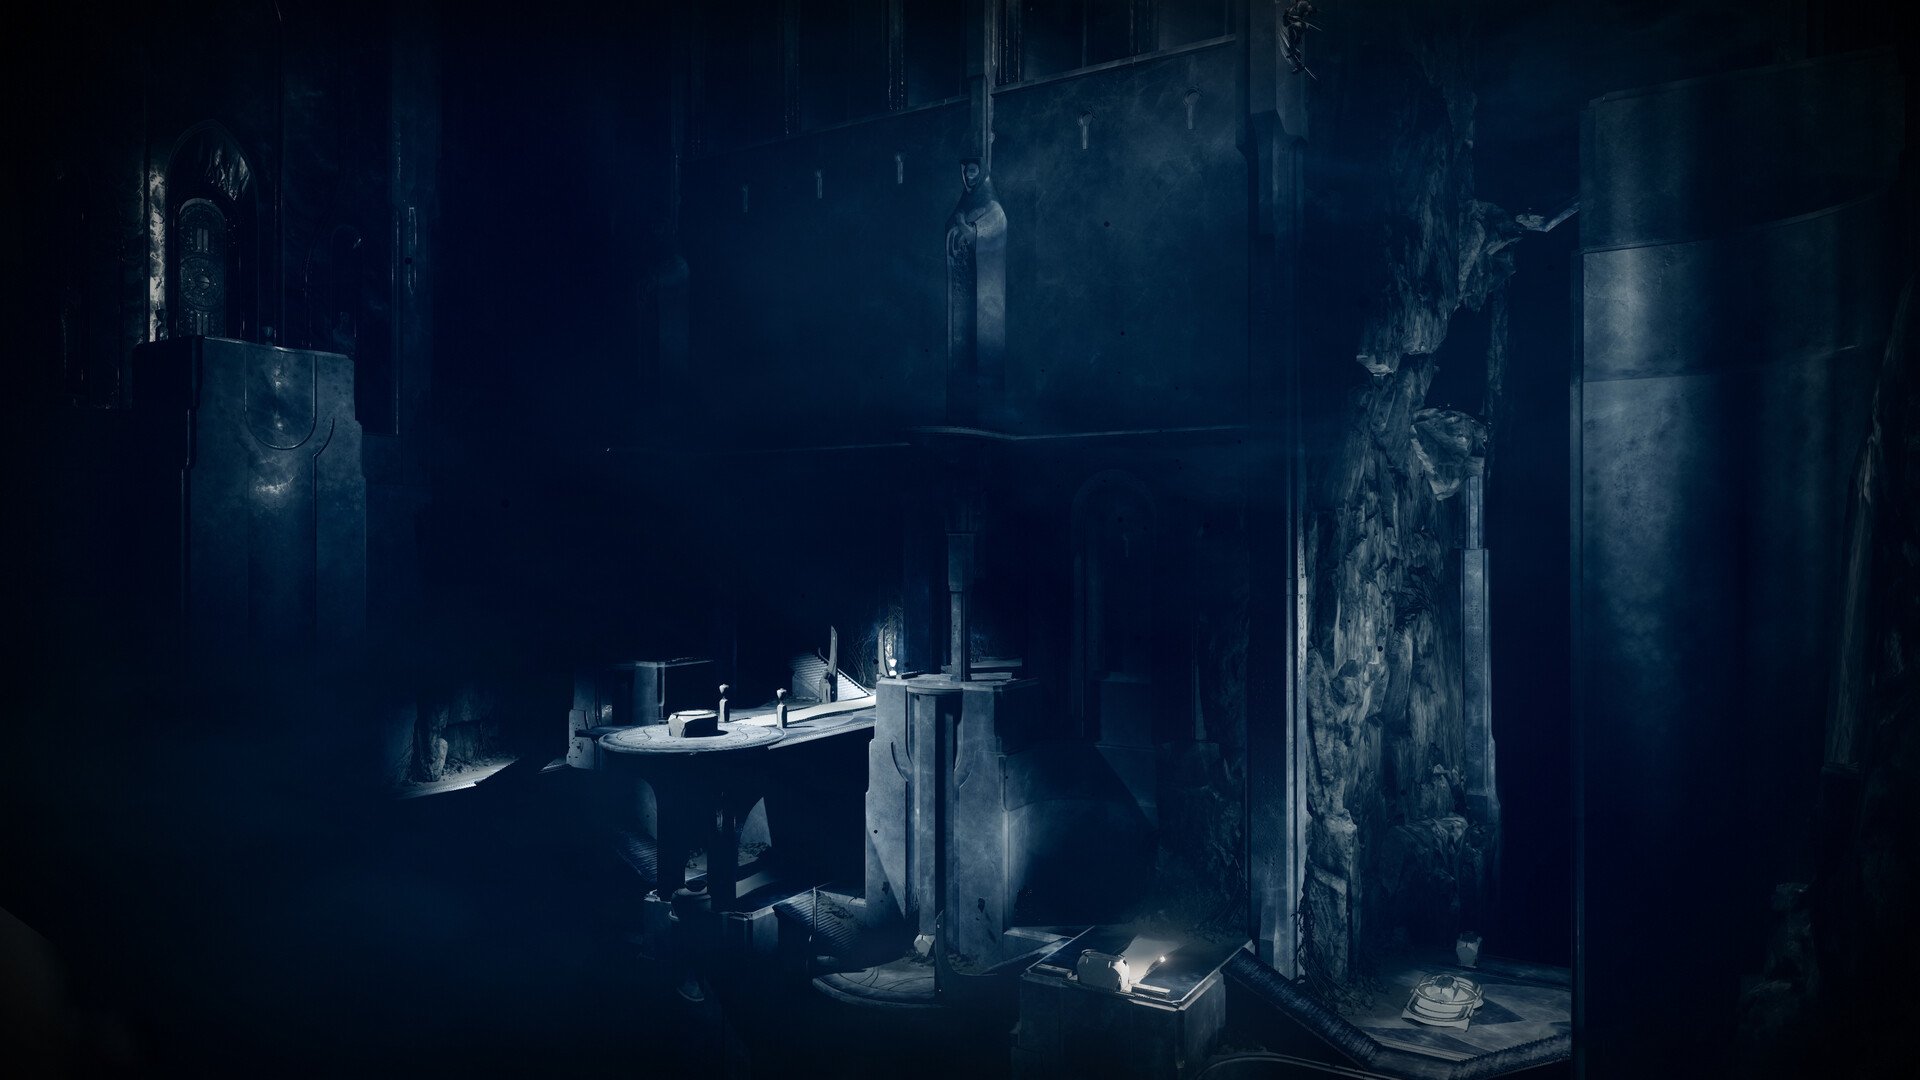
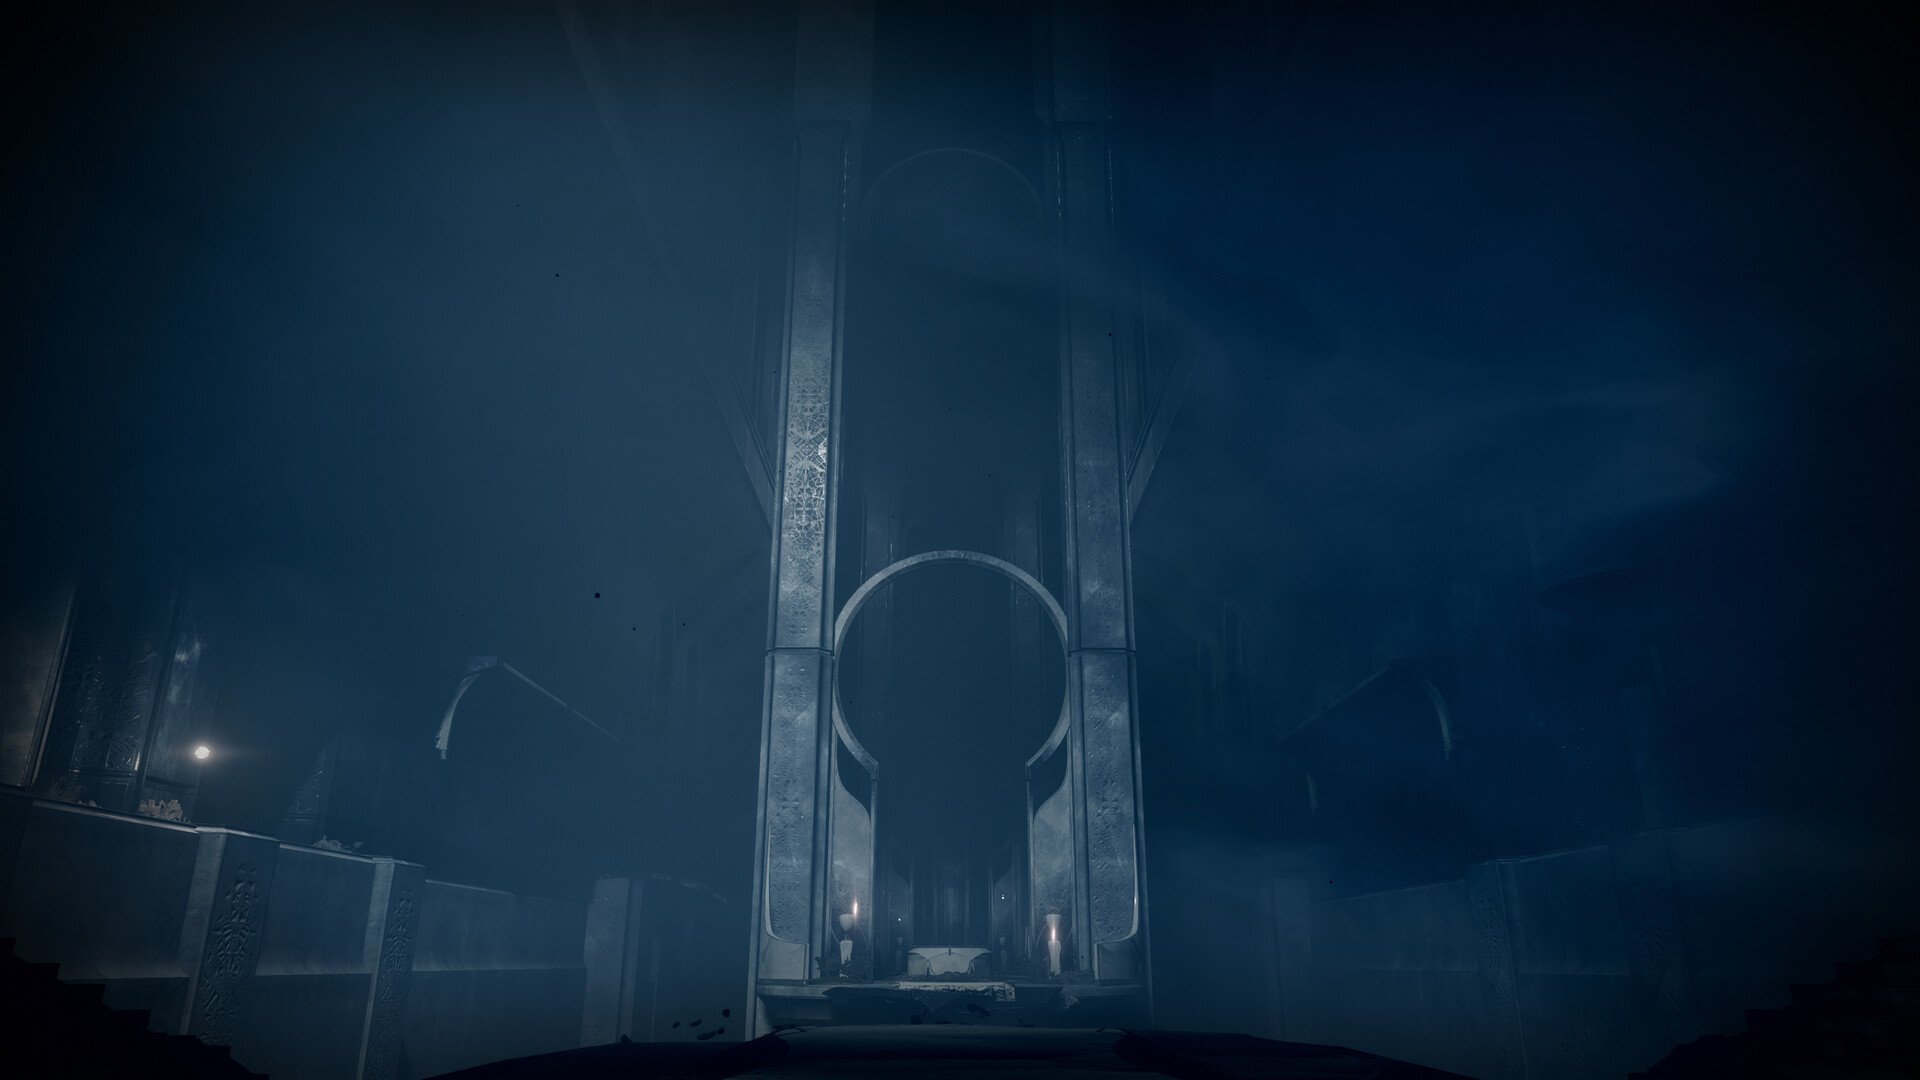
Eleusinia
After defeating Vorgeth, you'll approach the statue of Sjur Eido, the first Queen's Wrath, and Mara Sov's lover. It is here where you will start your exotic quest to obtain the Wish Ender exotic bow, and here where you will complete it. More guides provided at the end.
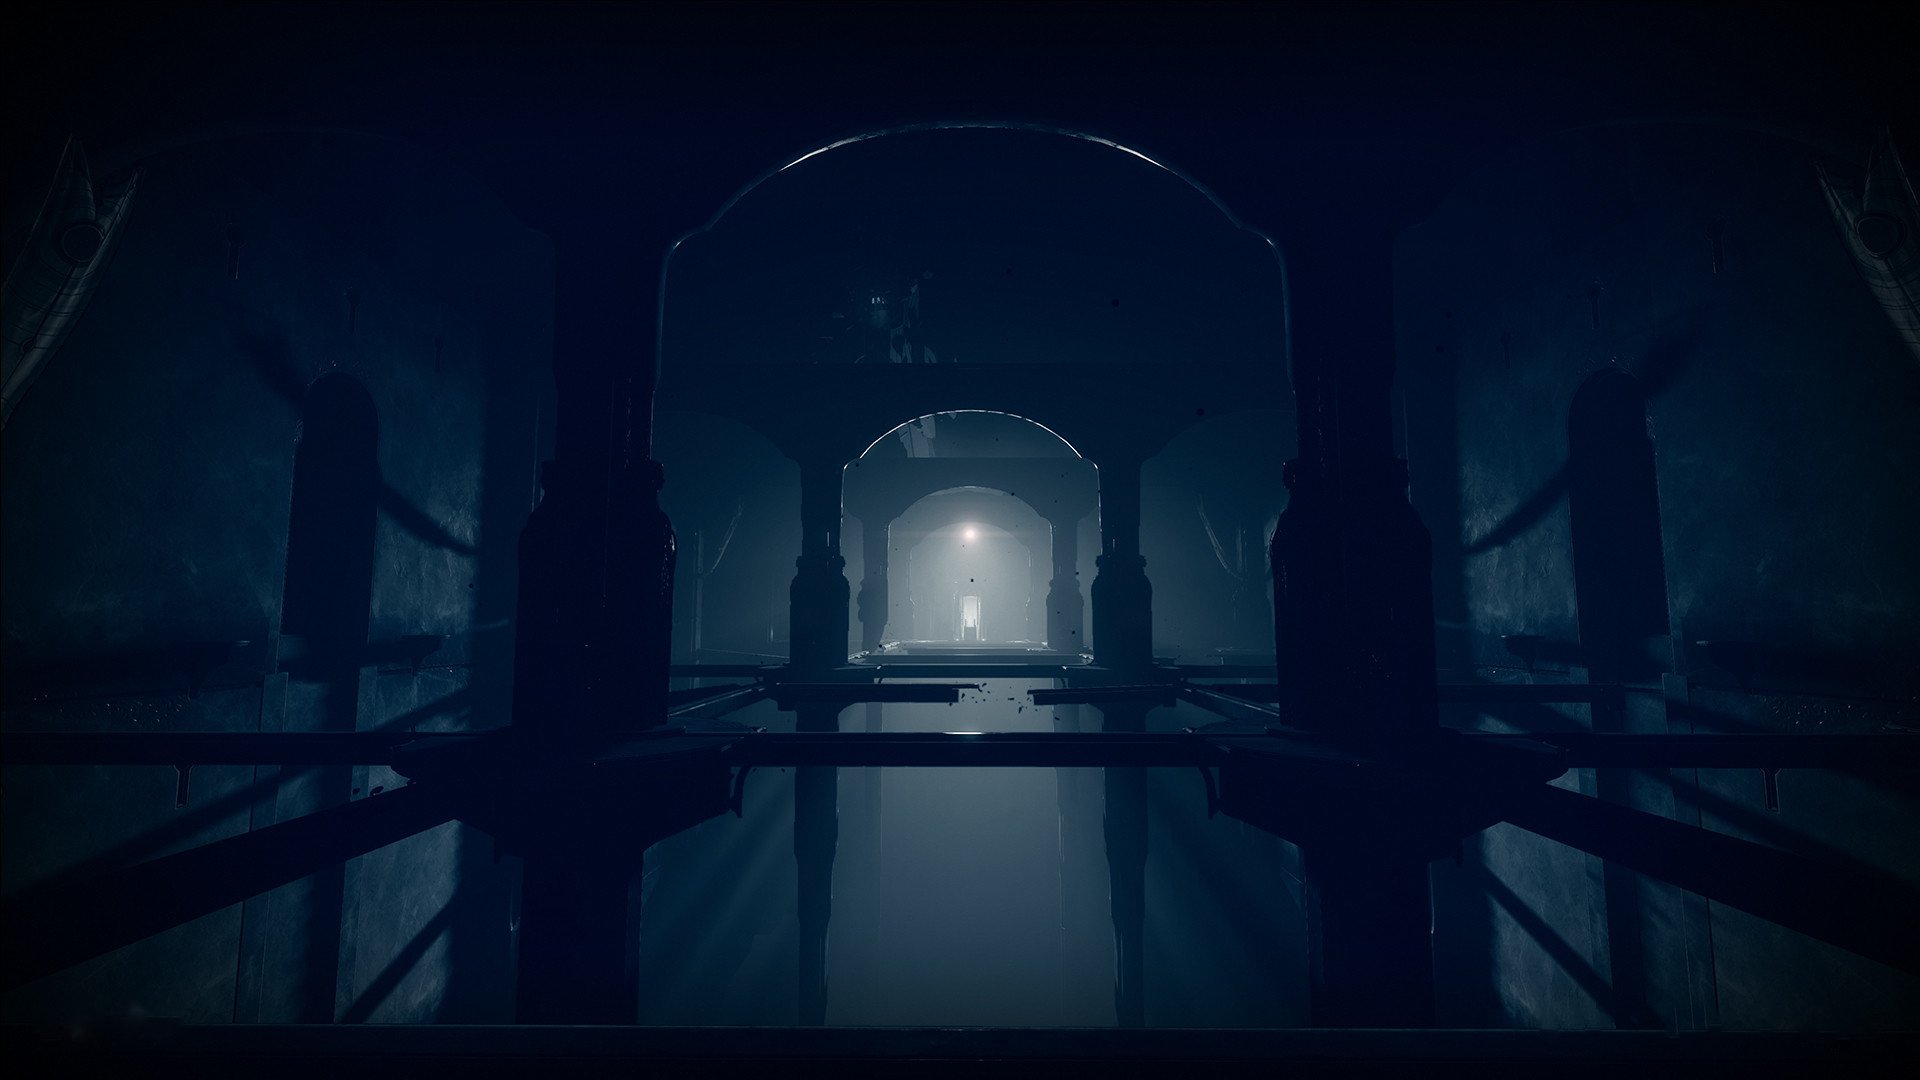
Climbing the Tower
The following step is really simple; all players need to do is keep running through Awoken ruins in search of gravity lifts that will take them up to additional Awoken ruins. There is a small piece of the Thrallway that has a lengthy staircase that twists up and to the left at one point. As soon as they reach the top of the stairs, players must turn right. They can pass via an archway that will be present.
The next step is for players to keep moving forward until they approach a cliff edge, at which point they must turn right. Along a tall wall, there will be a string of little ledges. In order to go over these ledges, players must run and leap while avoiding being killed by Hobgoblins and taken out by Taken wall blasts.
Next, players need to keep heading along the main path and go up a few gravity lifts. Eventually, they will go up the final lift and arrive at the final boss arena to face off against the final boss of this dungeon.
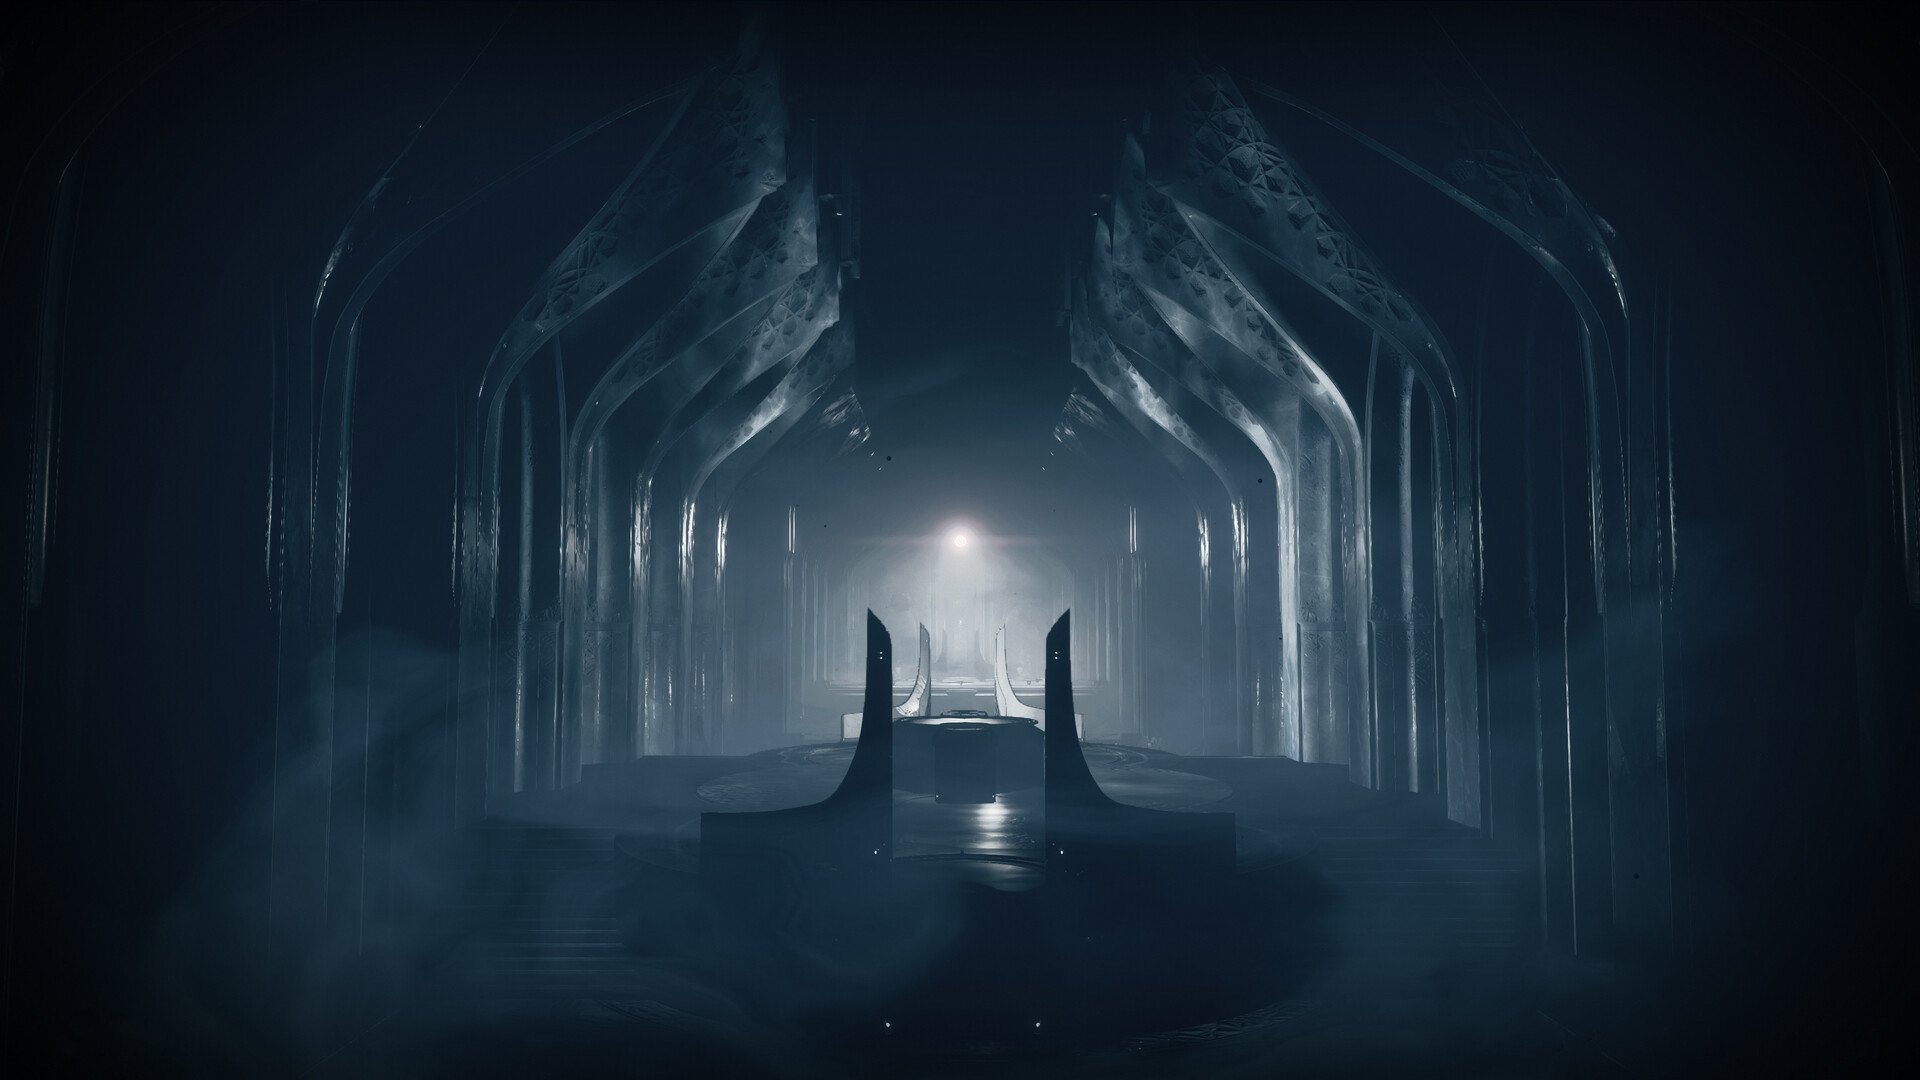
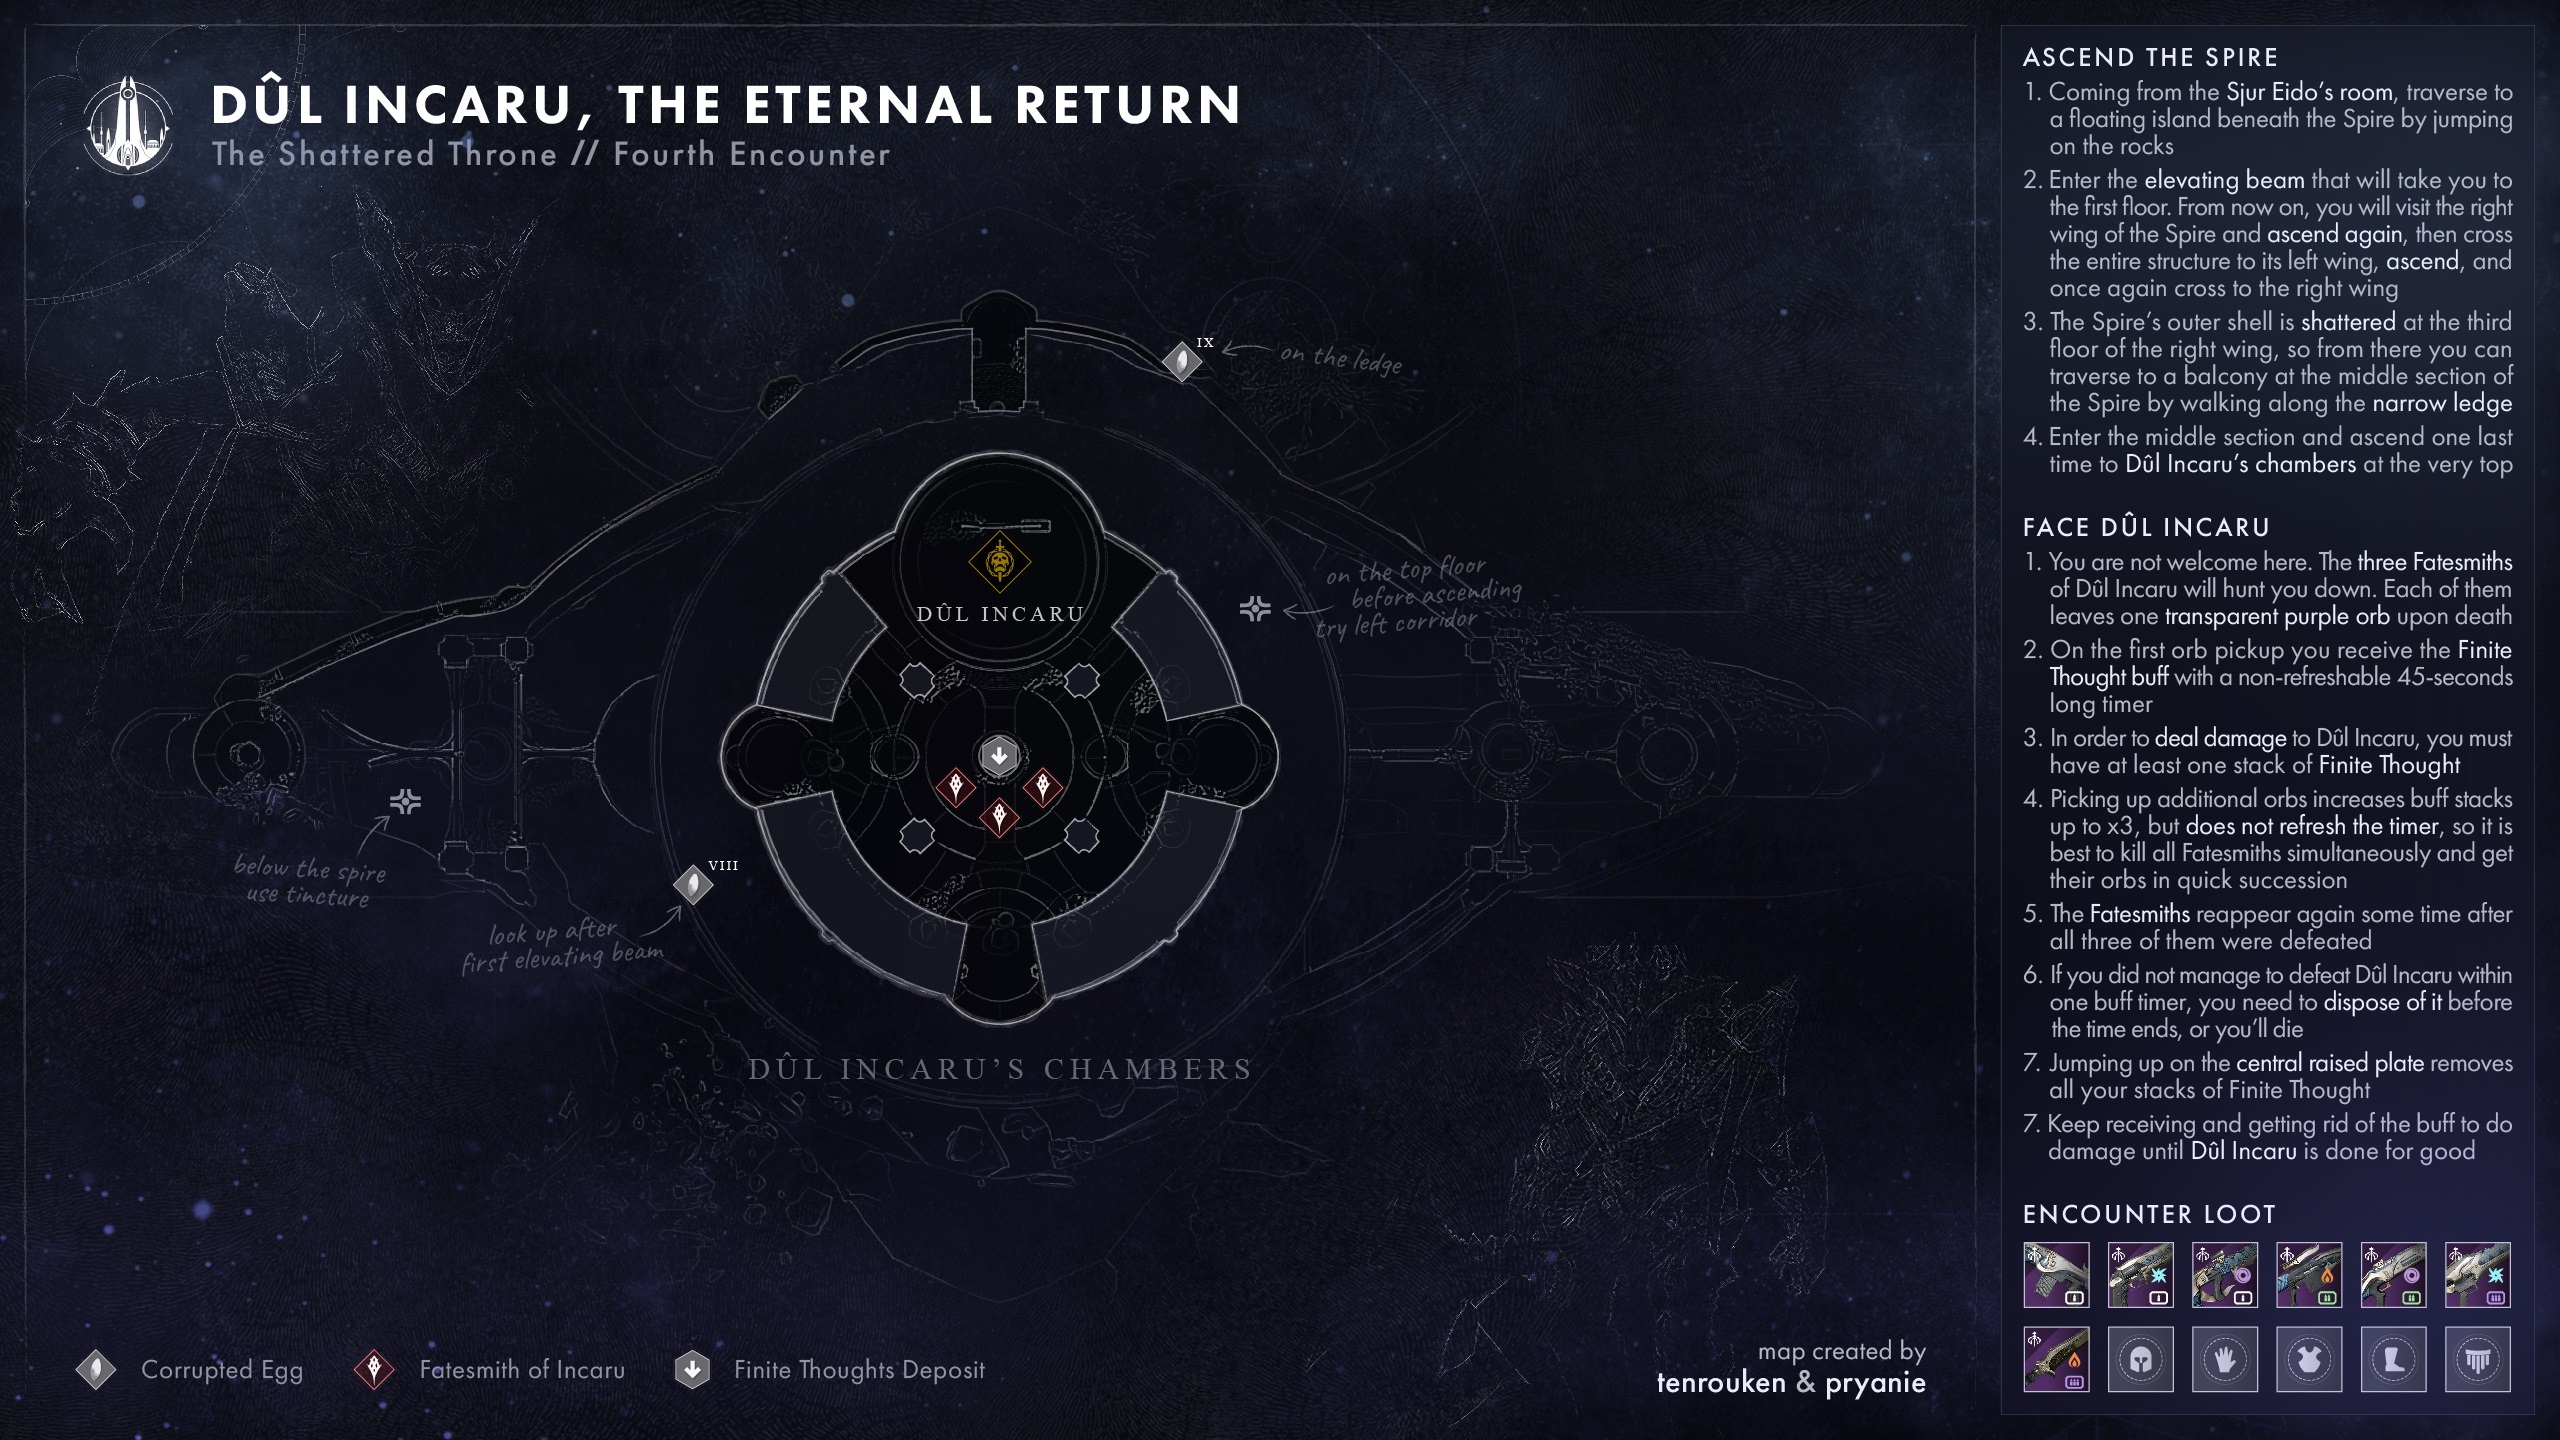
Dûl Incaru, The Eternal Return
Dûl Incaru and three enormous, highly armored Hive Knights will be waiting for players as they enter the arena. Similar to the Vorgeth encounter, Dûl Incaru is impervious to harm up until the players defeat all three Knights and obtain a unique buff. Similar to the buff dropped by Vorgeth's Wizards, Dûl Incaru's Knights also have a 45-second duration and are called Finite Thought; however, the countdown does not reset when another buff is obtained.
Dûl Incaru will also call in two teams of Taken Psions at the beginning of the battle, one on each side of the arena. To stop the Psions from multiplying and causing issues later in the fight, players should head to the places where they spawn and destroy them right away.
Once the ads are dead, players must focus on inflicting equal damage to the Knights so that they have nearly equal health at all times. Keep some space from these Knights since they move extremely slowly but can teleport in and out of the battle. They may easily kill gamers with one swing of their axes. When their health is really low, they will also become berserk and run faster.
The Knights should be reduced to around one-third health before being killed at about the same moment. Players must immediately sprint through the bright purple spheres to obtain three stacks of the Finite Thought after the Knights are killed so that they can deal damage to Dûl Incaru.
The text "Dûl Incaru conjures..." will appear if players take too long to eliminate all the Knights. This leads her to conjure a massive crystal behind herself to shield any Knights in the arena. The crystal should be destroyed as soon as possible, and after it has done, players should return their attention to eliminating the Knights.
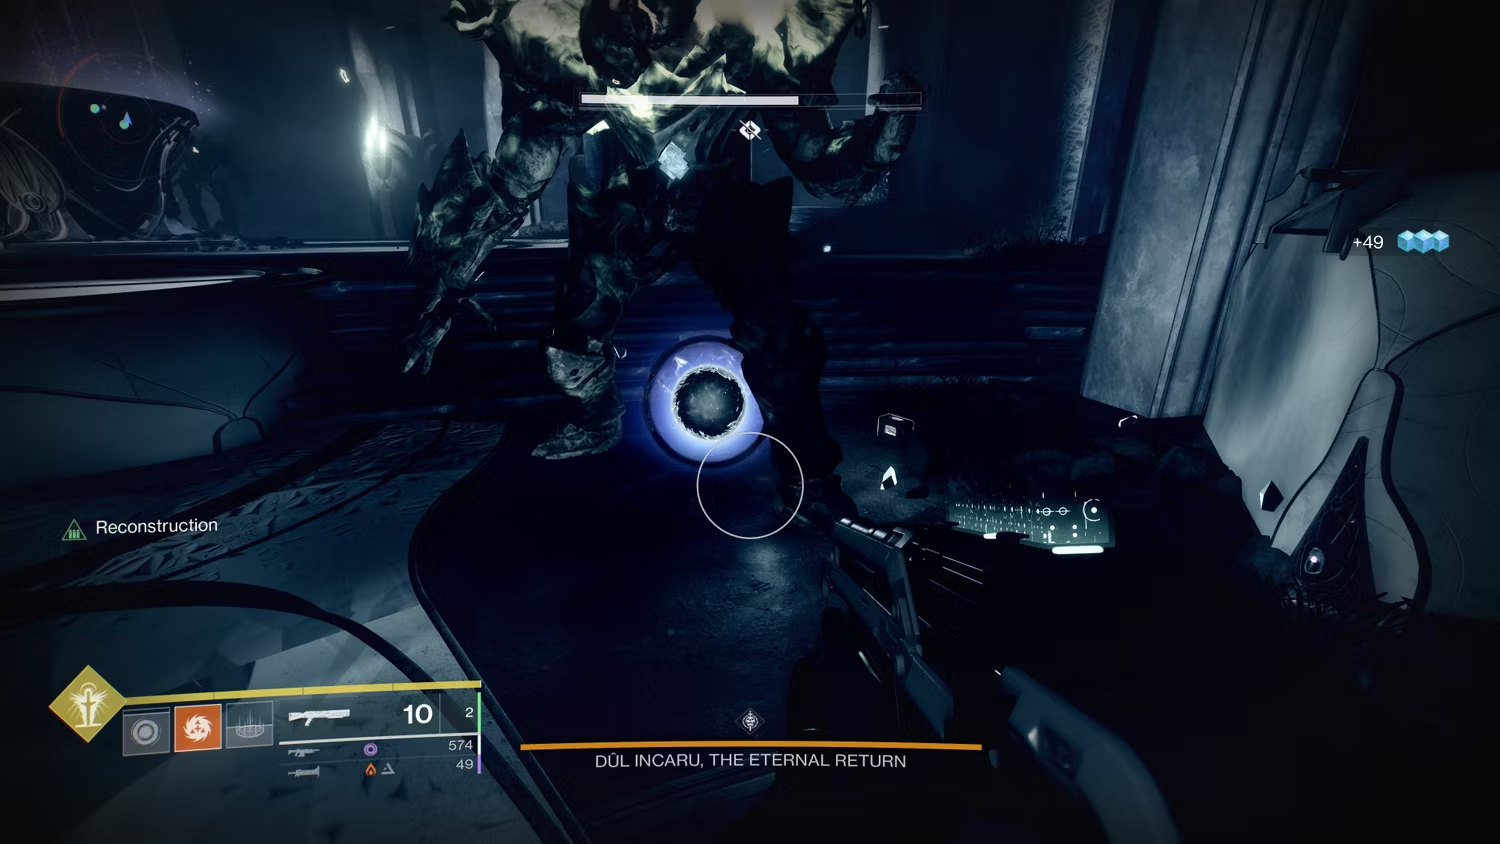 Killing a knight drops an orb which will give you one stack of
Finite Thought. Collect all 3 stacks to DPS Dûl Incaru.
Killing a knight drops an orb which will give you one stack of
Finite Thought. Collect all 3 stacks to DPS Dûl Incaru.
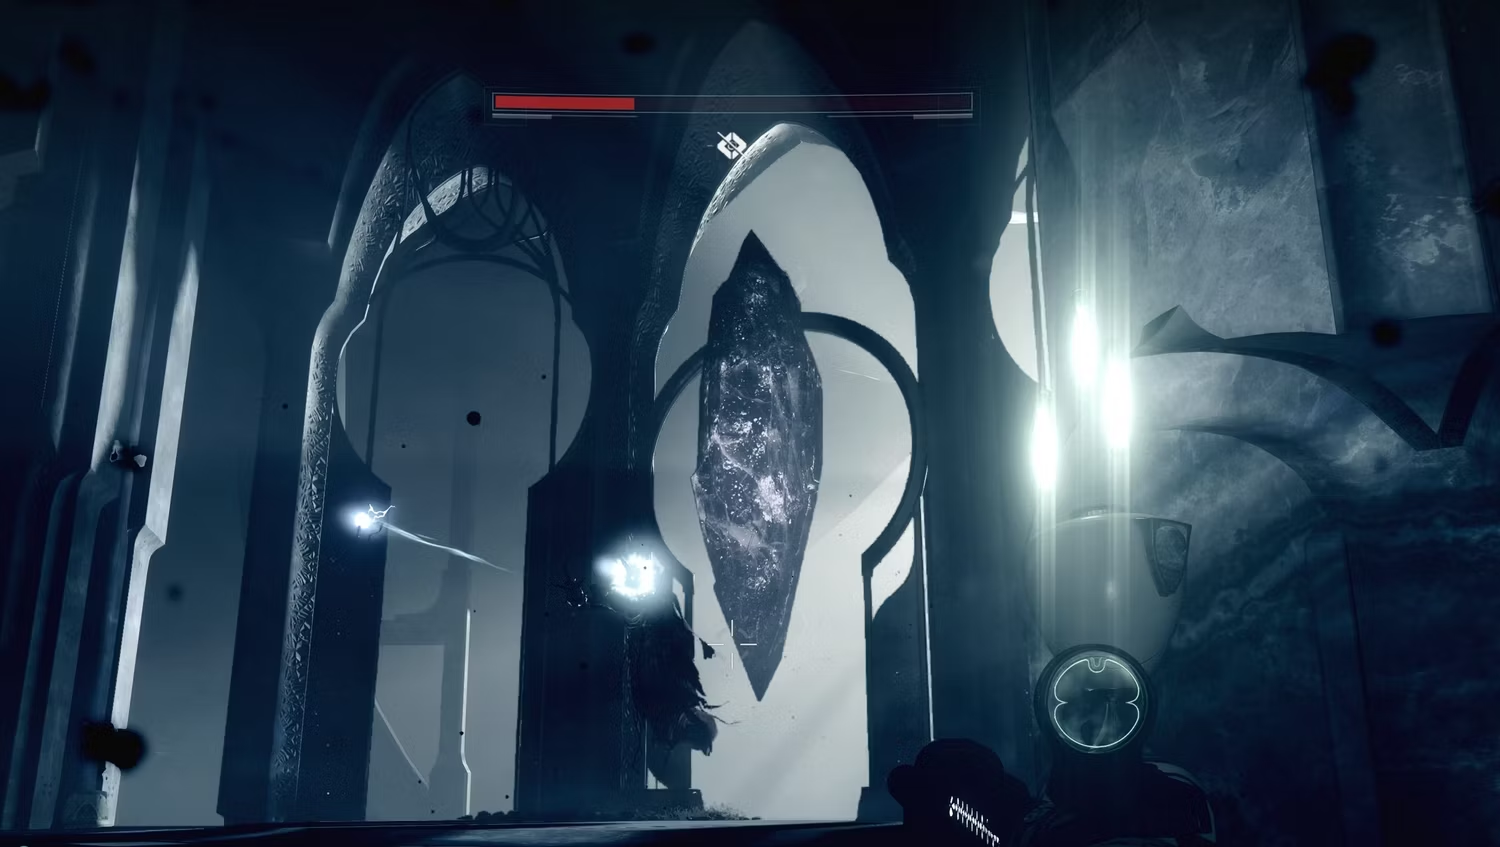 Dûl Incaru conjuring a crystal that make the knights
invulnarable. Destroy it as soon as possible.
Dûl Incaru conjuring a crystal that make the knights
invulnarable. Destroy it as soon as possible.
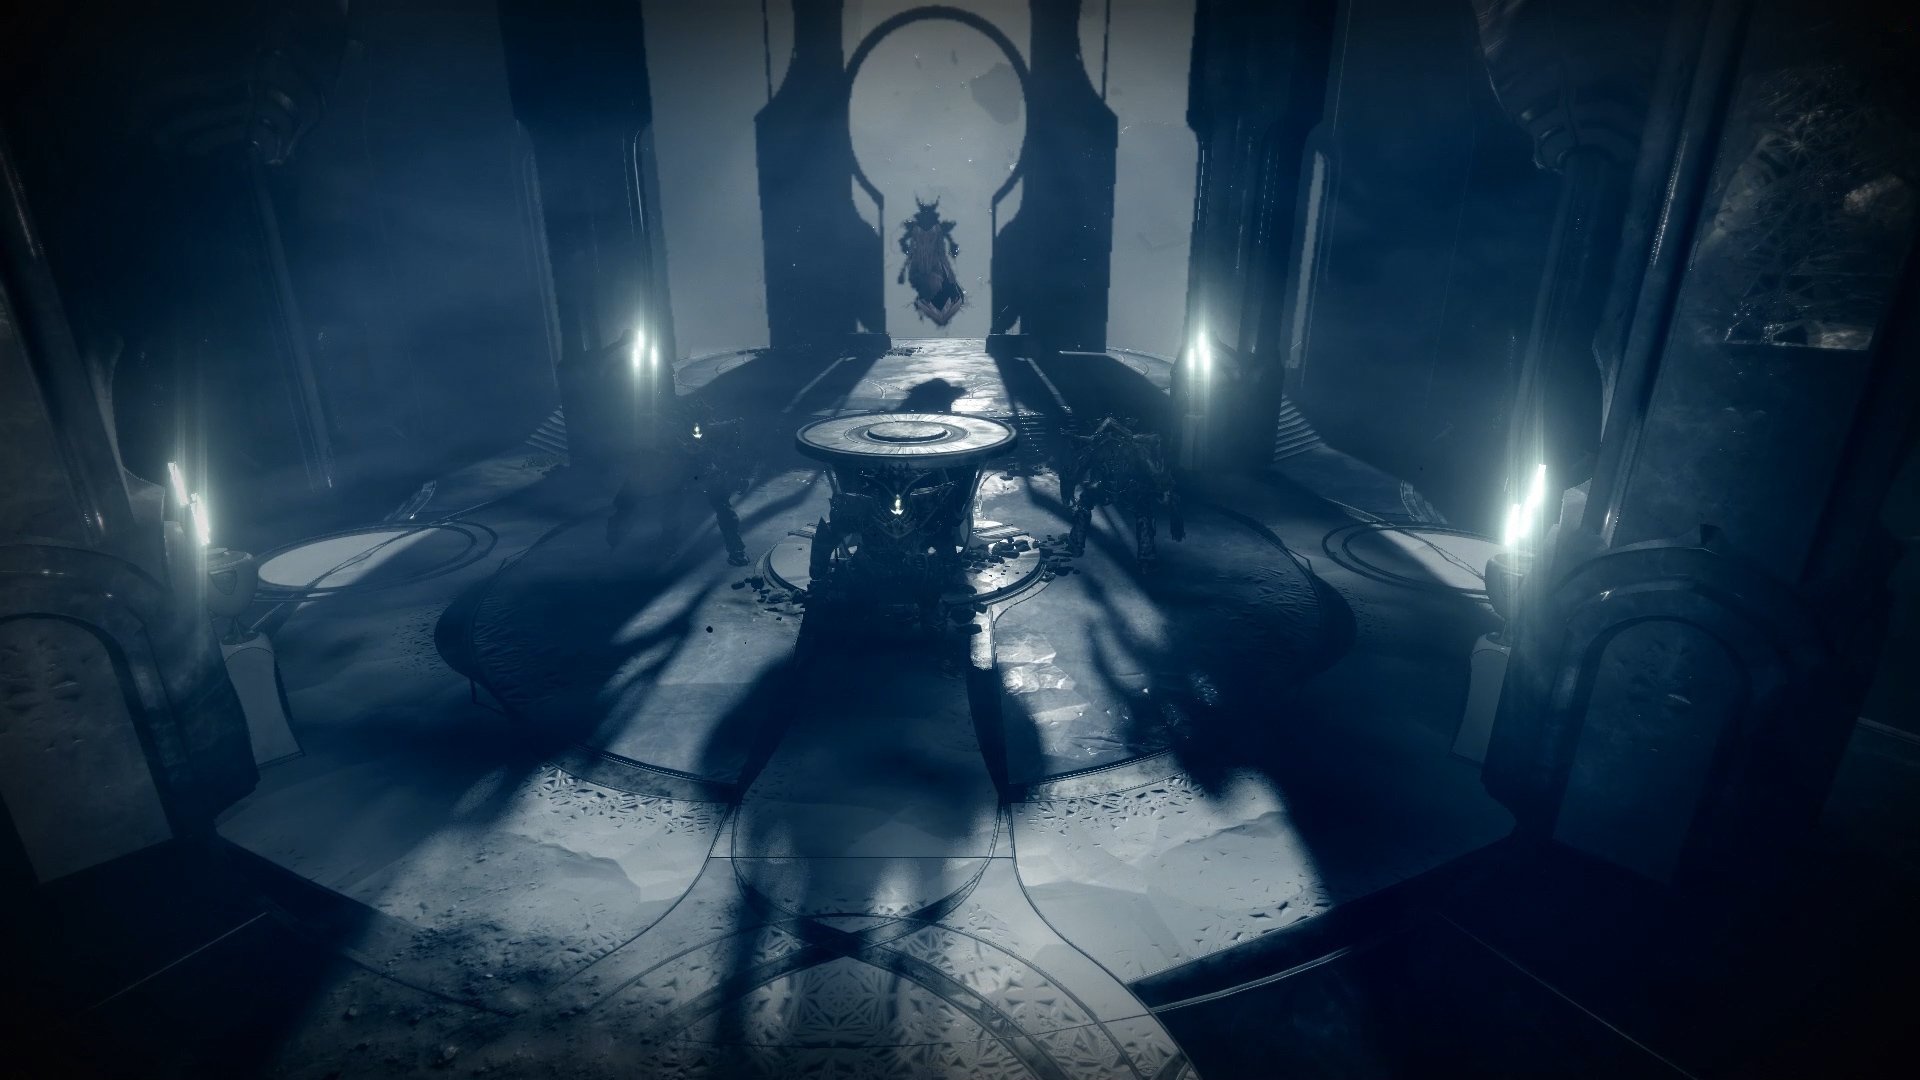
Players should have at least 35 seconds to battle Dûl Incaru if they successfully killed the Knights, and the same weapons and supers that defeated Vorgeth also function effectively against this boss. All players will die and the boss encounter will have to be restarted if Dûl Incaru is not killed within the Finite Thought timer. However, players can cleanse the buff by jumping onto the big cauldron in the middle of the room when the timer is low. Players will reach the conclusion of the Shattered Throne and earn their final round of rewards after Dûl Incaru is gone.