Done by: Rebirth#3299 | Feb 10th 2023
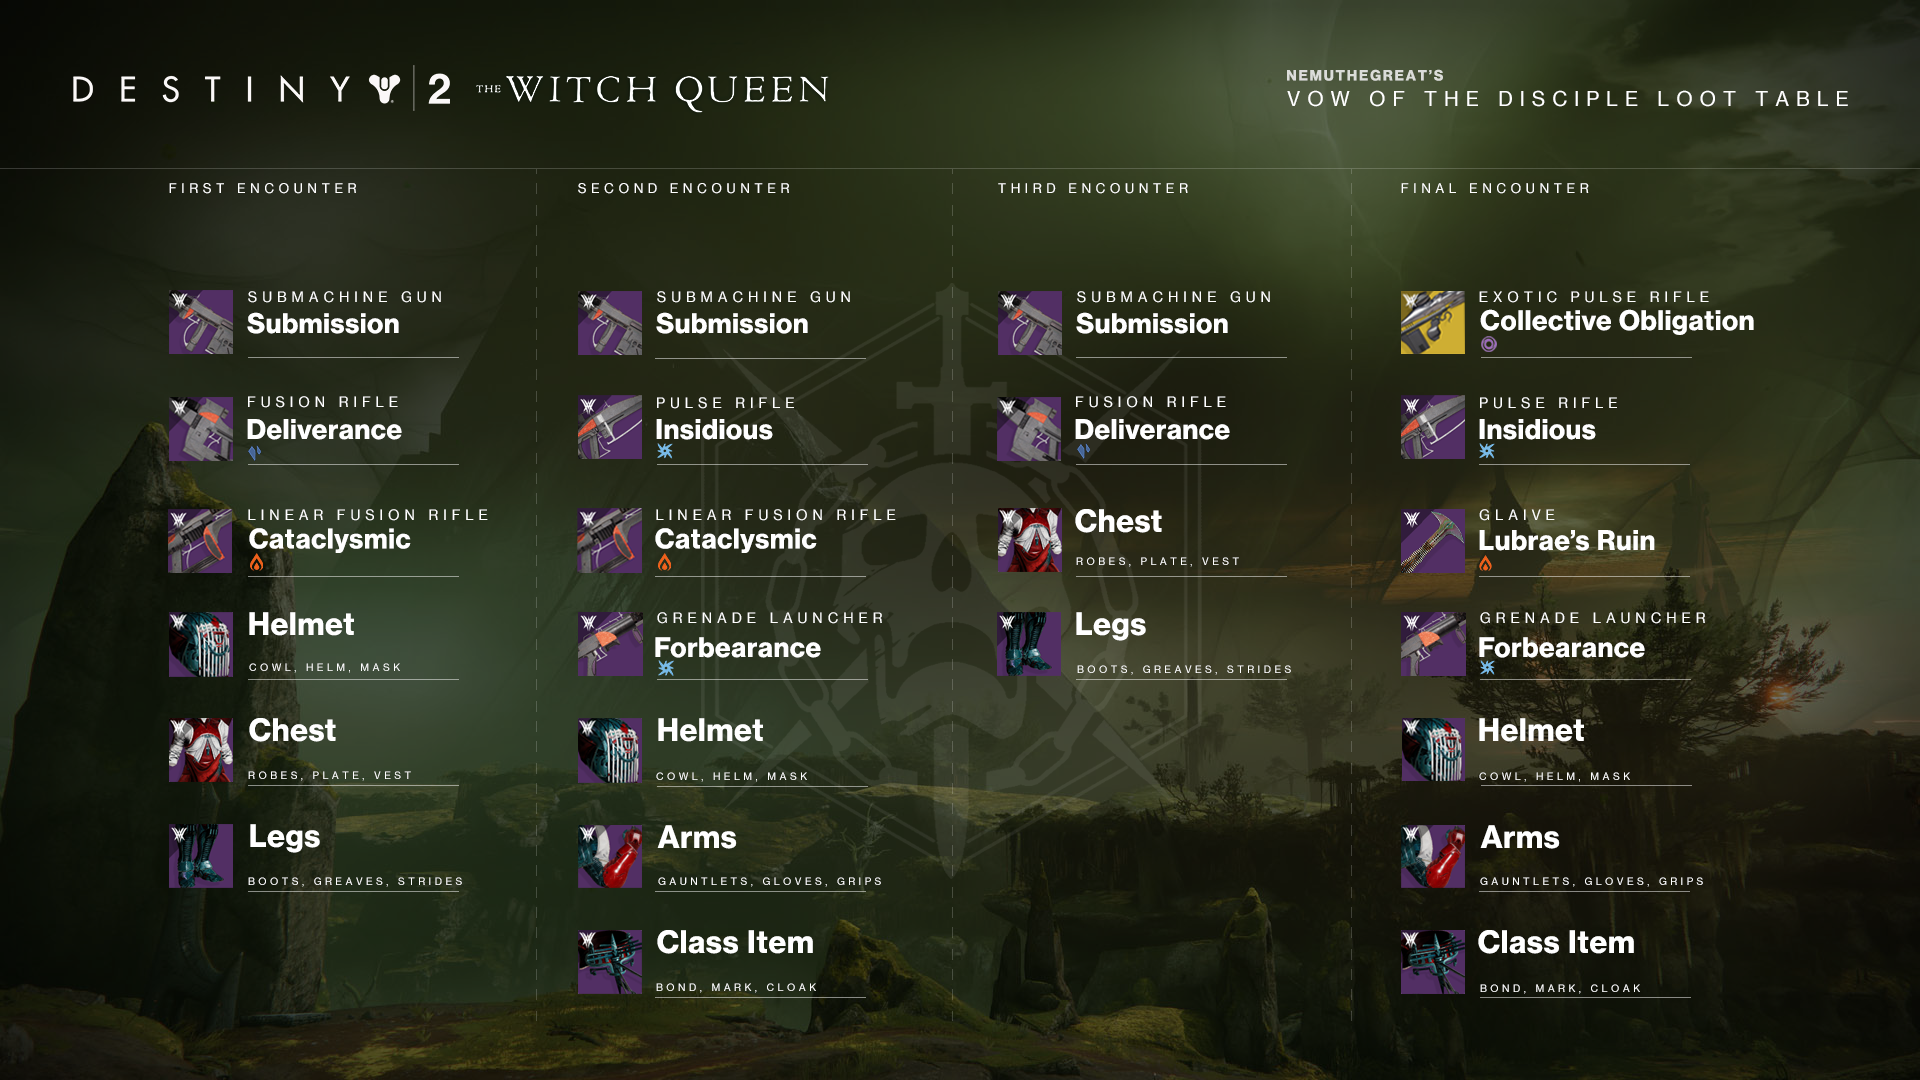
Drop Table
Weapons

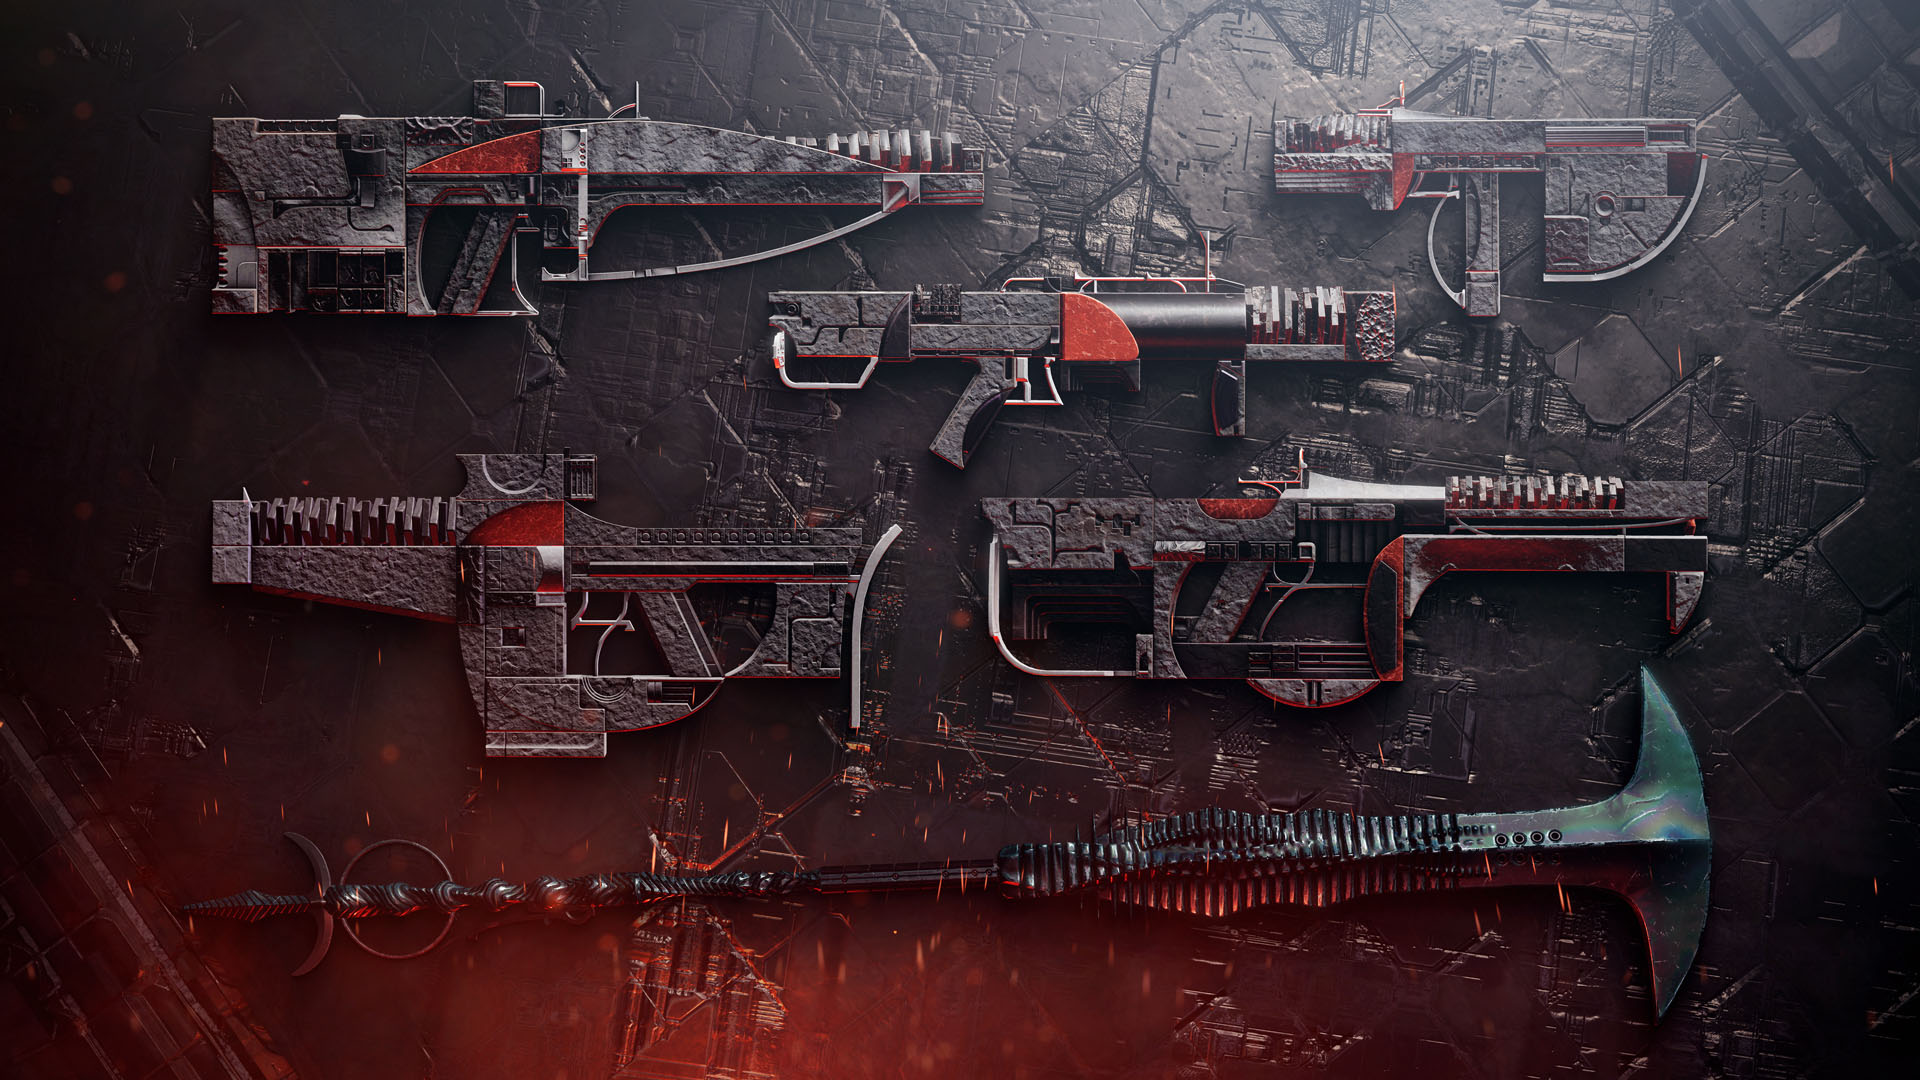
Souldrinker - Restores Health on reload based on the amount of hits before reload. Health gain per hit varies between Weapon Types. Ranges between 20 HP to 80 HP for a full magazine.
 Submission
Legendary // Lightweight
Frame // Submachine Gun
Desirable Perks
- Barrel:
- Smallbore
- Corkscrew Rifling
- Magazine:
- Accurized Rounds
- Column 1 Perks:
- Overflow
- Subsistence
- Column 2 Perks:
- Frenzy
Masterwork: Range, Reload Speed
Mod Slot: Minor Spec, Adept Range, Adept Big Ones Spec
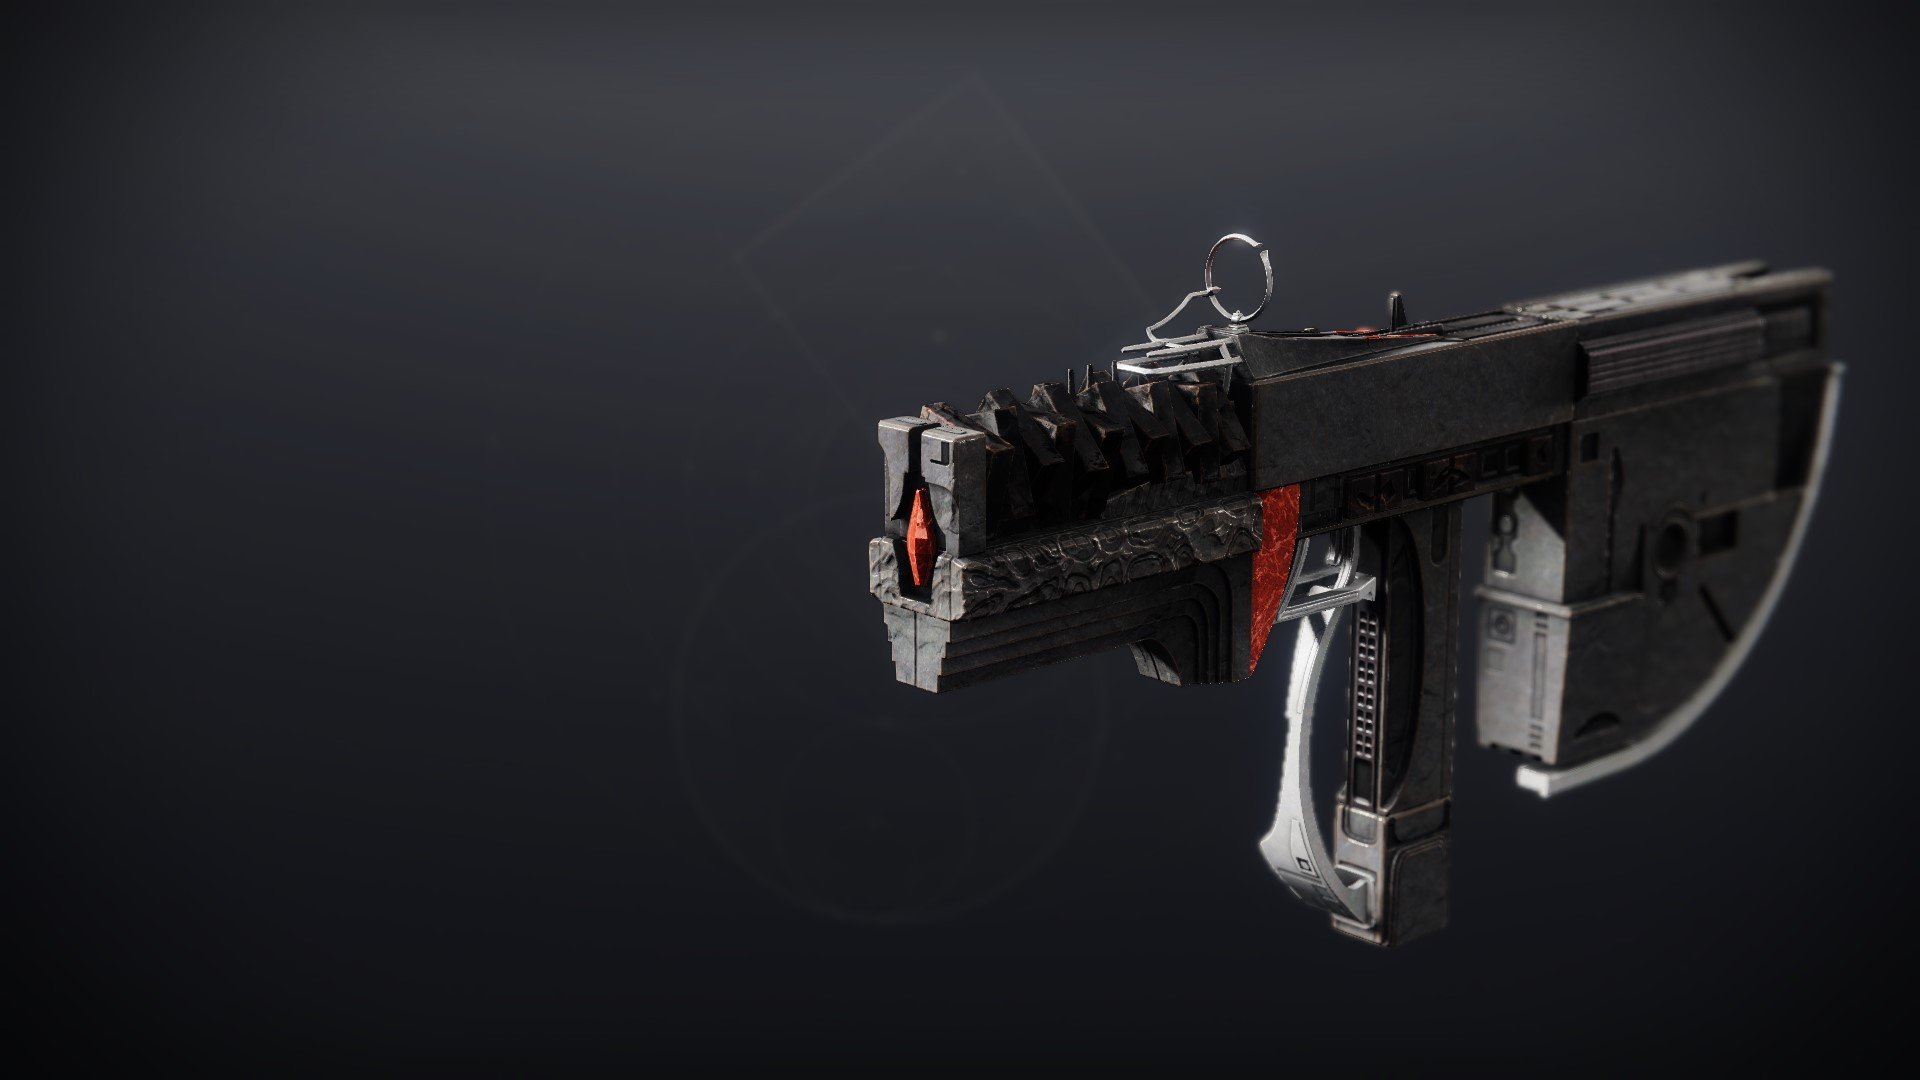
Easily one of the best kinetic primaries in the business (for how weak they are currently), the Submission boasts a formidable perk pool for all sorts of content, as well as one of the best origin perks. Overflow plays perfectly into the origin perk, and frenzy is a reliable damage boost in any PvE content of consequence.
 Insidious
Legendary // Aggressive
Burst // Pulse Rifle
Desirable Perks
- Barrel:
- Arrowhead Brake
- Magazine:
- Accurized Rounds
- Column 1 Perks:
- Rapid Hit
- Demolitionist
- Column 2 Perks:
- Rampage
- Vorpal Weapon
- Adrenaline Junkie
Masterwork: Range
Mod Slot: Minor Spec, Major Spec, Adept Big Ones Spec
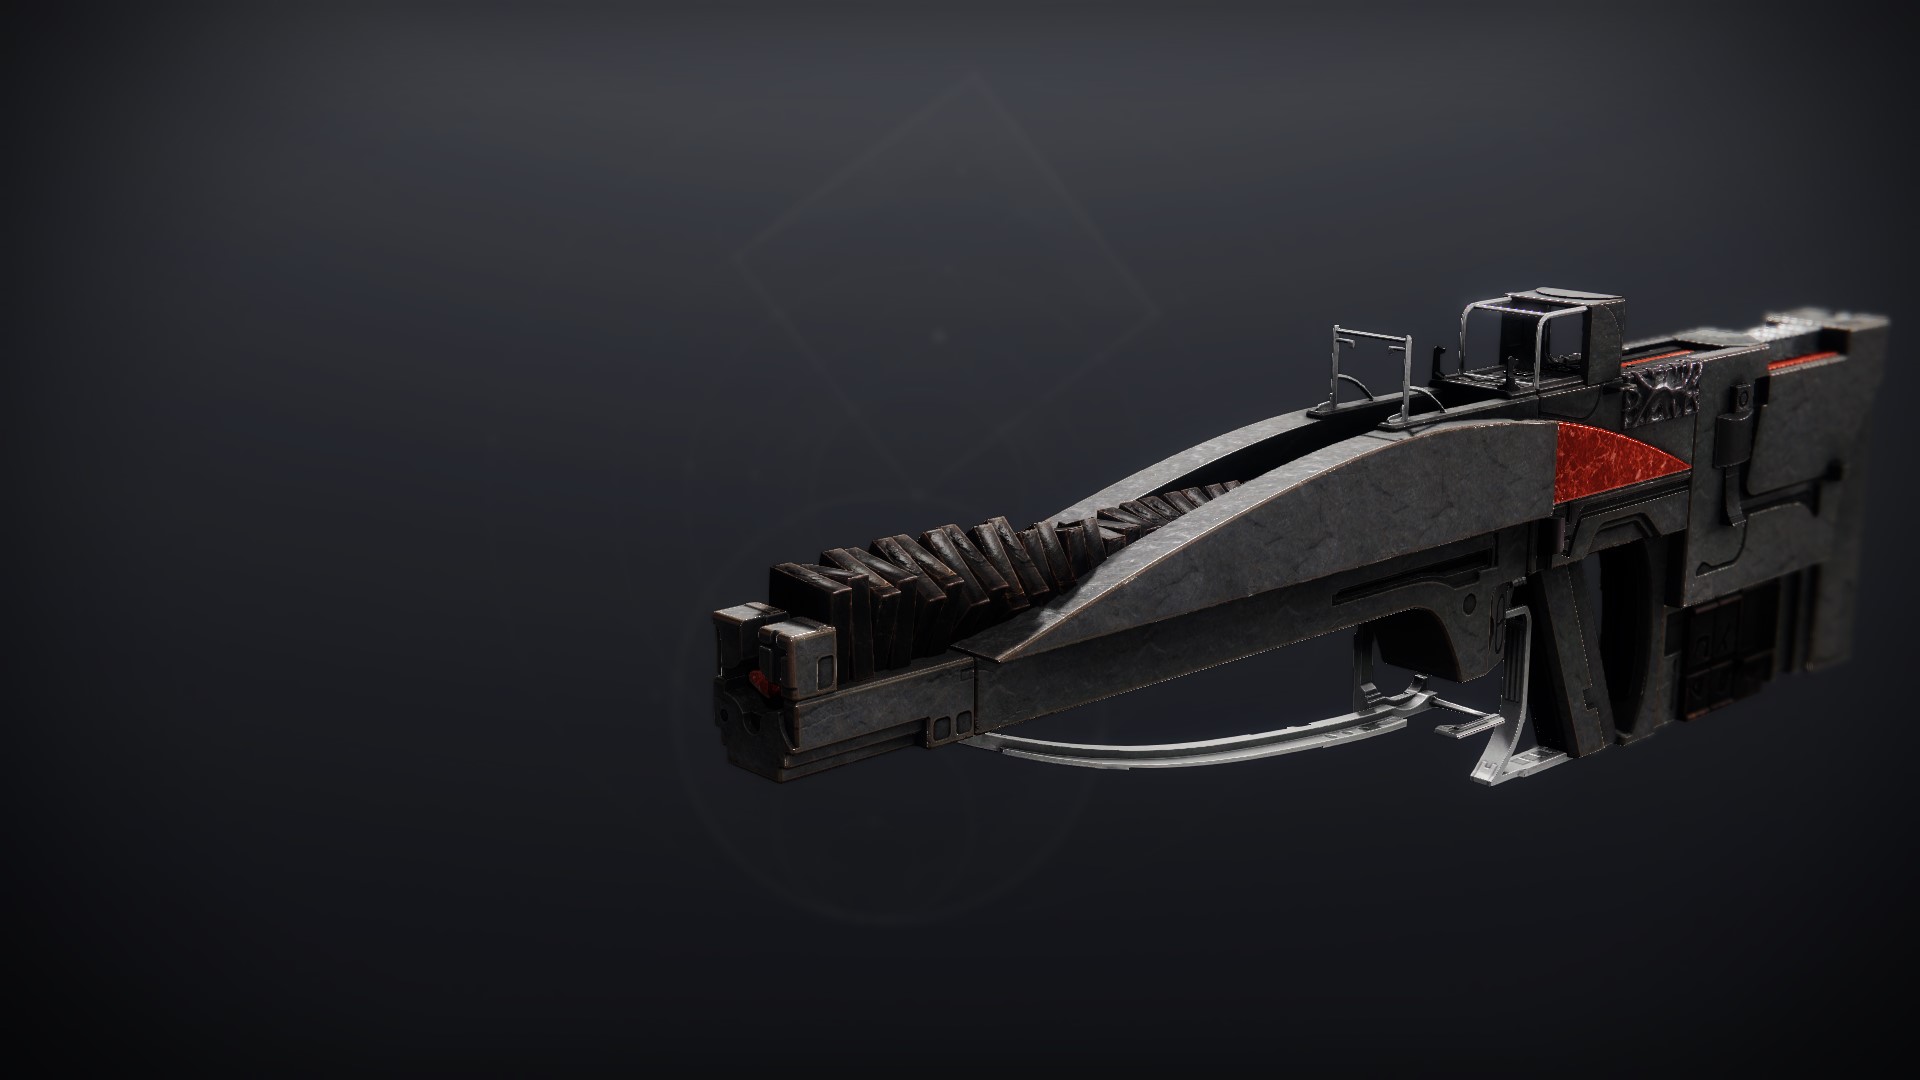
A decent pulse rifle for those who use them. In terms of arc Pulse Rifles, this is easily the best, with a very nice-feeling roll of Rapid Hit+One for All. Interestingly, this weapon can roll Dragonfly in the first column, which is rarely seen there. Using the same archetype as the beloved Blast Furnace from Season of the Forge , it holds its own in the Crucible with perks like Rapid Hit and Rampage. Currently the only craftable Aggressive Burst left, as the Disparity pattern is unobtainable, though it can be brought by Banshee or Xur.
 Forbearance
Legendary // Wave Frame
// Grenade Launcher
Desirable Perks
- Barrel:
- Quick Launch
- Magazine:
- High-Velocity Rounds
- Column 1 Perks:
- Ambitious Assassin
- Column 2 Perks:
- Chain Reaction
Masterwork: Reload Speed
Mod Slot: Minor Spec, Major Spec, Adept Big Ones Spec
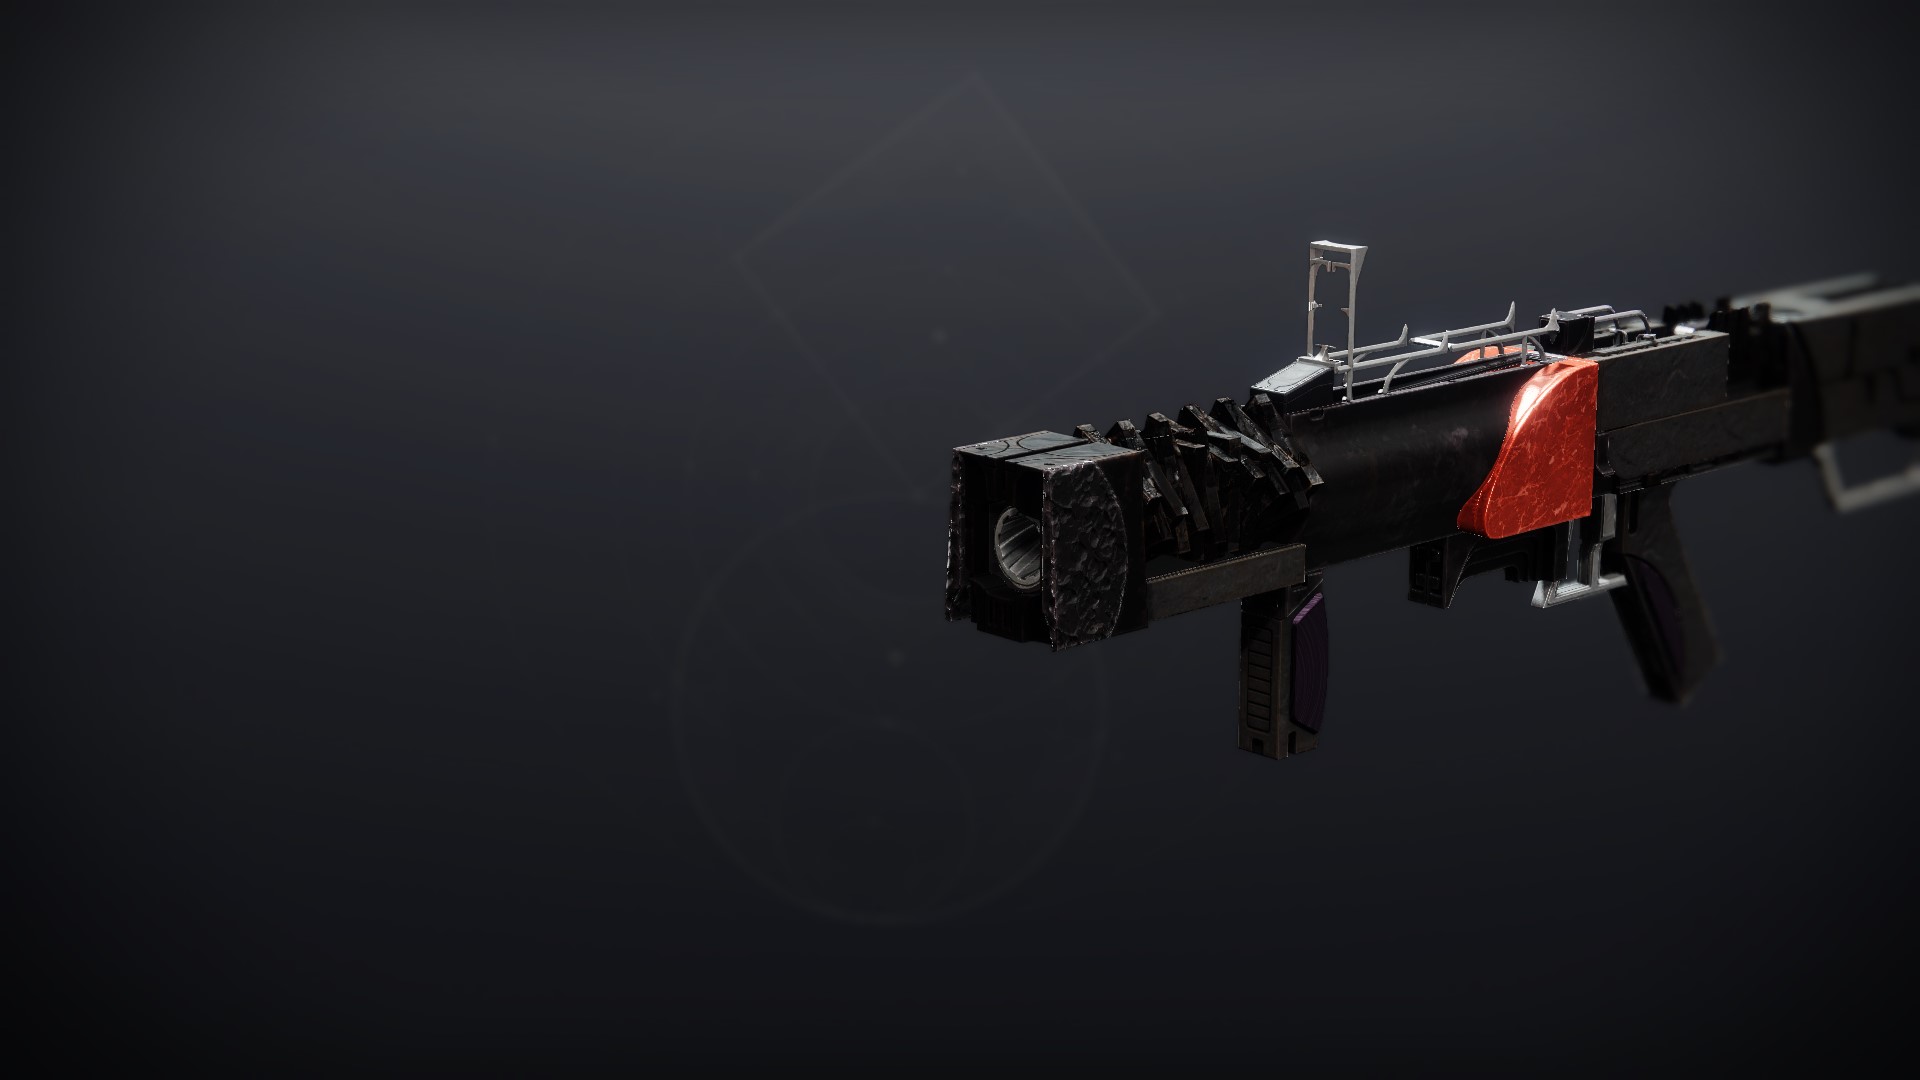
Cleanliness is godliness, and when it comes to cleaning rooms there is a reason people bow down to this weapon. As a waveframe Forbearance is laughably easy to use. Chain reaction causes everything killed by the blast to explode yet again, spreading the good word to all who may hear it. Ambitious assassin reloads for two shots in the magazine, reminding you that this weapon heals you based on the number of hits dealt before reloading. Commonly worshipped as the best weapon in the game.
 Deliverance
Legendary // Precision
Frame // Fusion Rifle
Desirable Perks
- Barrel:
- Arrowhead Brake
- Battery:
- Accelerated Coils
- Liquid Coils
- Column 1 Perks:
- Demolitionist
- Column 2 Perks:
- Chill Clip
Masterwork: Charge Time, Range
Mod Slot: Major Spec, Adept Big Ones Spec
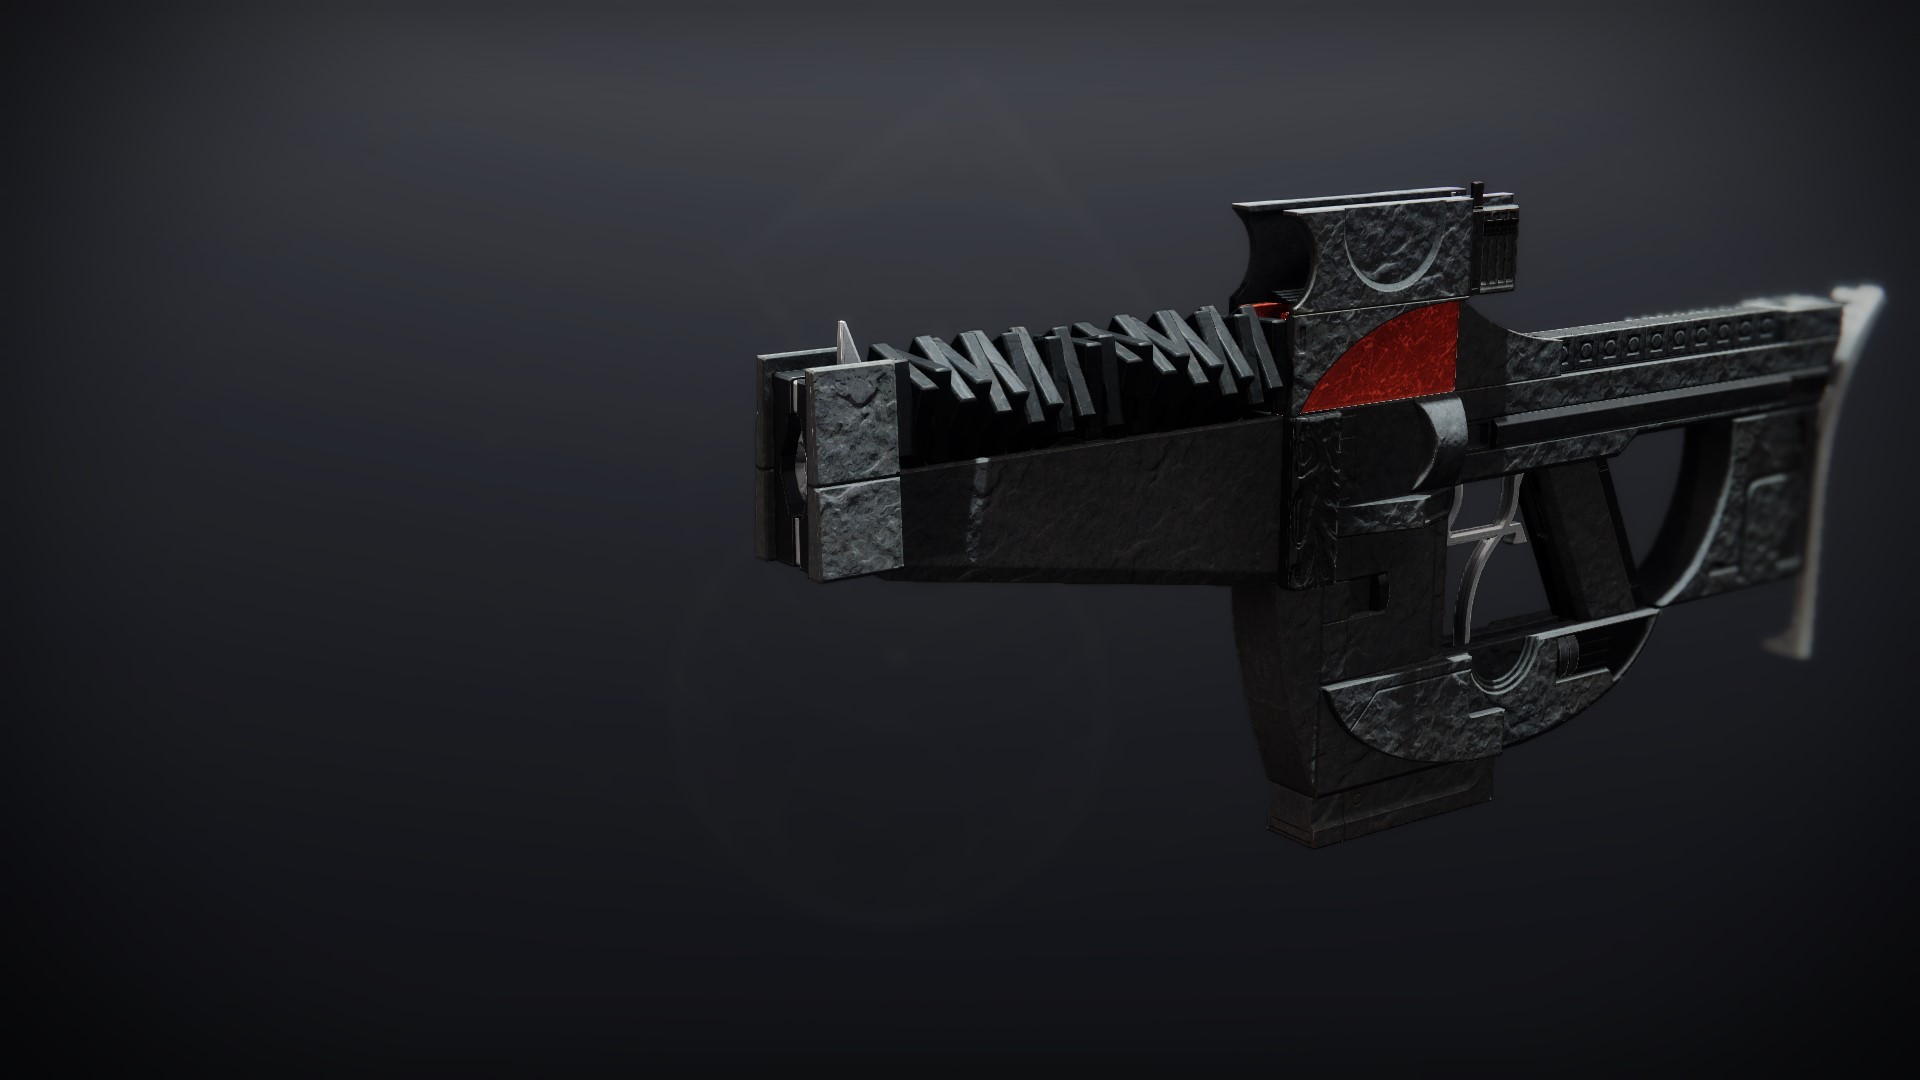
A decent alternative to the Riptide, the Deliverance has a competitive perk pool in both PvE and PvP. In PvE, the roll of Demolitionist + Chill Clip is one of the best options for certain Stasis builds and synergies, especially those involving grenades. Shooting multiple rounds slows and eventually freezes targets, making it capable of stunning champions. In PvP, the Deliverance is able to roll the coveted Fusion Rifle perk Tap the Trigger, which adds a reliable stability boost for easier landing of the fusion bolts. This can be paired with Perpetual Motion or Heating Up, both of which give a Stability bump.
 Lubrae's Ruin
Legendary // Adaptive
Glaive // Glaive
Desirable Perks
- Haft:
- Ballistic Tuning
- Magazine:
- Accurized Rounds
- Extended Mag
- Column 1 Perks:
- Grave Robber
- Column 2 Perks:
- Swashbuckler
- Vorpal Weapon
Masterwork: Range
Mod Slot: Major Spec, Adept Big Ones Spec
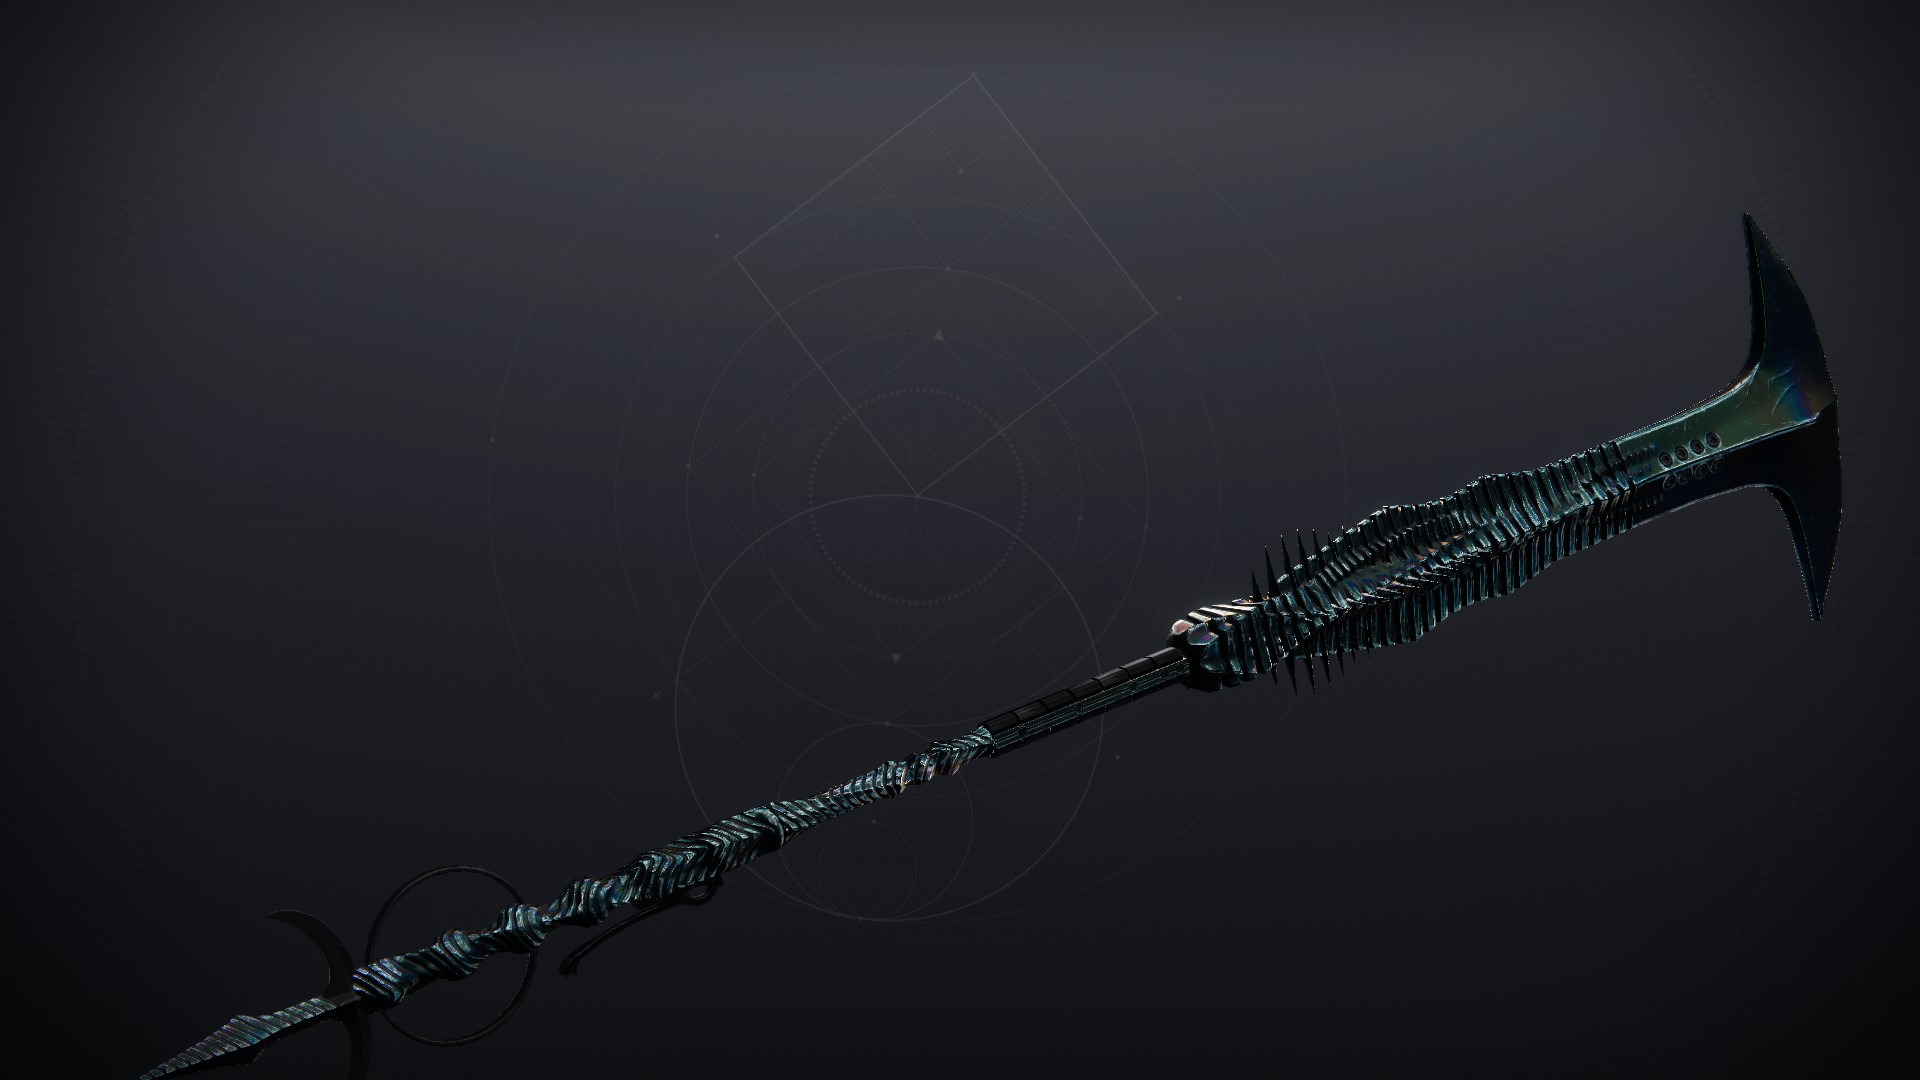
If being a glaive does not put you off from using this weapon, you may come to find that the age-old synergy between Grave Robber and Swashbuckler is actually fairly good on this weapon-melee kills reload the glaive, and increase the projectile's damage by 35%. A powerful synergy, but not powerful enough to offset the natural disadvantage this weapon has, namely being a glaive. Note that Swashbuckler does not increase the damage of the glaive's melee attacks. You can also opt for a defensive build using Immovable Object and Unstoppable Force, but this playstyle renders you largely immobile, given that the perks are best used when standing still.
 Cataclysmic
Legendary // Precision
Frame // Linear Fusion Rifle
Desirable Perks
- Barrel:
- Arrowhead Brake
- Battery:
- Enhanced Battery
- Column 1 Perks:
- Fourth Times's the Charm
- Column 2 Perks:
- Bait and Switch
Masterwork: Range, Charge Time
Mod Slot: Boss Spec, Adept Big Ones Spec
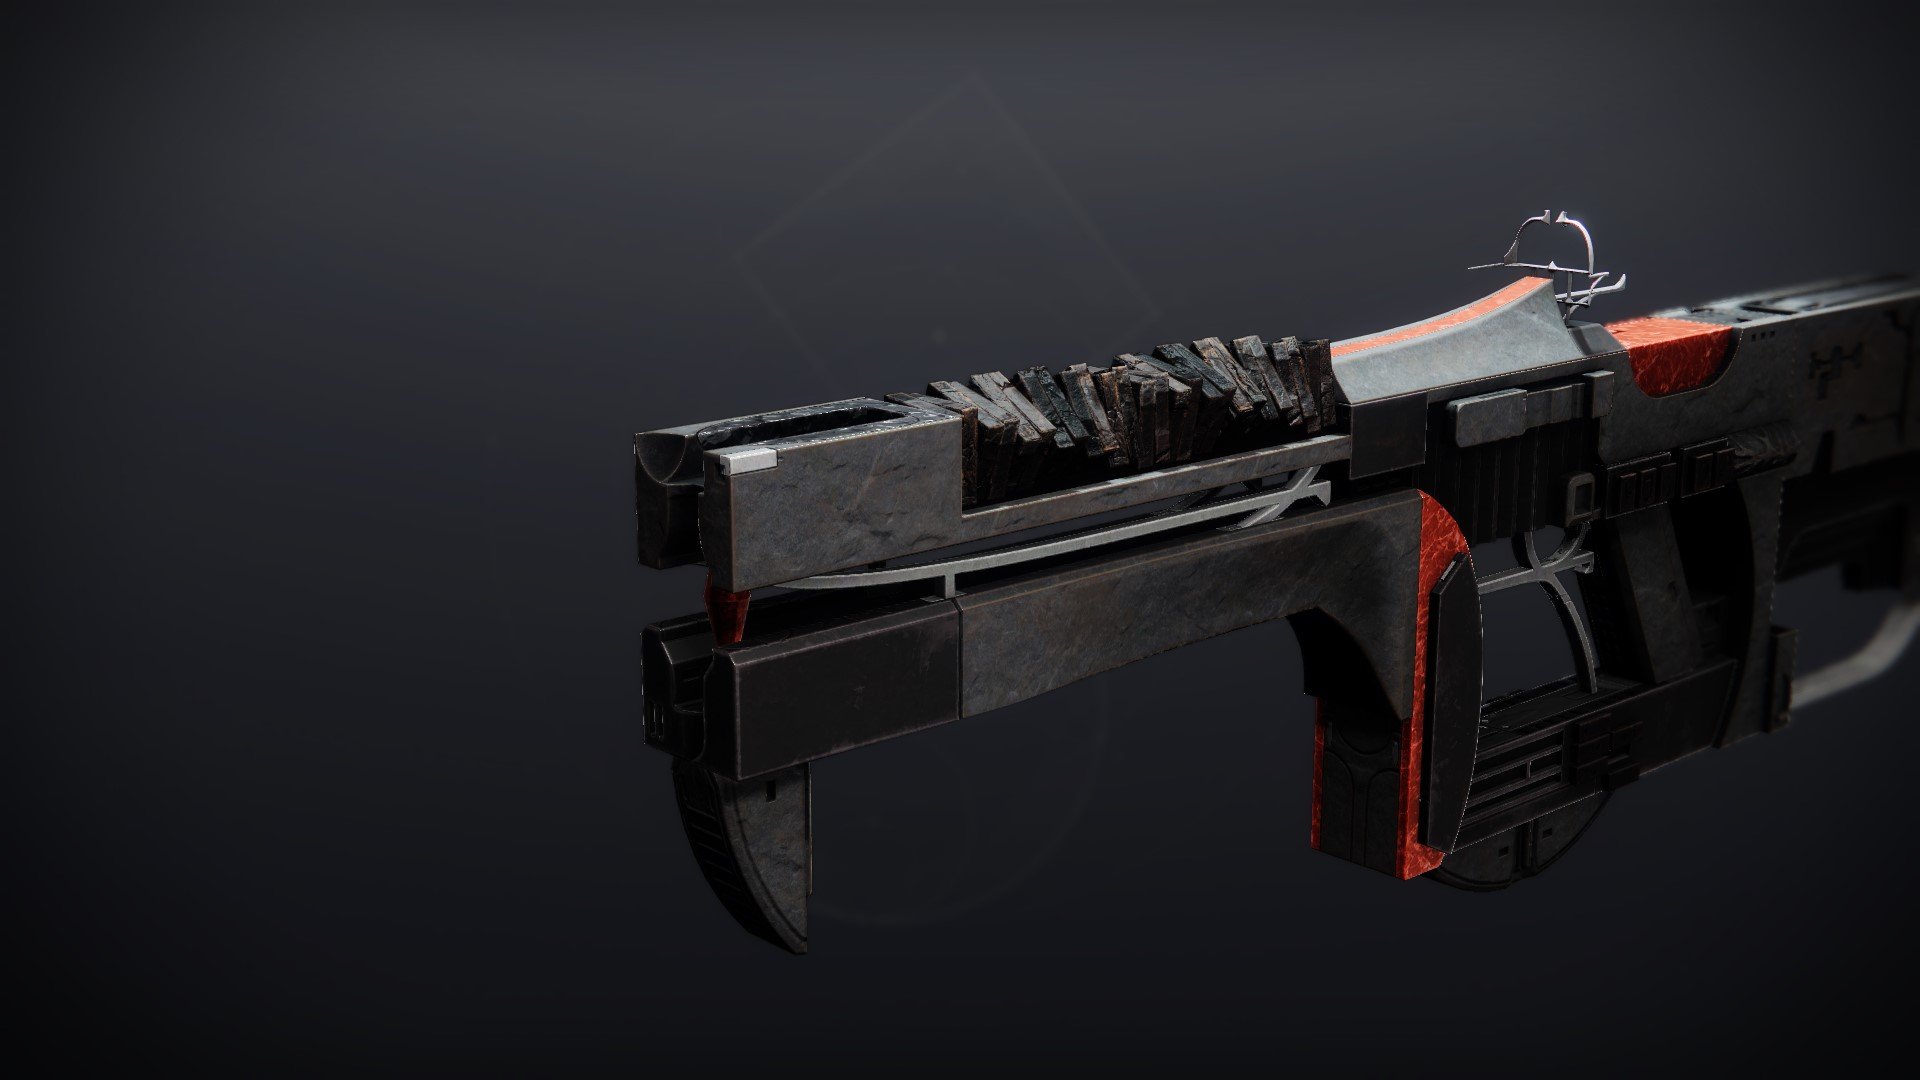
Arguably the king of LFRs. Cataclysmic boasts one of the highest damage perks on a Linear, paired with the powerful ammo economy perk of Fourth Time's the Charm, making it the strongest LFR in the game with few exceptions. The damage perk Bait and Switch is not difficult to activate, needing you to only deal damage with your other weapons before swapping back to the Cataclysmic. There are ways to maximize your DPS using the Cataclysmic and a weapon such as Izanagi's Burden or the Witherhoard. Damage tests can be seen here.
 Collective Obligation
Exotic
// Pulse Rifle
Details
When shooting a target that is weakened, volatile or suppressed from Void effects, this weapon leeches the debuff and stores it.
Void Leech mode can be activated using alt-fire with a minimum of one debuff stored, causing the weapon to inflict the stolen debuff(s) on every shot for a short duration. 20% damage increase while Void Leech mode is active. Gaining Devour, Invisibility or an Overshield reloads the gun.
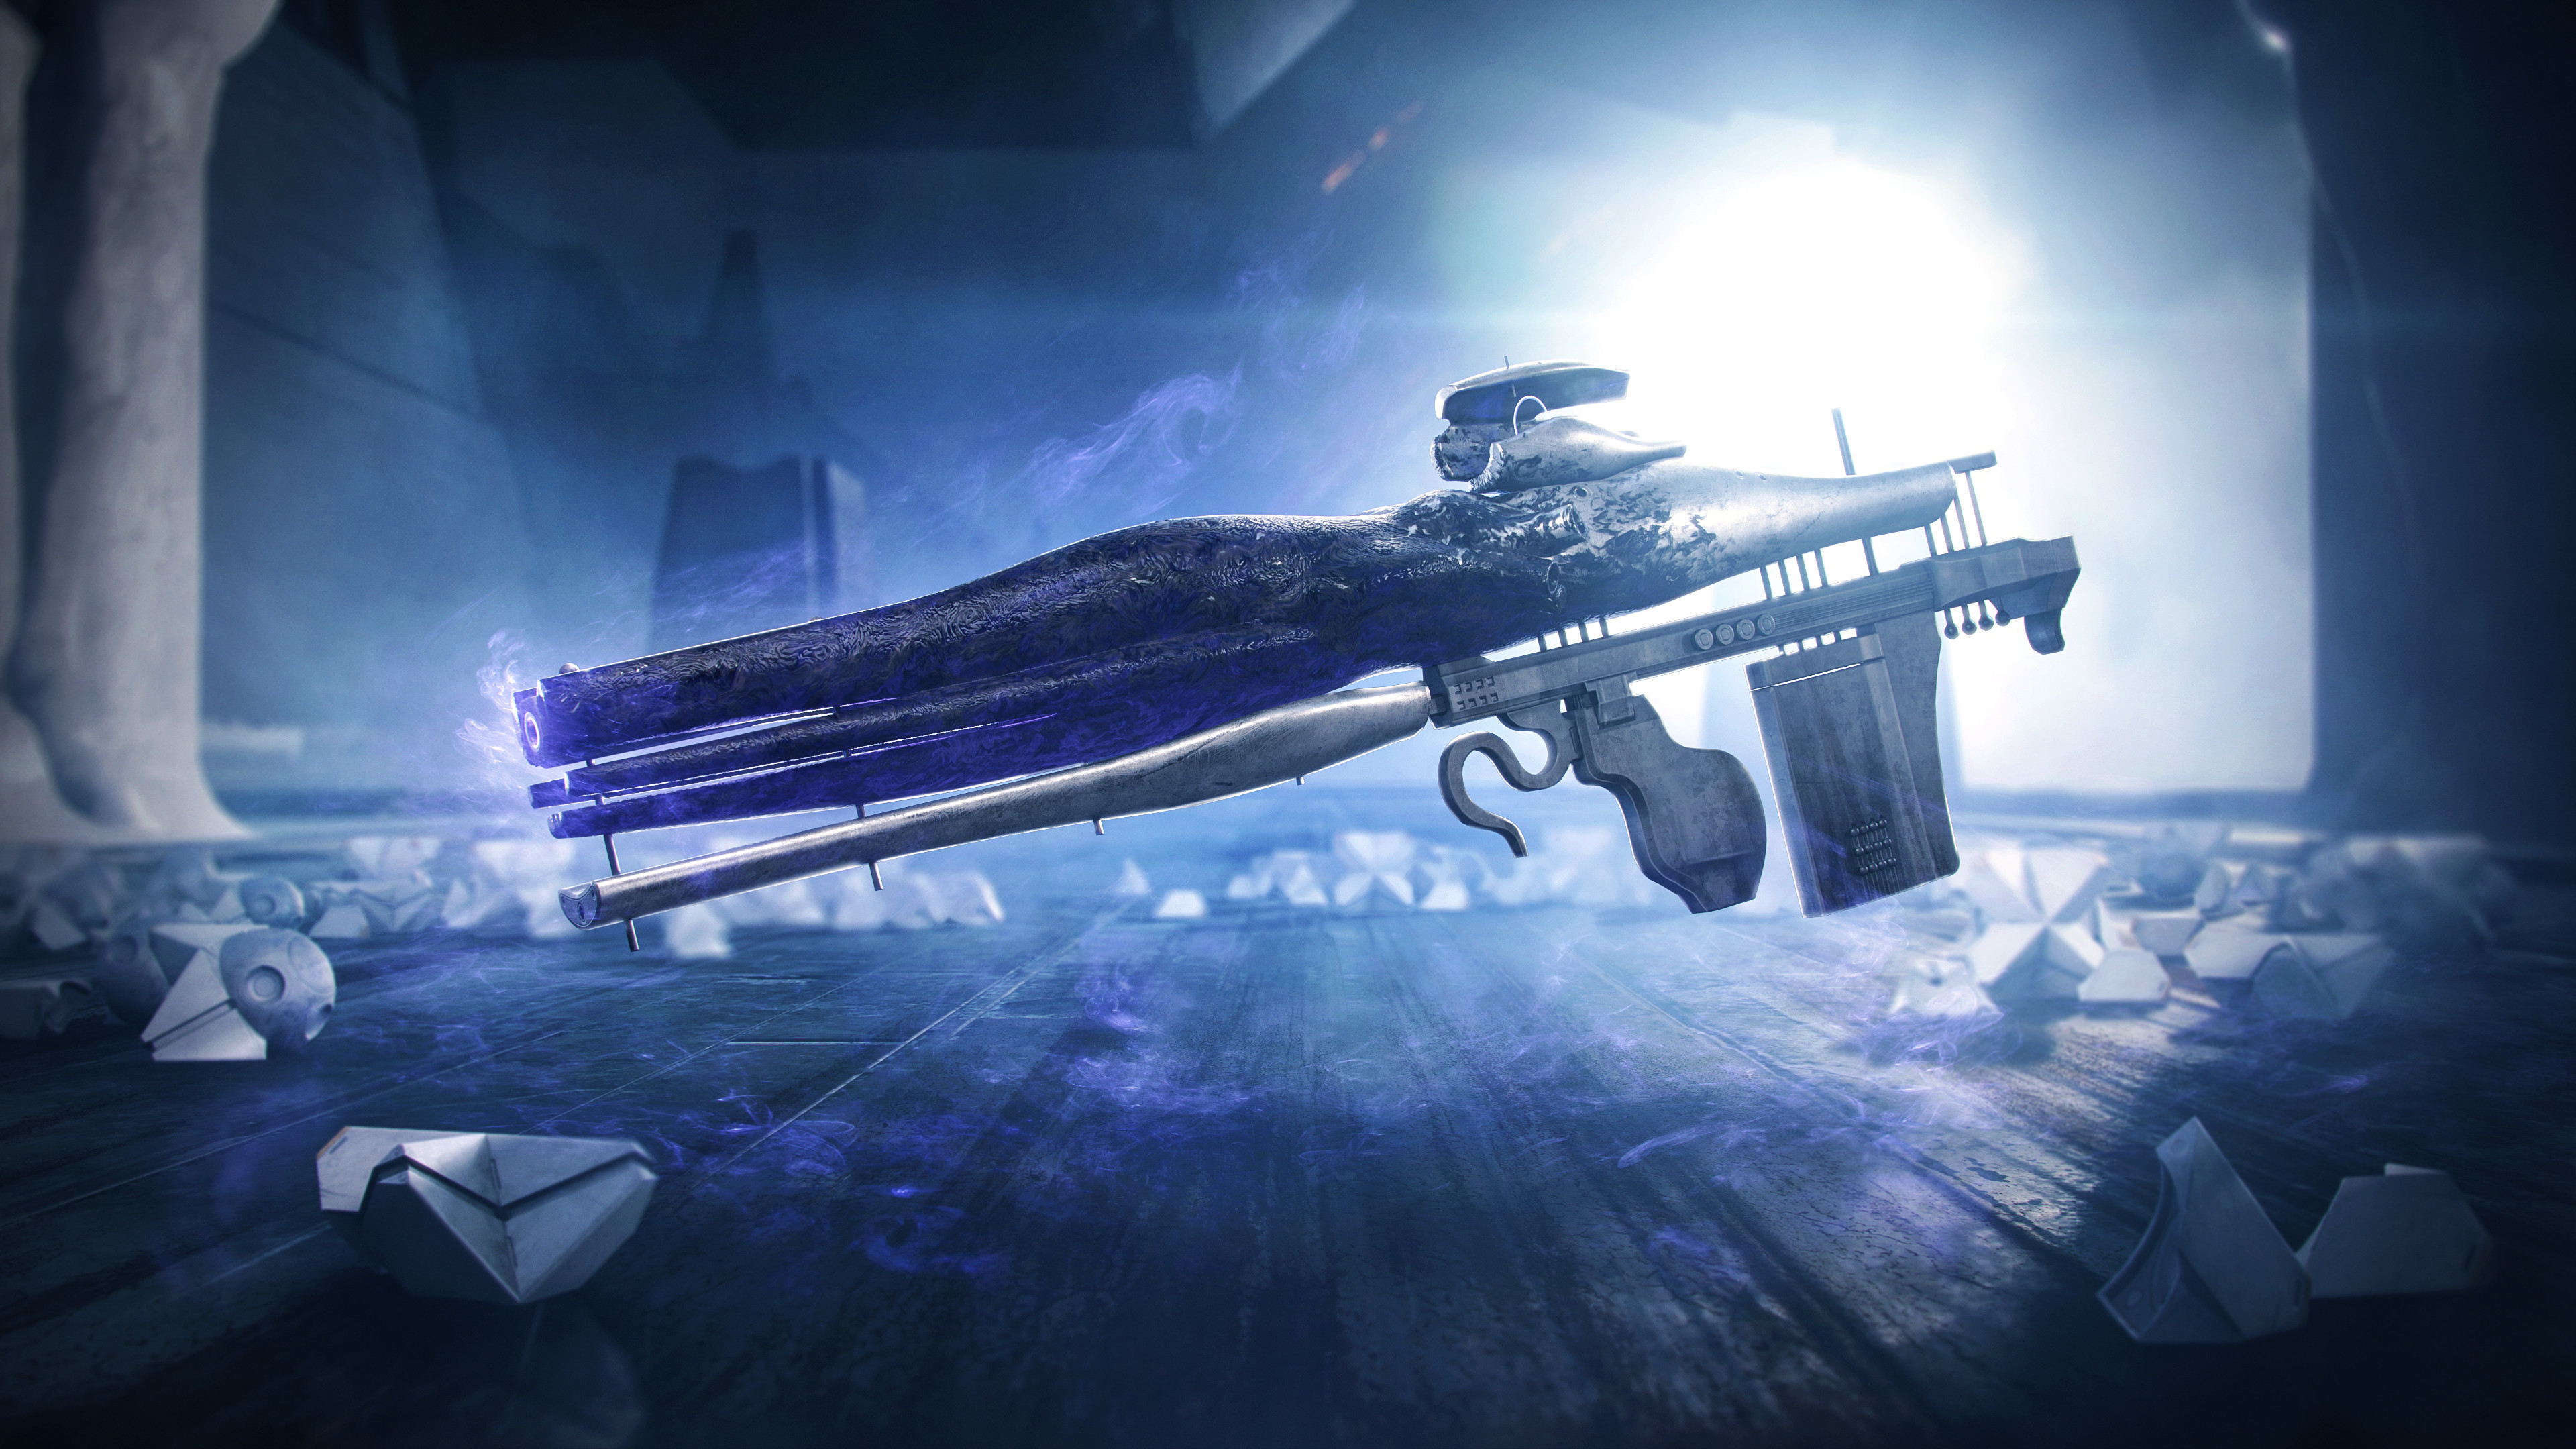
Embrace the abyss with one of the strongest void primary weapons in the game. With no cooldown on the Void Leech mode, you can perpetually spread debuffs with every shot with a competitive damage boost. Synergizes well with the Nezerac's Sin and Gyrfalcon's Hauberk exotics.
The CO has great stats across the board, and feels good to handle, but comes with a bulky scope. The “In Finality” ornament for the gun removes the hilariously fat scope which drastically increases your field of view.
Raid Symbols
Deepsight Chest
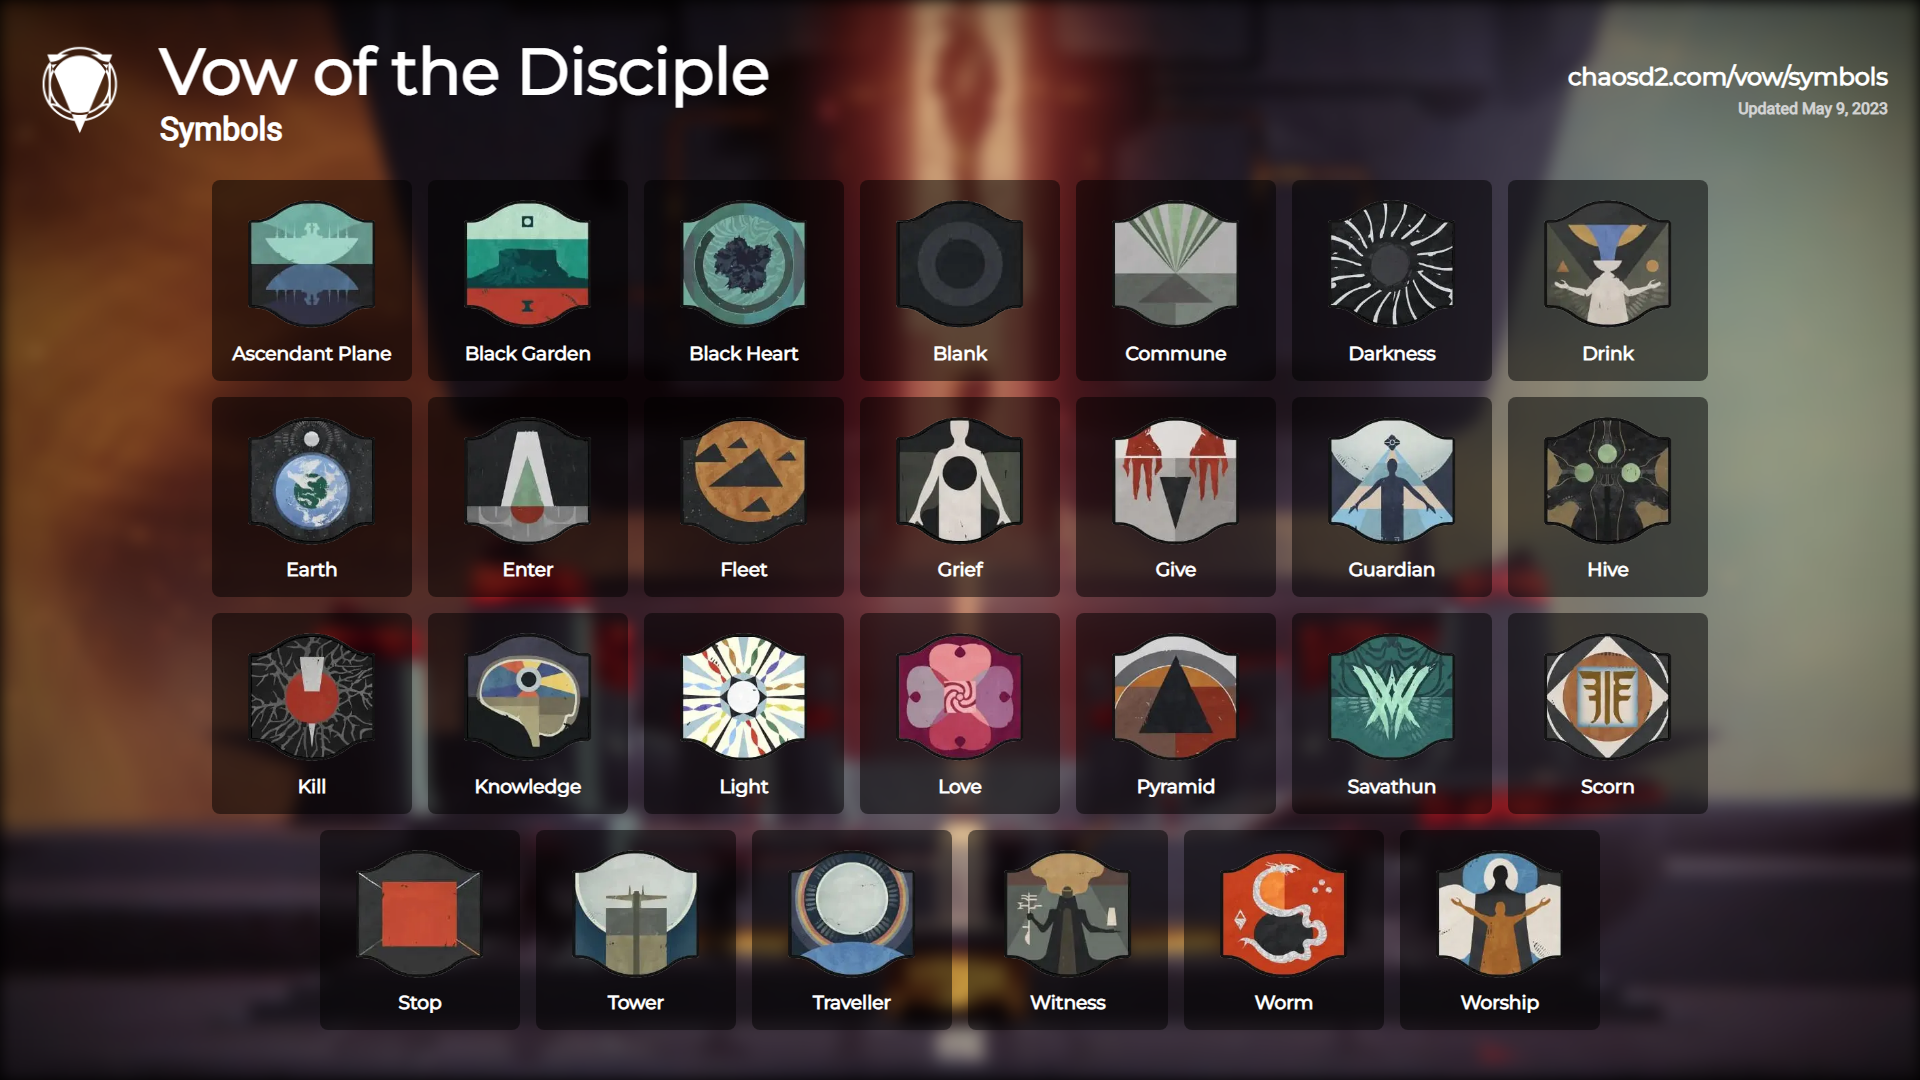
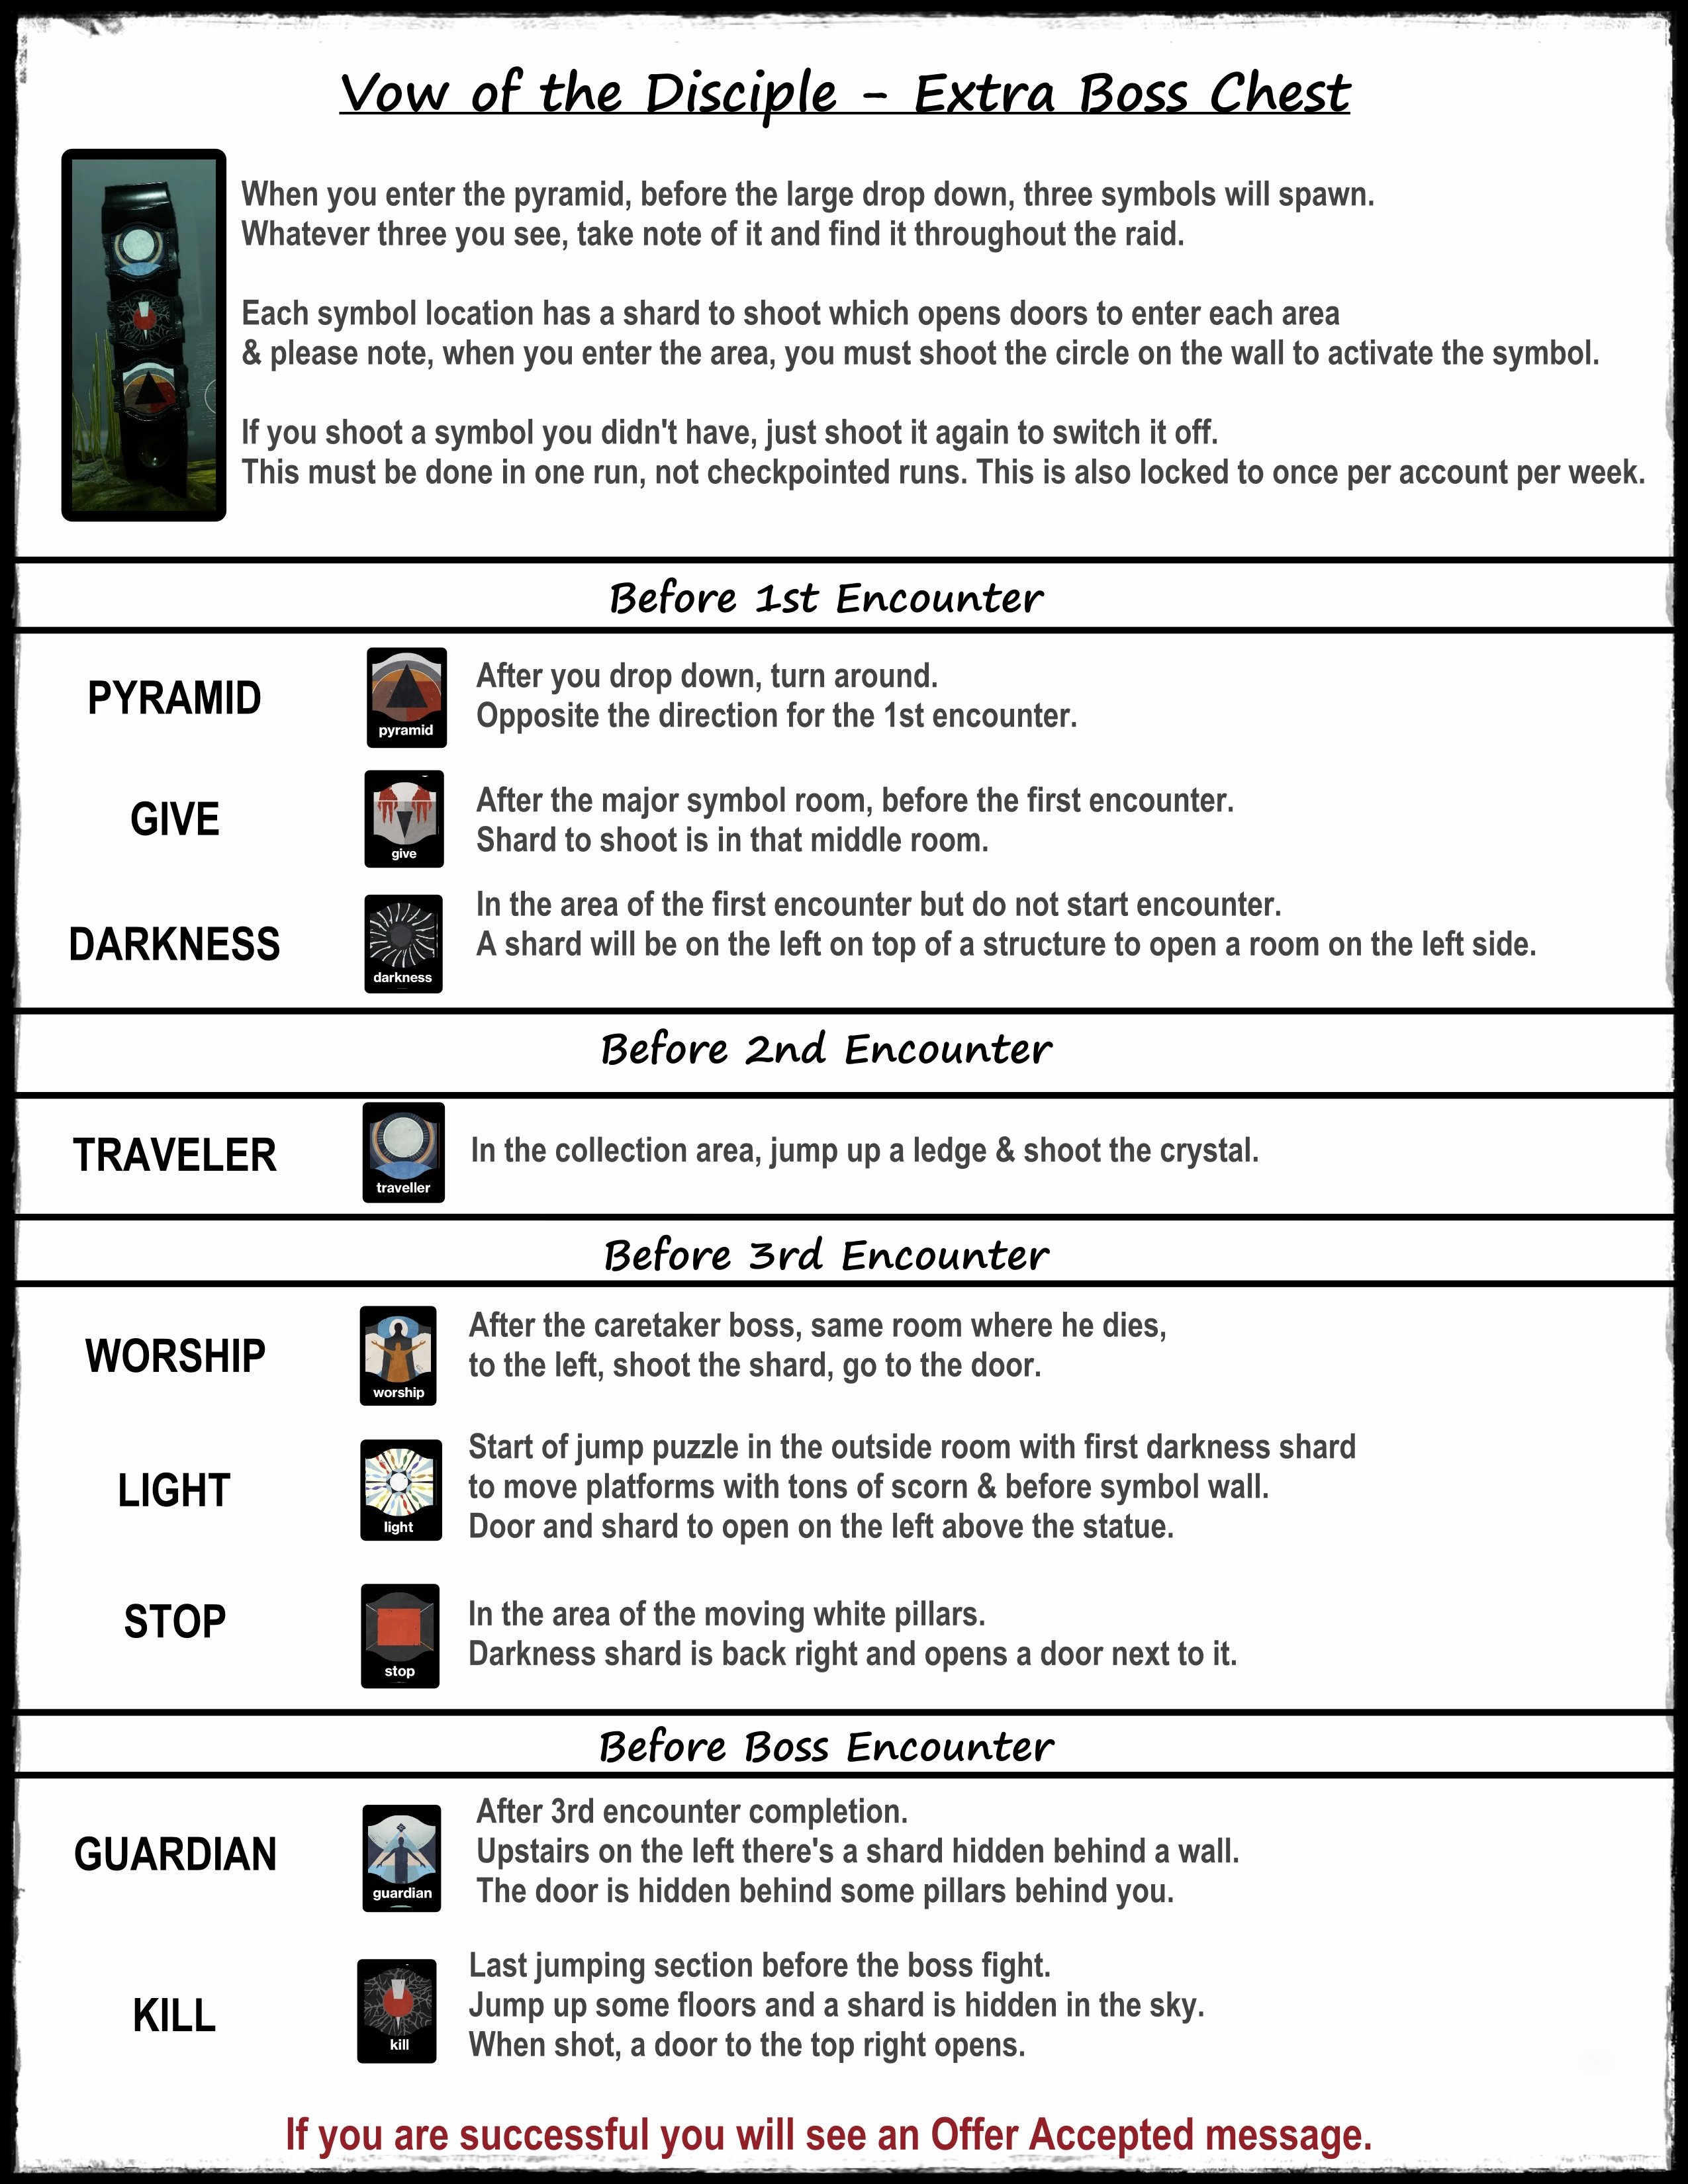
There are a number of secret rooms that contain symbols in the Vow of the Disciple raid. After the Rhulk encounter, an additional chest will appear if you find the three required rooms and activate the symbols in them. This is a must-do for those who can finish the raid in one go since it will provide you a guaranteed raid weapon with Deepsight Resonance and weapon pattern advancement.
Destiny Symbol Tracker and Destiny Glyph Guides are helpful websites that can aid you in finding the glyphs needed to get your deepsight chest.
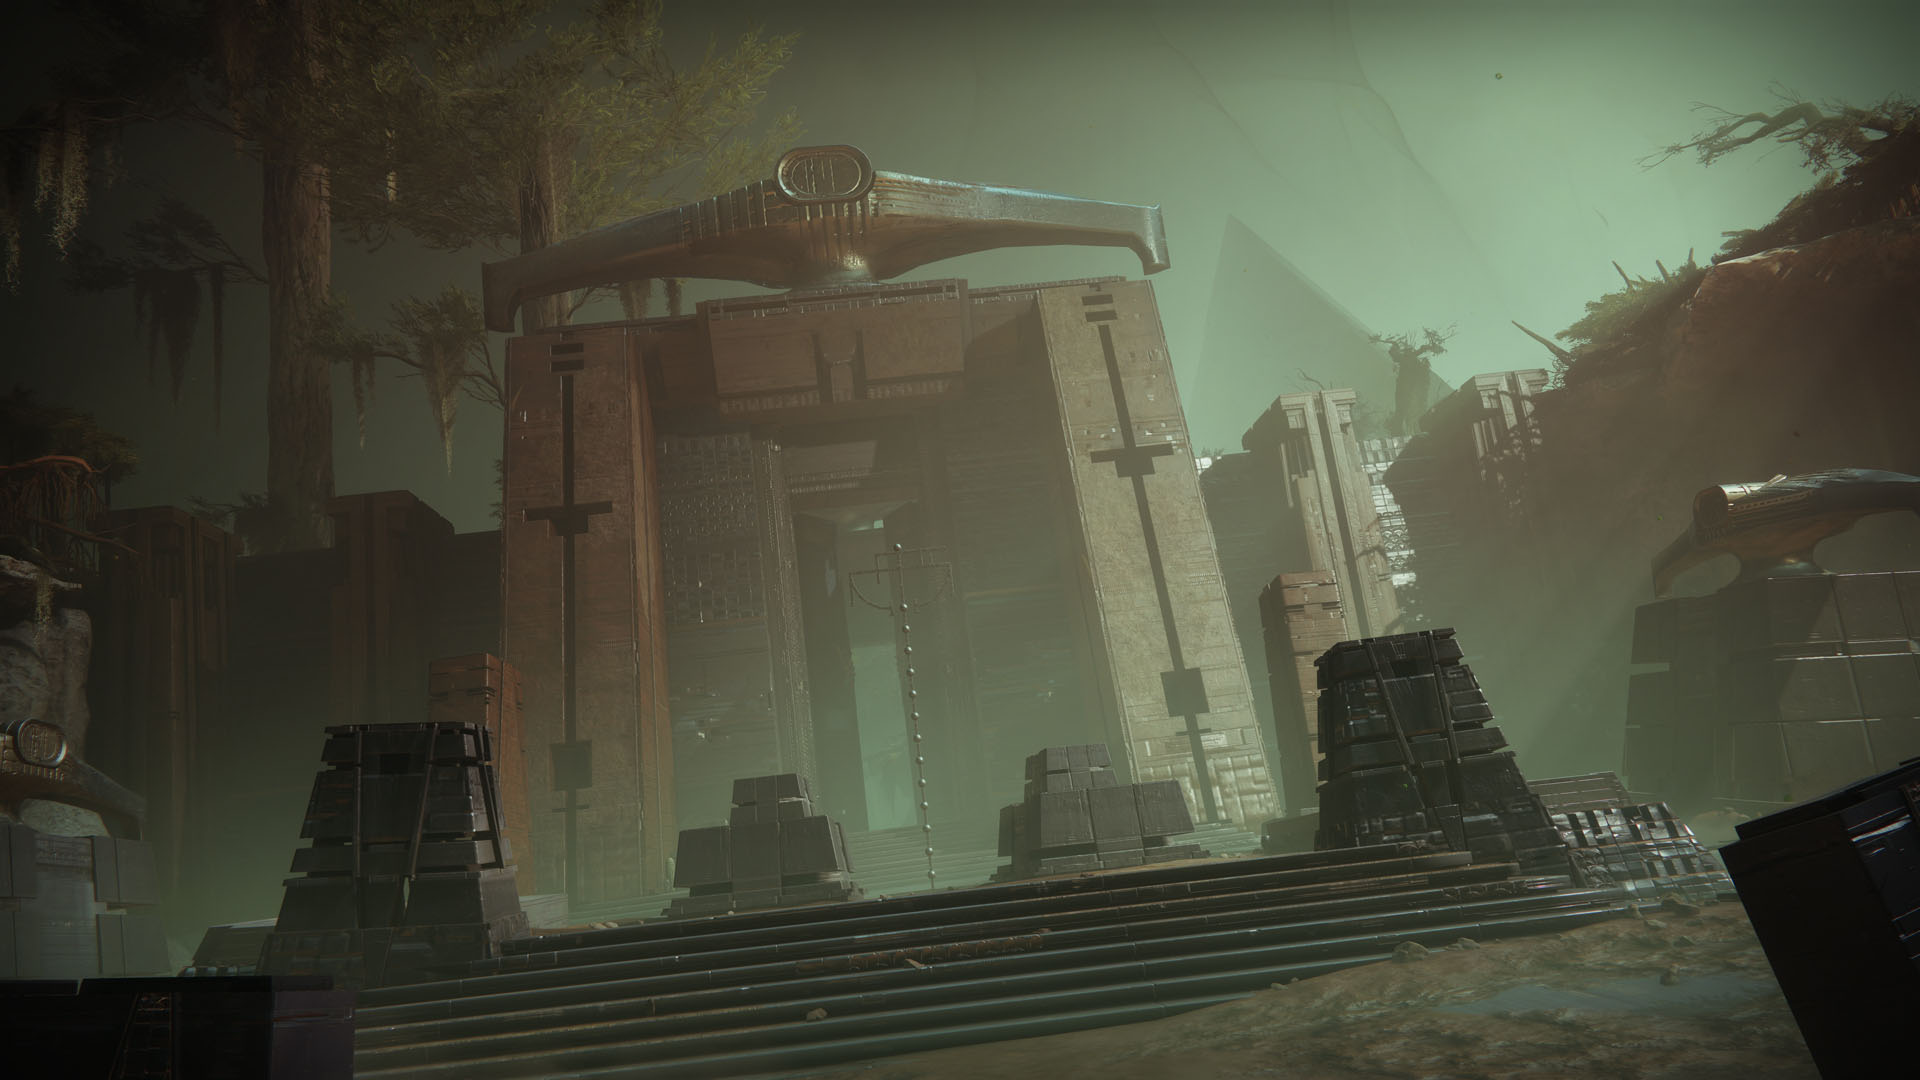
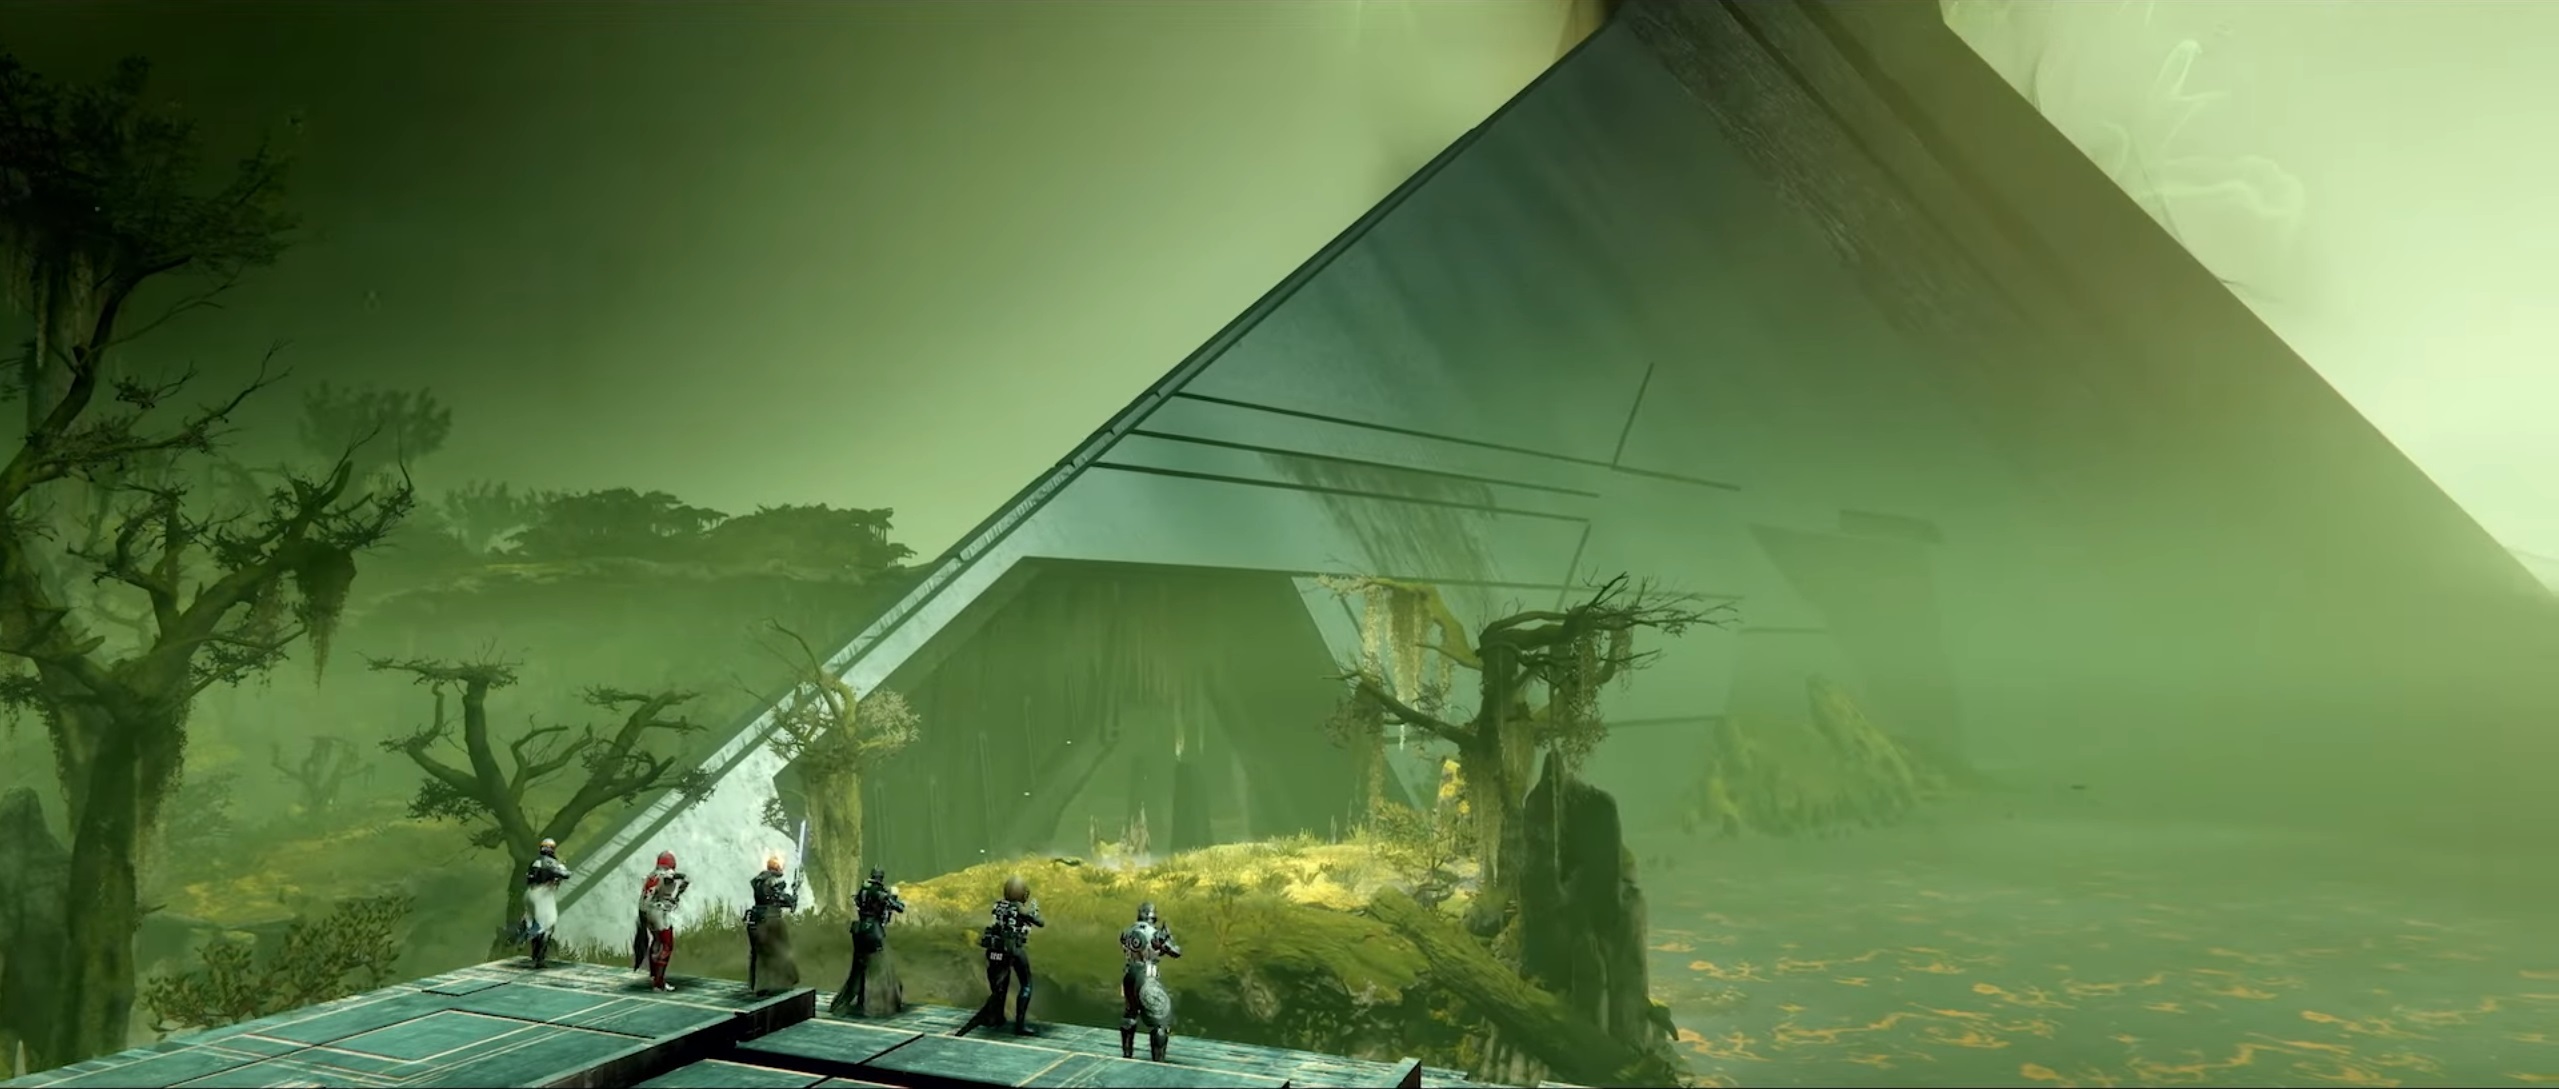
Disciple's Bog
A Projection of Savathun at the entrance must be defeated before you can proceed to the first encounter. There will also be a ton of additional enemies in this place. Once everything has been defeated, the doors will open, allowing you to move forward—ideally on your Sparrow. Anything goes in terms of causing damage to the Savathun Projection. She will be rapidly knocked aside by heavy weapons, such as the Gjallarhorn, Deathbringer, and other Linear Fusion Rifles, which do significant damage.
Payload Encounter
A payload escort mission, which is the "prologue" of the Vow of the Disciple raid, is somewhat reminiscent to the public event in the Throne Room. The flow is as follows:
- Defeat Knowledge Bearers
- Collect Knowledge
- Deliver to payload
This fight introduces the debuff Pervading Darkness, which will be present throughout the duration of the raid. When this debuff reaches Pervading Darkness x10, you will die. Your screen will gradually get darker as it increases, obstructing your view. To get rid of the Pervading Darkness debuff during the cargo encounter, remain close to the payload.
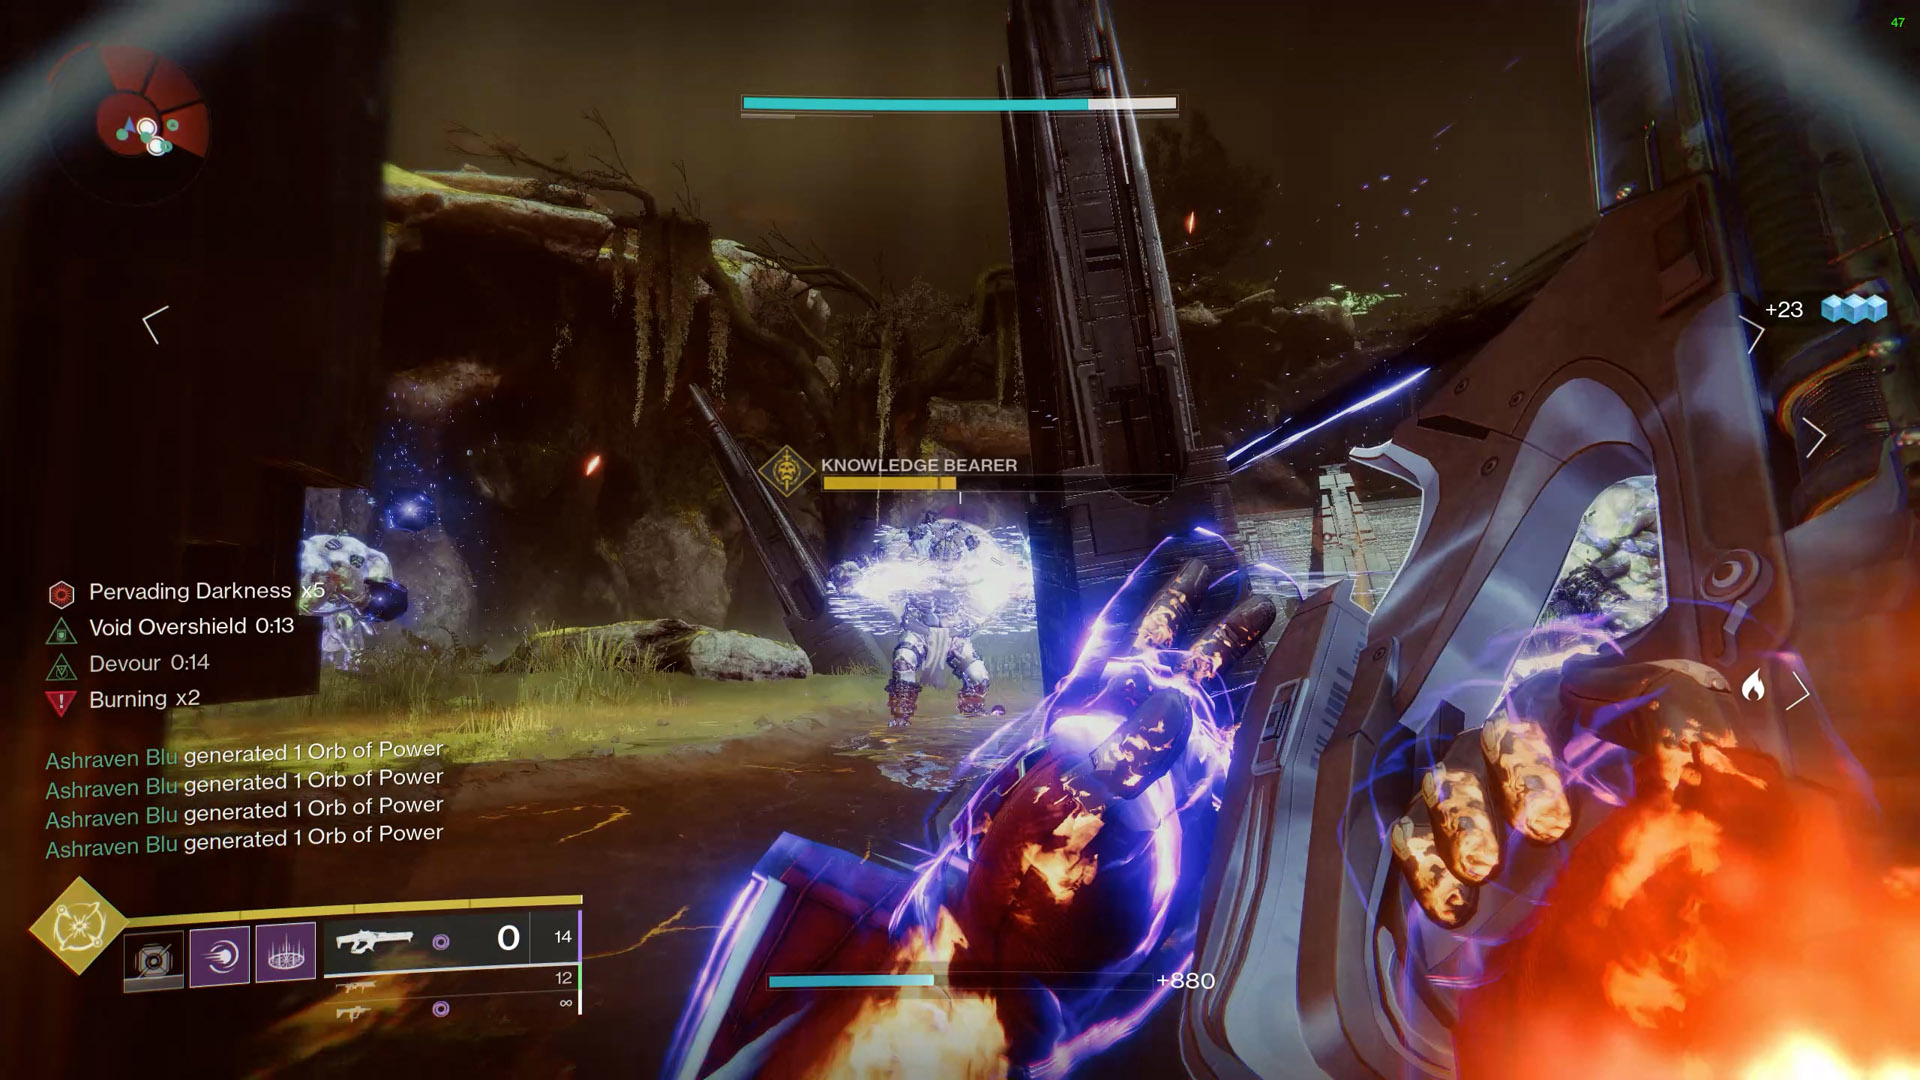
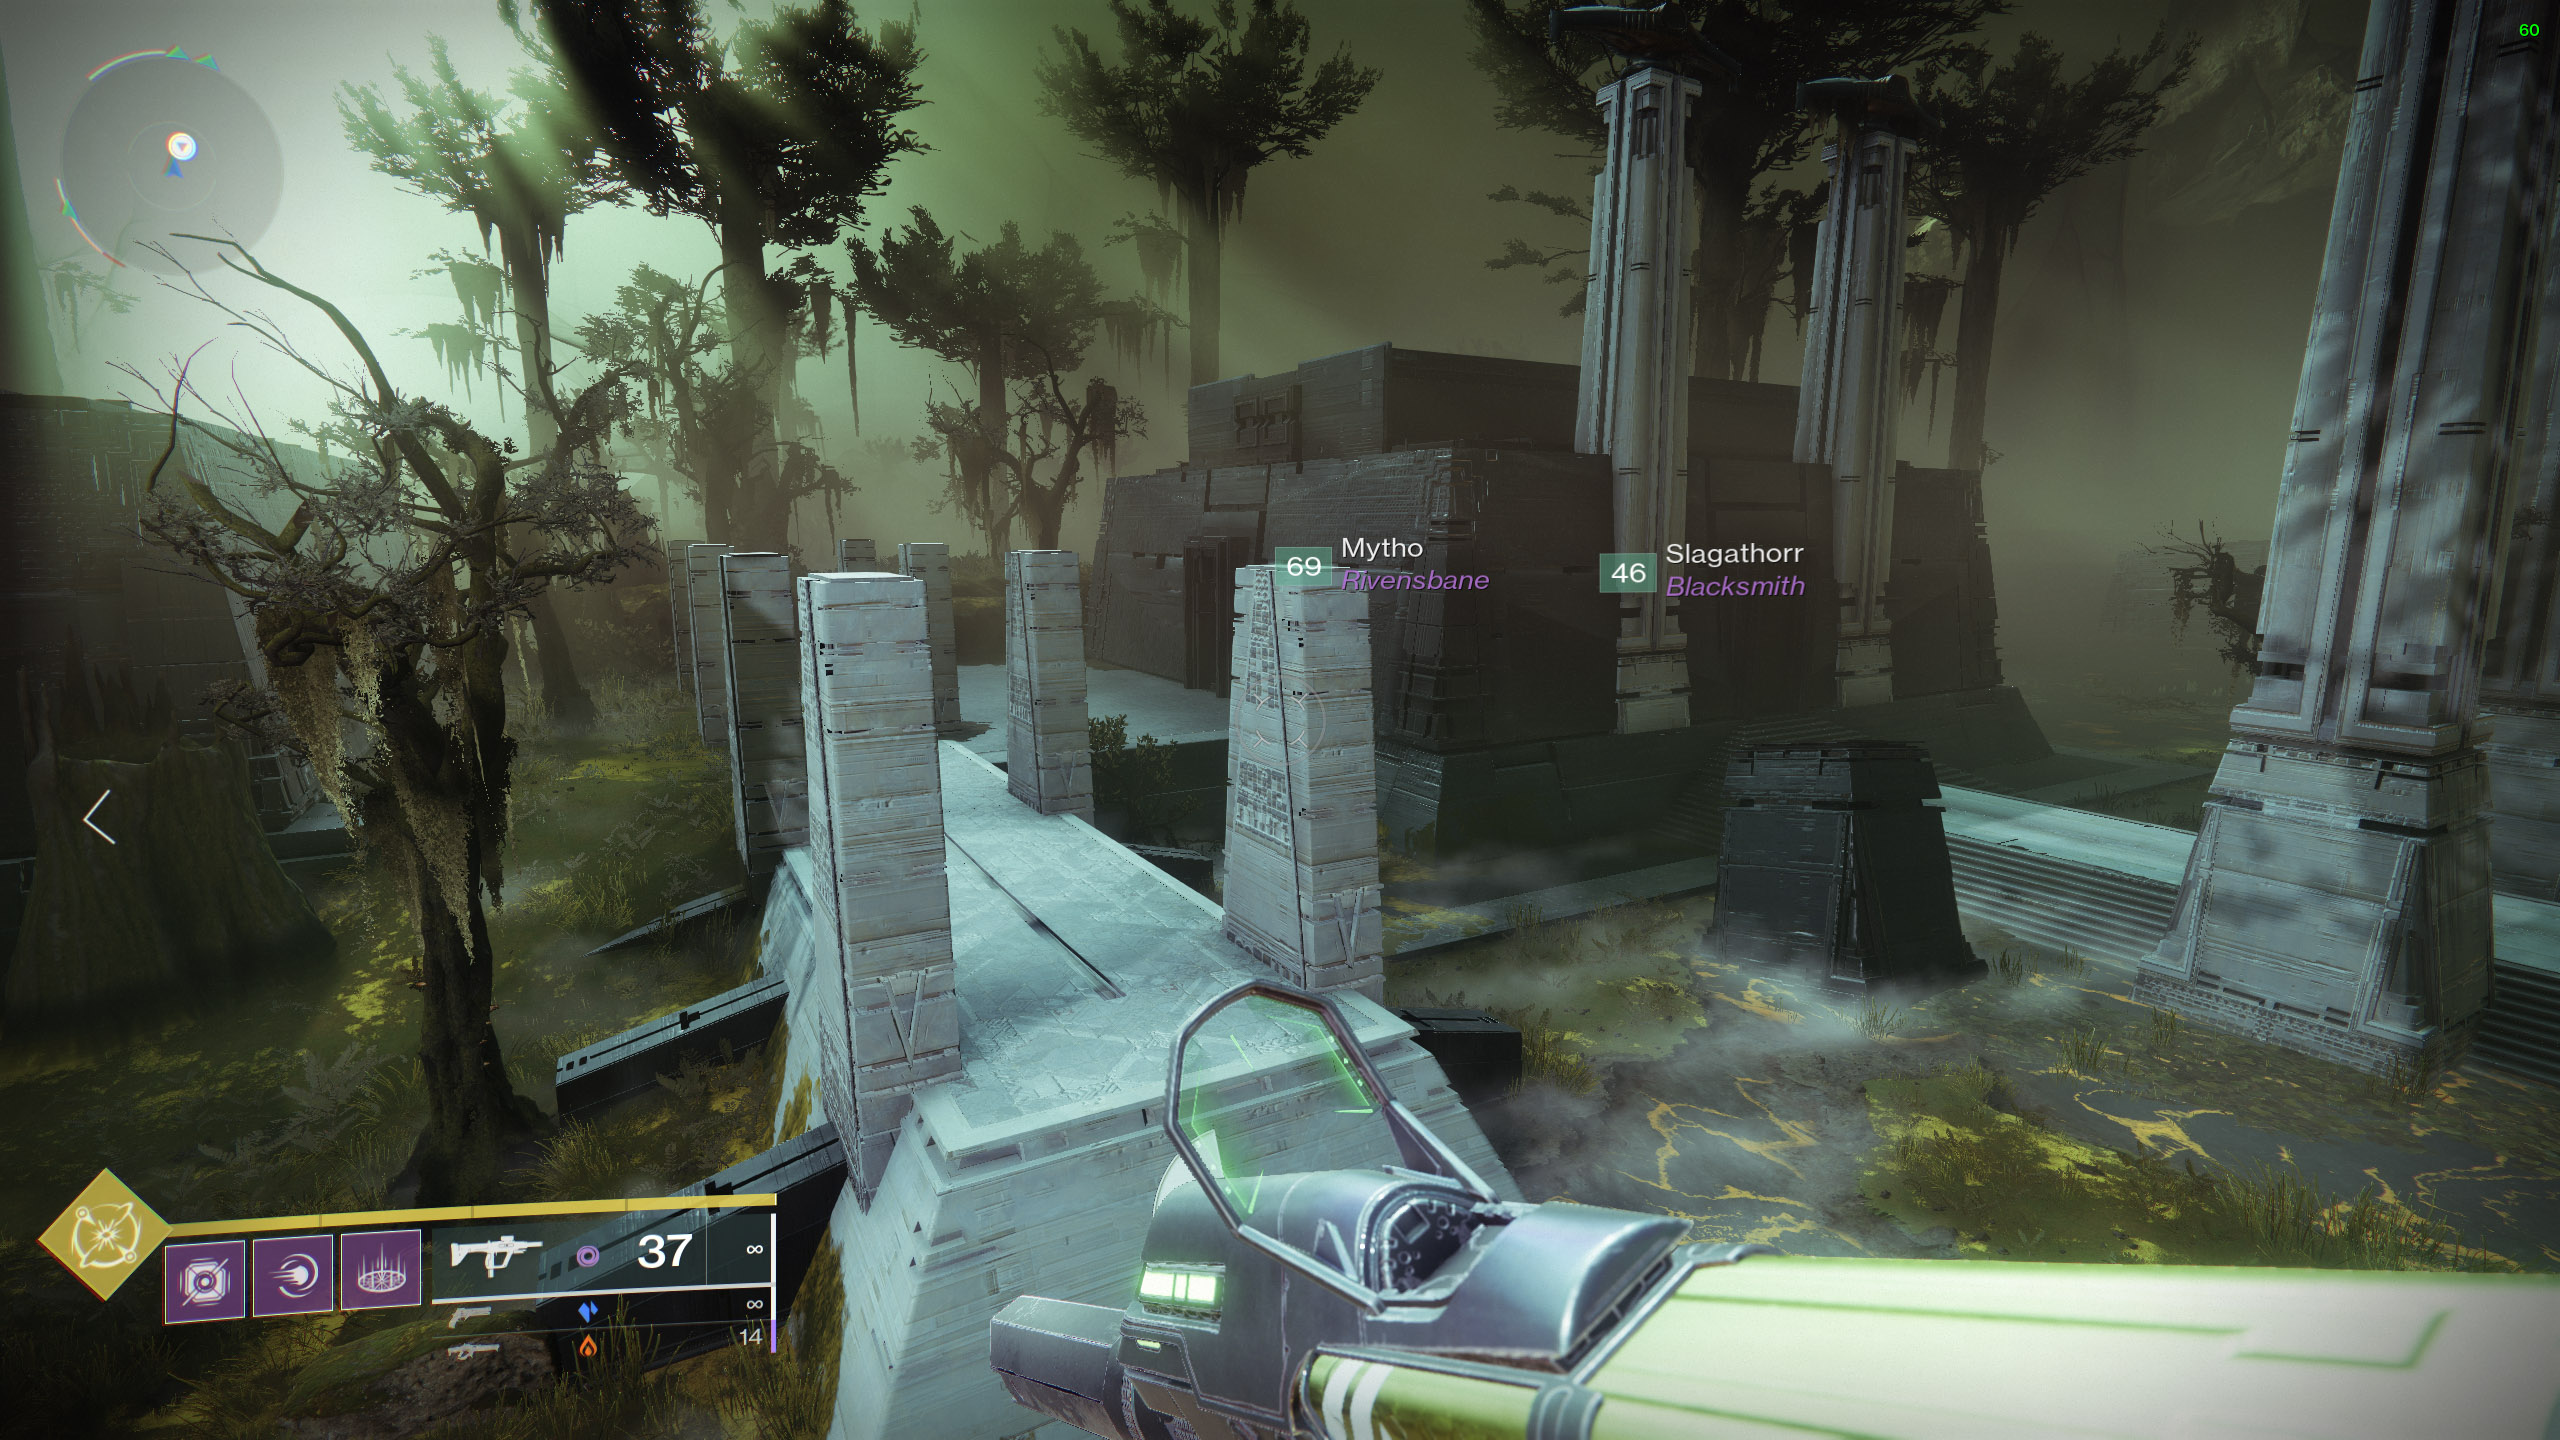
A Knowledge buff that Knowledge Bearer Abominations drop will be the item that you'll be transporting. Both the new Knowledge buff and the Pervading Darkness negative effect are still in effect. The number of stacks you acquire from the ground after you defeat Knowledge Bearer Abominations determines how many times this perk will stack, advancing from Heightened Knowledge to Brimming Knowledge and eventually Overflowing Knowledge. As you take care of the Pervading Darkness debuff, gather the Knowledge buff, and deposit it into the barge to advance it.
Hidden Chest #1
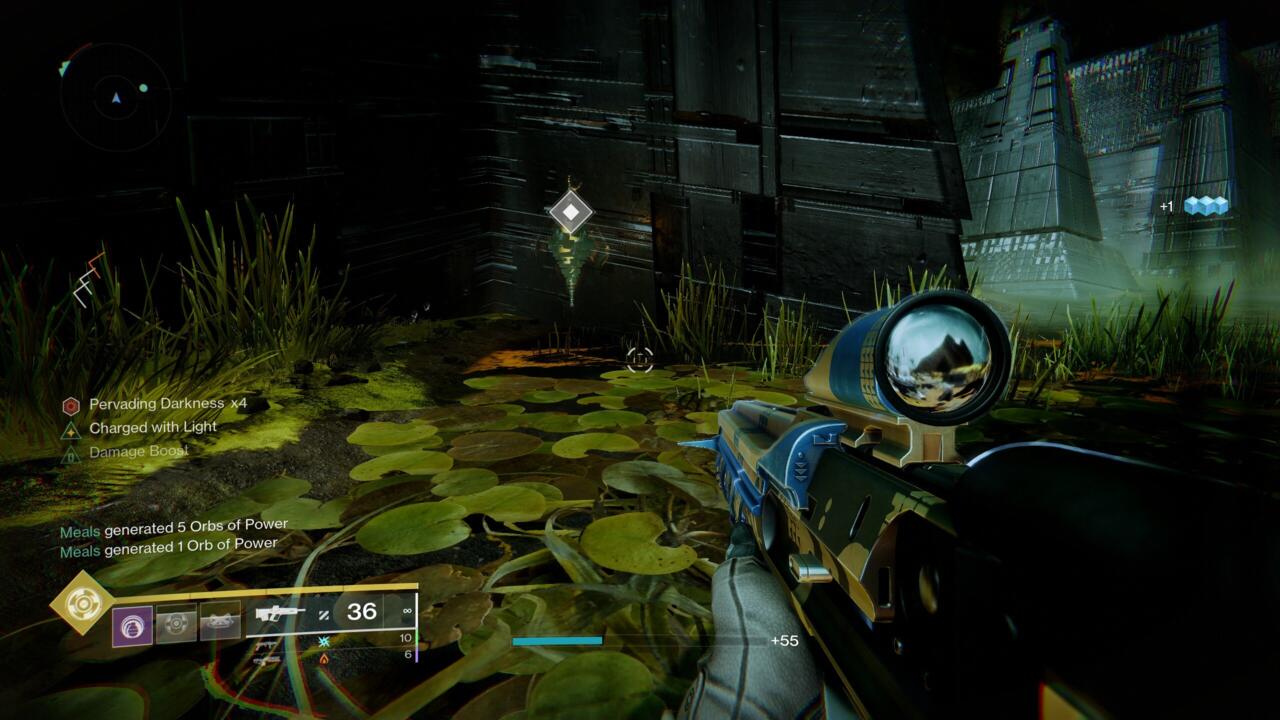
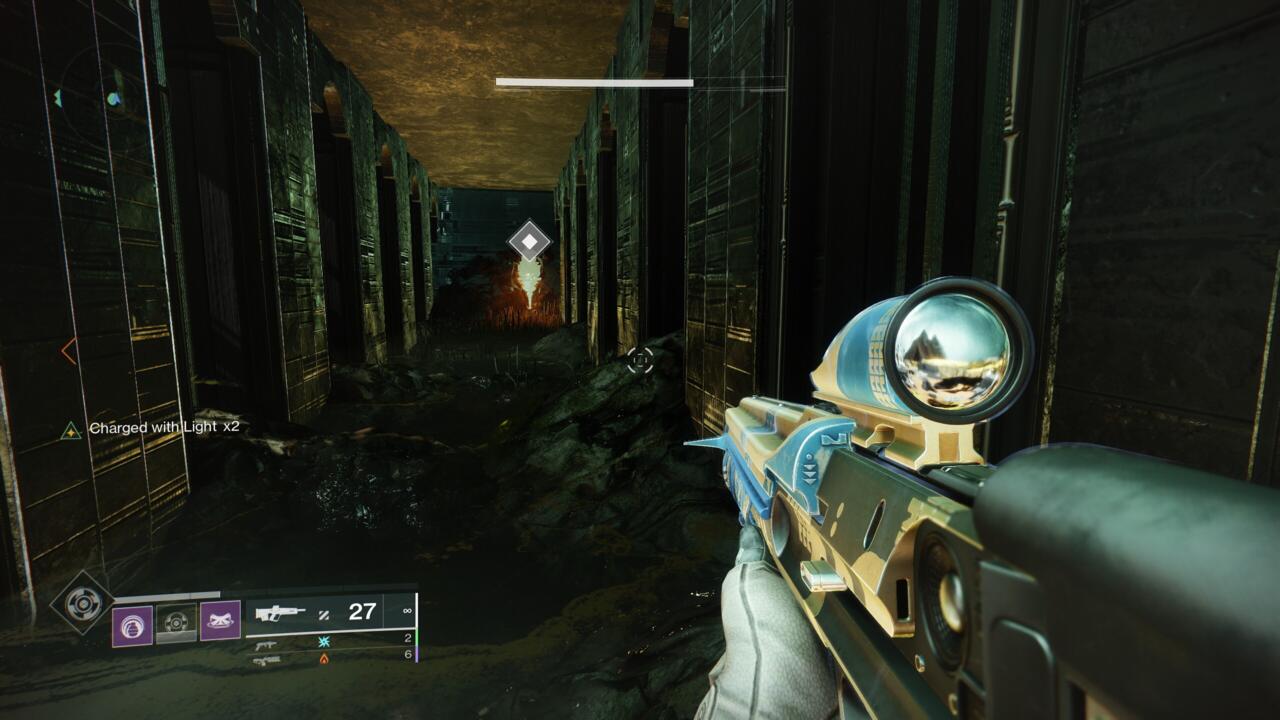
Three concealed Cruxes must be located and shot during this encounter. If you don't know where to look, the Cruxes might be difficult to overlook. Each Crux is located as follows:
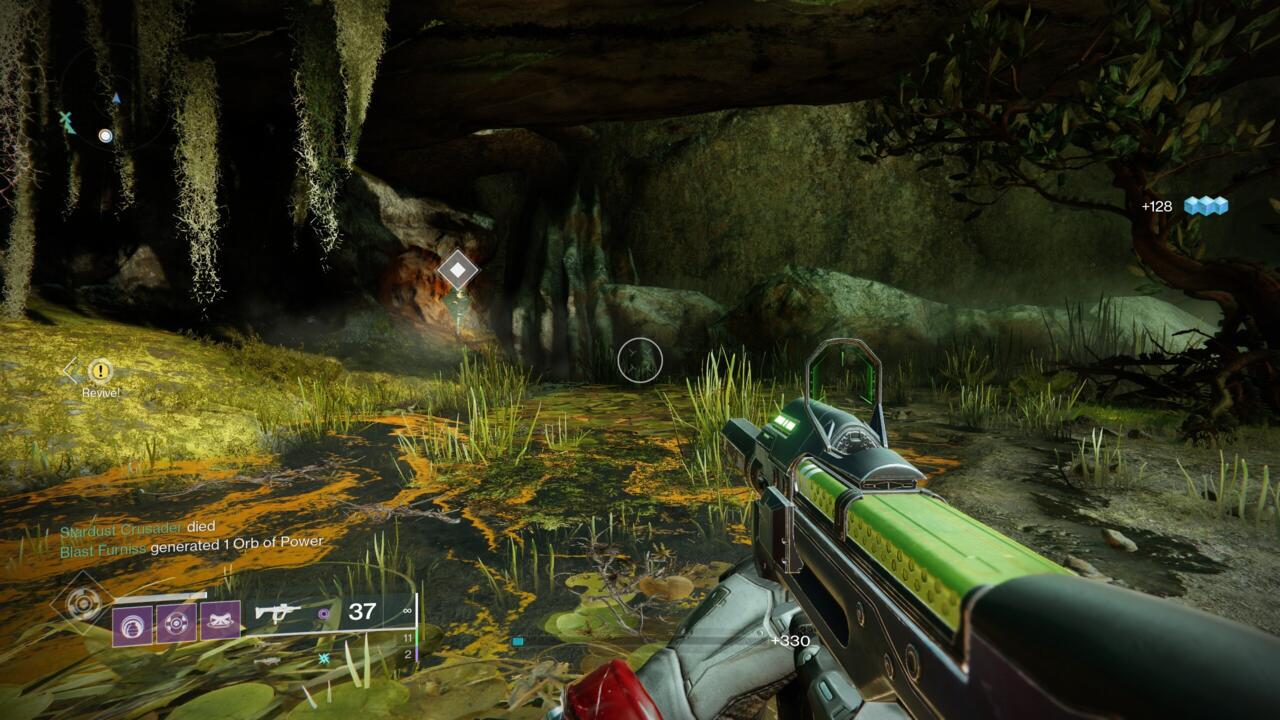 Where the payload initially stops, beneath the tree on the
left.
 Near the location where the payload stops for the second time at
the end of the lengthy hallway.
 Beneath the bridge that the cargo travels over.
The fifth stop of the payload is near some additional buildings in a sort of courtyard in the heart of a Pyramid-tech town, after it has carried you past the wall blocking the way ahead. A trapezoidal-shaped structure can be seen on the right side of the path not far from where the sled stops. The chest is waiting for you if you enter the door on the side that is parallel to the route ahead and proceed around the back of the item that resembles a sarcophagus in the center of the room. If you missed the chest, you should be able to sprint back and open it even though this is essentially your last stop before entering the pyramid.
Glyph gallery, Lore code, and Imperious Sun Ghost Shell
Acquisition
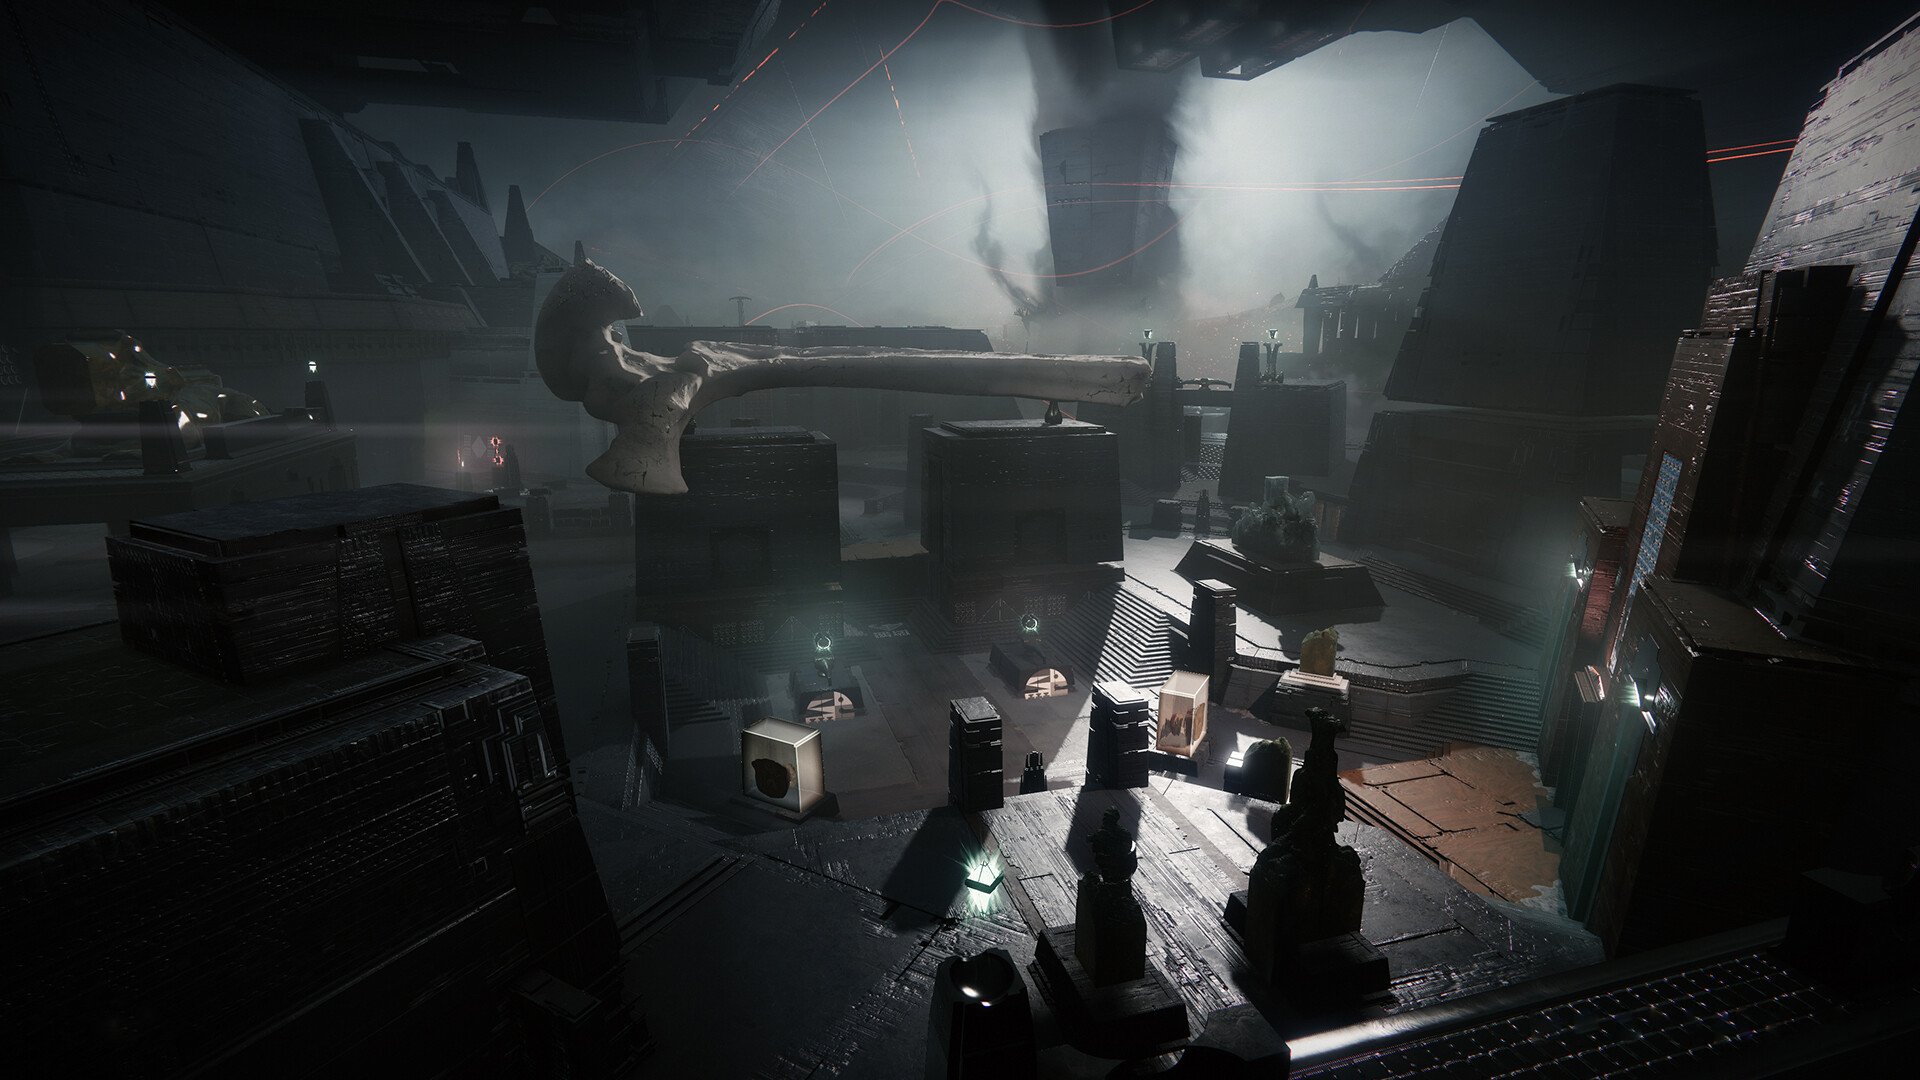
Soon after the glyph chamber, in a large room with a gigantic rib bone in the middle and multiple doors with glyphs on the exterior, you have your first major encounter of the raid. Prior to the encounter, familiarize yourself with the layout of the area, paying particular attention to the locations of each door. There are a total of nine doors.
Loadouts:
- Primary Weapons: Any decent ad-clear primary (SMG, Auto-Rifle, Pulse Rifle, Trinity ghoul, Ticcuu's Divination).
- Special Weapons: Any decent ad-clear special (Wave-Frame Grenade Launchers, Trace Rifle) or decent High-Value Target (HVT) weapons (Slug Shotgun, Sniper, Ikelos-shotgun, Fusion Rifle).
- Heavy Weapons: Any decent High-Value Target (HVT) killer weapons (Rockets, Grenade launchers, Swords, Xenophage, Lament, Gjallarhorn, Parasite) or ad-clear weapon (LMG).
Roles:
- 3 Runners/Readers:
- Run around the Encounter area to Find a Taken Knight and kill it.
- Read the symbols on the totems and go into the symbol rooms indicated by the totems and kill a chieftain.
- Read the symbol/glyph dropped by the dead chieftain.
- 3 Defenders:
- Defends the Obelisk from ads (ads mean trash mob/enemies).
- Assist the runner in reading the symbols on the Totems.
- Run around the Encounter area to Find a Taken Knight and kill it.
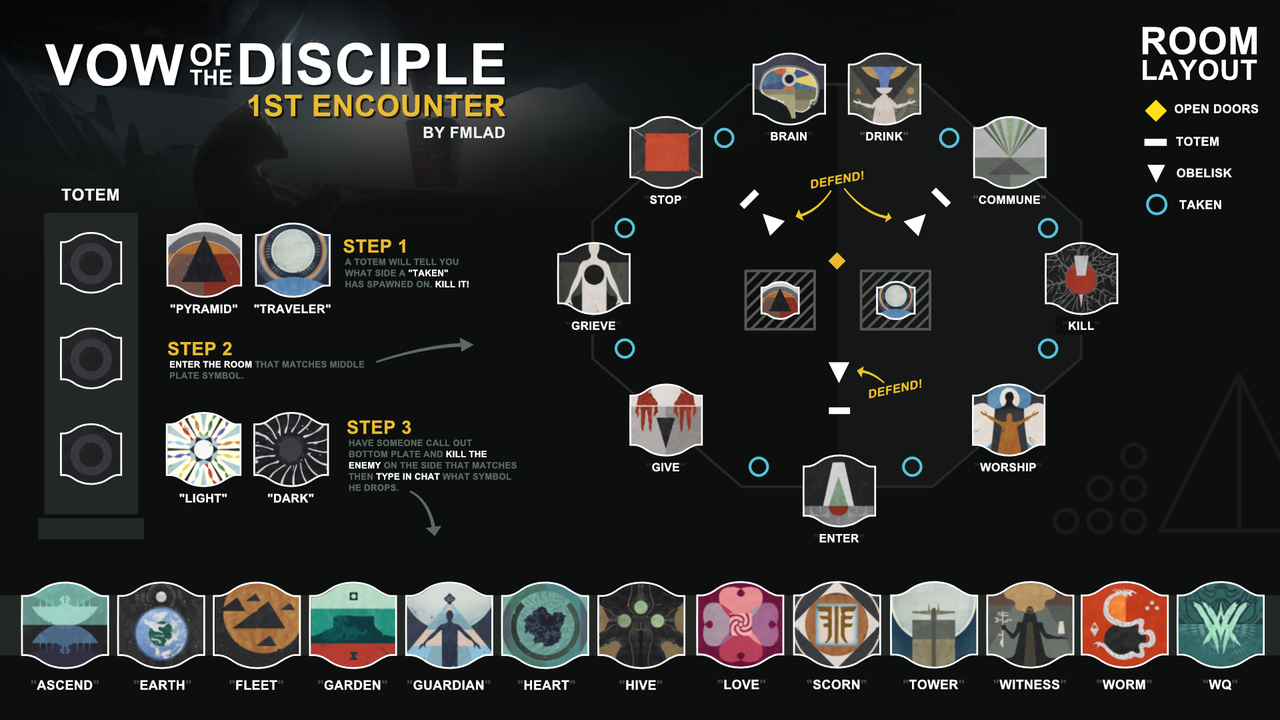
Encounter Flow: Kill enemies → Reading Phase → Shooting Phase
Kill EnemiesThe Encounter room will consist of 9 rooms with a symbol on top (Grief, Stop, Brain, Drink, Commune, Kill, Give, Enter, Worship), 3 Totems and 3 Obelisk. The room is also split into 2 sides (Pyramid and Traveller). Split into 3 teams of 2, Each team should have one player as the reader and another player as the runner. There is 3 Totem (Left, Middle, Right) indicated on the Map. Each Team takes one Totem.
- Left Team Runner will run for Grief, Stop, Knowledge rooms.
- Right Team Runner will run for Drink, Commune, Kill rooms.
- Middle Team Runner will run for Give, Enter, Worship rooms.
The encounter will start once a player shoots the Crux in the centre (indicated by the yellow Diamond). Clear all the enemies. Once all enemies are cleared. It is time for the reading phase.
Reading Phase
Top Symbol: Indicate which side the Taken Knight has spawned. It can only be either Pyramid or Traveller. If Pyramid is shown, there is a Taken Knight there needs to be killed on the Pyramid Side (the Left and Middle Team have to Find the Knight). If Traveller is shown, there is a Taken Knight there needs to be killed on the Traveller Side (the Right and Middle Team have to Find the Knight).
Middle Symbol: Indicates the rooms that the runner has to go in. It can only be only the 9 room symbols (Grief, Stop, Brain, Drink, Commune, Kill, Give, Enter, Worship). Once revealed, the respective runner should find the room and go inside the room that has the matching symbol indicated by the totems.
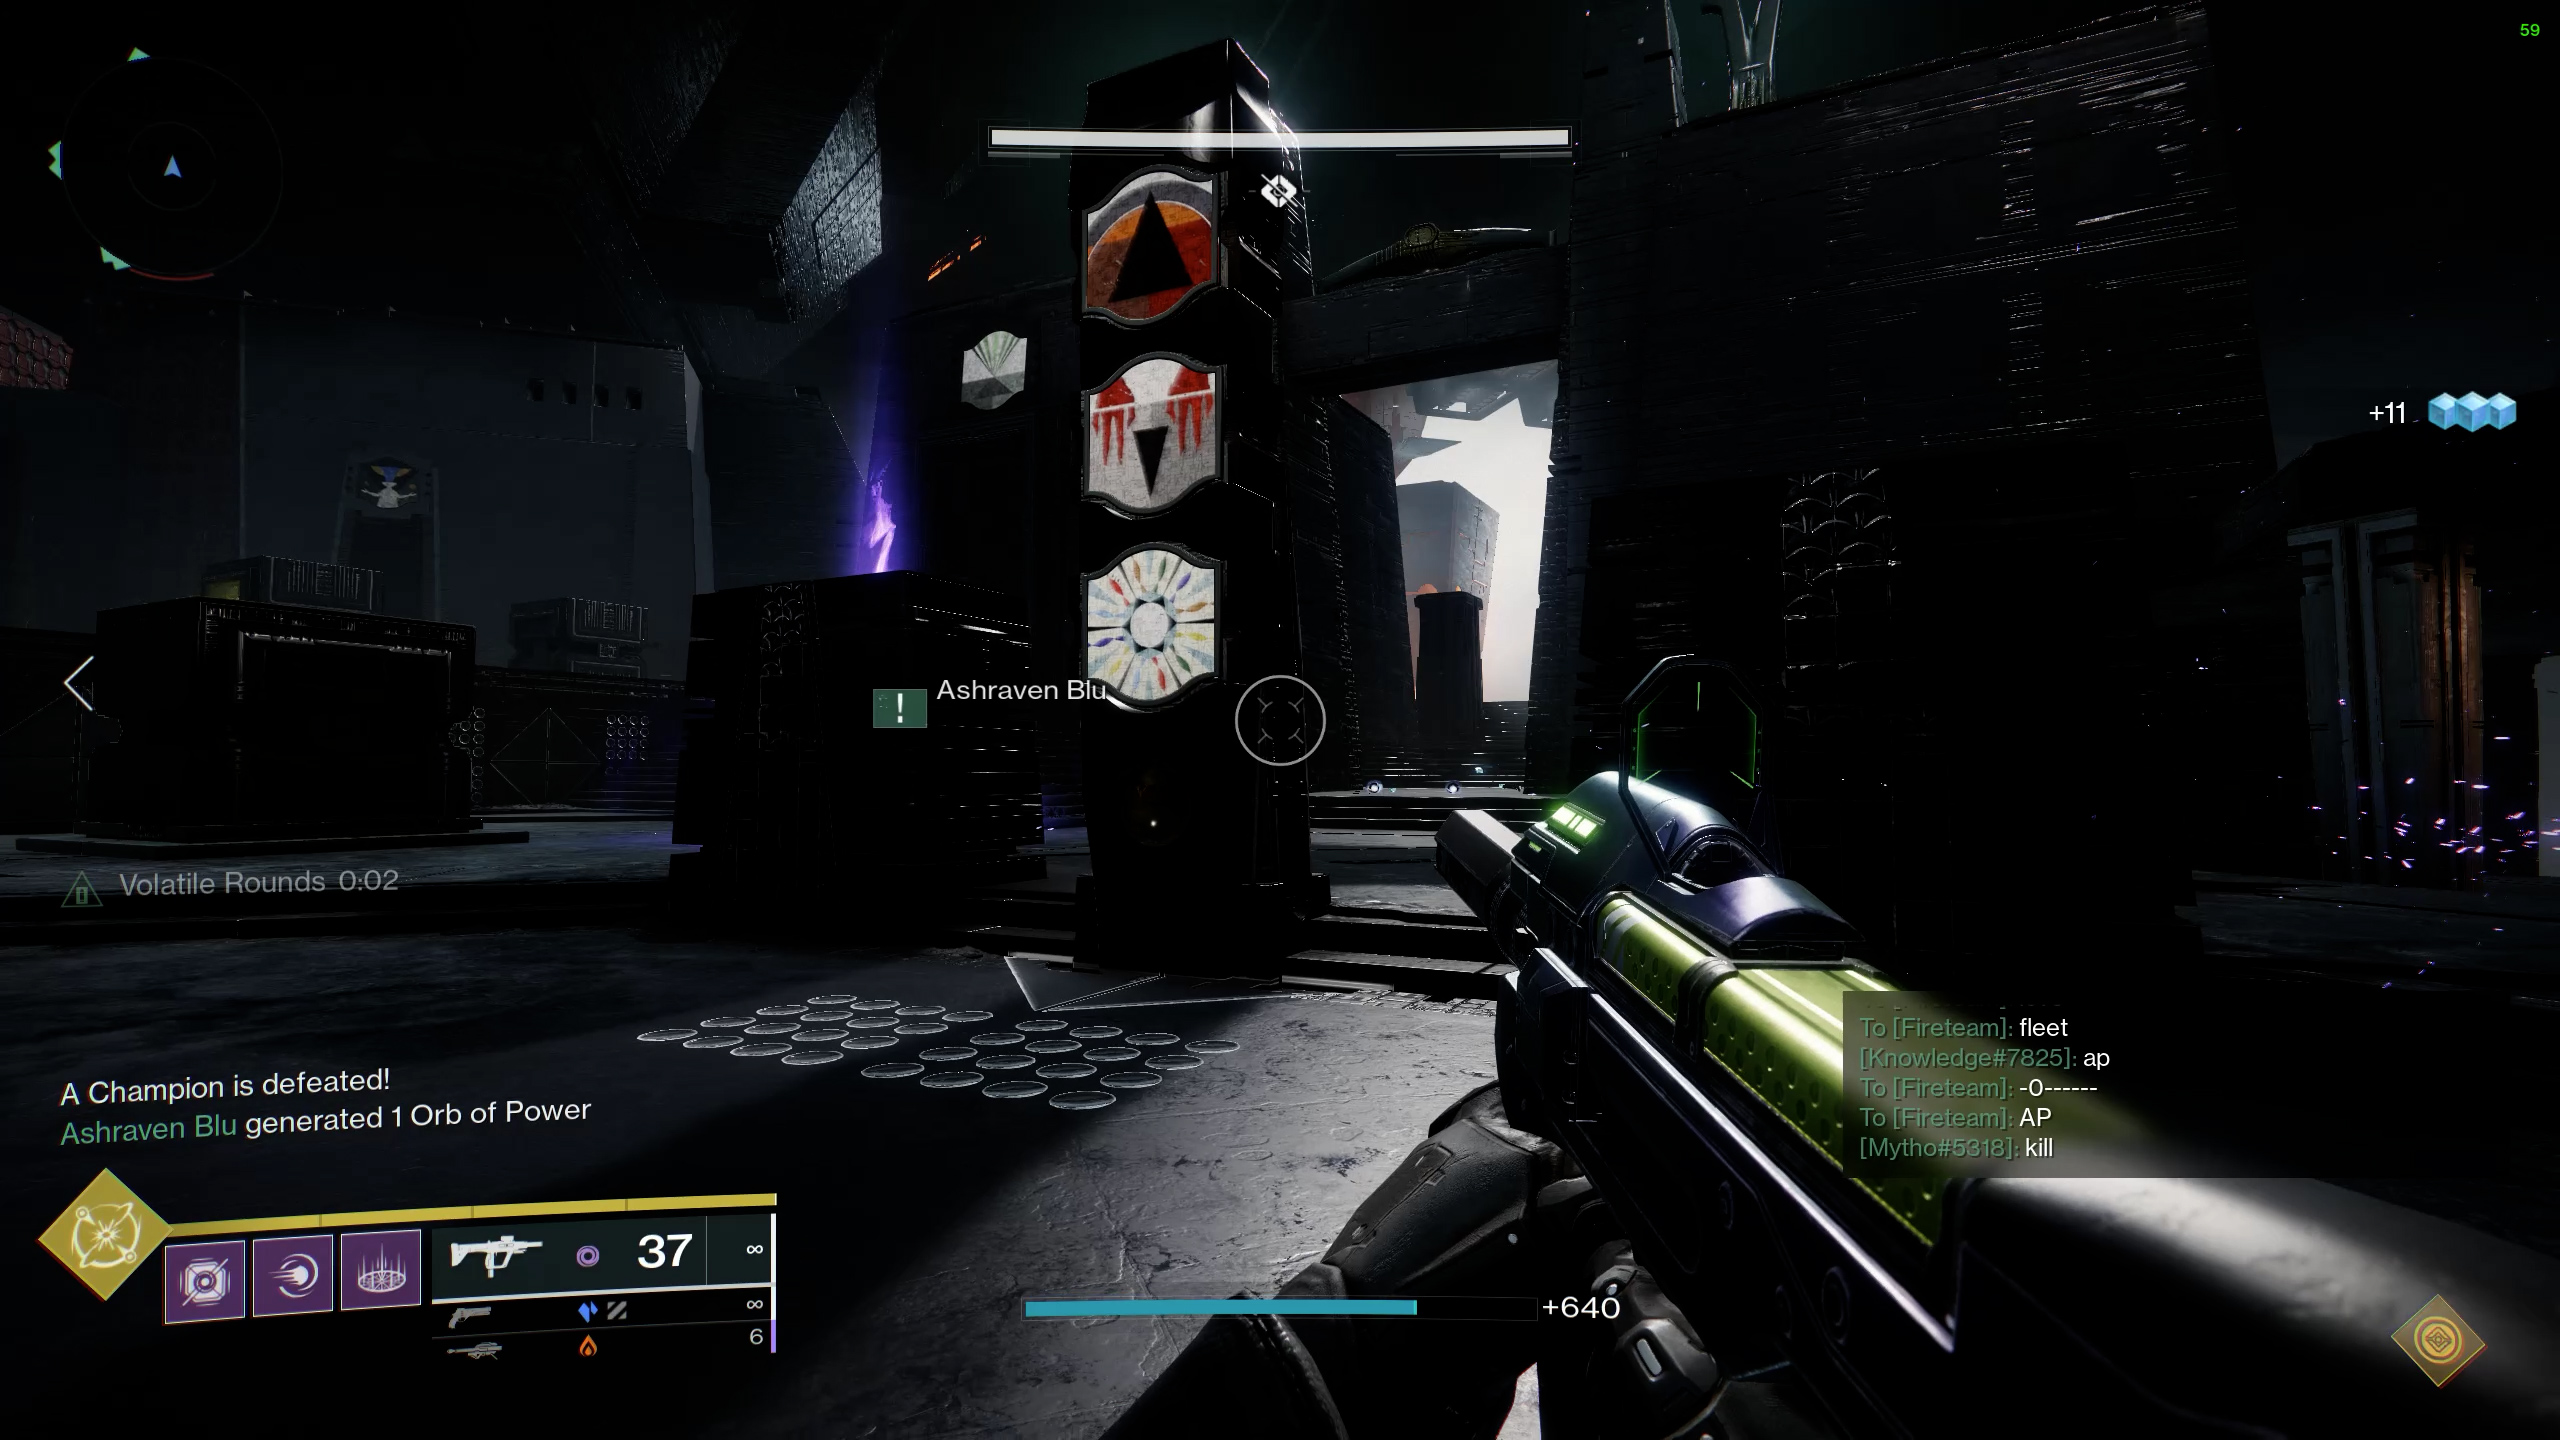
Bottom symbol: Indicates which Chieftain is to be killed. It can be only either a Light or Dark symbol. Inside the symbol room, it is split into two sides, Light and Dark. There will be one Chieftain on each side. The defender who is outside and near the Totems should assist and call out the bottom symbol to the Runner. The runner will then kill the Chieftain based on the symbol called out by the Defender. If the Bottom symbol is Light, Runner has to kill the Chieftain on the Light side. If the Bottom symbol is Dark, Runner has to kill the Chieftain on the Dark side.
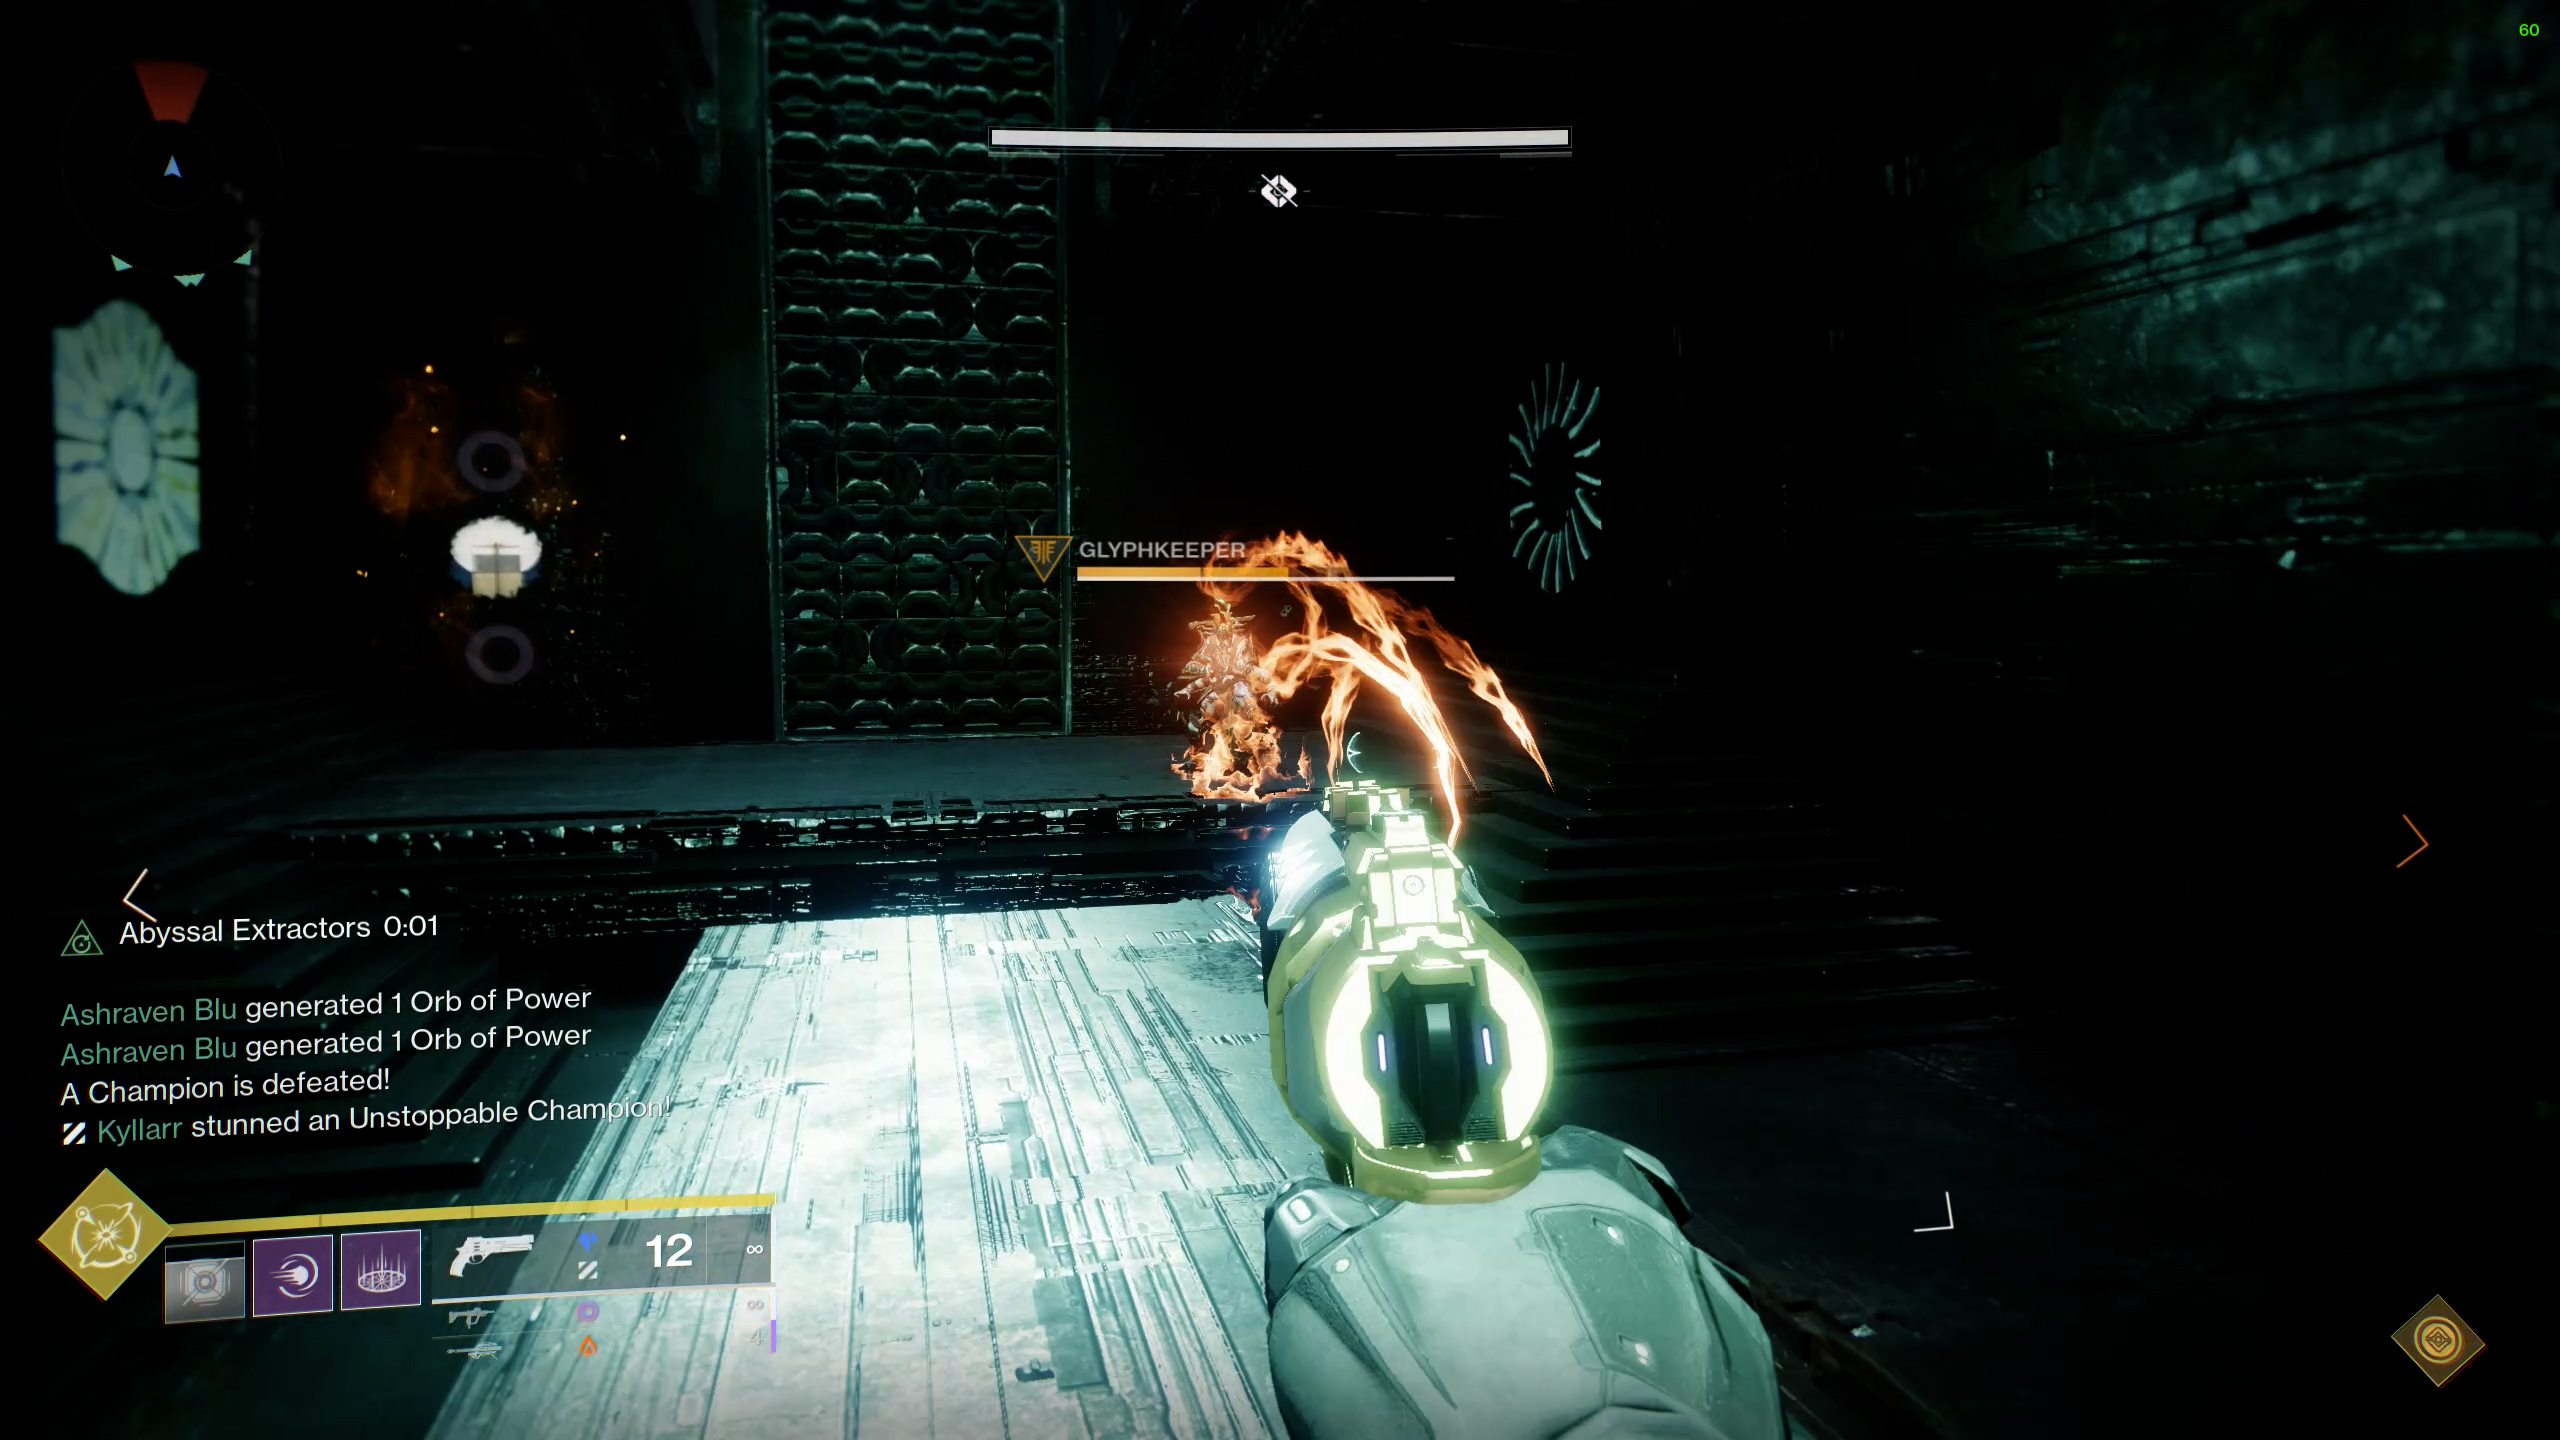
Shooting Phase
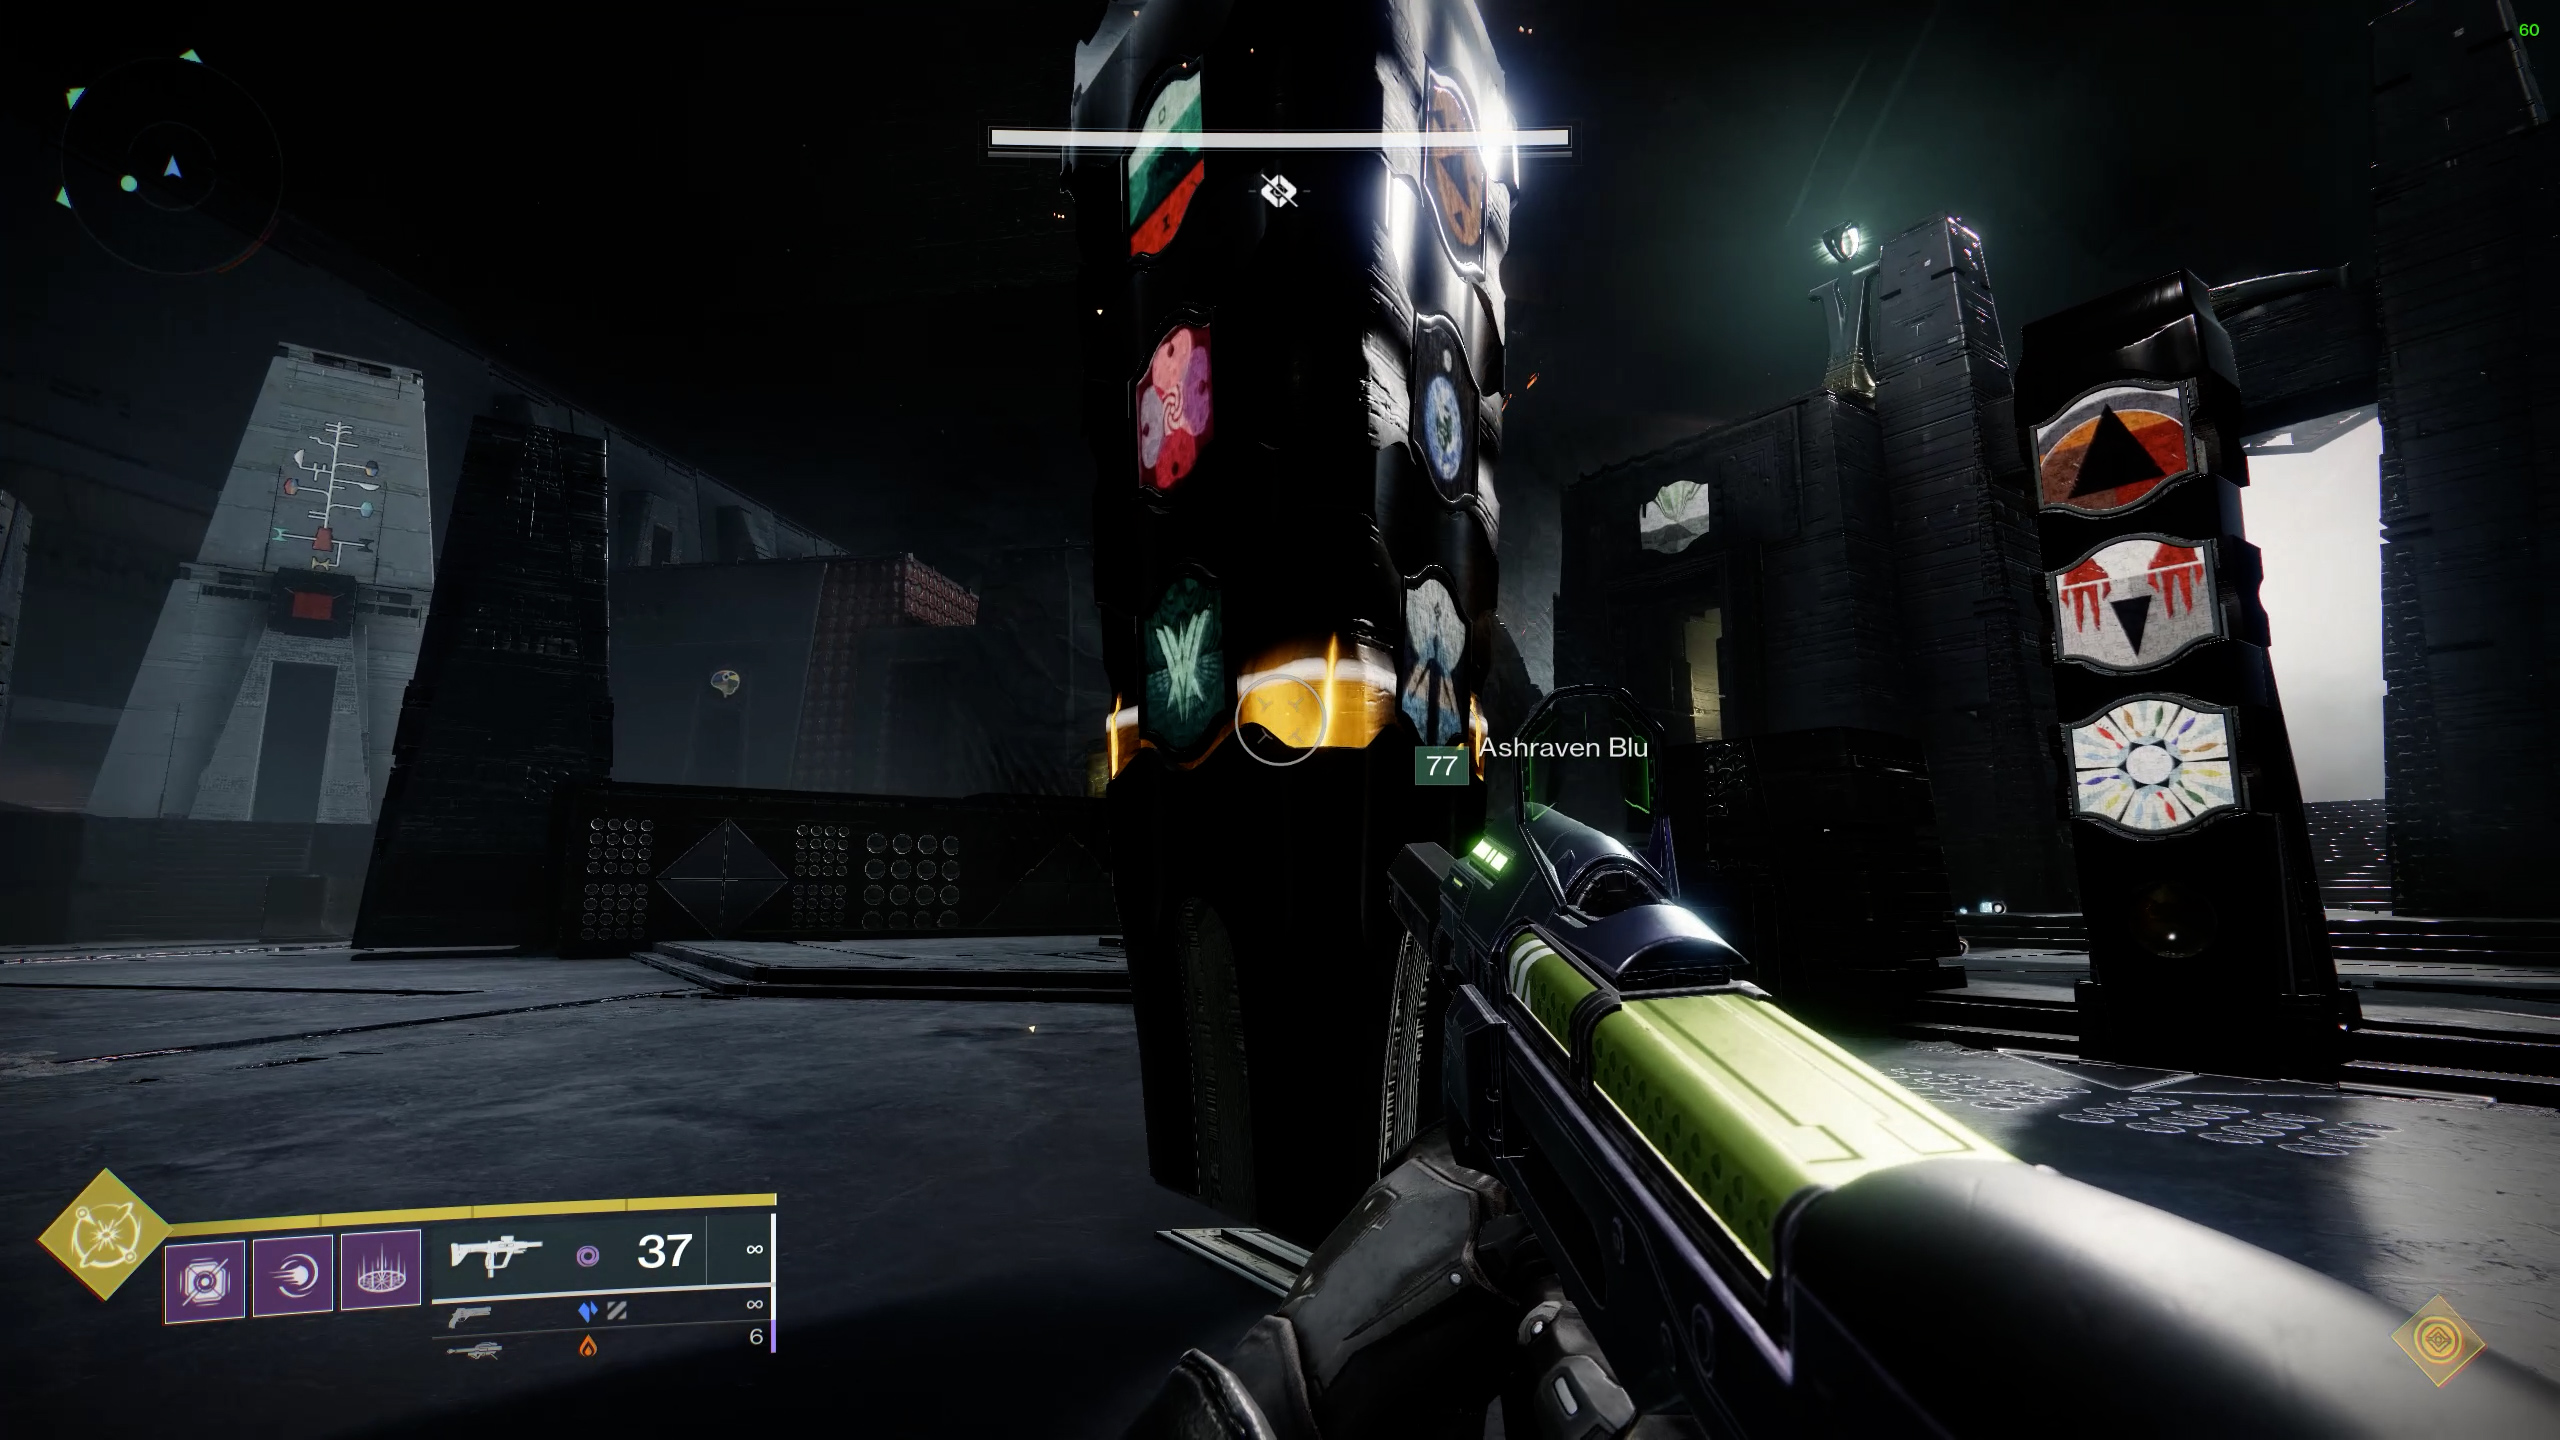
Once all 3 different Symbols are retrieved, Each team will go to their respective obelisk. Now the obelisk will have 9 symbols appearing 3 symbols on each side (The obelisk has 3 sides). Each Team must look at their obelisk and find the 3 symbols that are called out by the runners earlier in the reading phase (The symbols that are dropped by the dead chieftain). Only one of the obelisks will have all 3 symbols appearing on the obelisk (one on each side).
Once you found the obelisk that has all 3 corresponding symbols. We need to activate that obelisk. To activate it, you have to shoot the 3 symbols that were called out earlier at the same time (there is a 5 sec period). Once you have successfully activated the obelisk, Congrats you have completed one phase of the encounter, to clear this encounter (which has 3 phases, 1 phase for each obelisk), you need to repeat this phase 2 more times and then you will get your loot.
Common Mistakes
Obelisk filling up: Most common wipe. The Obelisk has a meter that will slowly fill up over time. During the reading phase, there will be ads coming to attack the obelisk. If the obelisk is under attack, the meter will fill up at a faster rate. So the defender must defend the obelisk. Another way the obelisk will wipe the team is that the reading phase is completed too slowly. This is due to Nobody checking their totems to see which of their totems are activated, this leads to no one searching for the taken knight to kill, thus less time for the runner to go into the room and kill a chieftain. (Tip, every time a Chieftain is killed, the meter is reset to 0).
Too many deaths: Less common than you think, more common in Master mode/doing the challenge. This is just a survivability issue, if you have an issue with surviving switch to a subclass that helps you survive easier (Warlocks: void with devour/solar with a well of radiance/Stasis, Hunter: void with invisibility/Stasis, Titans: Solar hammer bonk/Stasis).
Encounter Triumph:
On My Go - Only kill Abated Adherents when they've started attacking an Obelisk in Acquisition.
Challenge Mode:
Swift Destruction - In the Acquisition encounter, all three Unstoppable Abominations must be killed in short succession.
- Leave the abomination alive during the reading phase, you can stun him if you have difficulty surviving (but make sure you don't kill it). Once the reading phase is over. The entire team will countdown and kill their Unstoppable Abomination at the same time. Then proceed with the shooting phase. You can leave the abominations alive during the final phase as they will despawn when the encounter is complete and still counts as challenge completion.
Master Difficulty:
- Scorn Glyphkeepers in glyph rooms are now Overload Champions.
- Taken Knights around outside of main room have solar shields
- Scorn Wraiths now have solar shields.
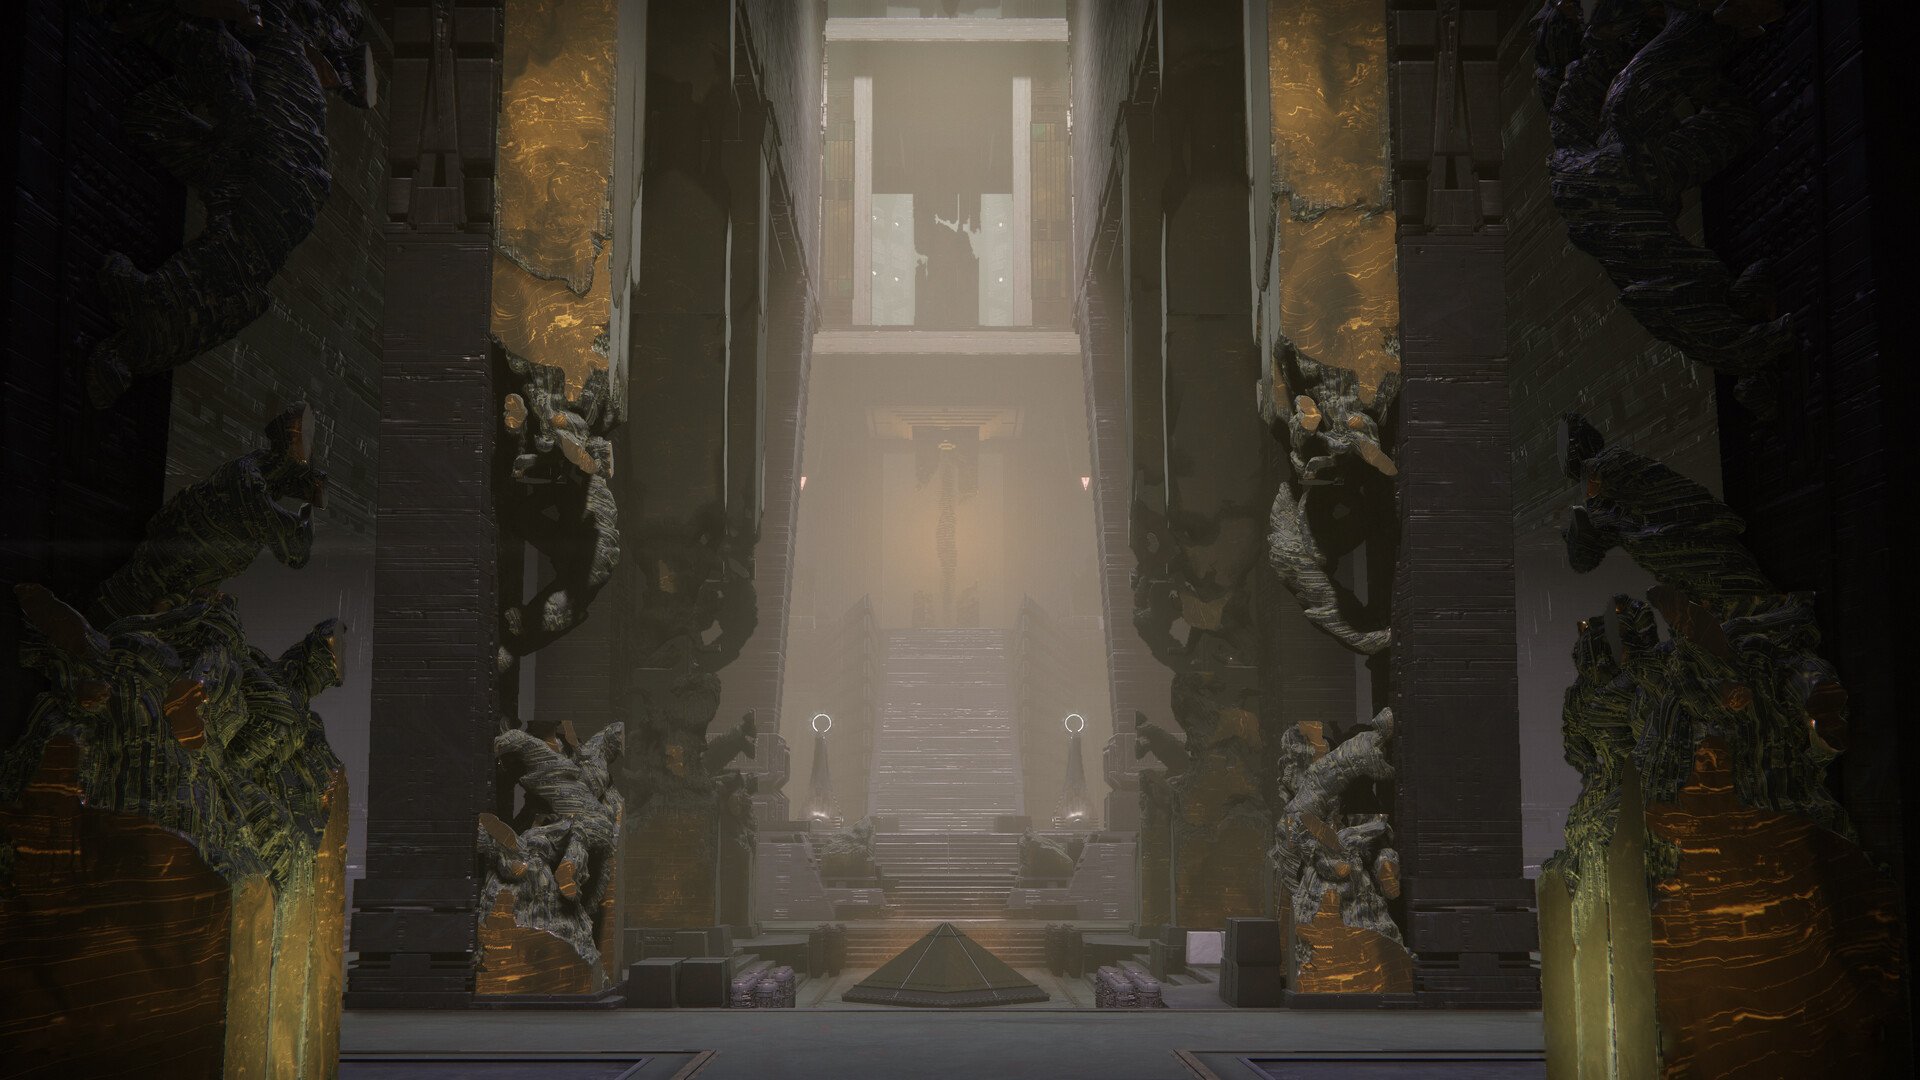
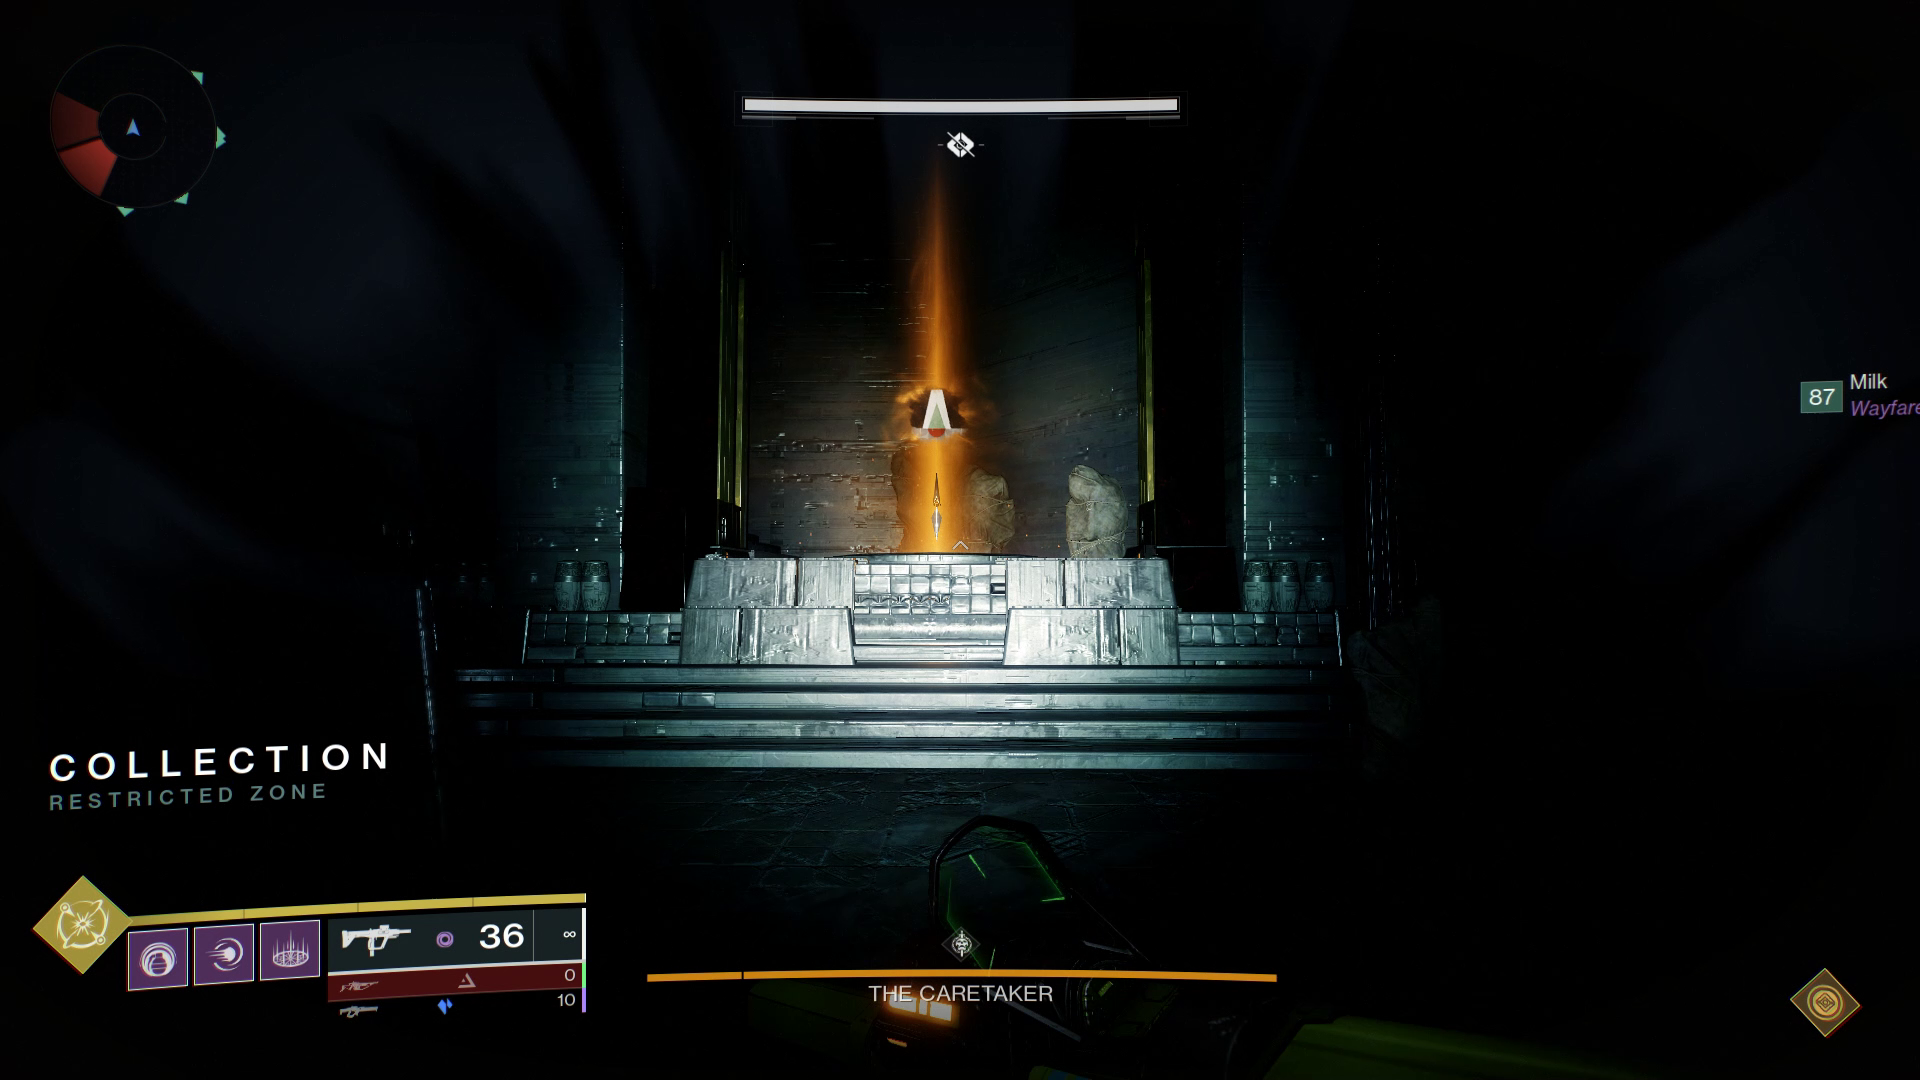
Collection - The Caretaker
Roles:
- 2 Runners/Readers (Unlocks the DPS phase):
- Go into a room and pick up symbols, and then shoot the obelisk's symbols that correspond to the symbols the runner has picked up.
- 2 Ad-clearers:
- Defend the Obelisk and kill any enemies on sight.
- 2 Stunners:
- Buy time for the Runner team by stunning the caretaker and preventing the boss from reaching the obelisk.
Recommended Loadout:
- Primary Weapons: SMG (For Readers), Any decent ad-clear primary for the rest.
- Special Weapons: Any decent ad-clear special (Wave-Frame Grenade Launchers, Trace Rifle) or decent DPS special weapons (Slug Shotgun, Sniper, Arbalest, Lorentz Driver, Cloudstrike (preferably with catalyst), Izanagi's Burden, Witherhoard).
- Heavy Weapons: Linear Fusion Rifle / Rockets (Not recommended, if using Rockets one person must Run Gjallarhorn).
- You can go double special weapons for a higher heavy drop chance(Heavy drops are abysmal in this encounter).
Subclasses:
Subclass: 1 Warlock with Well of Radiance (good to have more), 1 void subclass for weaken debuff (Can use other forms of debuffs such as seasonal mods or Divinity), Instant-cast super: Blade Barrage (with Shards of Galanor), Thundercrash (with Cuirass of Falling Star), Nova Bomb, Golden gun(with Celestial Nighthawk).
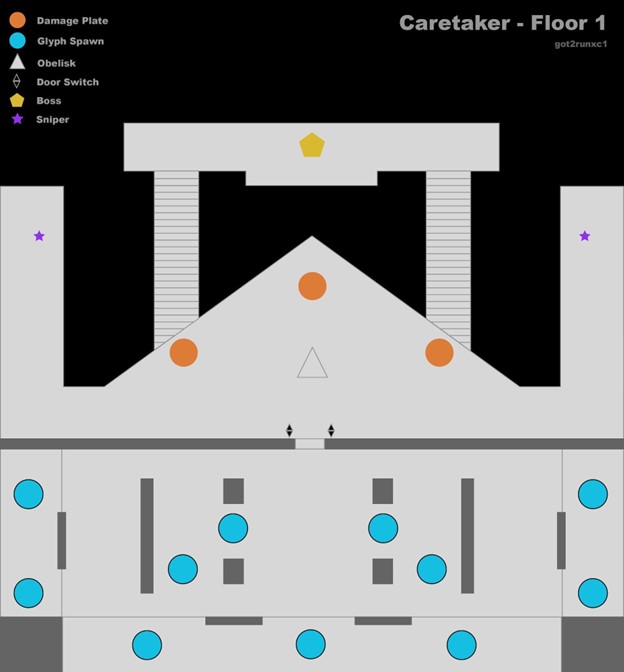
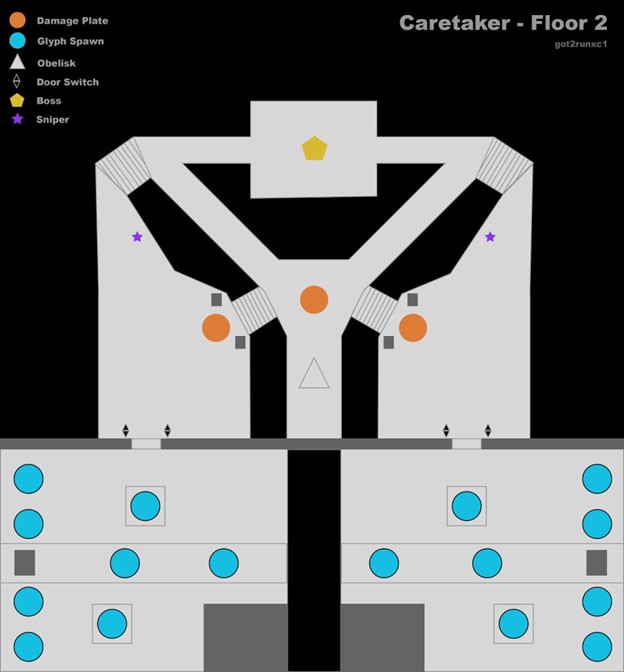
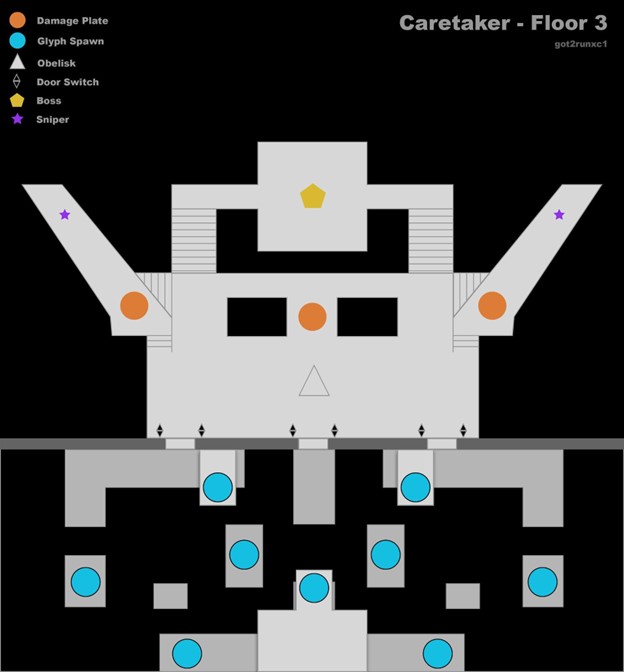
Encounter Flow: Pre-DPS Phase → DPS Phase
Pre-DPS Phase
The encounter starts once you shoot the crux near the door. The boss will appear and slowly walk toward the obelisk. If the boss reaches the Obelisk, the team will be wiped. (This is the job of the stunners, prevent the boss from reaching the obelisk). Everyone will be doing their respective roles at the same time.
Runners
- One runner will enter the room once the door opens.
- The runner inside the room has the find and collect symbols. You can only collect up to 3 symbols maximum. (Similar to pre-encounter with Overflowing Knowledge).
- The runner inside has to remember which 3 symbols he has collected and get out of the room.
- The runner inside also cannot take their time as stacks of pervading darkness will slowly increase. Once it reaches 10 stacks the runner dies immediately.
- After some time, the door will close, and when the inside runner needs to get out, the outside runner will open the door for the inside runner and get in.
- - The inside runner who just got out has to shoot the symbols that he has collected on the obelisk (Runner collects Light, Traveller, Tower, the runner has to find the side(s) of the obelisk that contains Light, Traveller, Tower and shoot those symbols.)
- Repeat till all 9 symbols on the obelisk have been shot to activate the obelisk.
Stunners
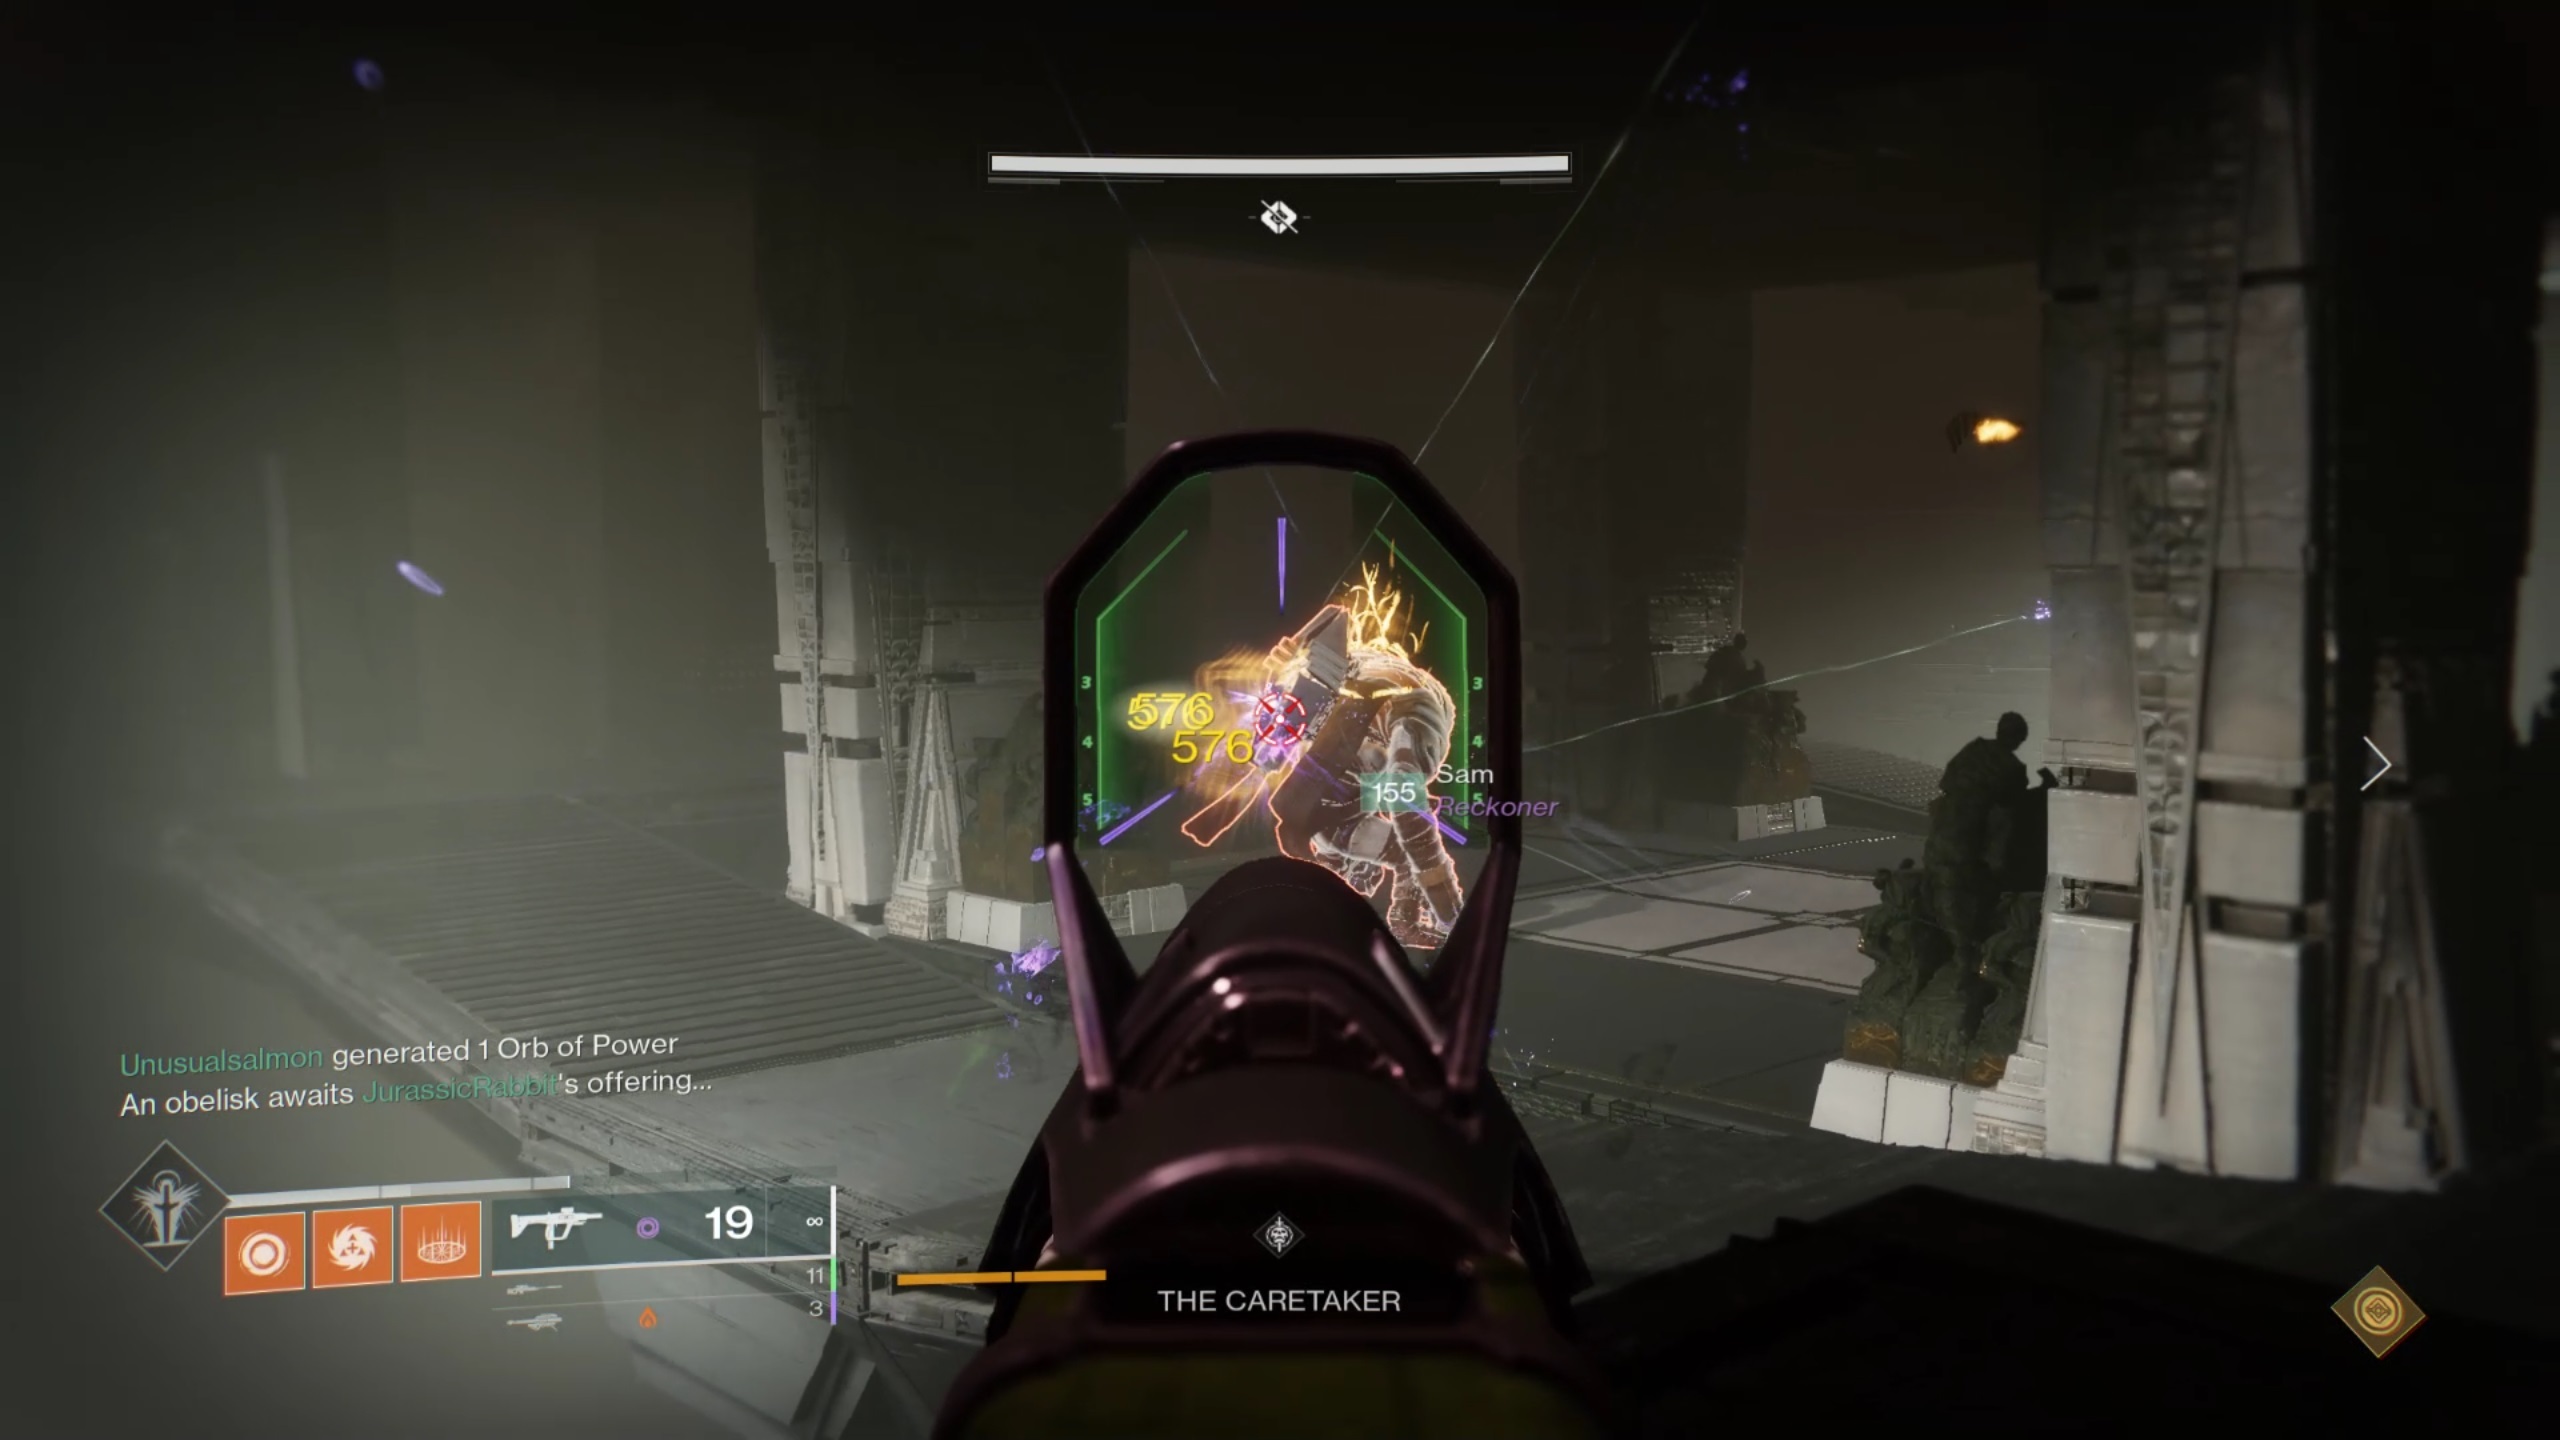
- One stunner will be at the boss's front and one will be at its back.
- The front stunner will go near the boss to bait a slam attack from the boss.
- Once the boss slams, his face will glow, and the front stunner has to shoot his face.
- Once his face is shot, a weak spot on the back will appear, and the back stunner will shoot his back to stun the boss, making him immobile for 10s.
- Repeat till the runner team has finished their job.
Ad-Clearer: Easy role, kill anything you see moving, and prevent ads from shooting the obelisk.
Once the runner team finish activating the obelisk, it is DPS time.
DPS Phase
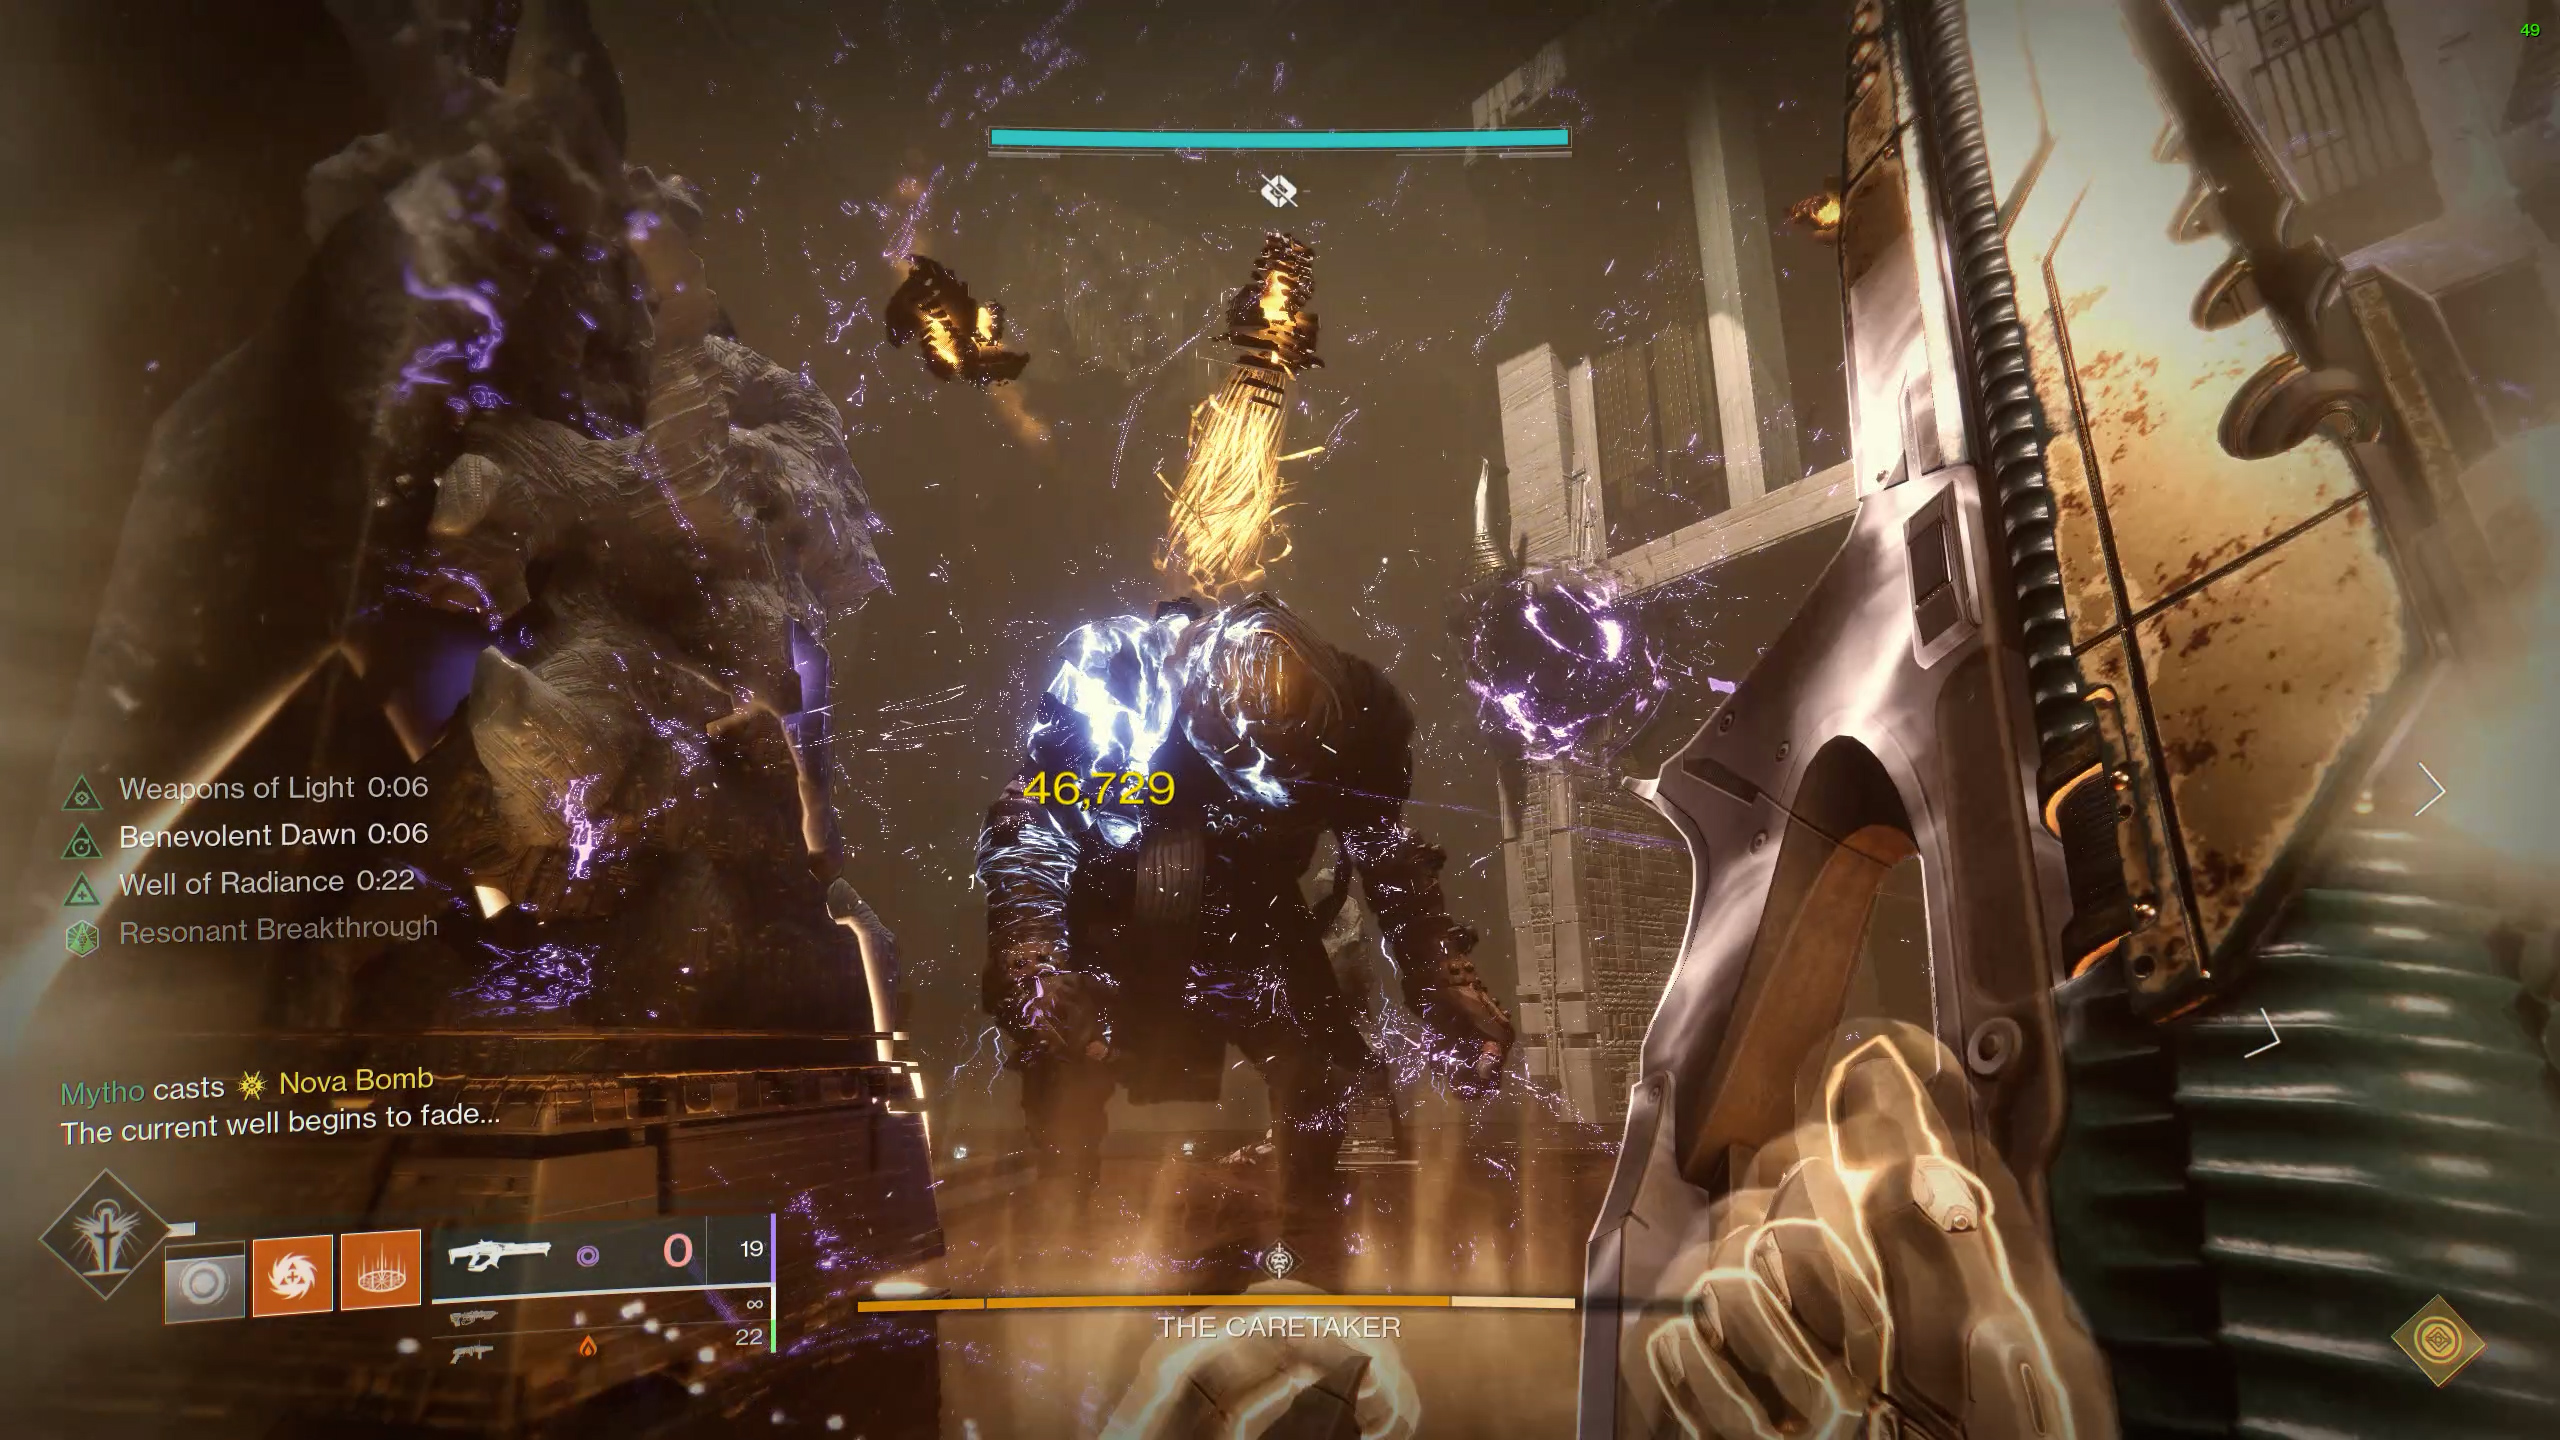
The boss will walk up to the obelisk and one of the 3 damaged plates (left, middle, right) will glow. (The first plate to glow will be where the boss came from, if the boss came from left, the left plate will glow).
Once the plate glows, all 6 ppl will jump in to get the buff Resonant Breakthrough, this is the buff that allows you to damage the boss. You can only receive this buff while on the plate.
After some time, the plates will fade and another damaged plate will glow, moving to the next damage. DPS will end once you have used up all 3 plates or successfully depletes a hygge chunk of his health.
(Tip: You will realise the boss's HP during the damage phase will have a chunk of pale yellow if you can damage enough till the pale yellow health chunk of health is gone, you will gain a 5-second buff where your damage is increased by 50%, so you should save your insta-cast super and wait till the chunk of health disappear, then throw your super at the boss).
Once DPS ends, proceed to the next level and repeat till the final stand.
Final Stand
Once you damage the boss to 20%, you will enter the final stand. Proceed up to the final floor and you will see 3 damaged plates. Similarly to the DPS phase, go into the plate and damage him till he dies, if the plate faded move on to the next plate. You have finished him off in the Final stand or the team will wipe.
Encounter Triumph:
Handle With Care - Defeat the Caretaker while having every member of your fireteam stun it at least once per floor.
Challenge Mode:
Base Information - Runners can only pick up one 1 stack of Knowledge (Glyph) per run.
Master Difficulty:
- Taken Vandals are now Overload Champions.
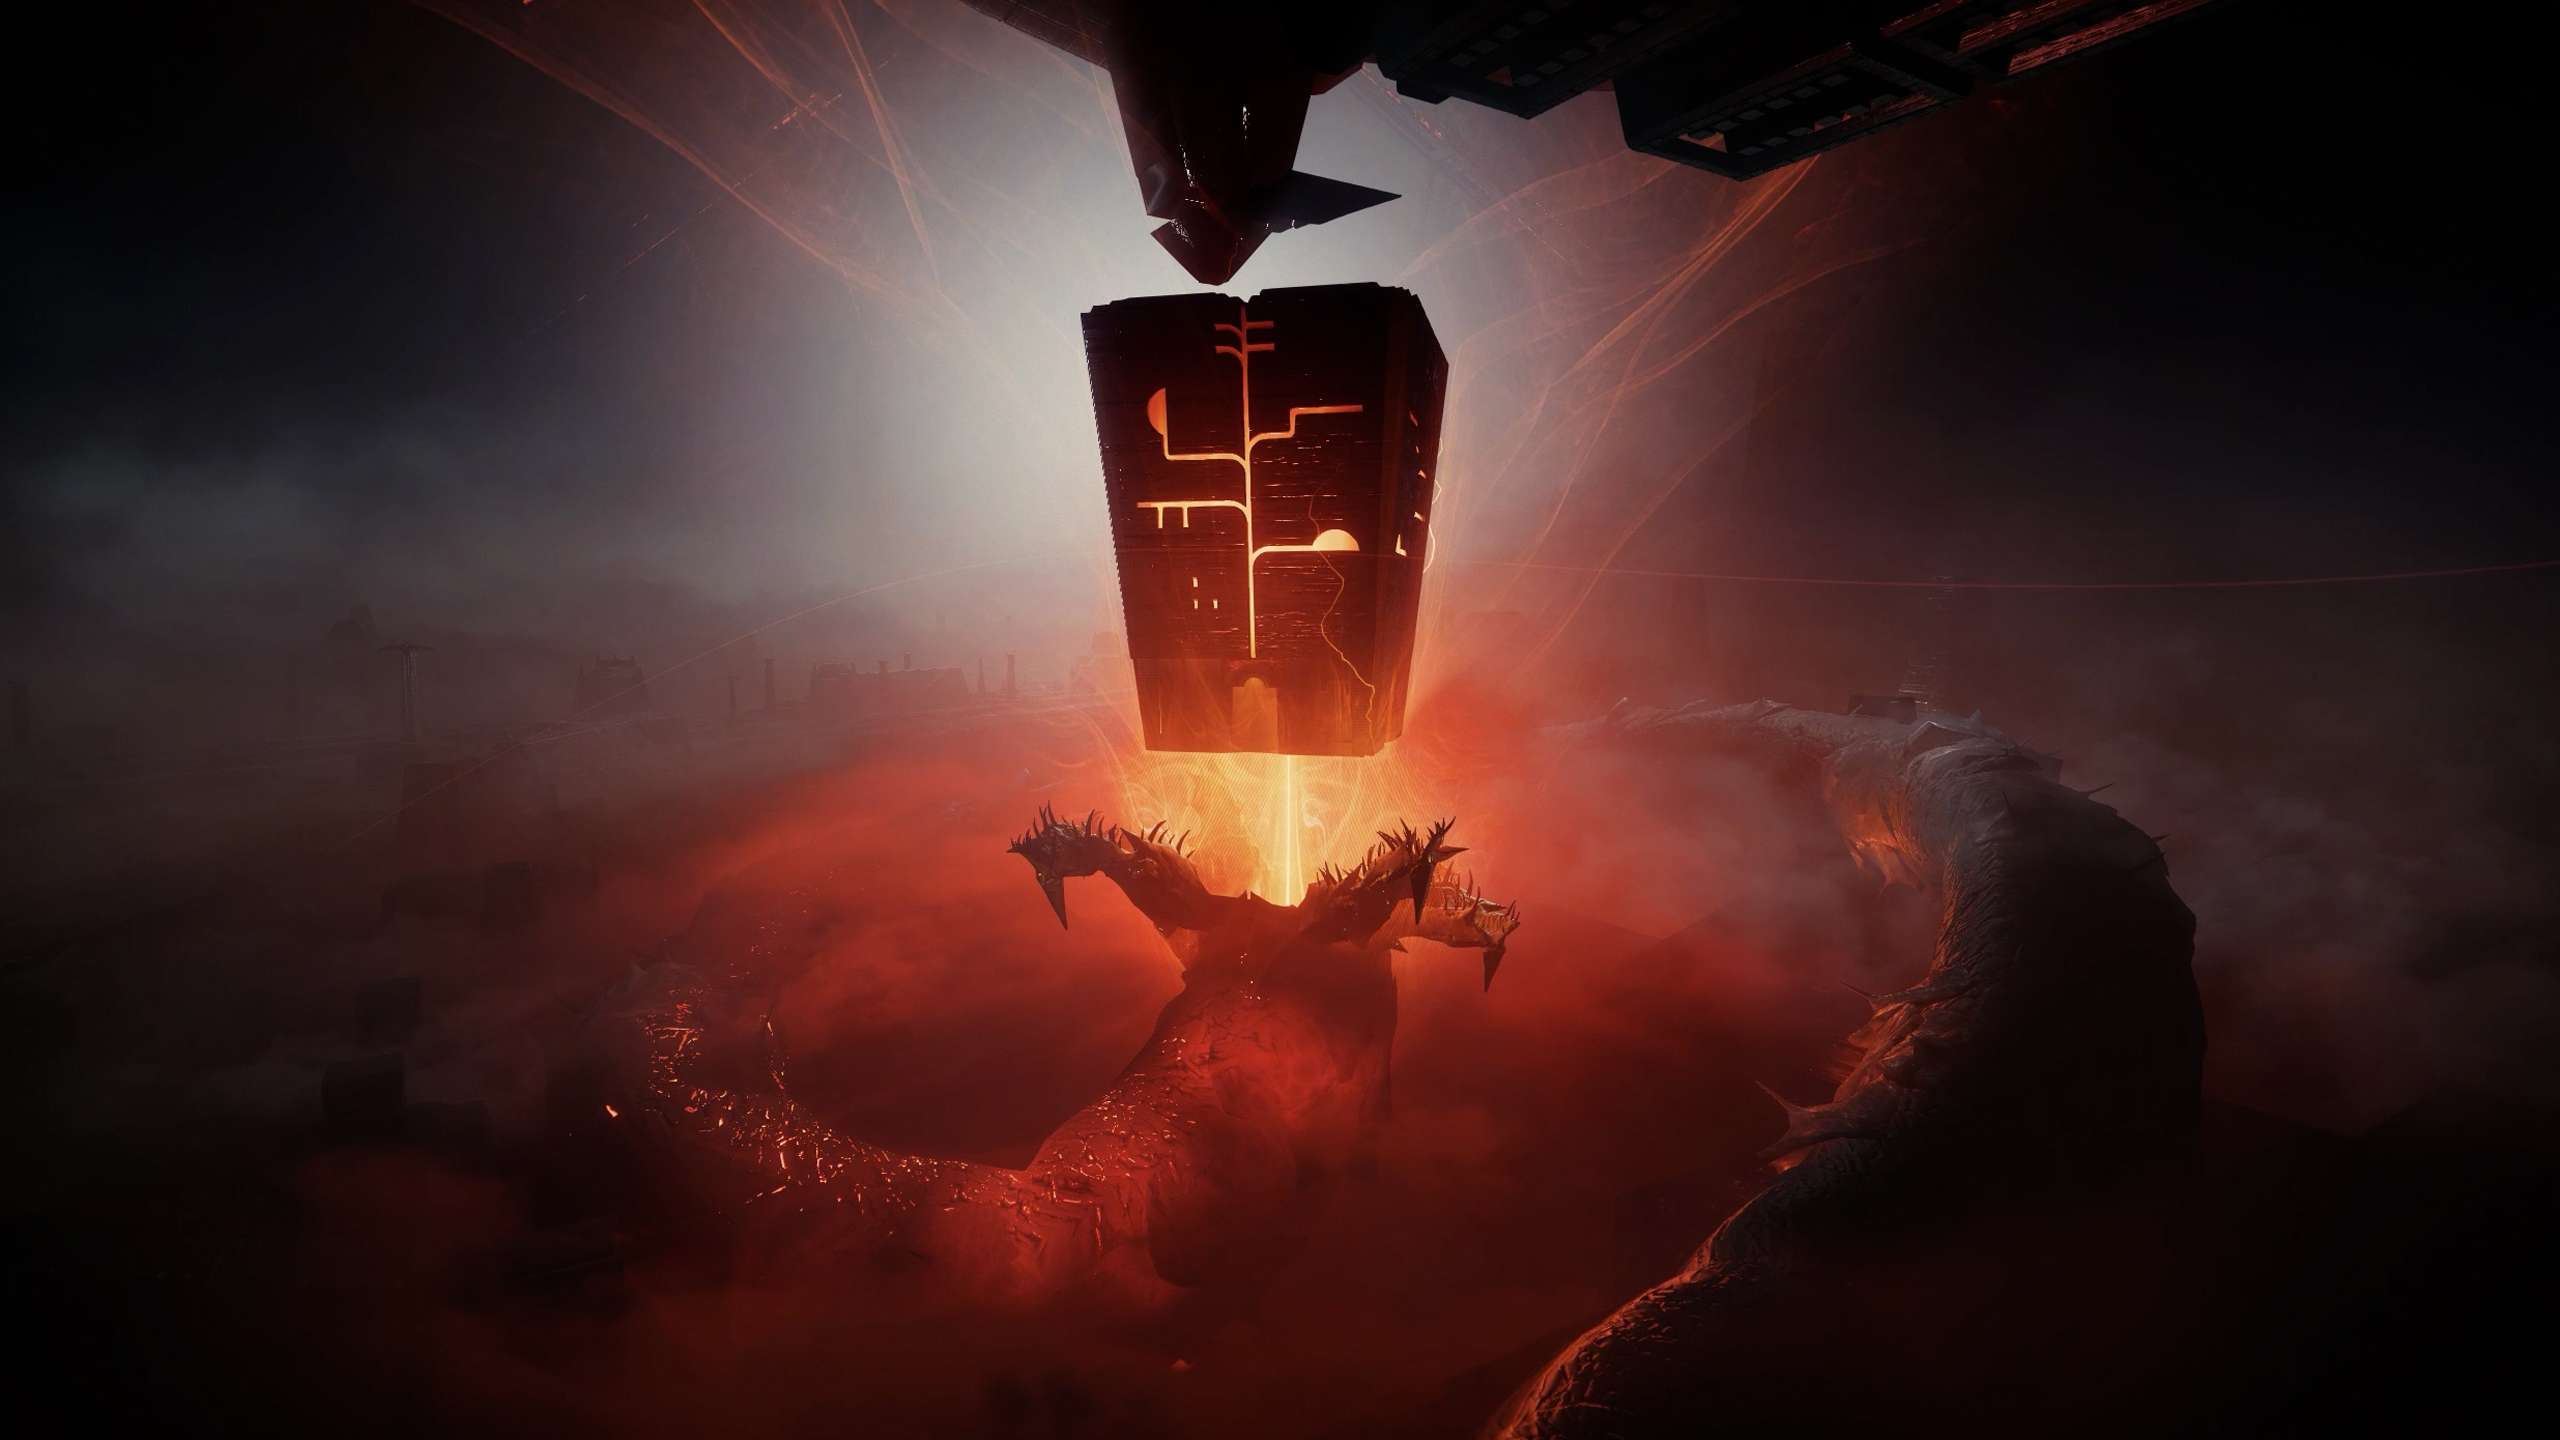
Platform Puzzle
The way around the edge of the Pyramid is to your right as you ascend from the point where you killed the Caretaker. Here, take caution since the platforms might be challenging to view and the walls against which they are installed are at an angle. Through this part, hitting your head on the ceiling might cancel your leap or send you flying into space. Exotics or subclasses that increase your air mobility should be in your arsenal, along with swords with Eager Edge so you can make adjustments in midair.
After beating the Caretaker, more steps start to appear, and this is when the leaping problem starts. Till you get to a gap, continue on the way. Cross across to the opposite side and proceed down the route that around the Pyramid's exterior. The platforms are narrow, generally emerge above you as you turn the curve, and are frequently marked with orange lines to illuminate their borders. From here, you may get an idea of how they will appear. As you turn the bend, the first platform will be on your right, while the others are above you and back in the opposite direction.
This first series of platforms has an arena full with Scorn at its summit. Use the large open entrance at the end of the arena to exit when you're ready. Here is a huge wall that could have glyphs on it. You can only view a select handful of these glyphs at once, and they vary every time you join the raid. However, when considered collectively, they appear to possibly prophesy the end of the Solar System. You may return to the outdoors and reach a leaping route by avoiding the wall, which wraps around to the right. You must activate the switch back in the Scorn arena to make more platforms (depicted by orange lines) appear and shorten jumps that look to be too lengthy to fairly complete. The platforms will stay in place for the rest of your squad if one member of your squad has cleared the whole path, as shown by the notice that appears in the bottom left corner of your screen that reads "path stabilized."
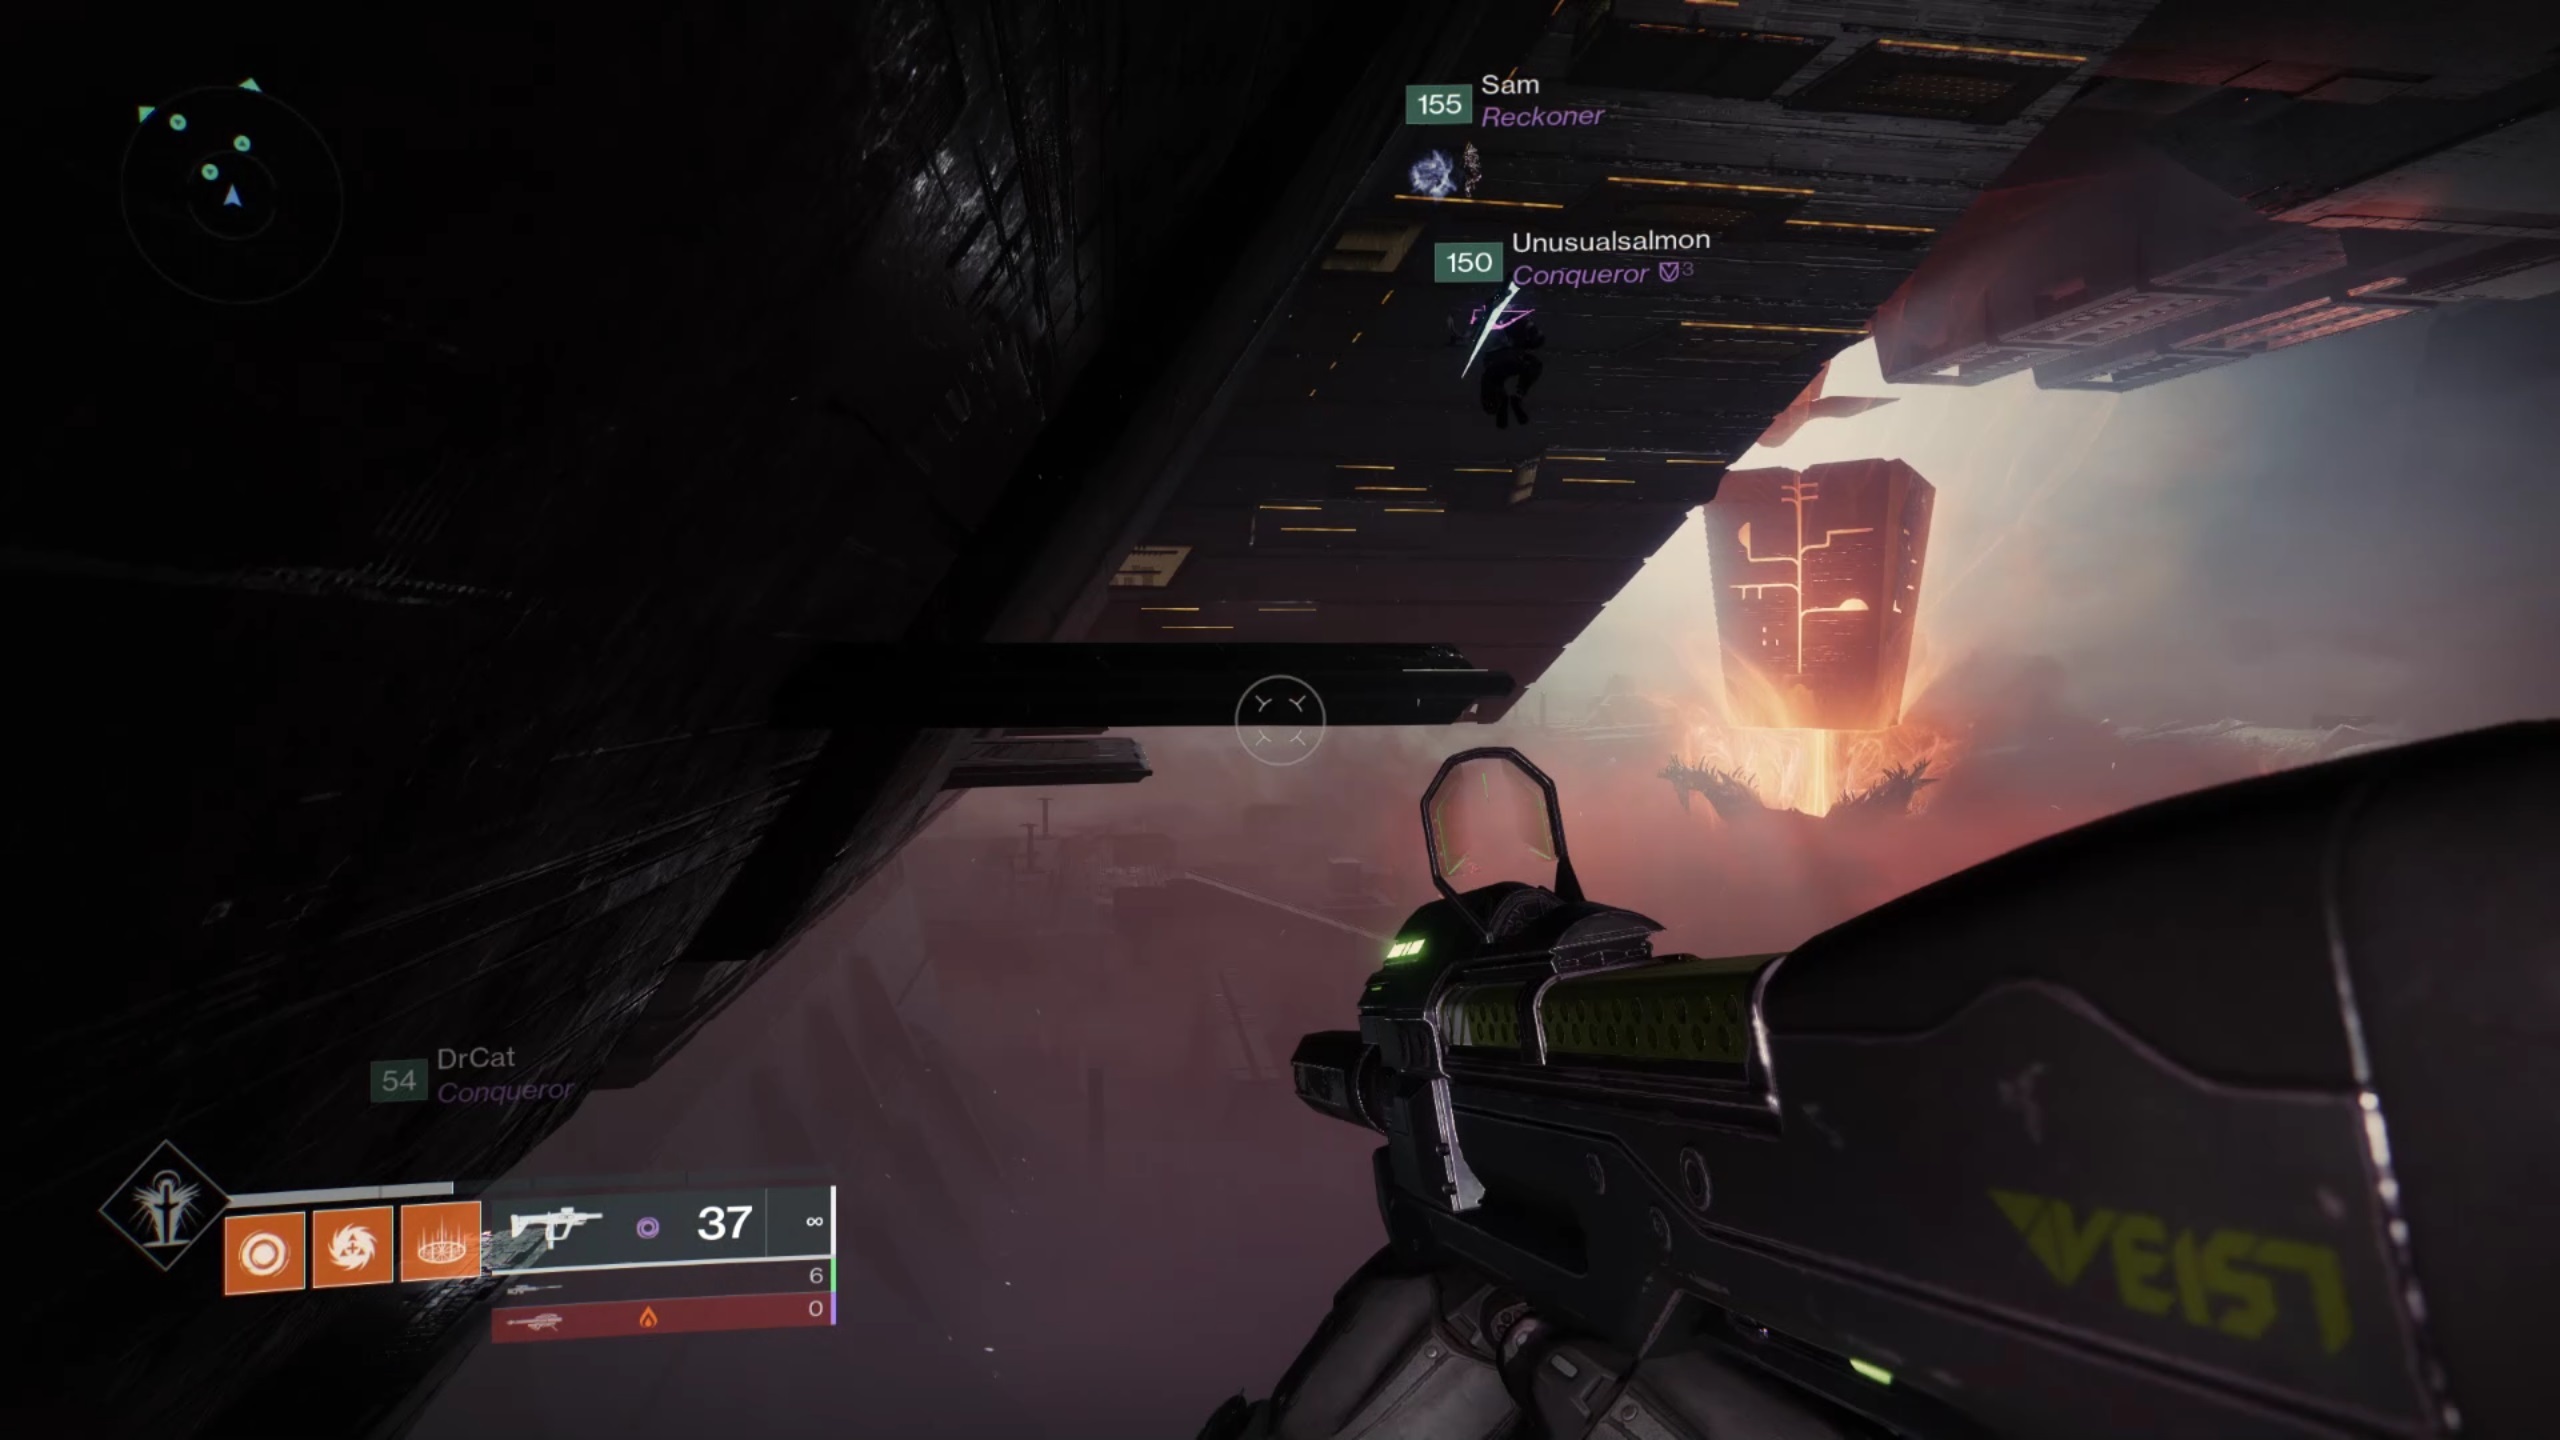 Use the platforms marked with yellow bars to keep moving upward
during the first part of the jumping problem.
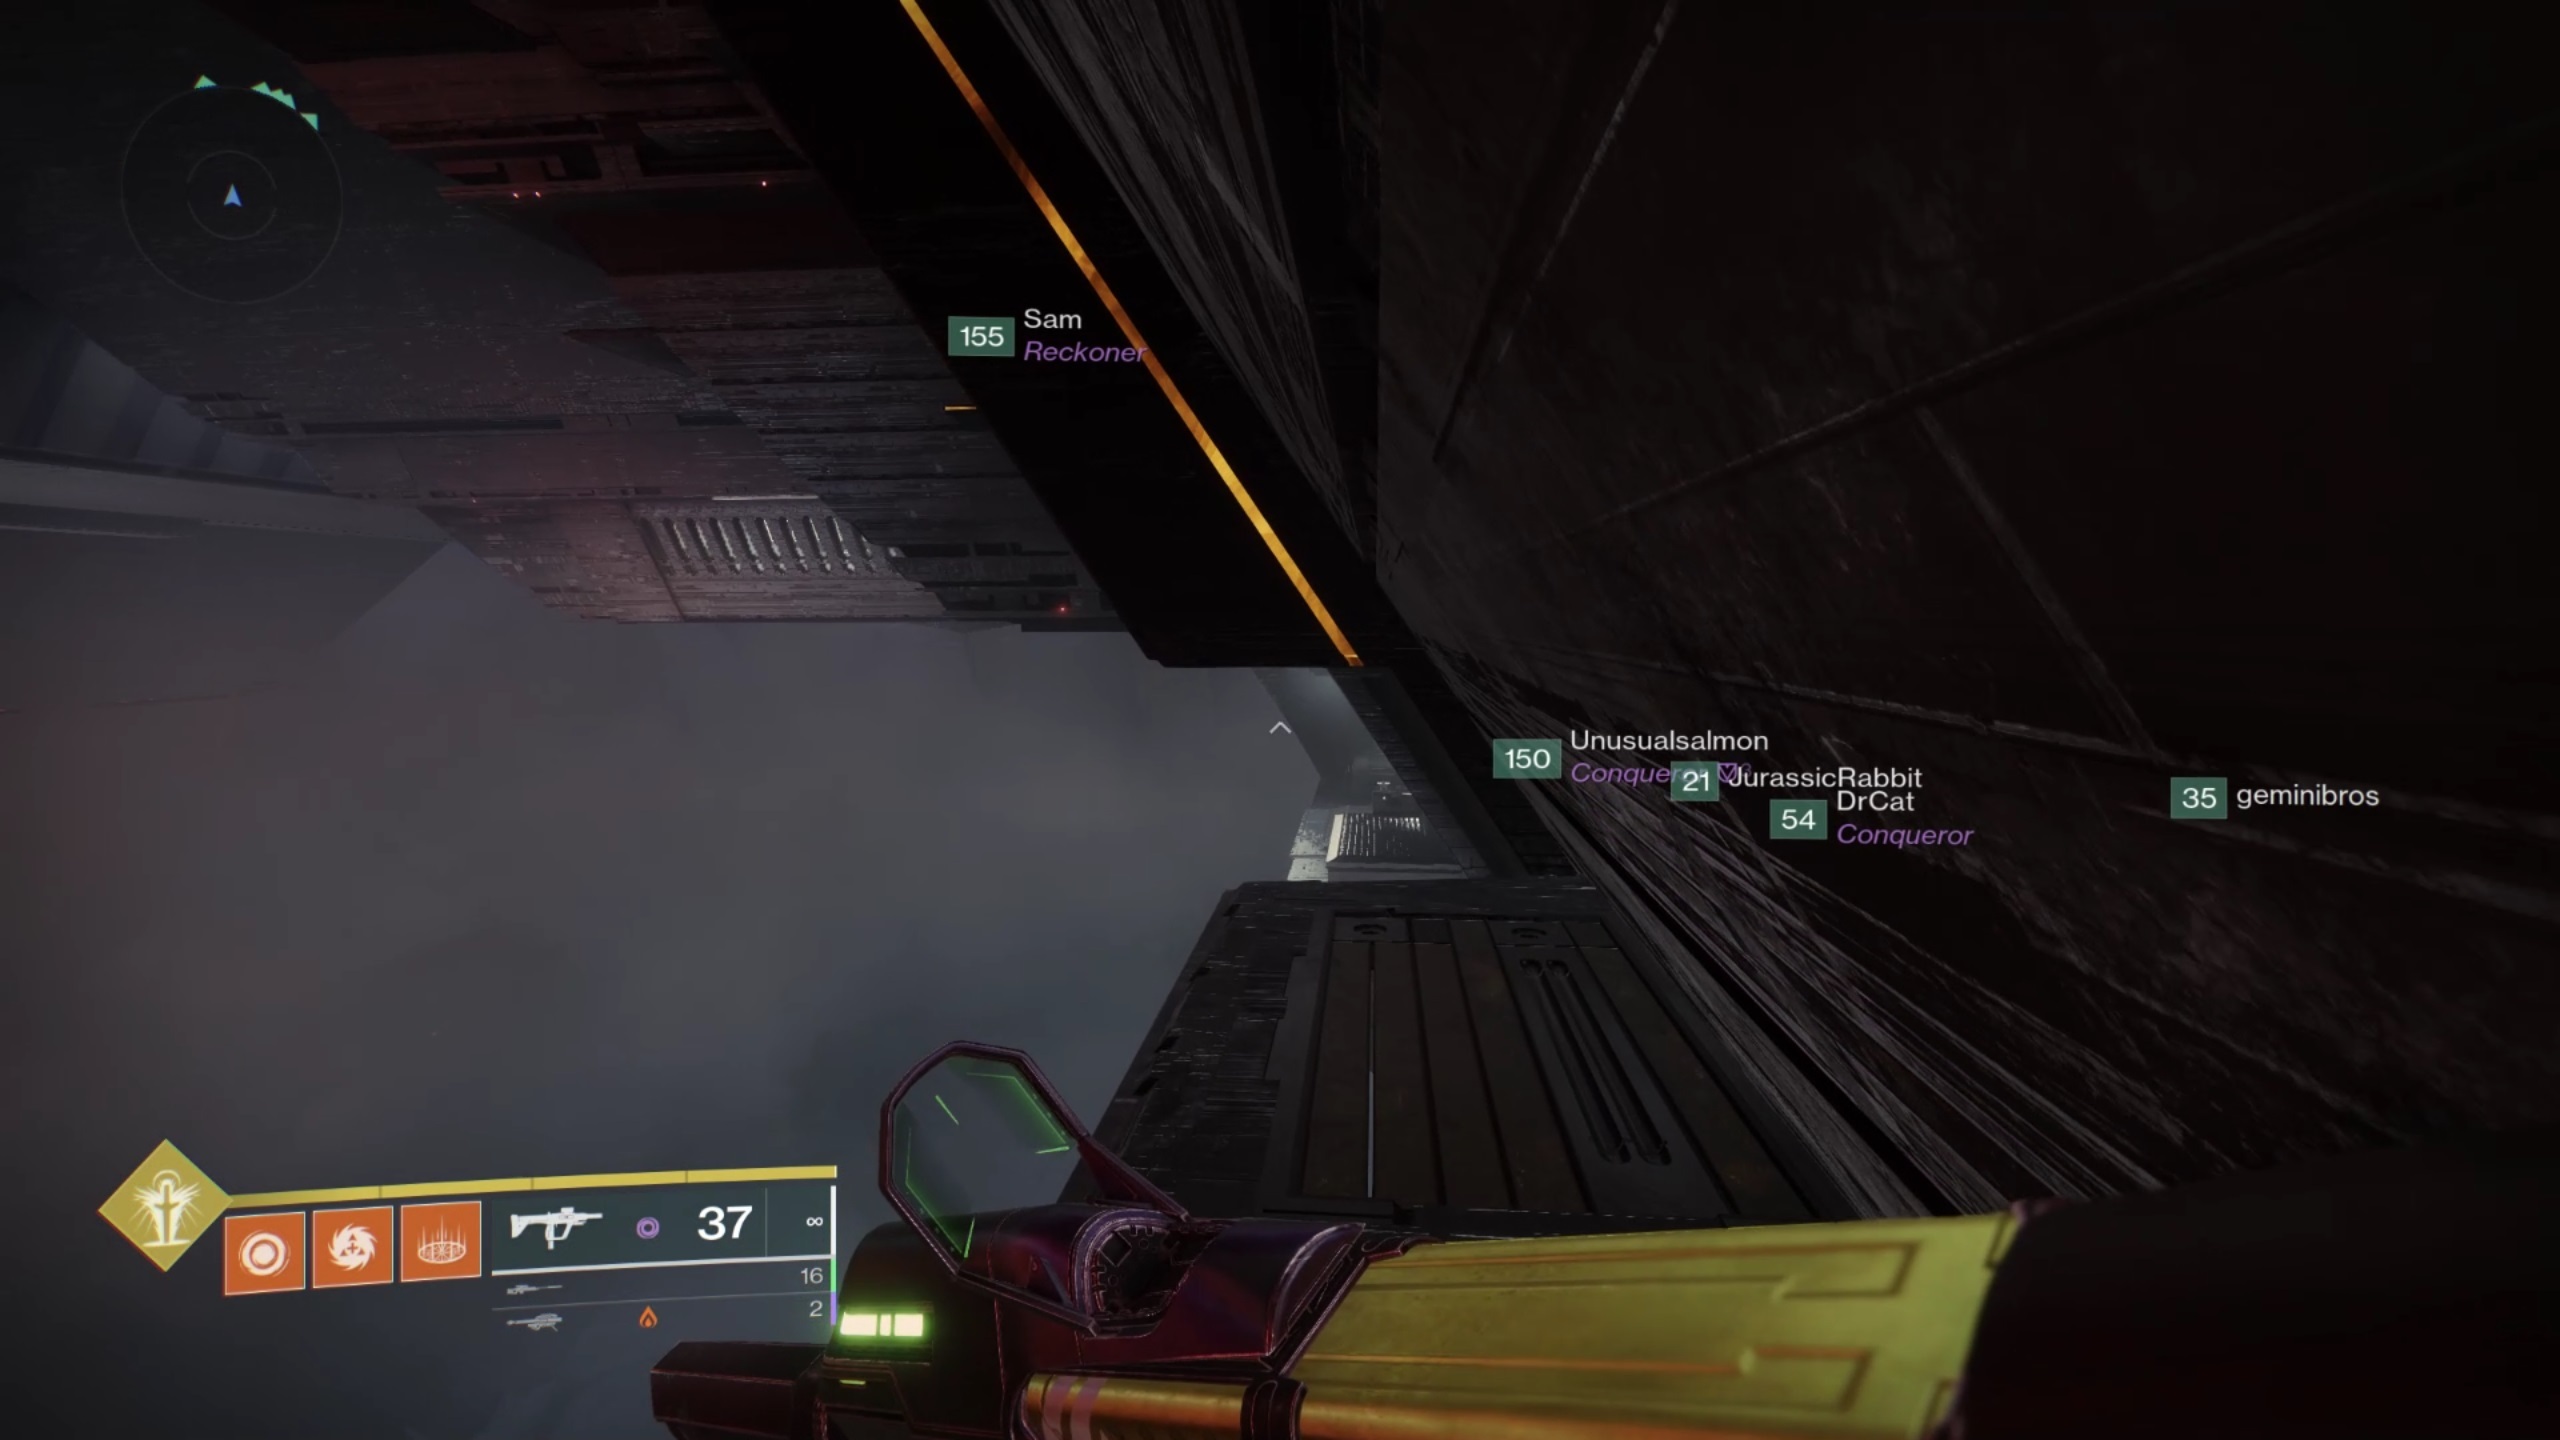 The leaping path will come to a stop when you exit the first
Scorn chamber. If you look down, you should be able to activate
the switch that will move the platforms and make it possible to
go ahead, although you could need assistance from a
buddy.
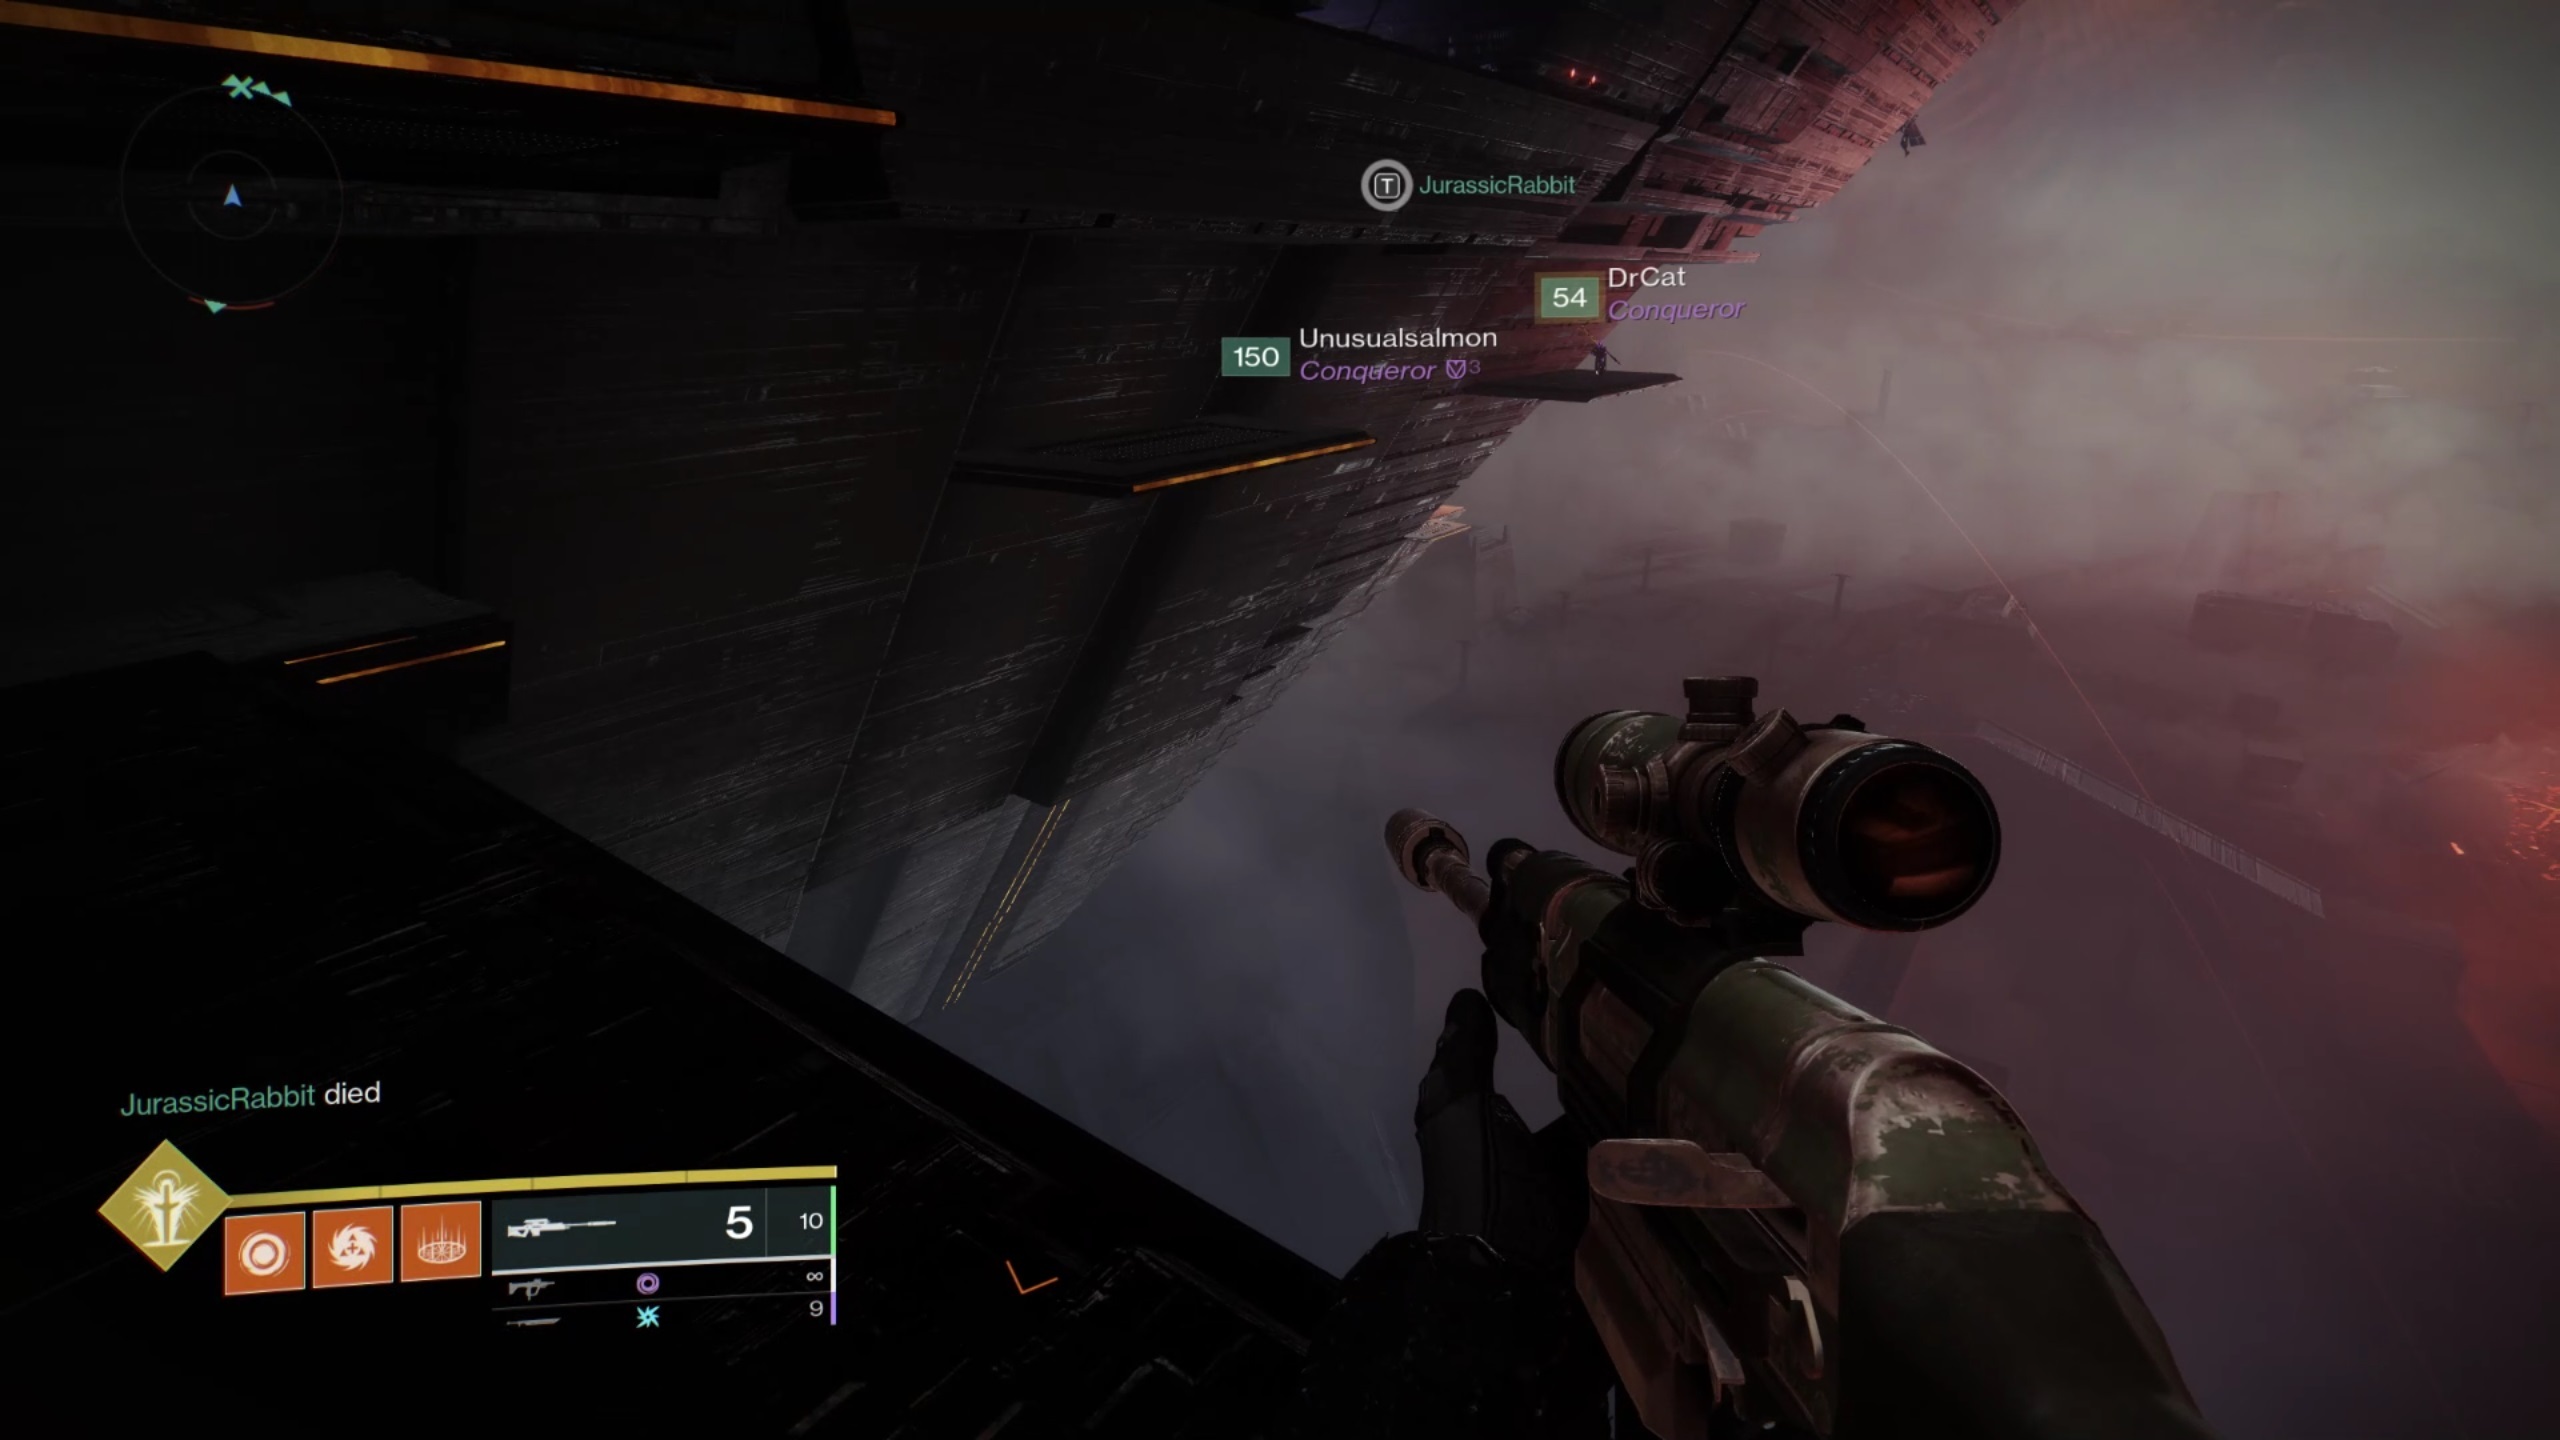 After navigating the blind corner, continue on the route until
it ends. Then, turn around and return the way you came to find a
hole in the wall.
Hidden Chest #2
The next arena you enter has statuesque columns with red schematics on their bases. Another switch is located at the far end of this chamber. To clear a way for you in the following region, your teammates will need to flip it frequently. Your next jumping area is on the right as you exit this arena. Right around the corner is where the trail turns. Climb it to the top; as you turn around and gaze in the direction you came, you will find a route leading to some barred windows with red lights. The hidden chest in this area is in the other direction from the standard path forward.
Turn around and face the wall rather than taking that route toward the windows. You must leap over the blind corner to your left in order to reach a platform that is immediately on the other side. As previously, a sword might be useful in this situation to provide you more flexibility. When you reach the end of this new corridor, look above; there is an opening in the ceiling that you may use. You can utilize the row of hexagonal cylinders in front of you as leaping platforms. To discover a hole in the wall, proceed to the end and look above and to the left. Your second hidden chest is located in a secret room within. You will receive the "Secrets of the Sunken Pyramid" Triumph and the Echoed Anger shader after first unlocking this for the first time.
You won't need to go back the way you came in order to move on if you look on the elevated platform to the right of the chest after you've opened it to find a trap door that drops you into the last part of the leaping problem. The chamber you can access through the locked windows you saw back at the last set of leaping platforms is also this one, and it is teeming with enemies.
 The jumping puzzle's next stage and the starting point for the
journey to the secret chest are both in this chamber. The exit to
the leaping section is on the right; look for it there plus a
switch at the far end (behind those Taken enemies).
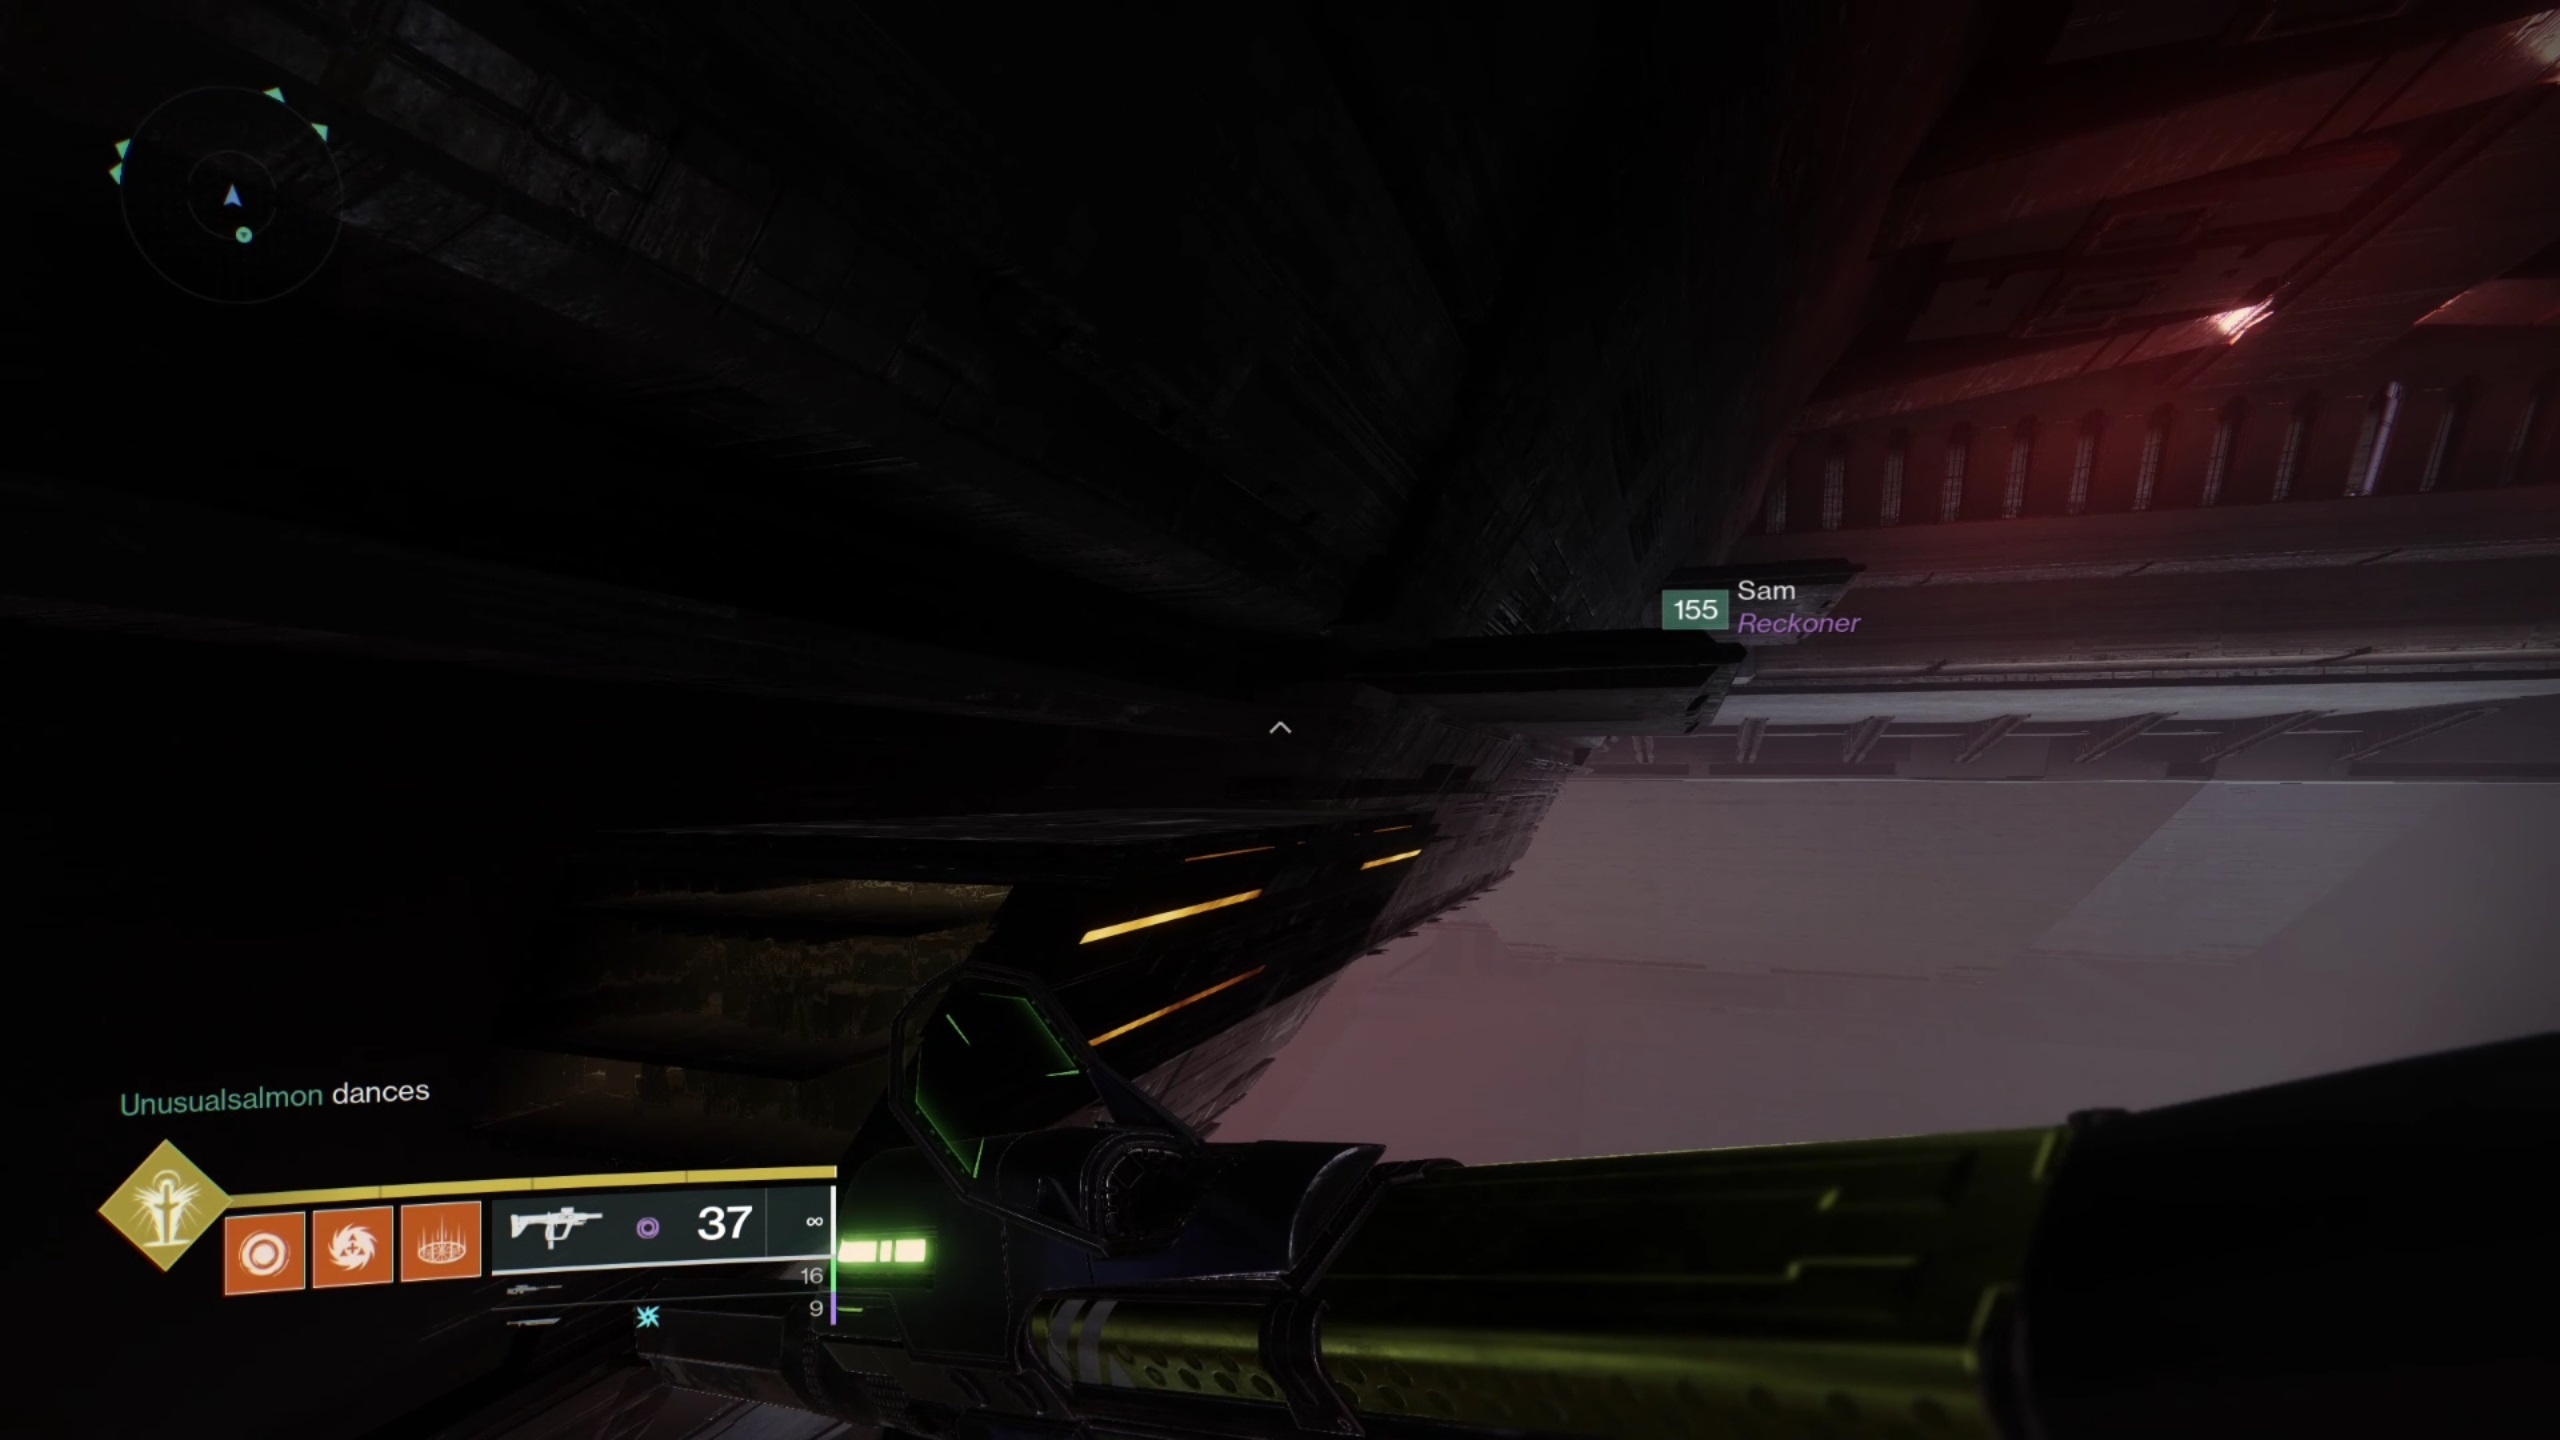 It's actually behind you; if you're walking in the direction of
those locked windows, you're traveling in the incorrect
direction.
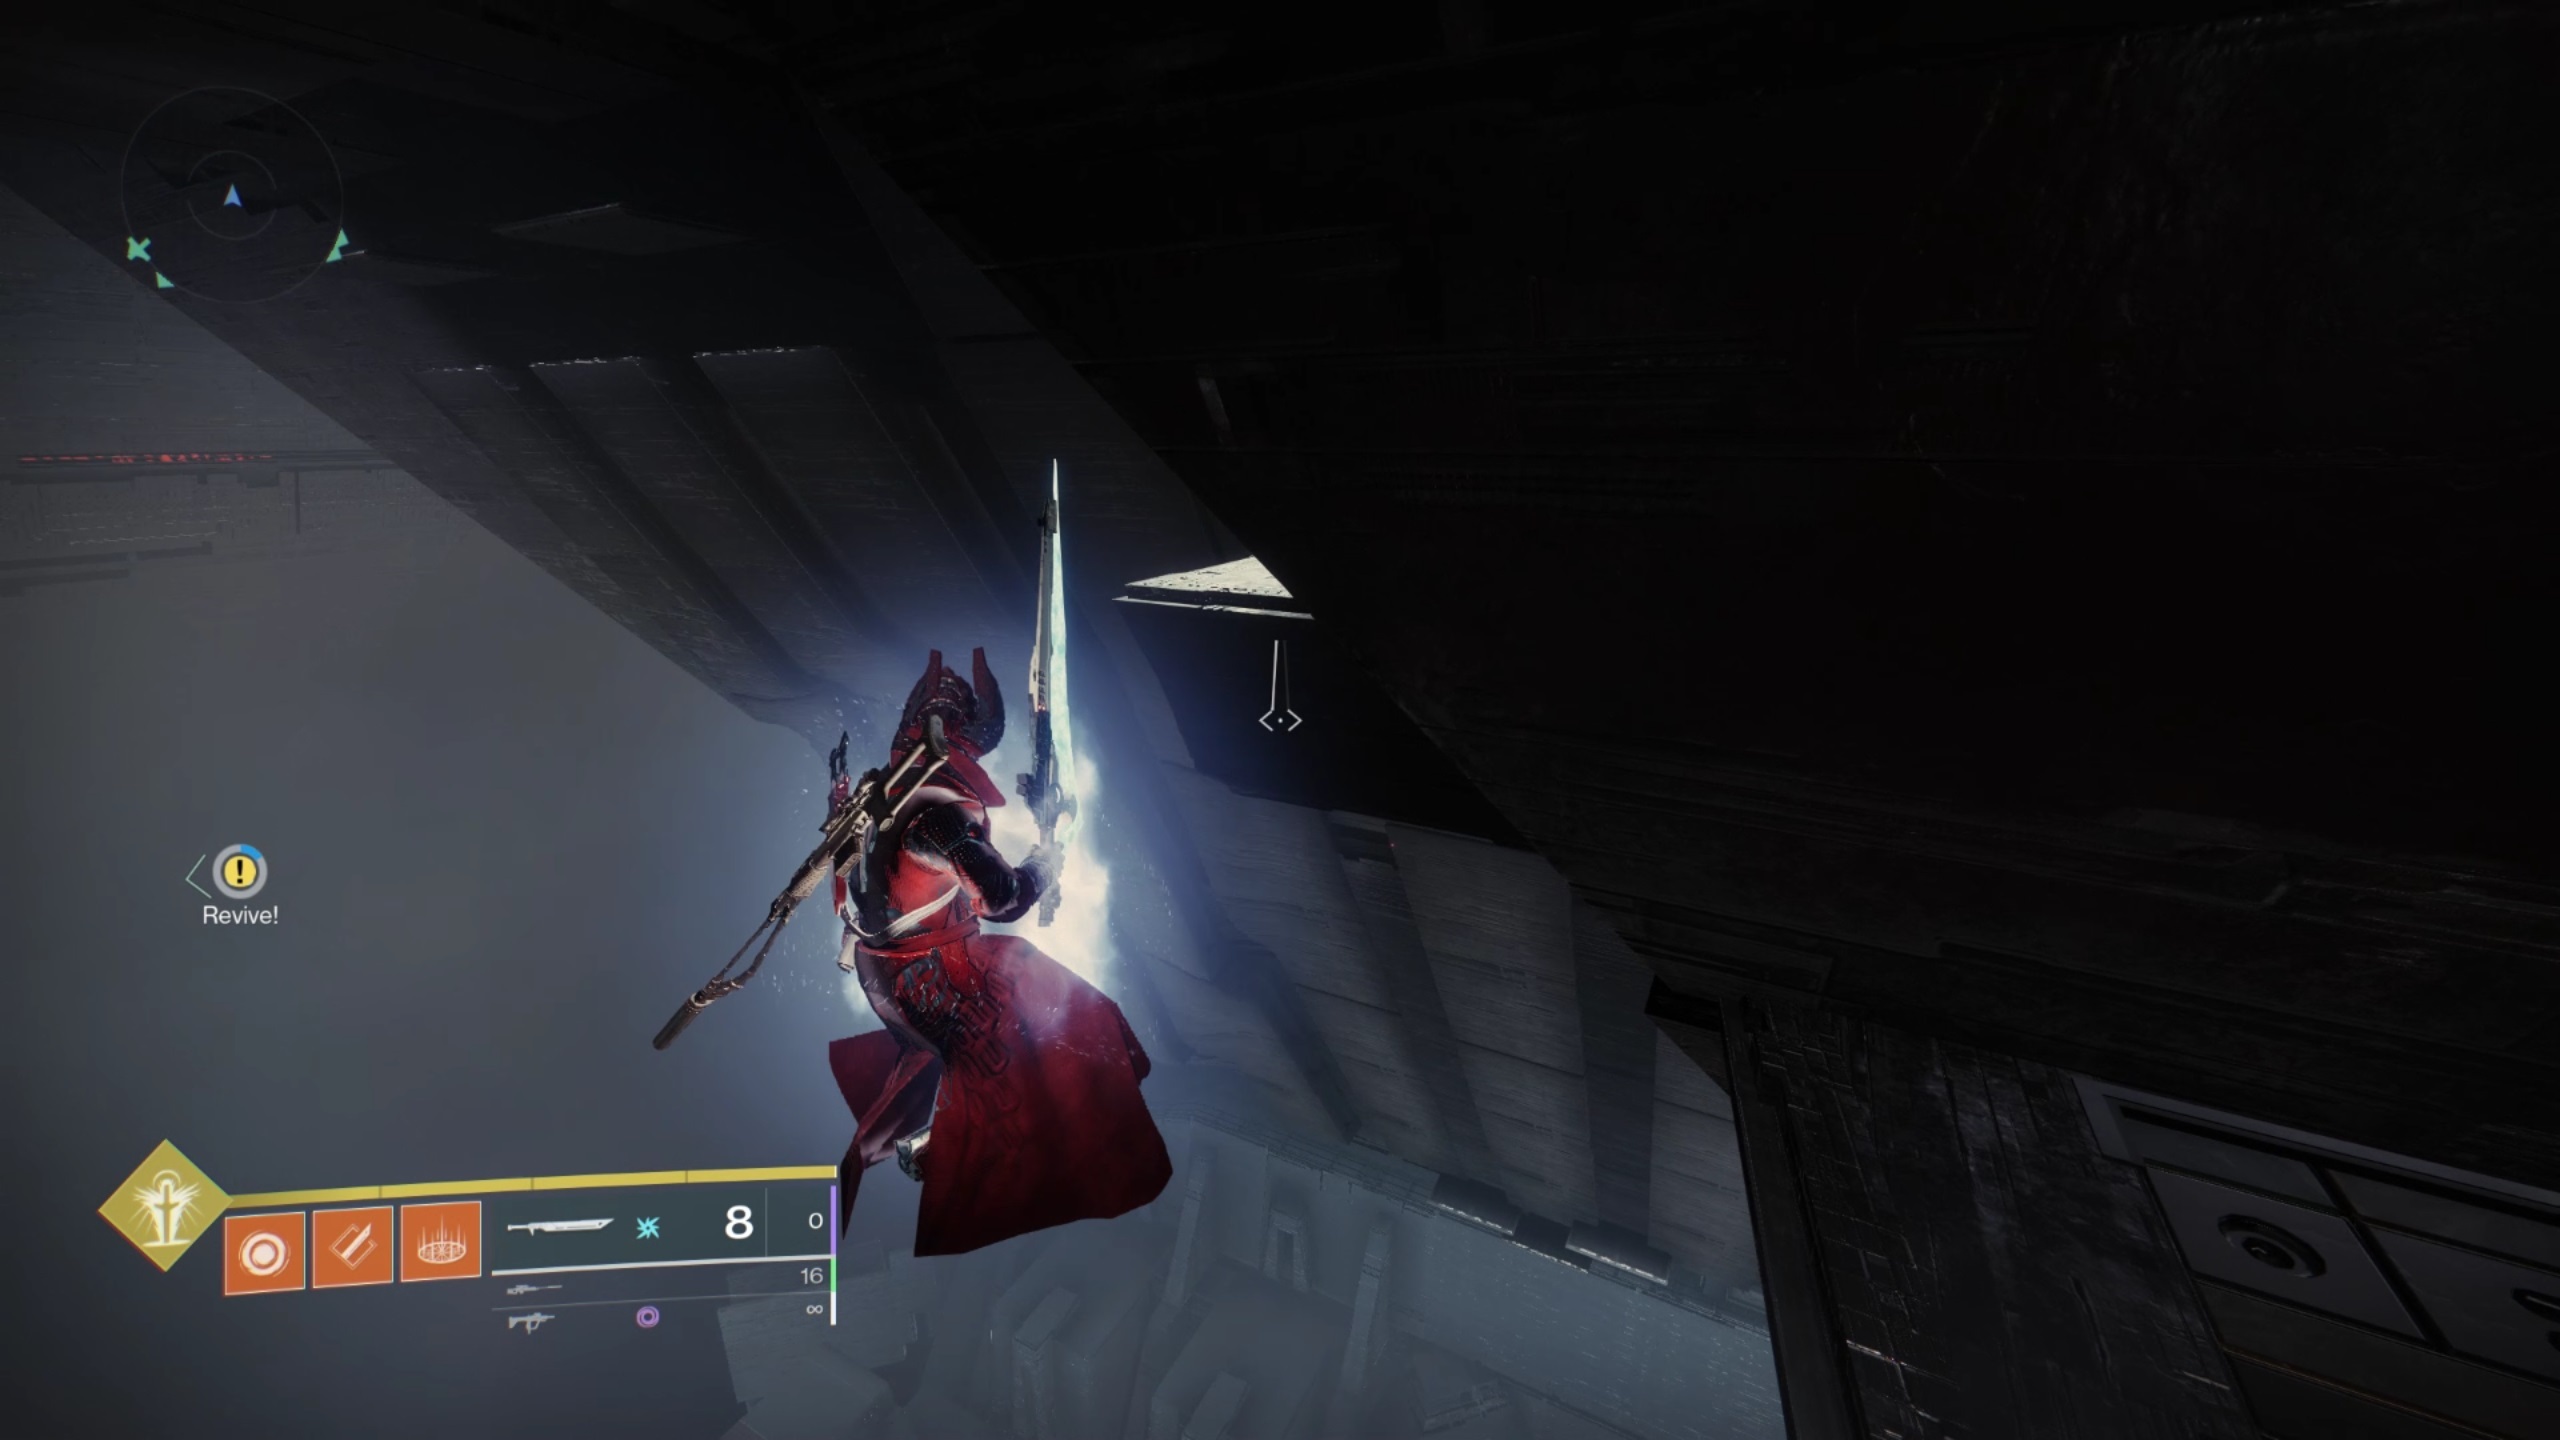 To locate the way to the secret chest, you must hop past this
blind area.
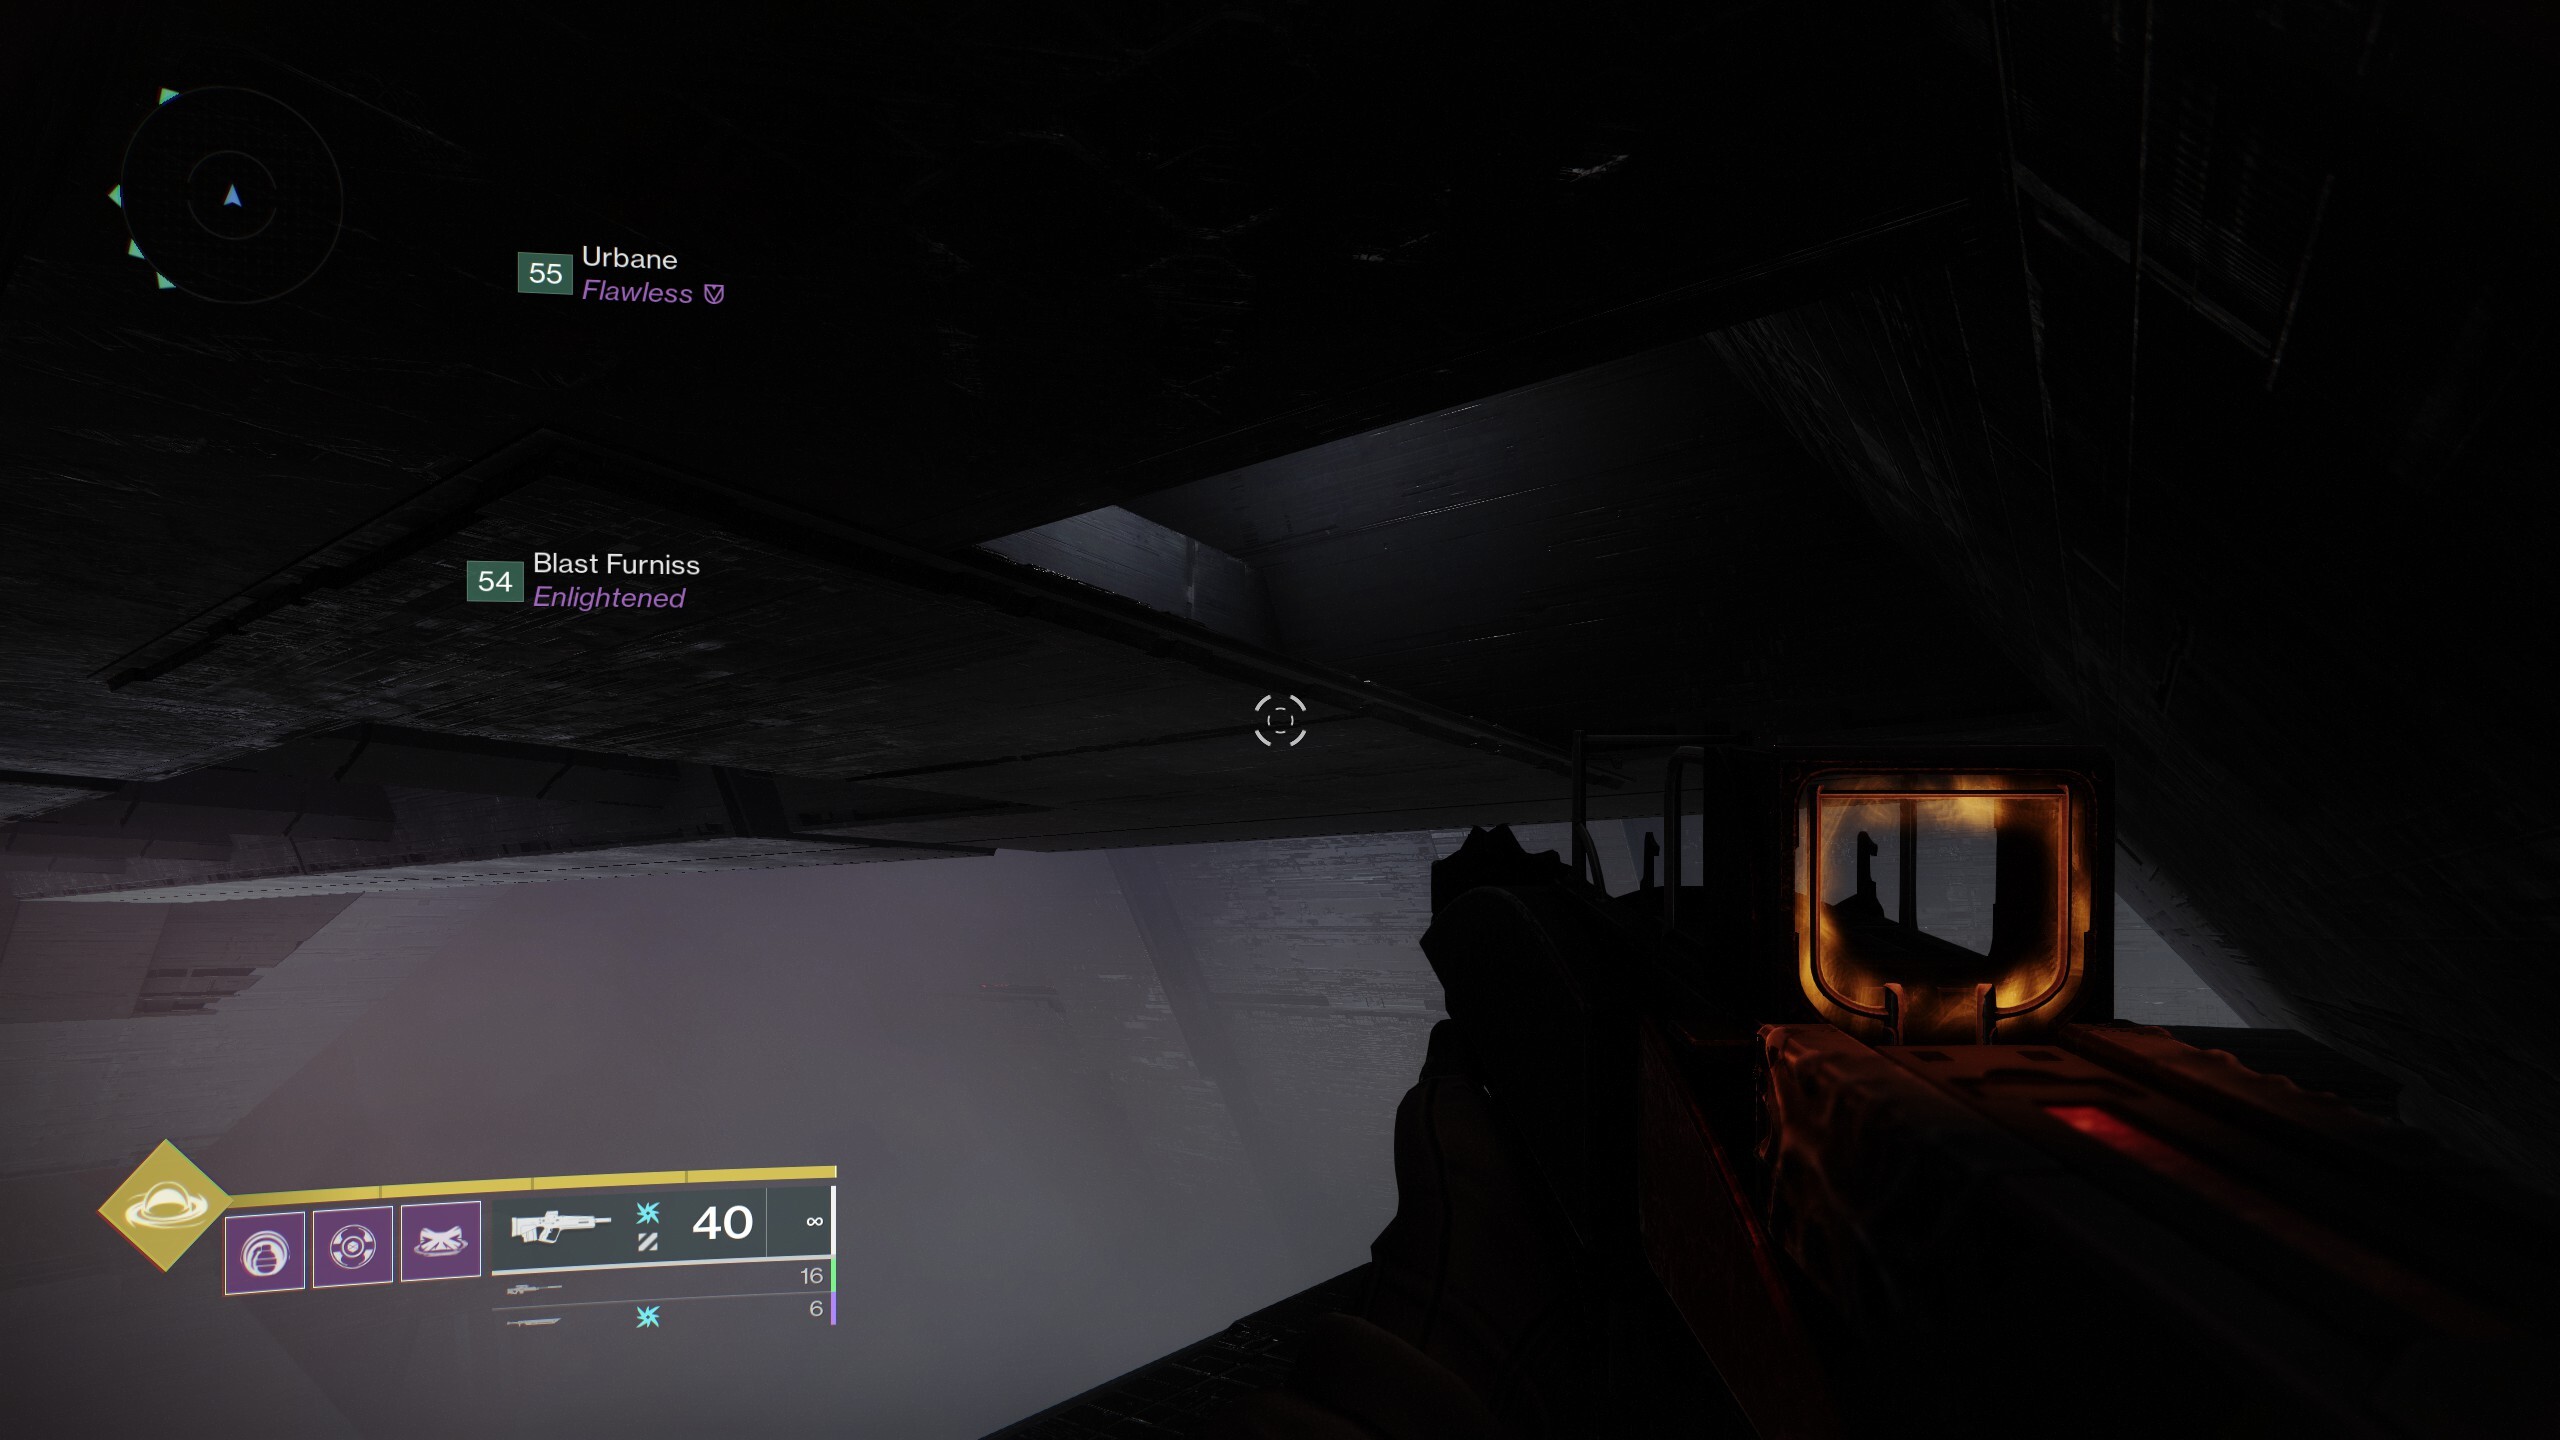 Turn around and gaze up for a hole in the ceiling as you move
away from the shuttered windows.
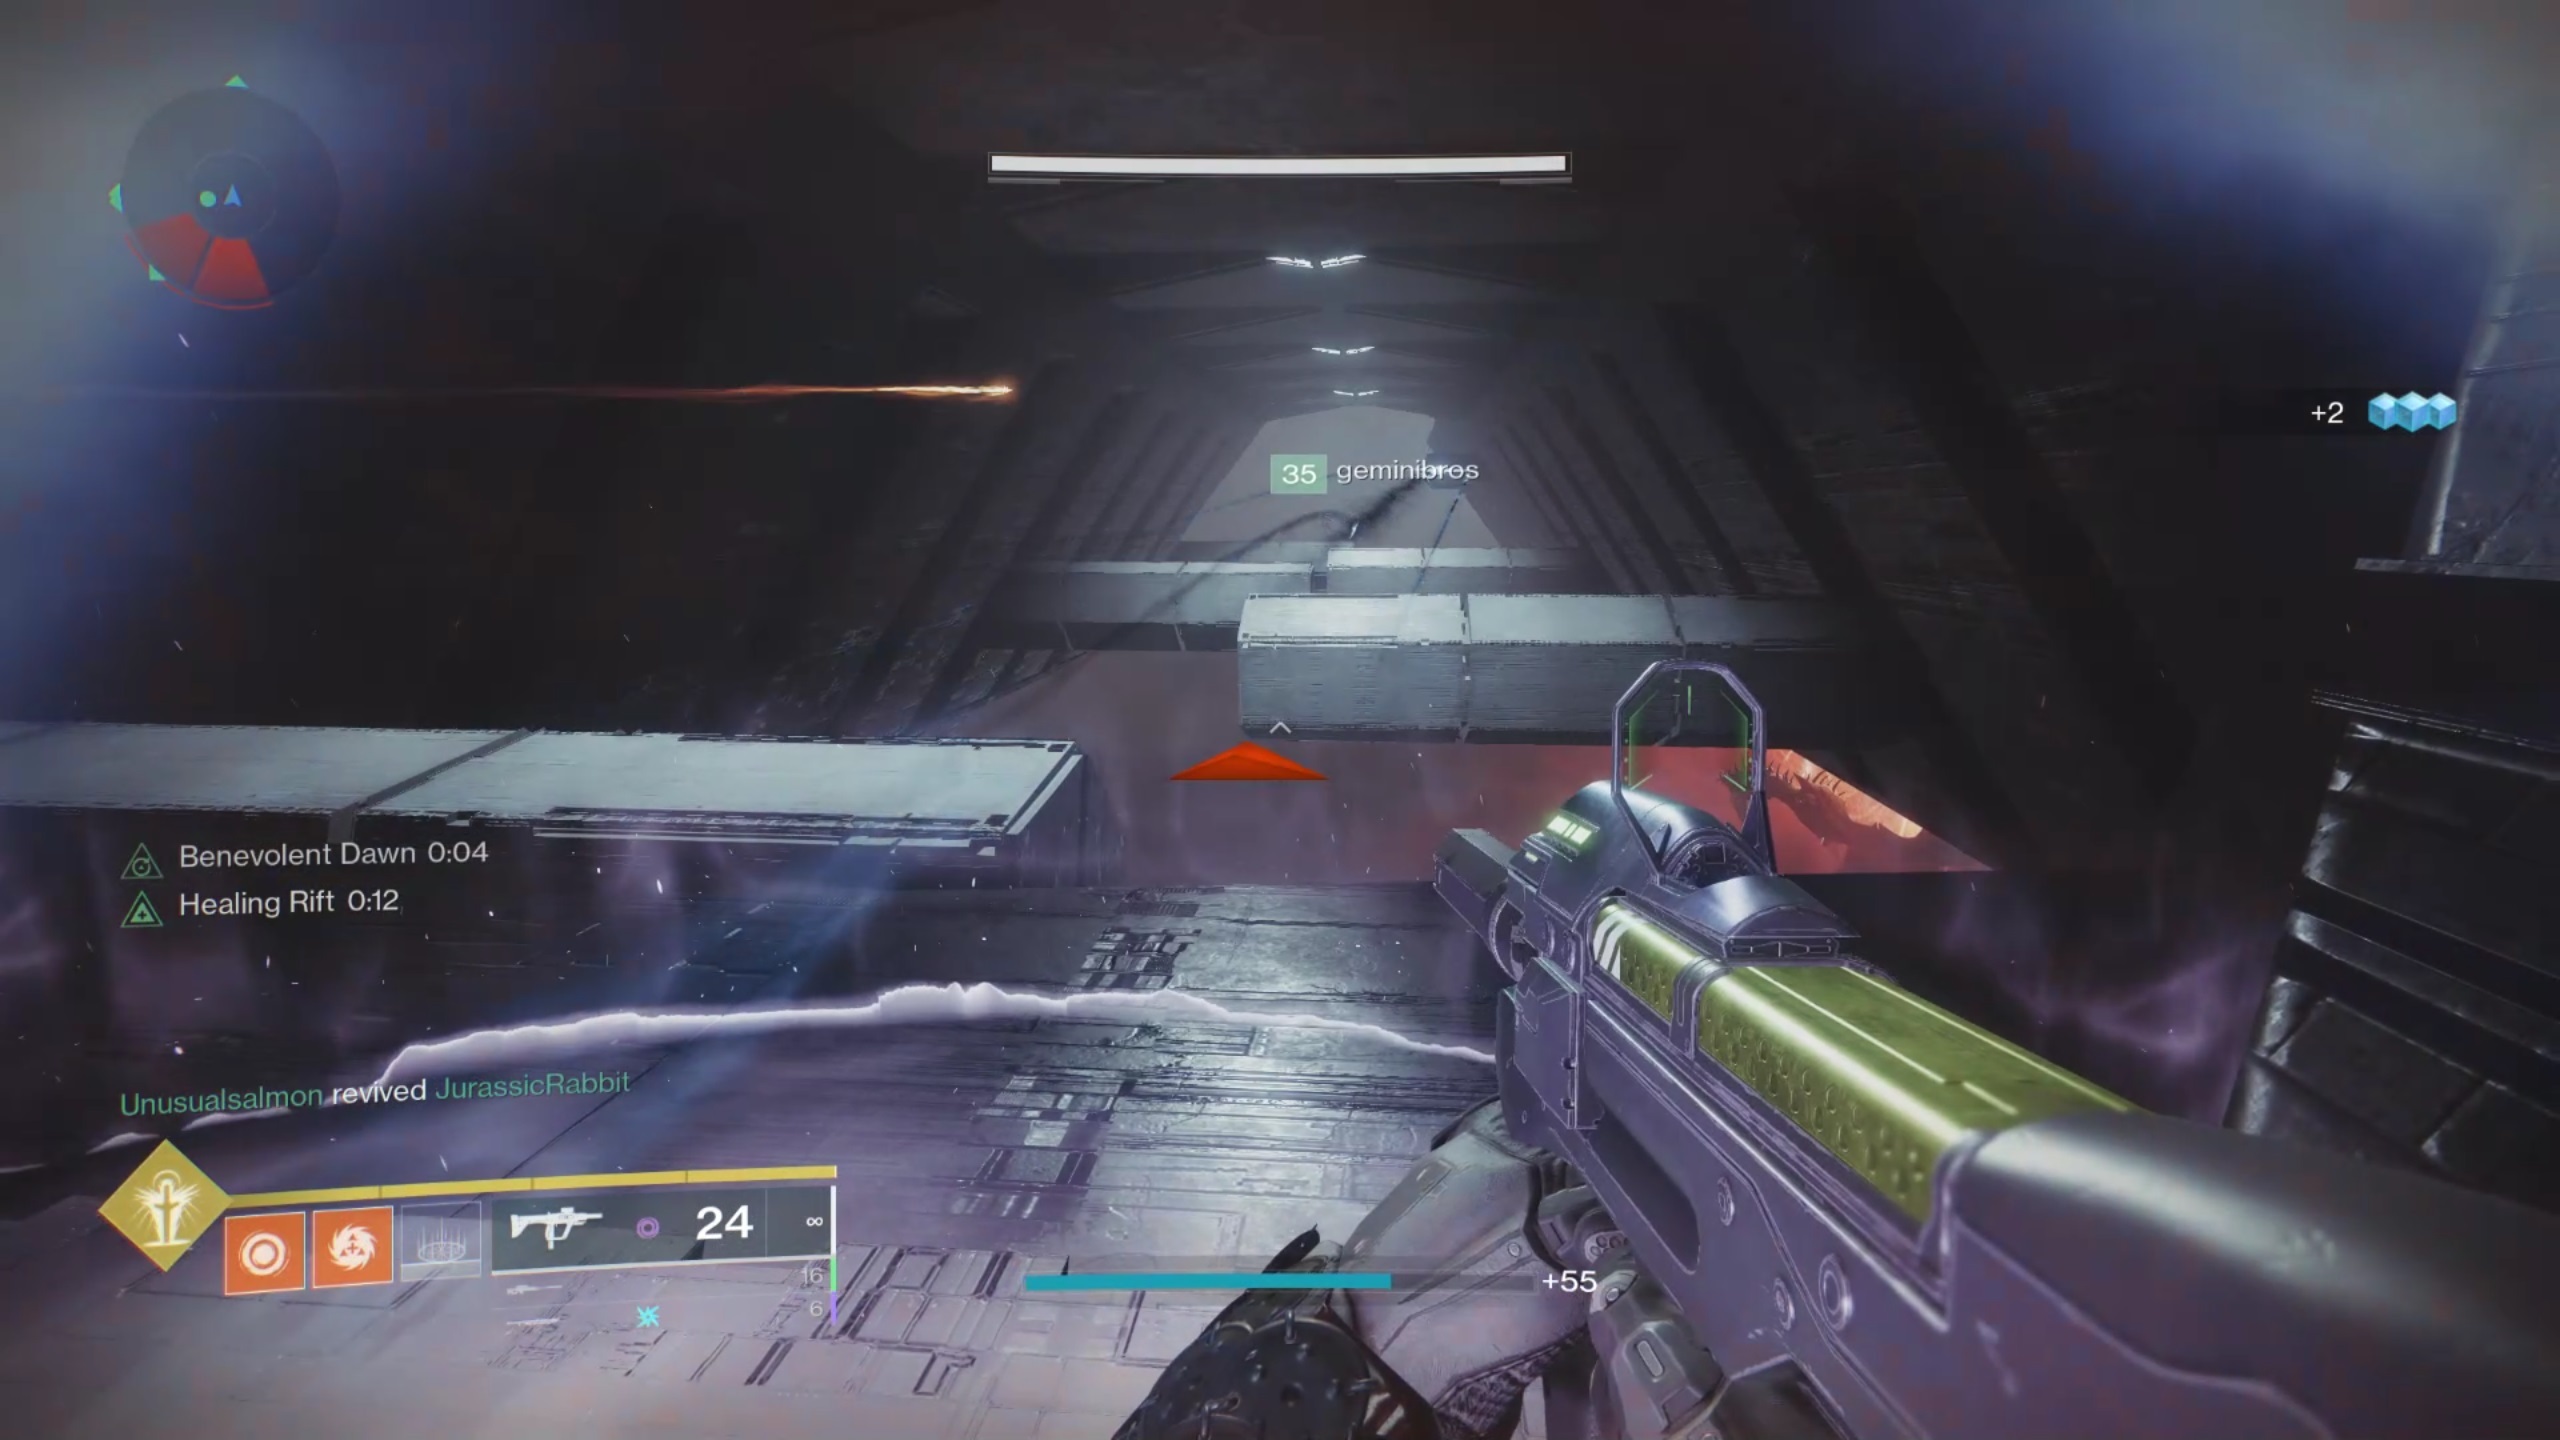
You may access the last piece of the jumping puzzle from this chamber as well. Locate the entrance on the area's left side, where you may blast another crystal switch. By pressing the switch, numerous hexagonal barrels slide across the next opening to form a passage. Nevertheless, those barrels will rotate, span the opening, and strike the wall on the opposite side. While another person waits at the switch, send one person who is comfortable leaping across.
To keep the barrels rolling over the gap's center, keep pressing the switch. The route will stabilize after the player reaches the opposite side of this puzzle piece, leaving each of the barrels poking out of the walls for you to jump across. There is a flat section with additional Scorn above the last platform you reach on the right. To open the last door and continue, clear them out and assemble everyone.
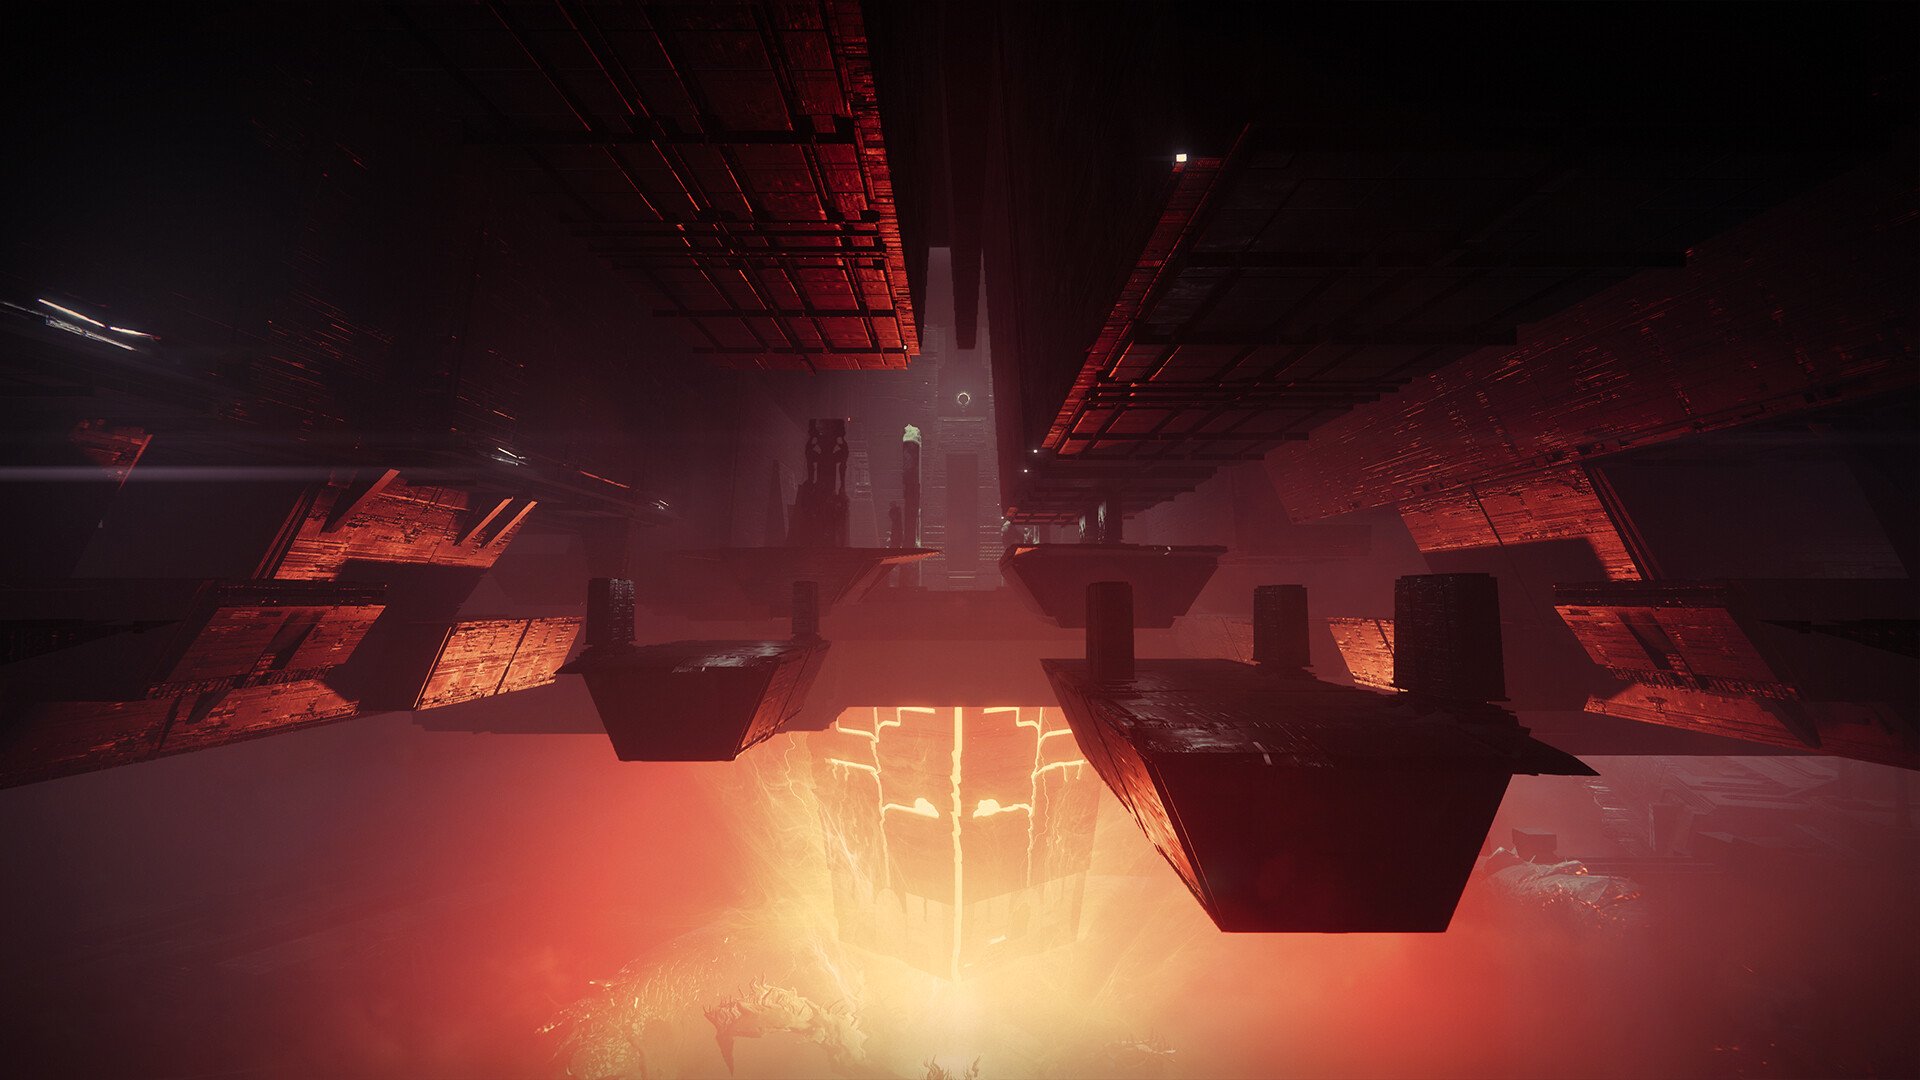
Exhibition
Roles:
- 3 Relic Holders
- In charge of carrying the 3 relics and doing the relic duties in the rooms before passing them to ad-clear guardians. Also in charge of calling out the glyphs from Taken Glyphkeeper.
- 3 Ad-Clearers
- In charge of clearing the ads in all the rooms, especially the Overload Champions, shooting the correct glyphs on the doors, taking over relics from relic holders, and calling out the glyphs from Scorn Glyphkeepers.
NOTE: Roles will be swapped between the 2 teams of 3 between each room until encounter completion.
Recommended Loadout:
- Primary Weapons: Any decent ad-clear primary (SMG, Auto-Rifle, Pulse Rifle, Trinity ghoul, Ticcuu's Divination).
- Special Weapons: Any decent ad-clear special (Wave-Frame Grenade Launchers, Trace Rifle).
- Heavy Weapons: Any decent High-Value Target (HVT) killer weapons (Rockets, Grenade launchers, Swords, Gjallarhorn (recommended), Parasite (recommended), Lament) or ad-clear weapon (LMG).
Make sure you have at least one ad-clear weapon and one HVT-killer weapon.
Subclass: Any, preferably a subclass that can kill enemies very fast.
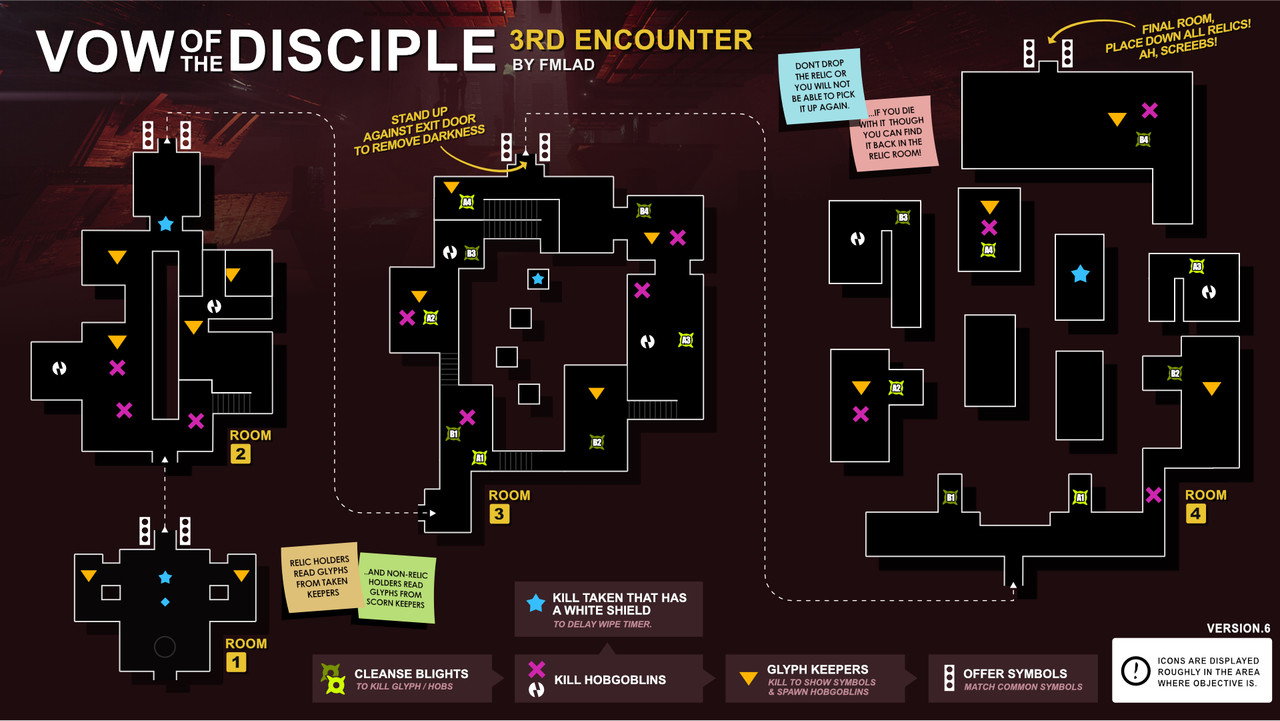
Encounter Flow:
- Grab the artifact(s).
- Get rid of the Glyphkeepers, Taken, and Scorn.
- Call out the symbols, identify the matching one or ones, and then shoot them at the doorframe.
- Place the artifact(s) down, then have other players pick them up.
- For each room, repeat these steps till encounter completion.
Finding and killing the Glyphkeepers, memorizing the symbols that appear, and figuring out which ones match are the key objectives of each area in this encounter. Take note of these matching symbols, then shoot them on the exit door. This will let you enter a chamber where you may place the relics, opening the door. In addition, some of the symbols are only visible while you are holding the artifact.
- Players holding the relic can see the symbols which are revealed from killing the Taken Glyphkeeper. Non relic holders can see the symbols which are revealed from killing the Scorn Glyphkeeper. Both parties but communicate their symbols to find the matching ones to open the door.
Now that you are aware of the basic objective, it is important to grasp the various game mechanics. First of all, your squad will be eliminated when the Terminal Resonance timer expires. Deposit each relic in the exit chamber to get an additional 40 seconds, and kill the Disciple's Hourglass to gain an additional 40 seconds. Following the death of each group of Glyphkeepers, the Disciple's Hourglass appears.
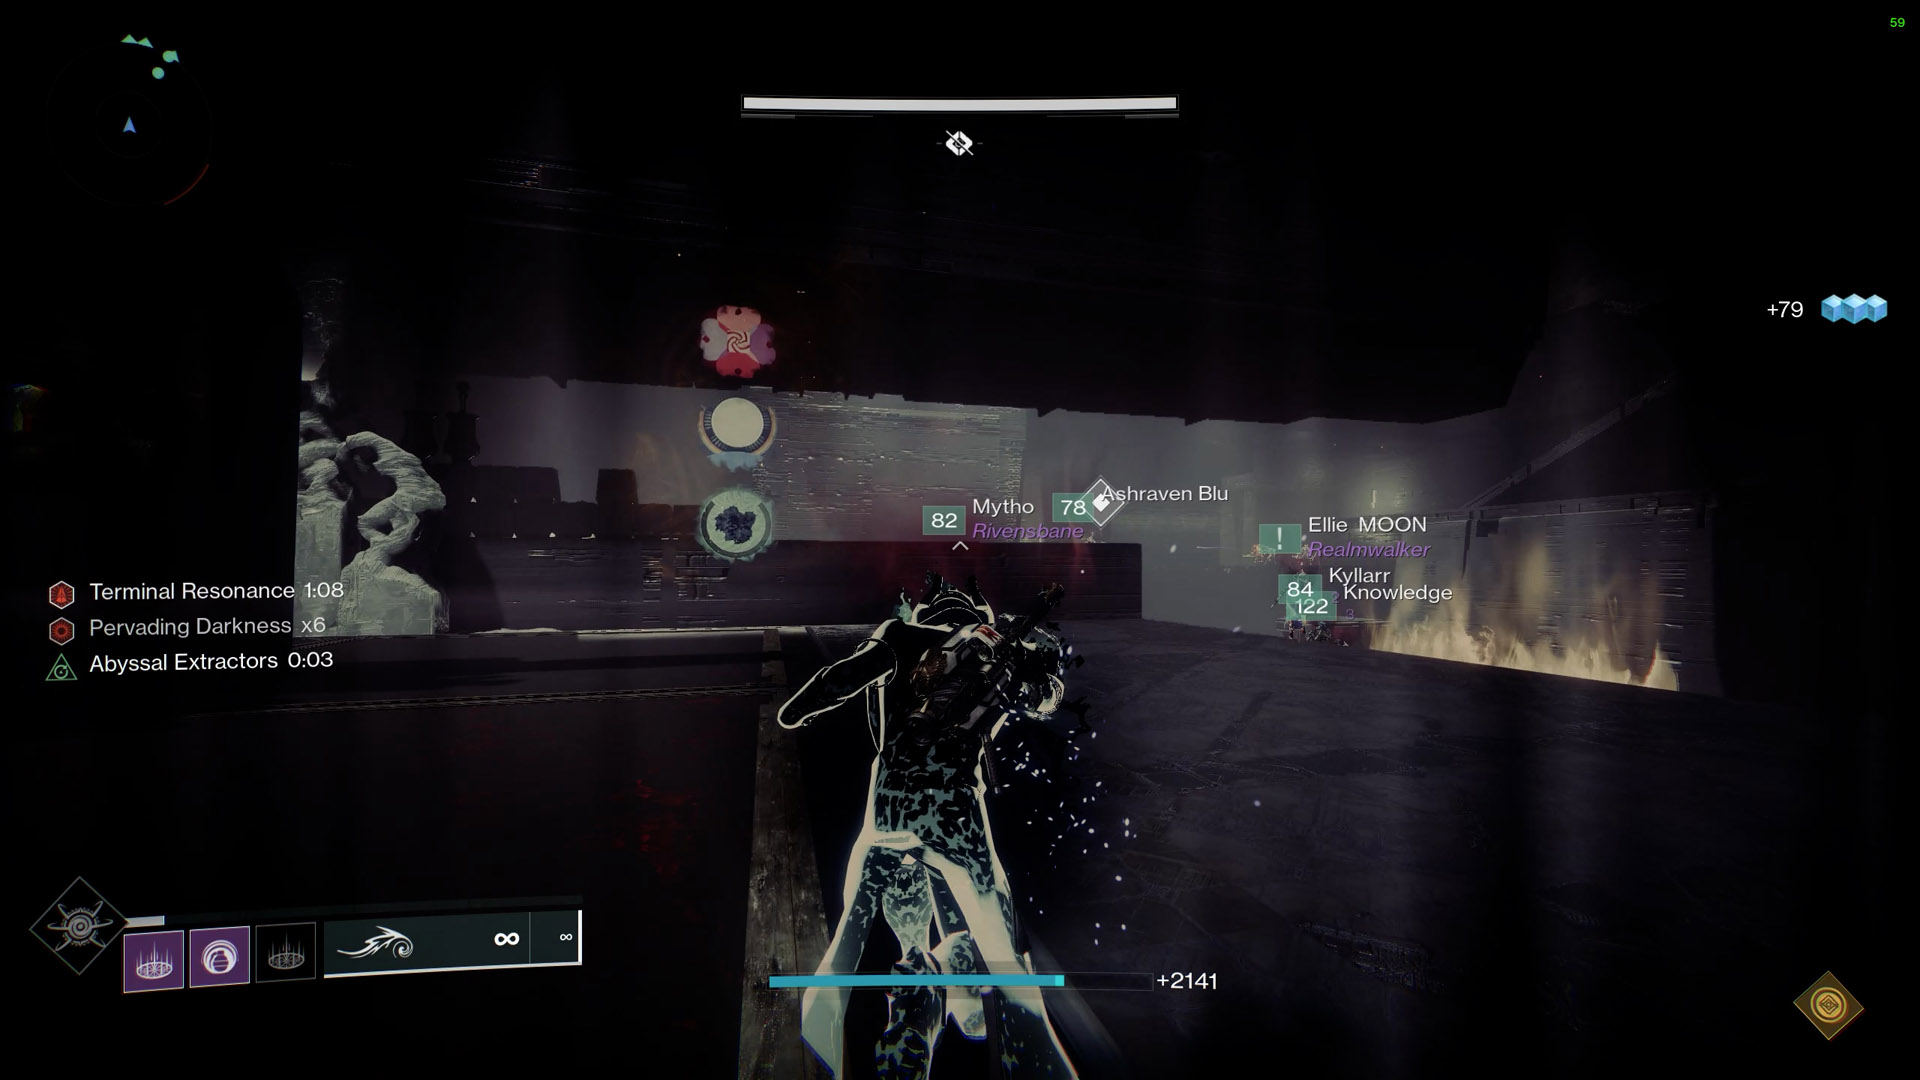 A person holding an artifact is the only one who can see some
symbols.
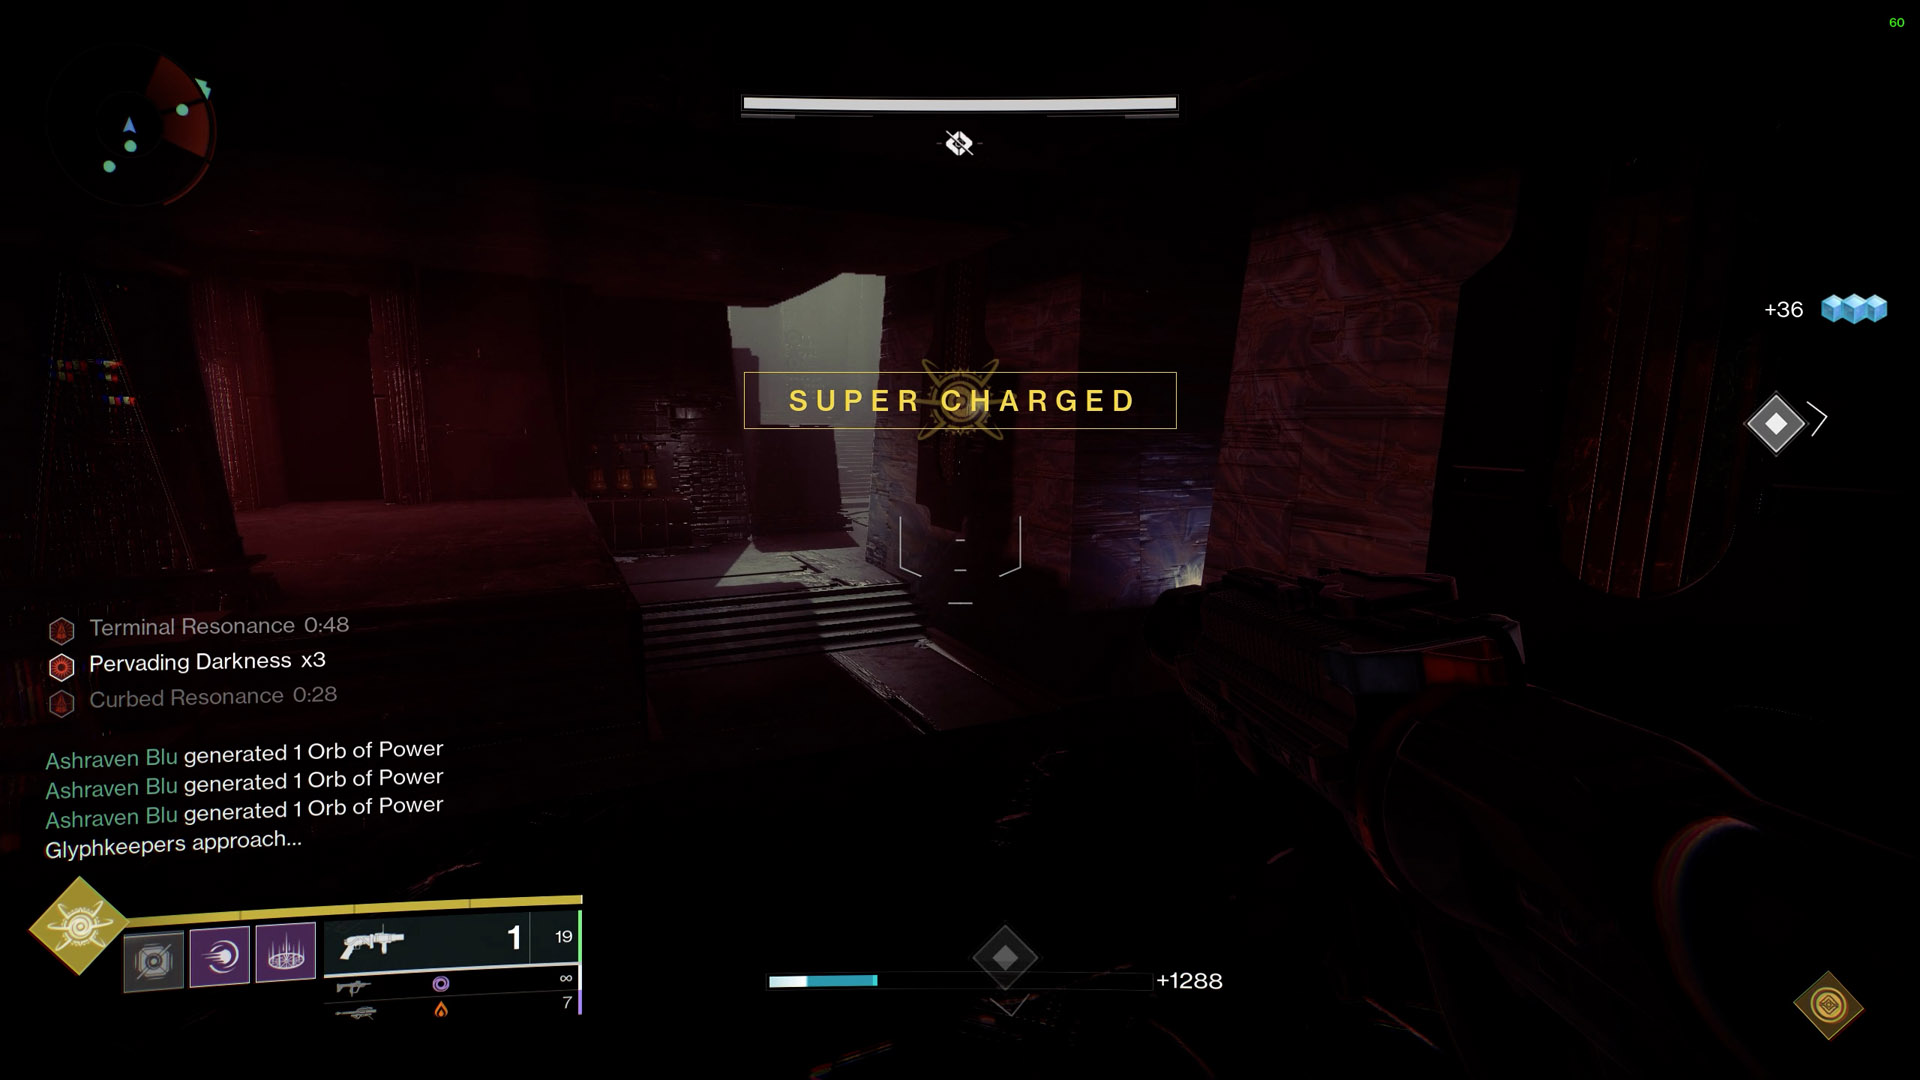 Don't forget to pay attention to the timing next to the
debuffs.
The other elements are Curbed Resonance, which stops you from holding an artifact if you've previously picked one up, and Pervading Darkness, which you may recall from the beginning (at 10 stacks you die). By utilizing the Relic's cleansing, you can get rid of Pervading Darkness (which you might remember from Vault of Glass). Curbed Resonance will end in 30 seconds.
There will be three artifacts: The Nut, Relic, and Eye of Riven. The Disciple's Hourglass is eliminated by utilizing the Nut to break its shield, the Relic is used to clear the Pervading Darkness, and the Eye of Riven's grenade skill is used to destroy the Taken tethers.
The Taken tether might spawn left or right in the last two chambers. Accordingly, the player utilizing the Eye of Riven in certain rooms will have to choose the best path based on their starting point.
Overload Taken Hobgoblins will spawn on top of everything else. Make sure a couple members of your fireteam are equipped with overload mods to stun them. Gjallarhorn is another option to think about if you want to provide long-range damage without needing to be extremely accurate.
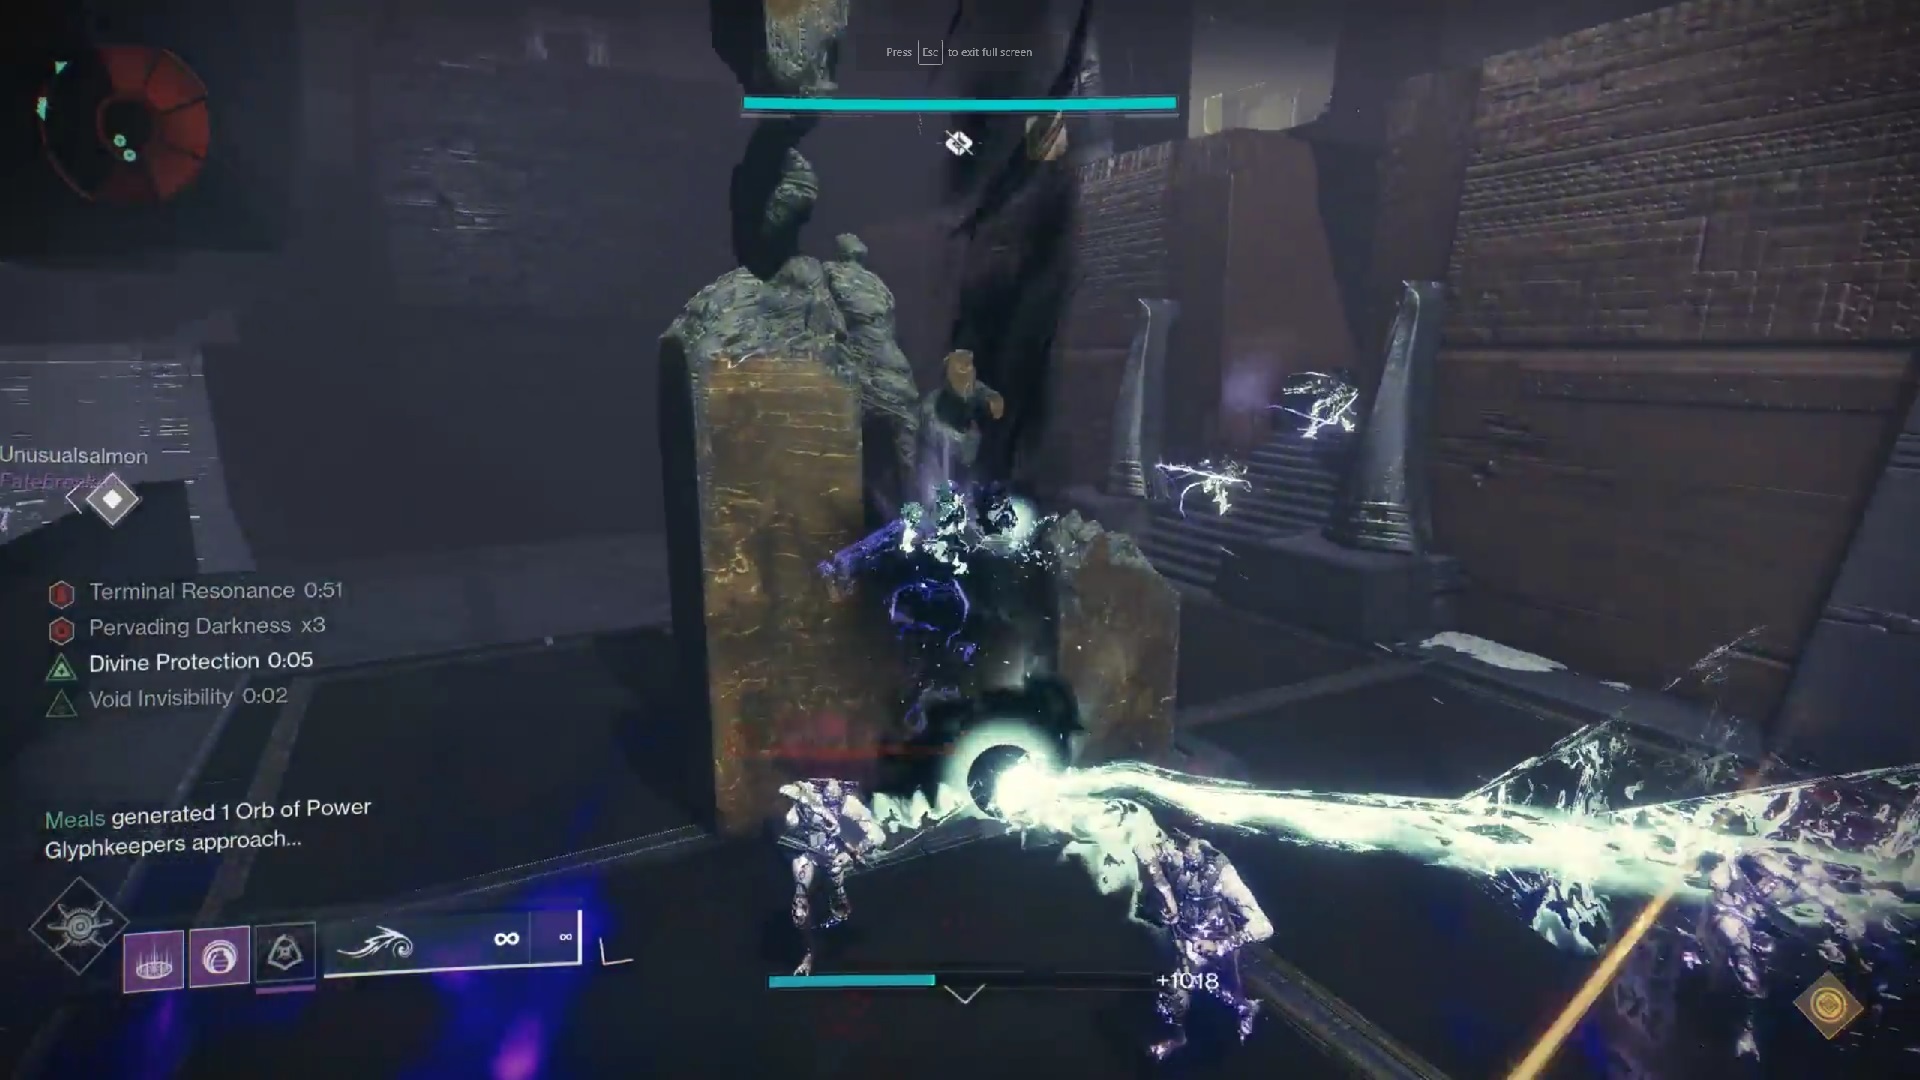 You must utilize the Taken relic in the third and fourth room to
eradicate these blights. They will alternate on which side of the
room they are on; for example, this one is on the right, while the
one behind it is on the left.
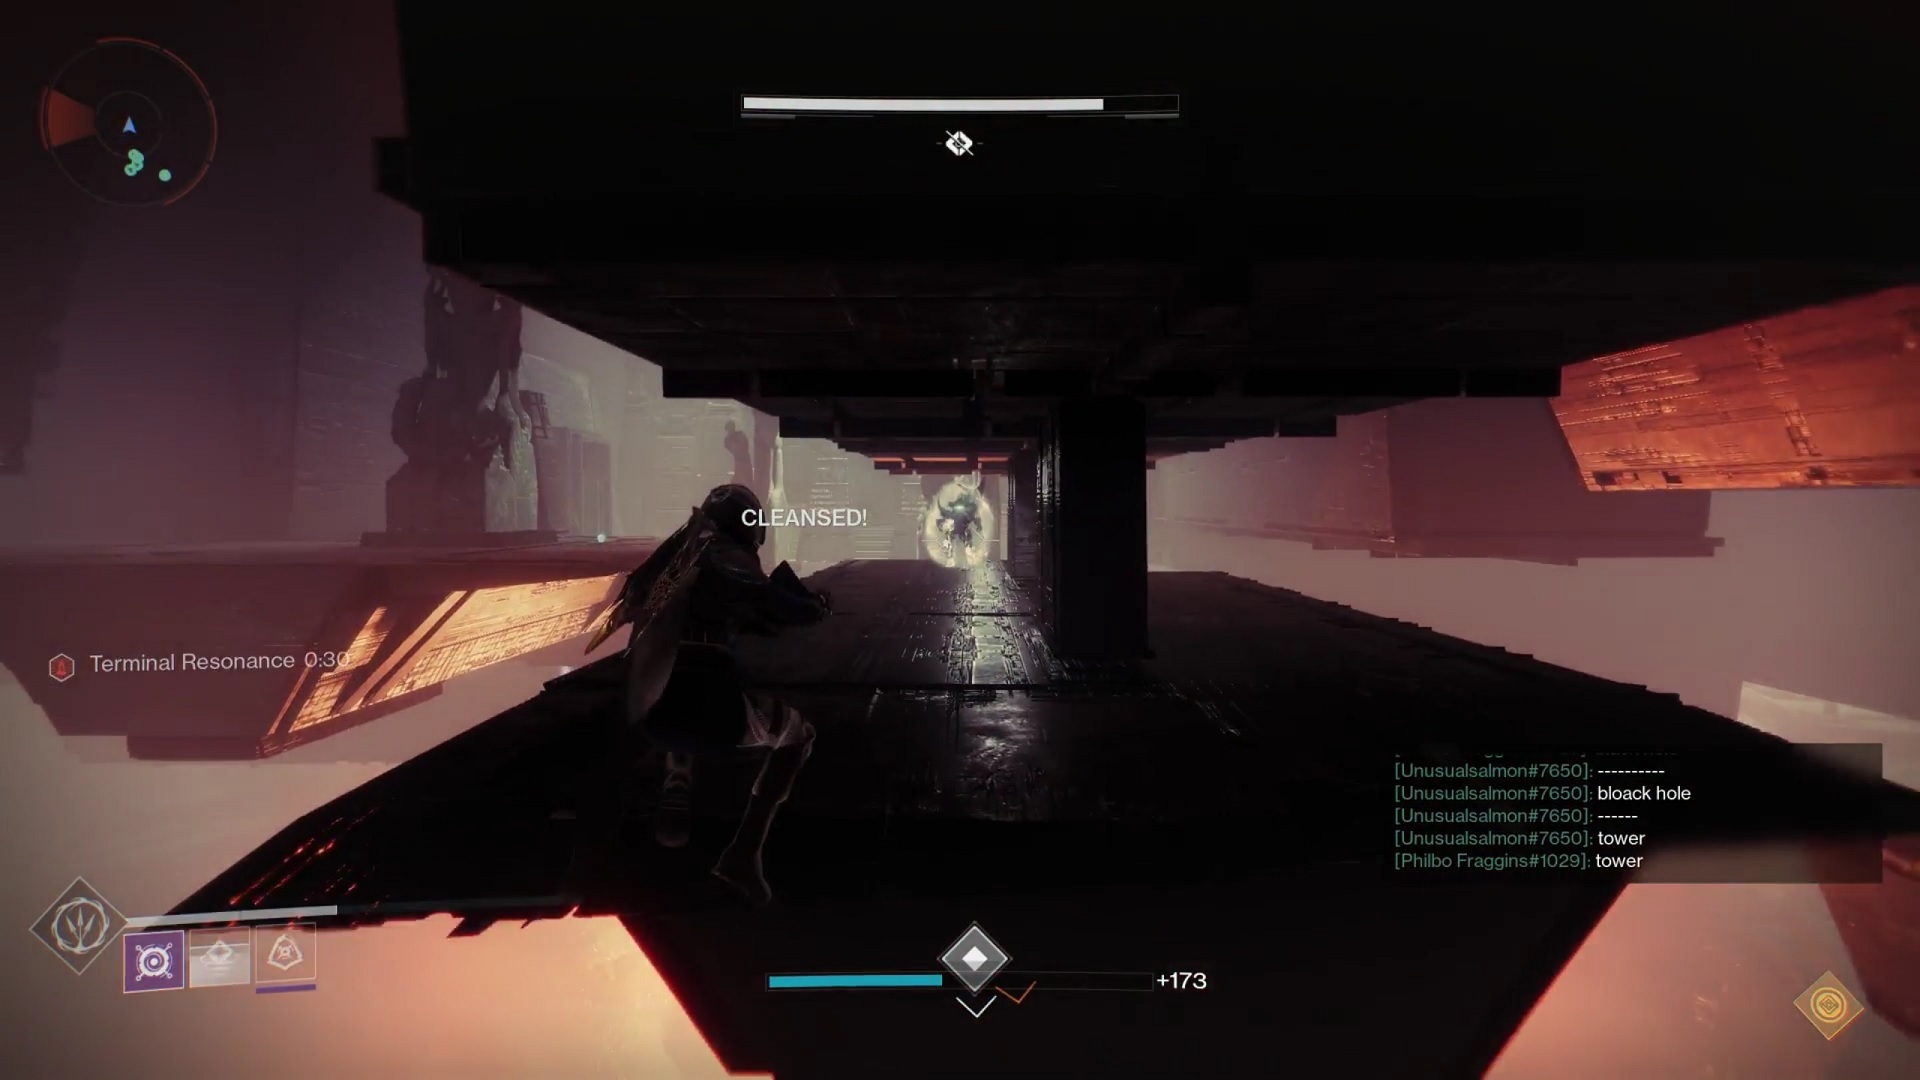 The Knight (Hourglass) will spawn on the right floating platform
before the final door.
Encounter Triumph
Glyph To Glyph - Kill each set of Glyphkeepers in Exhibition within 5 seconds of each other.
Challenge Mode:
Defenses Down - Each player can't kill more than one Taken Knight (Hourglass) in total.
Master Difficulty:
- Taken Glyphkeepers are now Unstoppable Champions.
- Scorn Glyphkeepers are now Overload Champions.
- Taken Hobgoblins now have void shields.
- Scorn Wraiths now have solar shields.
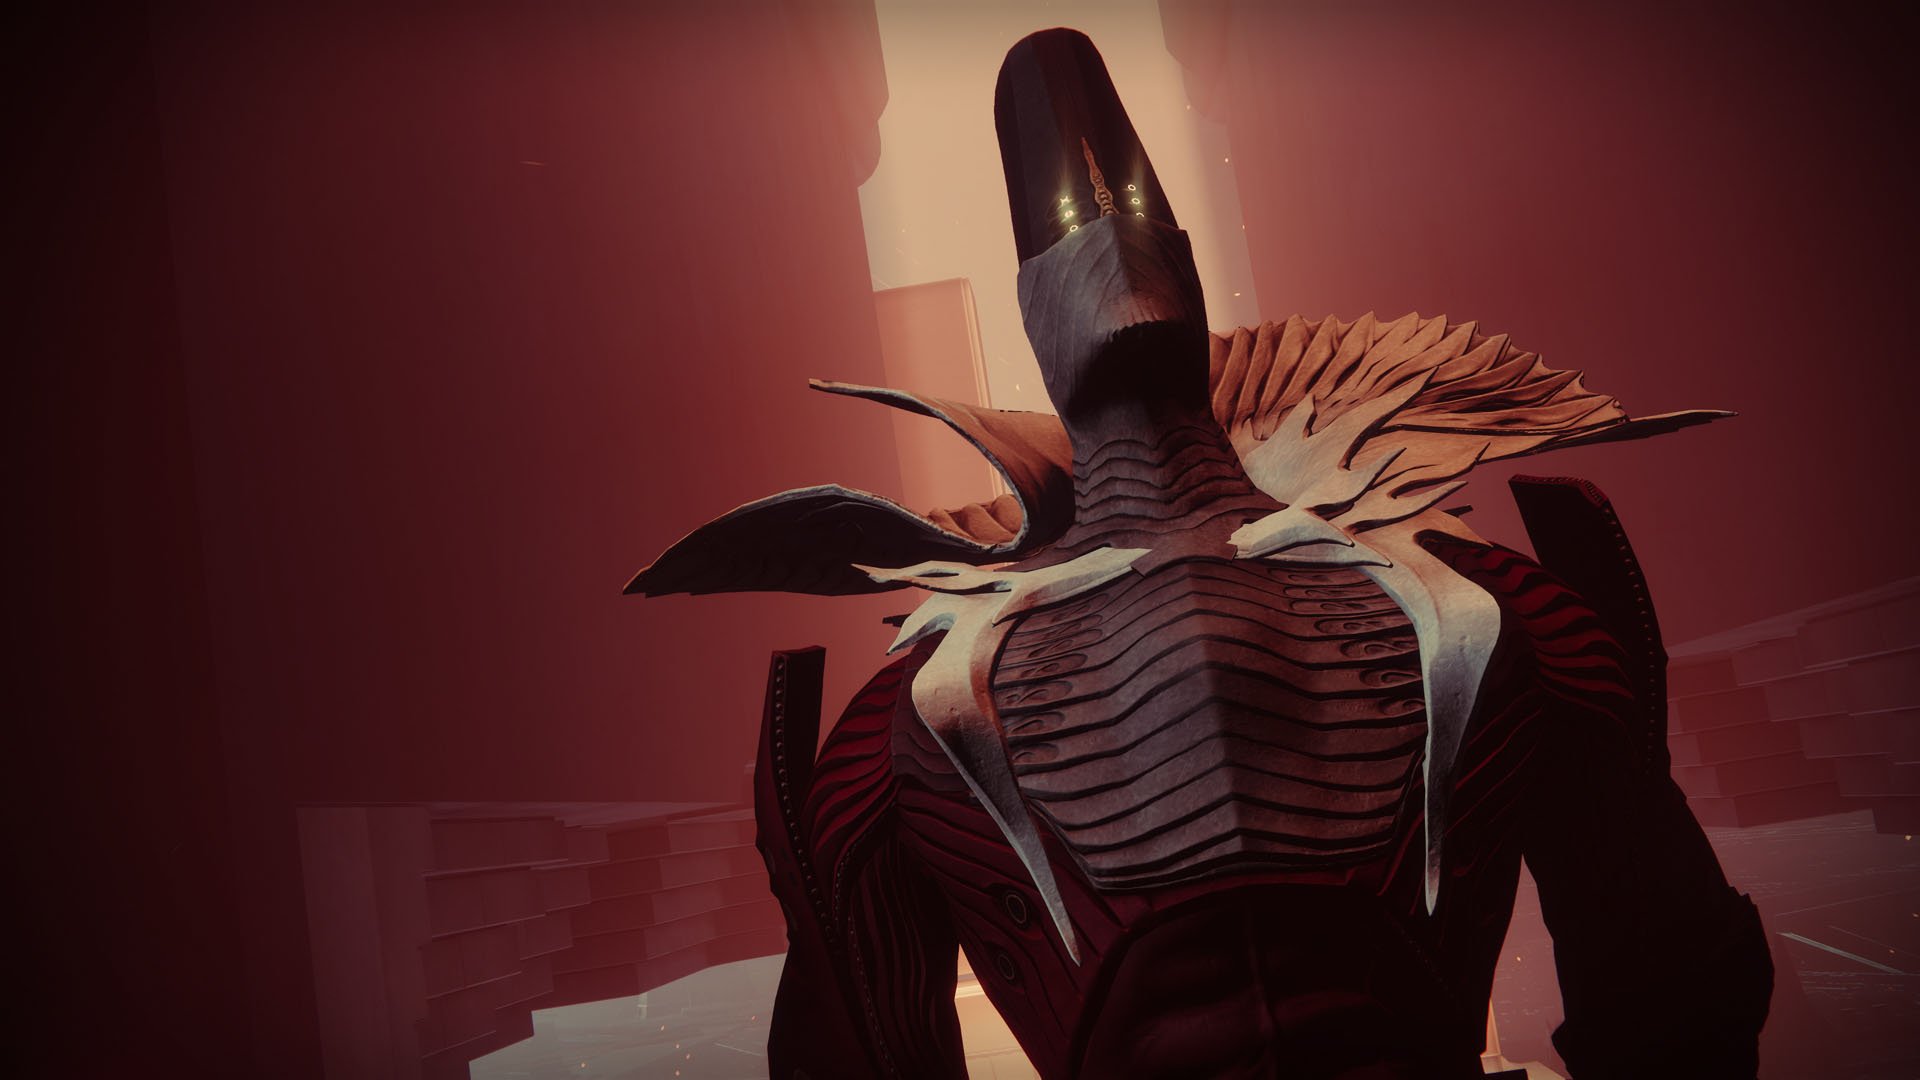
Rhulk, Disciple of The Witness
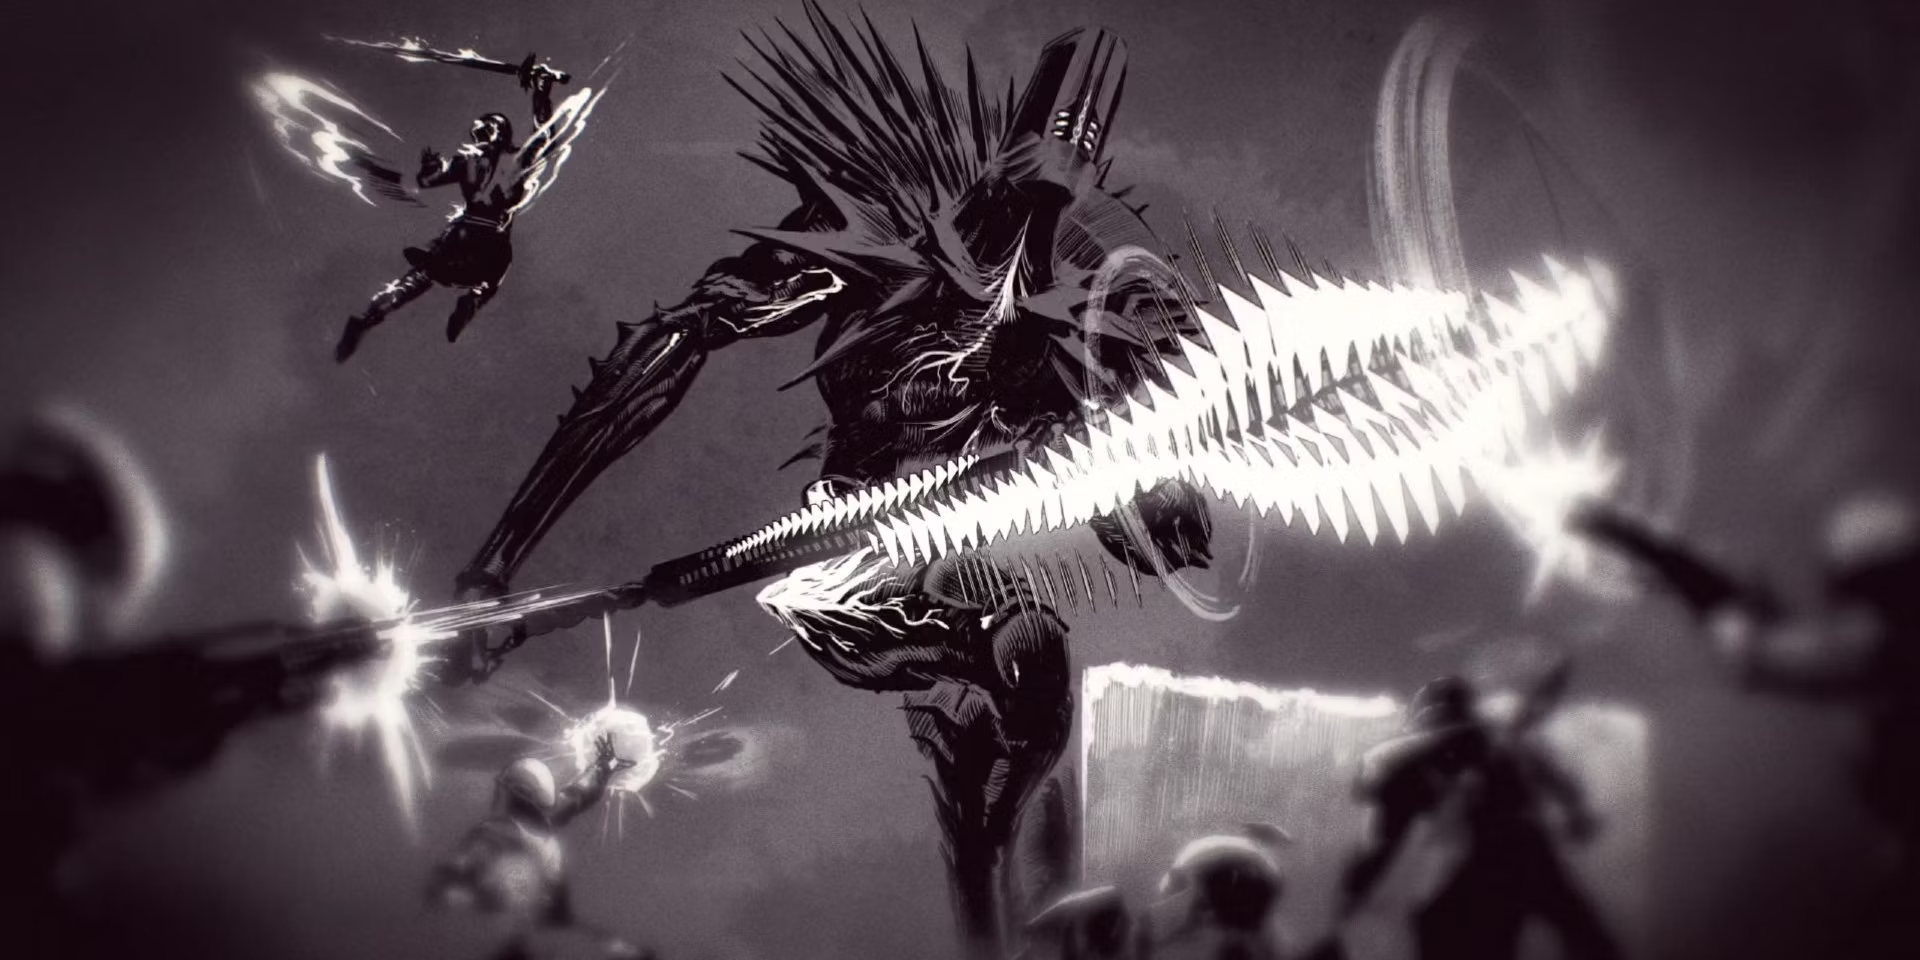
The boss fight against Rhulk, Disciple of the Witness, is the last encounter in the raid. There are several mechanics in this battle, such as cycling buffs and debuffs, calling out symbols, and weakening the monster prior to damage phases. There is a segment about the last stand, so be ready for it.
Roles:
- 2 Dunkers
- In charge of obtaining Leeching Force, converting it into Emanating Force, and deposit the debuff into the obelisks.
- 2 Sharers
- In charge of obtaining Leeching Force, NOT coverting it to Emanating Force, instead to share Lecching Force to other players to not lose the debuff and progress the encounter.
- 2 Ad-Clearers
- NOTE: One of these ad-clearers may help to shoot the main big crystal that starts the encounter. They will not do anything else besides ad clear unless they are needed to shoot the main crystal again.
Recommended Loadout:
- Primary Weapons: Any decent ad-clear primary (SMG, Auto-Rifle, Pulse Rifle, Trinity ghoul, Ticcuu's Divination).
- Special Weapons: DPS special weapons (Snipers, Arbalest, Izanagi's Burden, Witherhoard), 1 Divinity.
- Heavy Weapons: Linear Fusion Rifle (Bait & Switch) / Rockets (Only if using one person is running Gjallarhorn).
Subclass:
- Titans: Thundercrash with Cuirass of the Falling Star.
- Warlocks: Nova Bomb.
- Hunters: Tether (3 Shots with Orpheus Rig) or Blade Barrage.
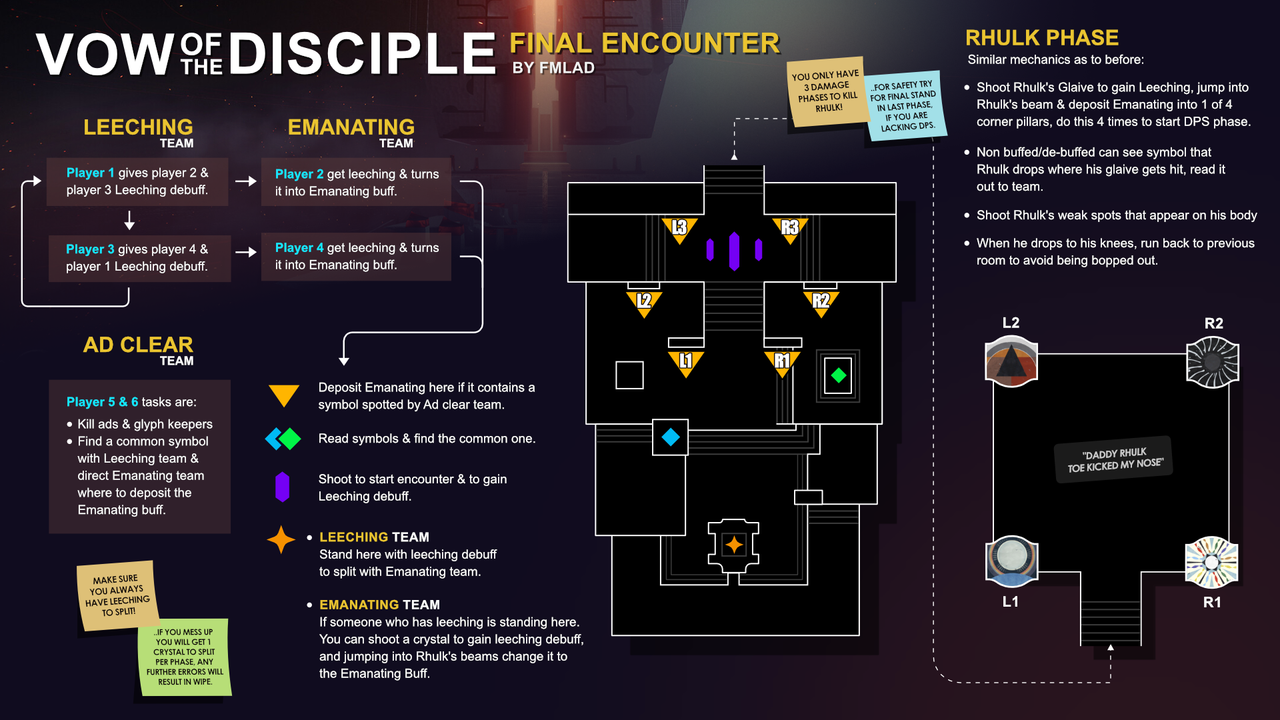
Encounter Flow:
- Outer Arena
- To begin the battle, enter the force field and fire the crystal.
- Share the Leeching Force among players so that they can each get Emanating Force.
- Destroy Glyphkeepers, call out symbols, and determine which ones are identical.
- Locate and identify the obelisks with the matching emblem.
- The debuff is deposited at the obelisks by members with Emanating Force.
- Continue doing so until the force field collapses at the rear steps (six debuffs deposited).
- Inner Arena
- Shoot Rhulk's glaive when you enter the arena to acquire Leeching Force.
- Get Emanating force, call out the correct glpyhs and deposit it in the correct corner four times.
- DPS Rhulk. Repeat all of the preceding stages after doing damage to Rhulk to finally defeat him during in the his final stand.
Outer Arena
Leeching Force and Emanating Force, two new debuffs, are introduced in this encounter. Shooting the floating center crystal and Rhulk's glaive during the damage phase will provide you Leeching Force. Standing in one of Rhulk's darkness blasts while possessing Leeching Force will provide you access to Emanating Force (Leeching Force turns into Emanating Force).
Glyphkeepers will appear on the left and right at the start of the battle. To make symbols appear in the air, defeat them. A player who has Leeching or Emanating Force can see one particular set of symbols, players with the debuffs can see the glyphs which are revealed from killing the Taken Glyphkeeper while players without the debuffs can see the glyphs which are revealed from killing the Scorn Glyphkeeper. Determine which one is the matching symbol by having two players yell these out simultaneously.
The trickiest part of this encounter is sharing and cycling the Leeching Force. Two tiny crystals will sprout in the air to the left and right of the primary crystal after shooting it and obtaining Leeching Force. The Leeching Force will be transferred to the two new players when the player with Leeching Force stands on the center plate and two players shoot the smaller crystals.
It is best to have two players solely focused on exchanging Leeching Force and two players solely focused on obtaining Leeching Force and converting it into Emanating Force. As an illustration, Player A could supply Leeching Force to Players B and C. Player A and Player D would get Leeching Force from Player B. By standing in Rhulk's darkness beams that shoot out in one area of the arena, Player C and D would always take Leeching Force and convert it into Emanating Force. The cycling/splitting process is more visual by using the graphic below.
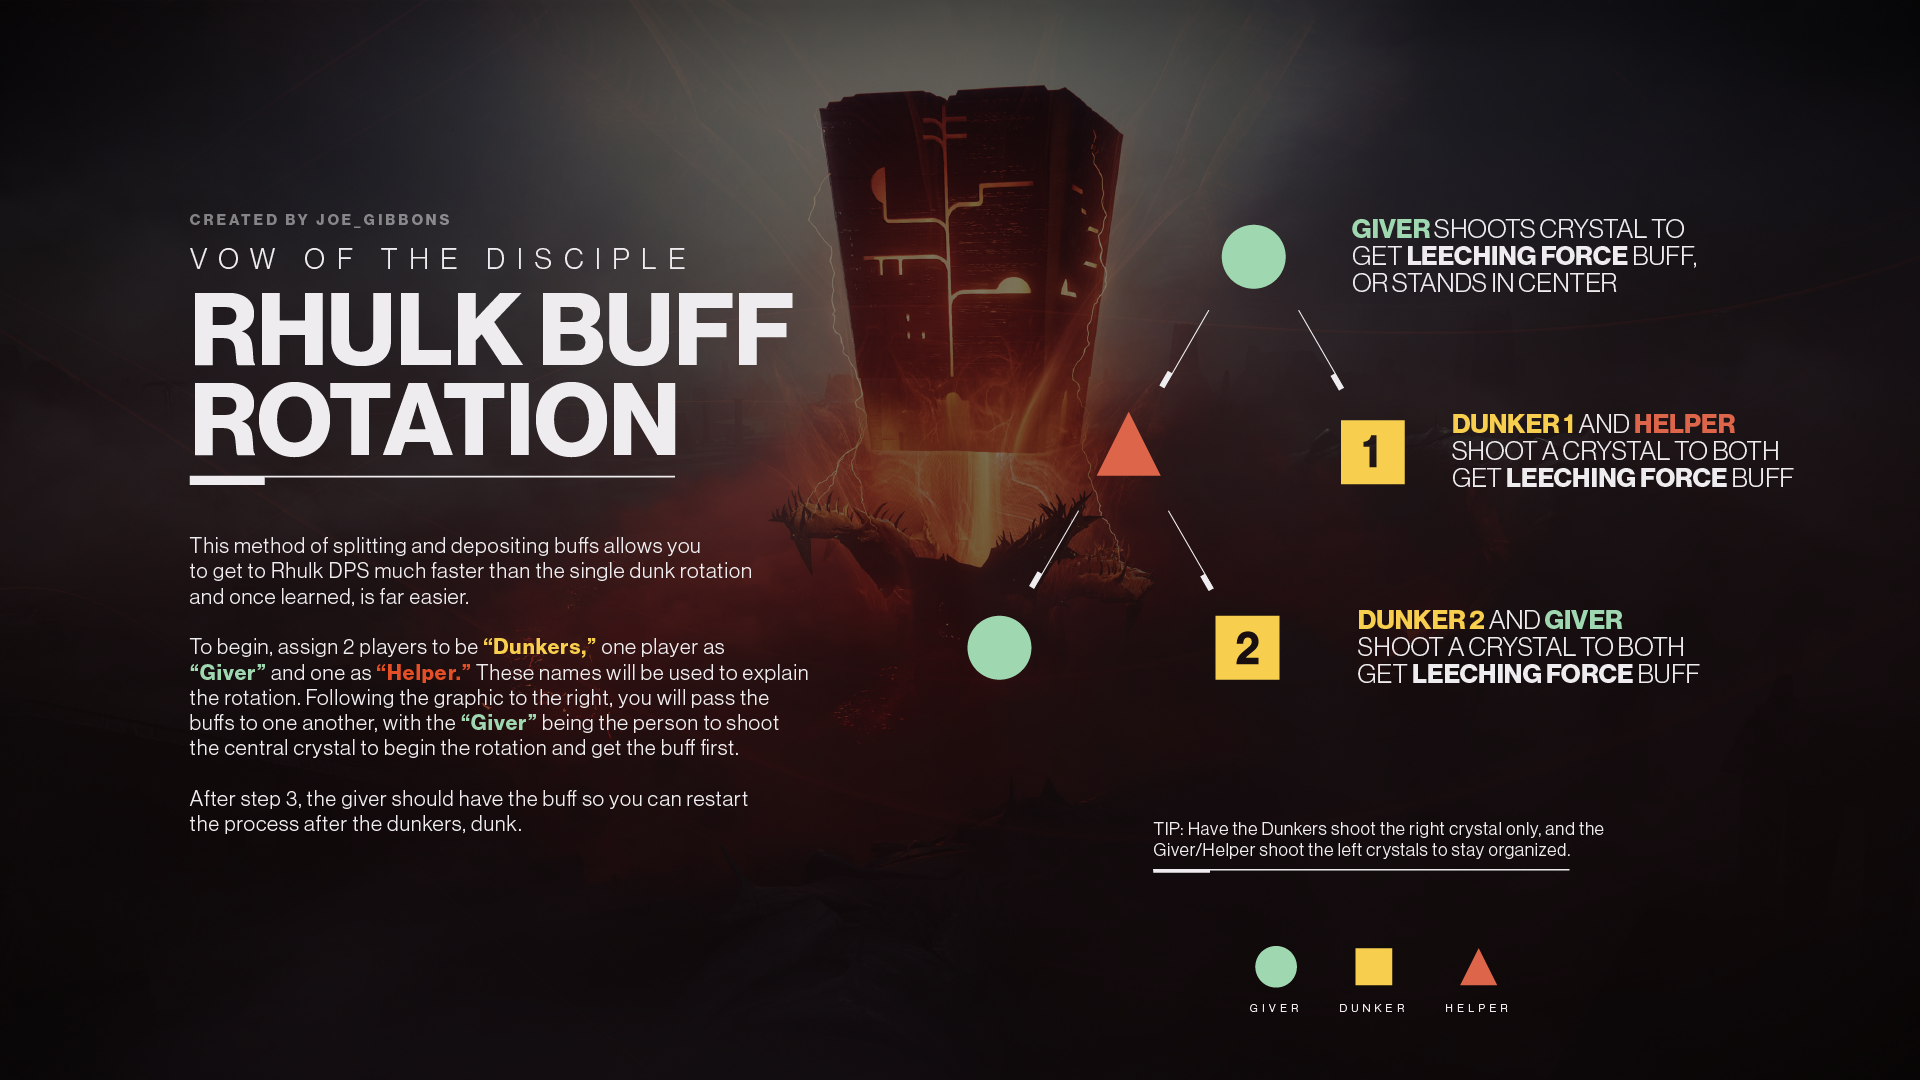
The aforementioned symbols should be called out and the corresponding symbol should be determined while all of this is going on. The location of this symbol on the obelisks should then be announced by one player. Only a player without a debuff can see the symbols on the obelisk. The emblem will always appear on two obelisks. Choose a callout that works best for your squad. The debuff must be placed at the appropriate obelisk by the players who have Emanating Force. Until six debuffs have been applied or the force field retreats to the stairs, this process is repeated. You have to take down a pair of Glyphkeepers again if at any point nobody possesses or someone loses Leeching Force. Repear this too many times and Rhulk will enrage and wipe everyone.
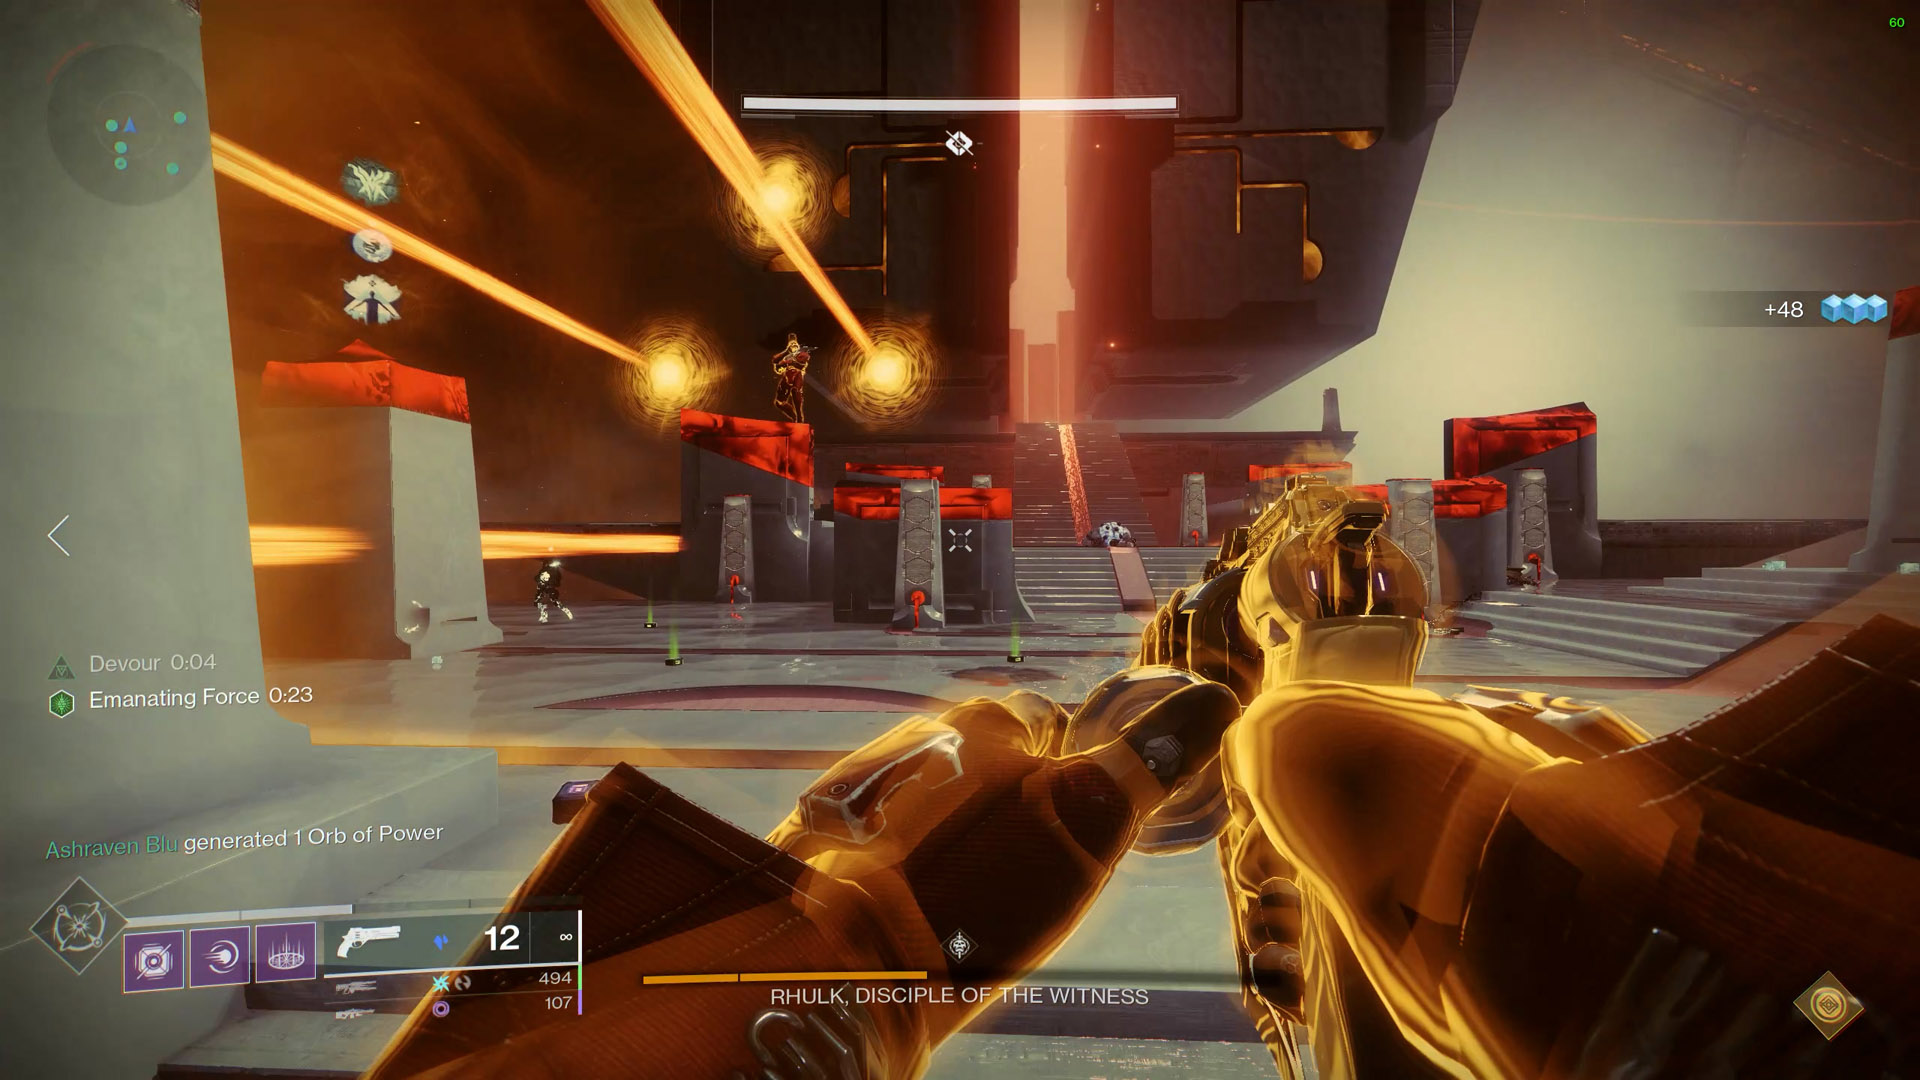 Leeching Force will become Emanating Force as a result of the
blast. Only those who have a debuff may see one particular set of
symbols.
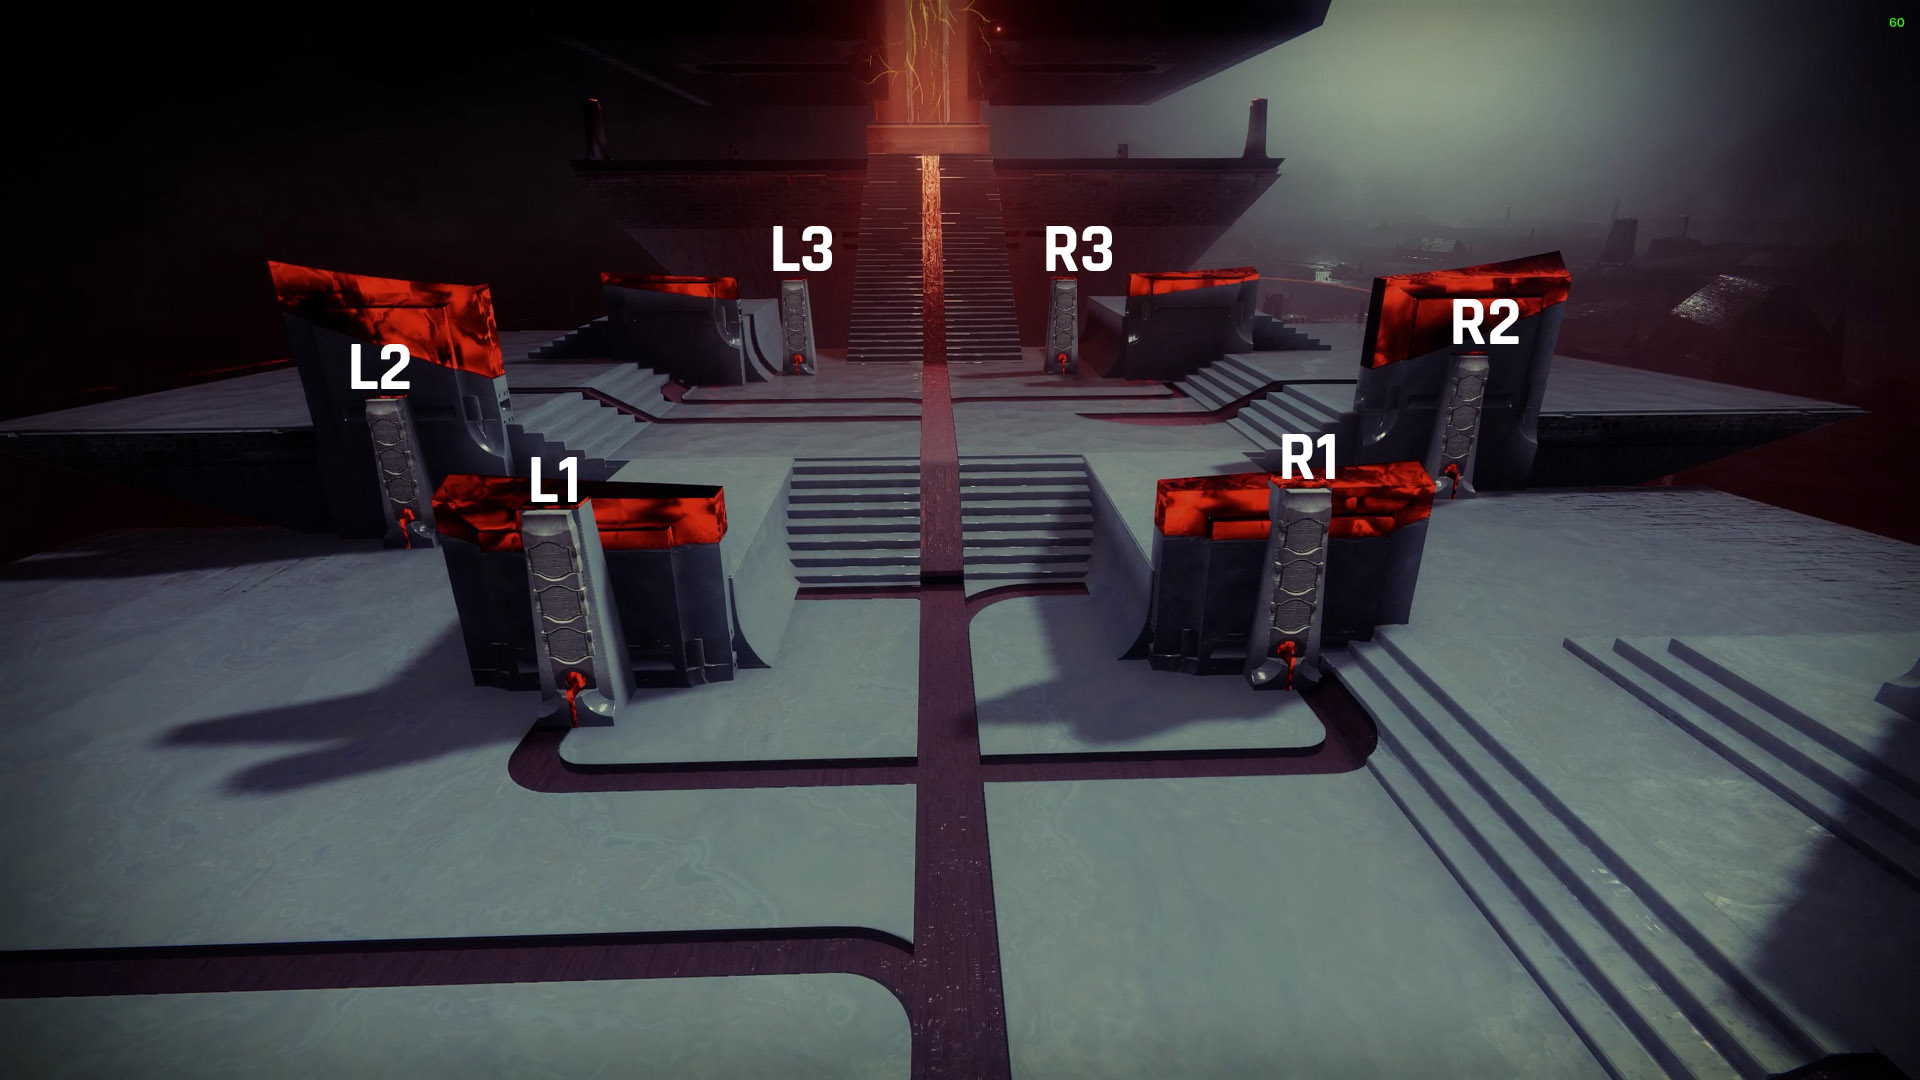 To make it simpler to identify which pillar to approach, assign
callouts to each one.
Inner Arena
Rhulk will retreat into the inner arena as soon as you get to the steps. Ascend and be ready to weaken him. Rhulk will travel around the arena during this time, attempting to kick opponents, transition into a glaive attack, or launch a darkness blast. Rhulk's glaive must be shot in order to debuff it with Leeching Force, transform it into Emanating Force, and then drop it in the designated area of the chamber.
A symbol will always appear in the area of the arena close to where Rhulk is when his glaive is shot (stabbed into the ground behind him). Only players without a debuff can see this symbol, so they have to call it out to players with Leeching Force. Once the player has Emanating Force, they must dispose the debuff at the requested corner.
Rhulk will stumble as the Emanating Force deposits, exposing a vulnerability. To gain another glaive to fire at, eliminate the vulnerable spot. To start the damage phase, repeat this four times. It is strongly recommended that one player uses Divinity while the other players use Rockets or Linear Fusion Rifles to do damage to Rhulk. All outgoing damage is increased by 15% when using Divinity. Grand Overture can be an excellent choice if you don't have any of those. When Rhulk becomes immune, retrace your steps to the beginning location. Rise and repeat until he reaches final stand.
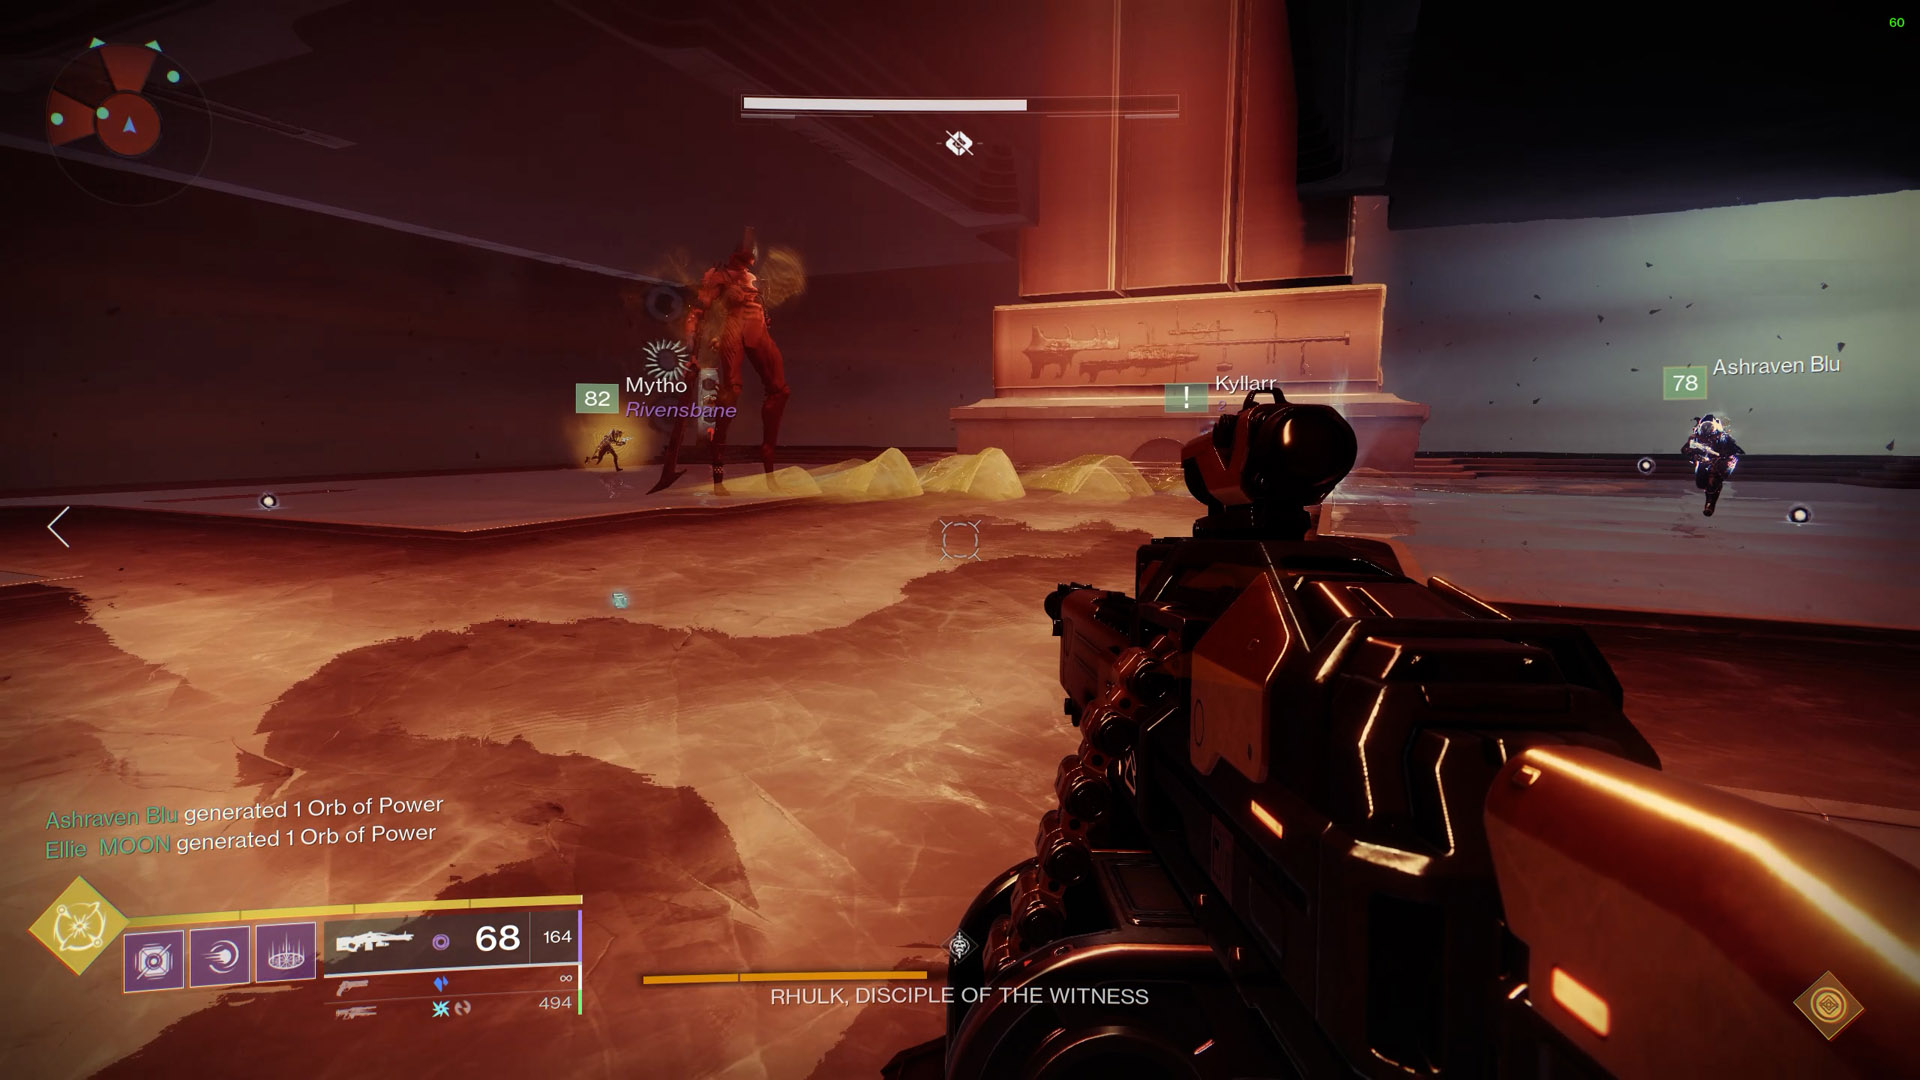 Rhulk's glaive will leave a symbol when it is destroyed. Whoever
shoots it will get Leeching Force and must convert it into
Emanating Force and then dunk it in the correct station.
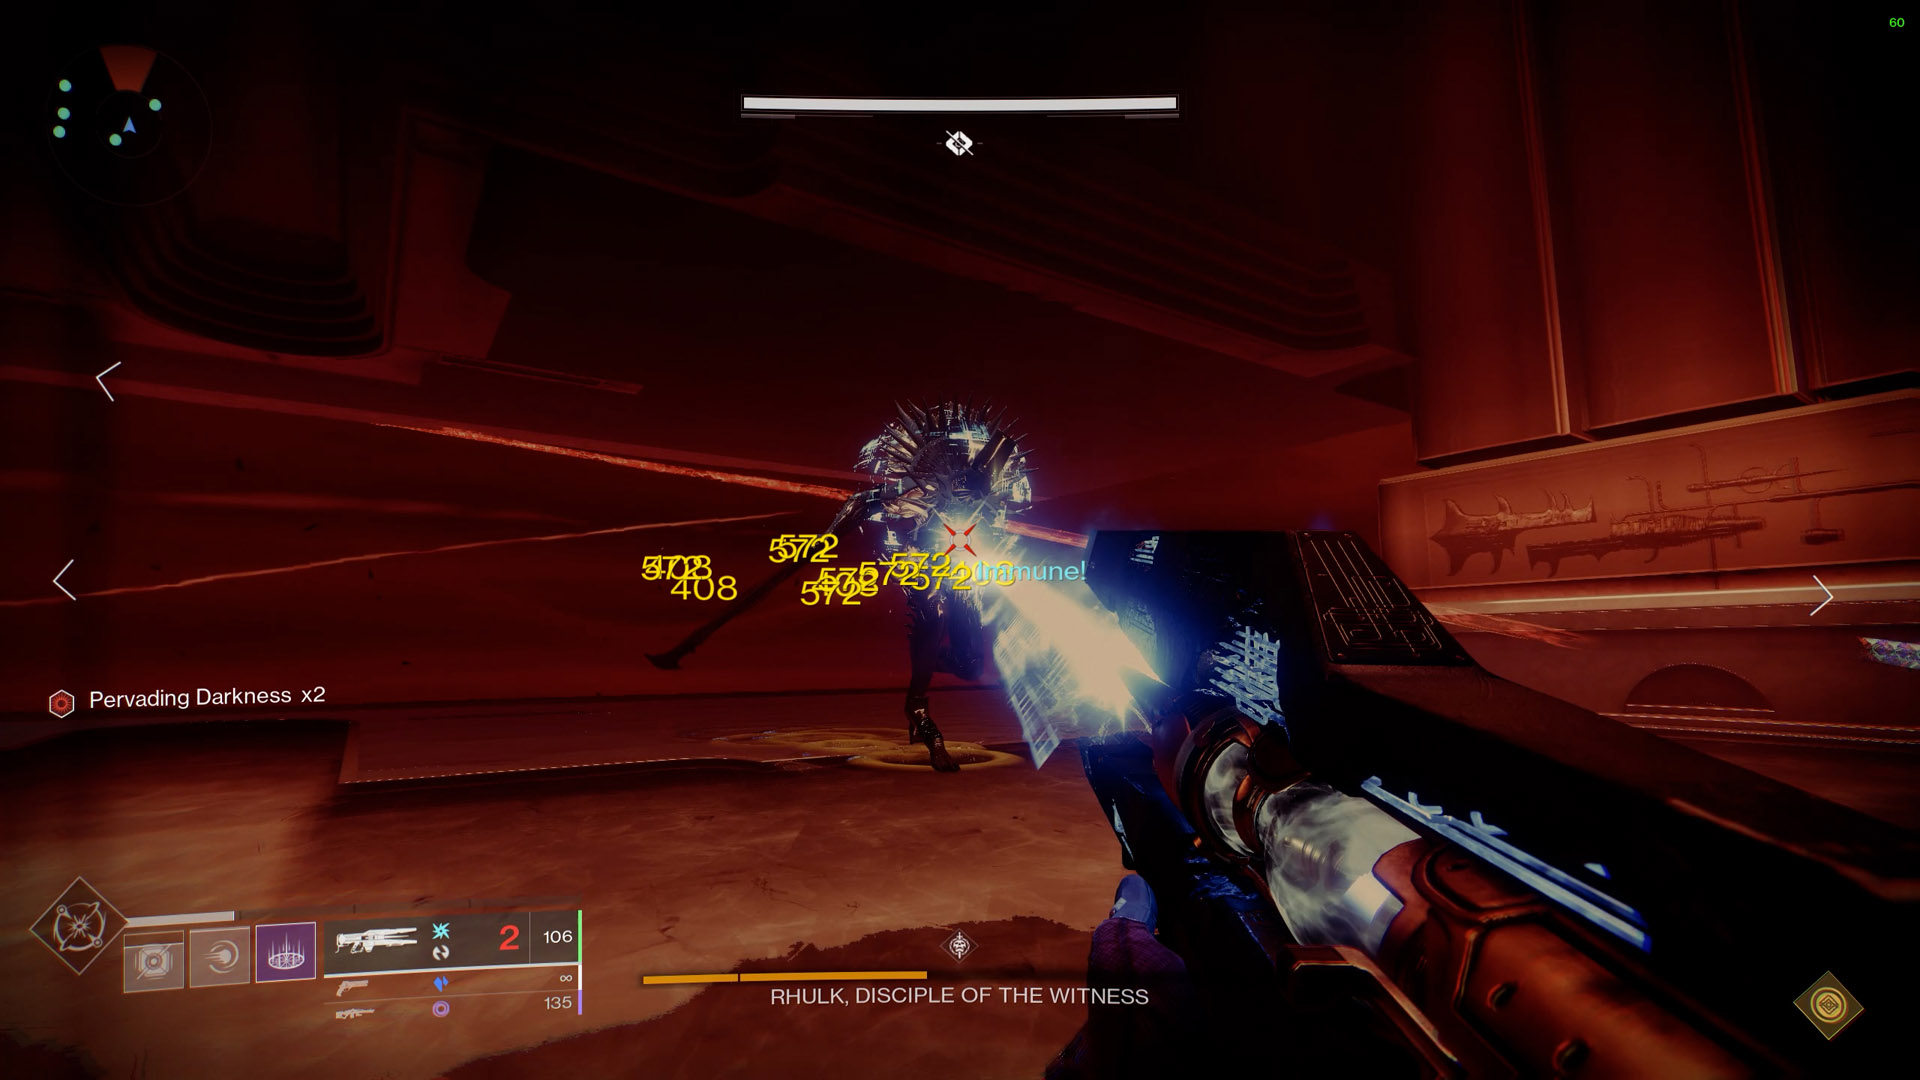 During DPS, divinity is very helpful.
Final Stand
Save your Supers just before the last stand. To inflict more burst damage to Rhulk during his final stand, you should activate your Supers. One-and-done Supers like Tether, Nova Bomb, and Thundercrash are great in this regard. He will be moving about continuously and shooting forth blasts of darkness at this period. Pervading Darkness will begin to accumulate. Defeat Rhulk before Pervading Darkness reaches x10.
You'll either kill him, or he kills you.
Encounter Triumph:
Symmetrical Energy - Any energy deposited in Dominion must be accompanied by another deposit within 5 seconds.
Challenge Mode:
Looping Catalyst - Do not lose Leeching Force before the damage phase.
Master Difficulty:
- Taken Glyphkeepers are now Unstoppable Champions.
- Scorn Glyphkeepers are now Overload Champions.
- Taken Hobgoblins now have void shields.
